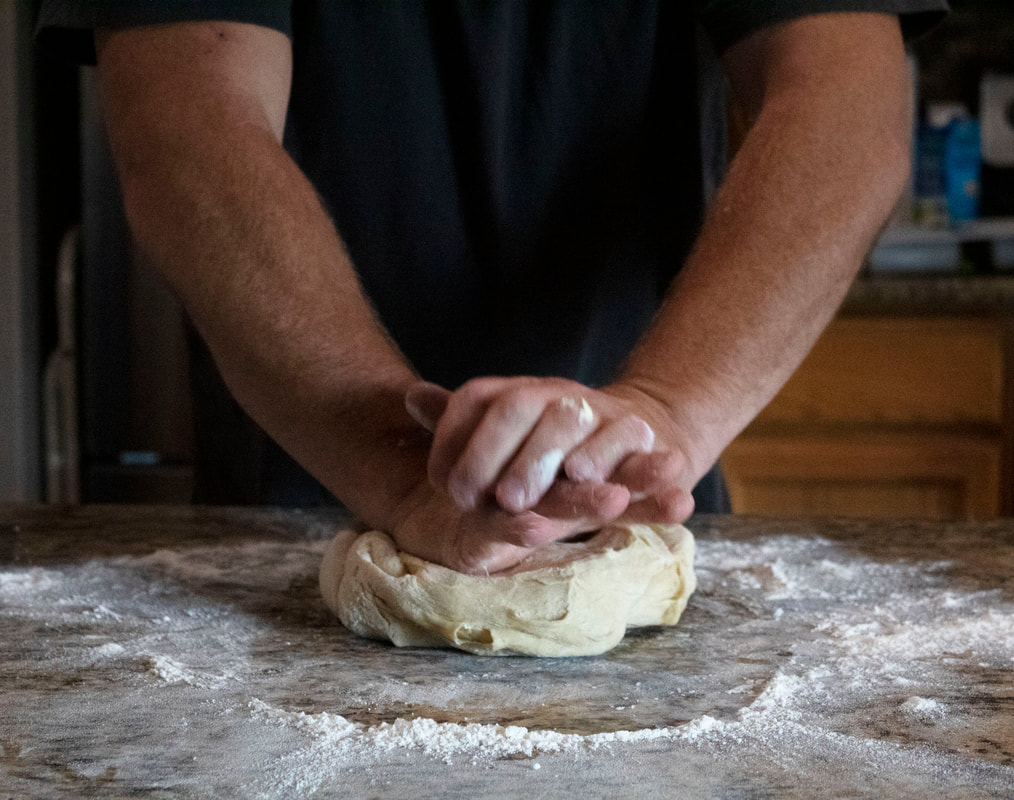
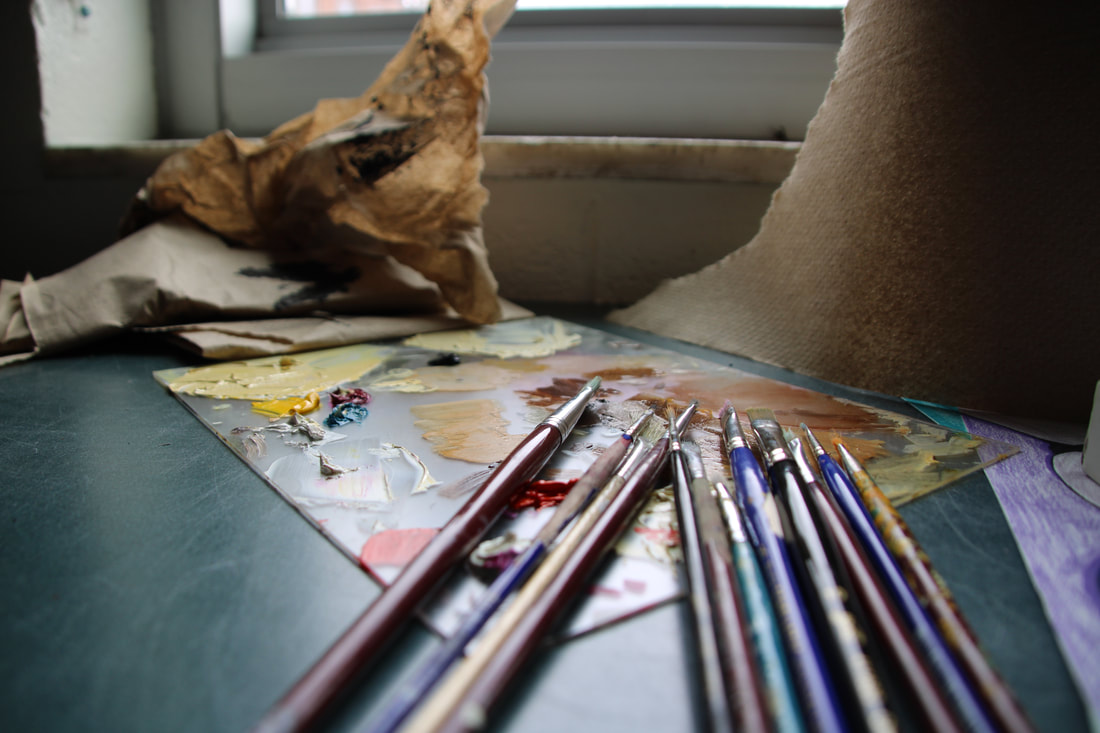
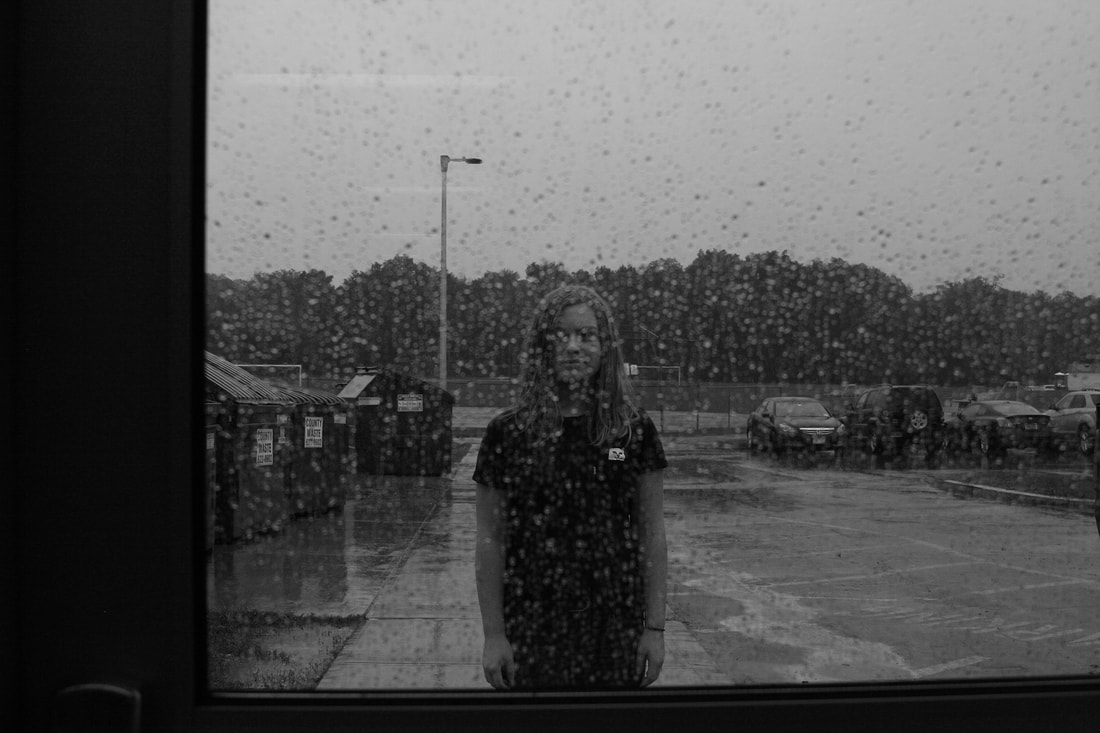
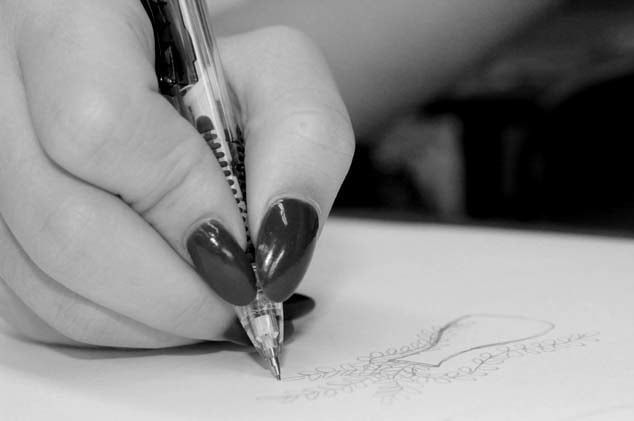
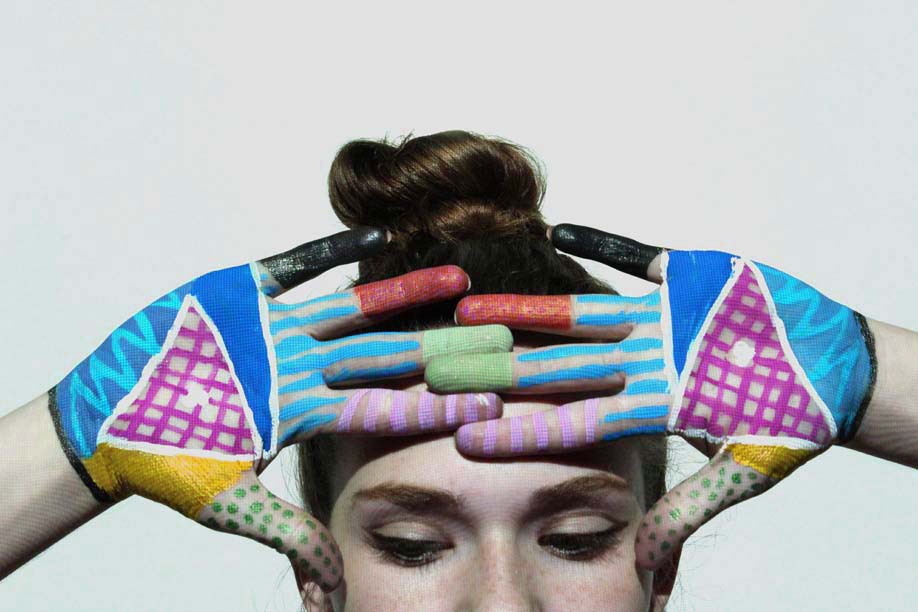
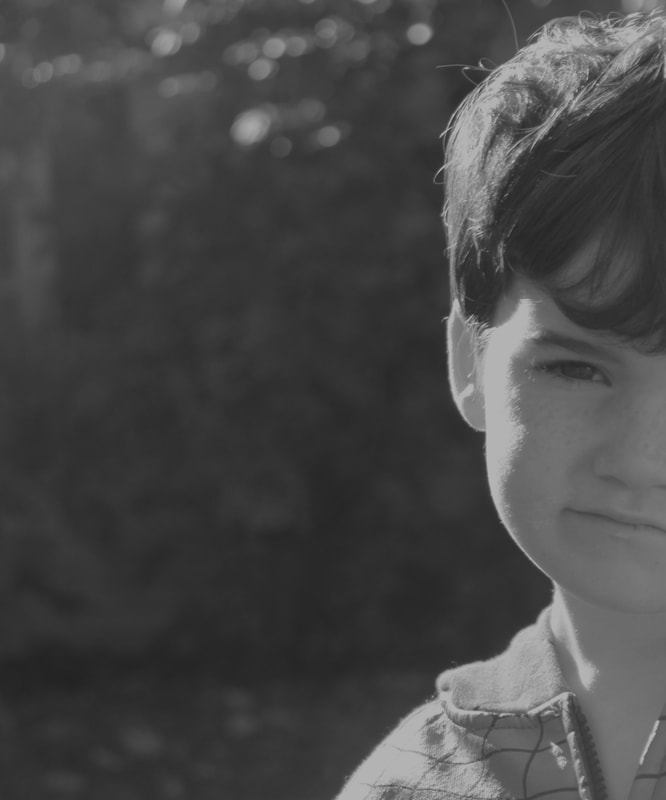
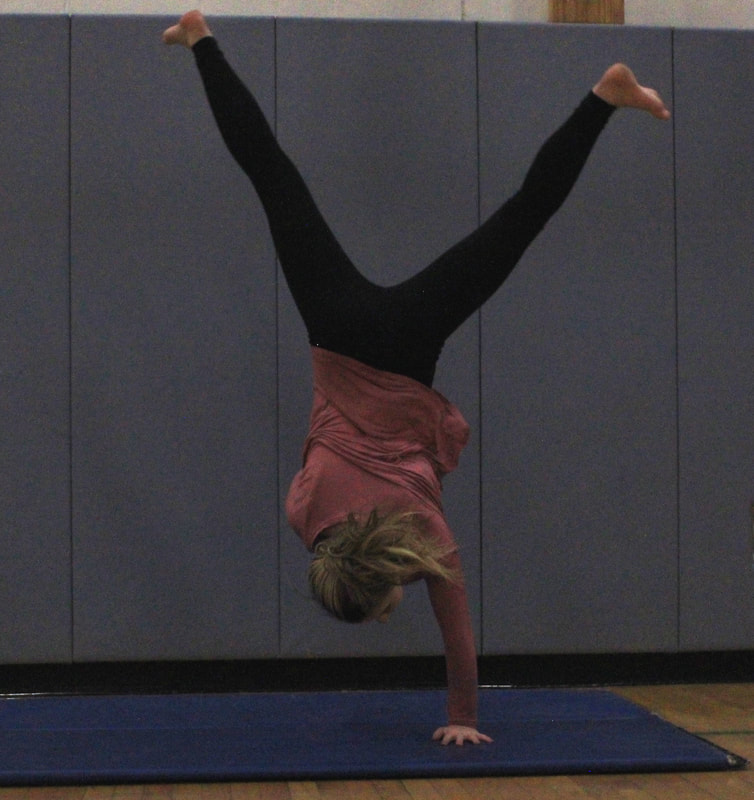
Still Life Self Portraits
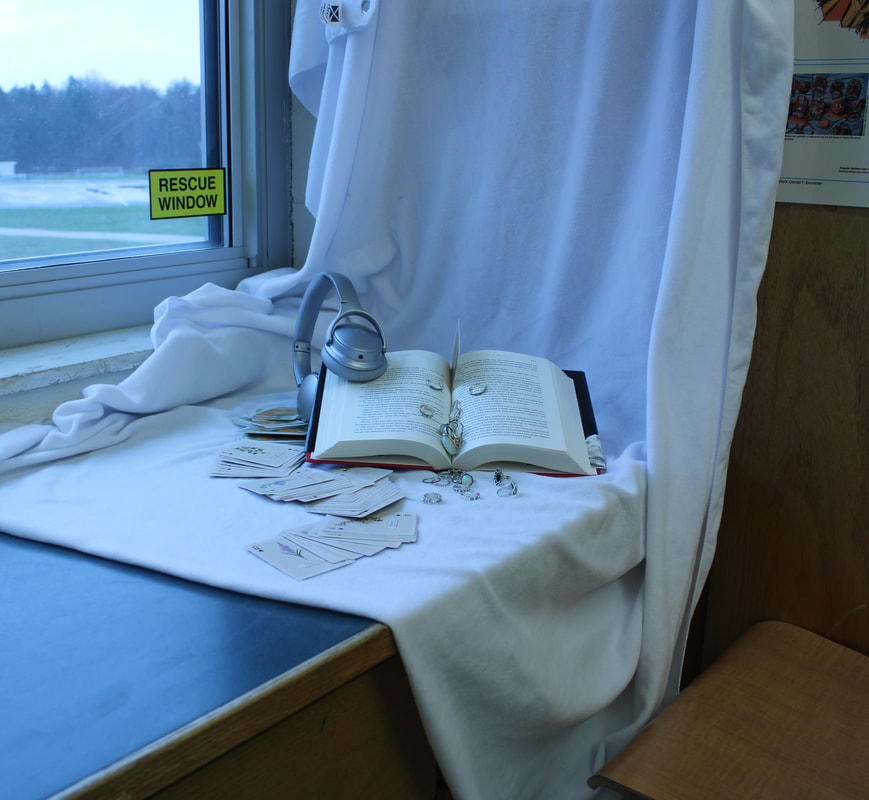
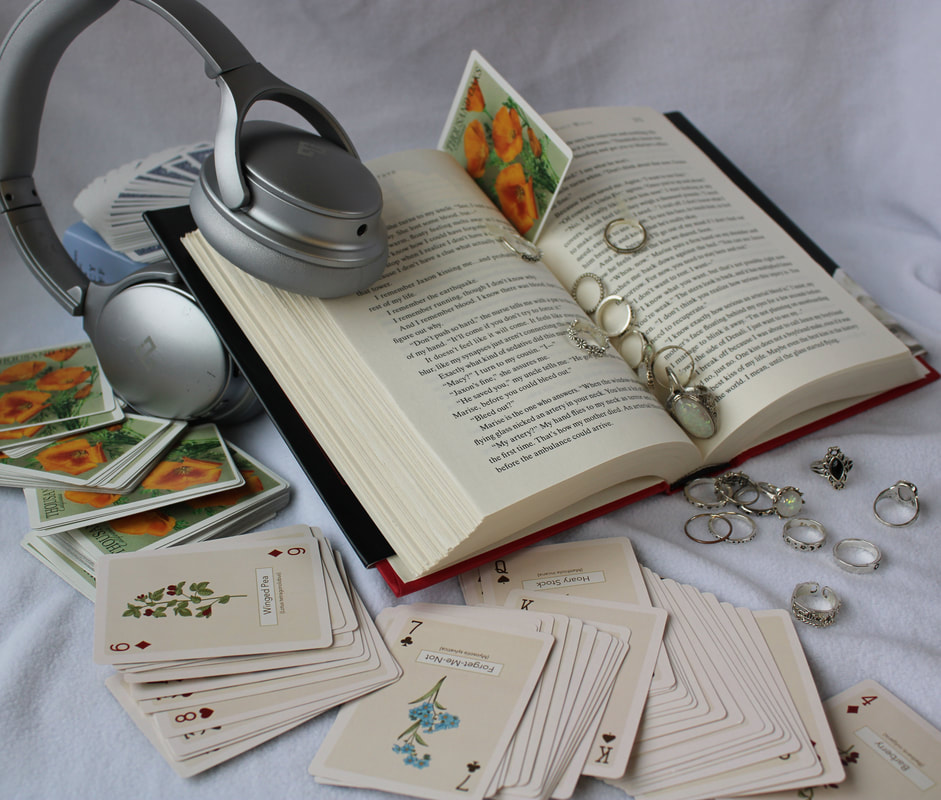
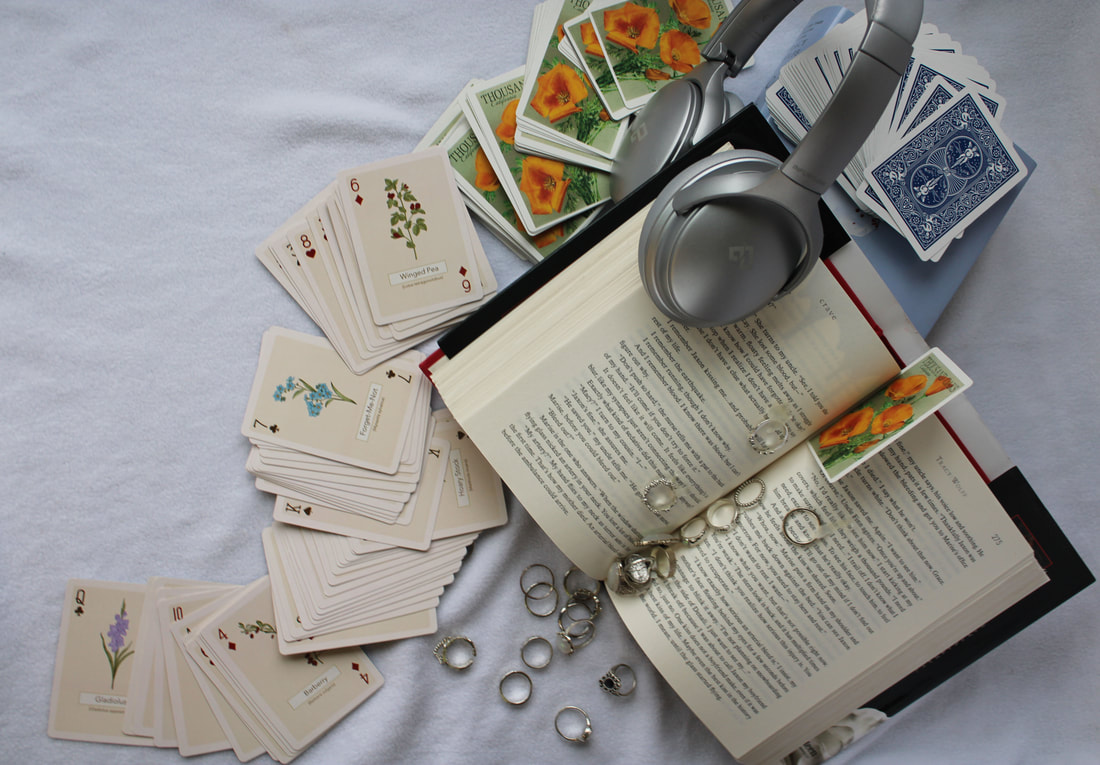
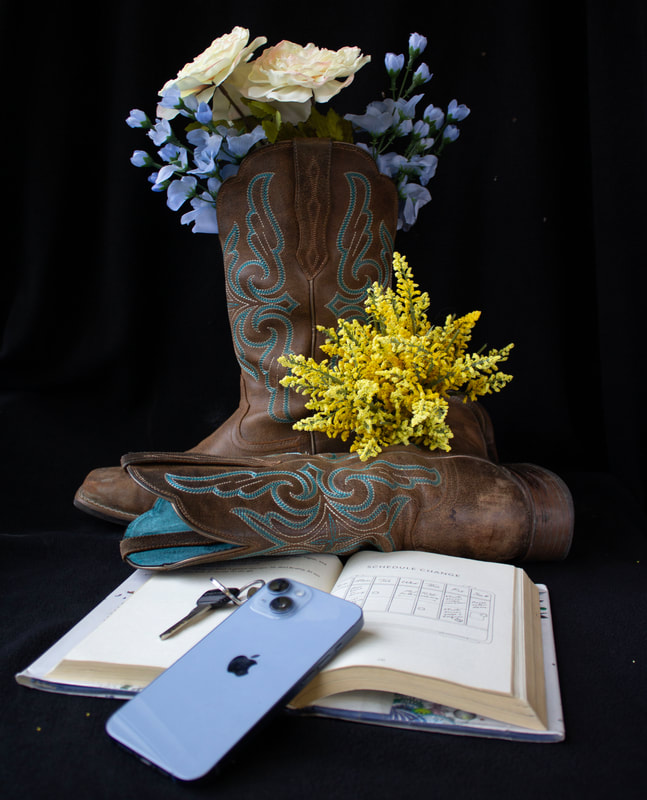
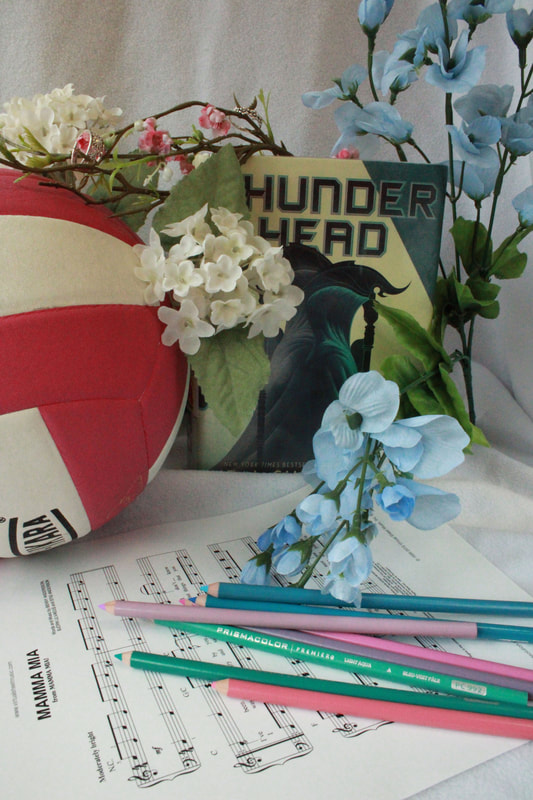
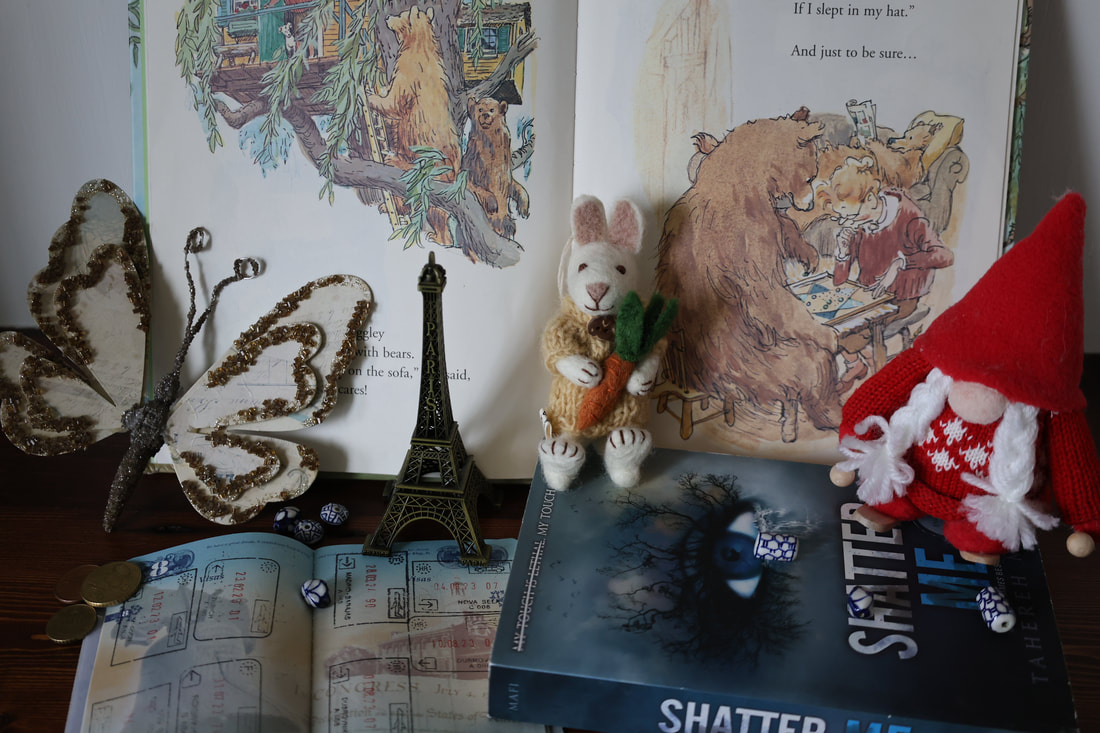
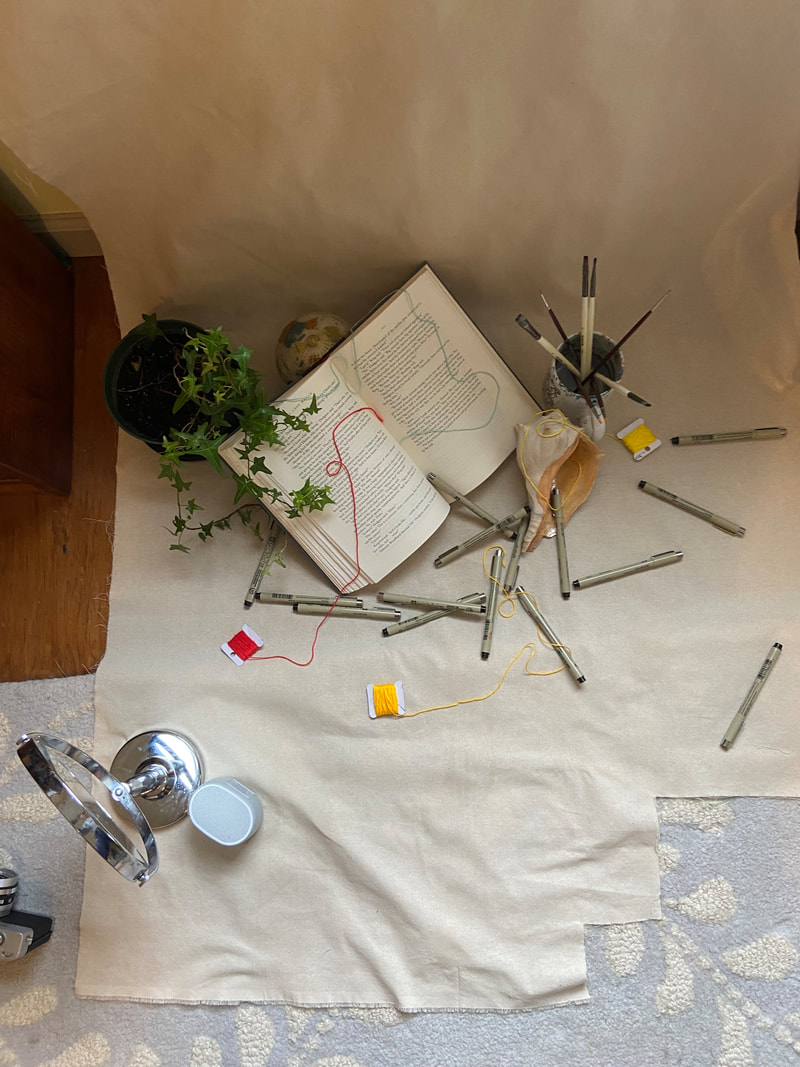
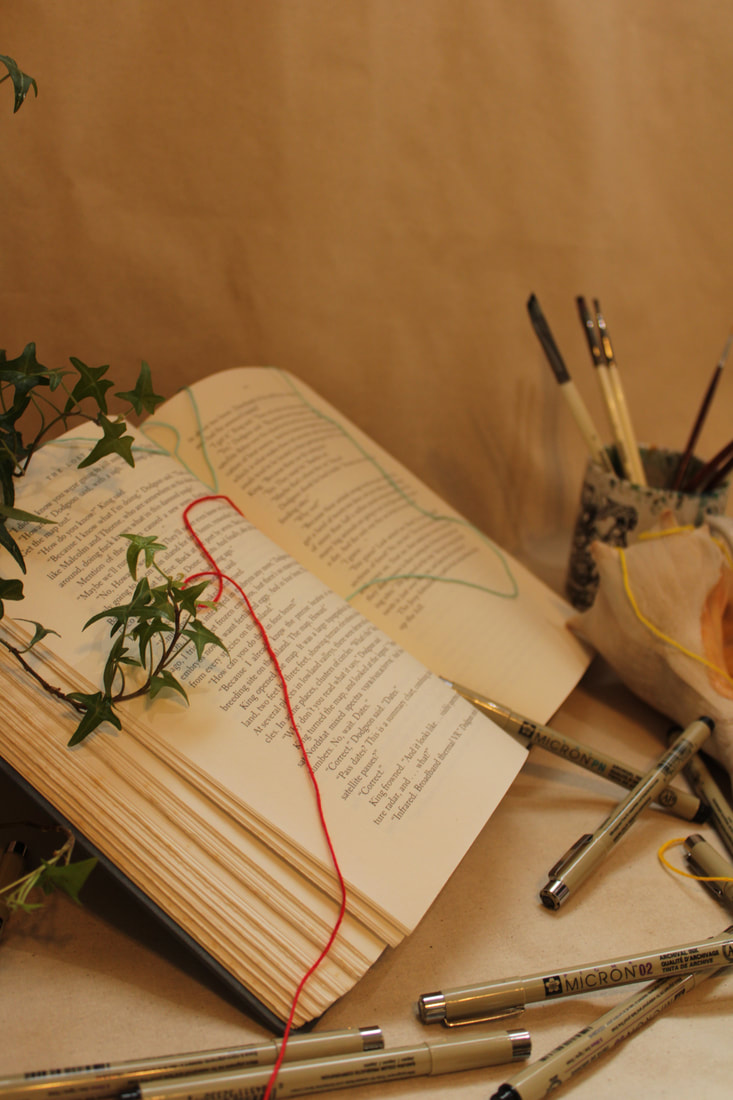
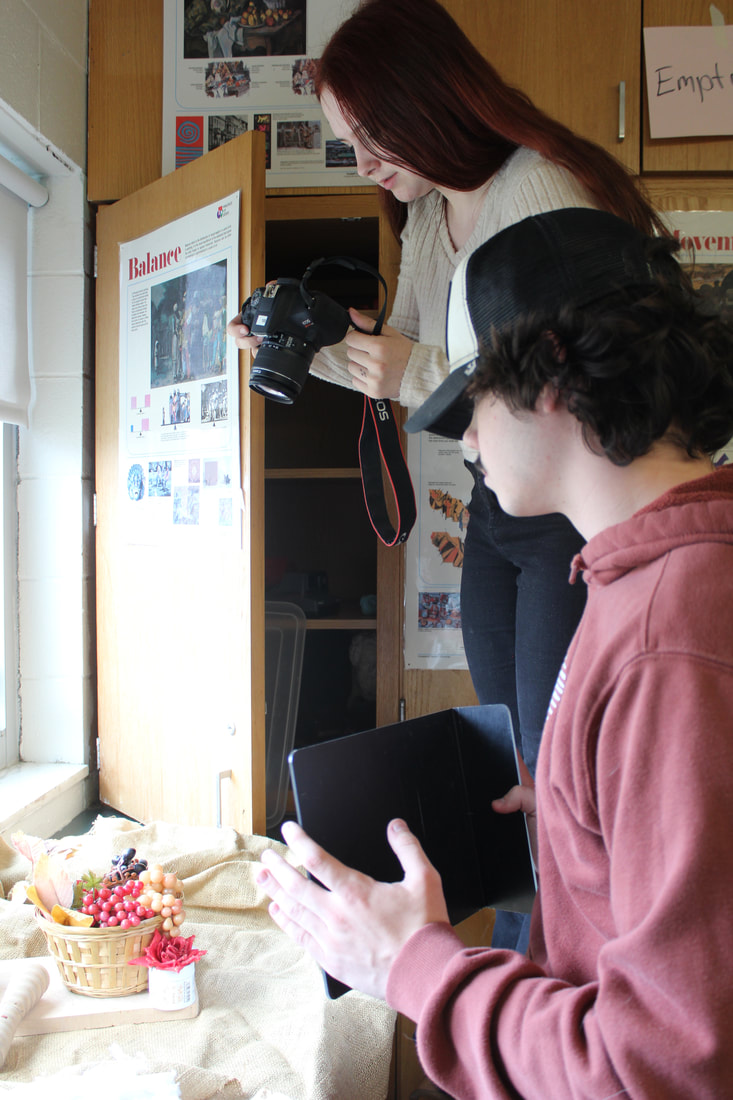
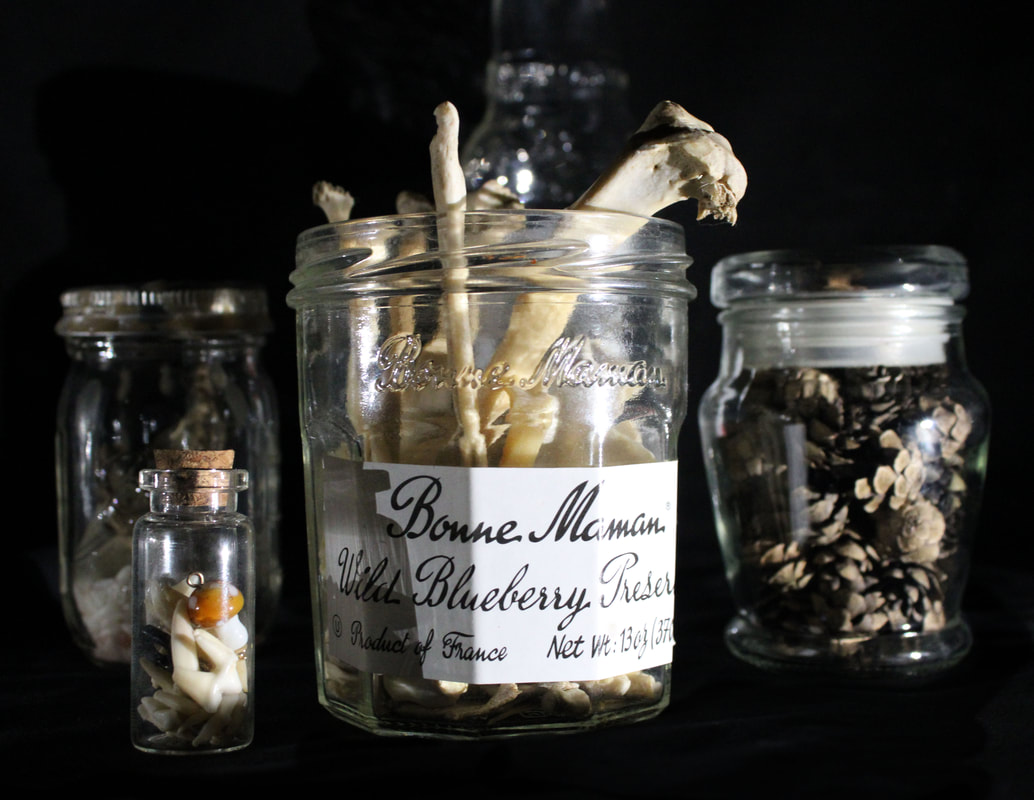
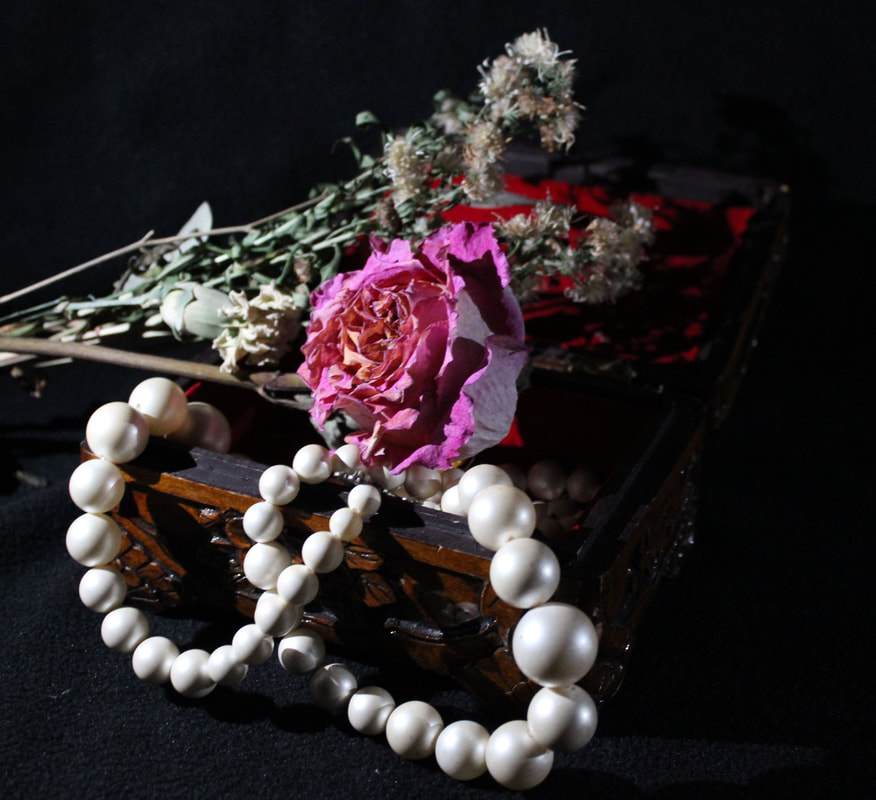
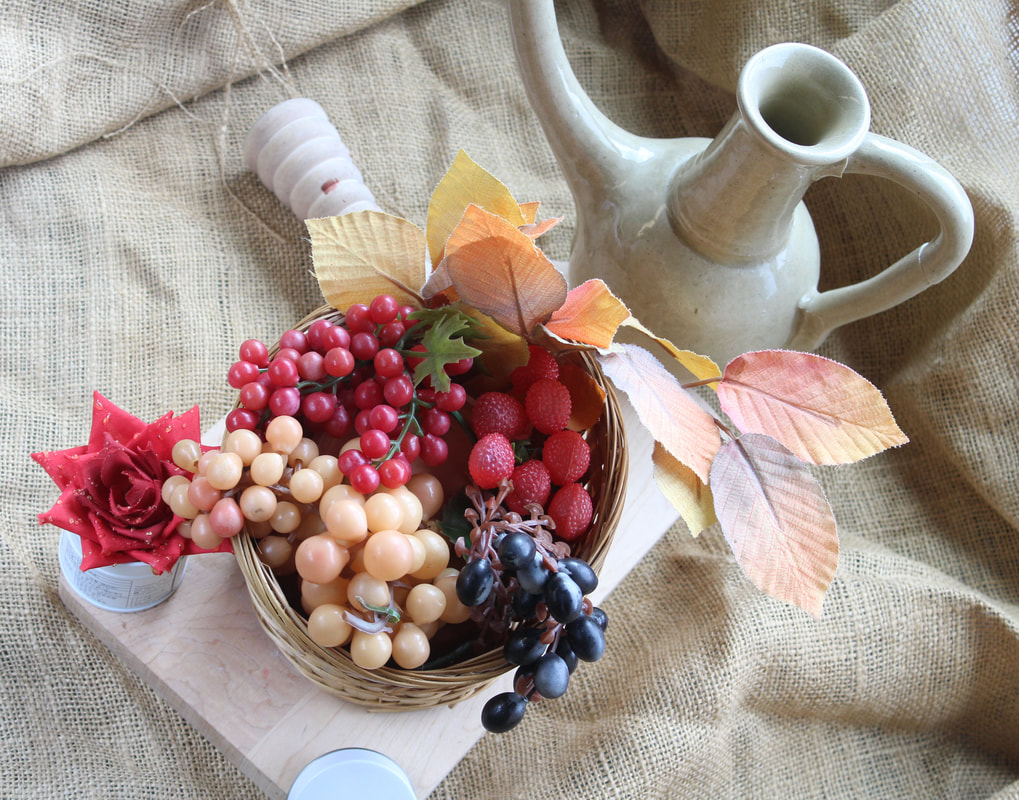
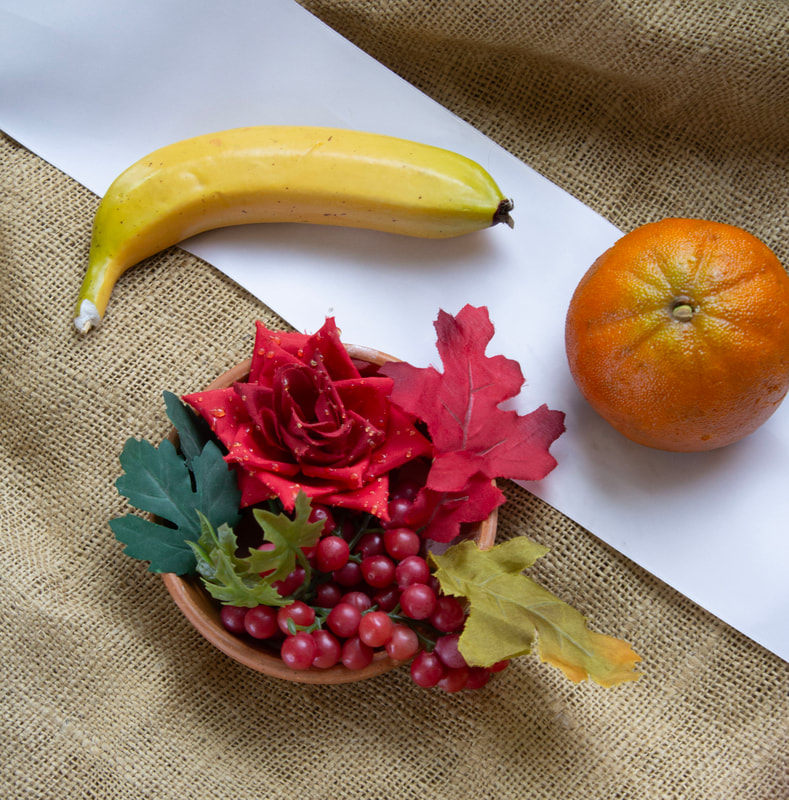
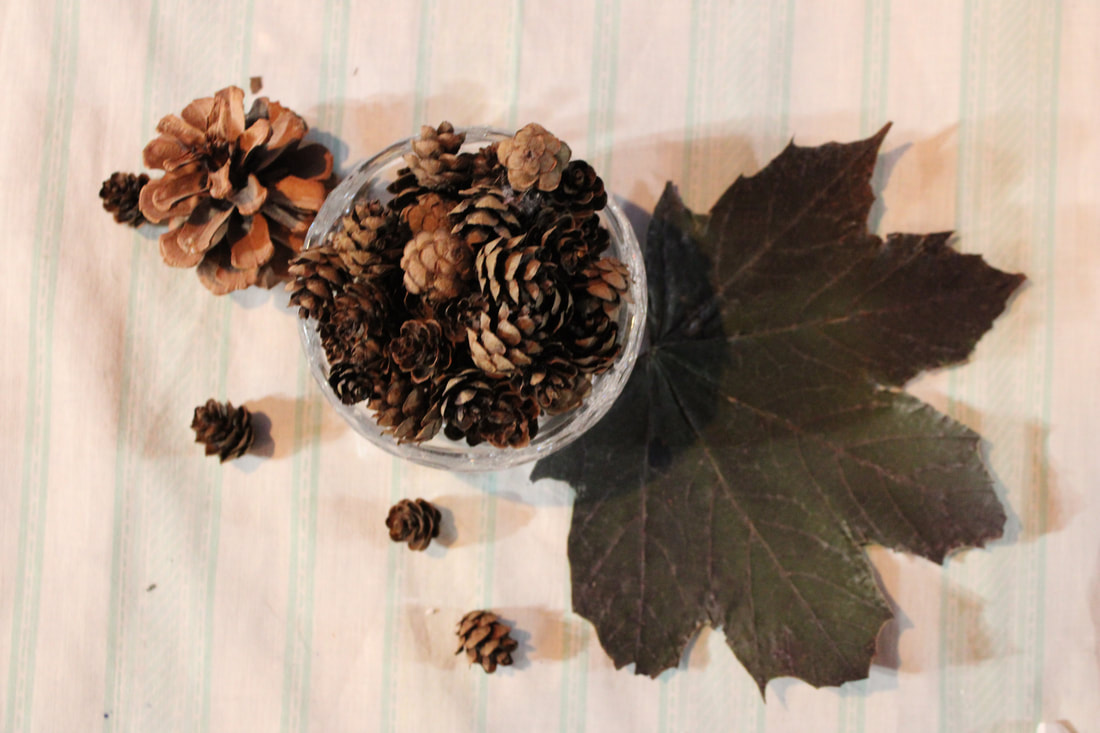
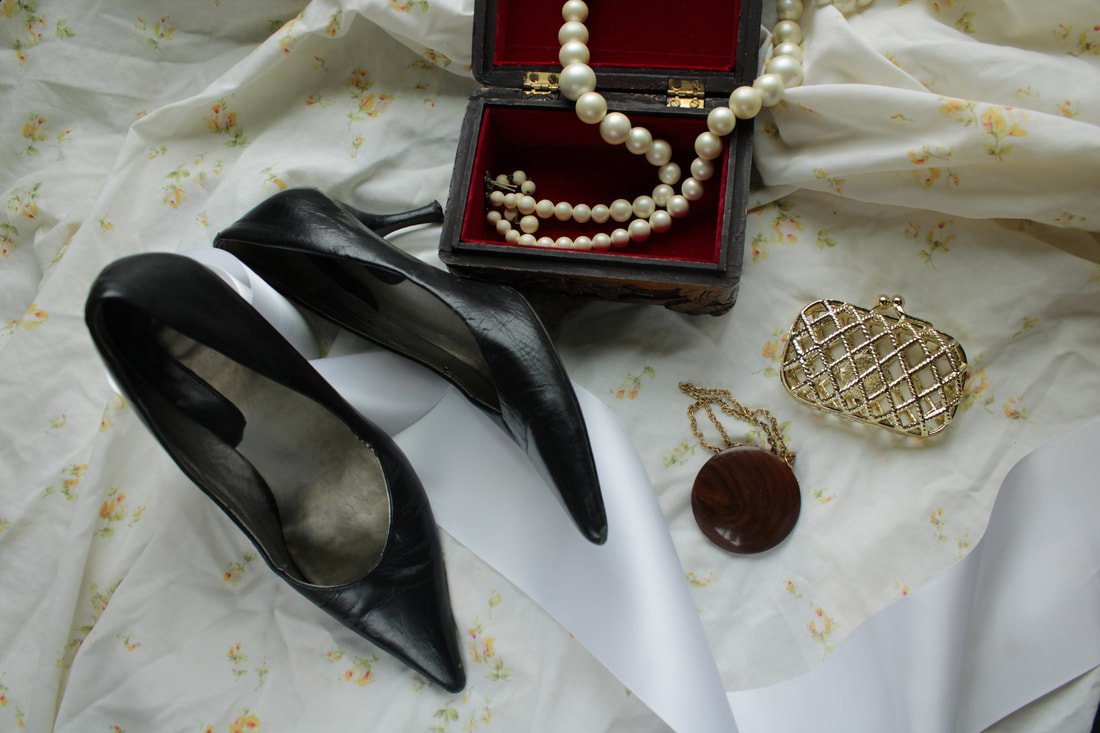
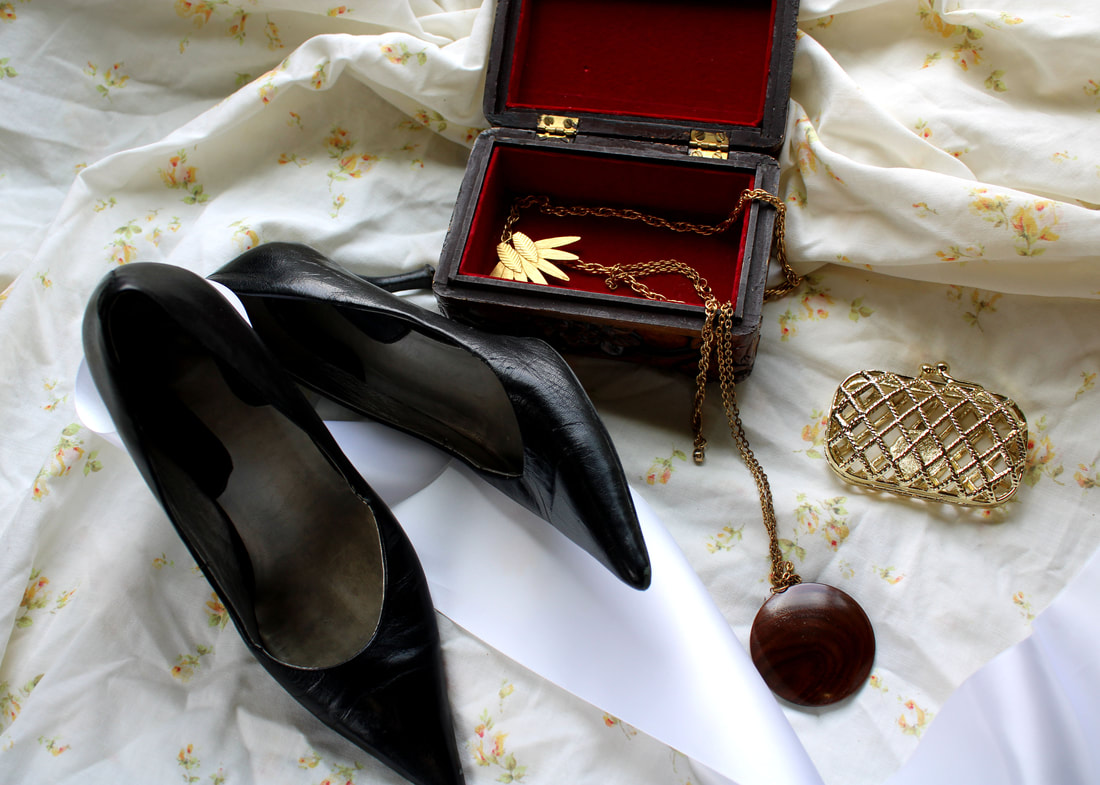
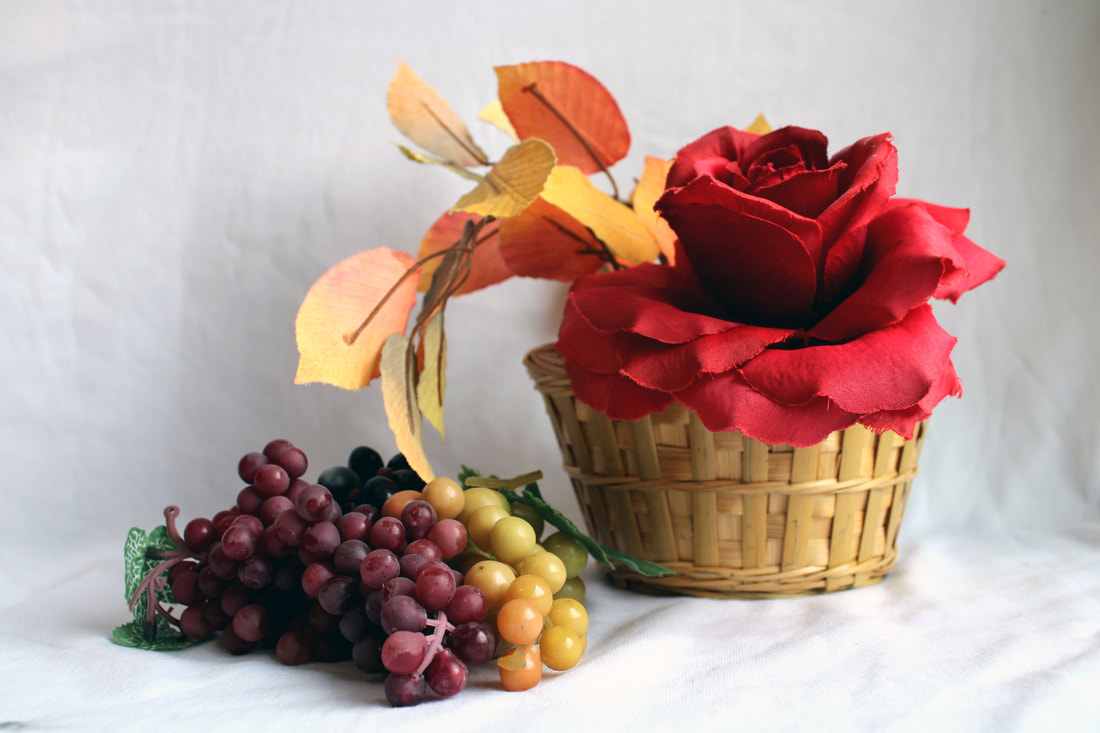
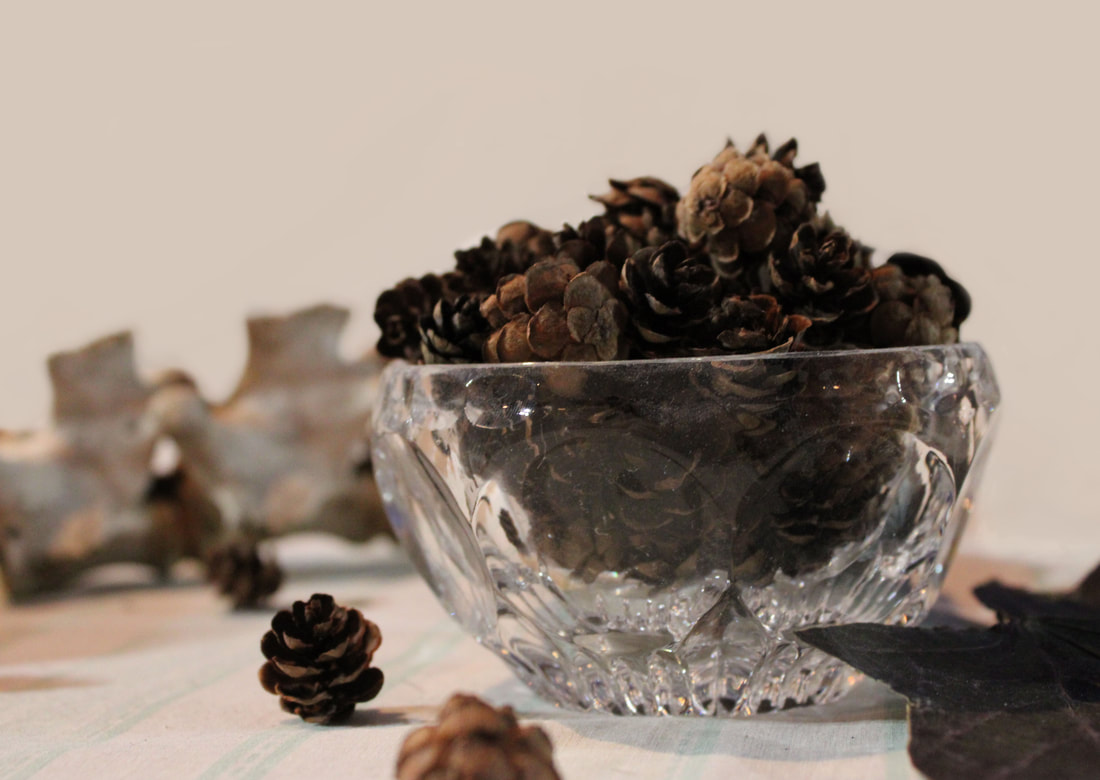
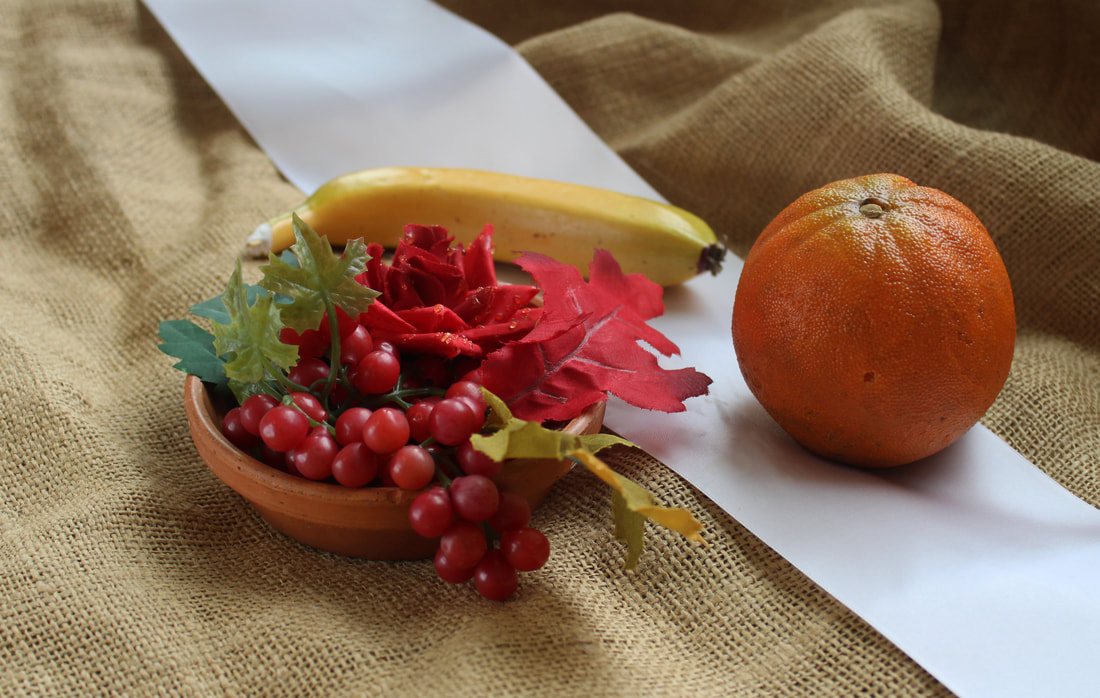
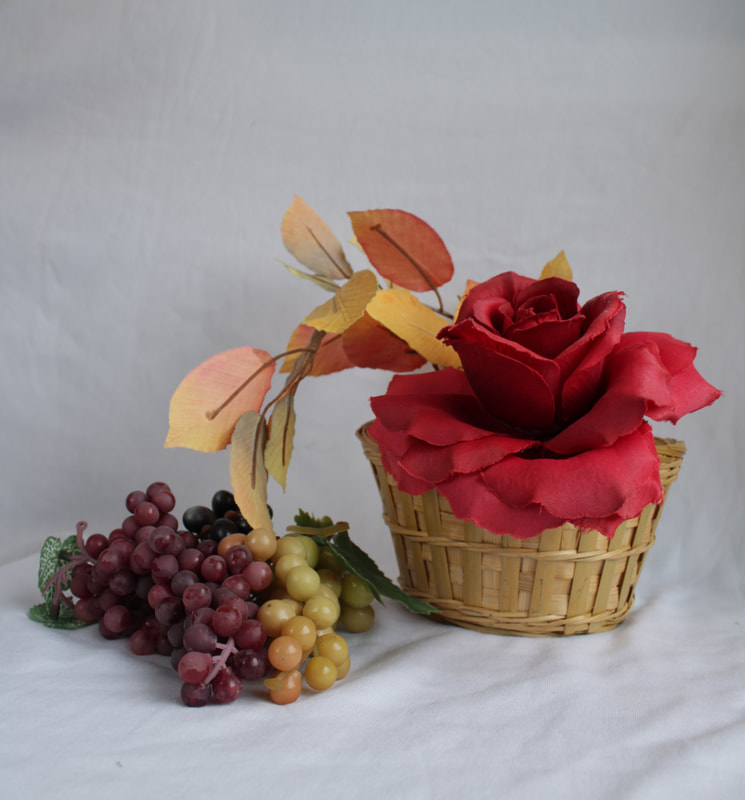
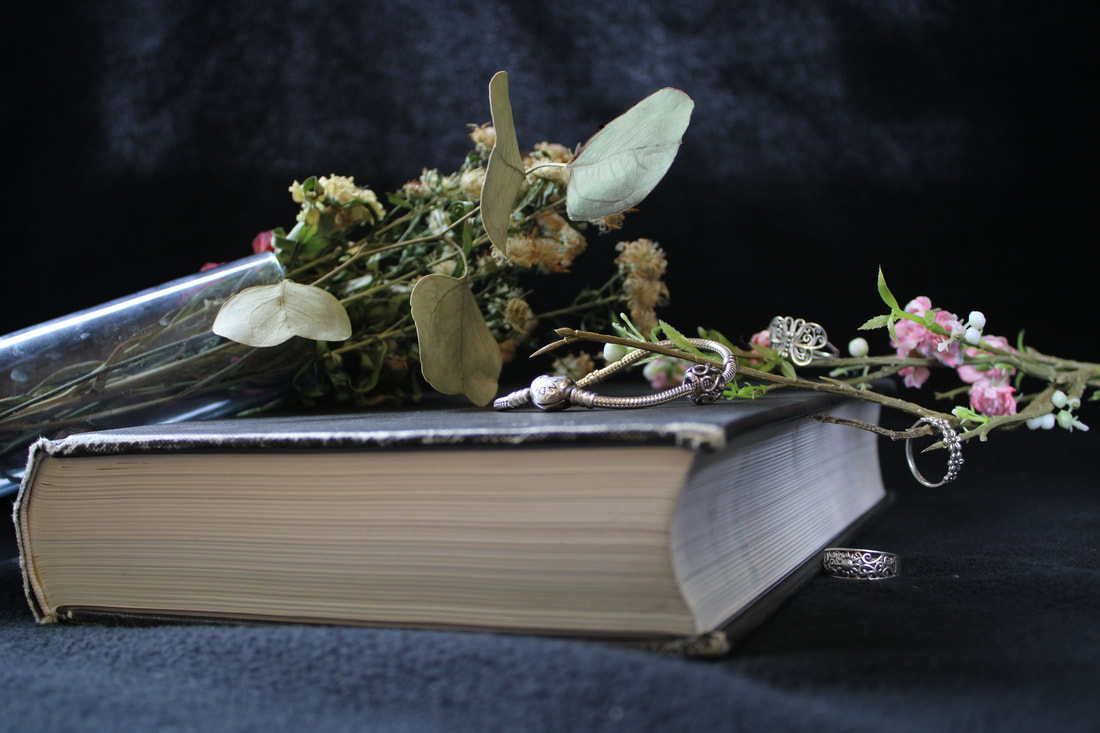
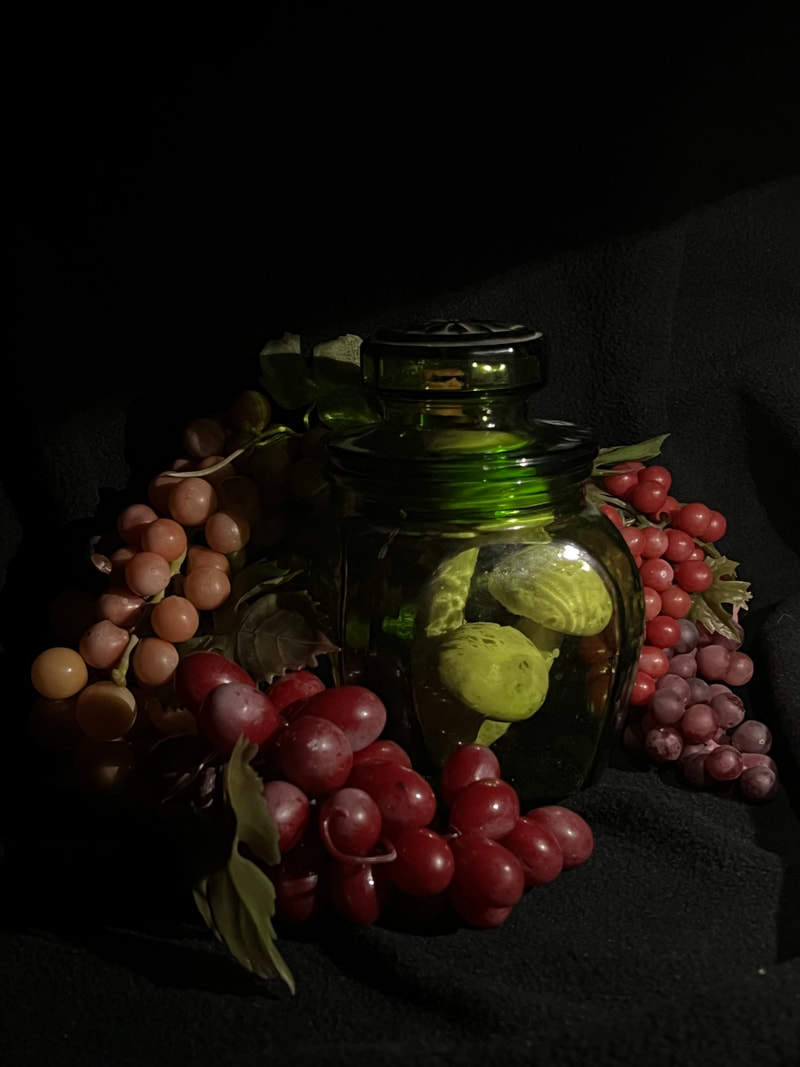
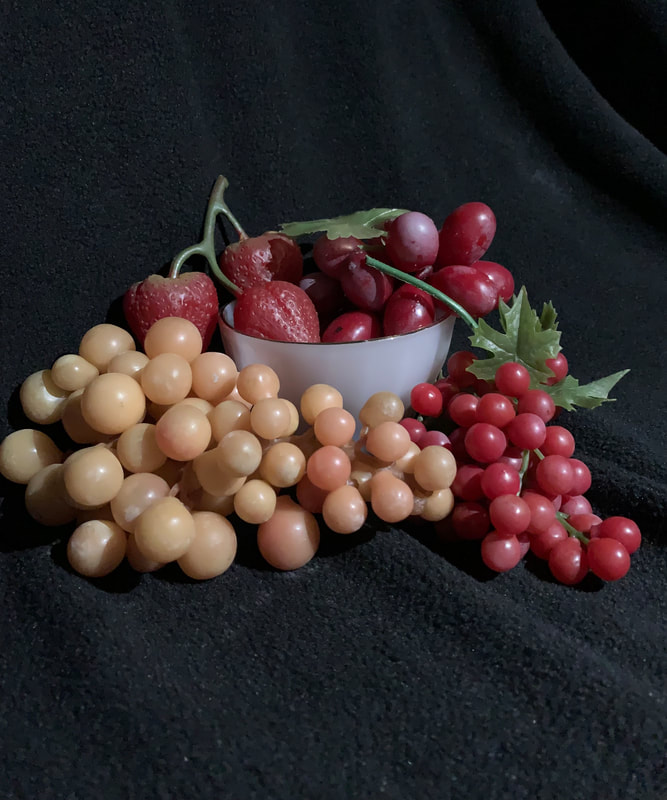
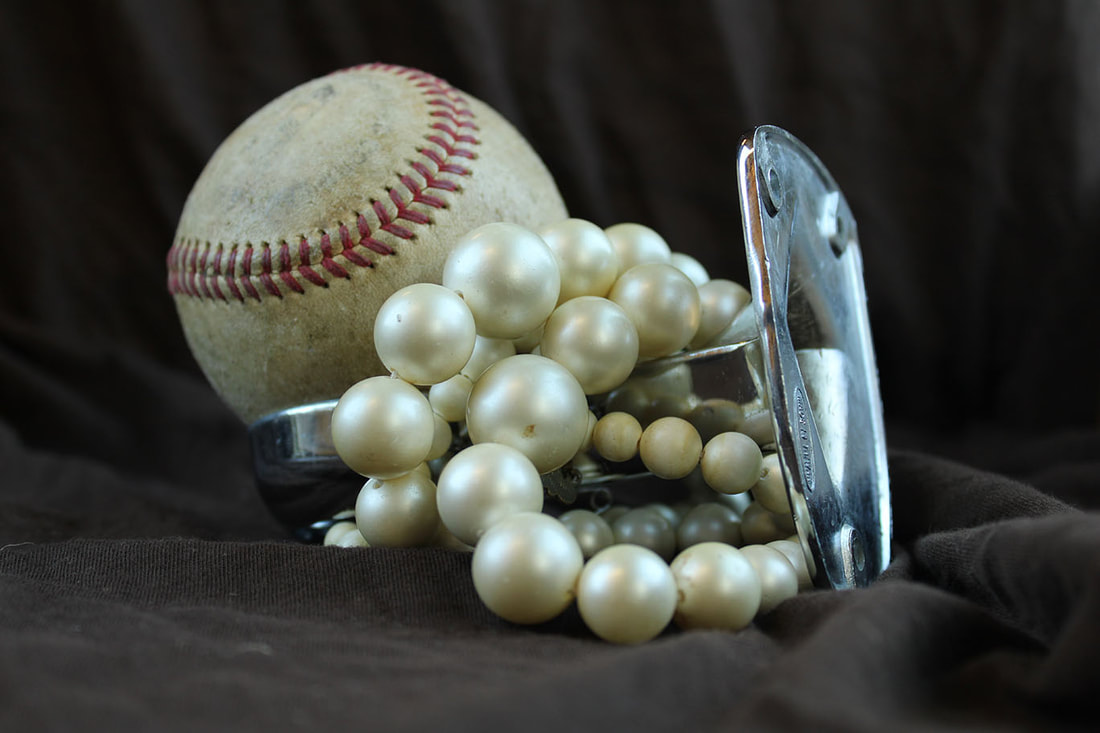
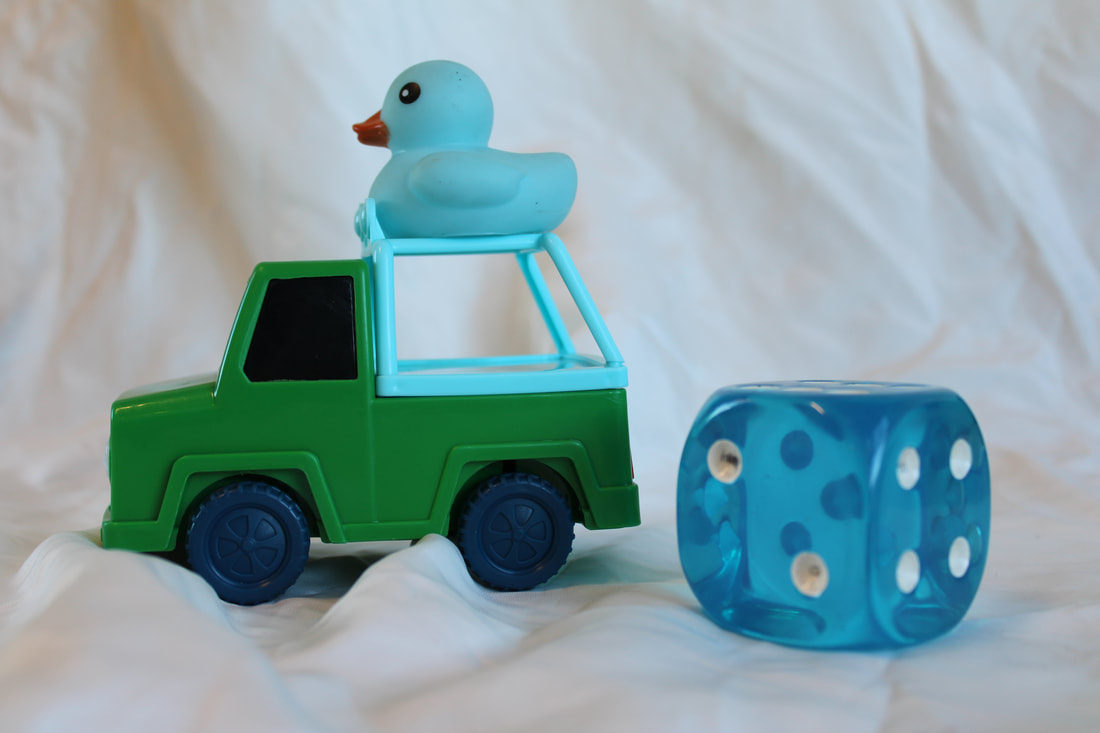
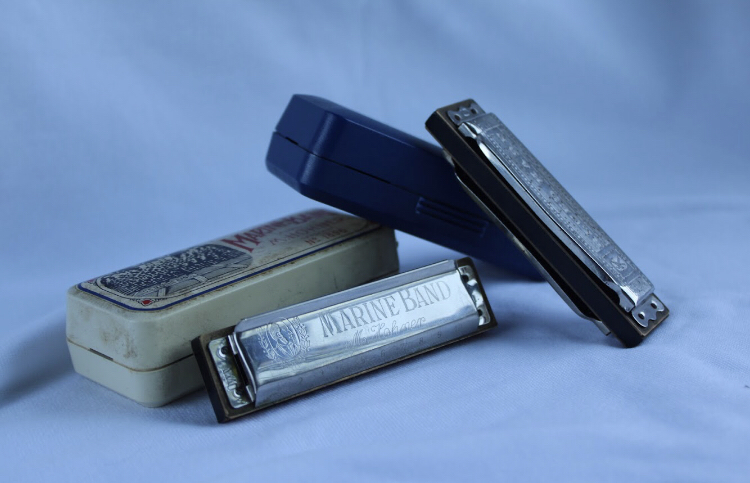
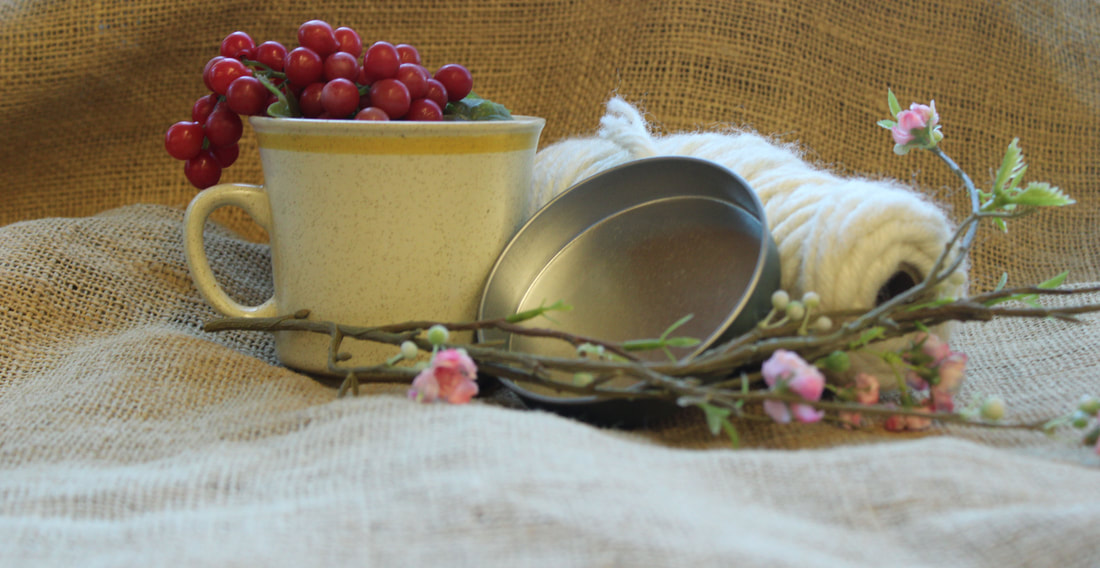
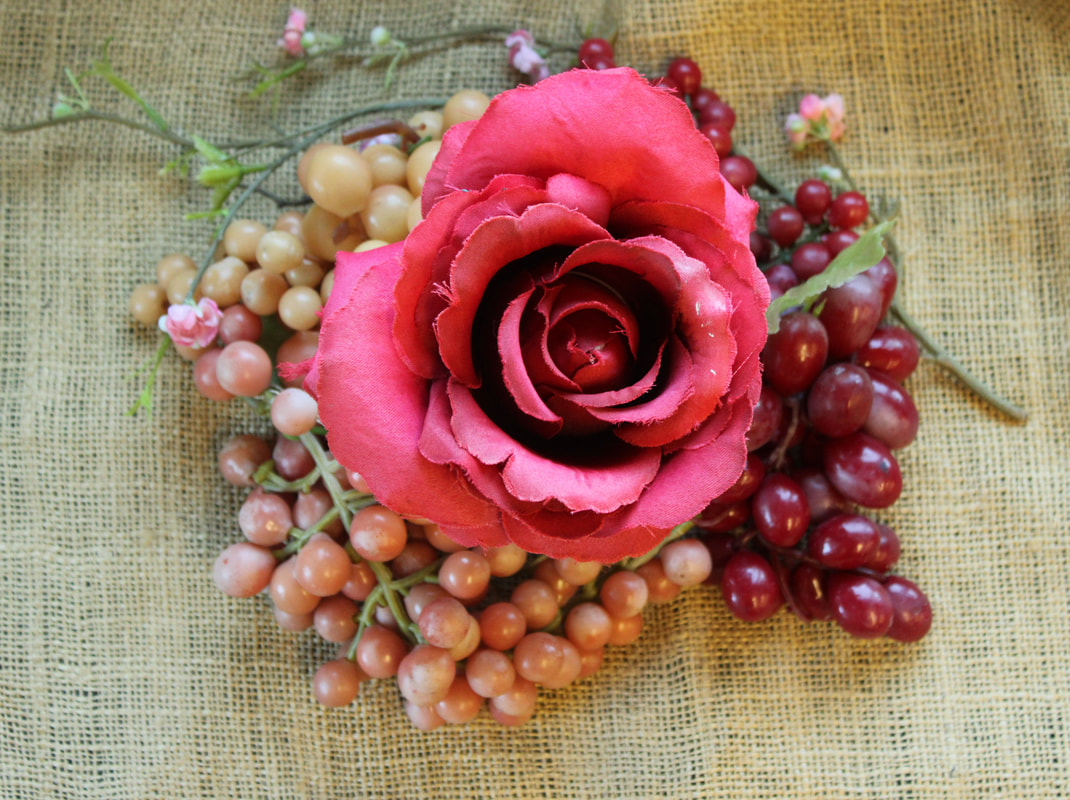
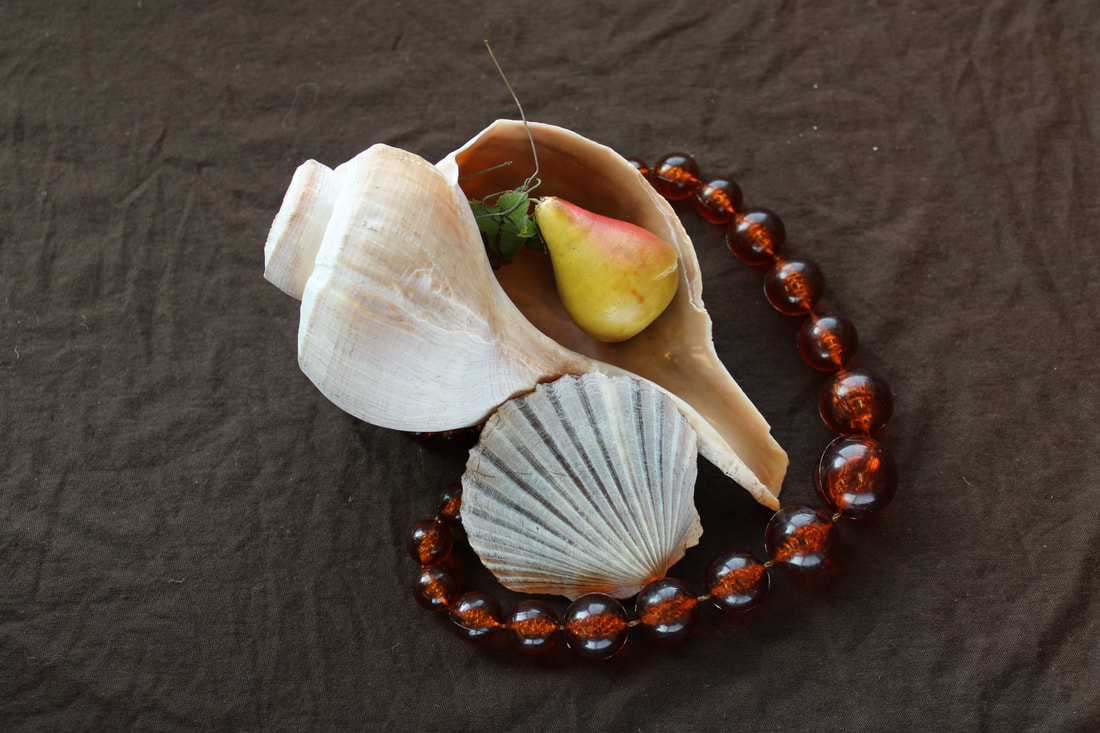
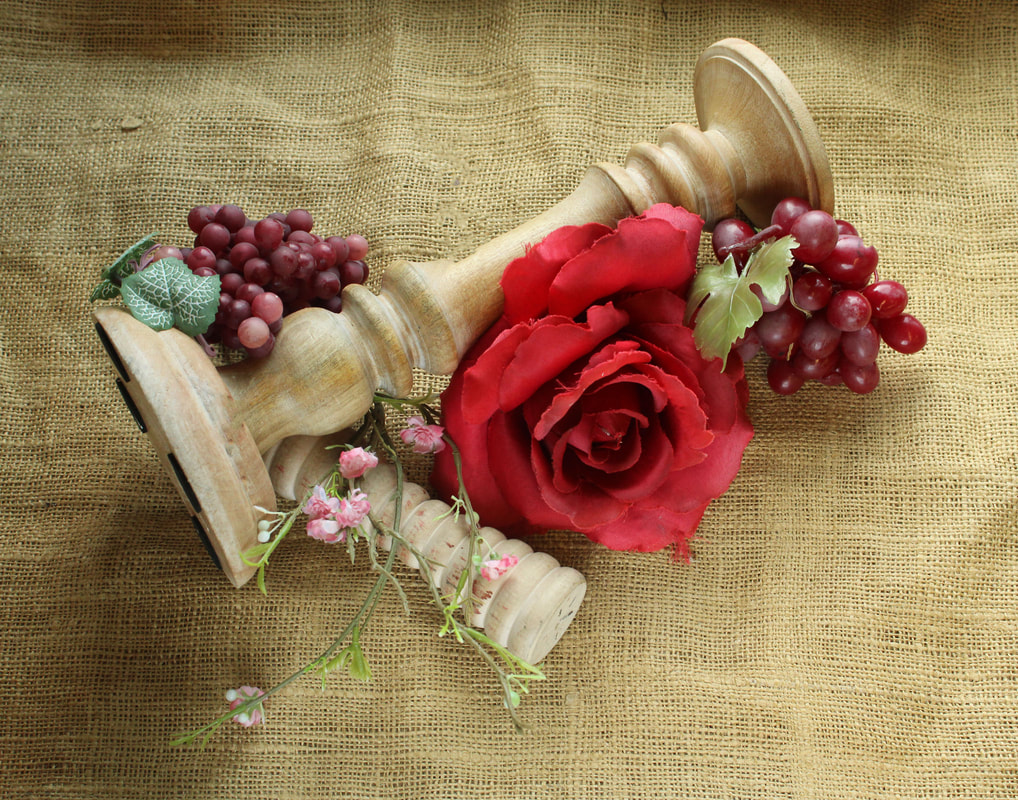
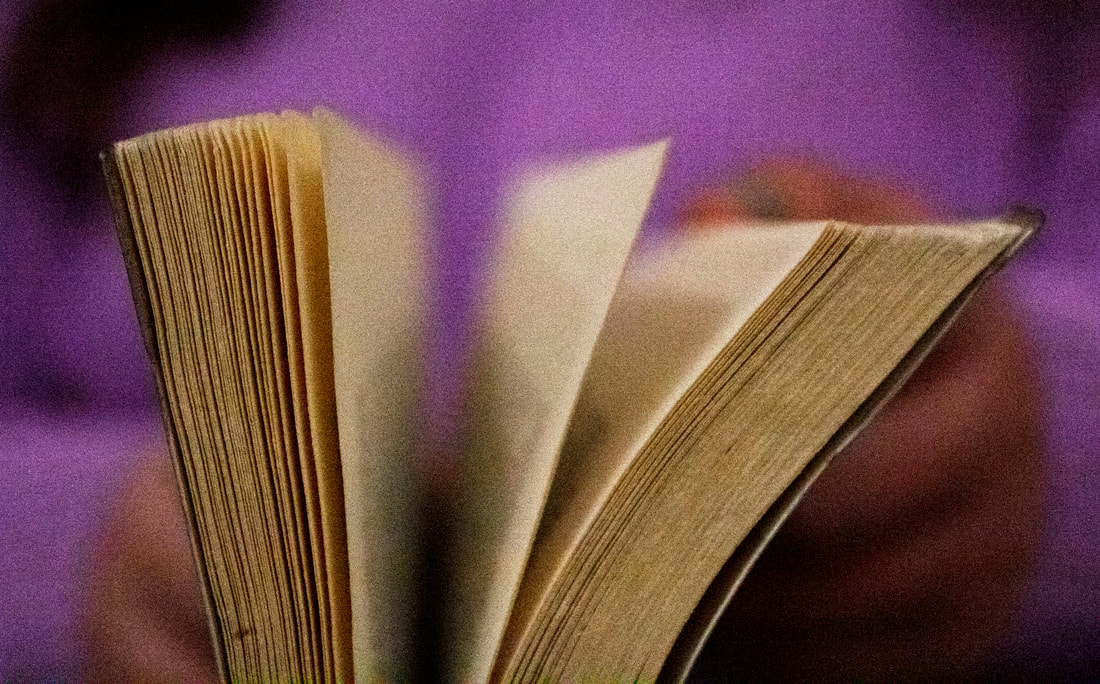
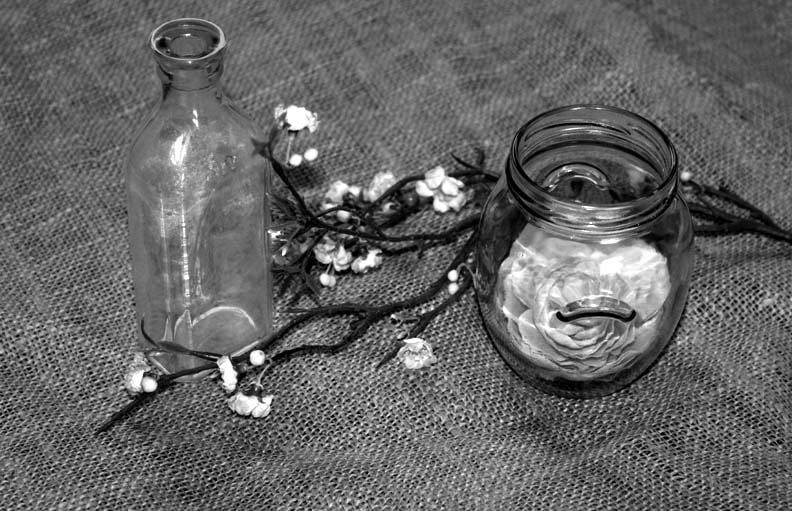
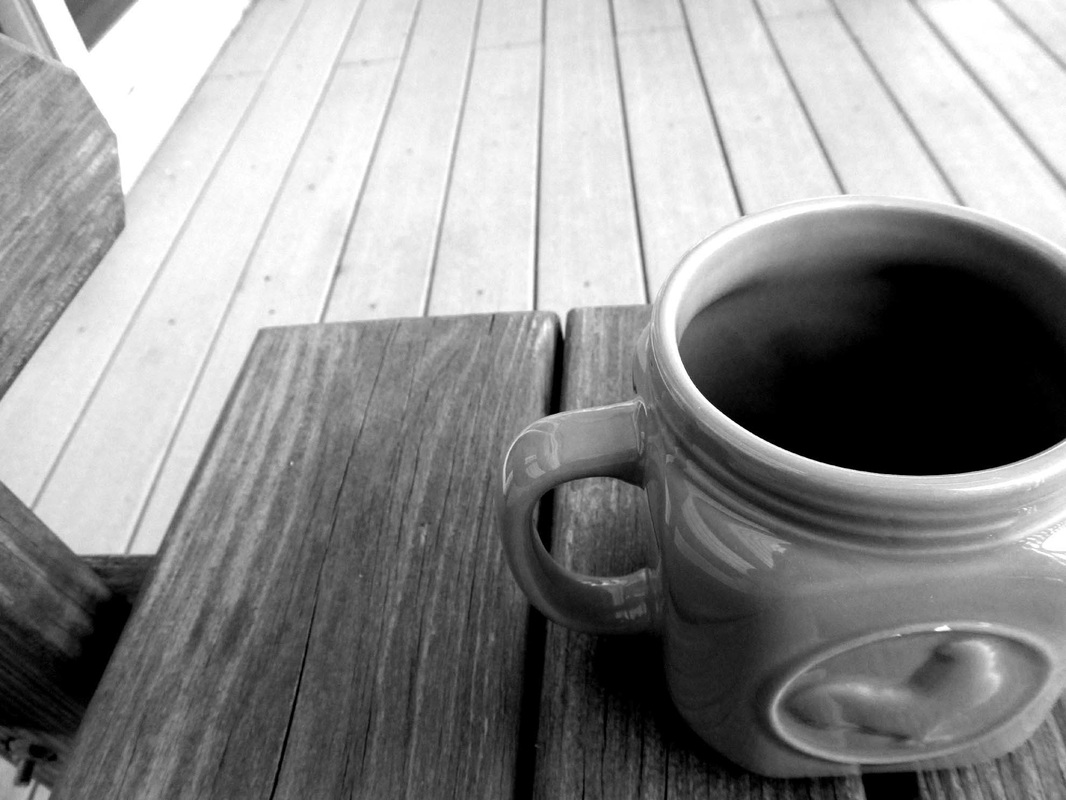
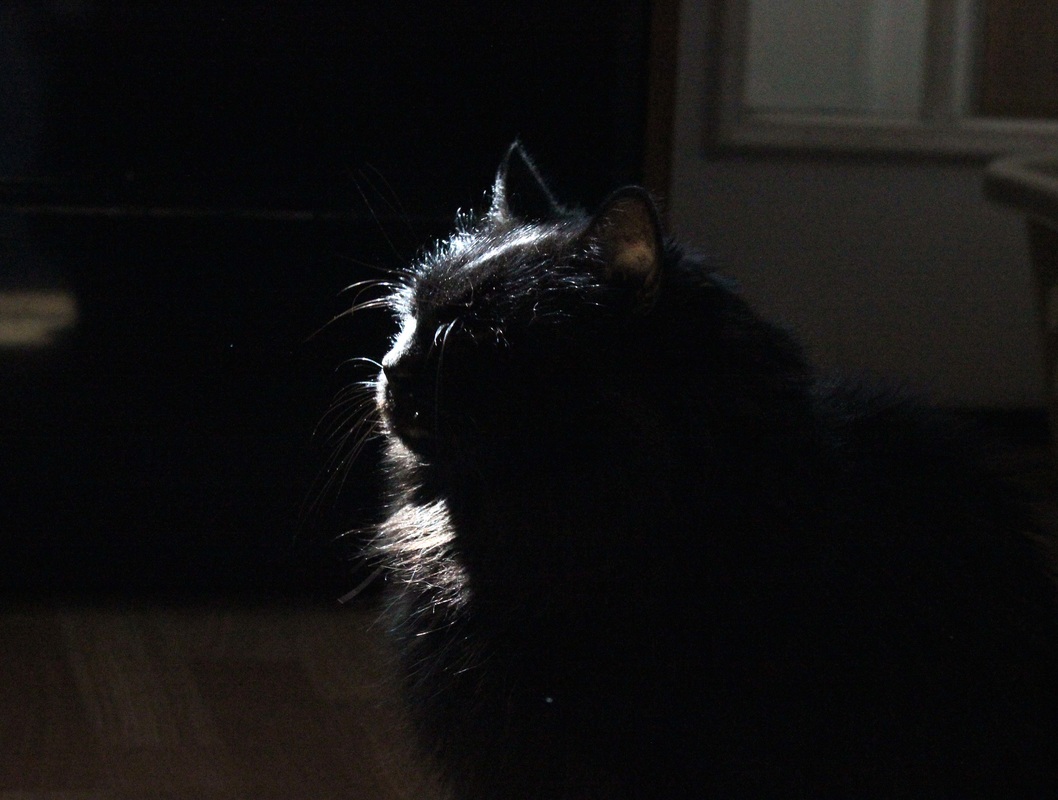
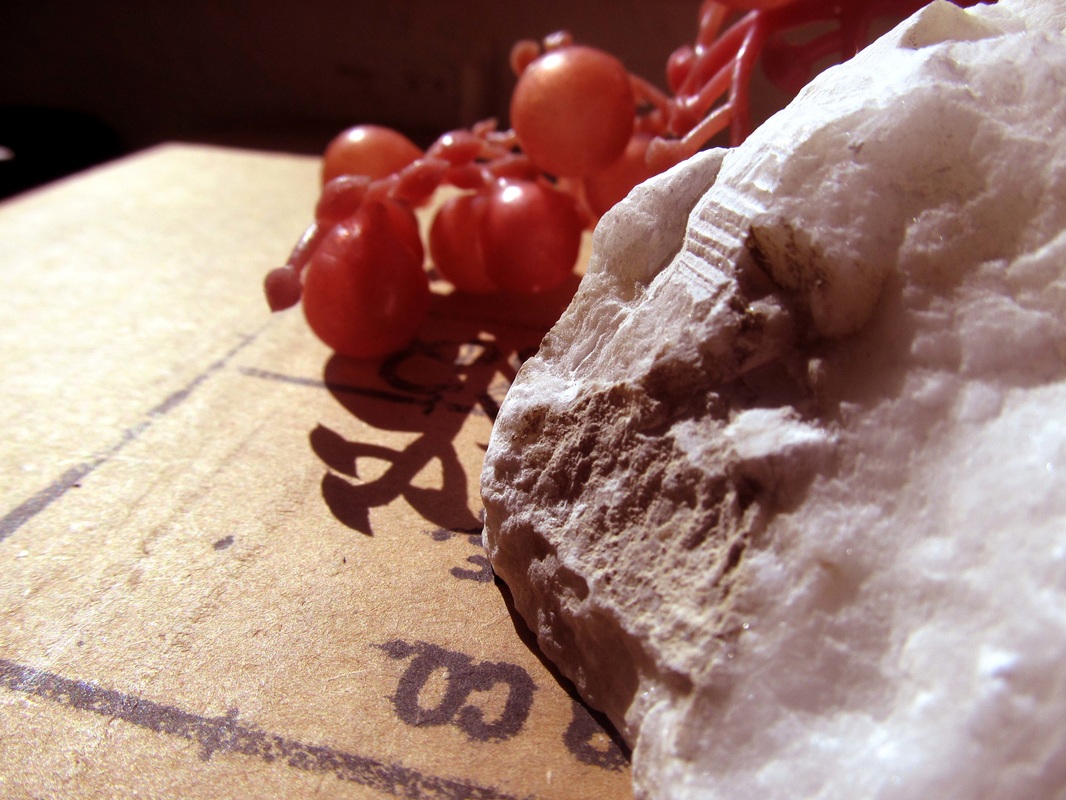
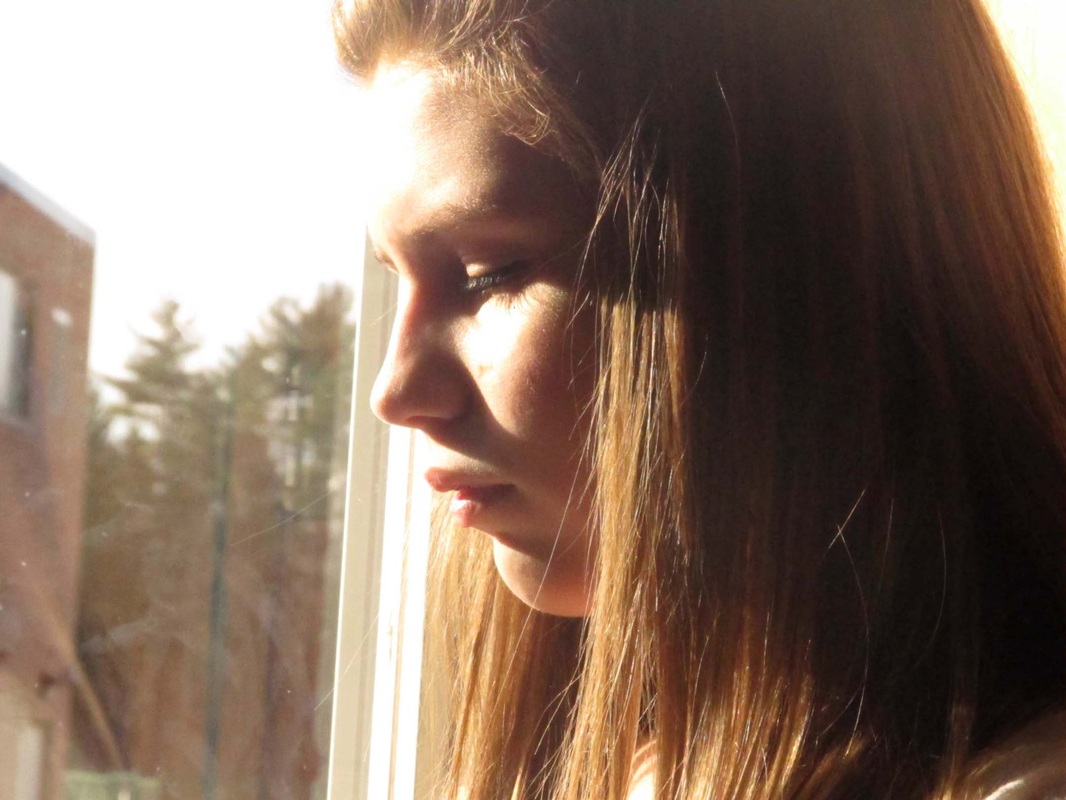
Building on the Tabletop project each student created a still life to act as a self-portrait. Students brainstormed objects that felt could present them. As a class, we talked about how to create an interesting commotion with objects in a variety of sizes, textures, and shapes. The students brought in objects from home and used the lighting methods that they felt best represented themselves. Each still life was unique to the student who created it.
Check out the still-life setup and the variety of photos that were taken from one setup.

Tabletop Photos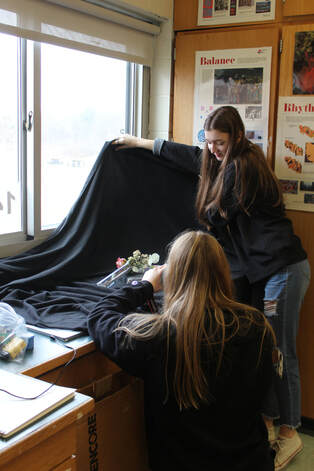
|
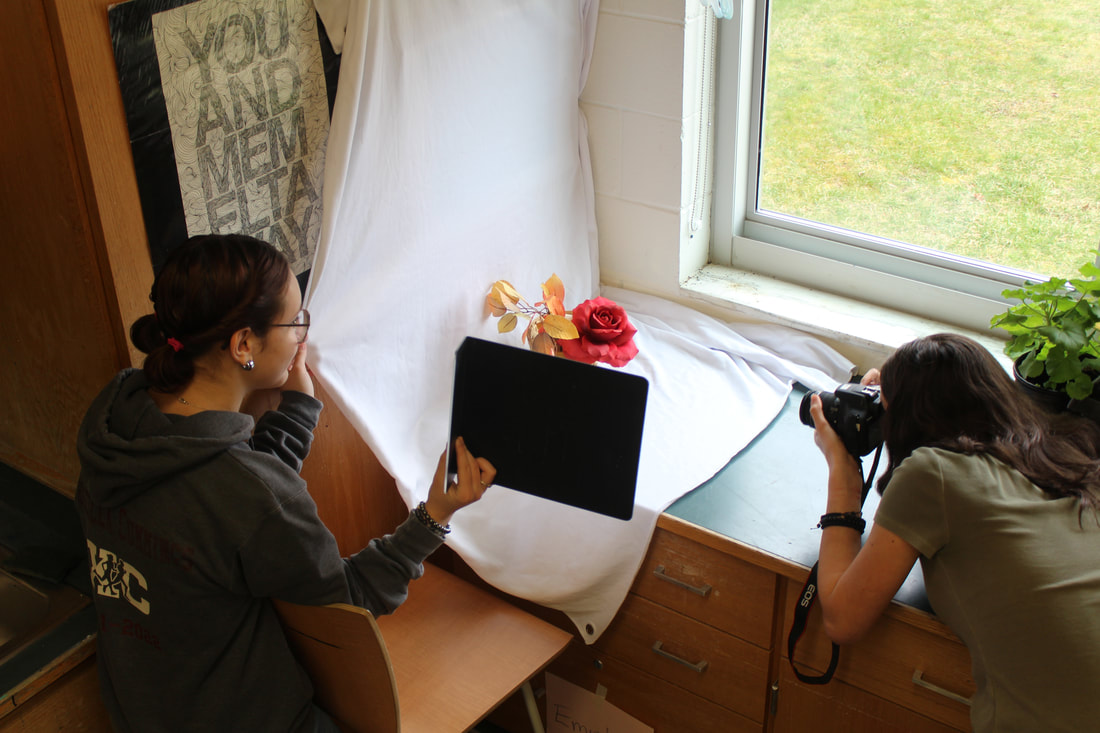
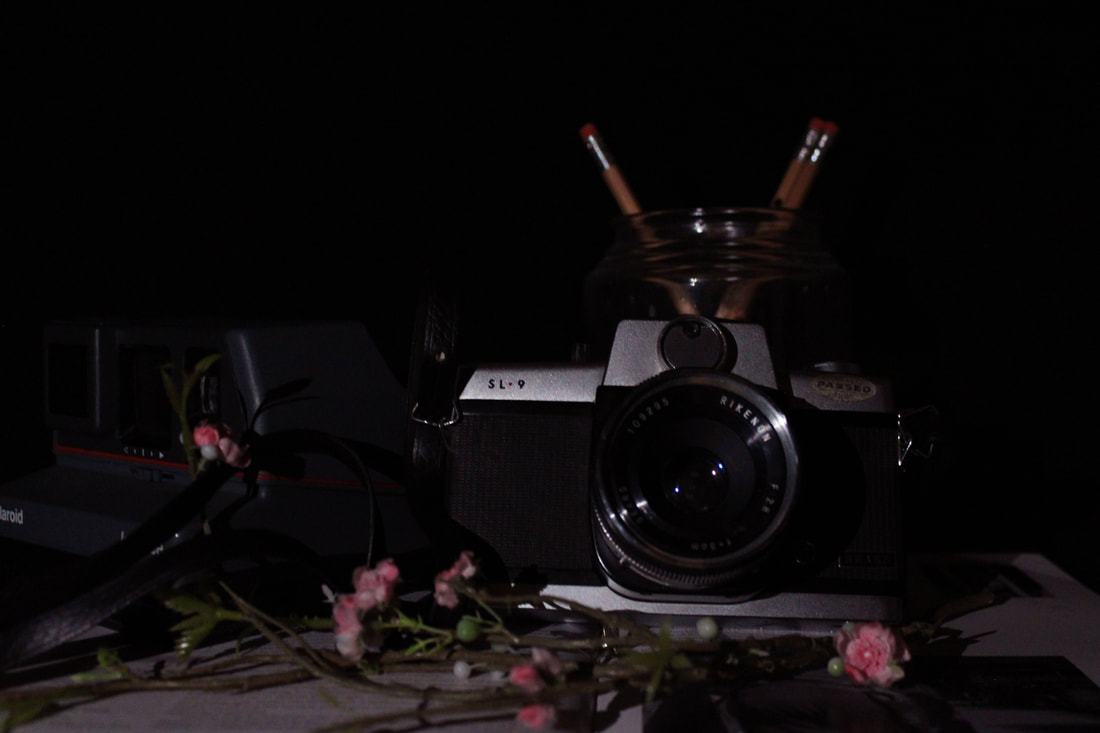
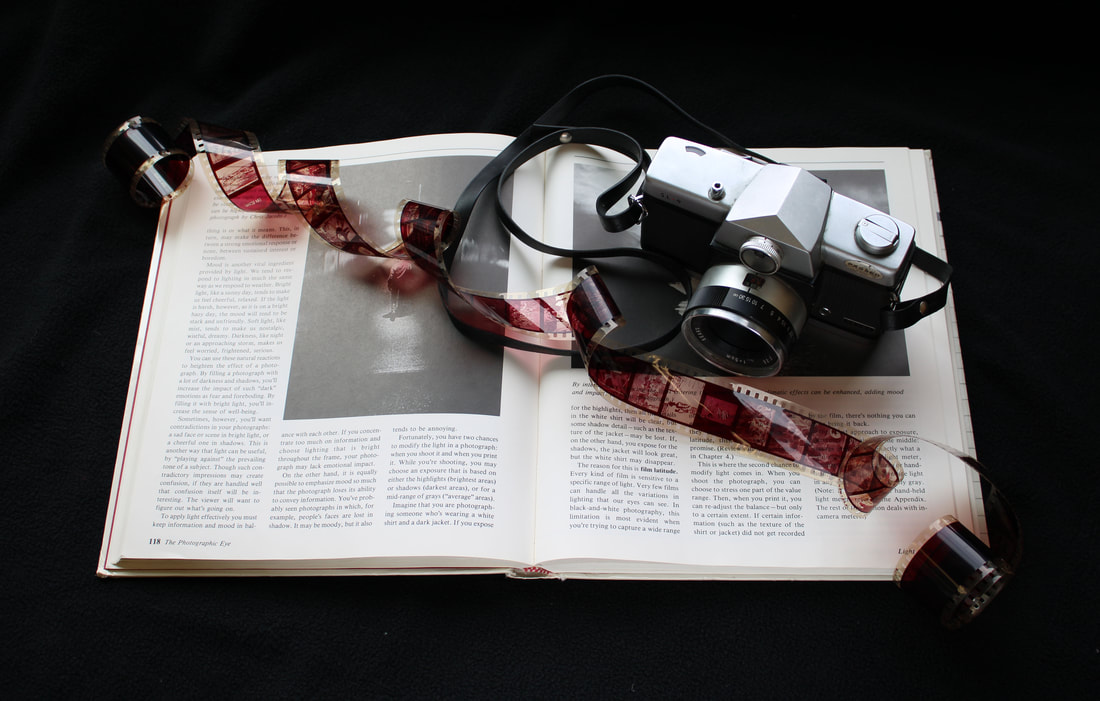
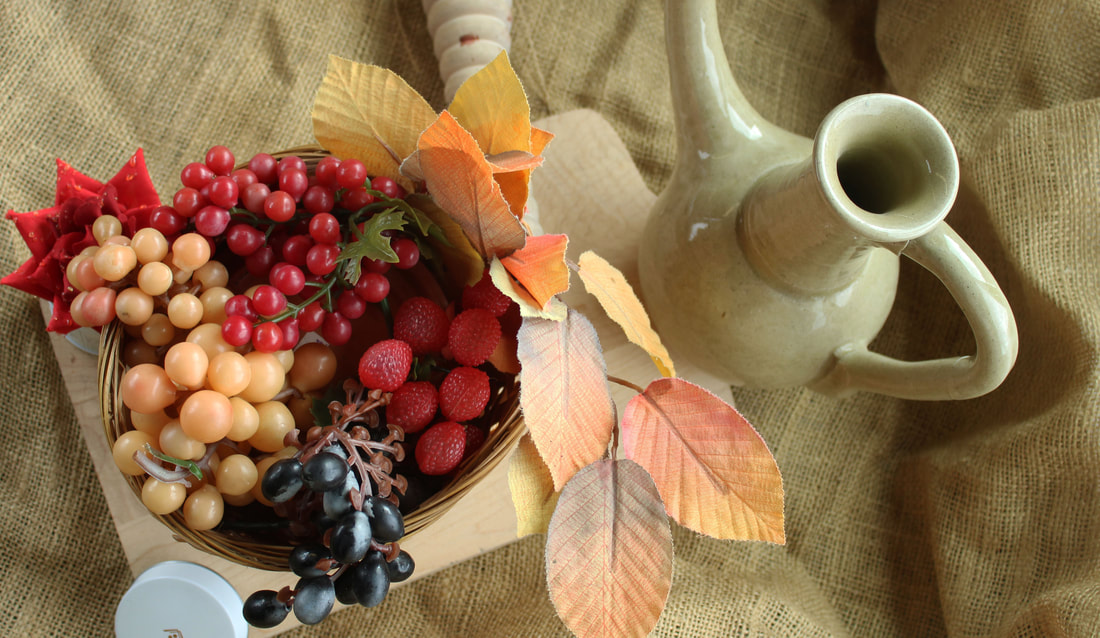
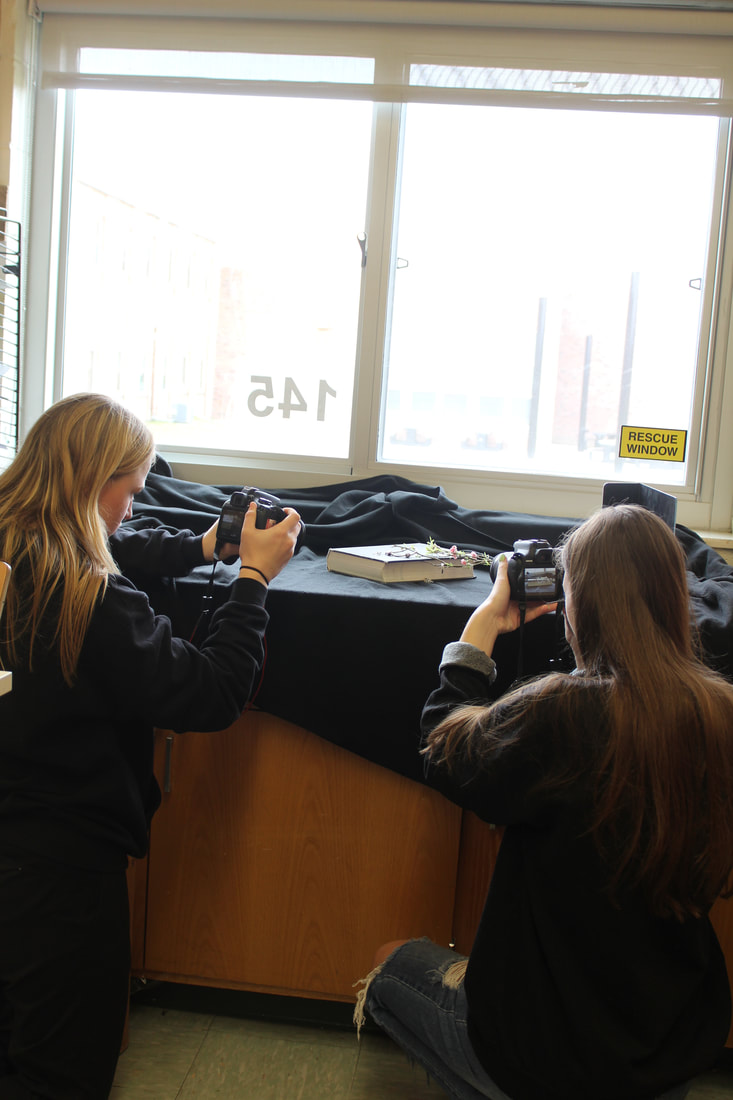
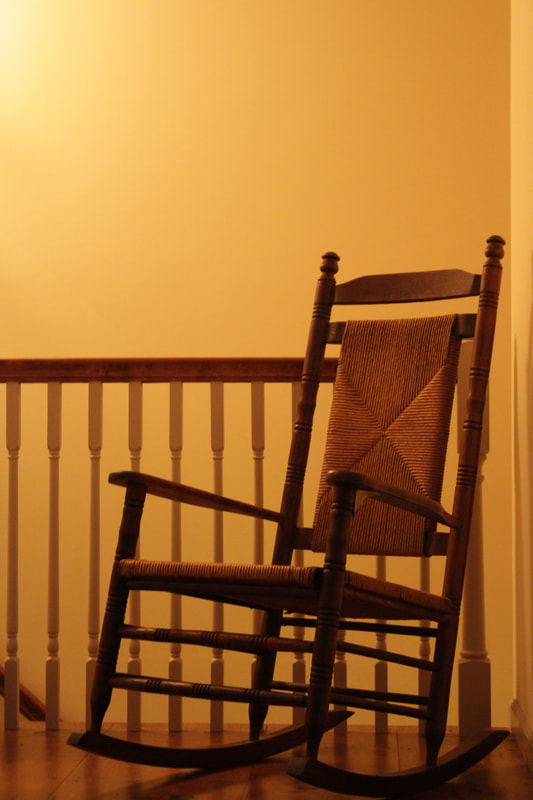
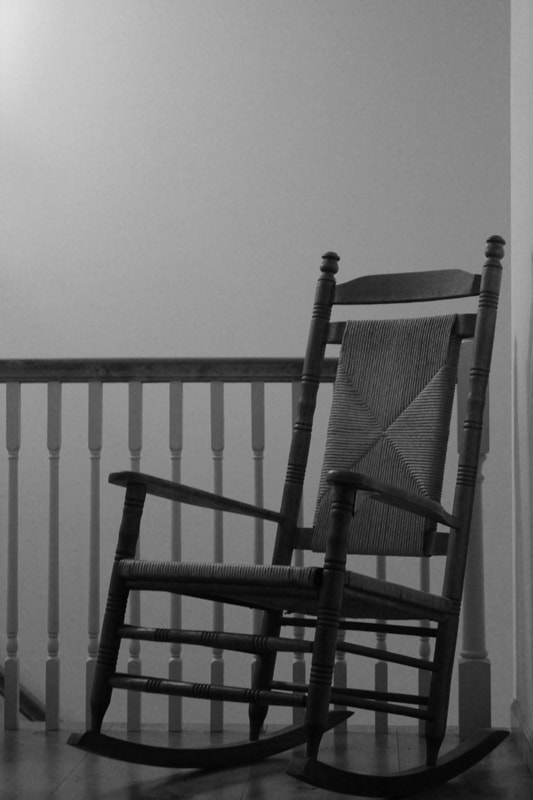
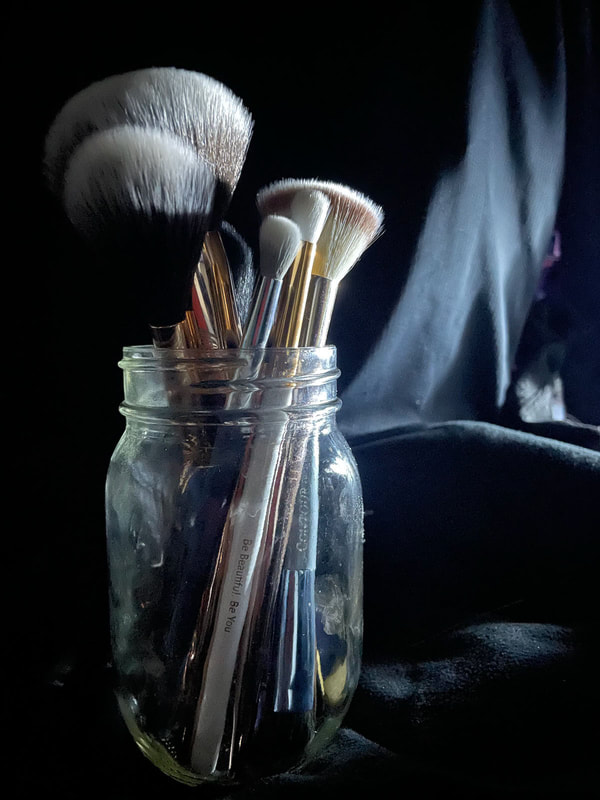
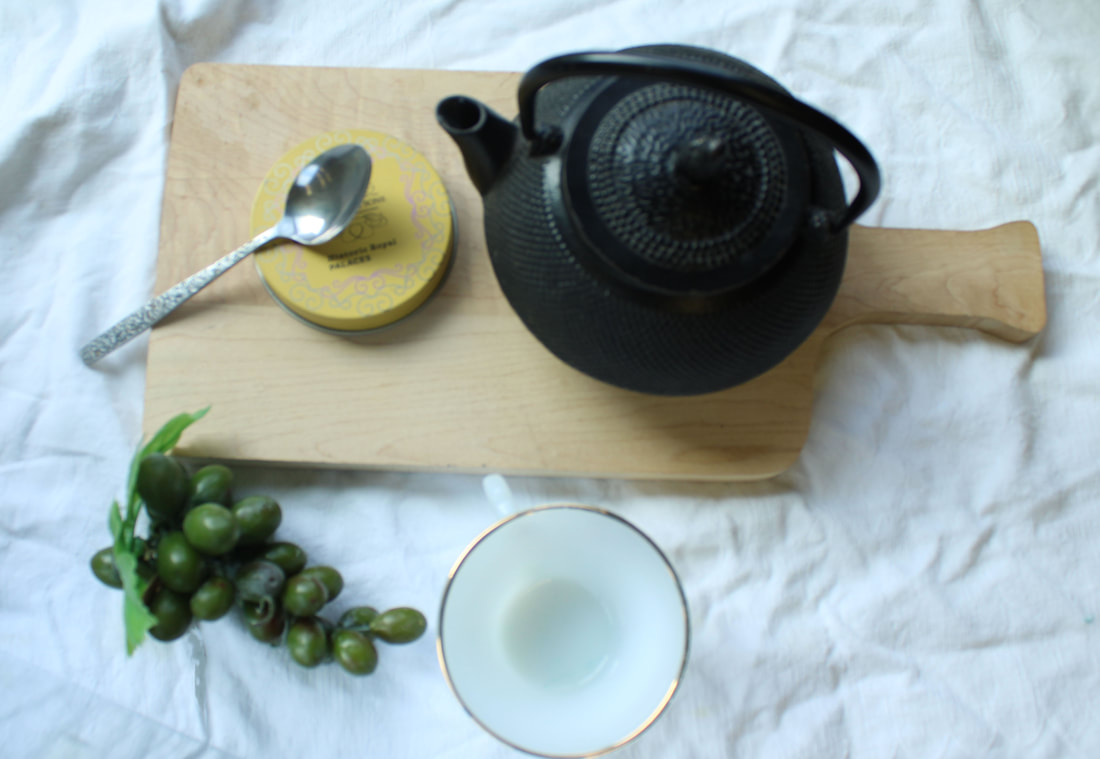
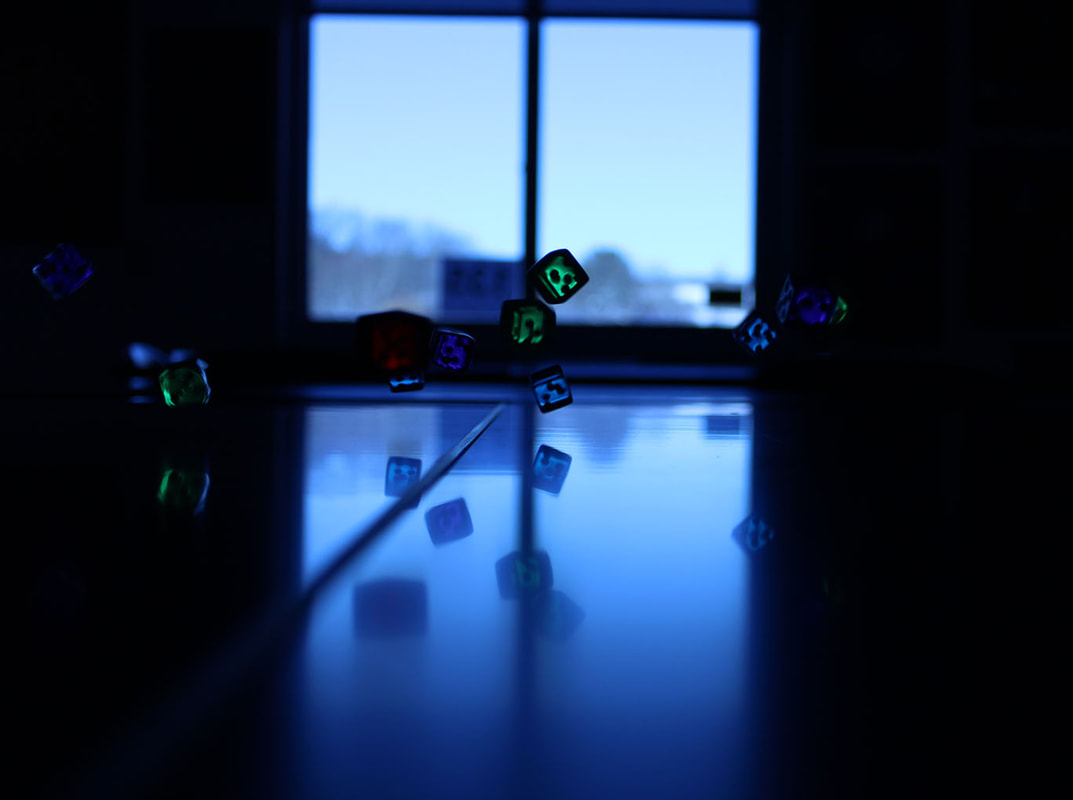
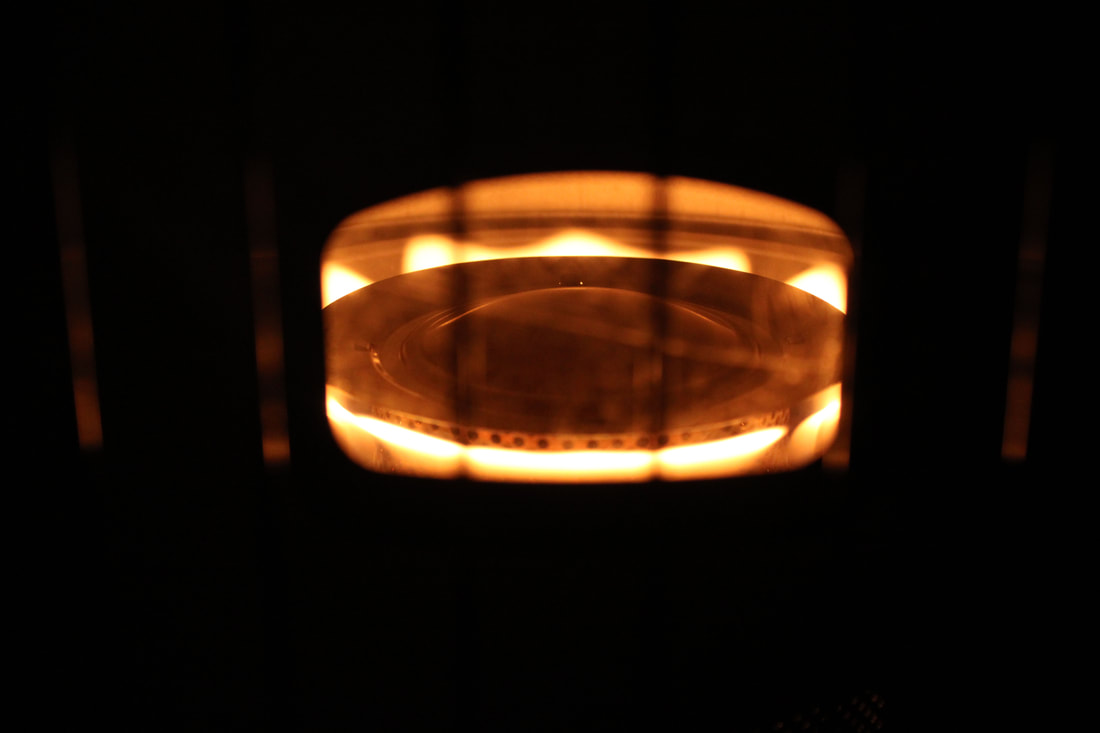
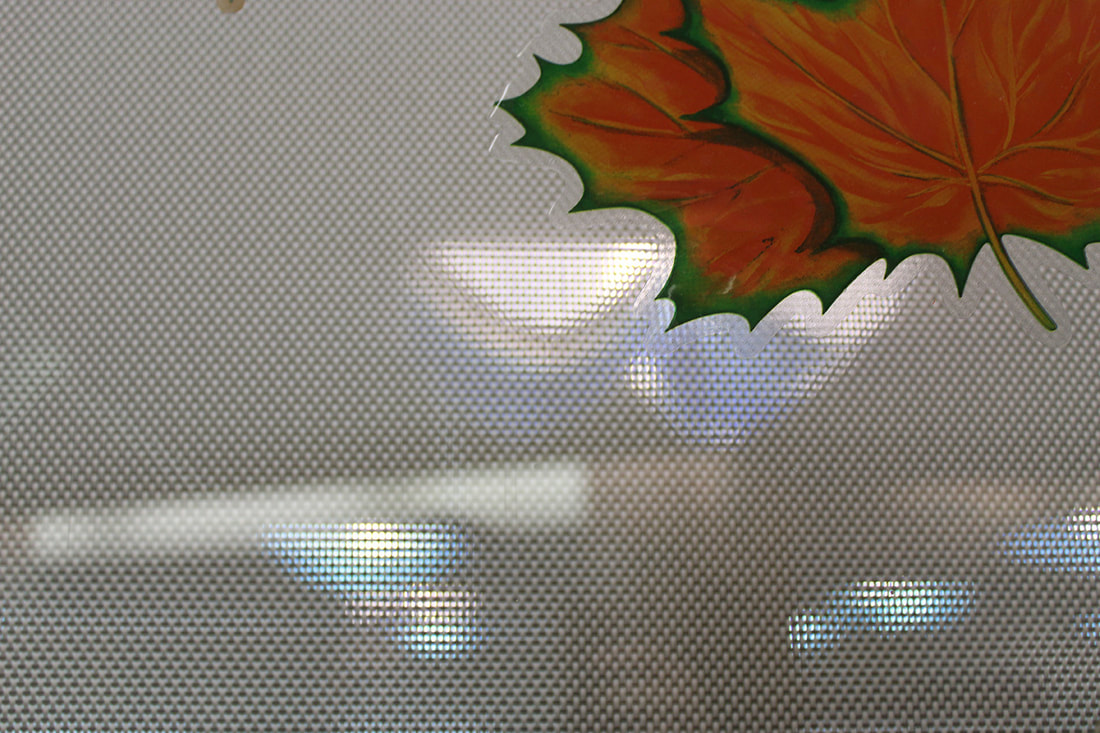
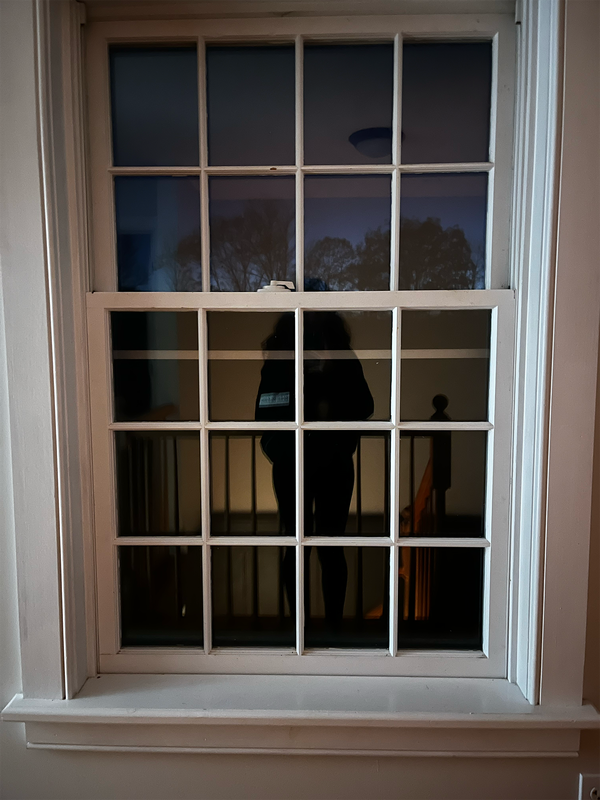
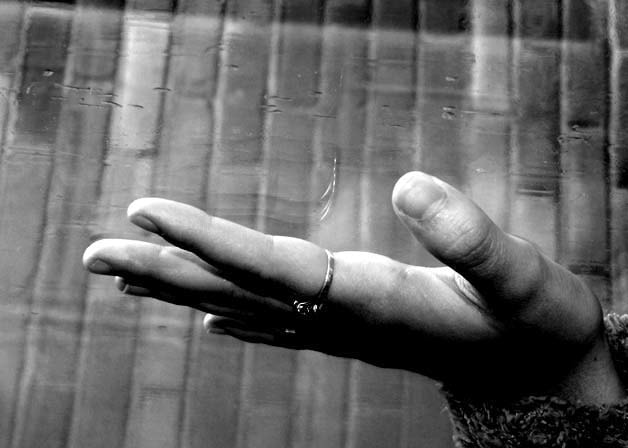
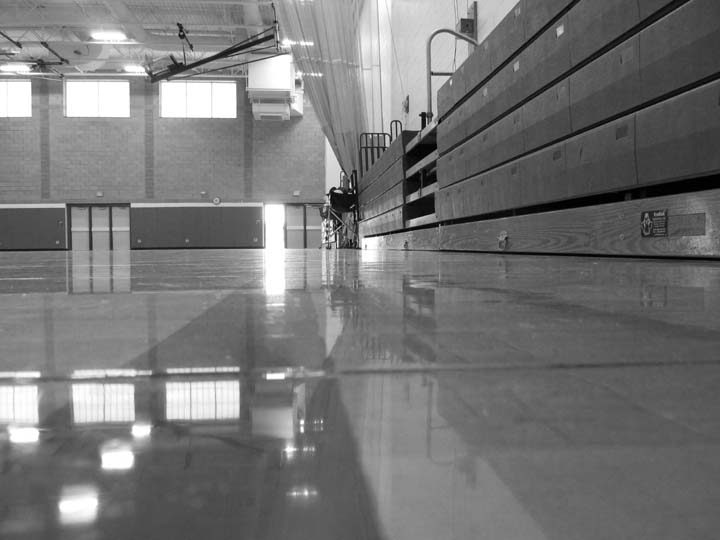
Lighting can evolve a photo from nice to impressive, to achieve more light in a photo all you need is a window and a mirror. In the tabletop lesson, the photo students learn how to use and reflect light on a still life.
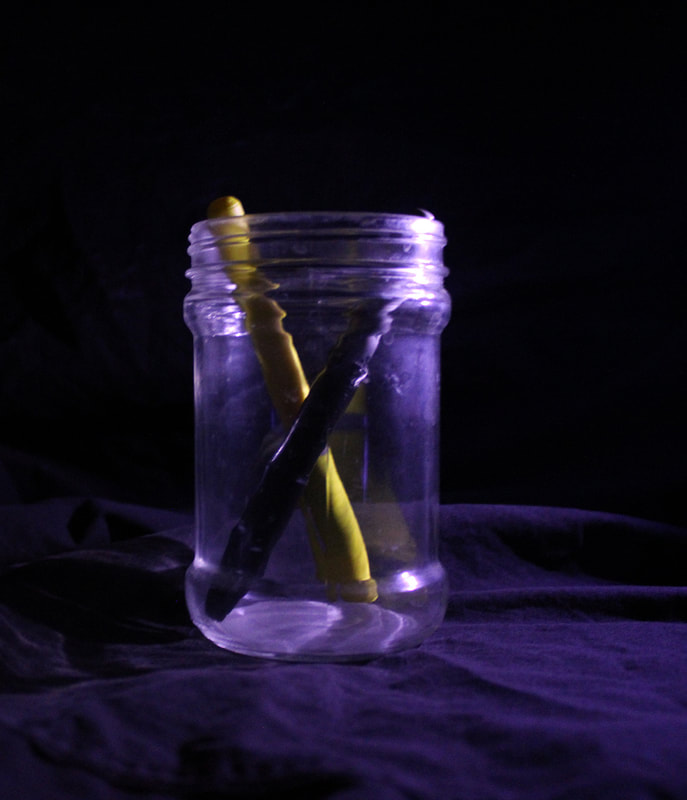
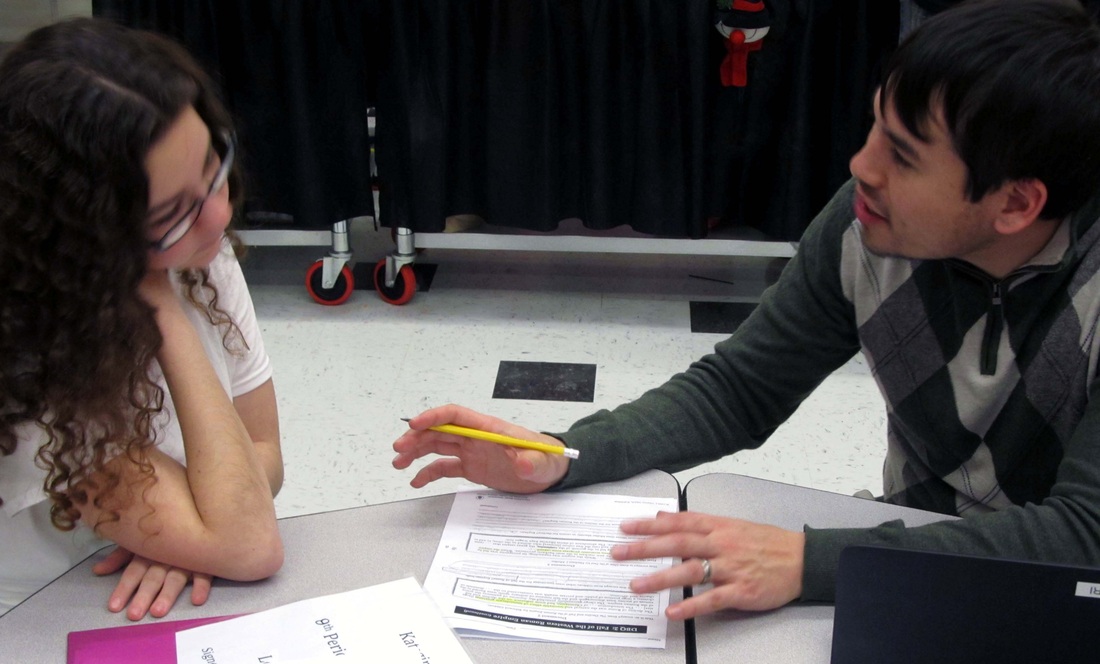
The class experimented with different ways to reflect light on the subject matter to make it more interesting and well-lit. Initially, the students worked in groups to set up still lives and experiments with the mirrors to test out the different photo techniques, in some cases they took photos with natural light and other times they played with reflecting light from a flashlight in a completely dark room. The students enjoyed the opportunity to work together and create the photo from start to finish. Check out their creative solutions to the challenge of tabletop photography. |
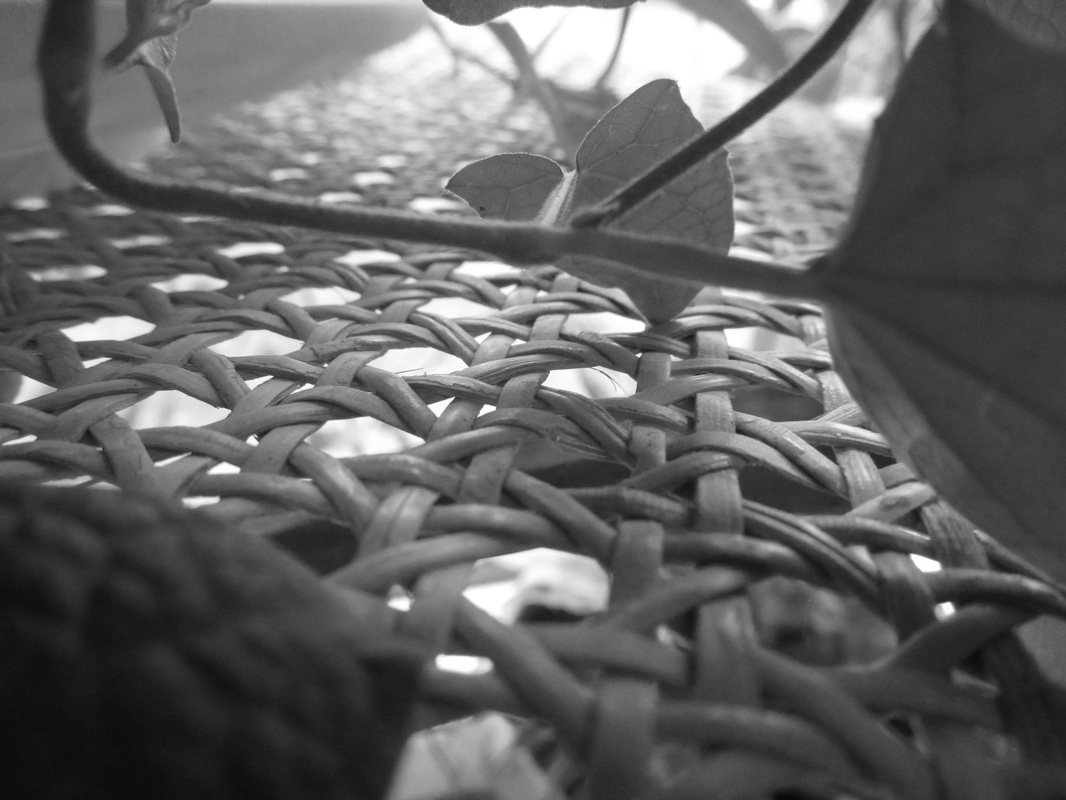
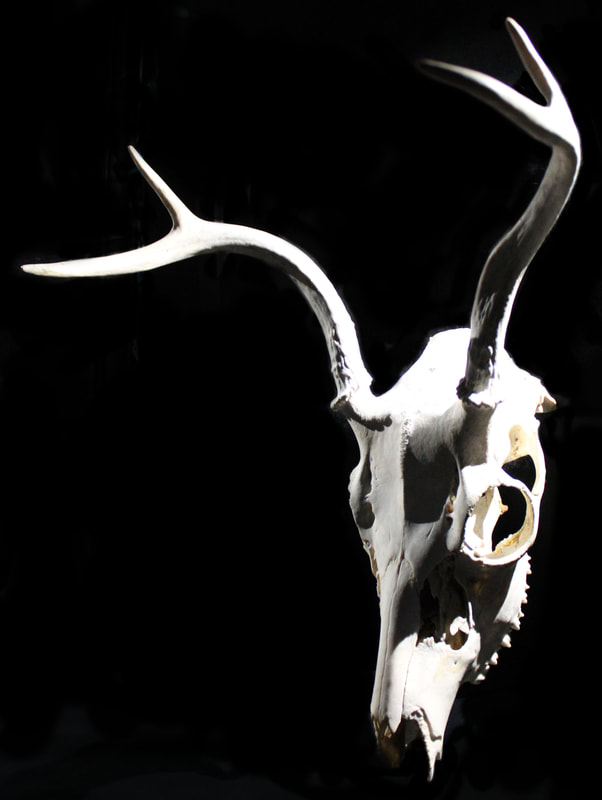
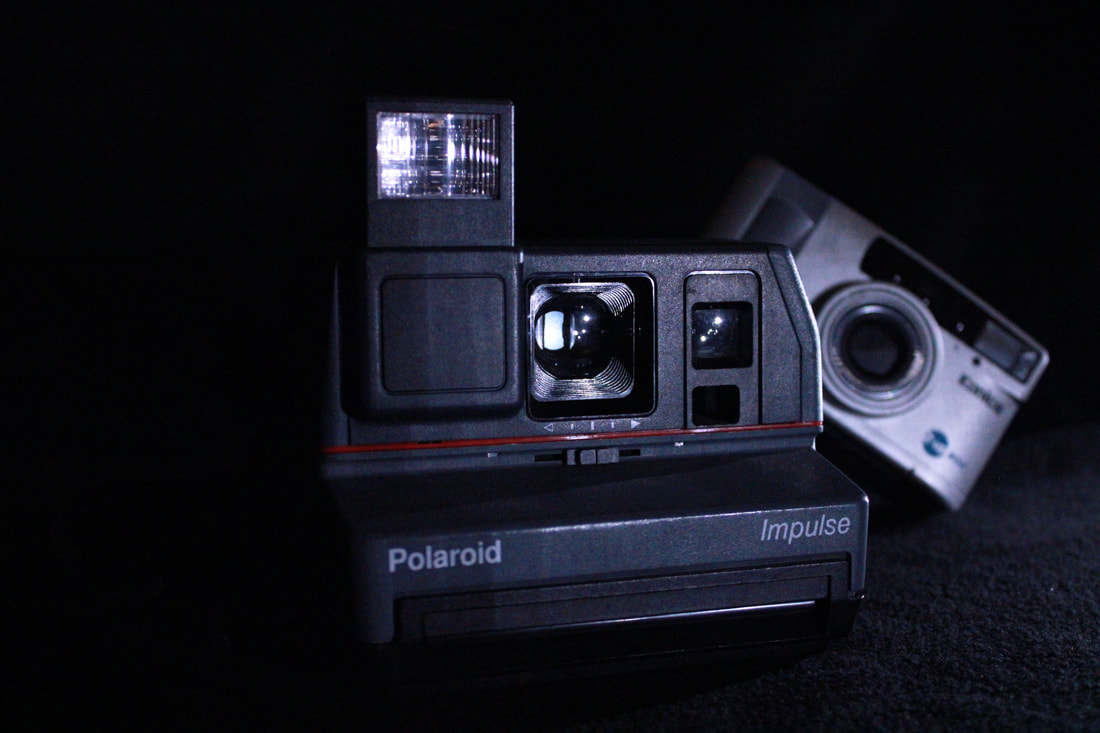
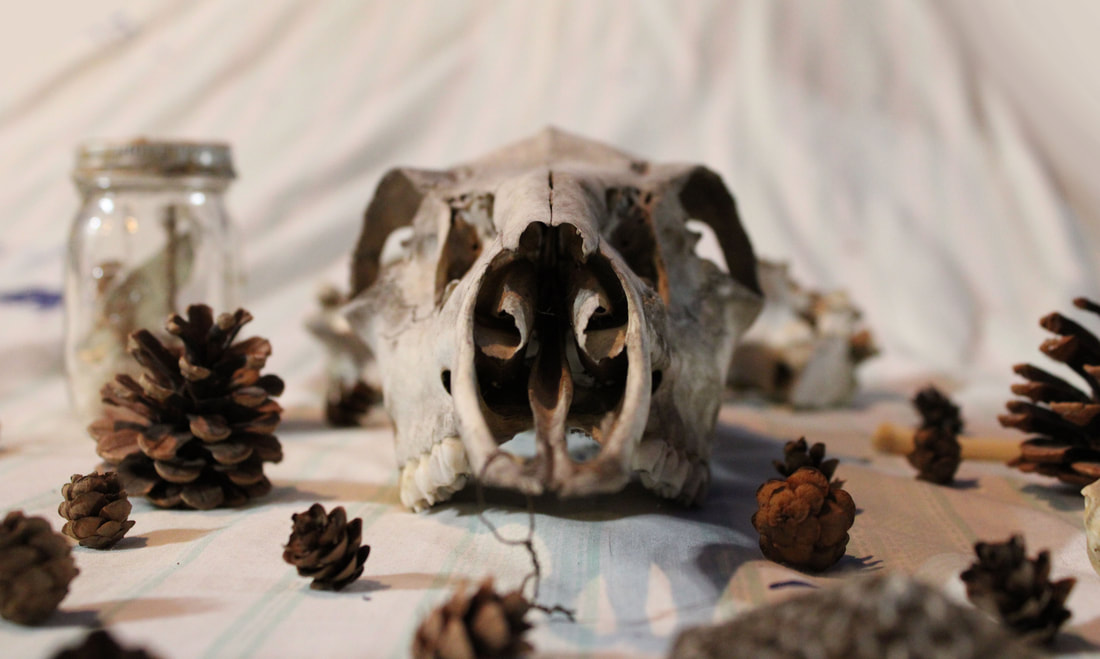
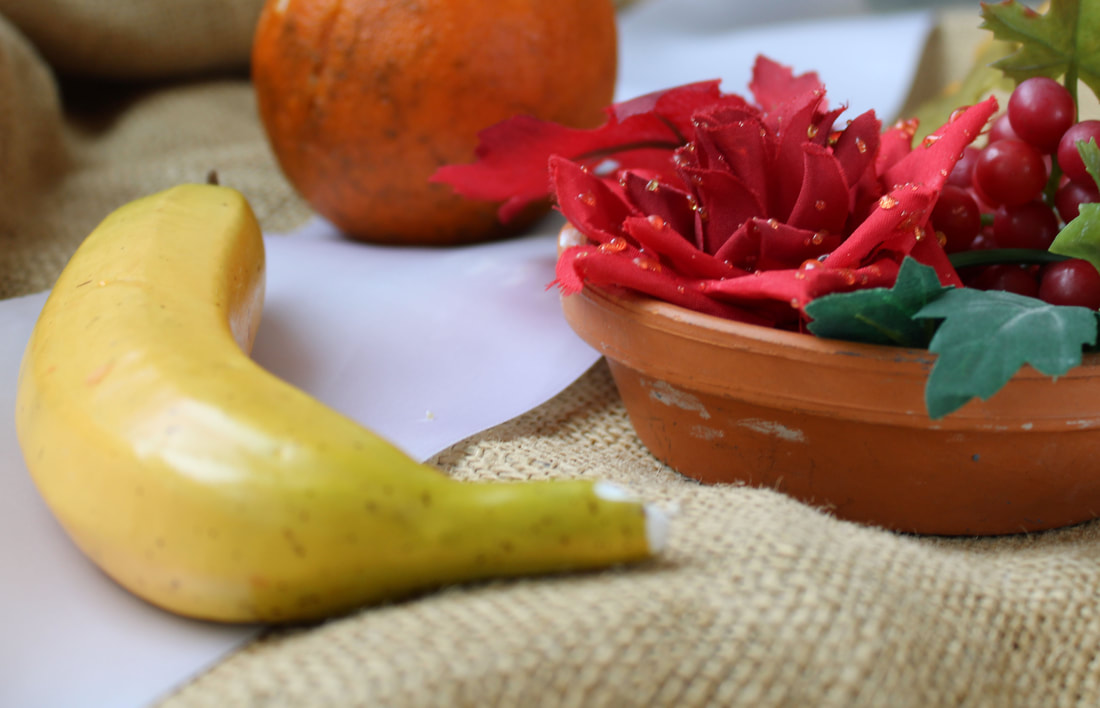
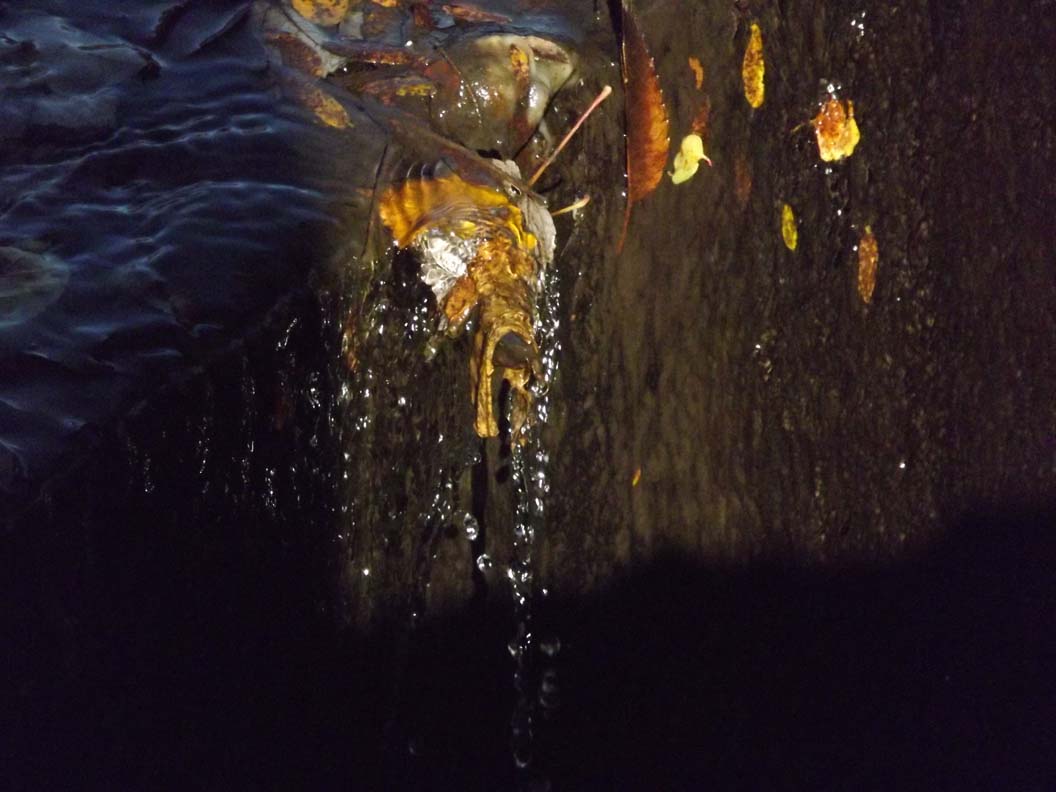
Light from Behind with Merriore in a Dark Seeting & Light from Side in a Drak Setting

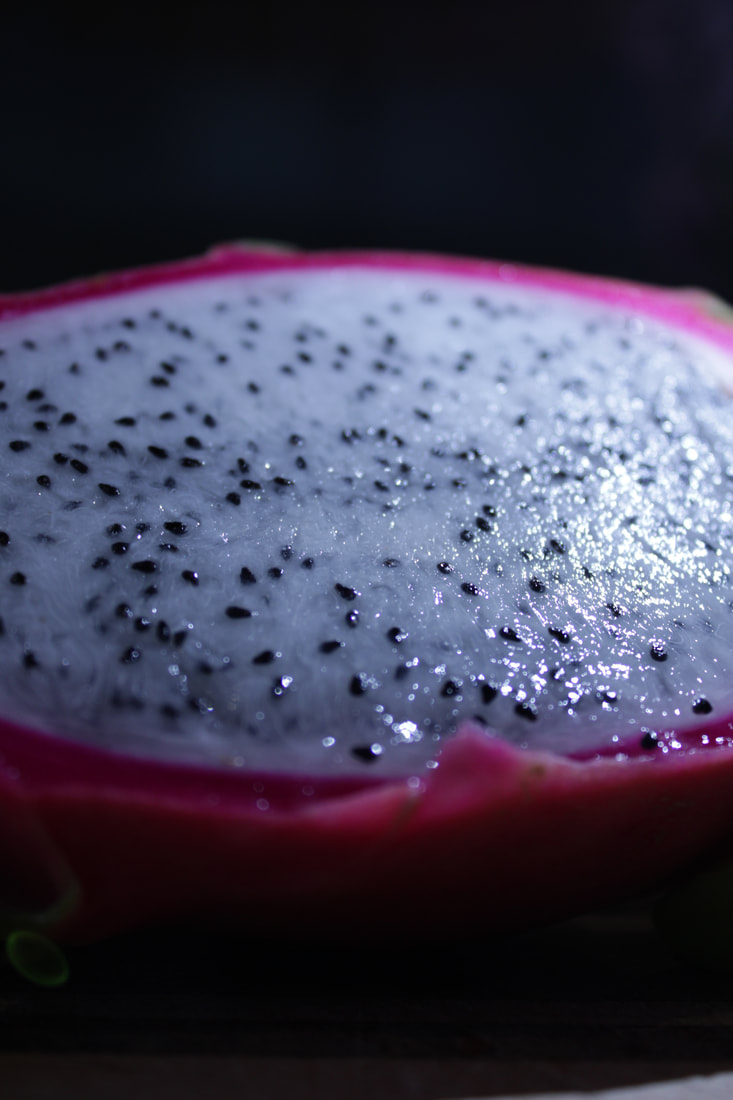
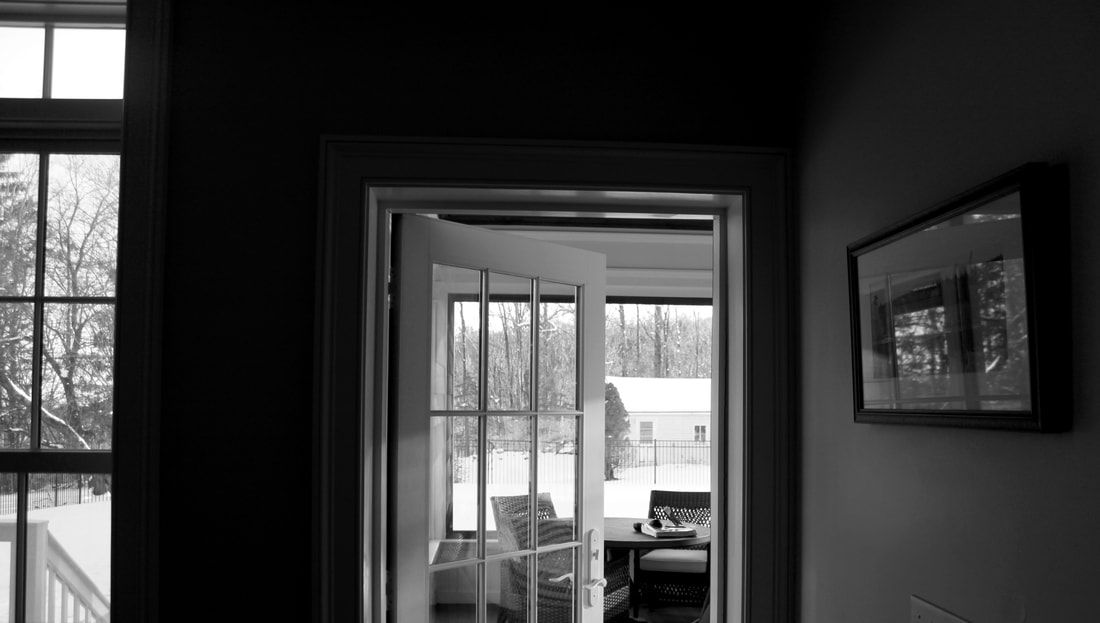
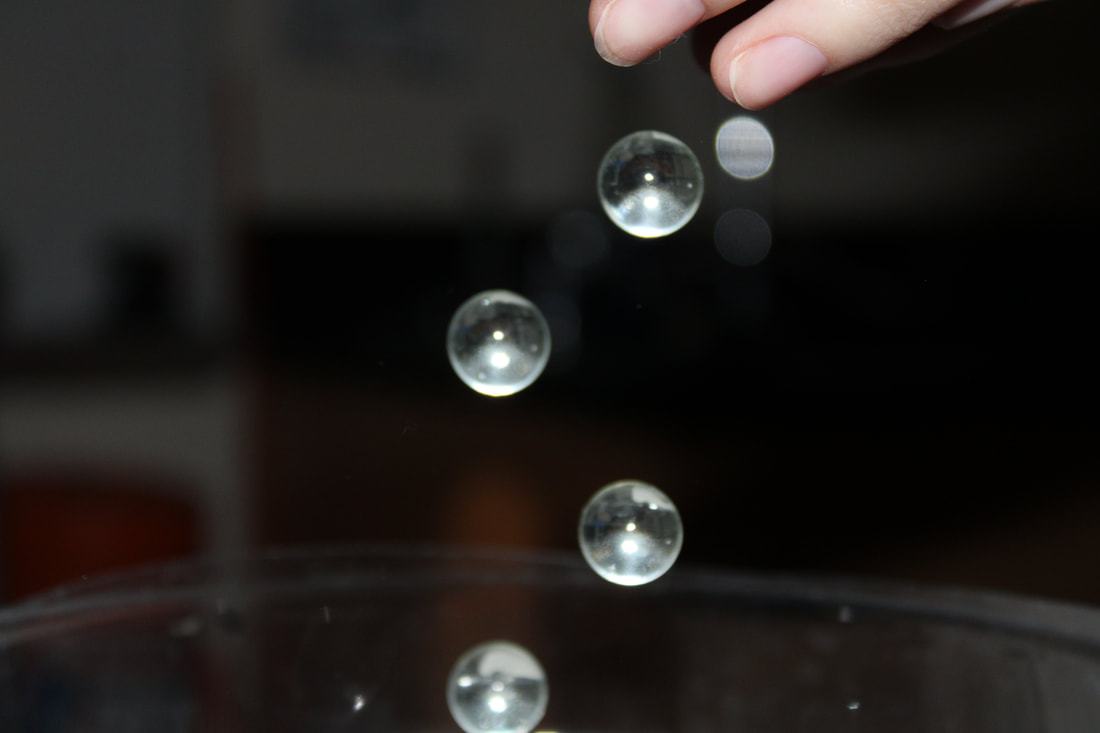
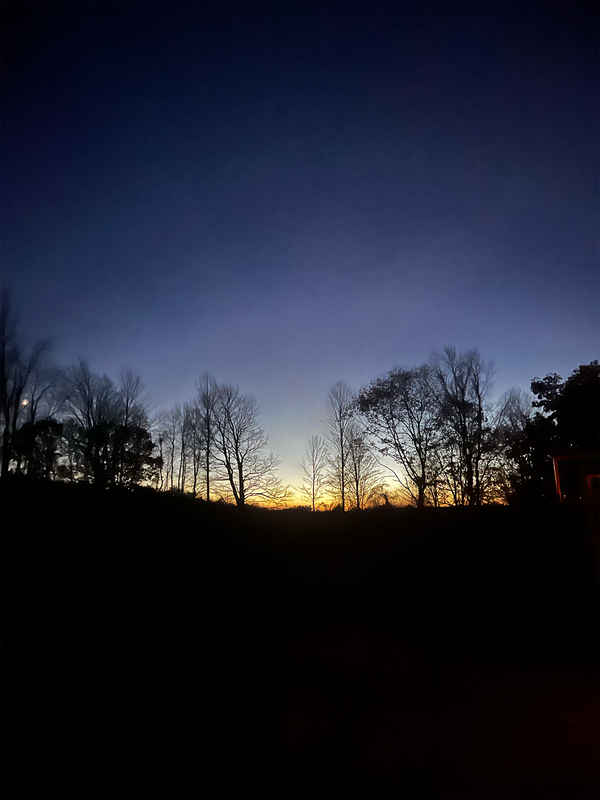
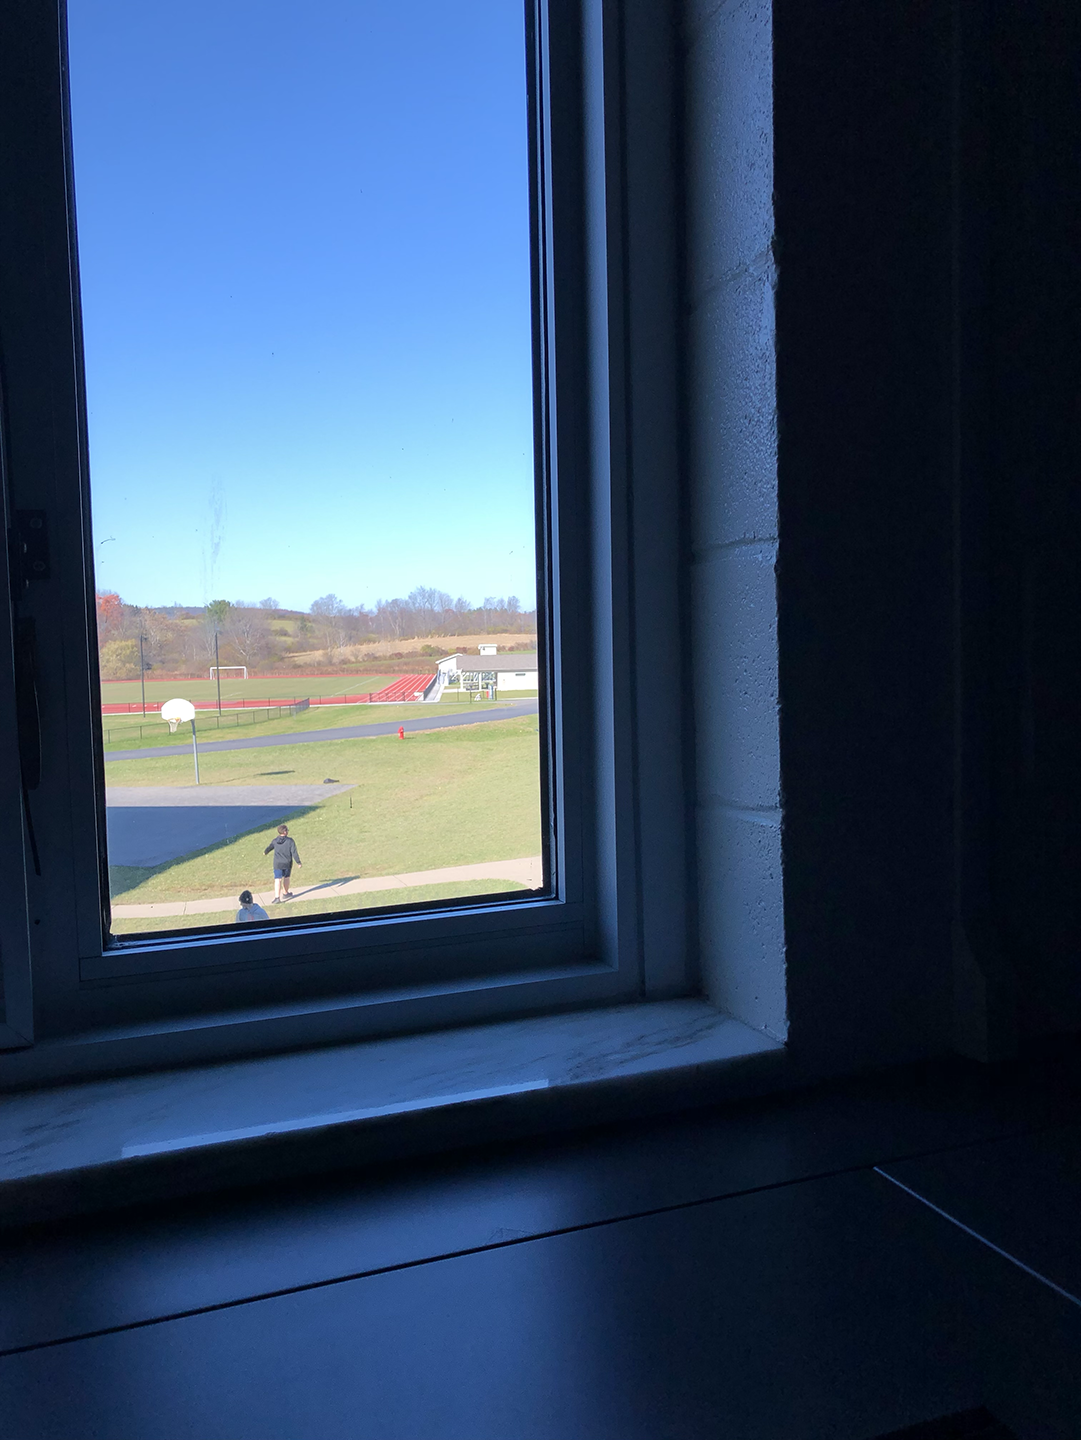
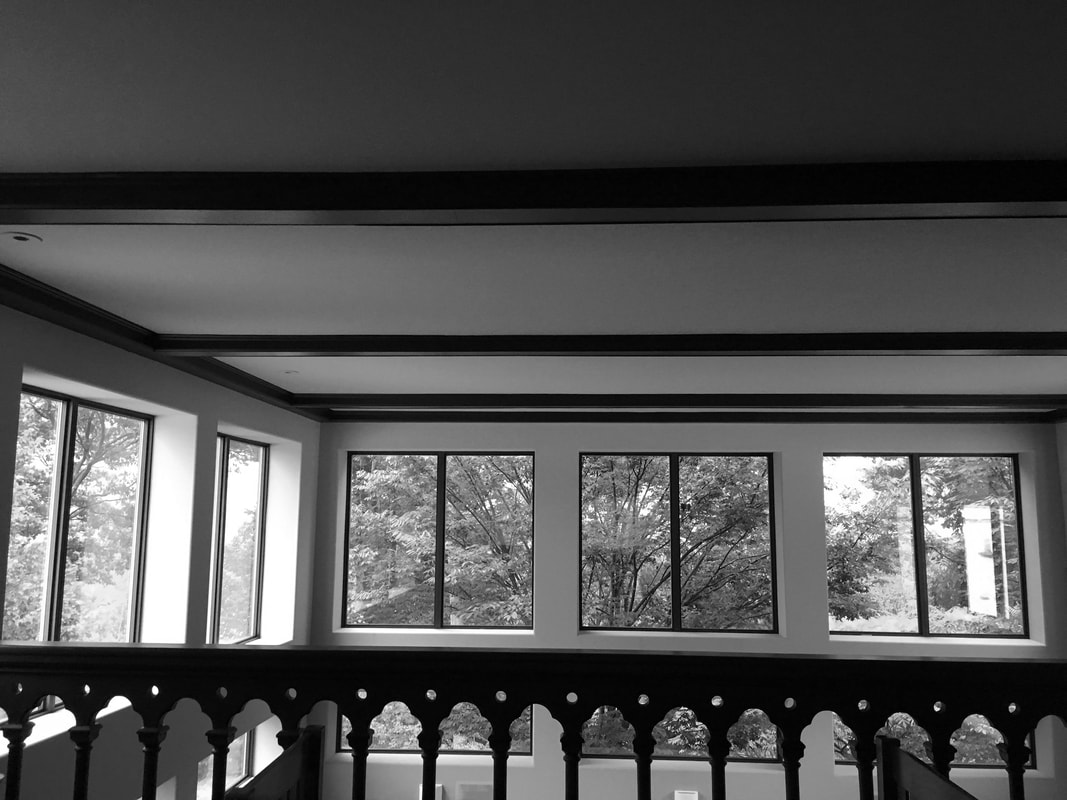
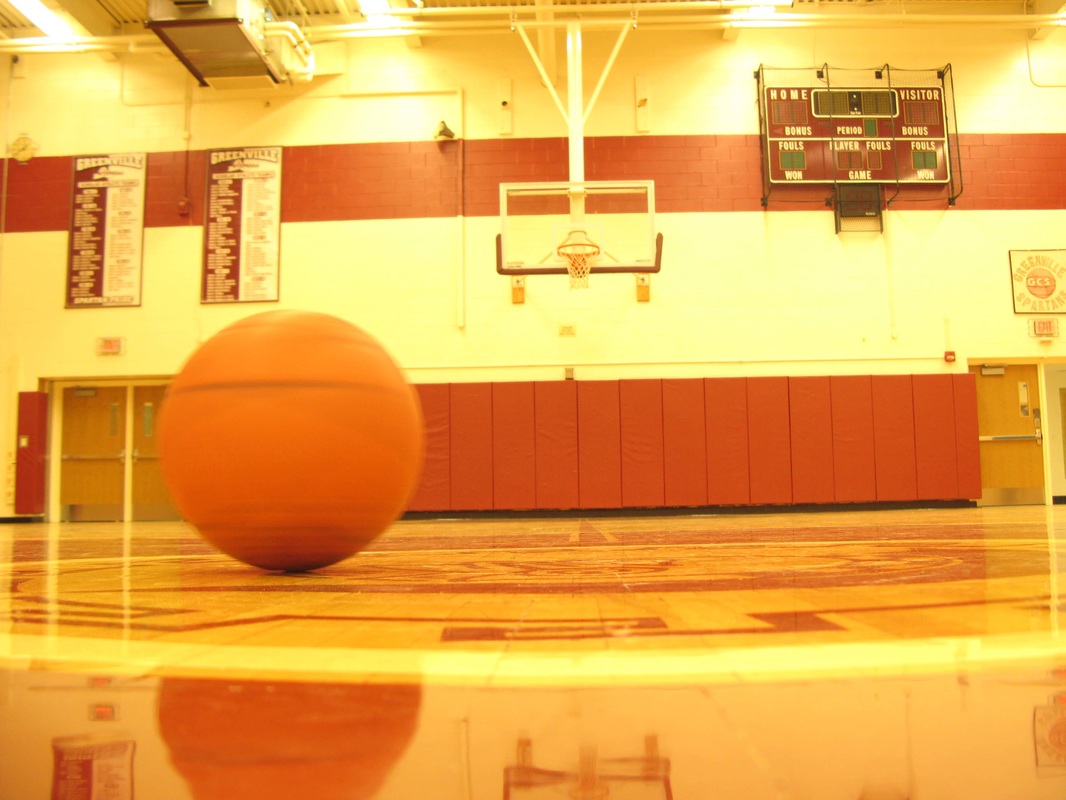
Eye Level with Tabletop and Window
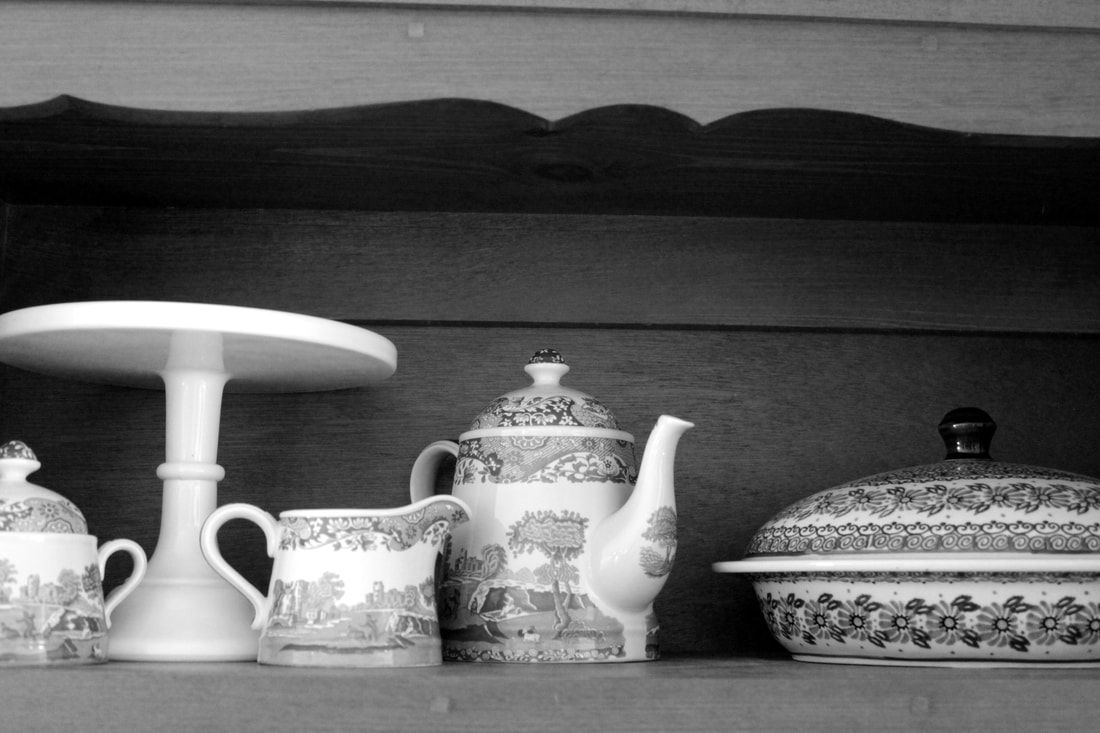
Looking Down on the Tabletop

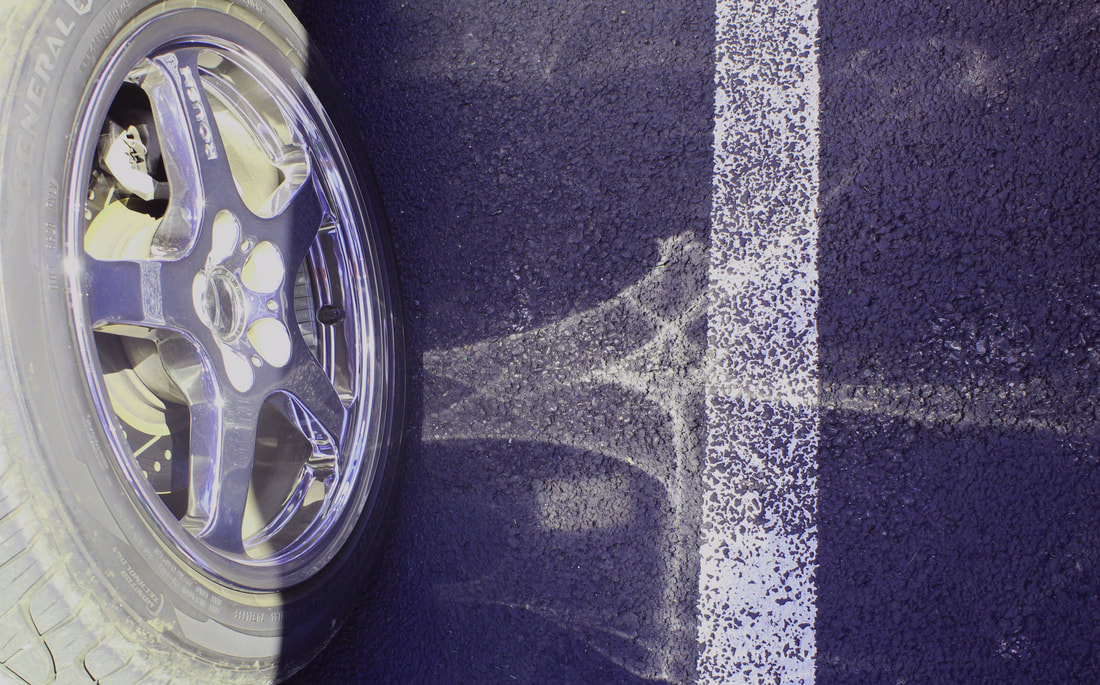
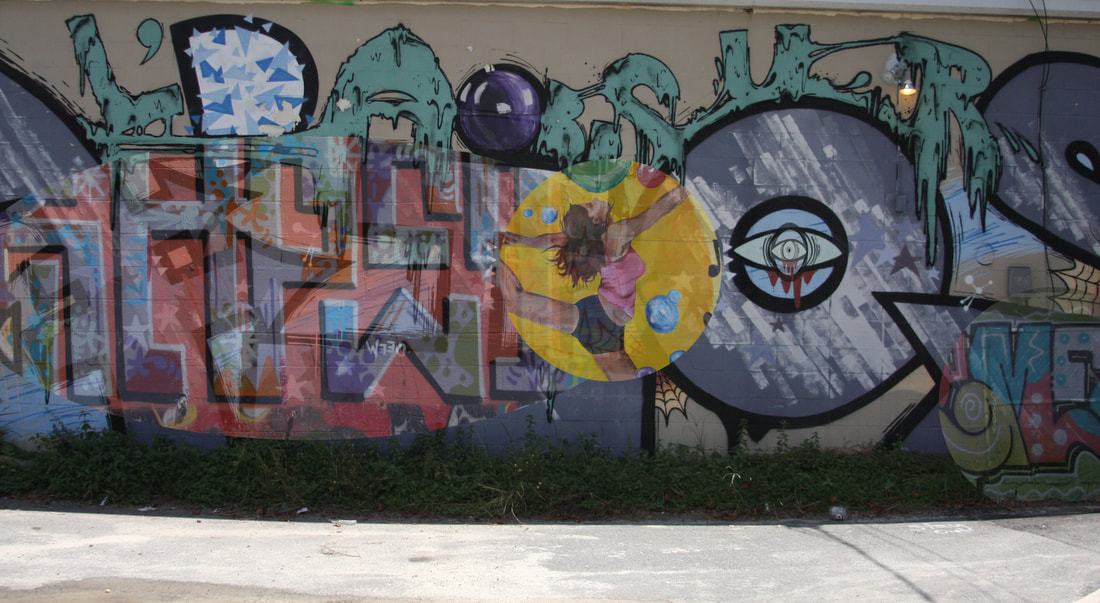
Collage Photos
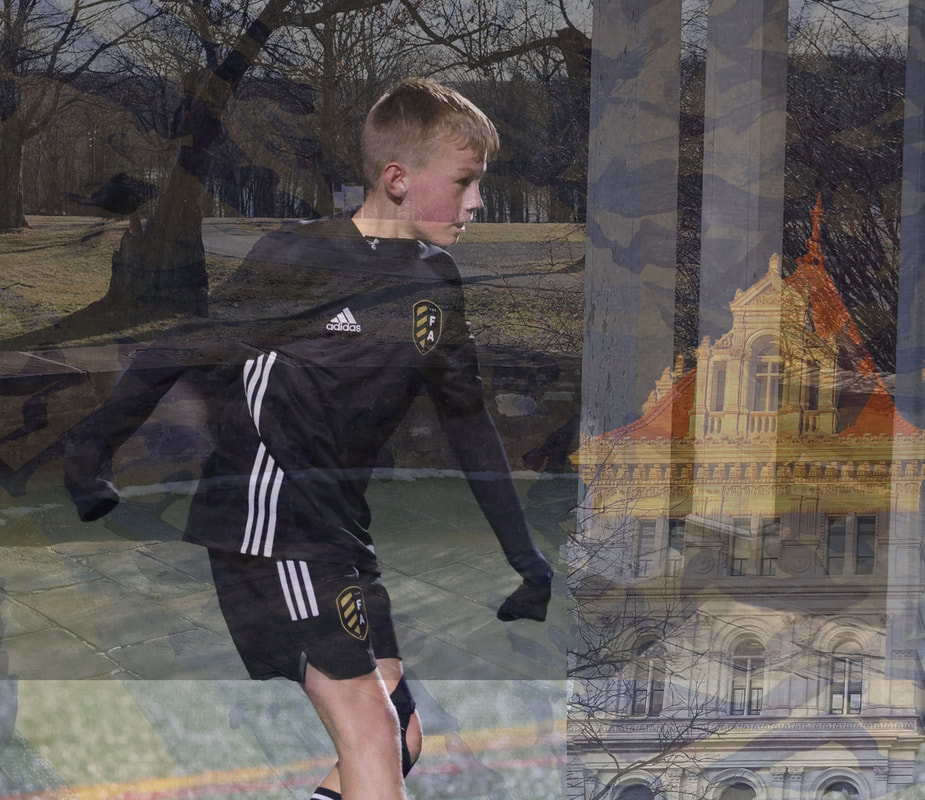
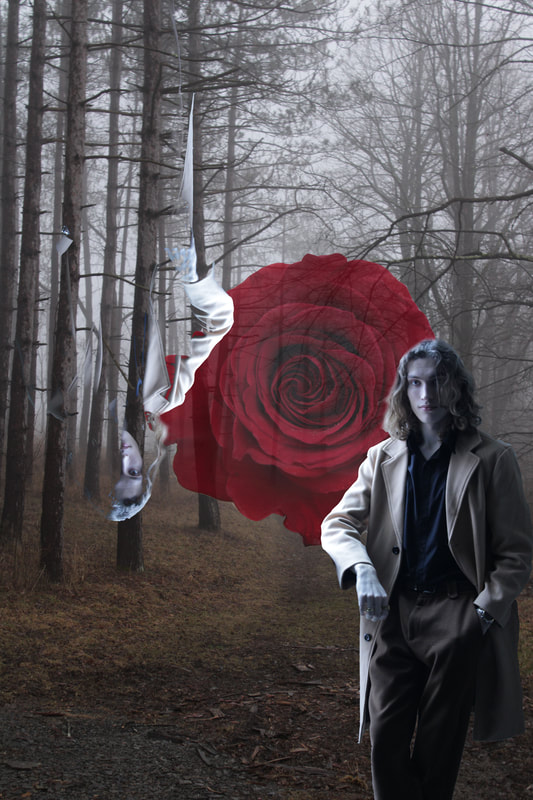
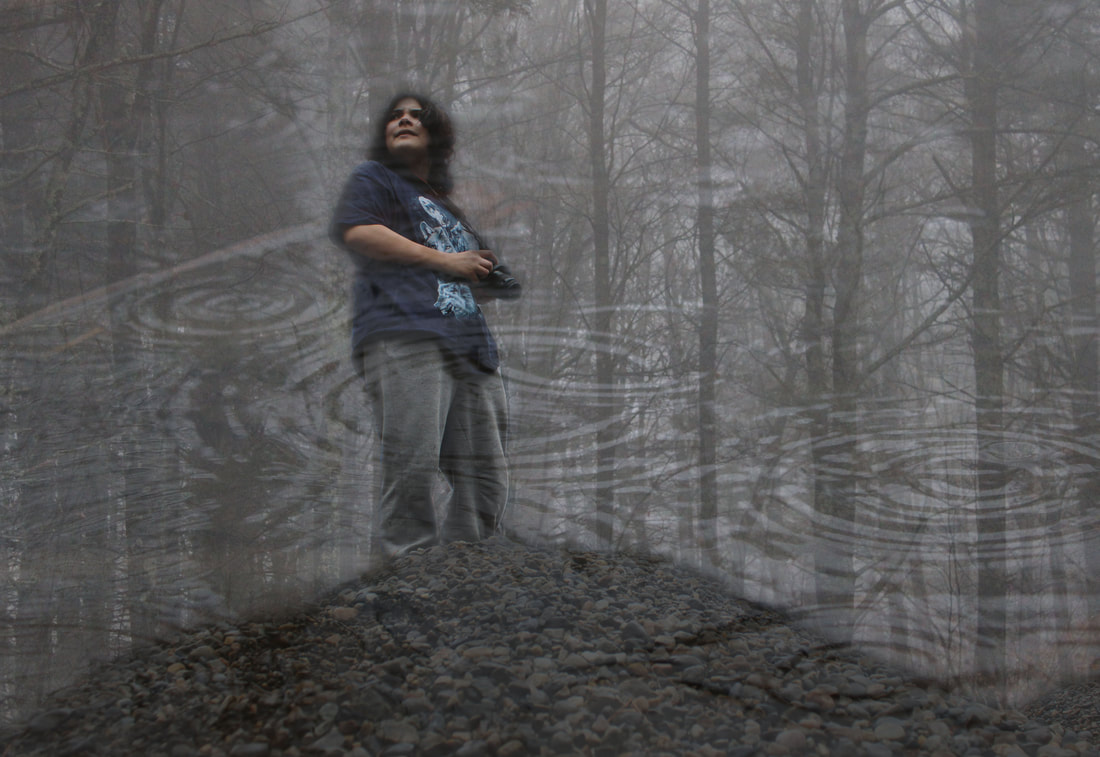
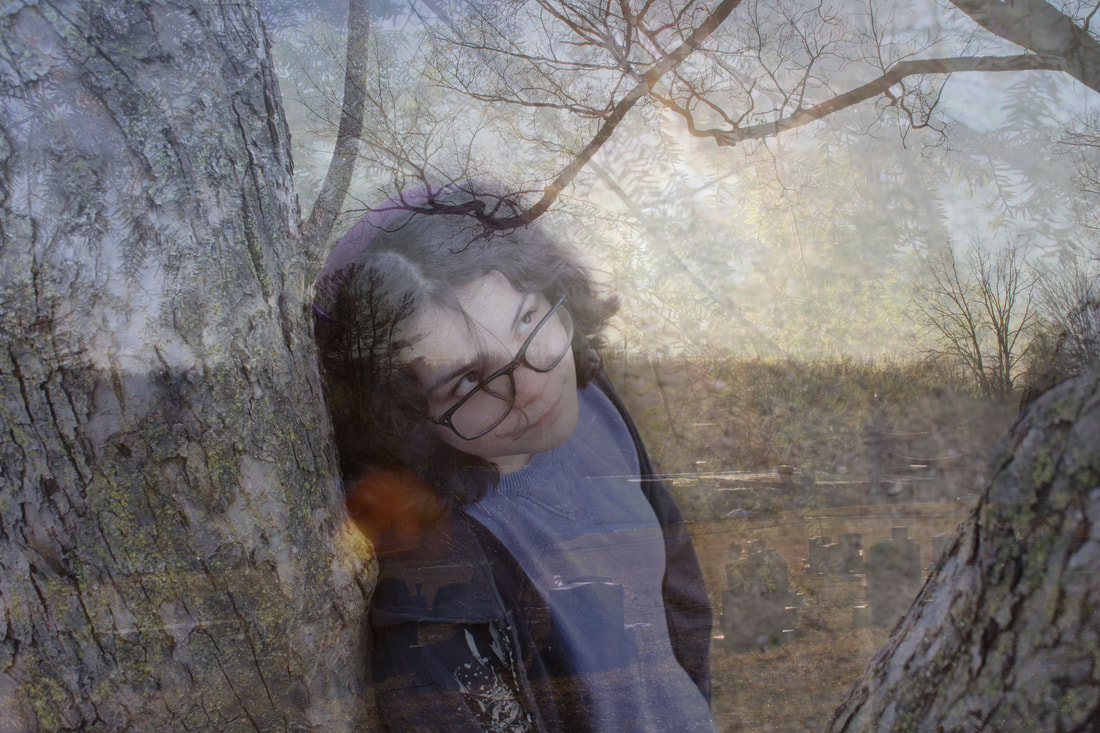
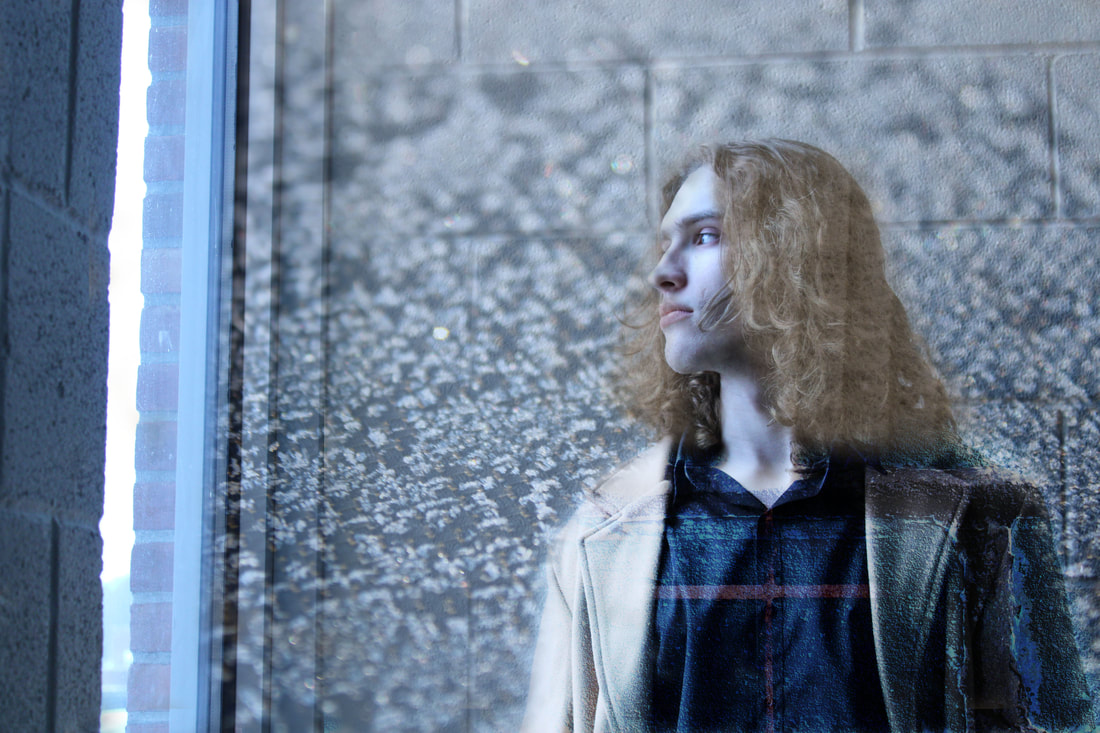
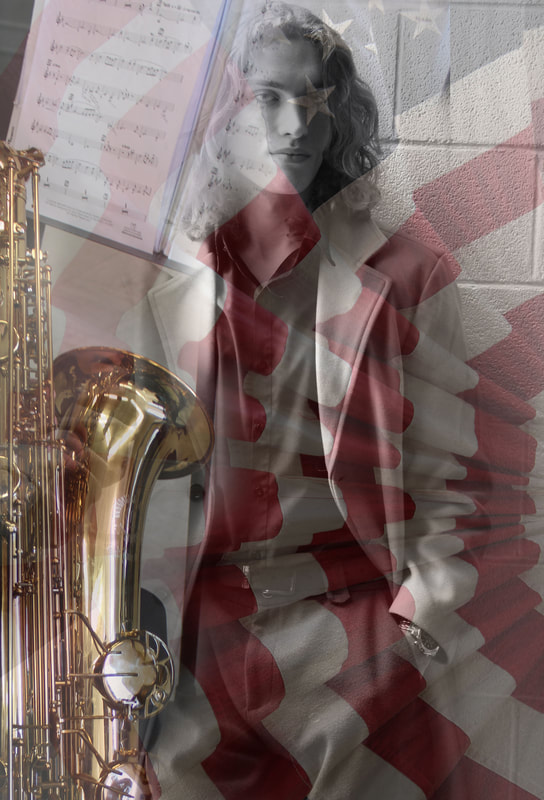
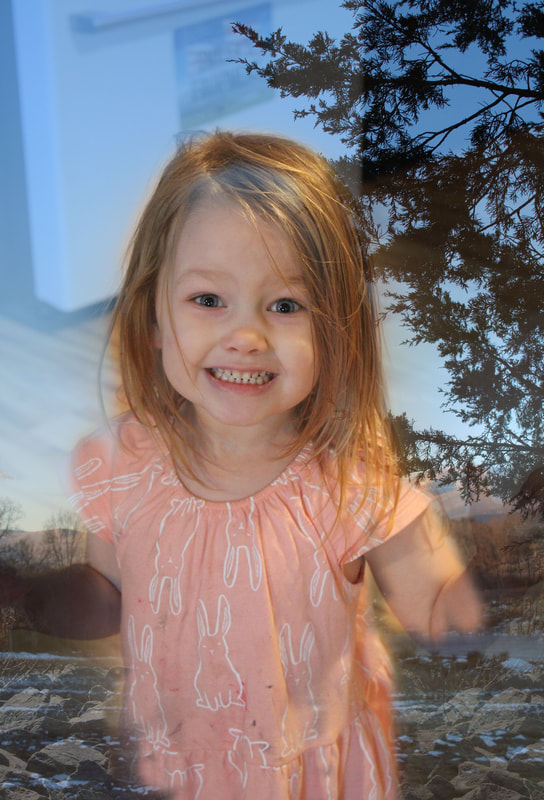
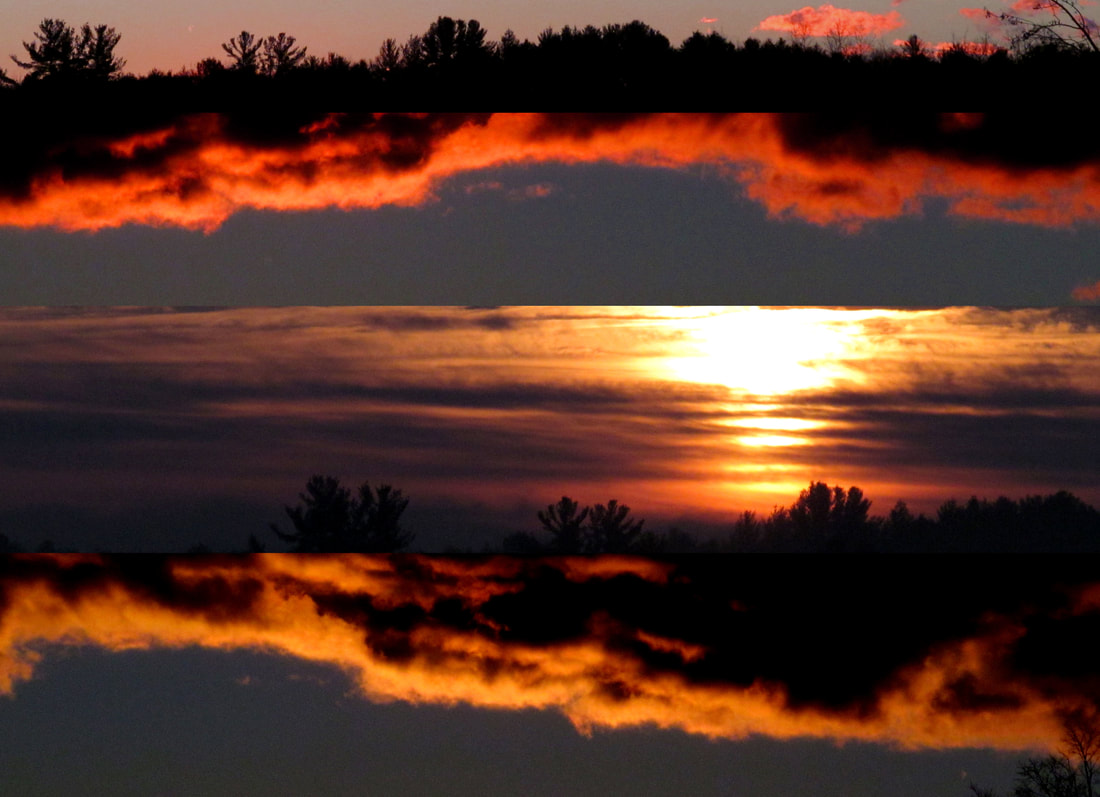
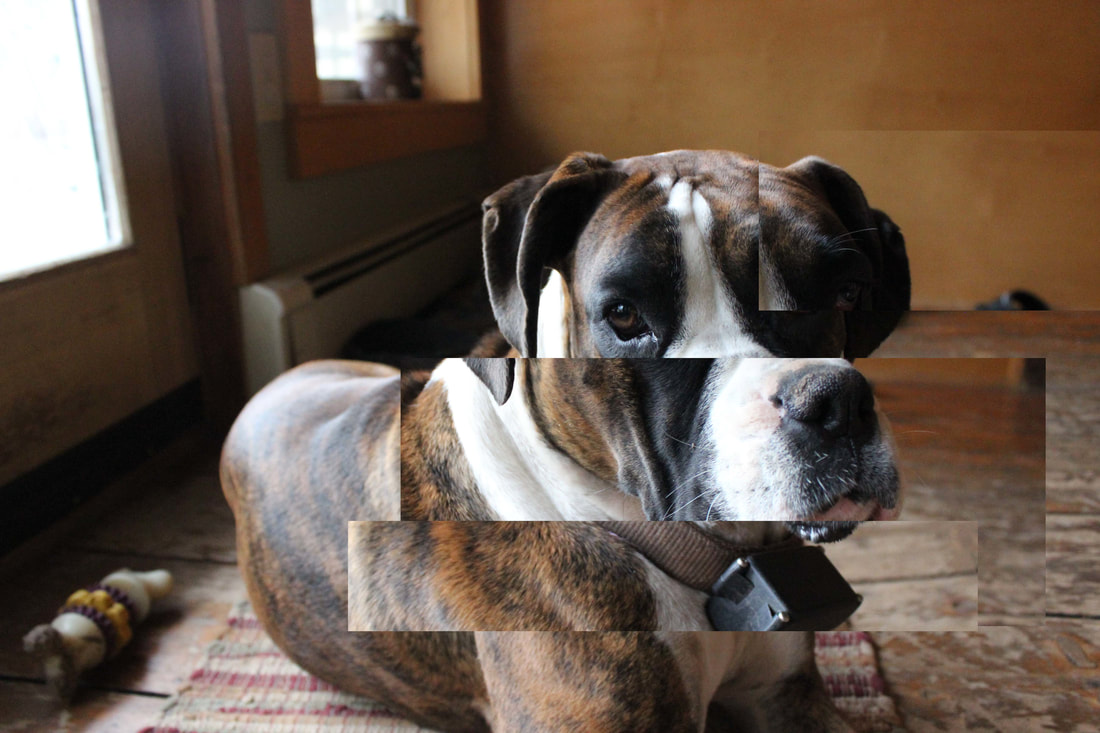
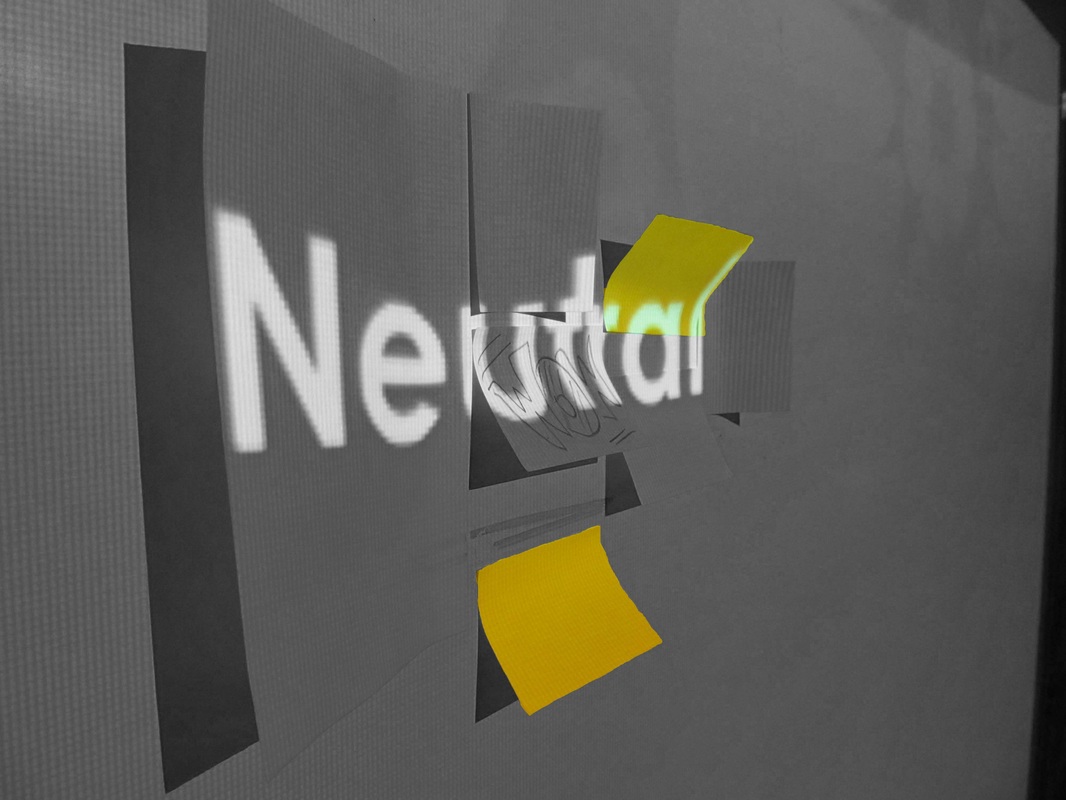
If you took dark room photography back in the day you would know that you could layer multiple negatives on each other and dodge and burn to have only select areas show up on your print. For others of us who take digital photos this process is still available to us but instead of being done by hand in the dark room, we use the several tools available in the program Photoshop. The students were required to get a variety of photos: images of texture, architecture, nature, and portraits. Then the class learned how to layer images to create a collage. We used the mask tool as a way to remove areas that they did not want to show up as well as layers and opacity to allow for some information to peek through and others to fade into the background. One of the best things is if the student made a mistake it was easy to undo it with the click of a button rather than expose and print their negatives again.
Each image has a unique vibe and seems to tell a story. As you look at them see if you can see each of the different layers and where the students used opacity and removal of part of the image.
Each image has a unique vibe and seems to tell a story. As you look at them see if you can see each of the different layers and where the students used opacity and removal of part of the image.

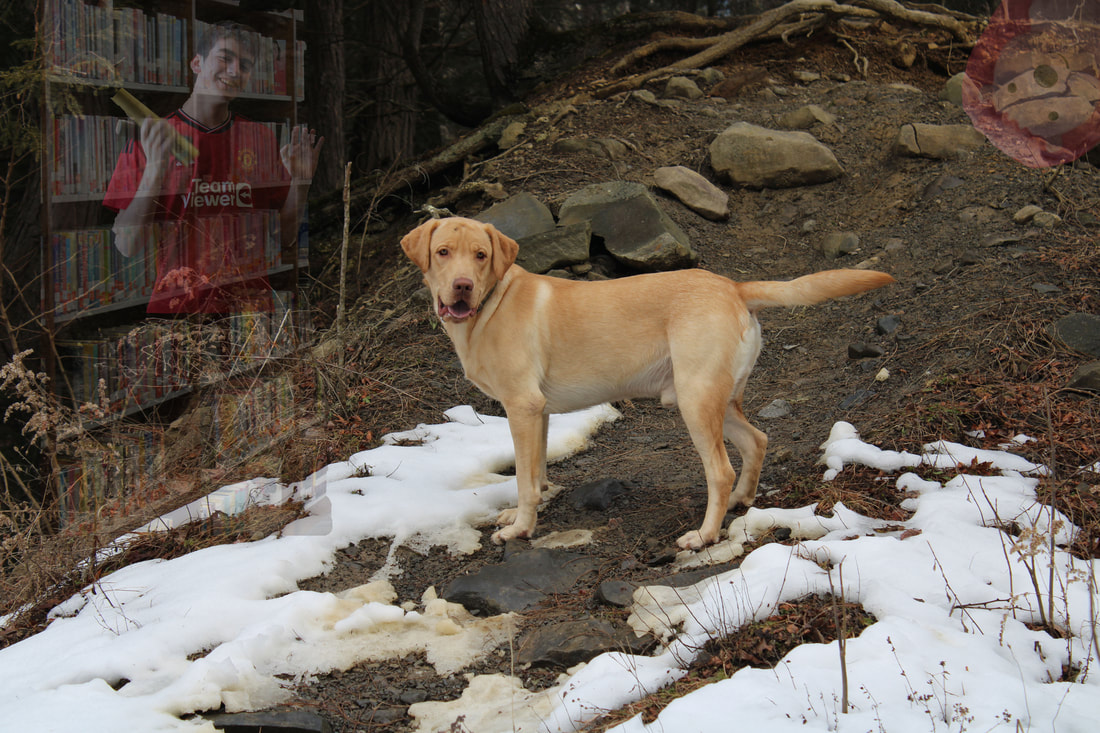
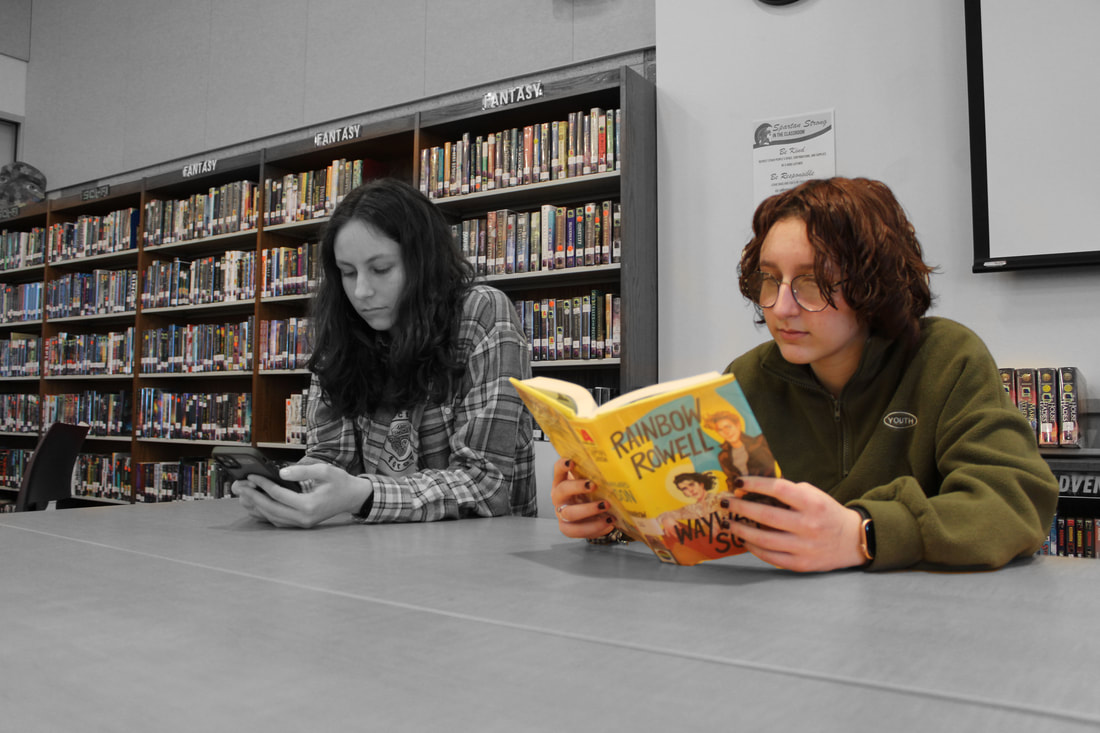
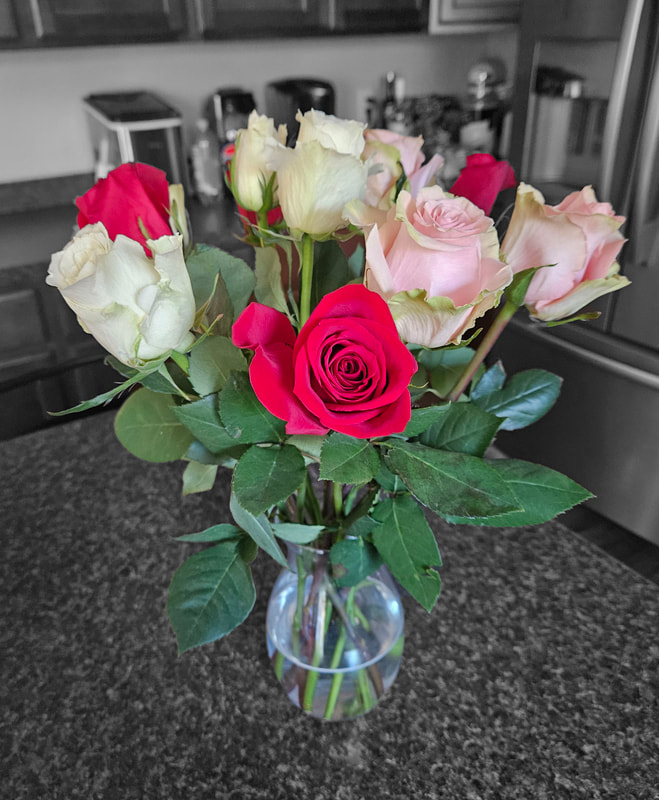
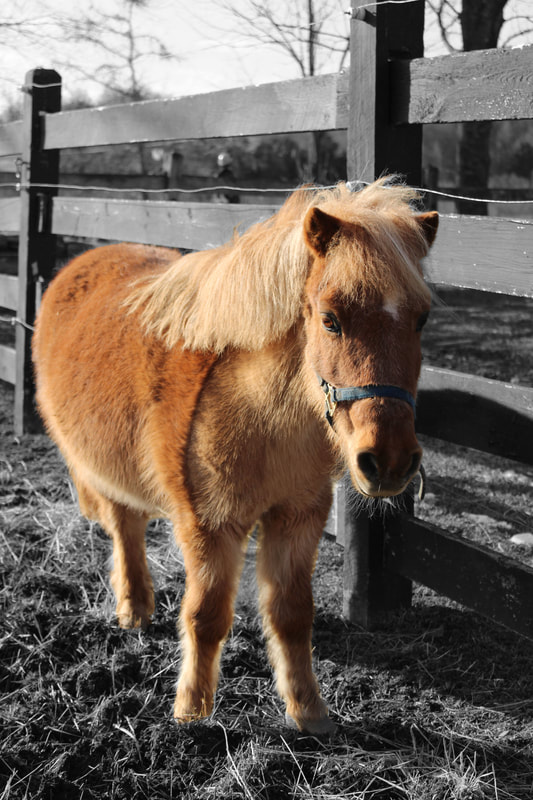
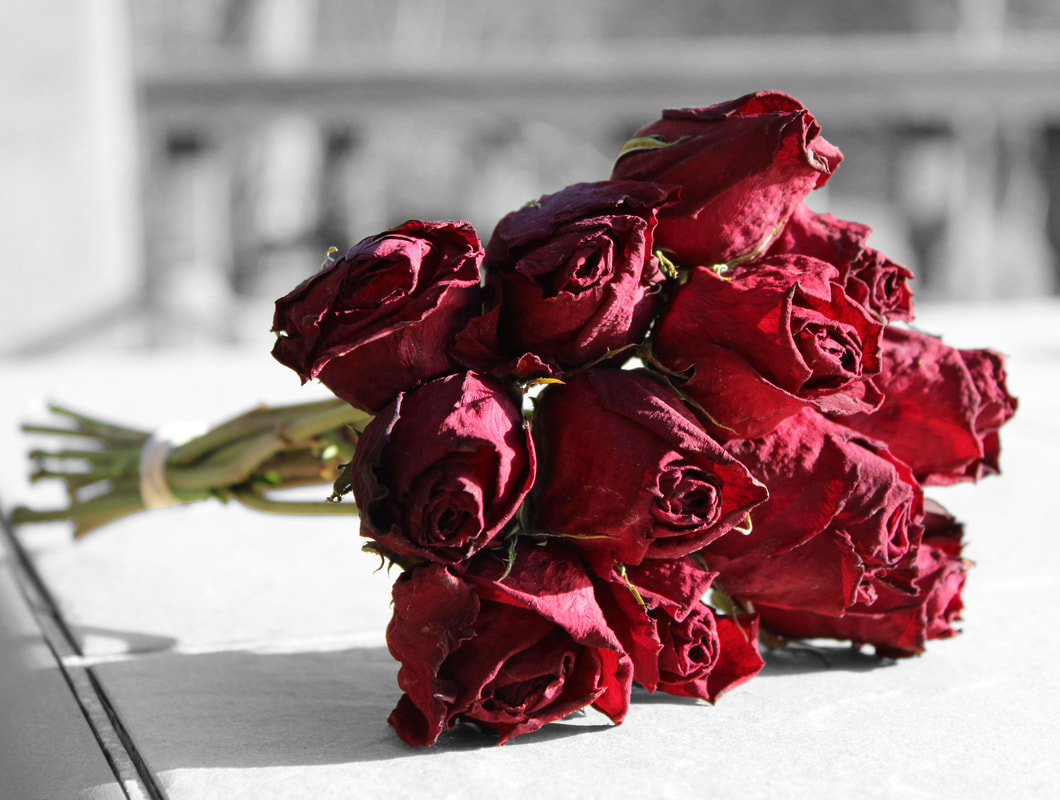
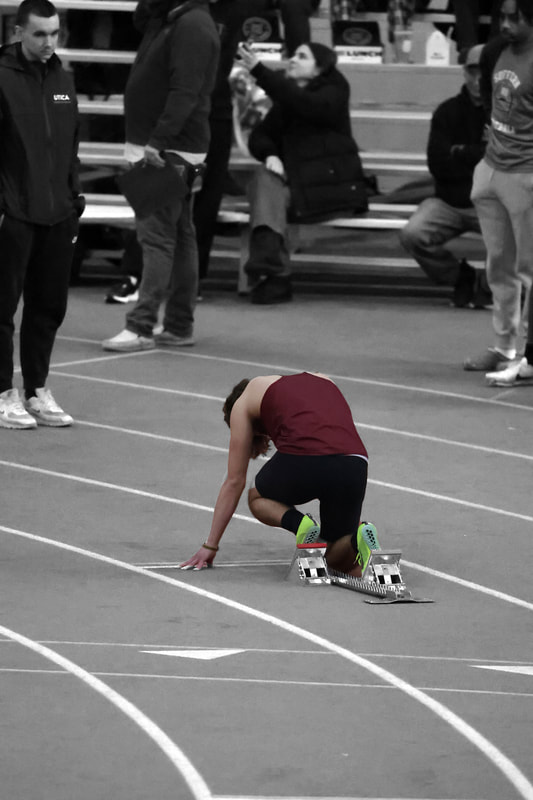
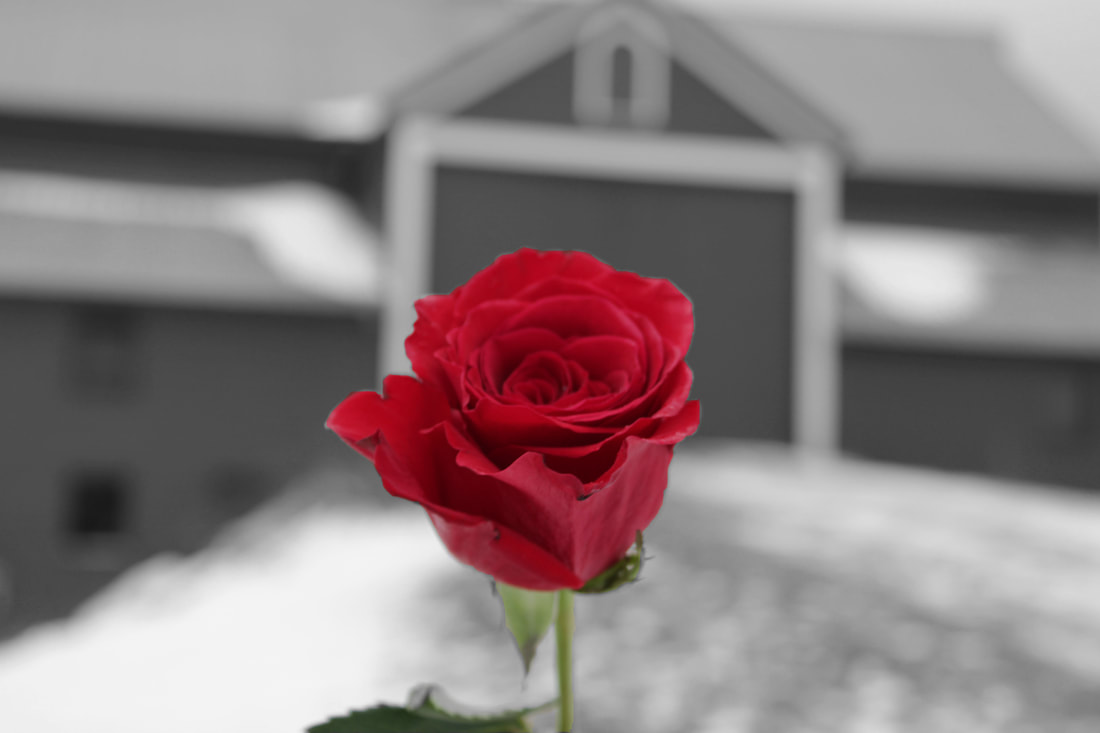
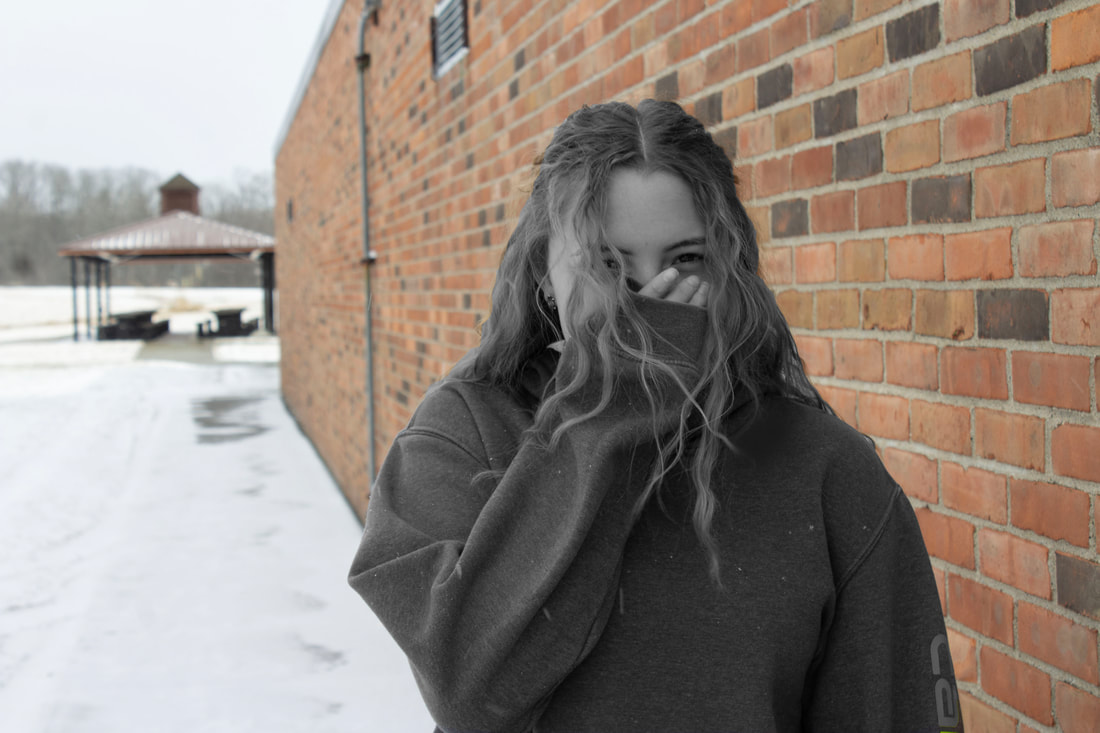
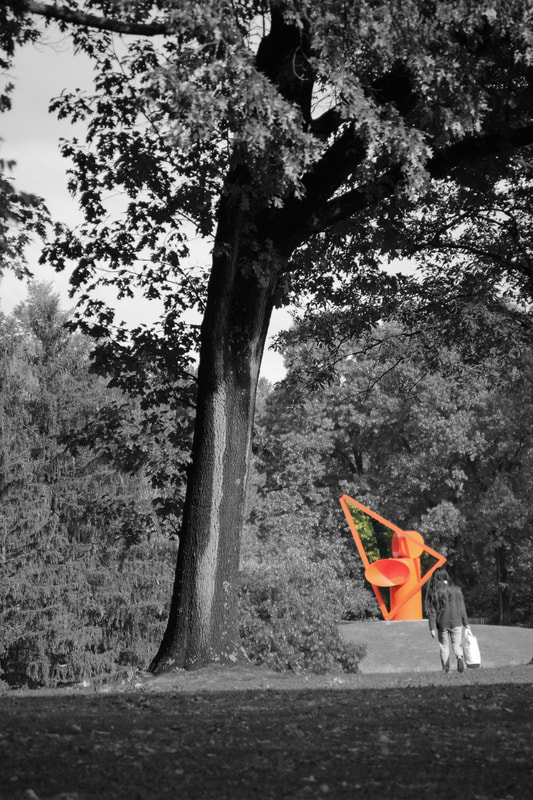
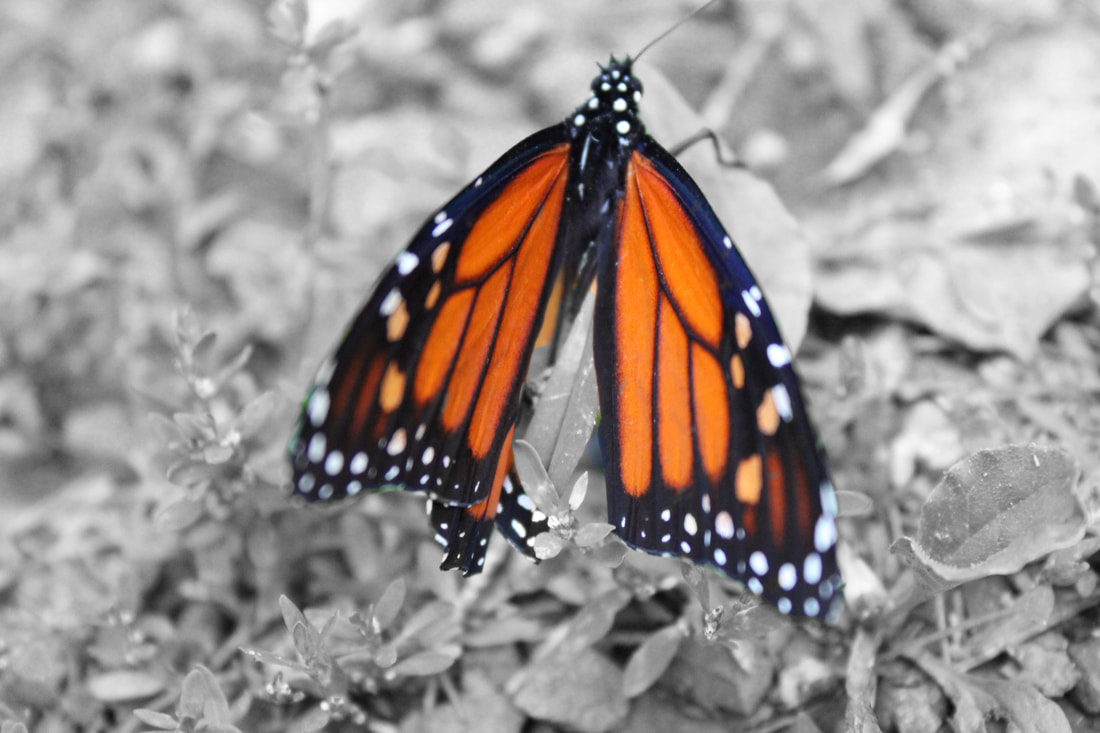
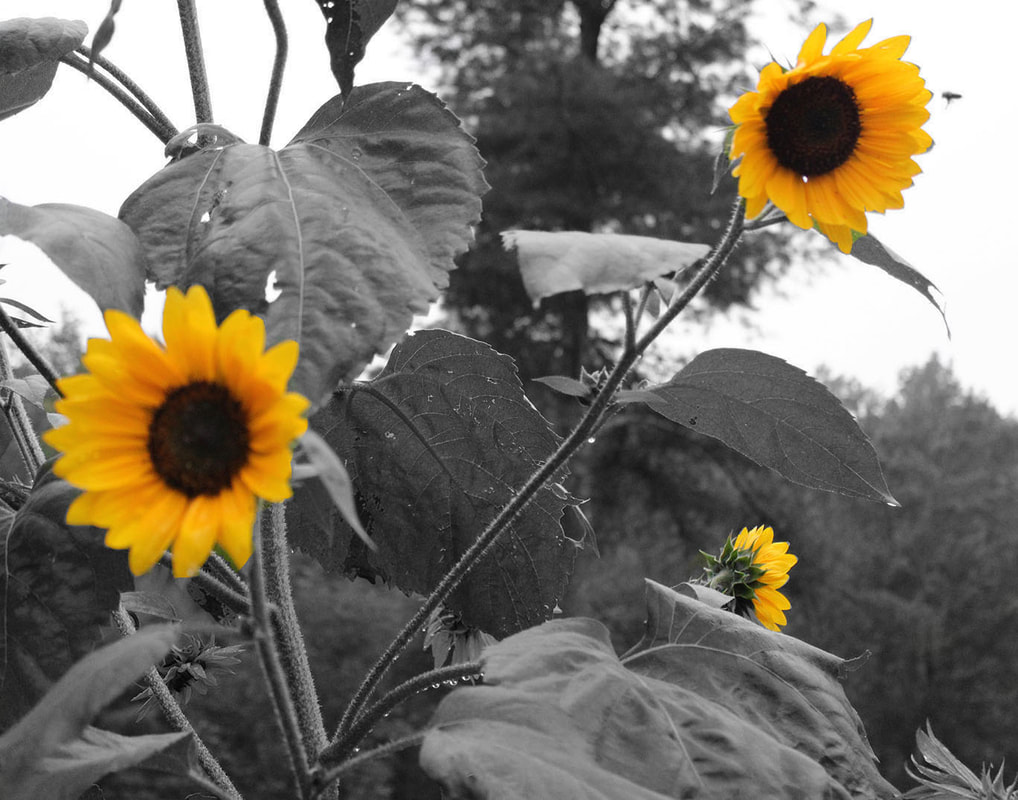
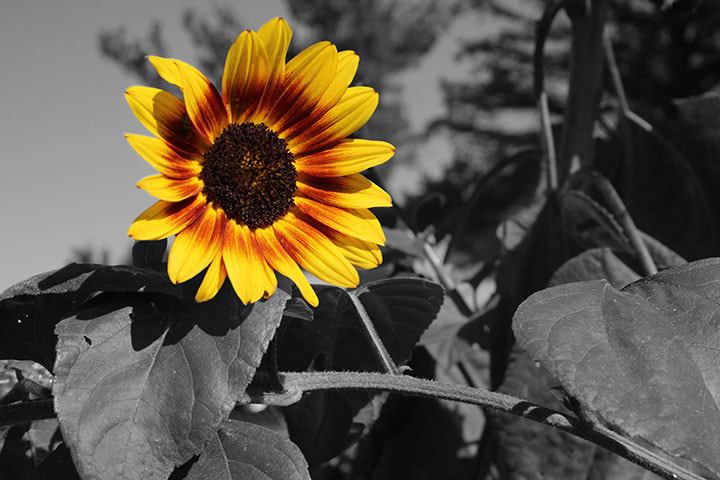
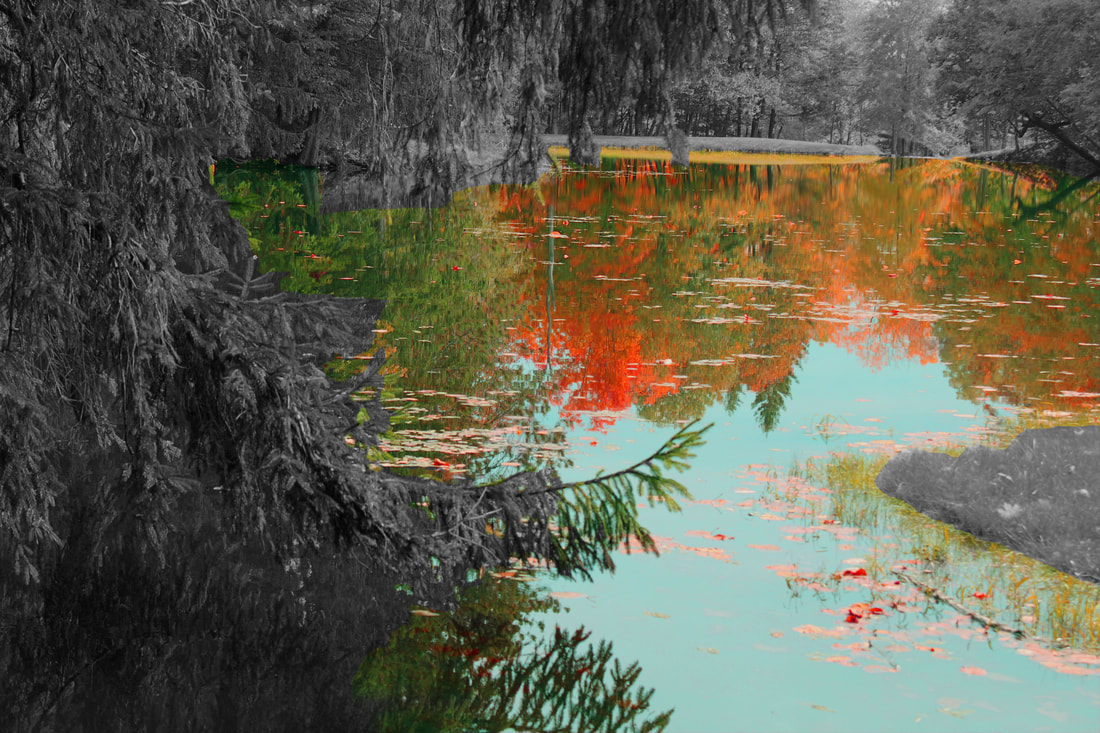
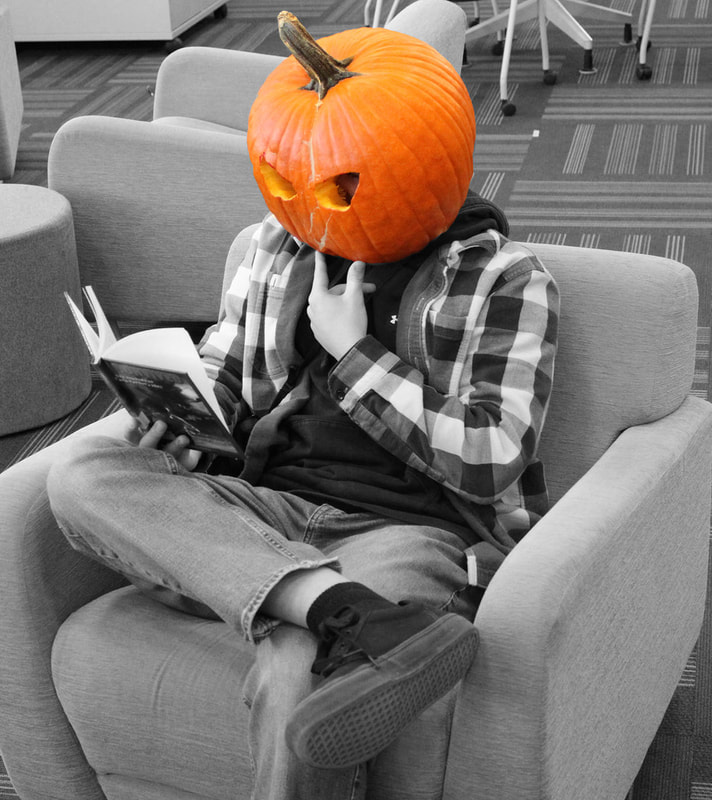
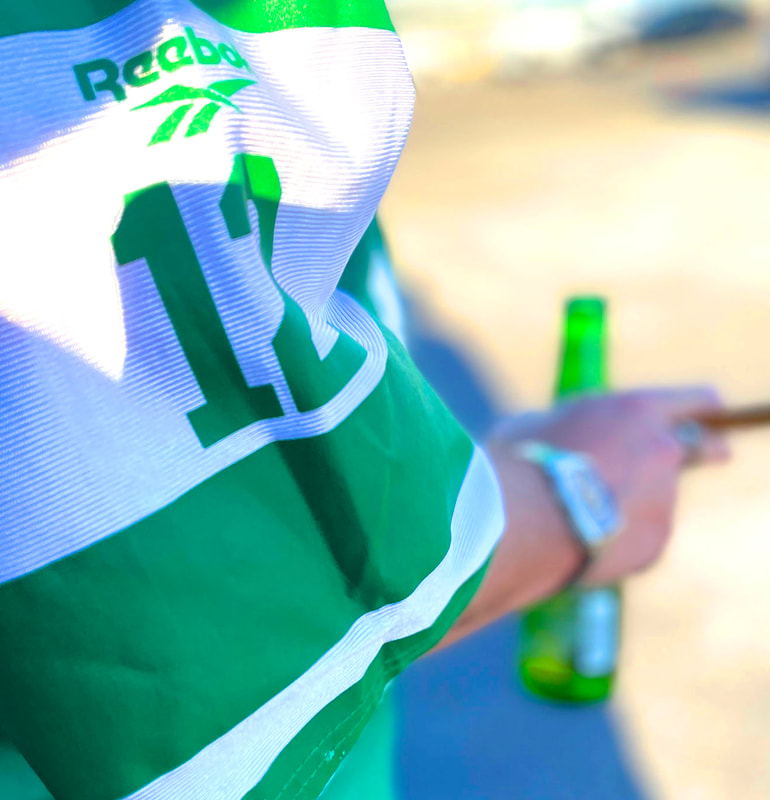
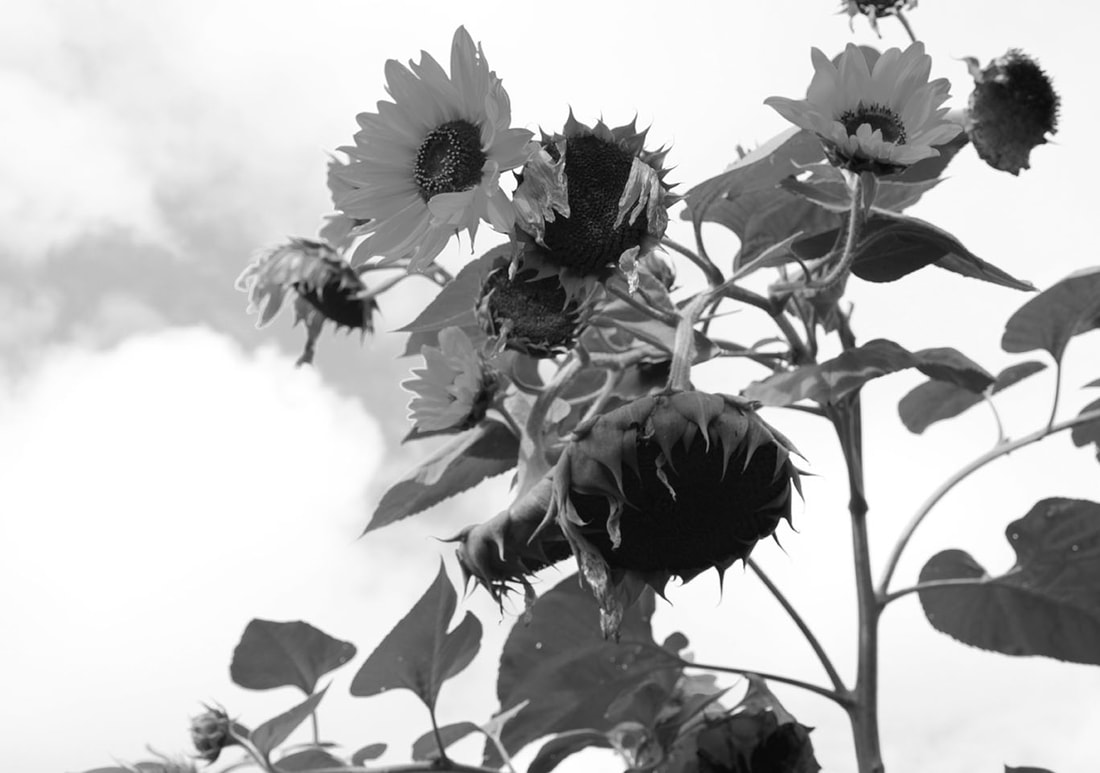
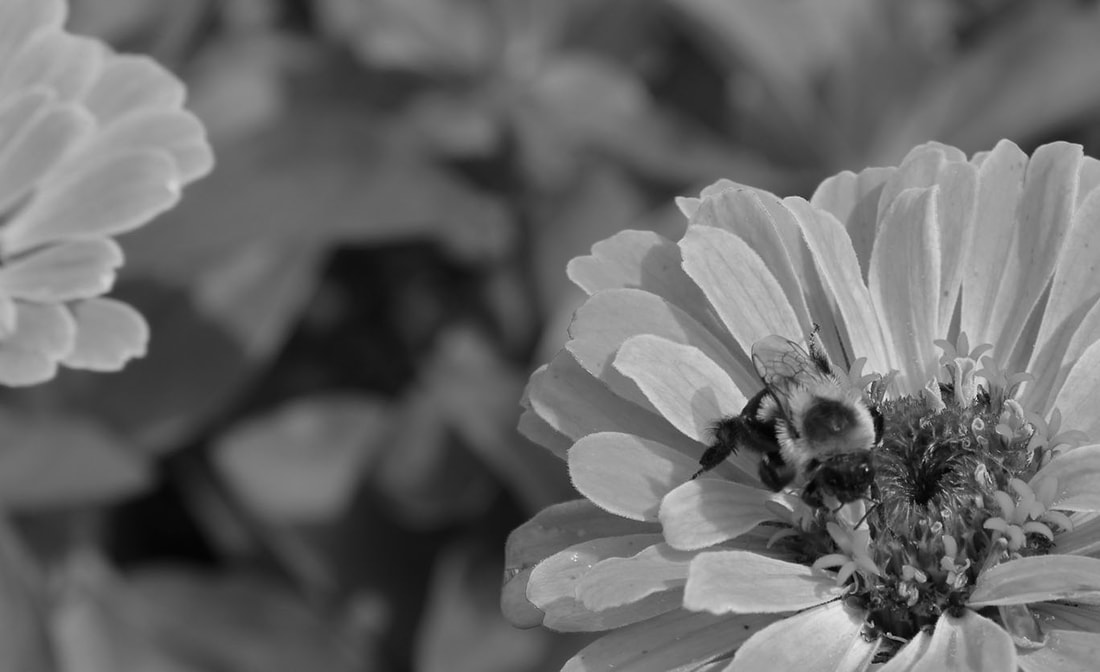
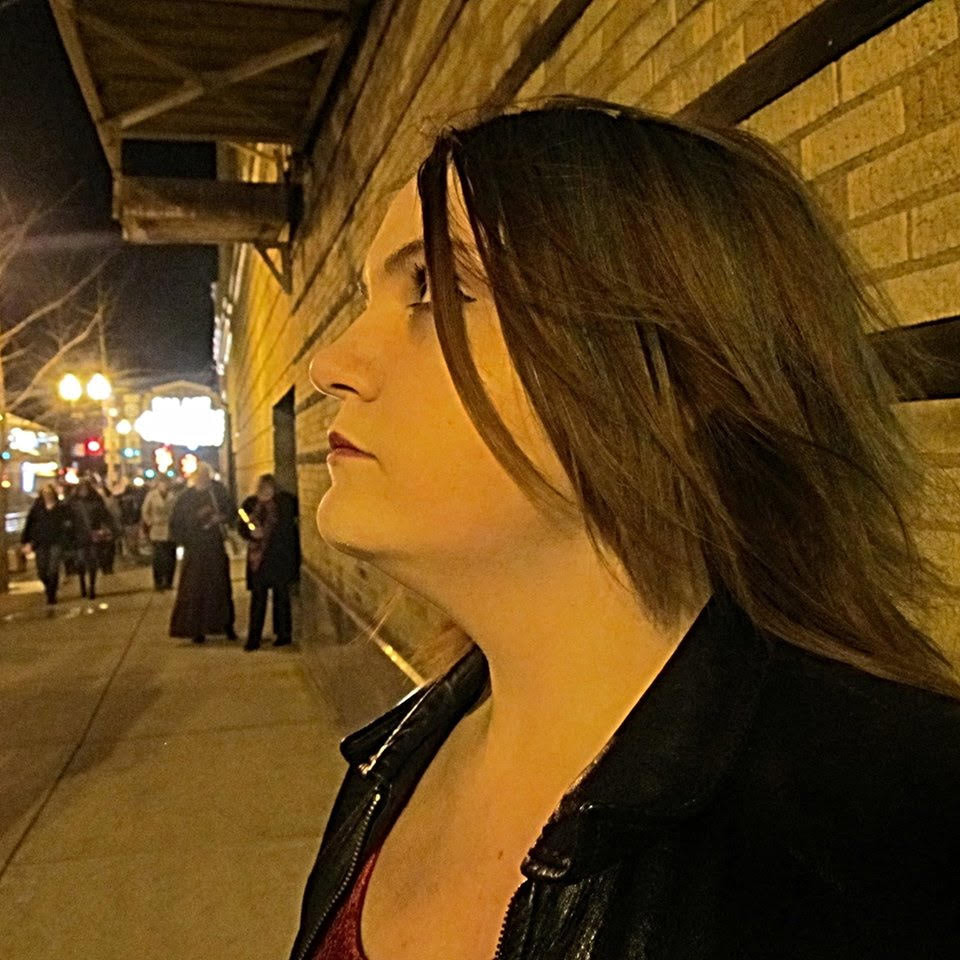
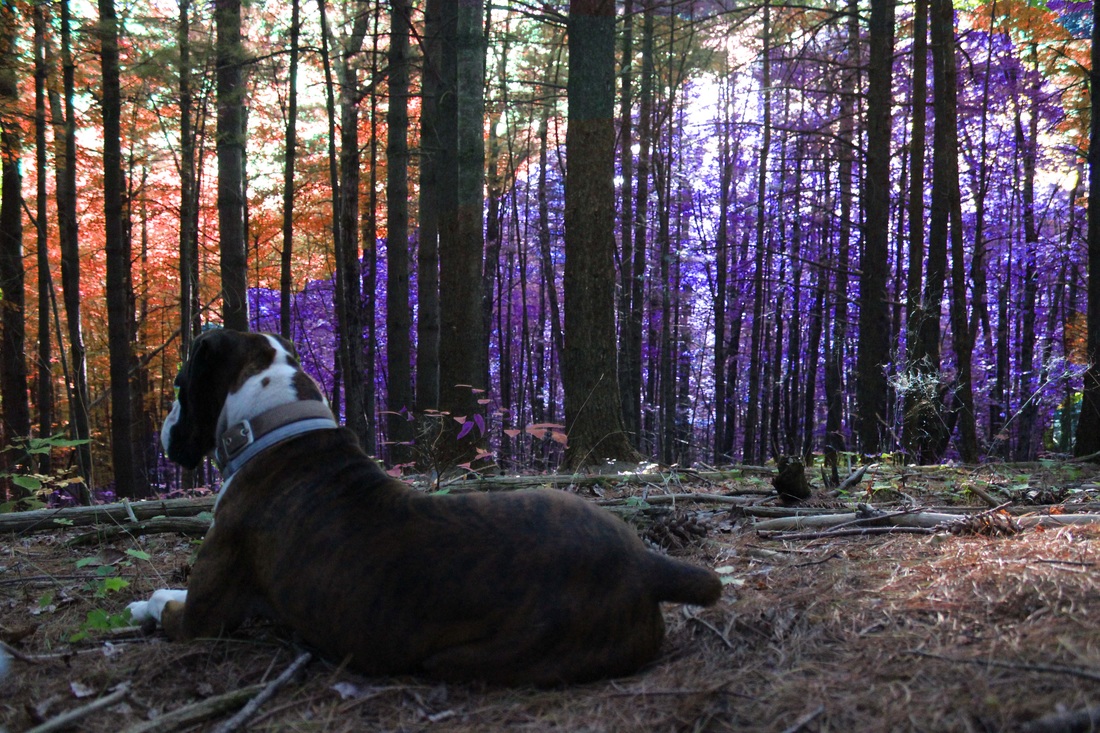
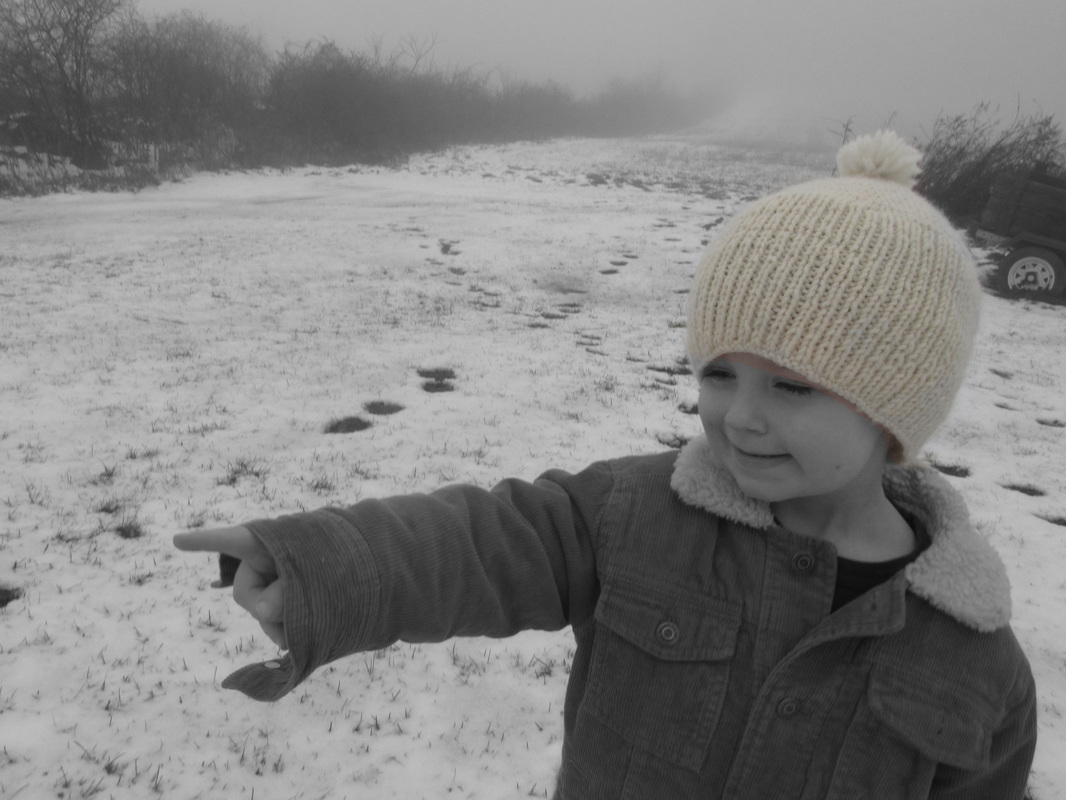
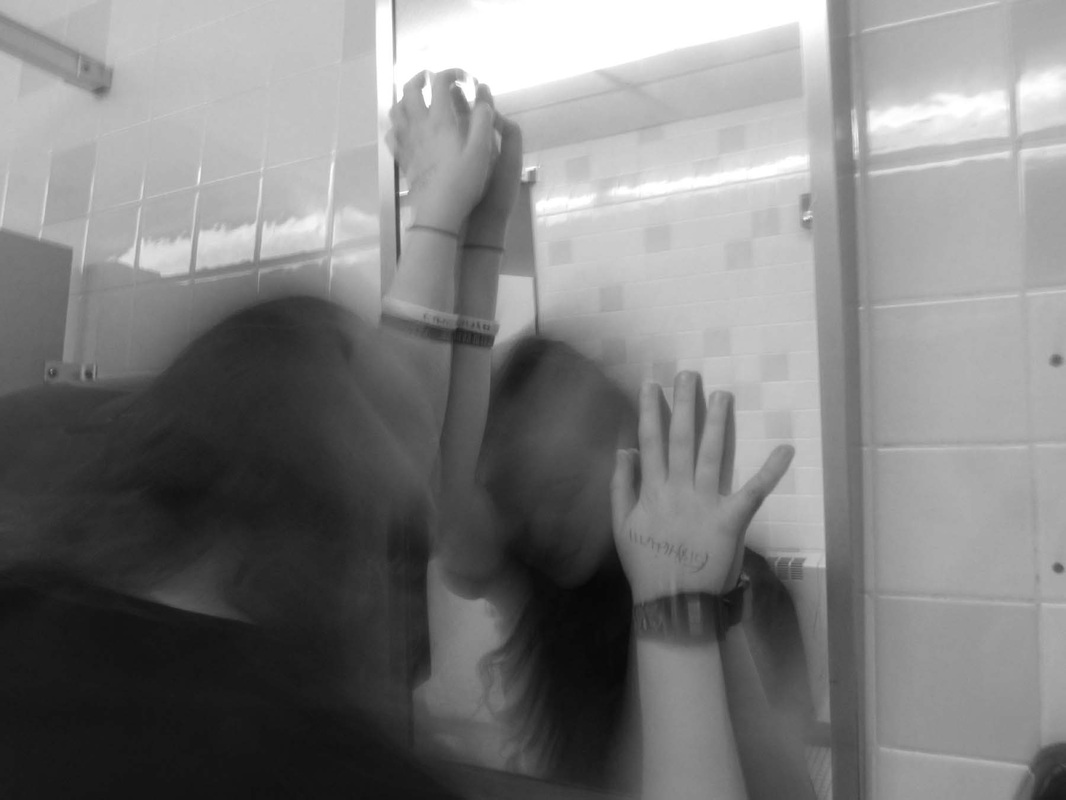
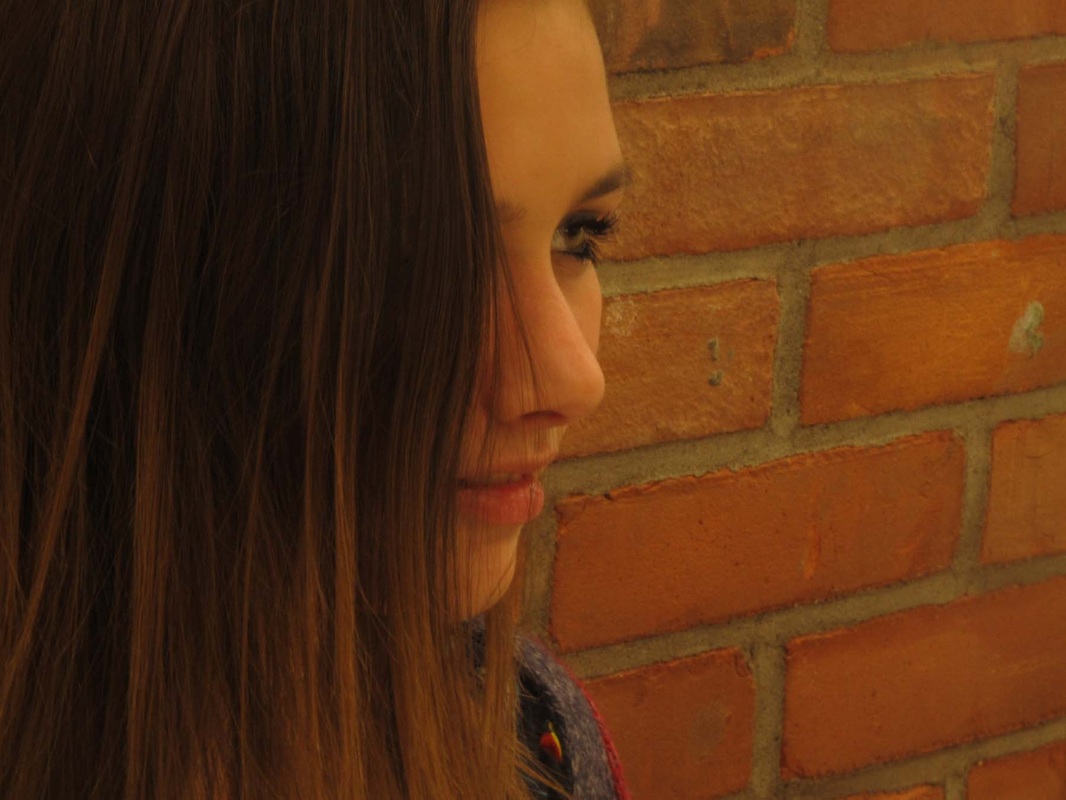
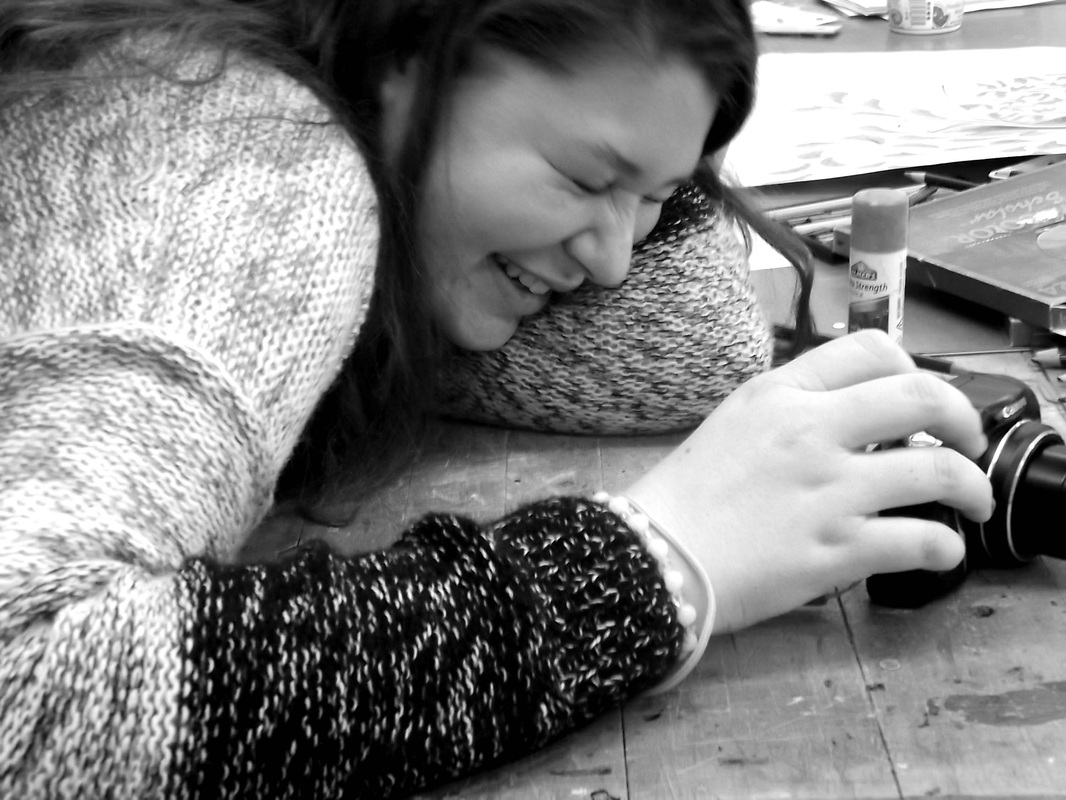
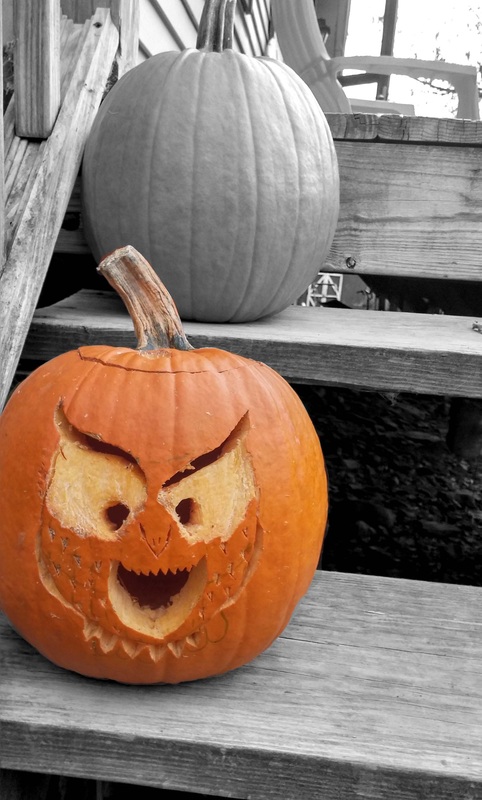
Selective Coloring
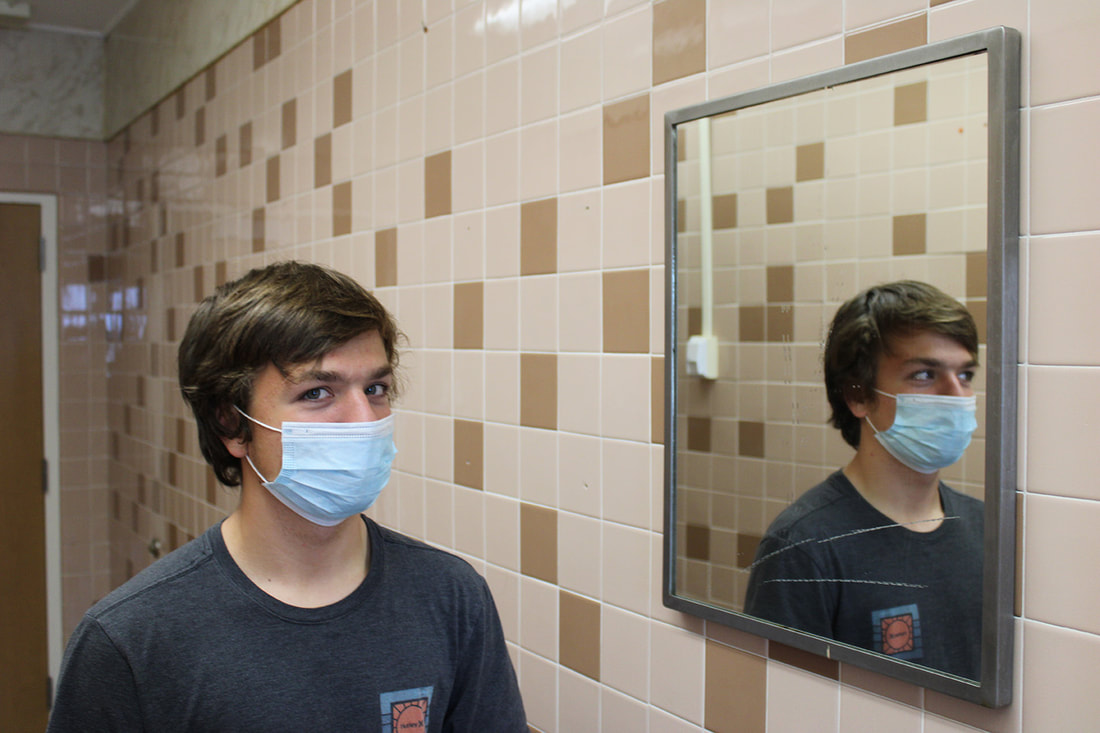
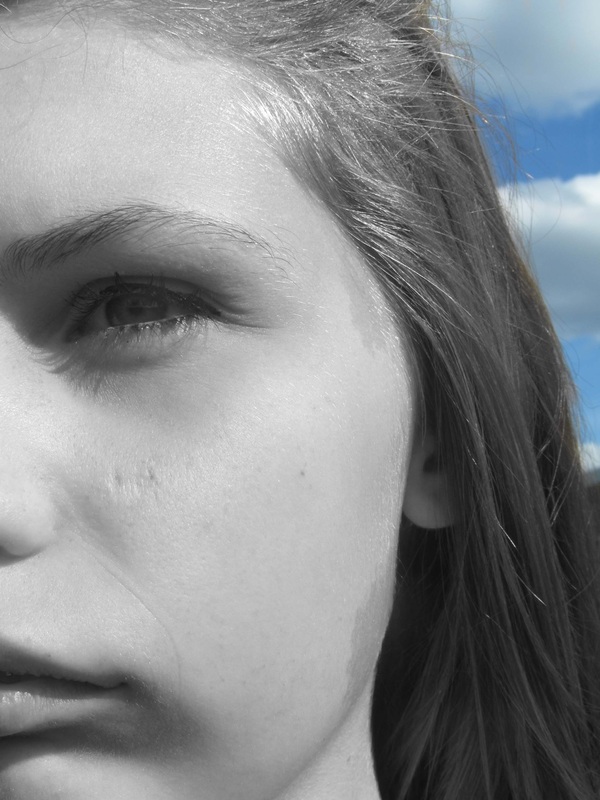
Photoshop can help an artist manipulate an image in many ways, one of the first things Photography students learn to do is select one part of an image to keep it in color. We practice in class to get the feel for how to use layers, makes, and the selection tool. Then students go out into the world to find a subject matter that will work well with one part in color and the rest of the image in black and white. Check out their images! This project was projected around Valentine's Day, can you tell?
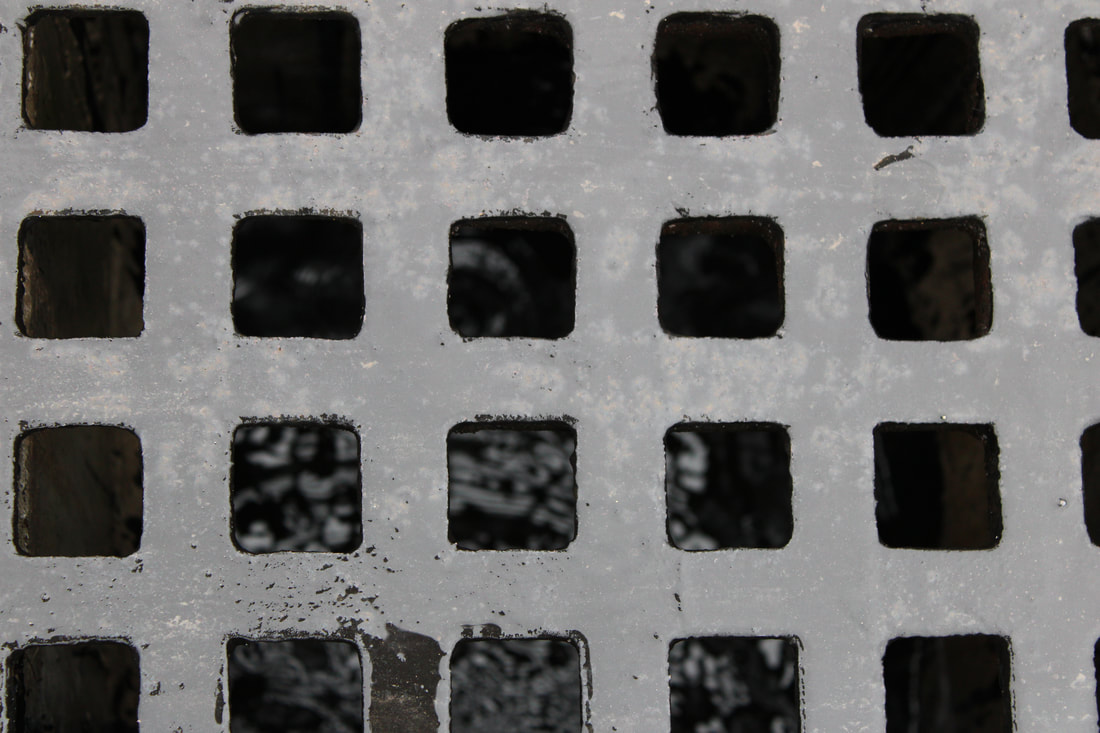
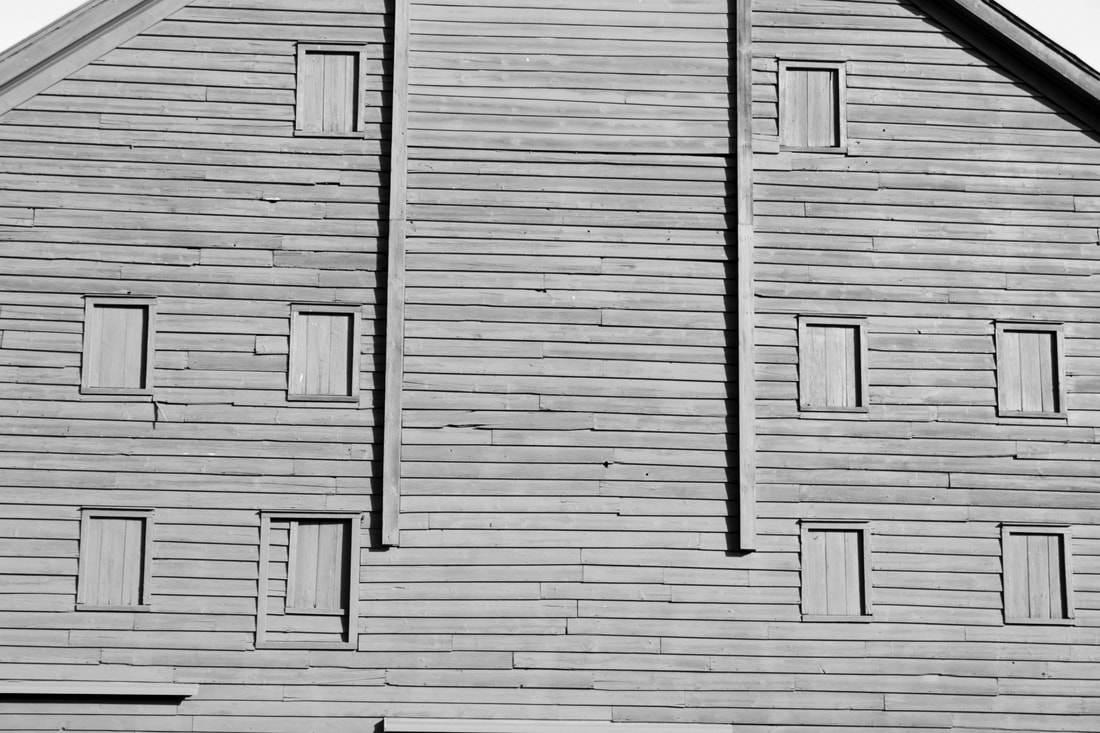
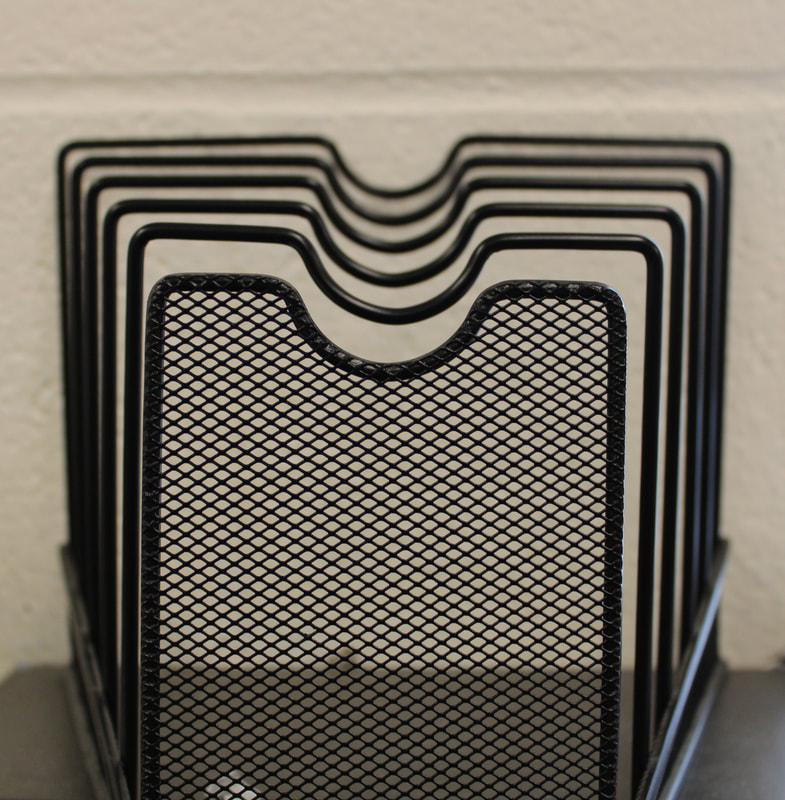
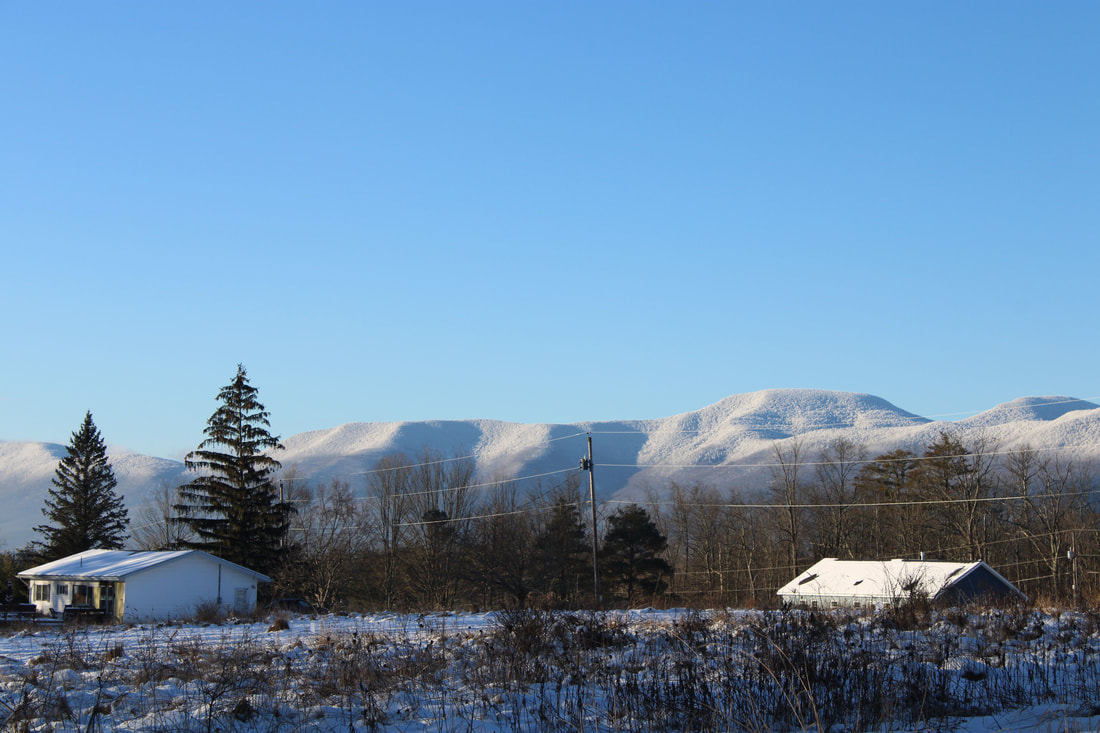
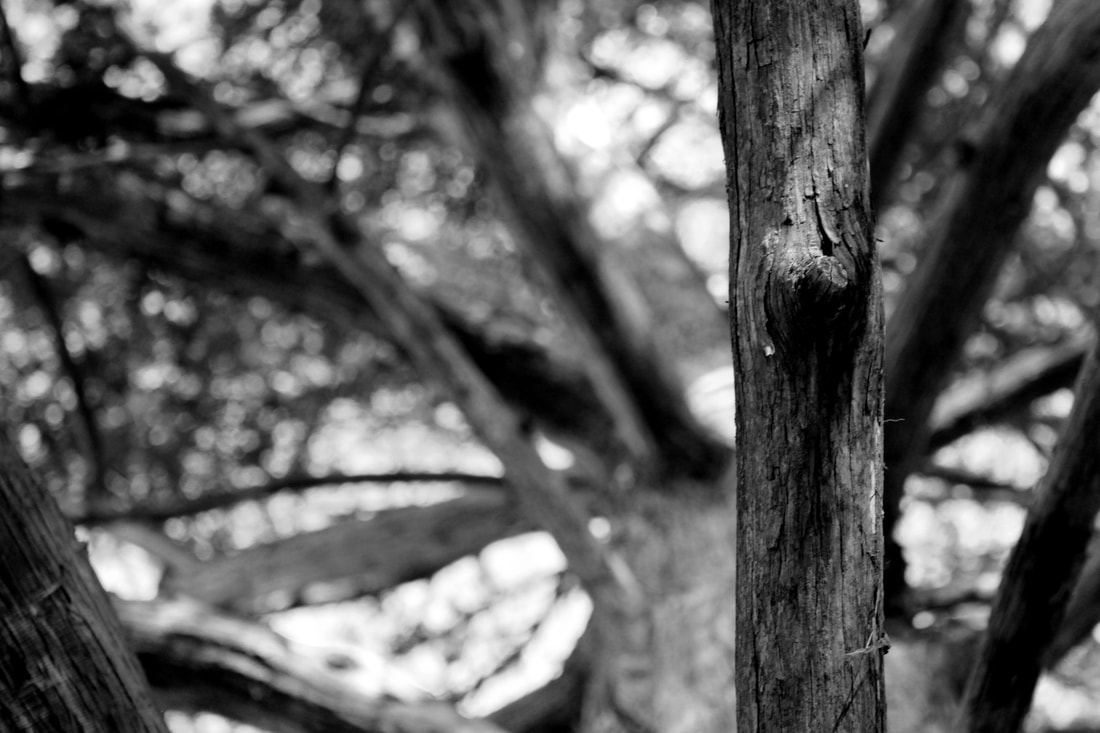
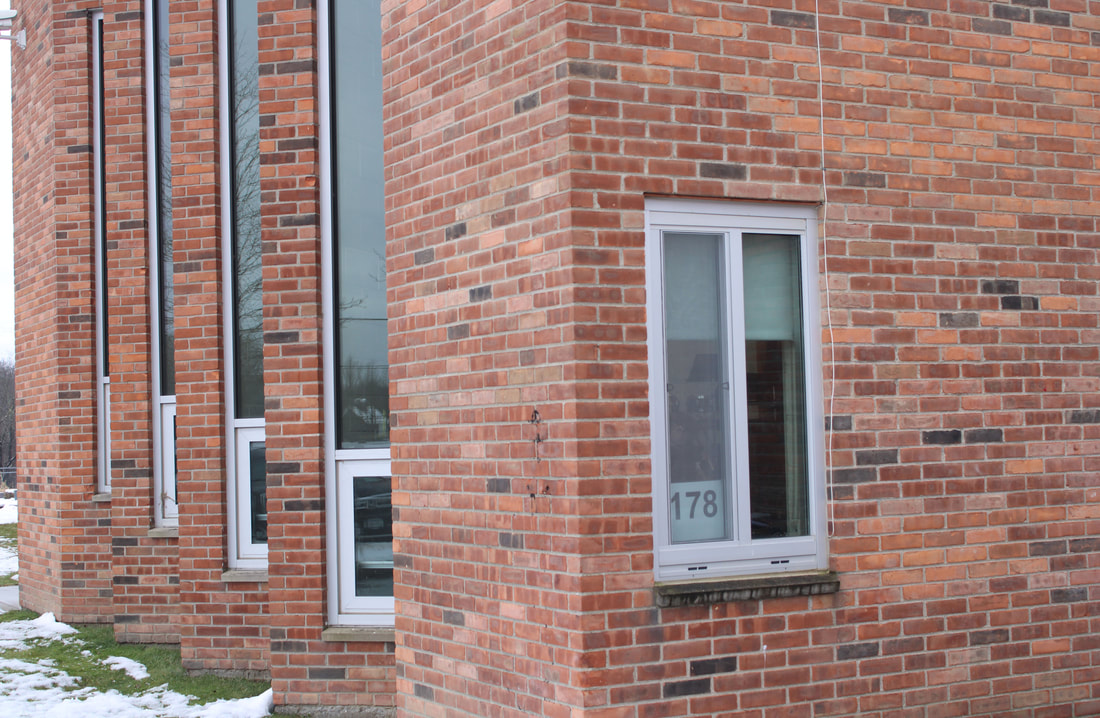
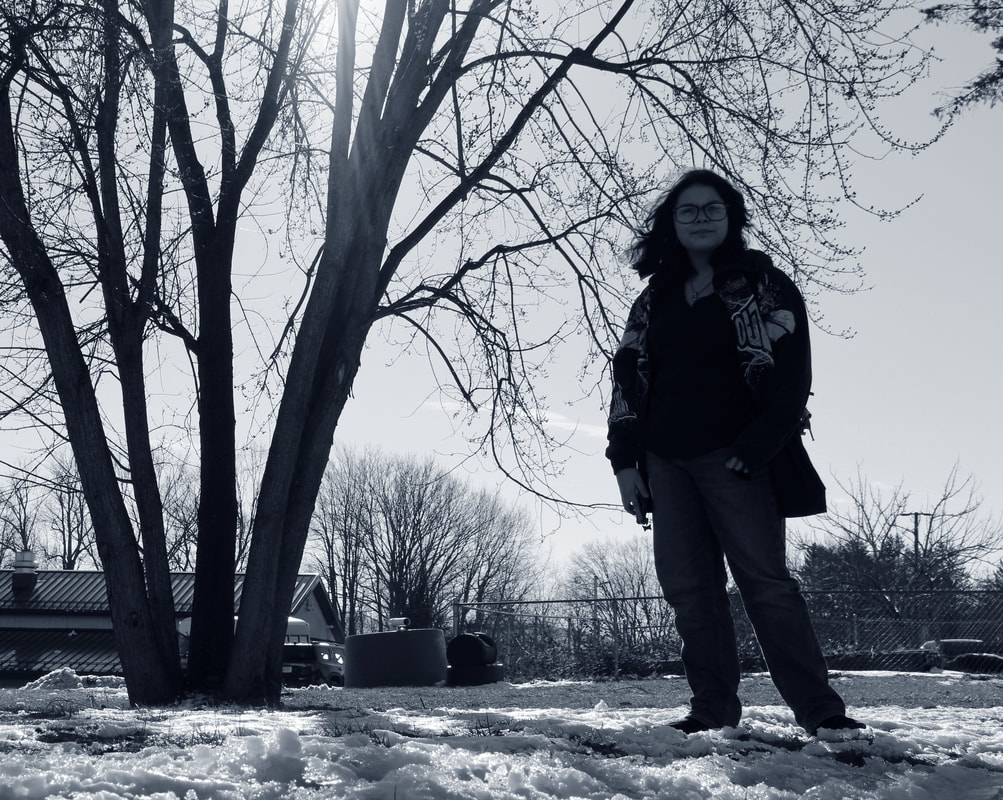
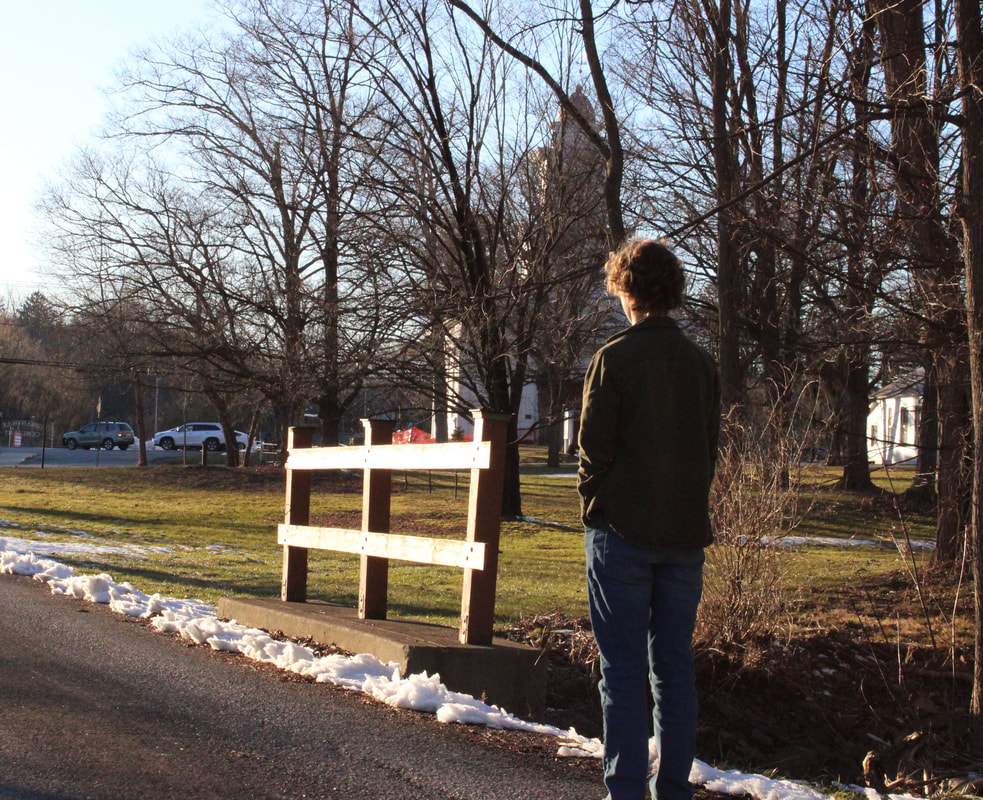
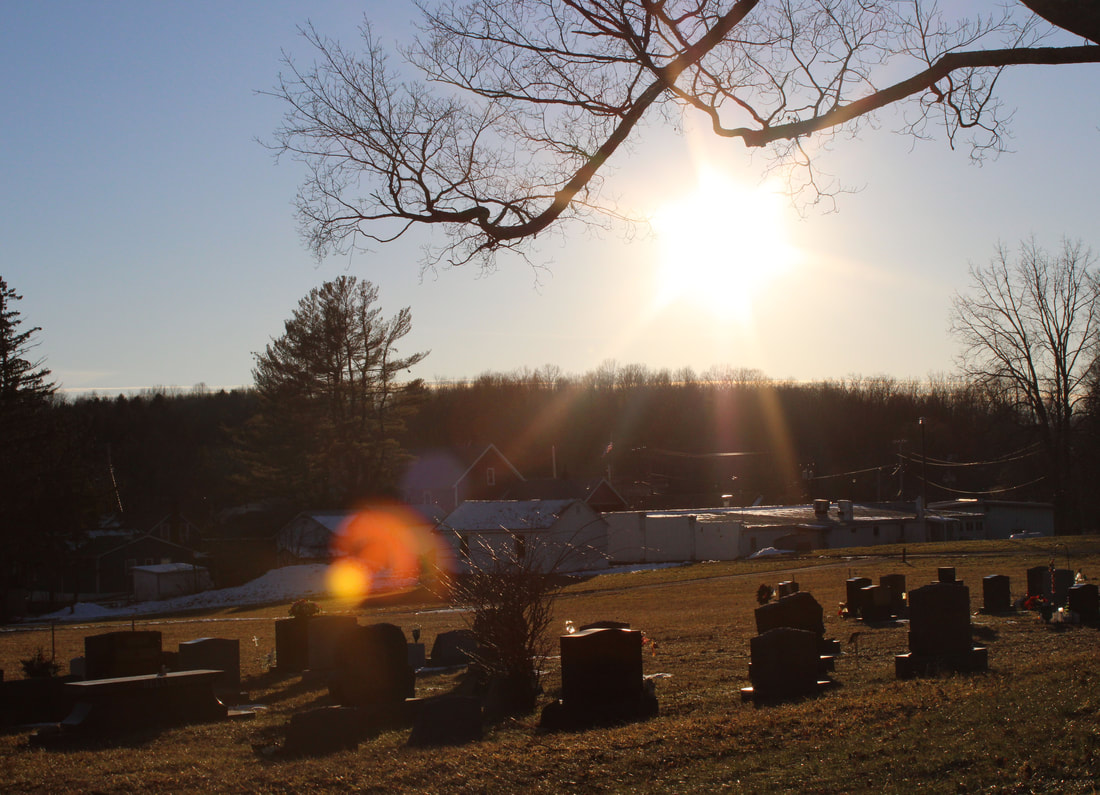
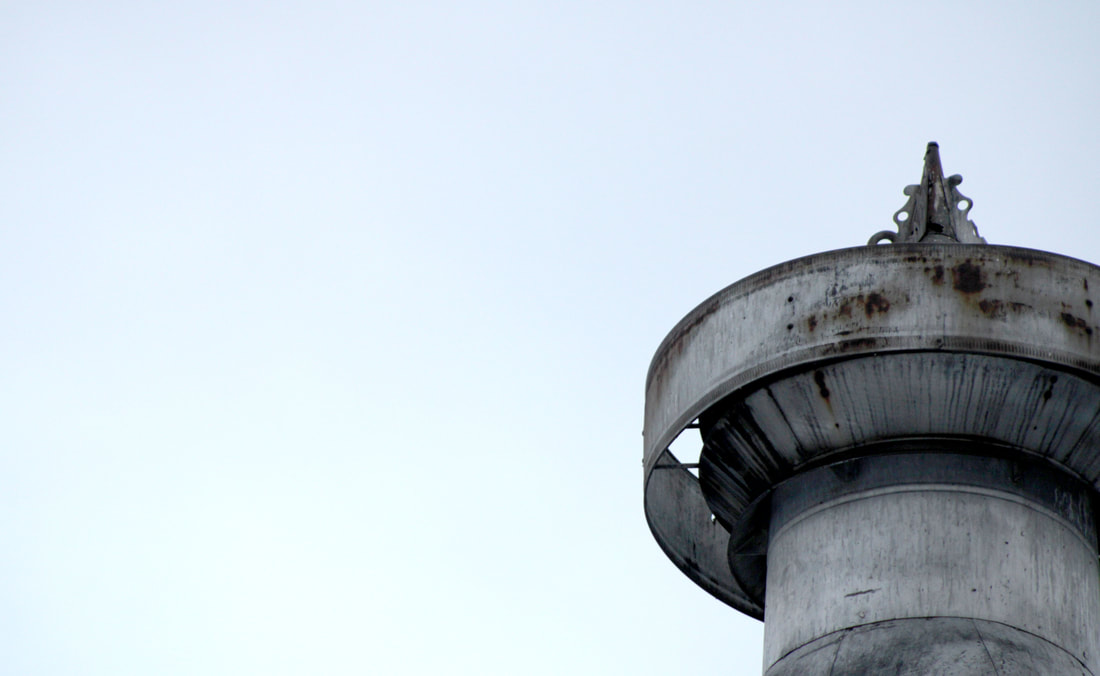
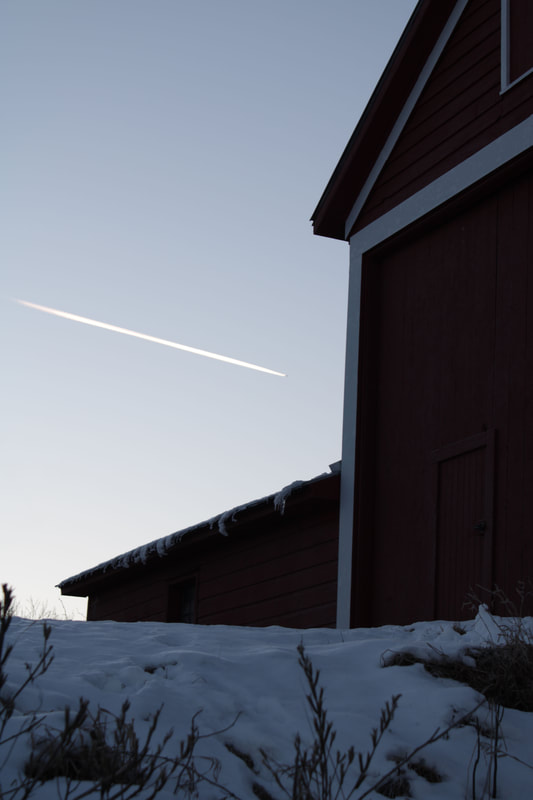
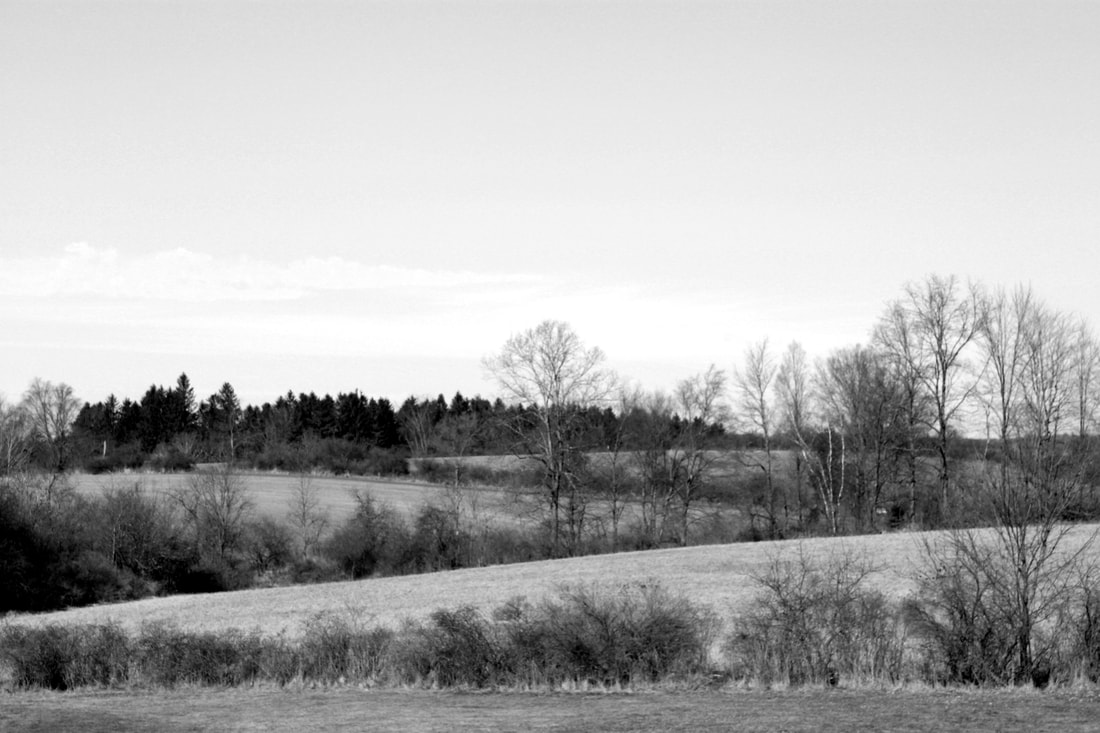
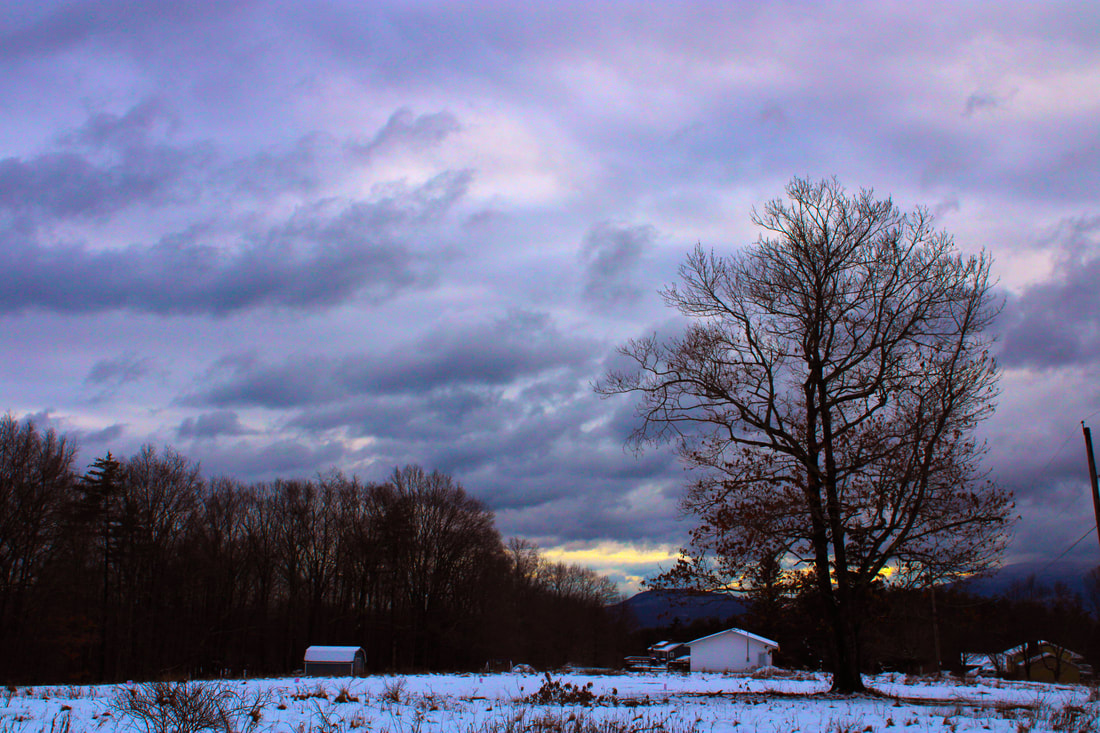
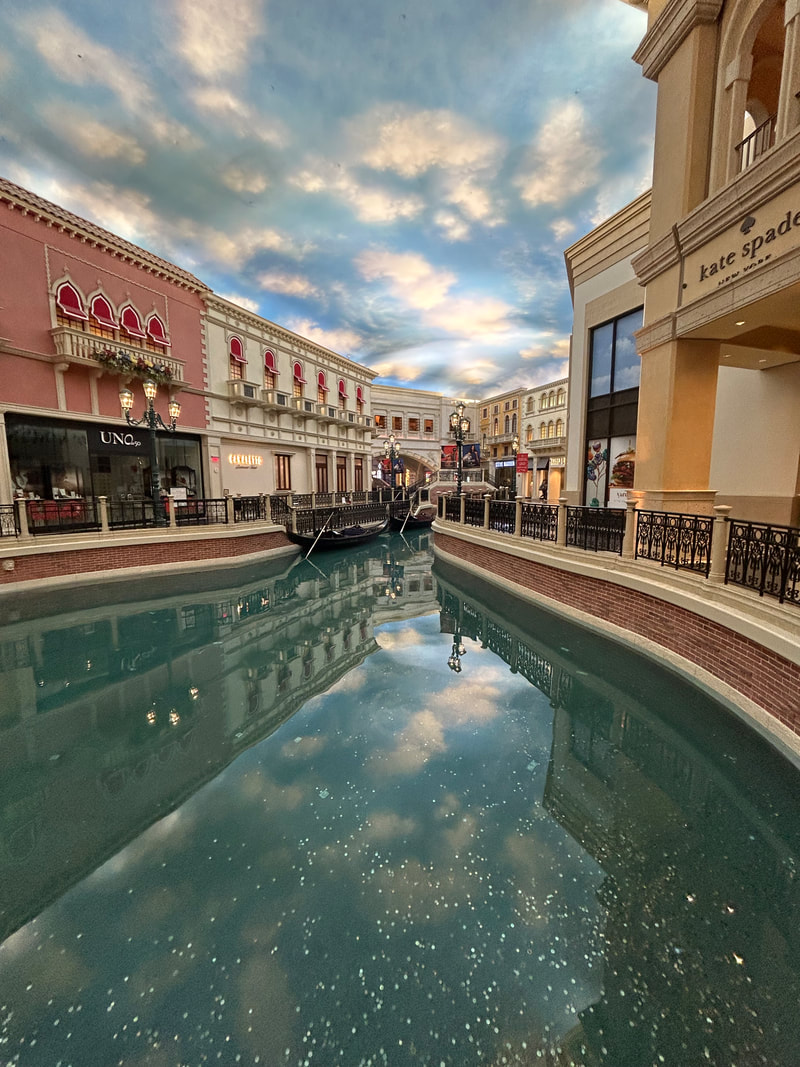
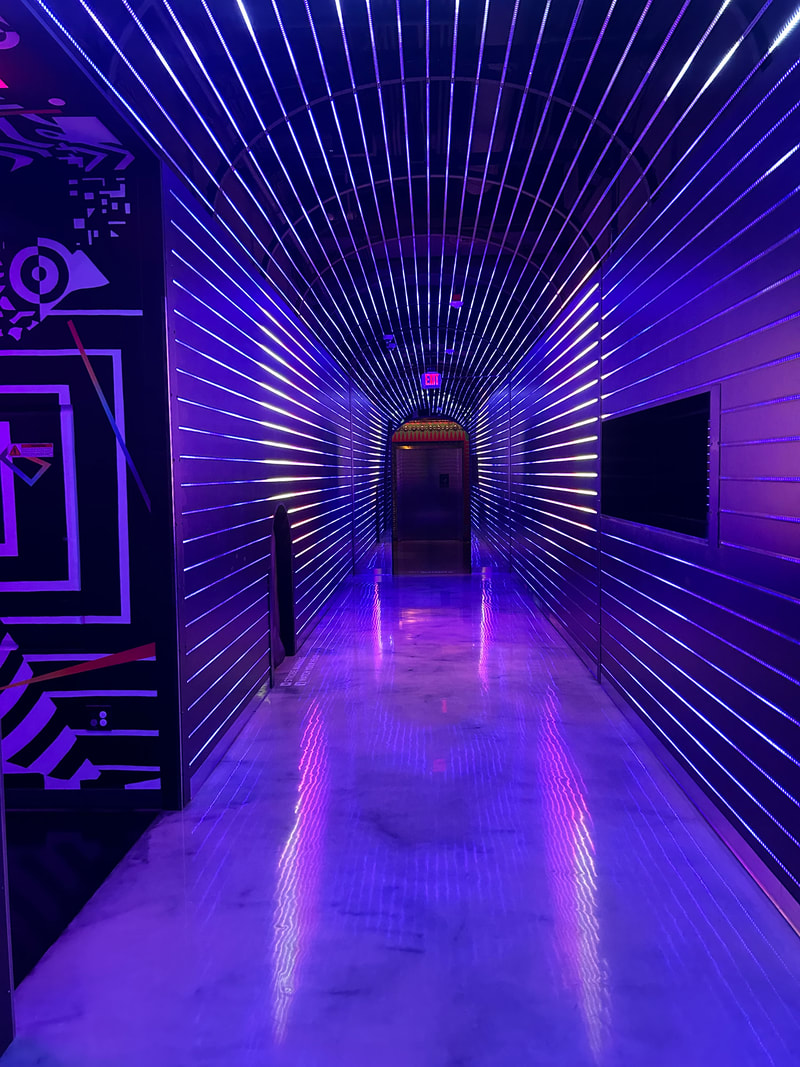
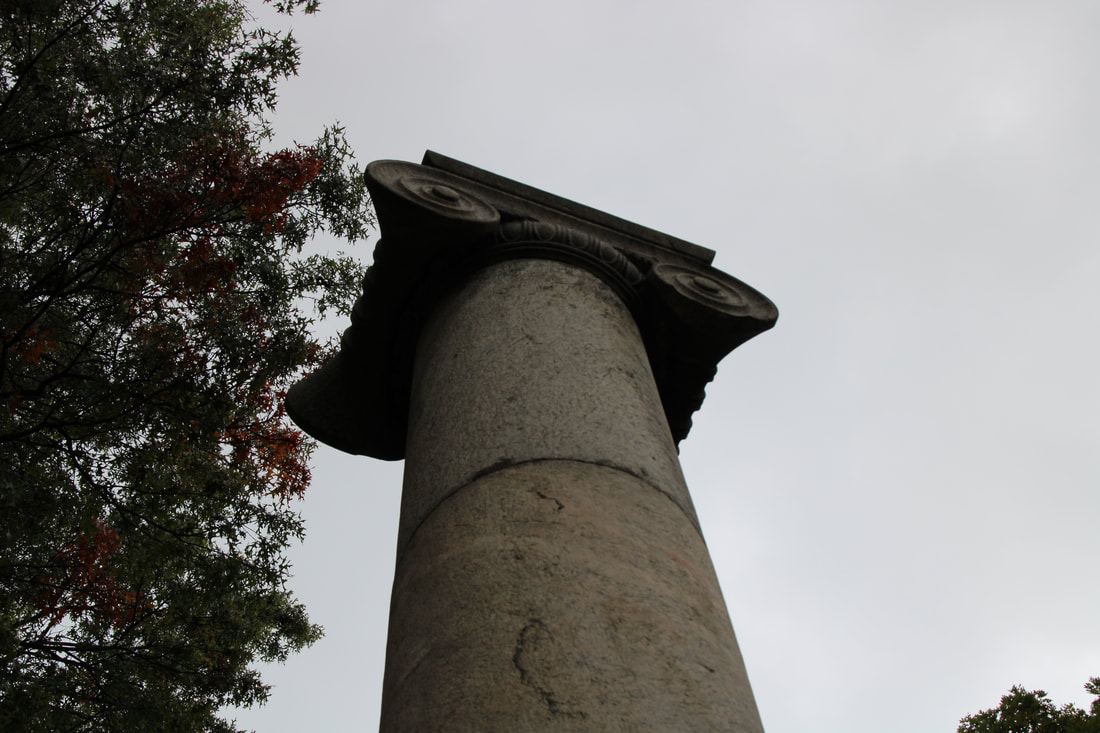
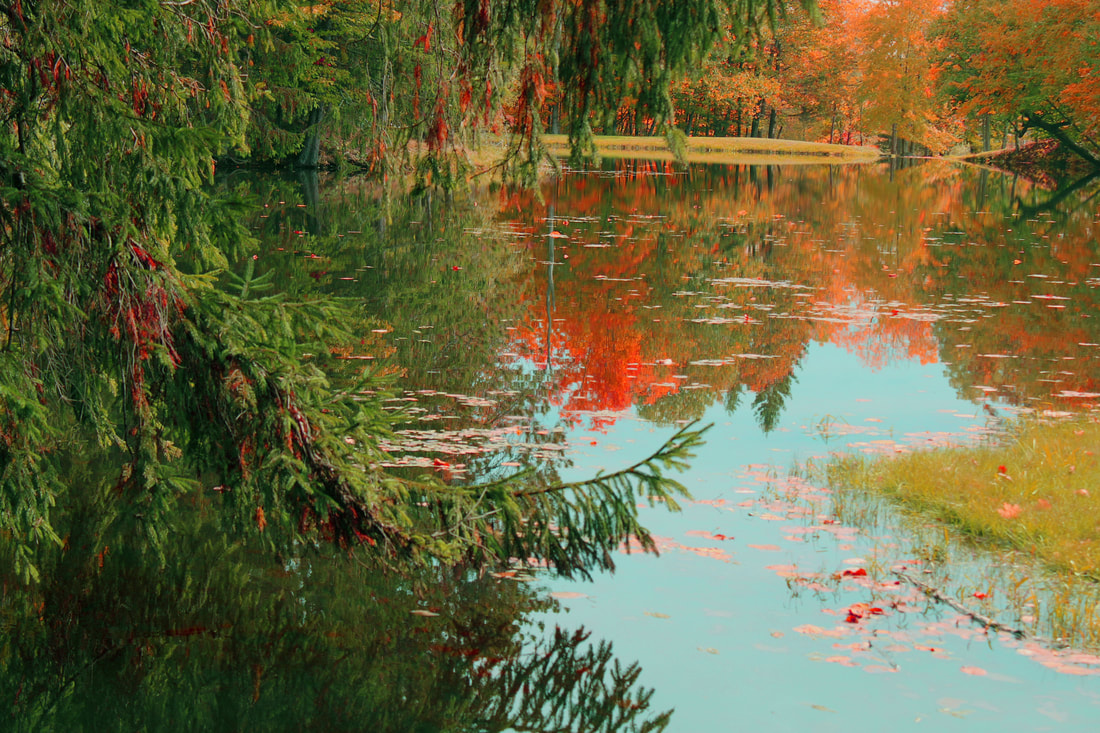
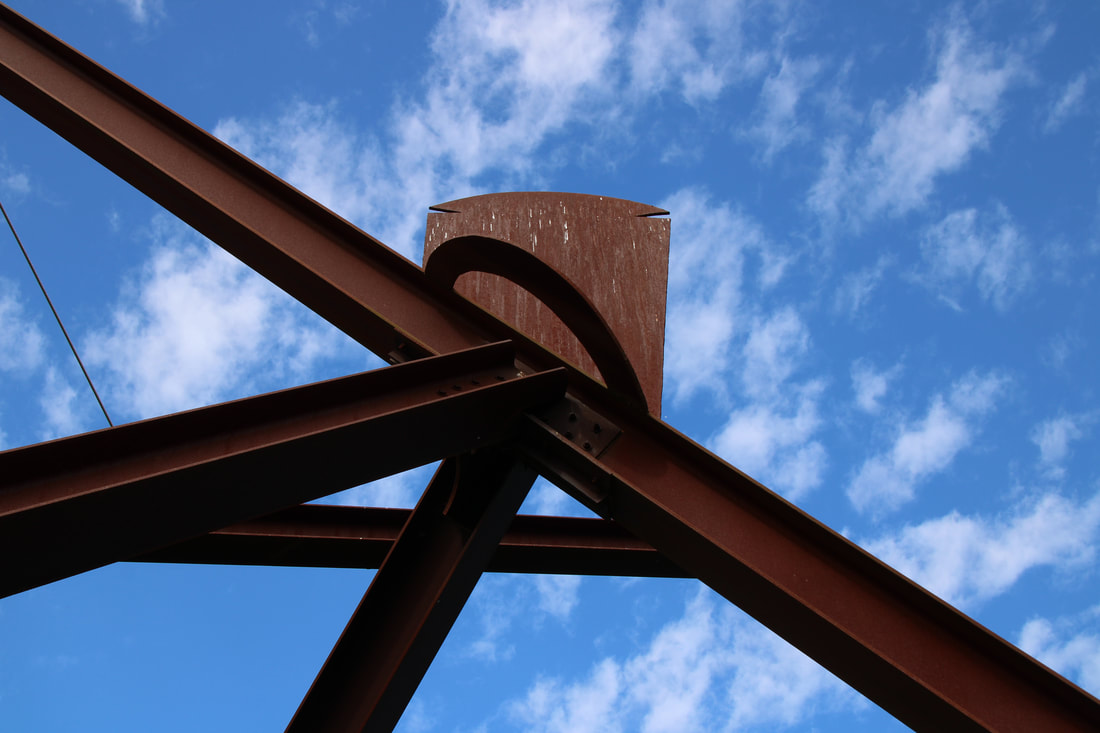
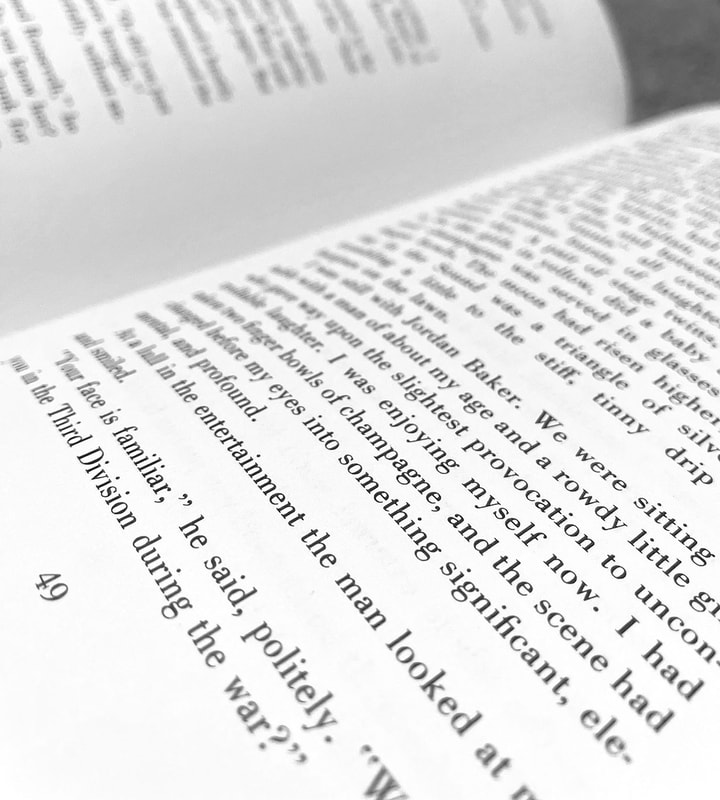
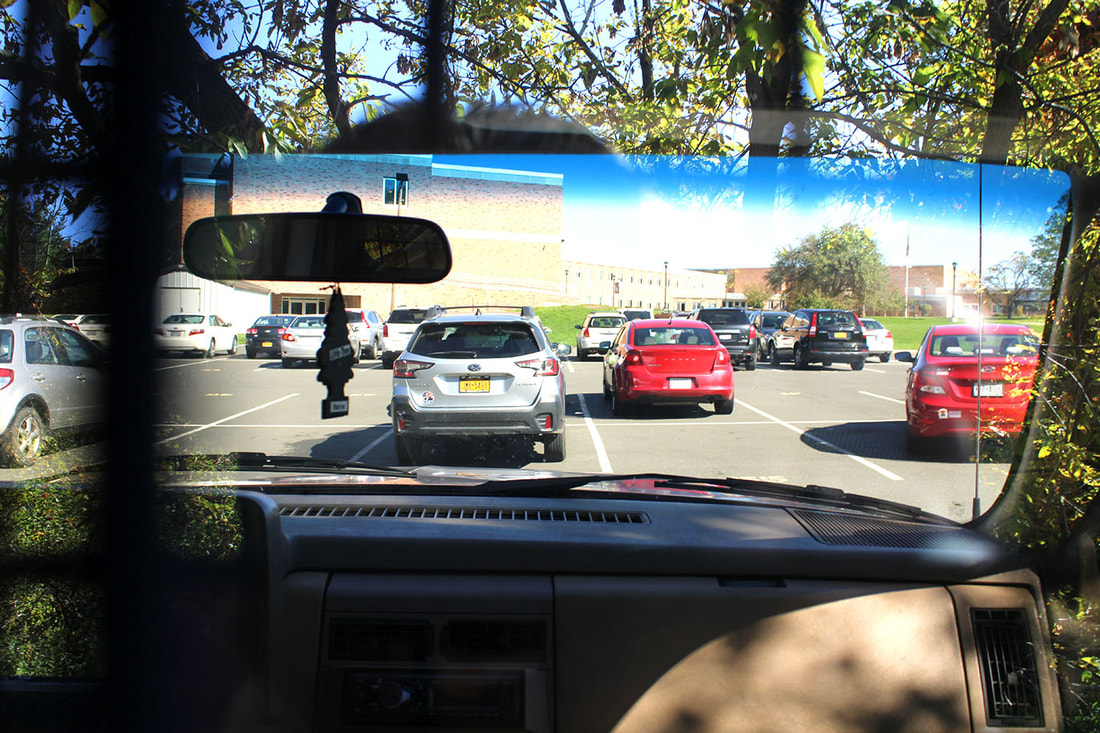
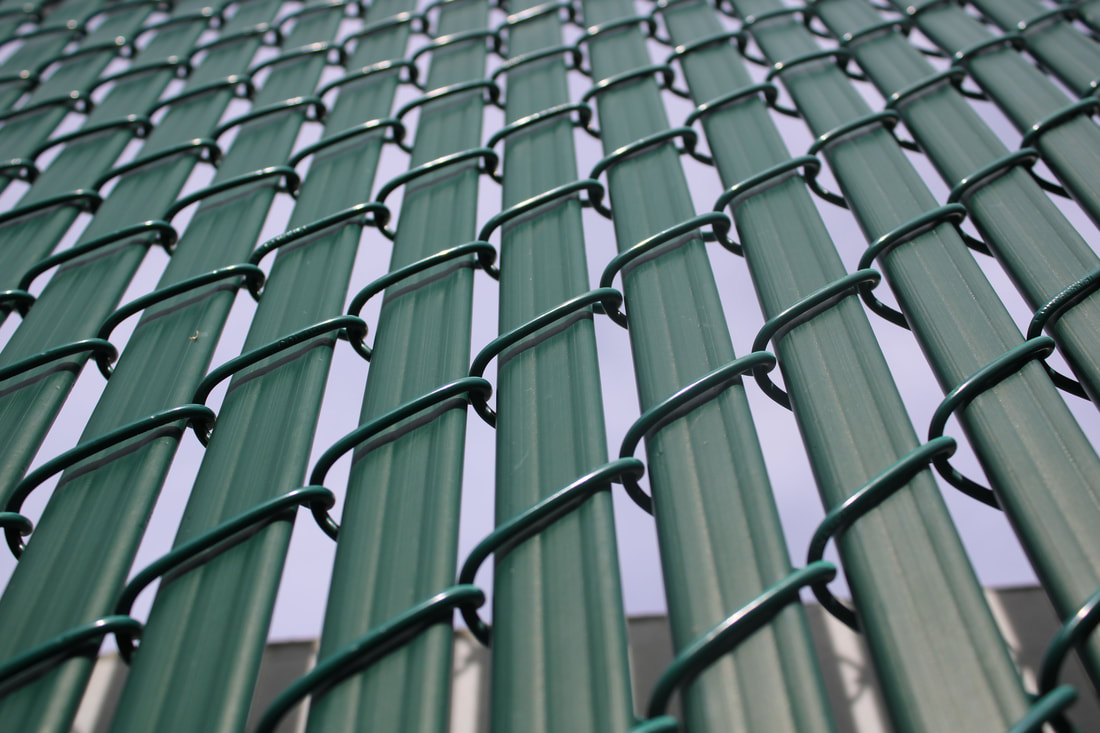
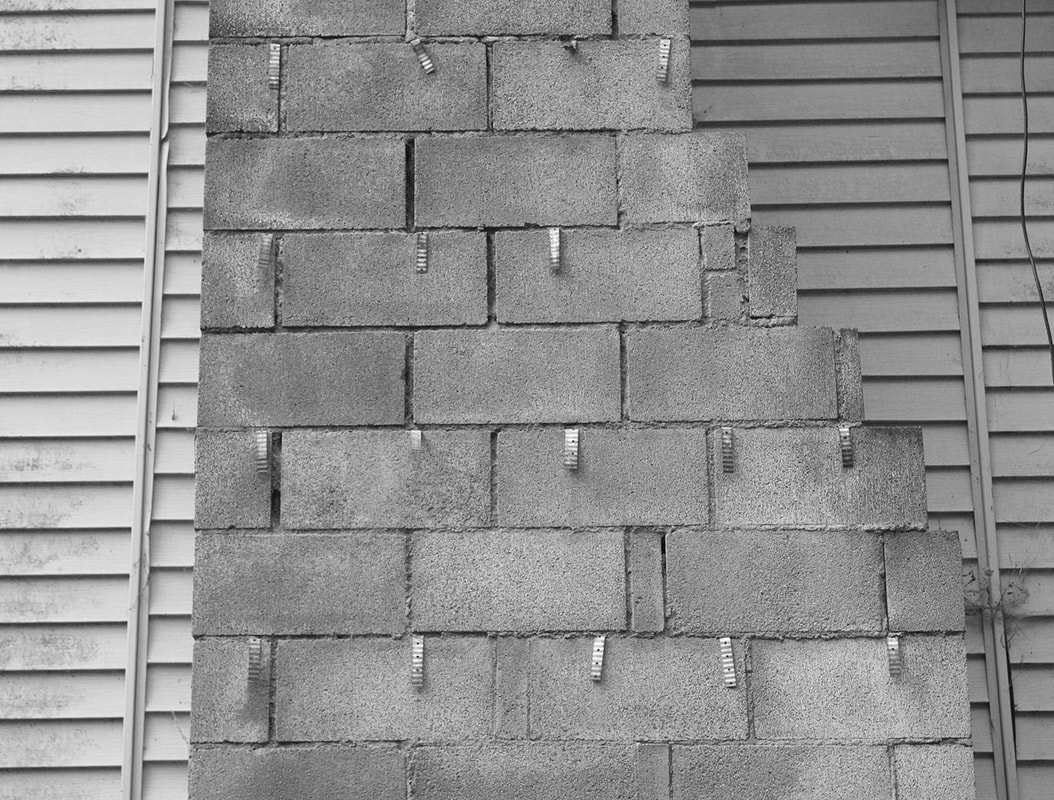
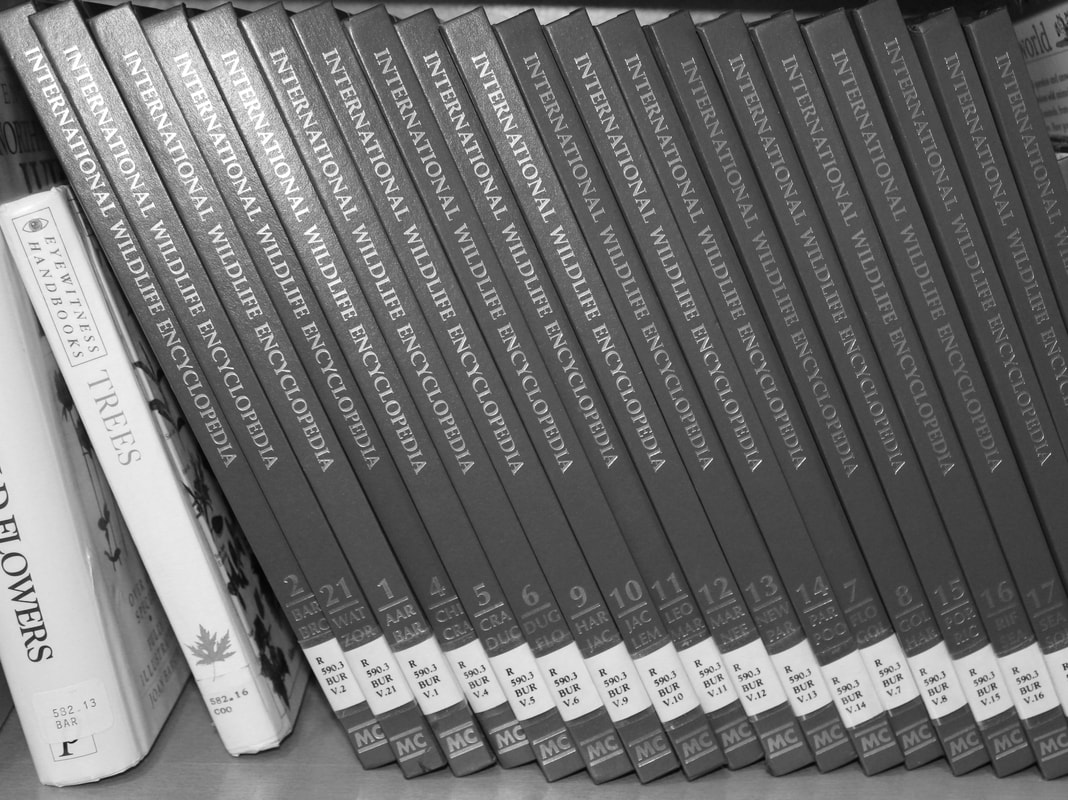
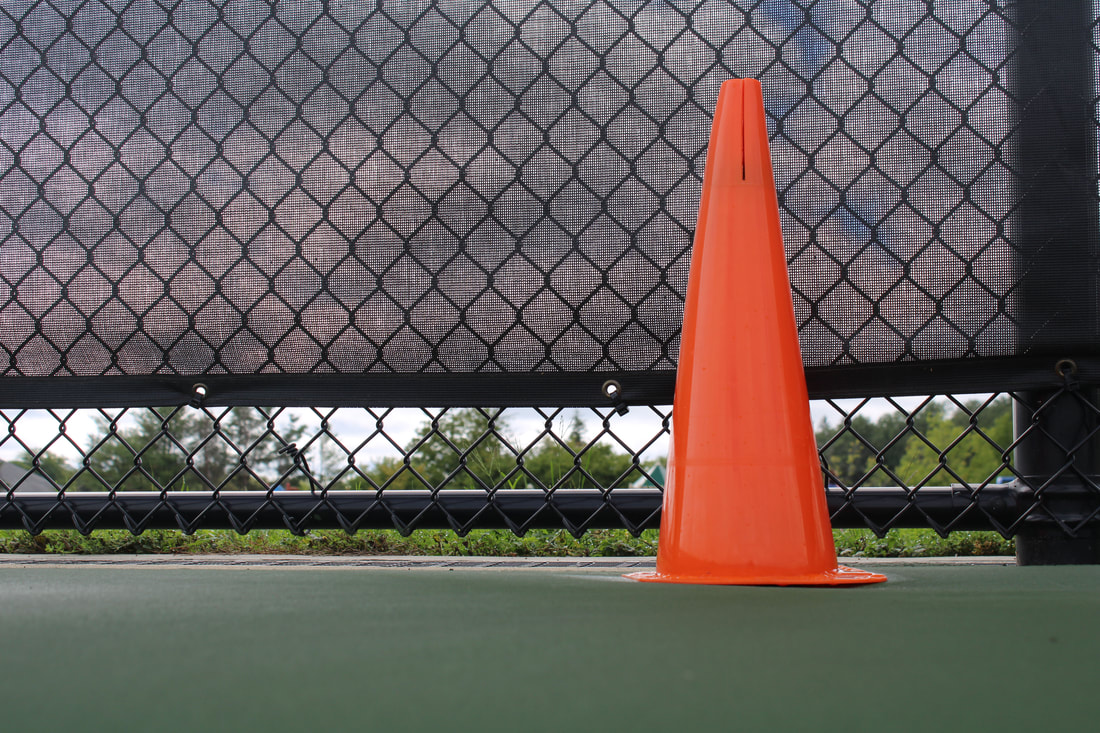
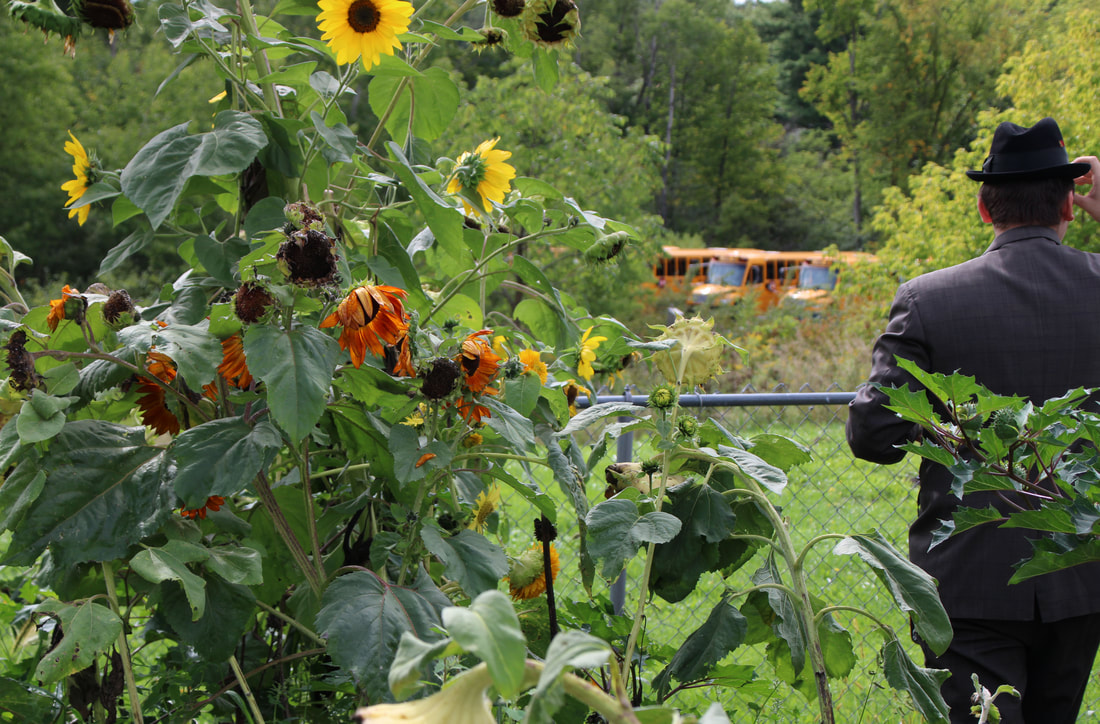
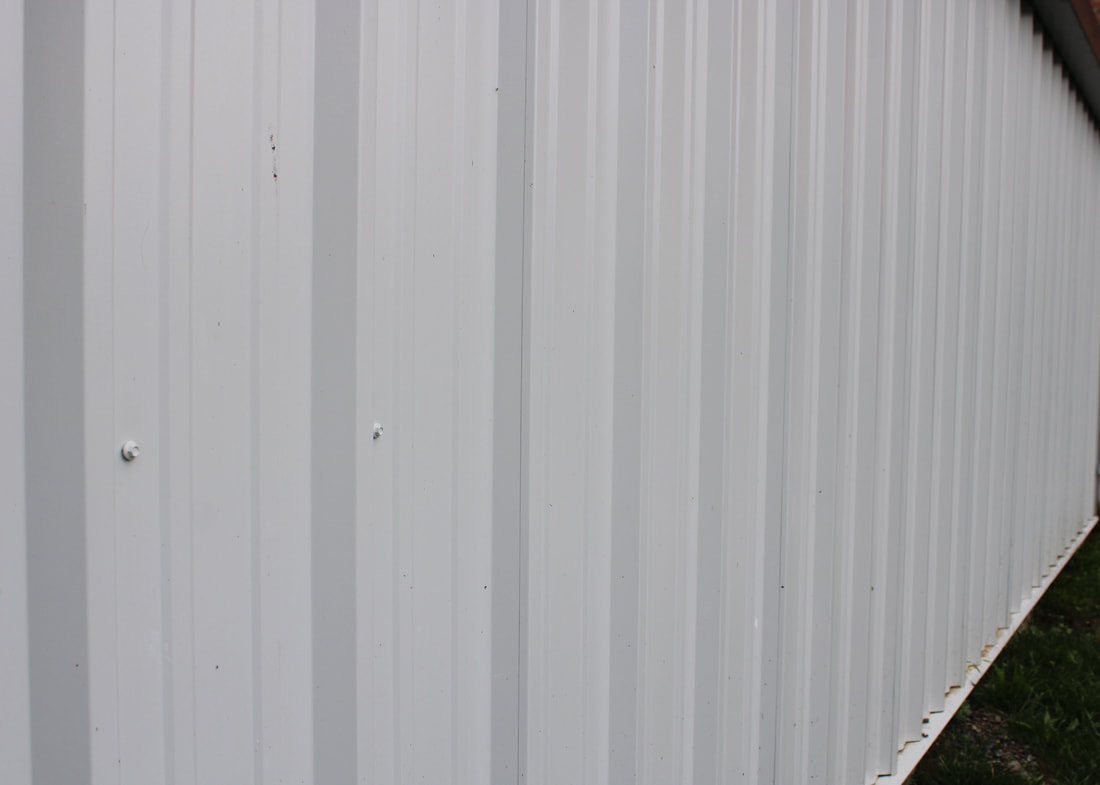
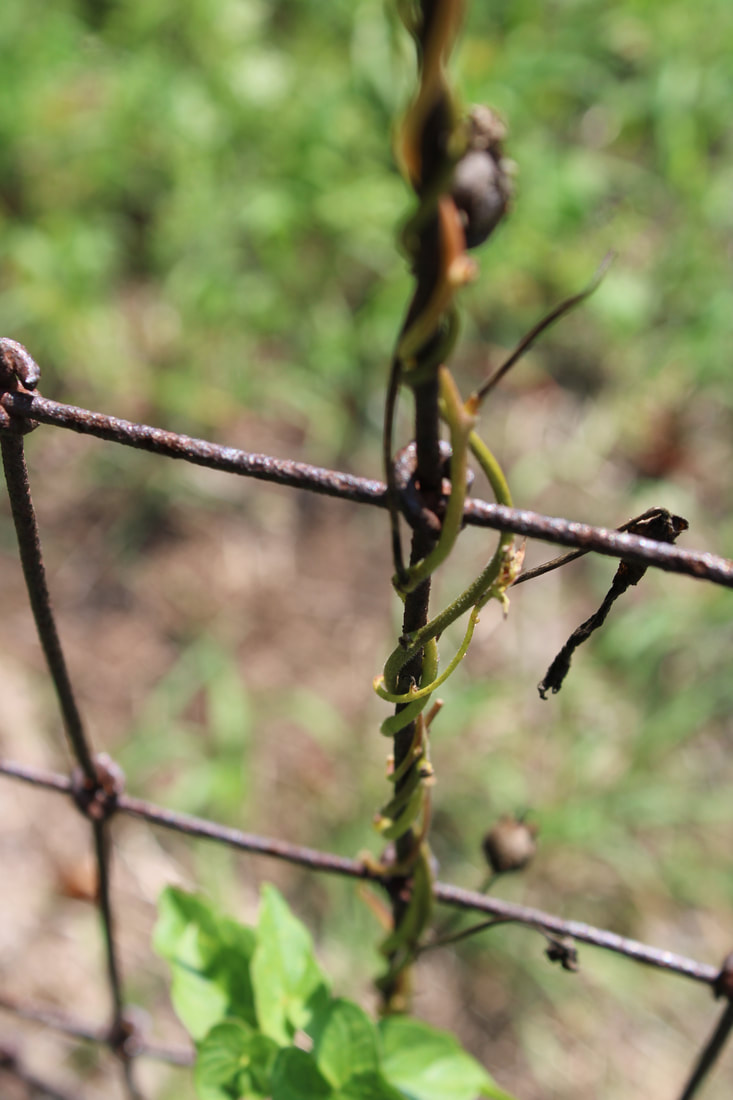
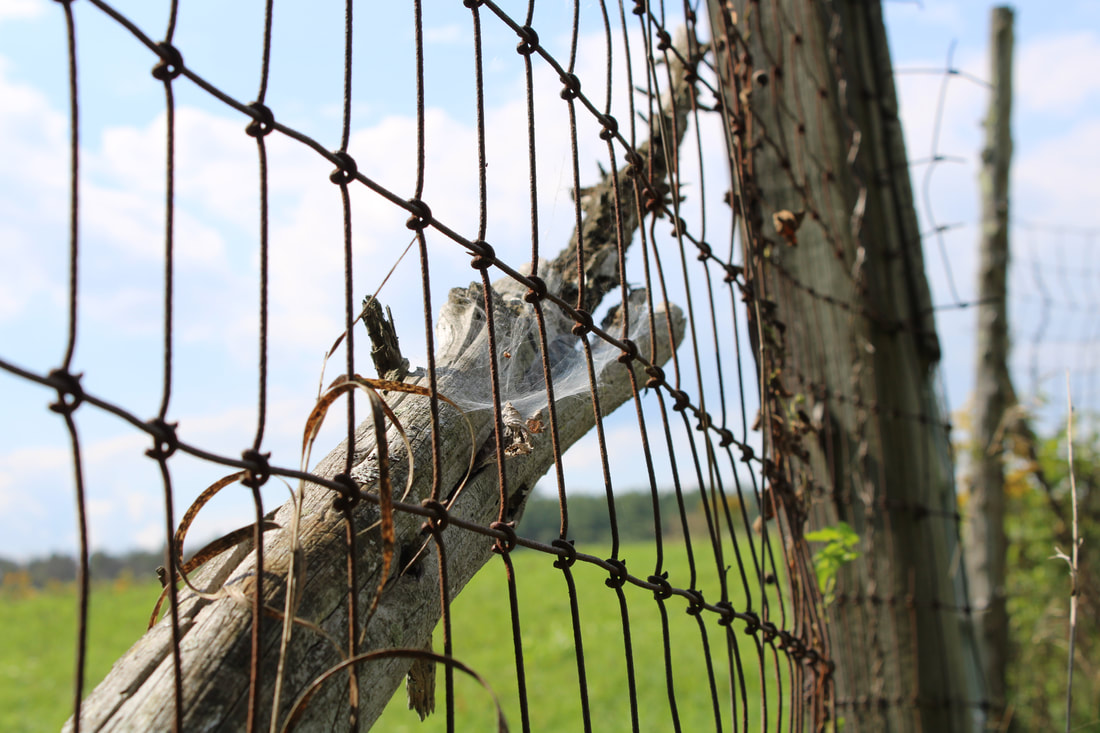
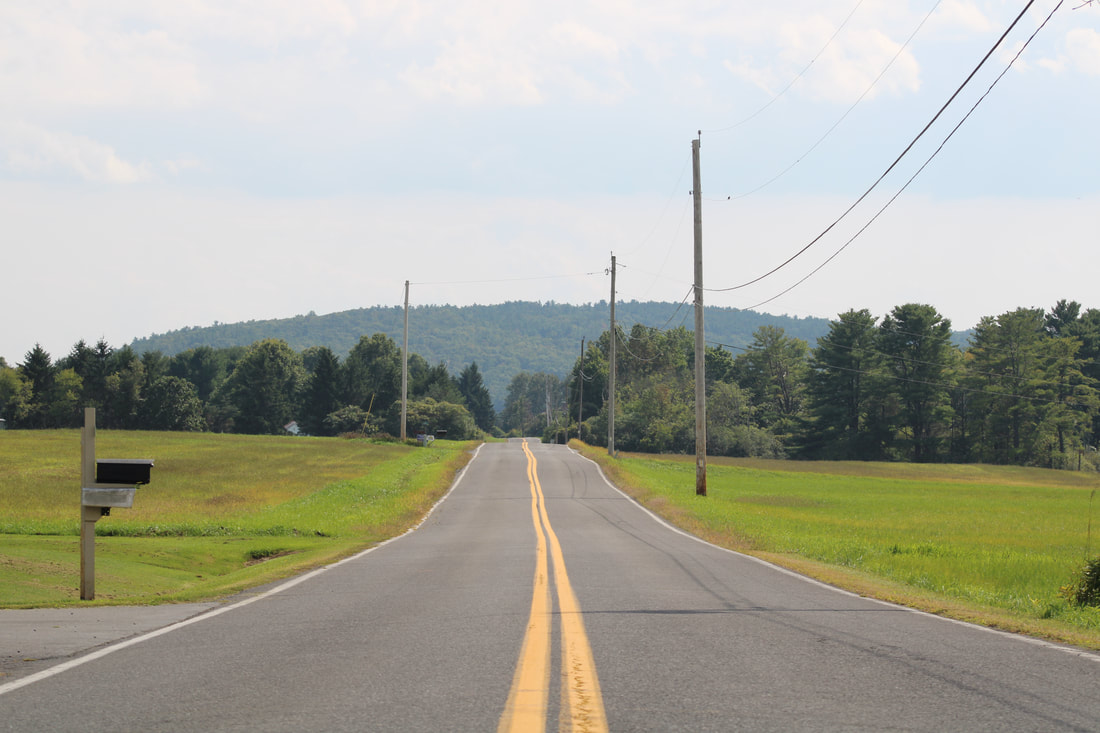
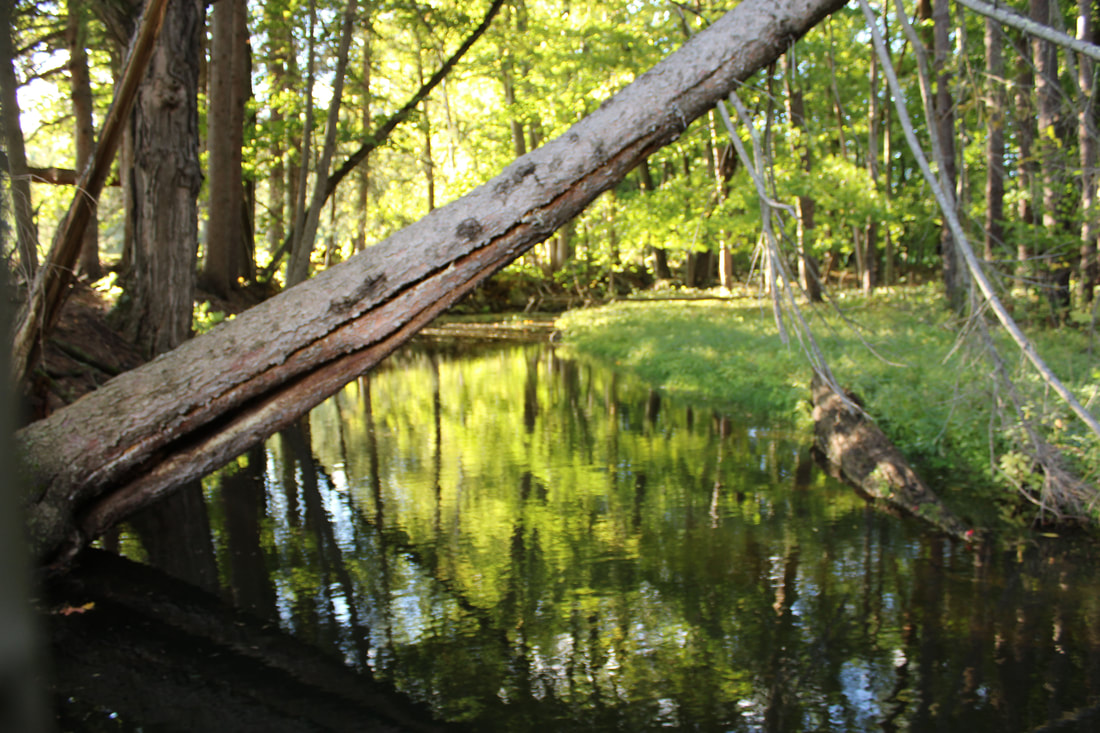
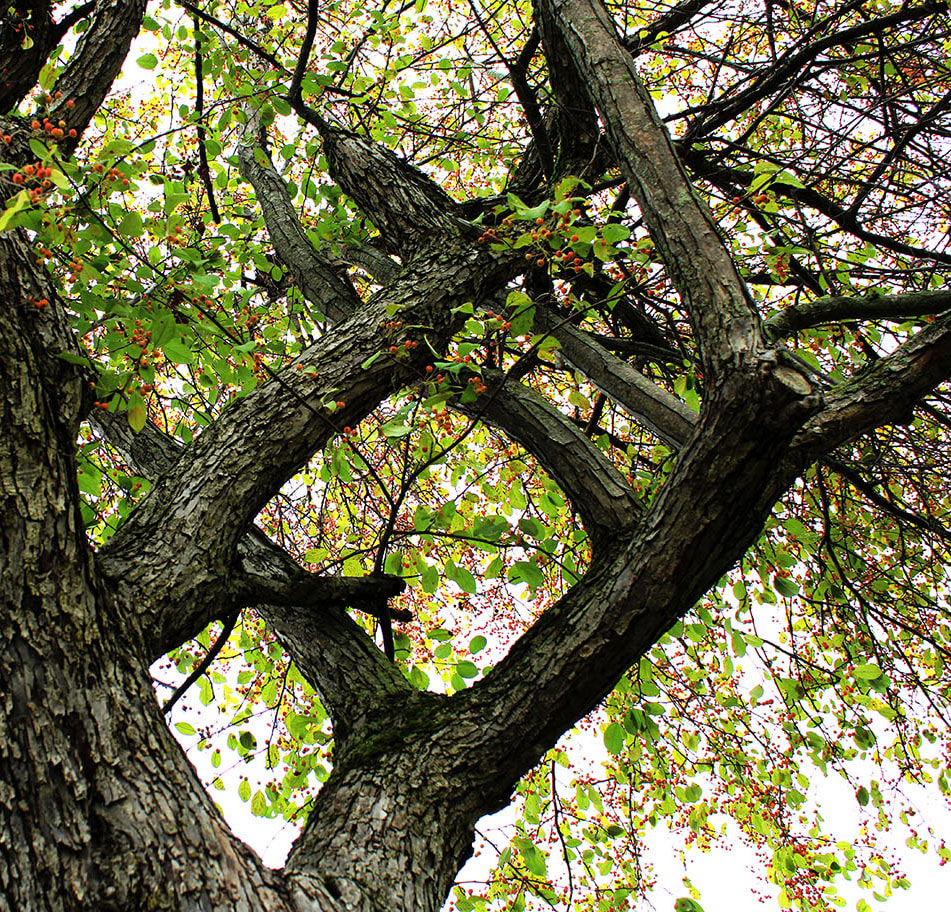
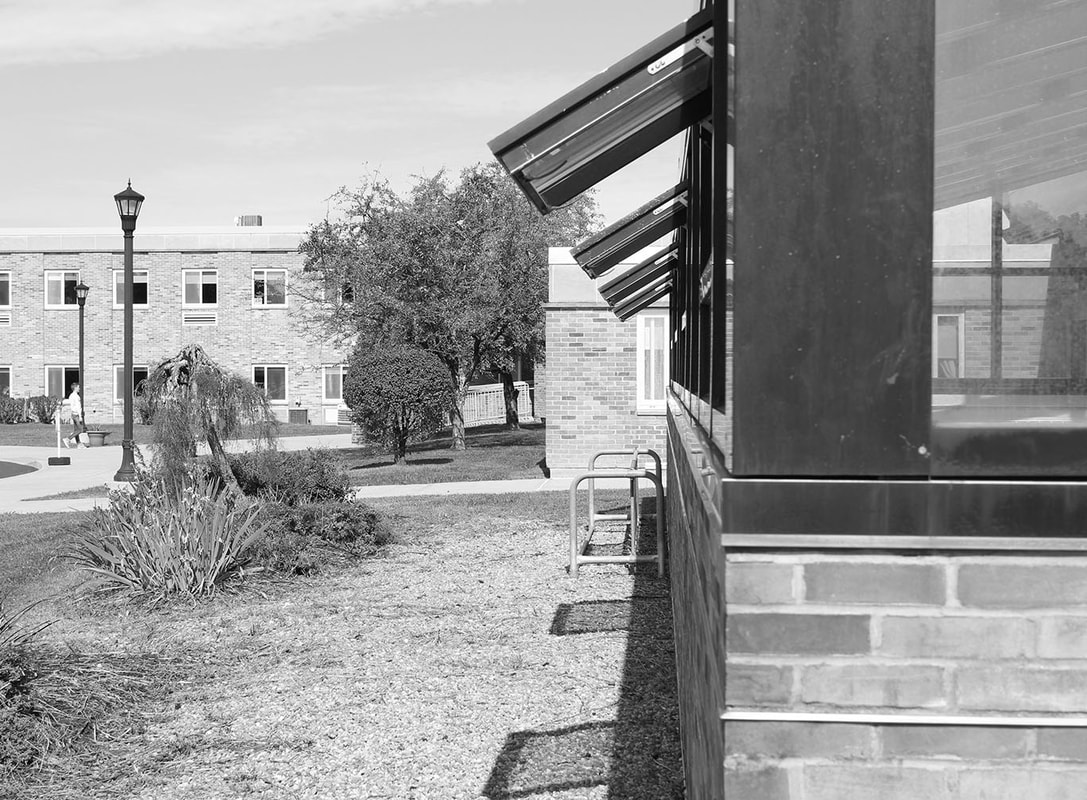
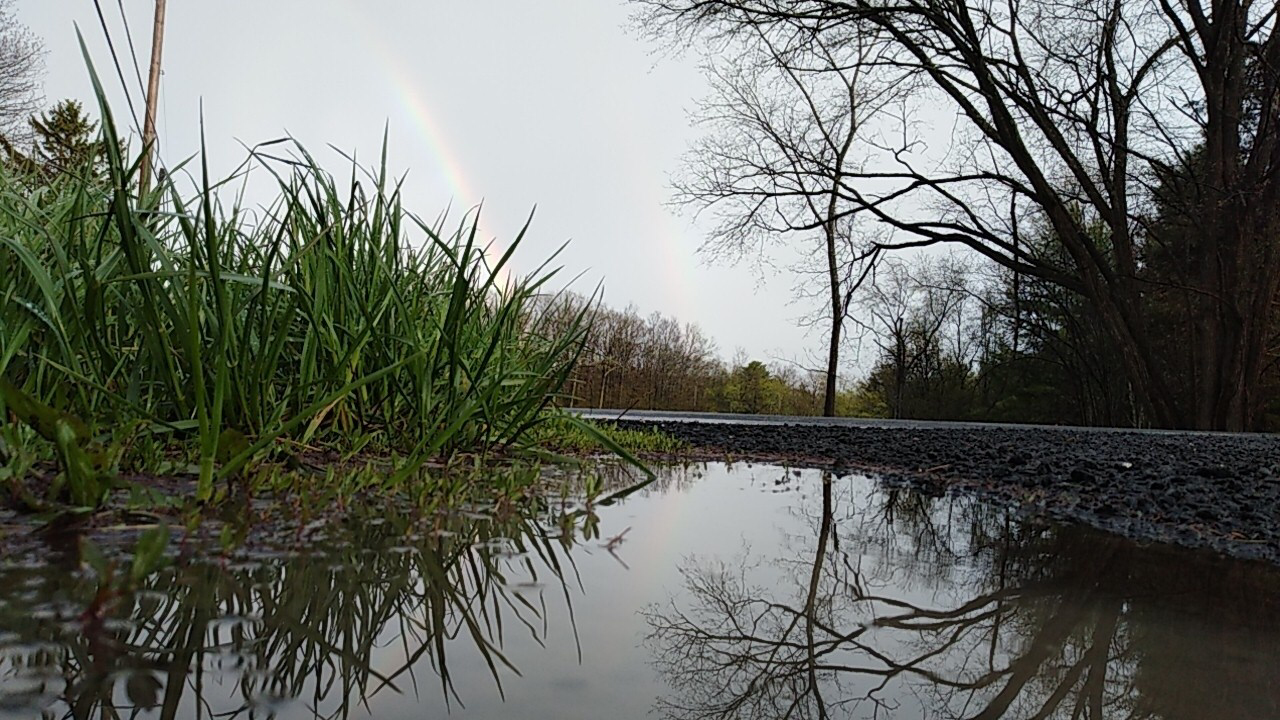
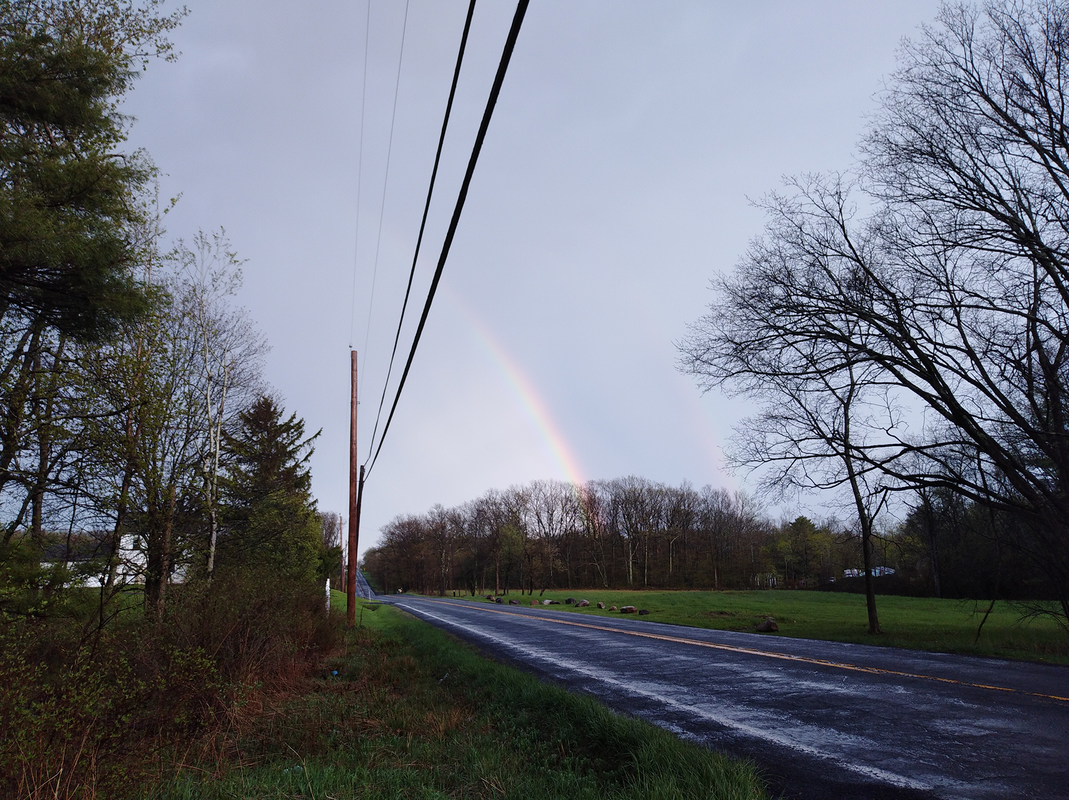
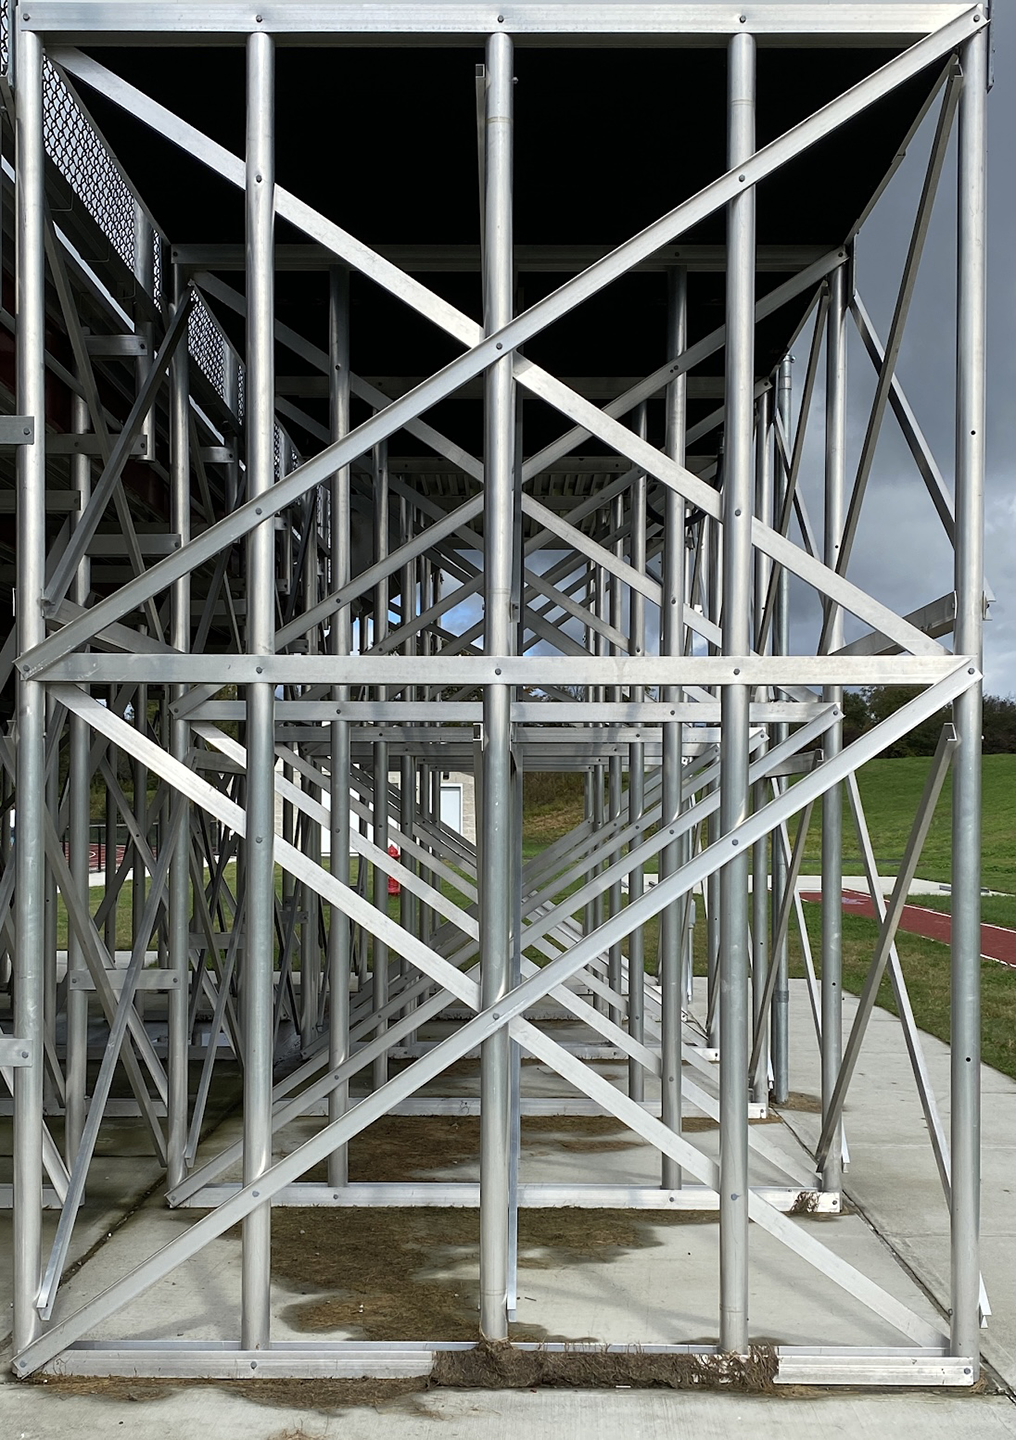
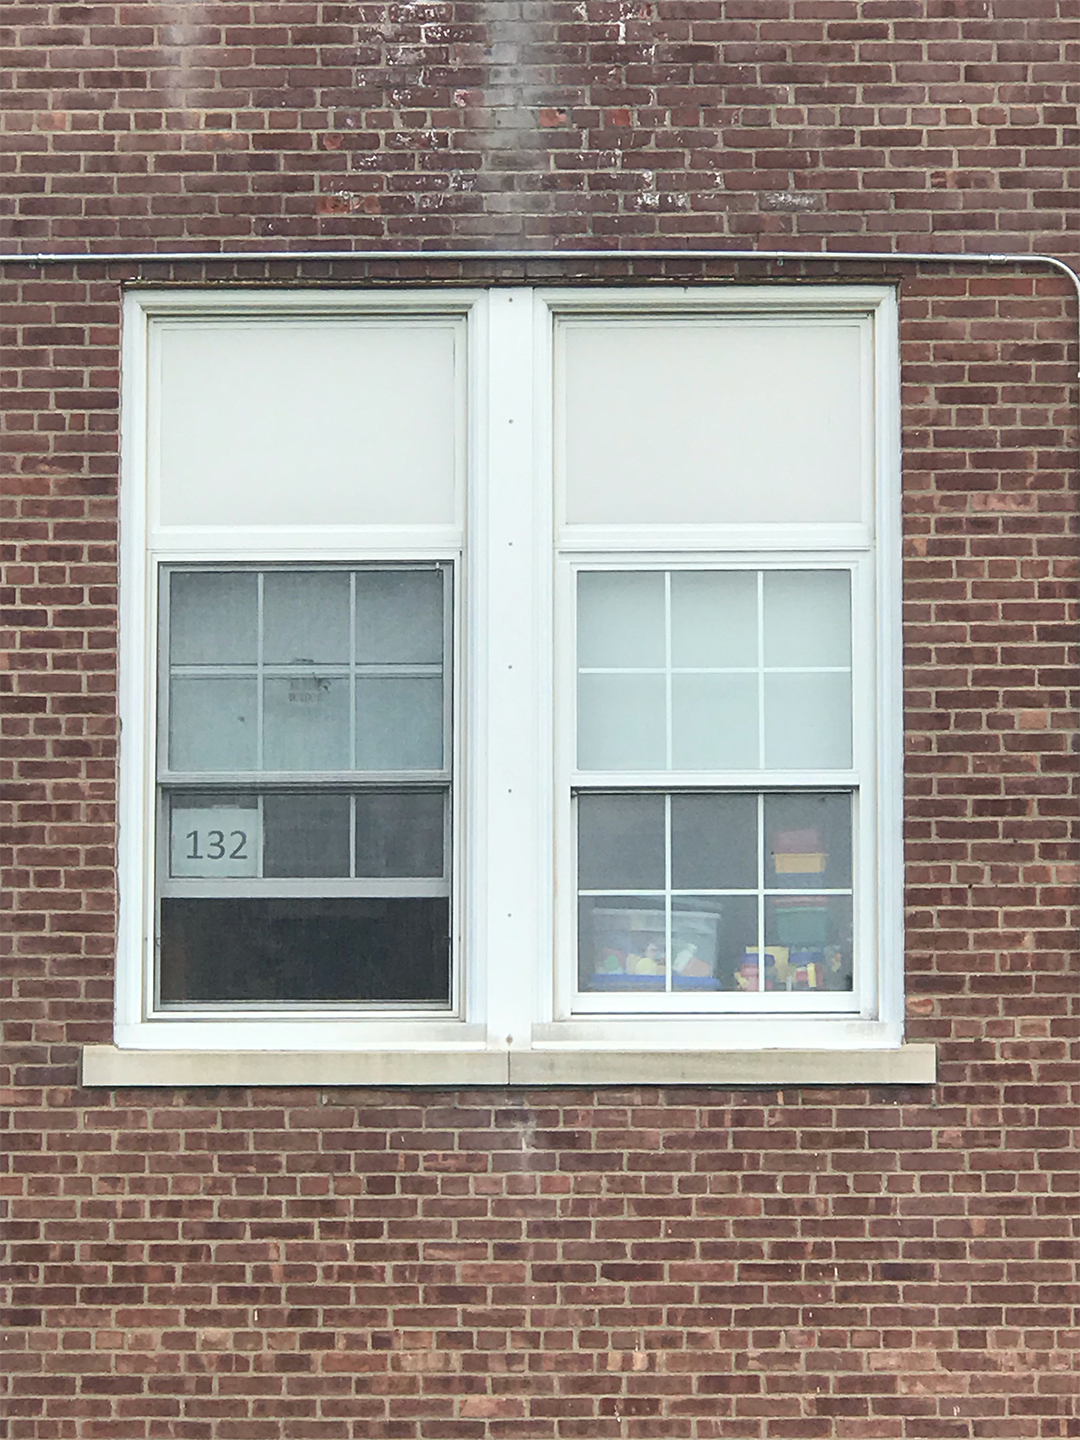
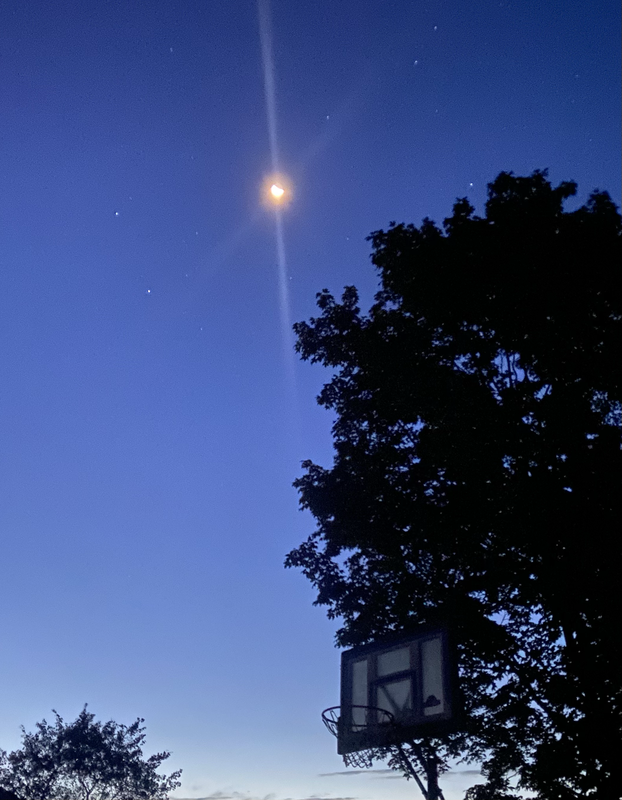
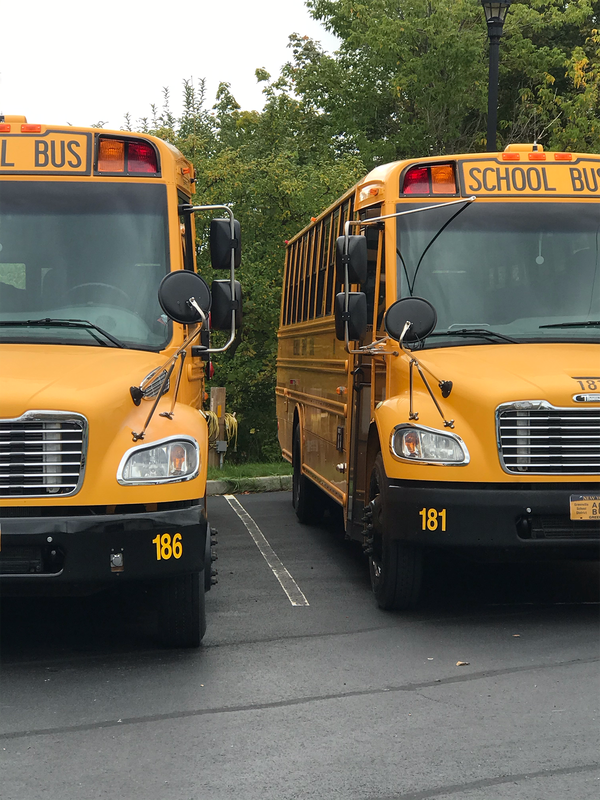
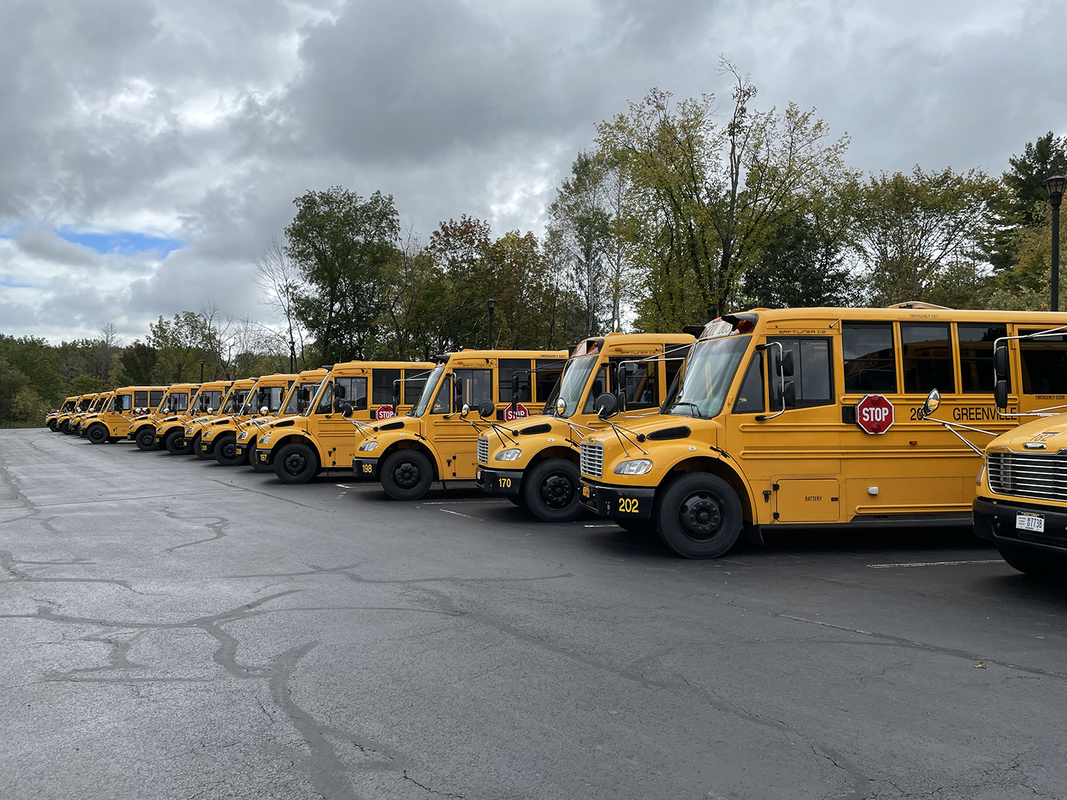
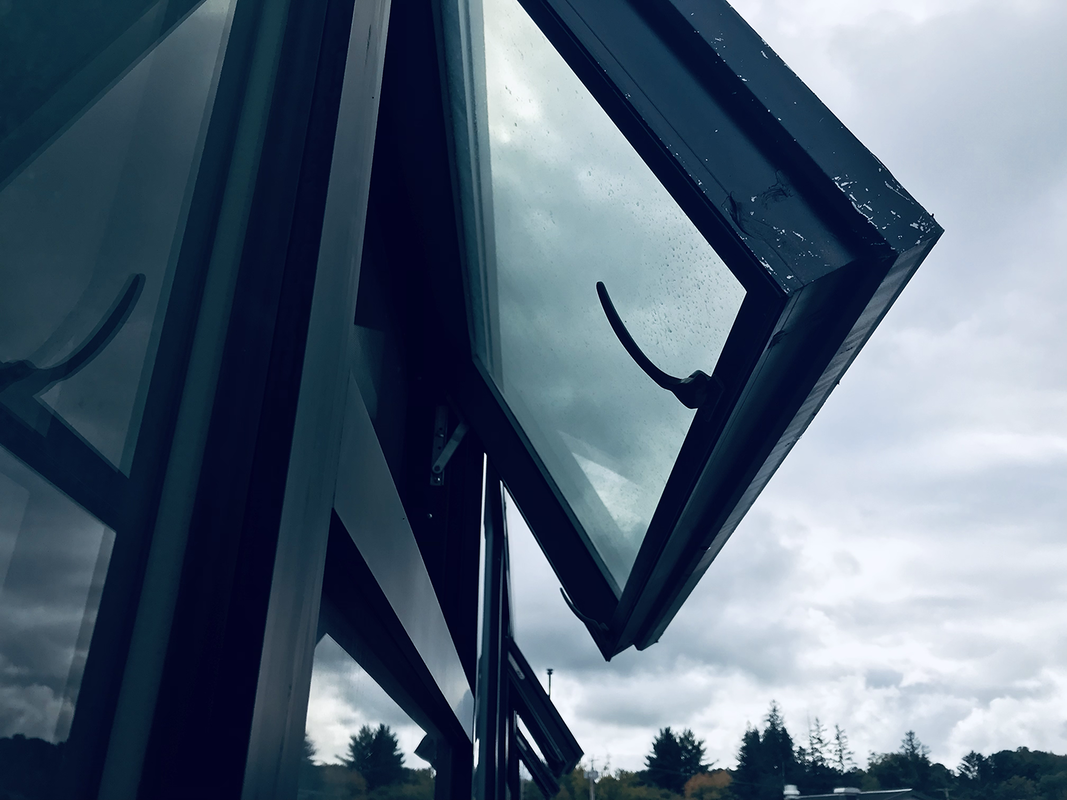
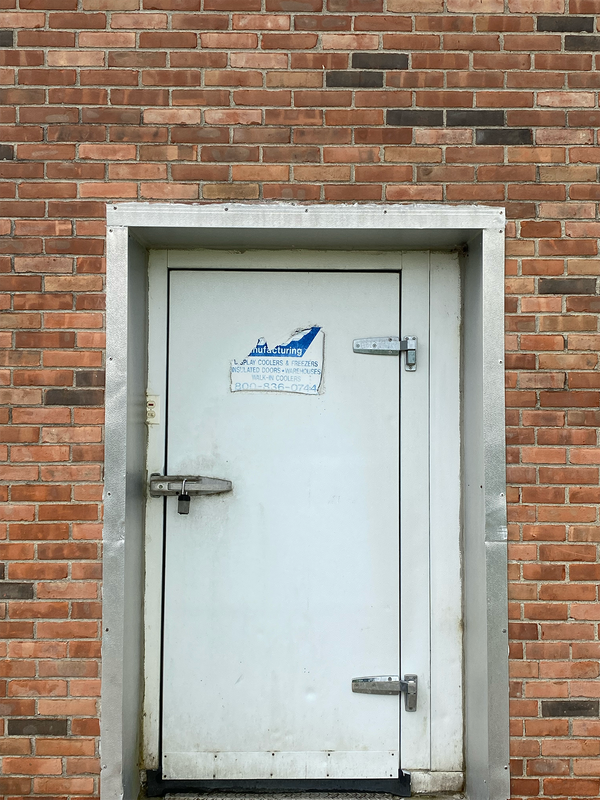
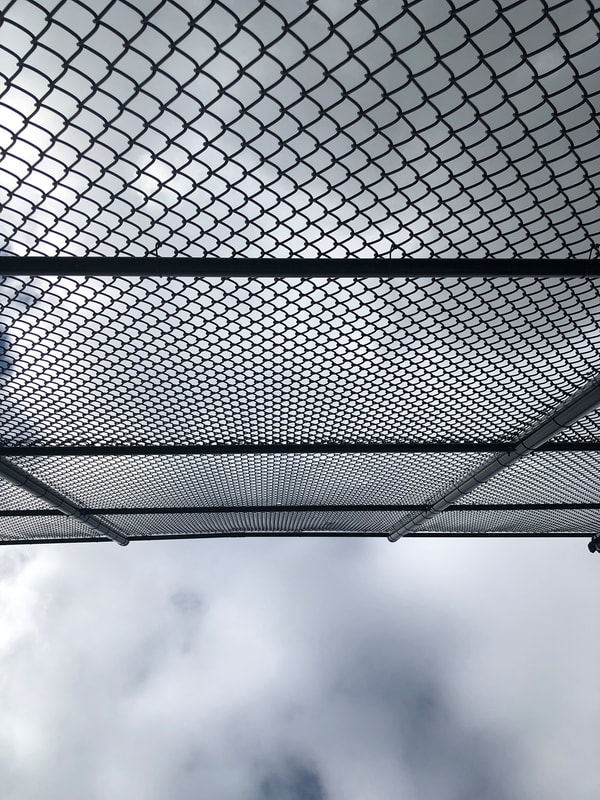
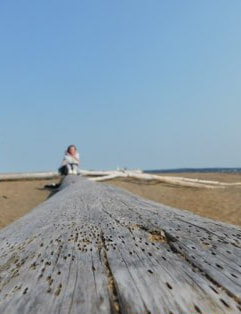
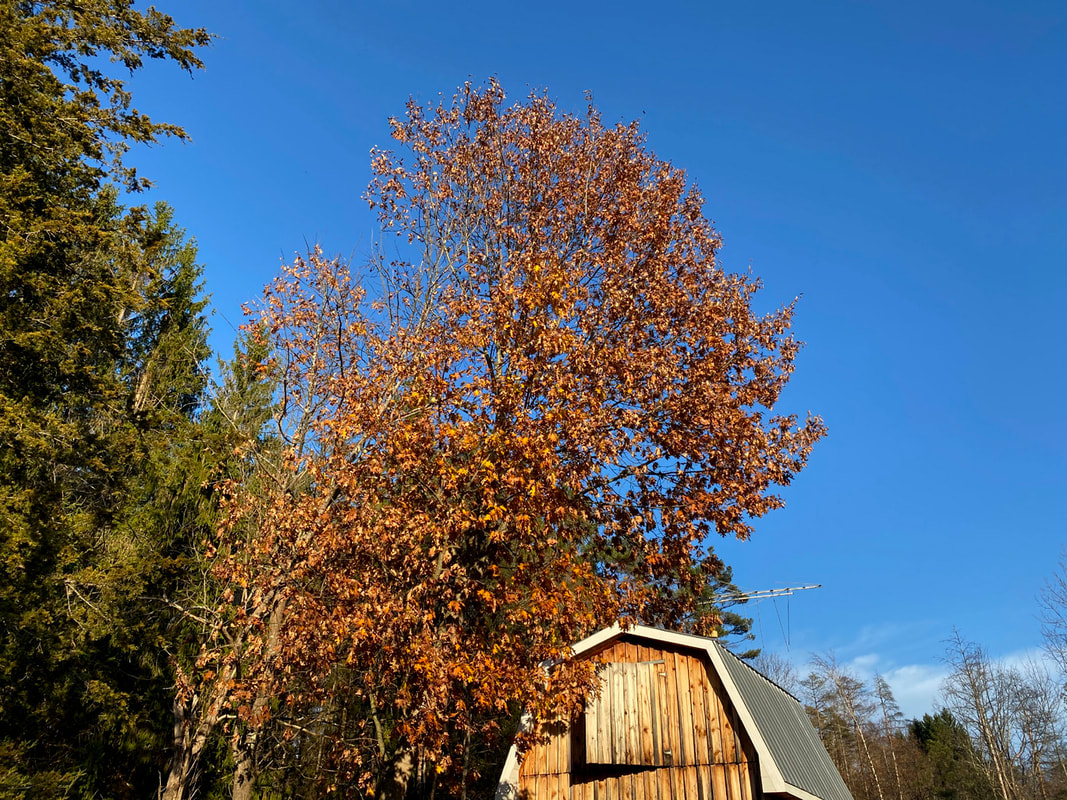
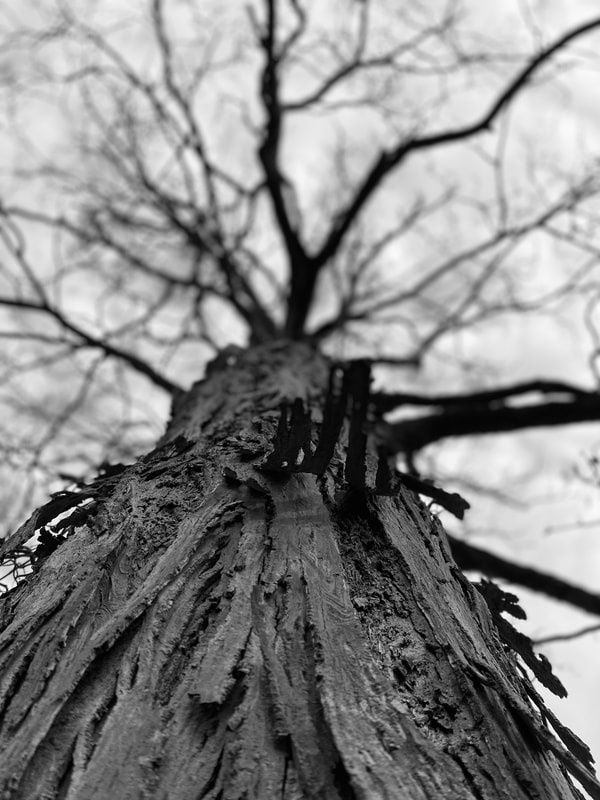
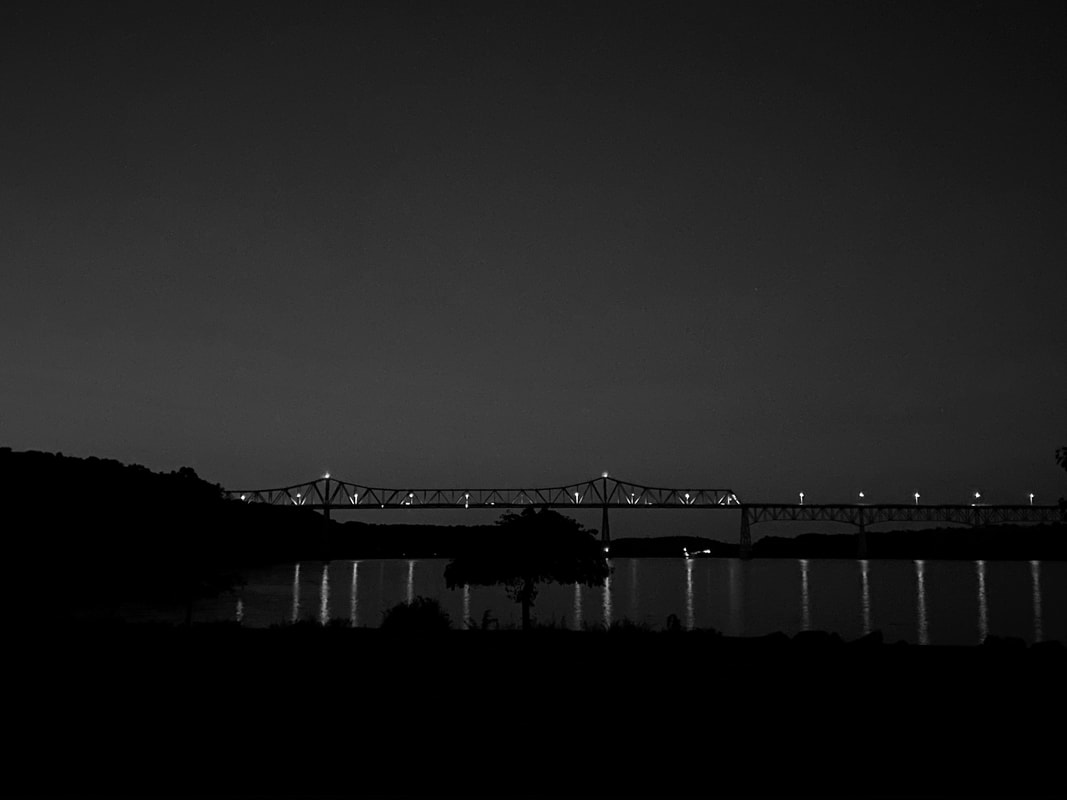
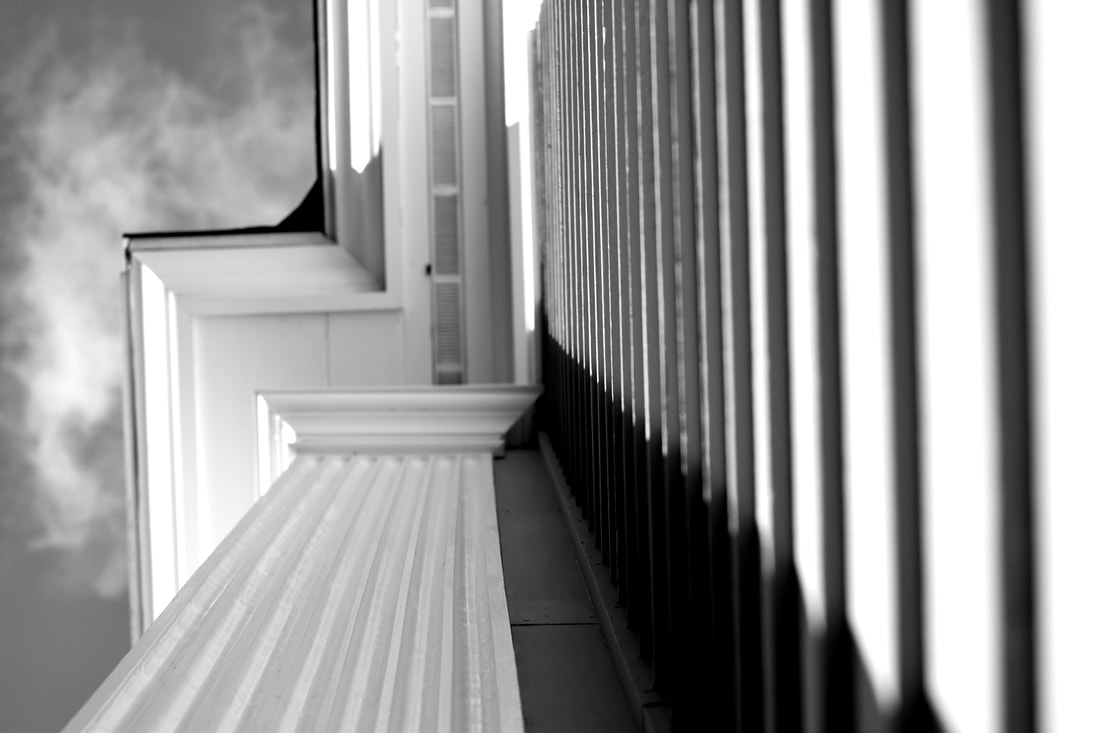
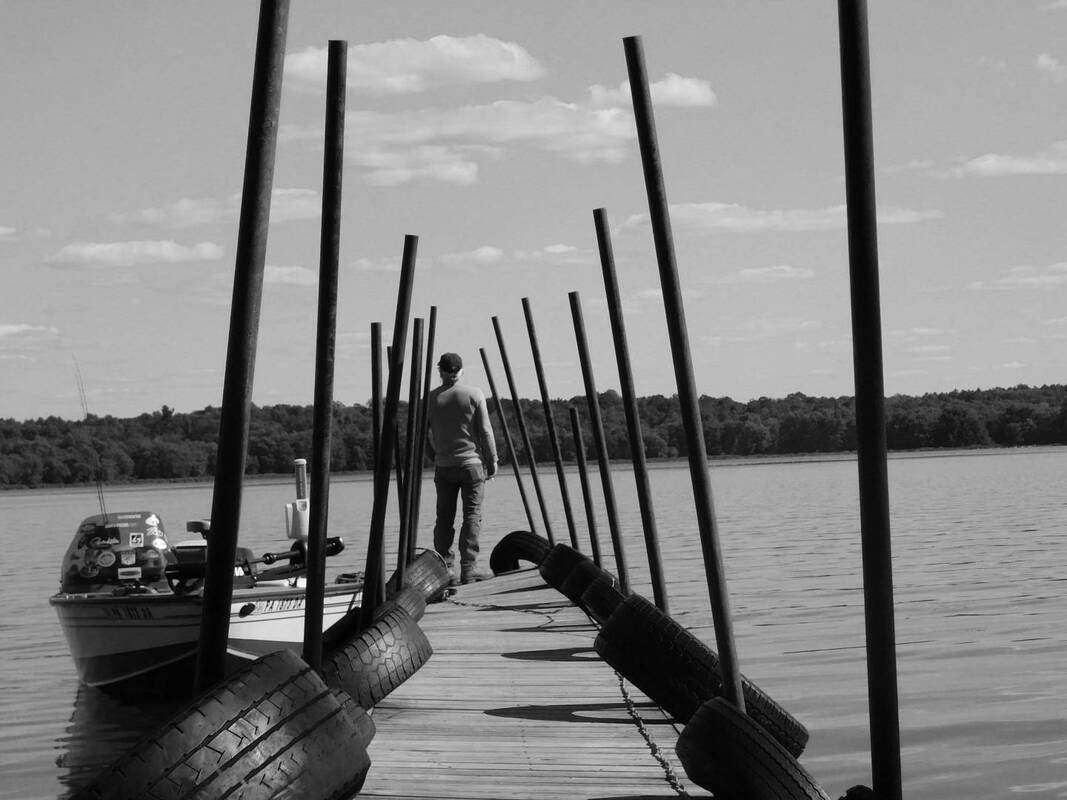
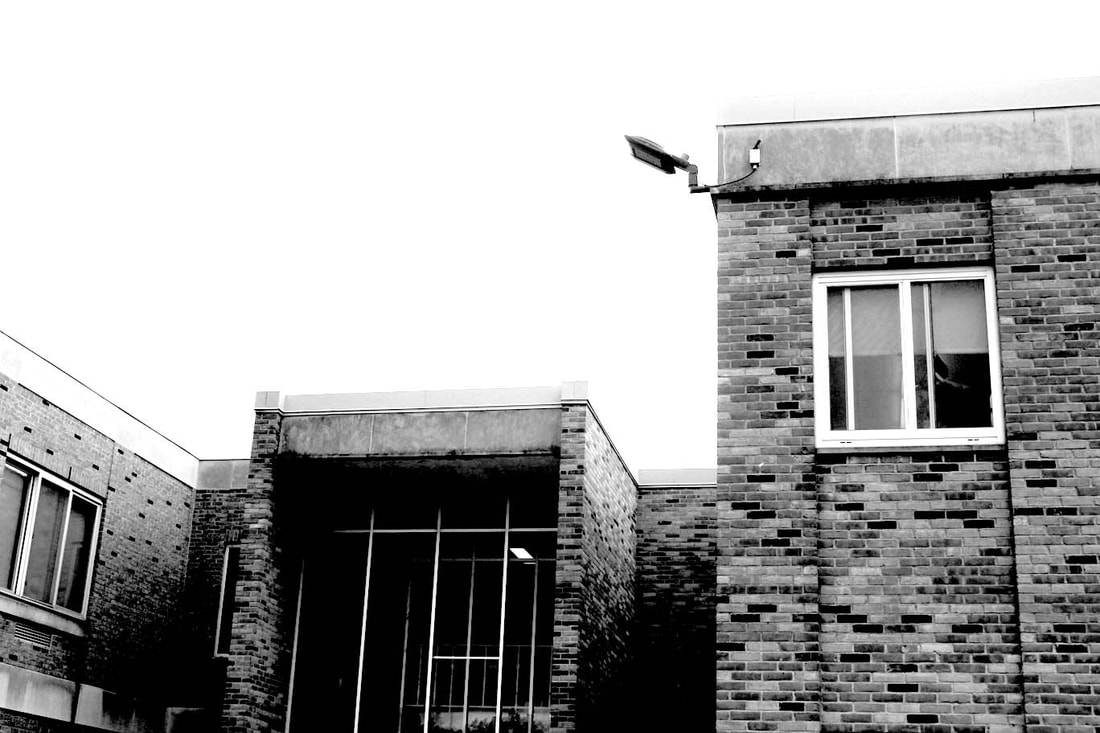
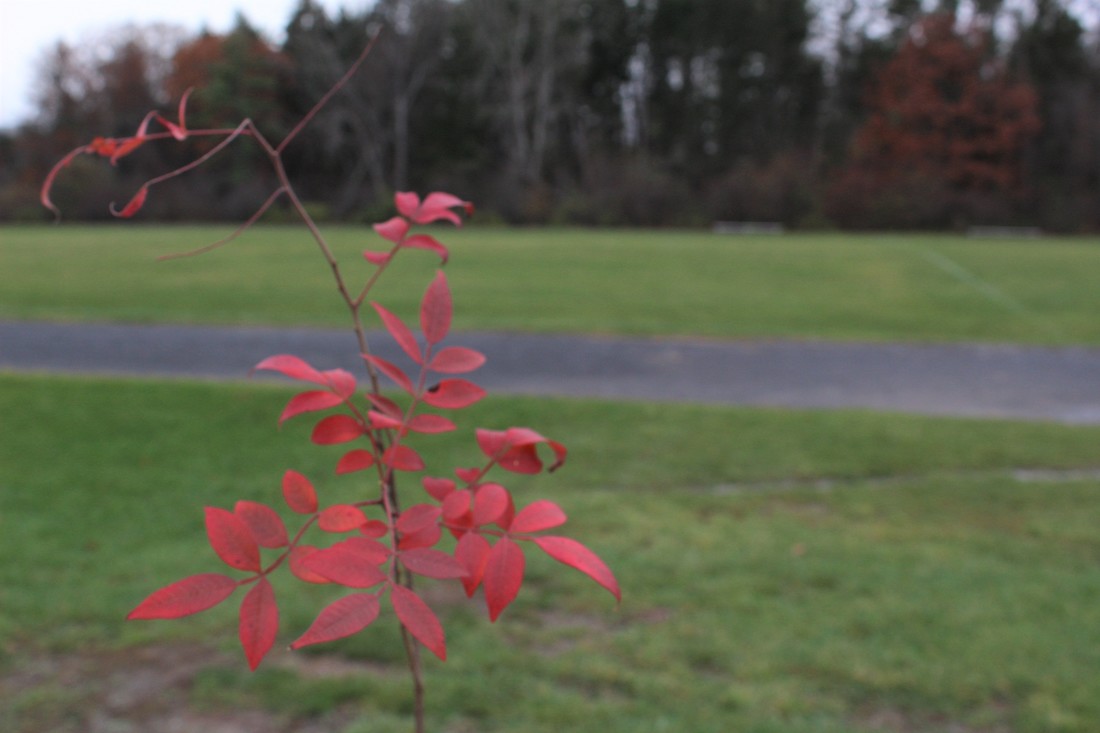
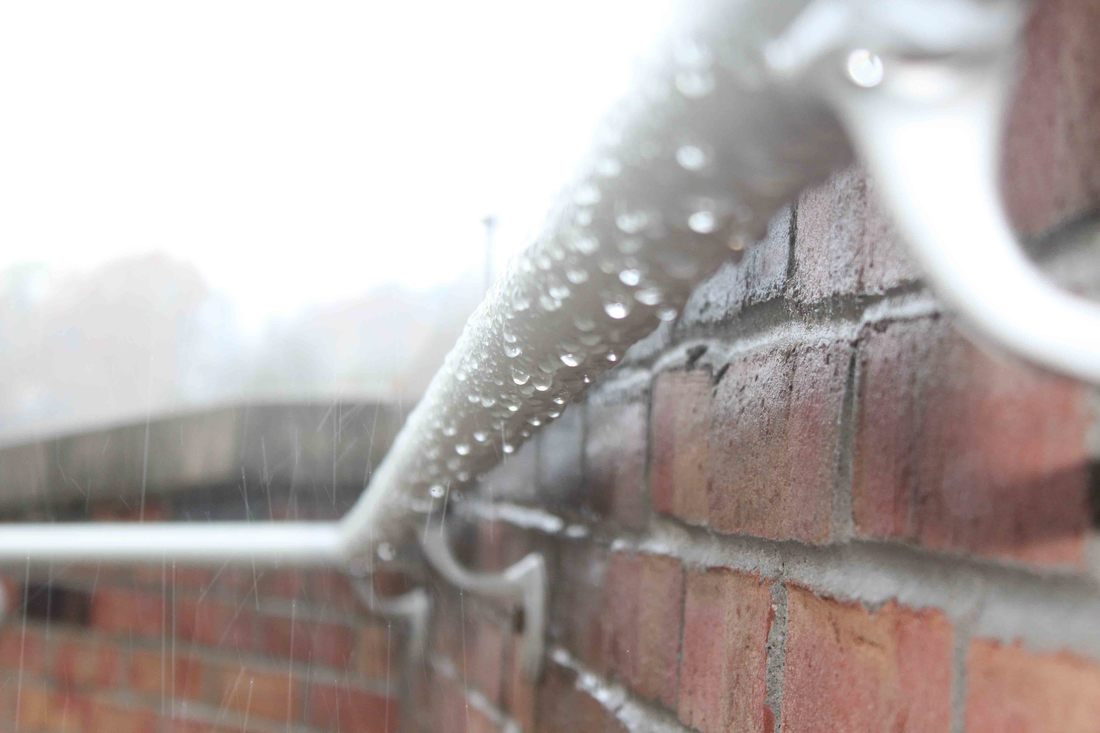
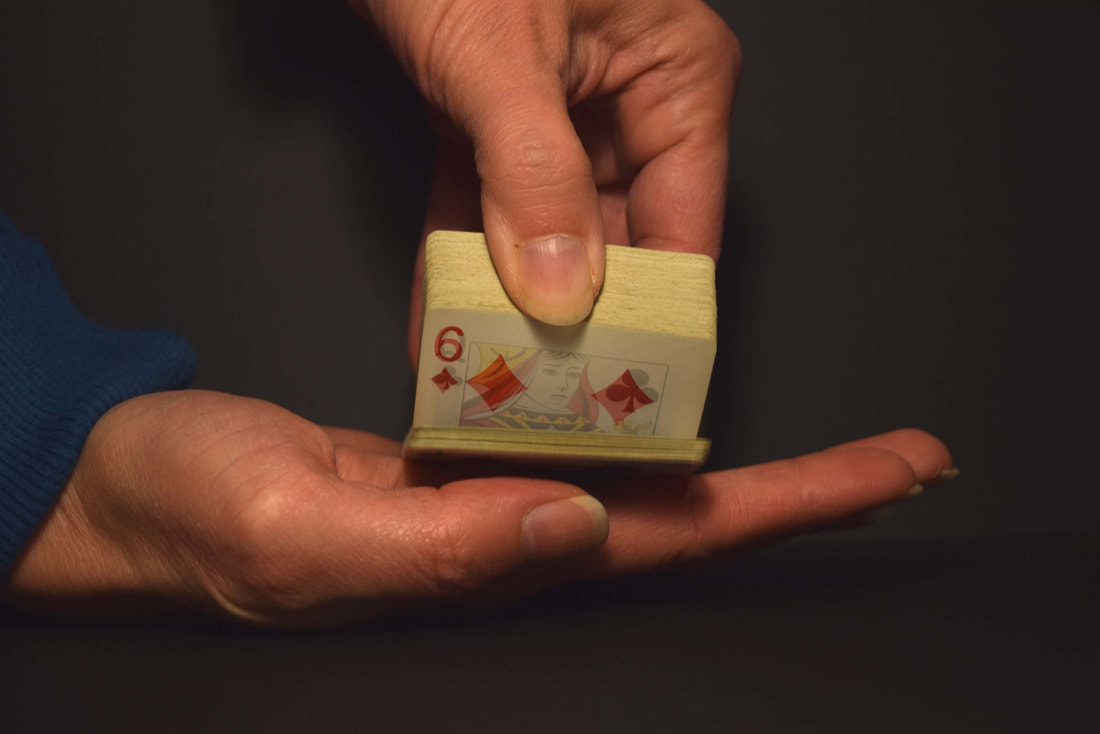
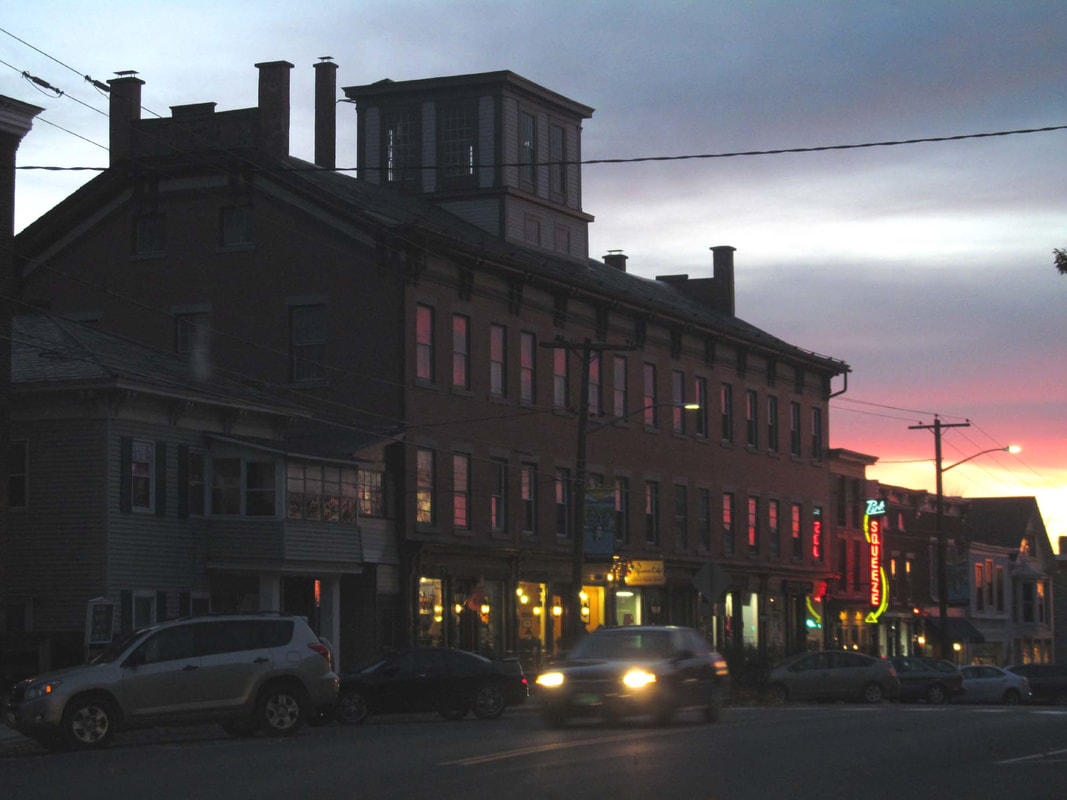
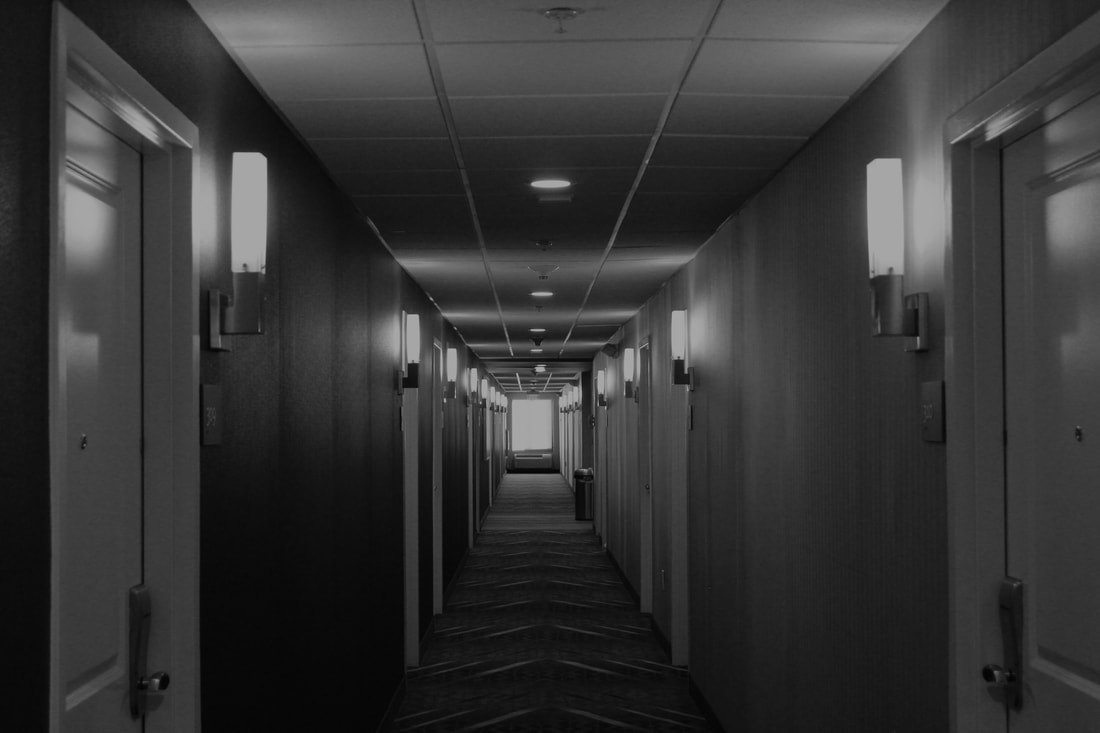
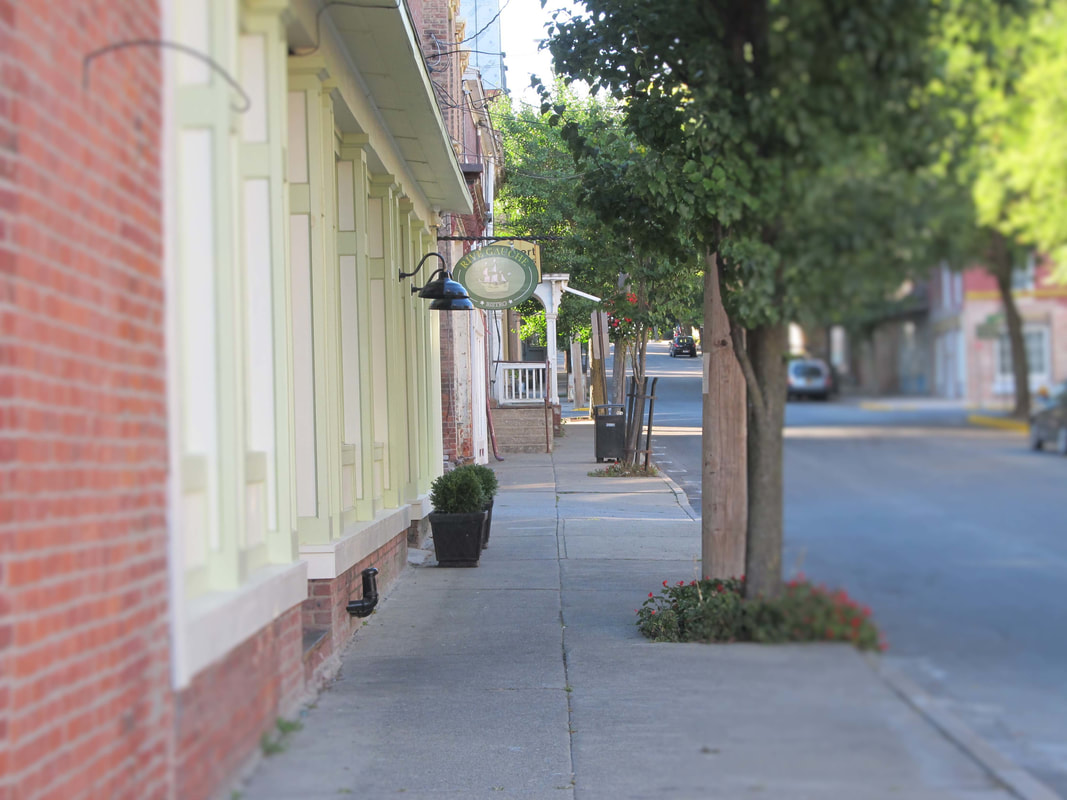
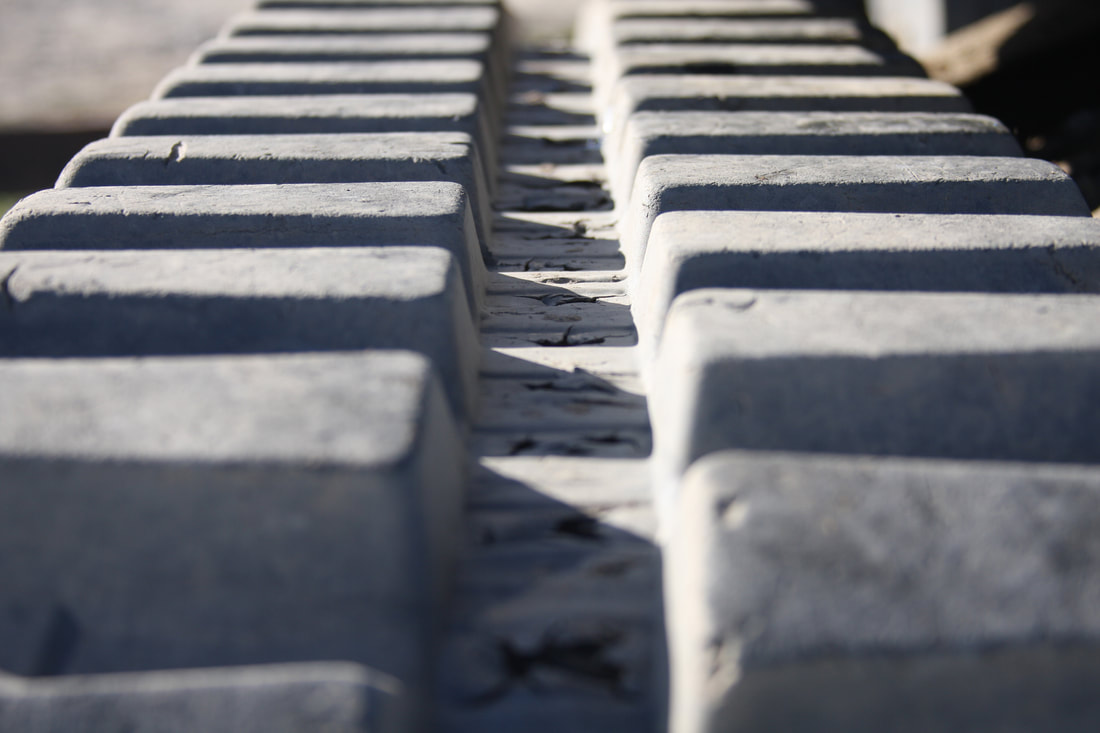
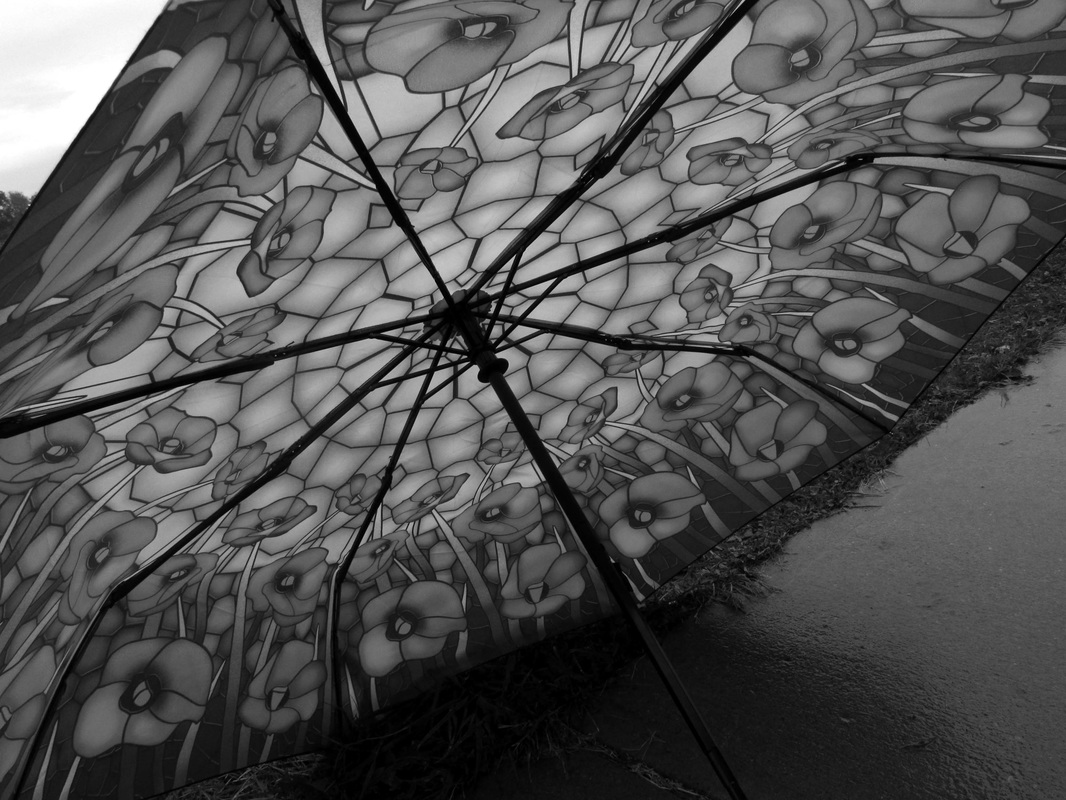
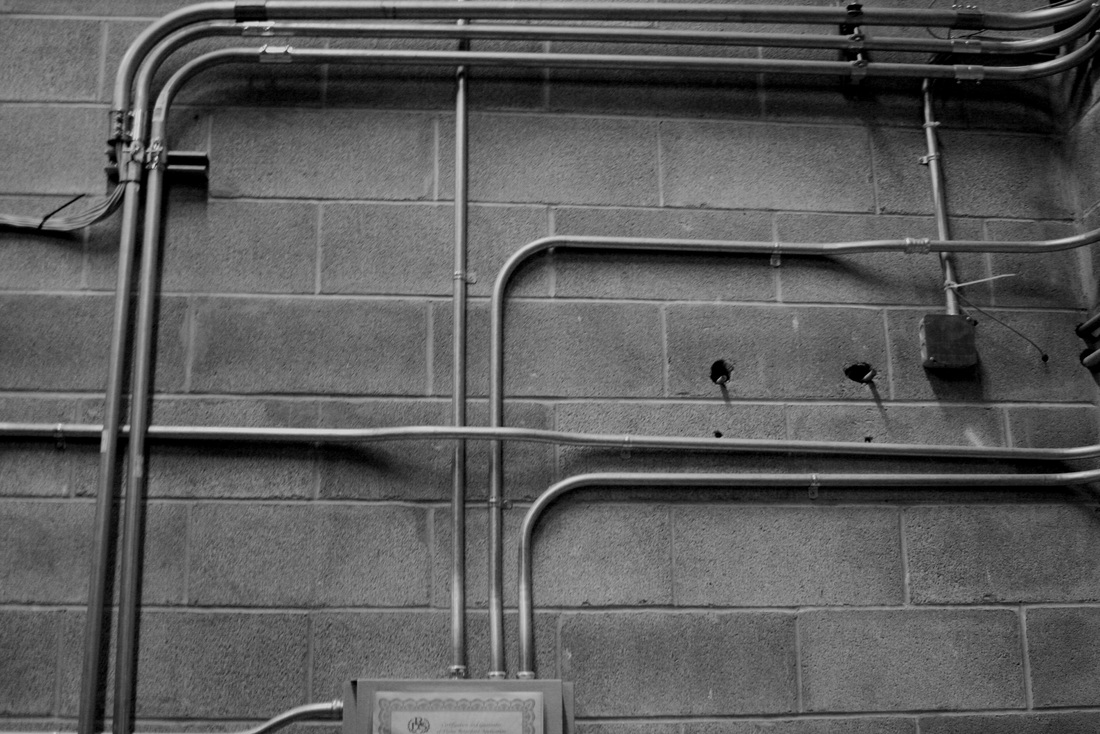
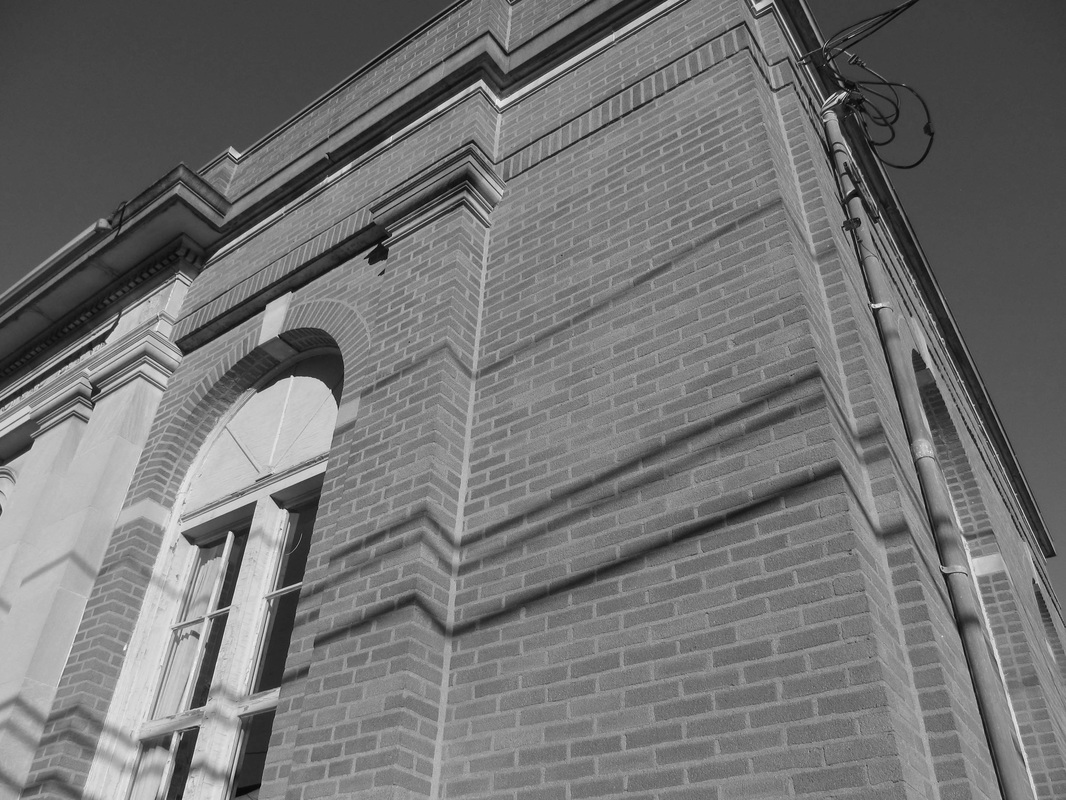
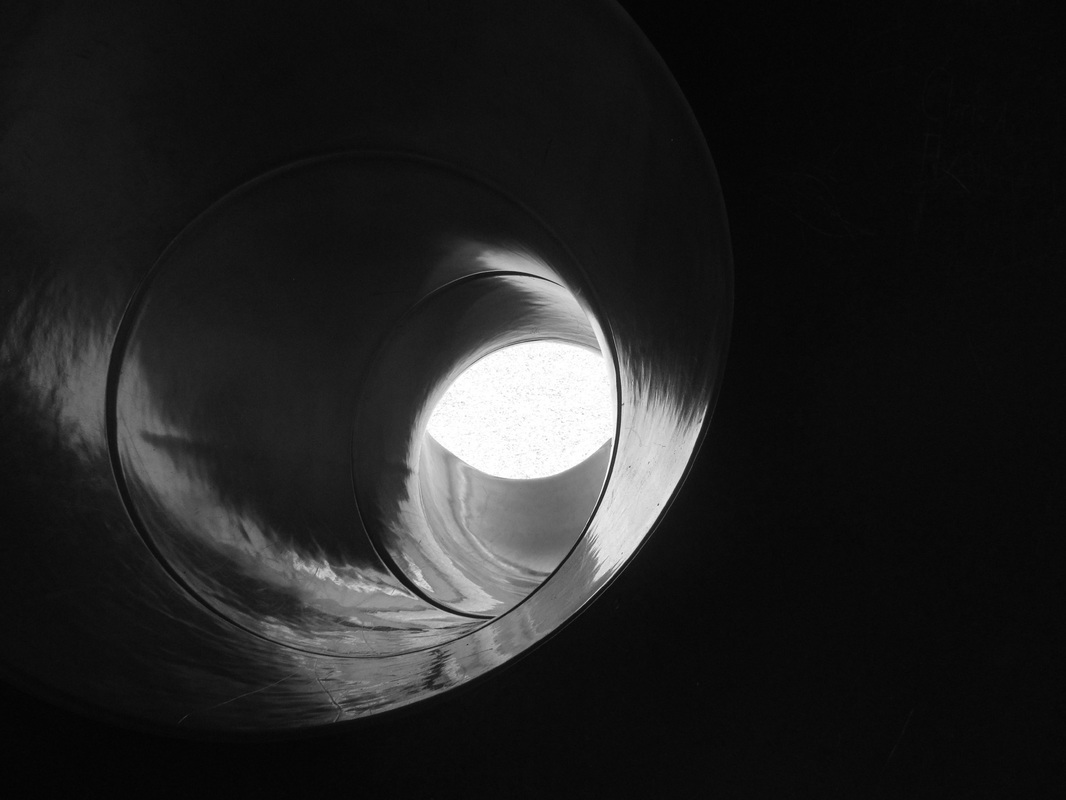
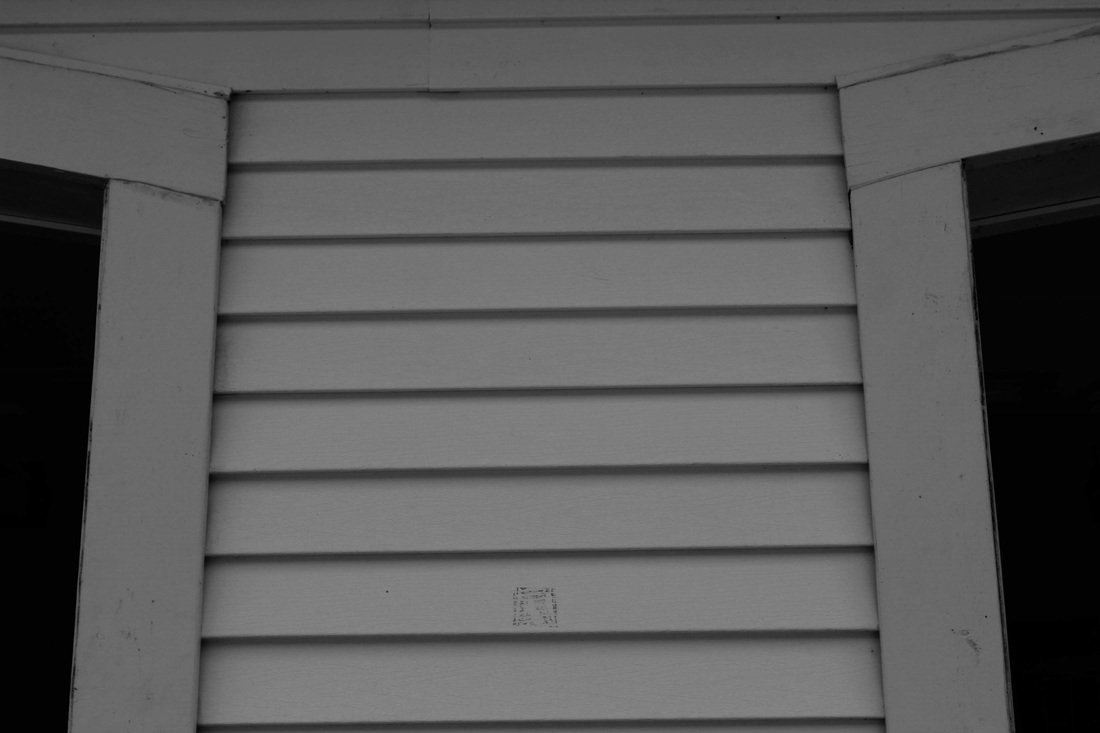
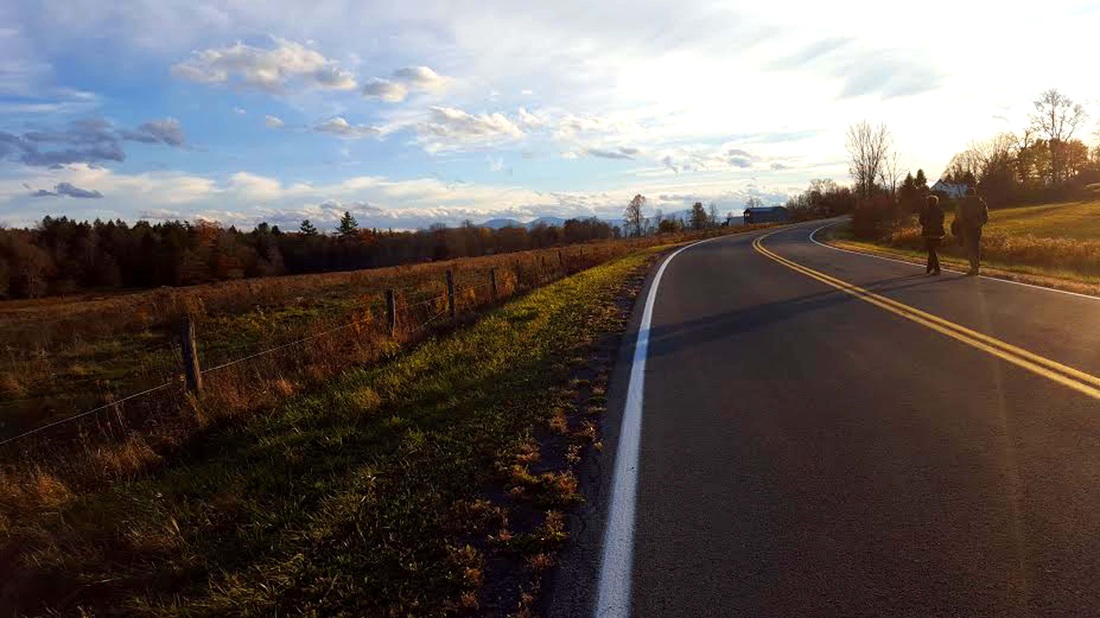
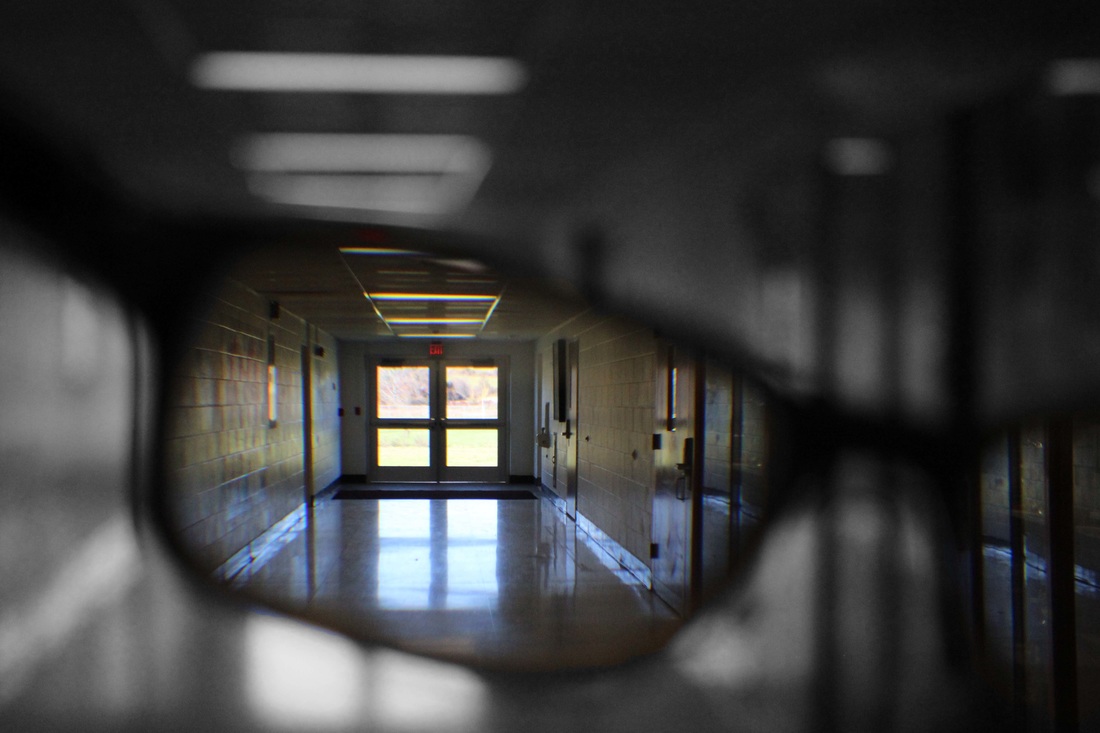
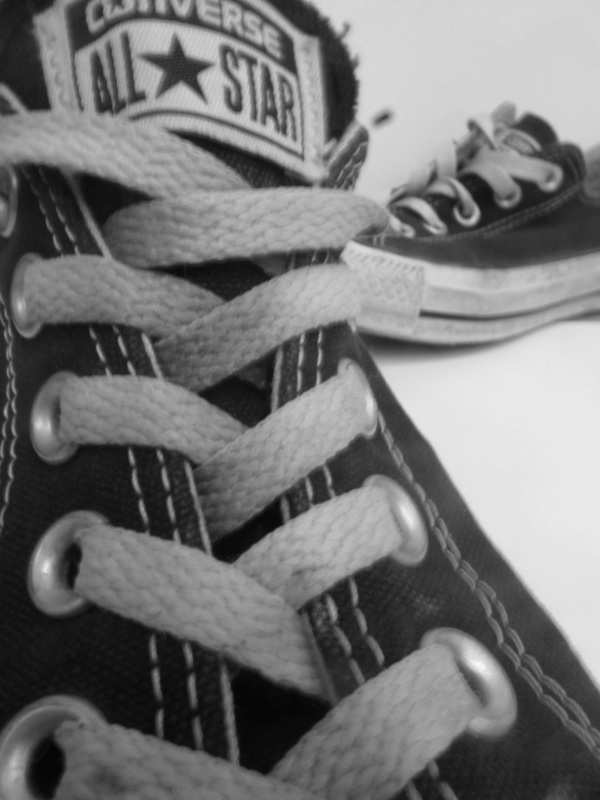
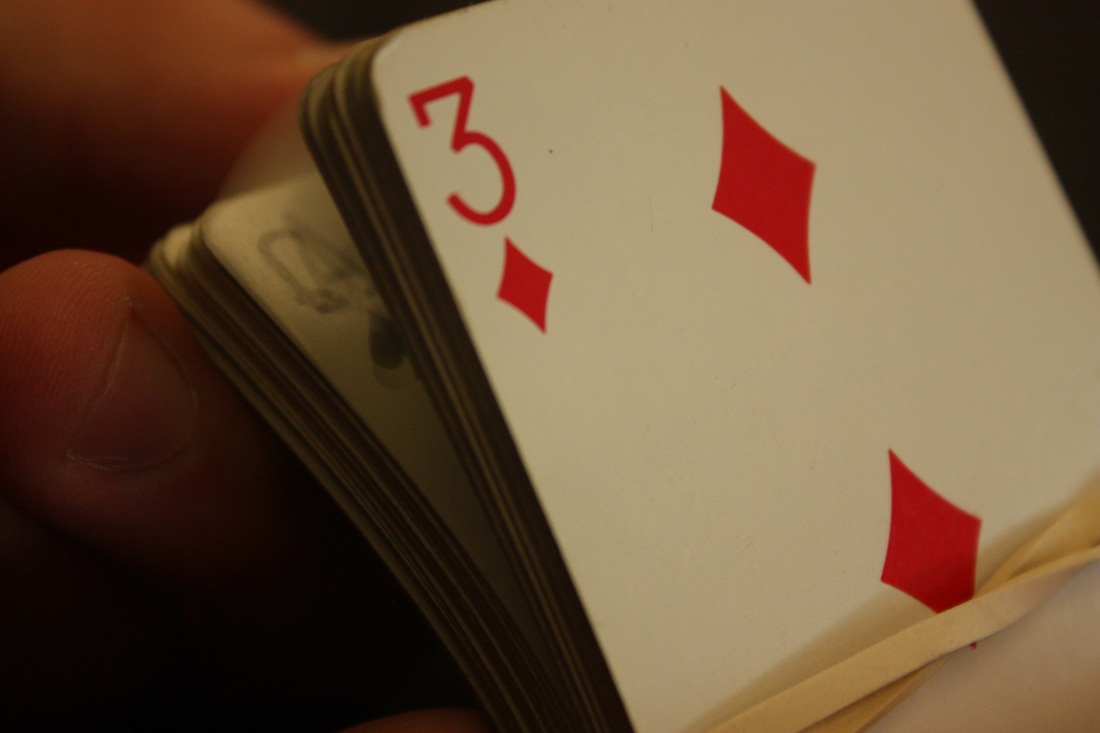
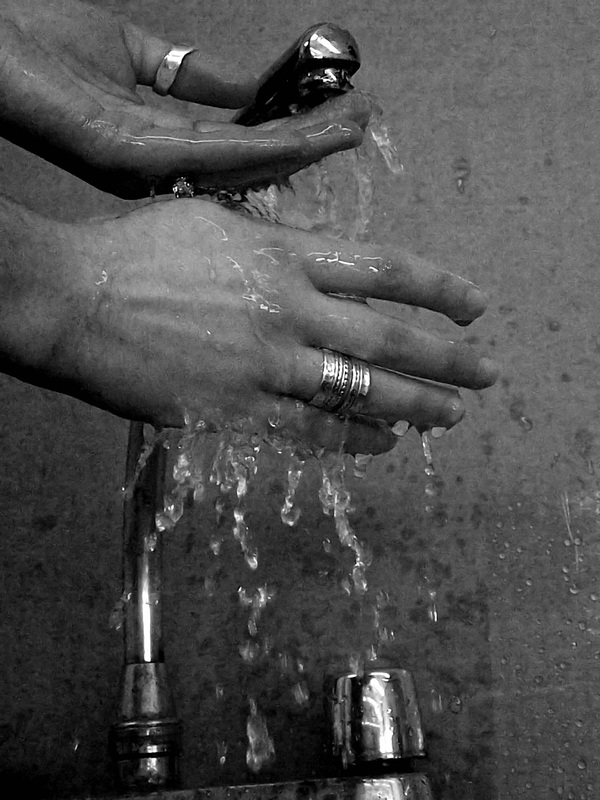
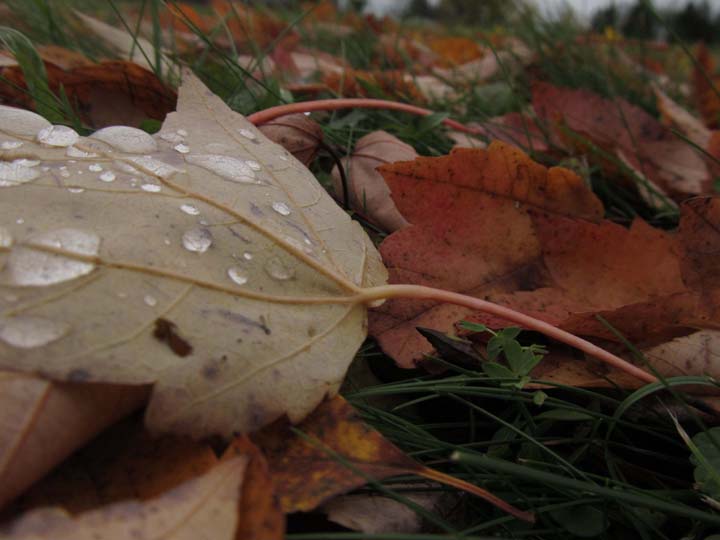
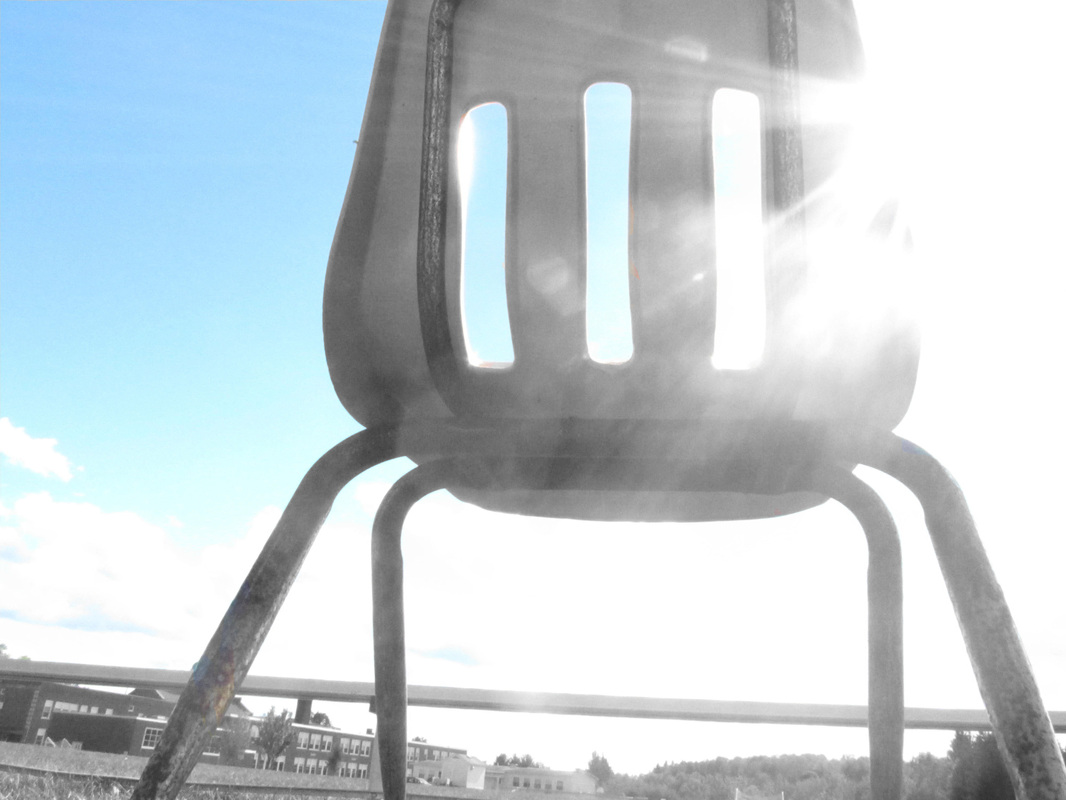
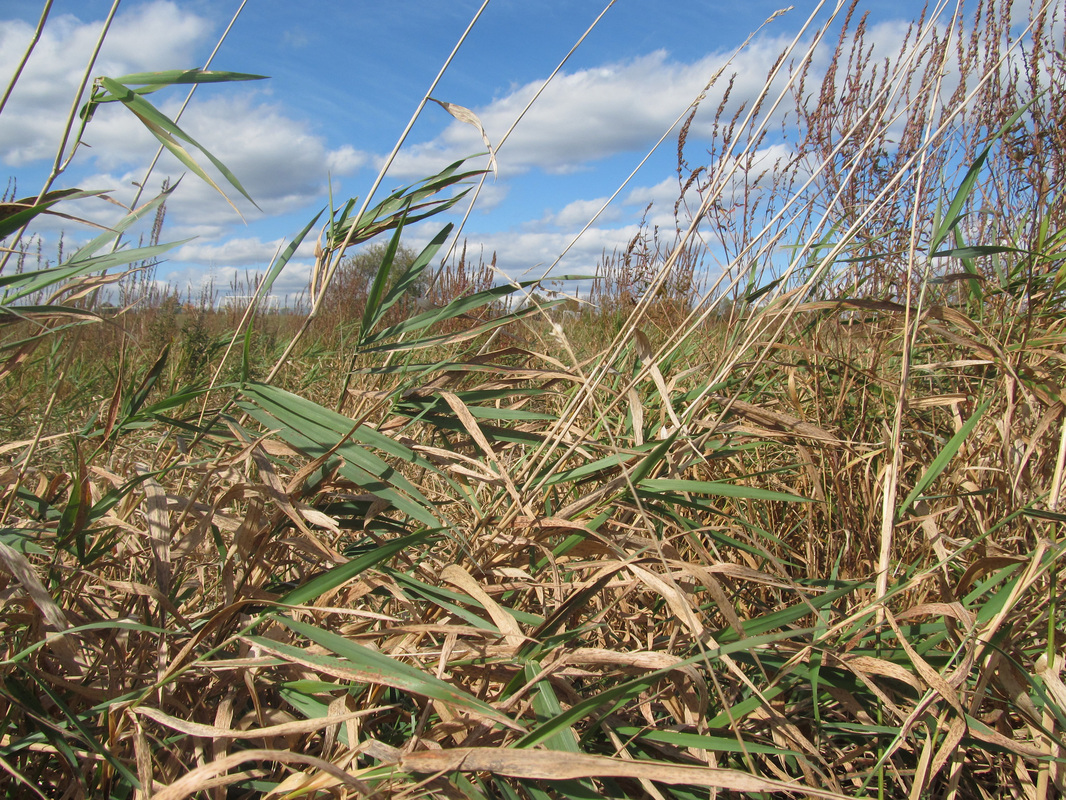
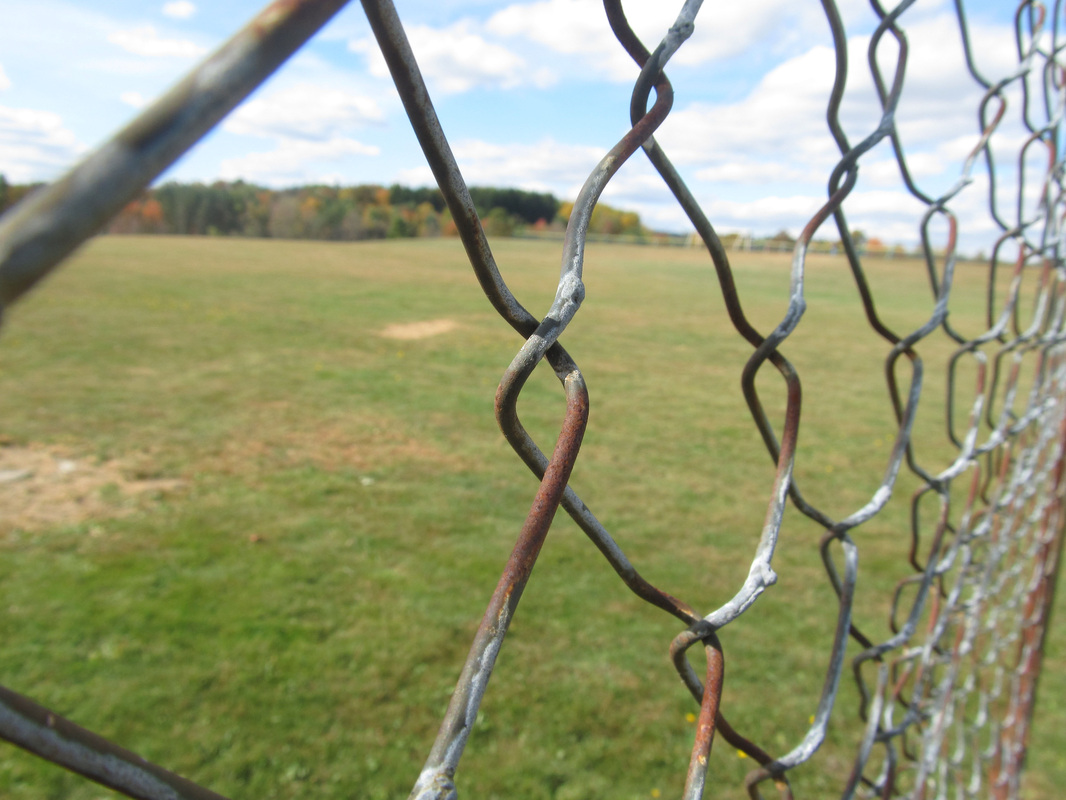
Compositional Strategies
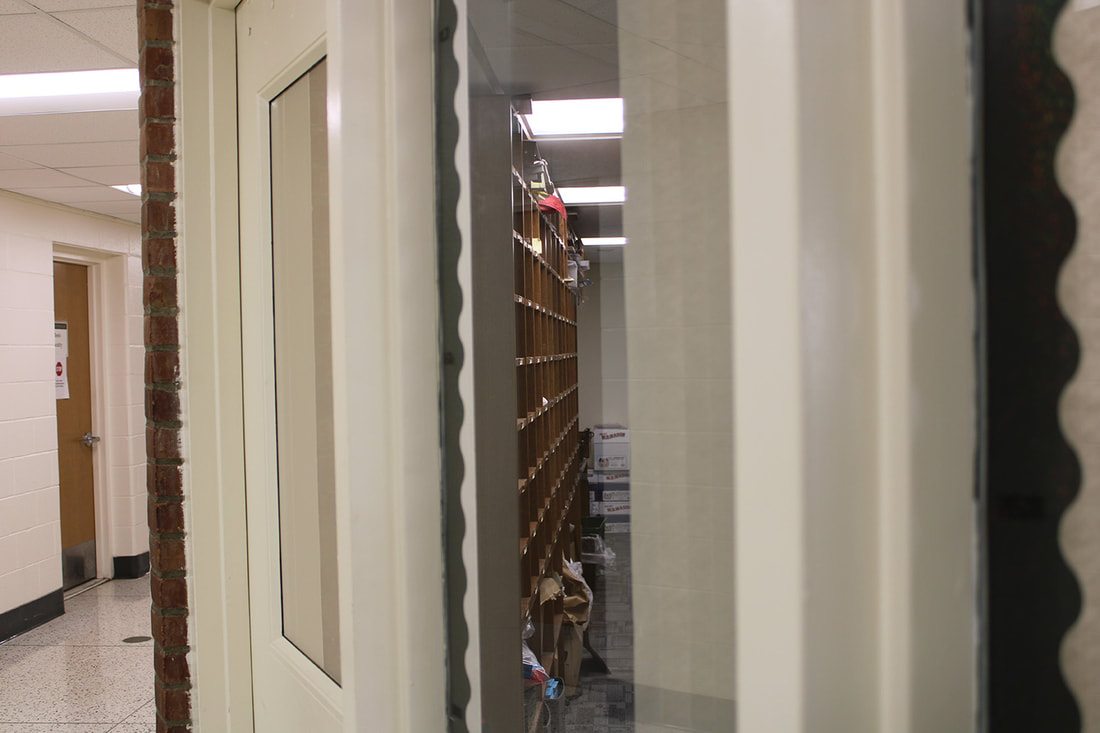
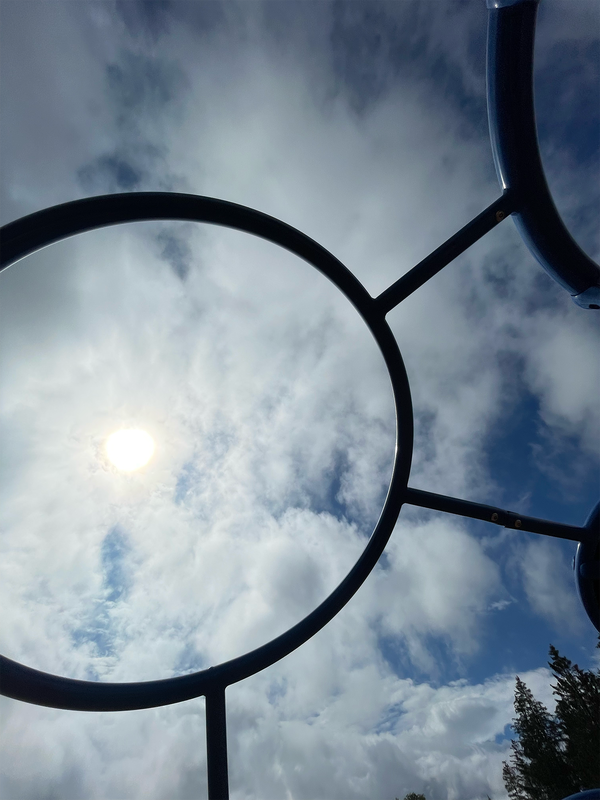
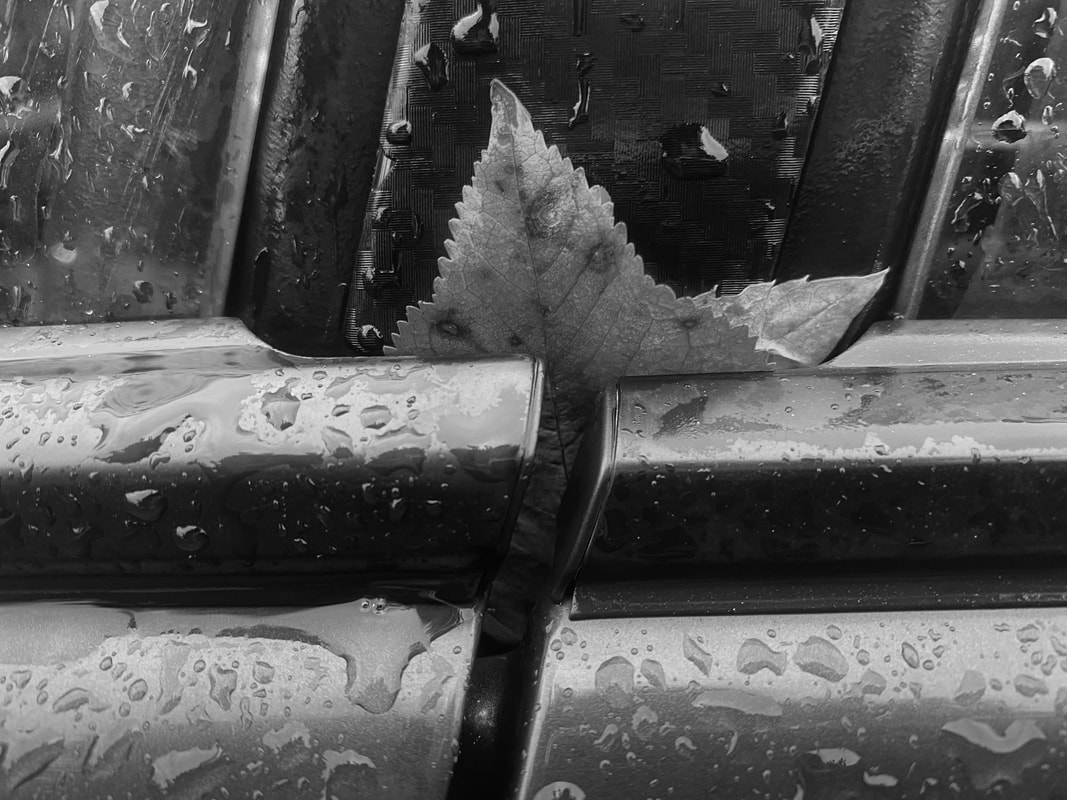
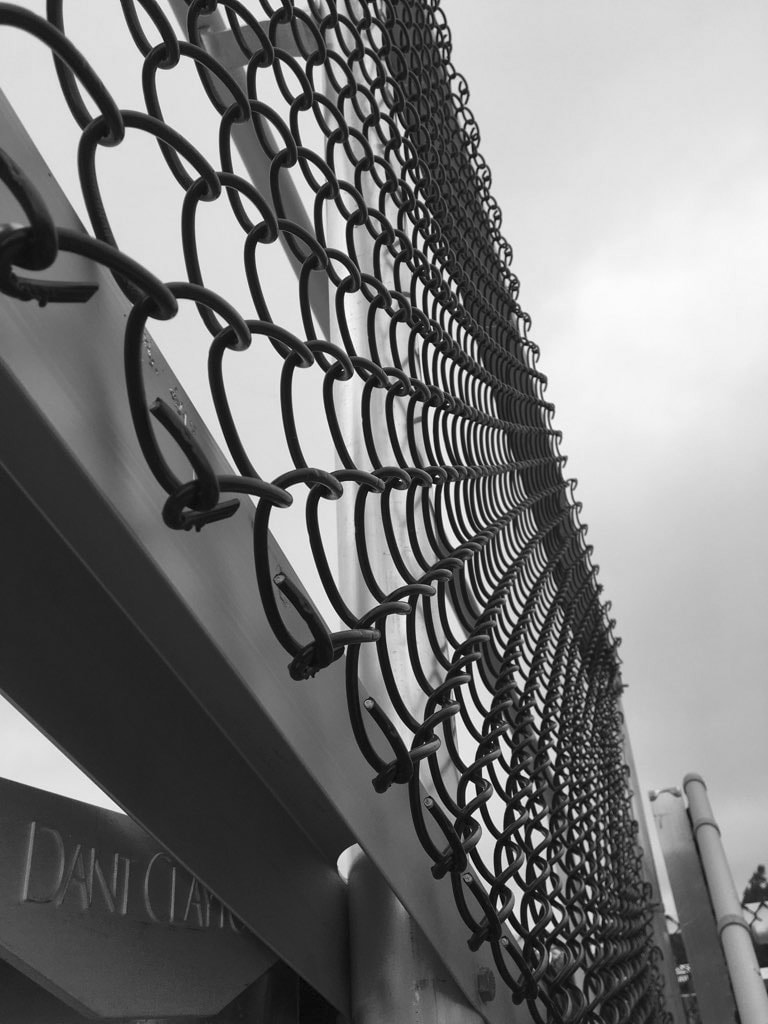
To start the year off right, the photography students learned ways to create a strong composition. The lesson was broken down so each day the class learned about one to two new compositional stages. Then we traveled around the school to find examples of what we had studied. Students were encouraged to find even more unique images at home or in their day-to-day travels.
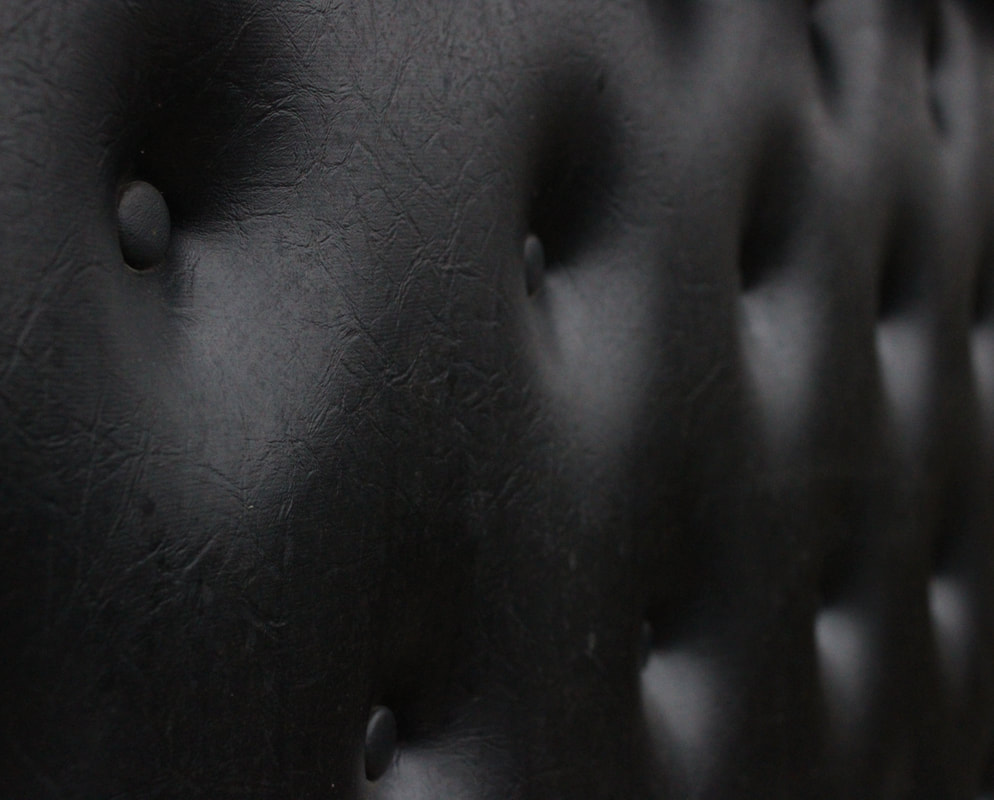
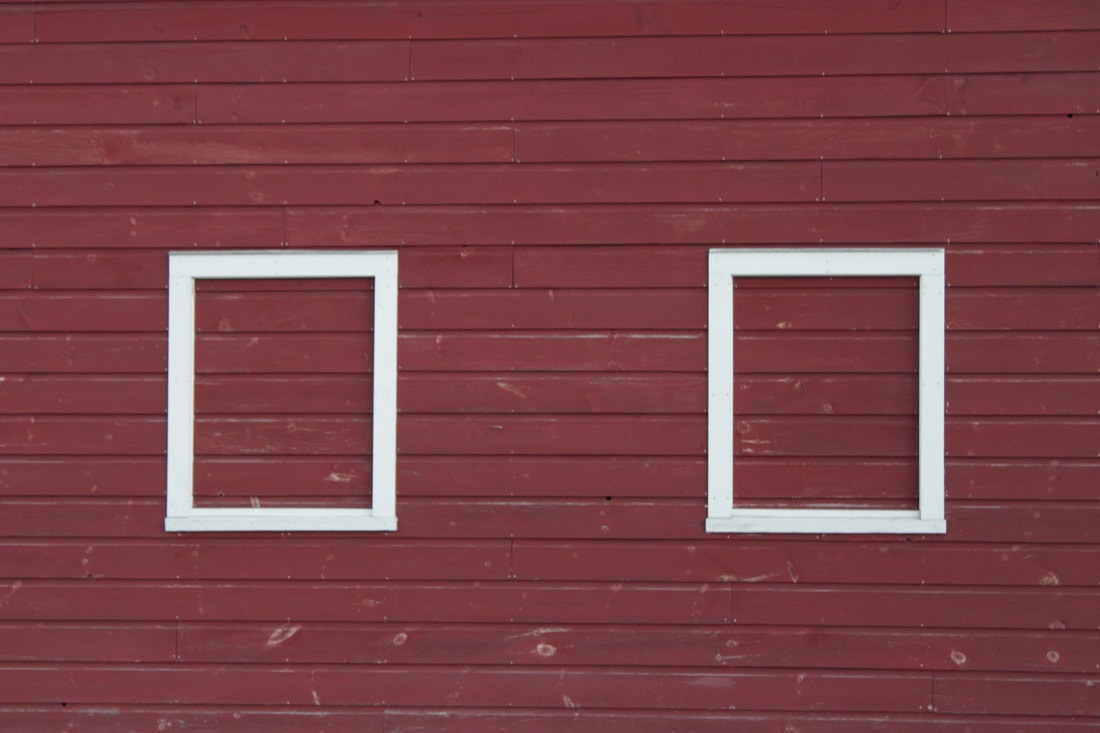
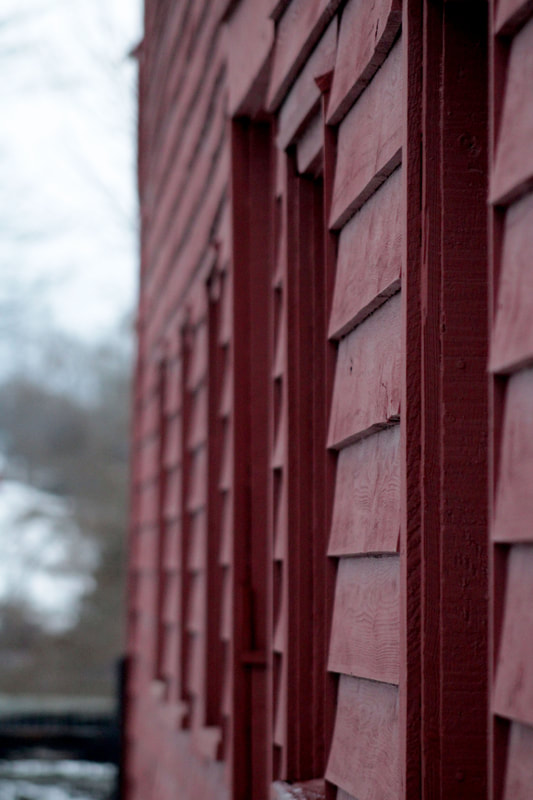
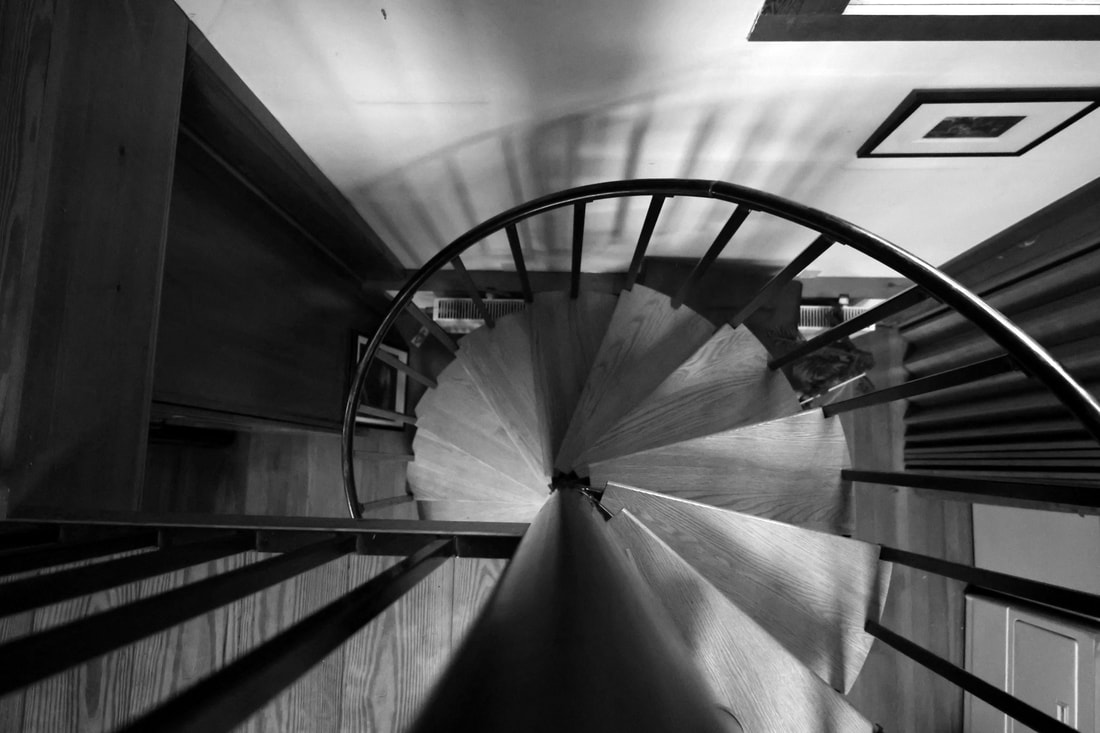
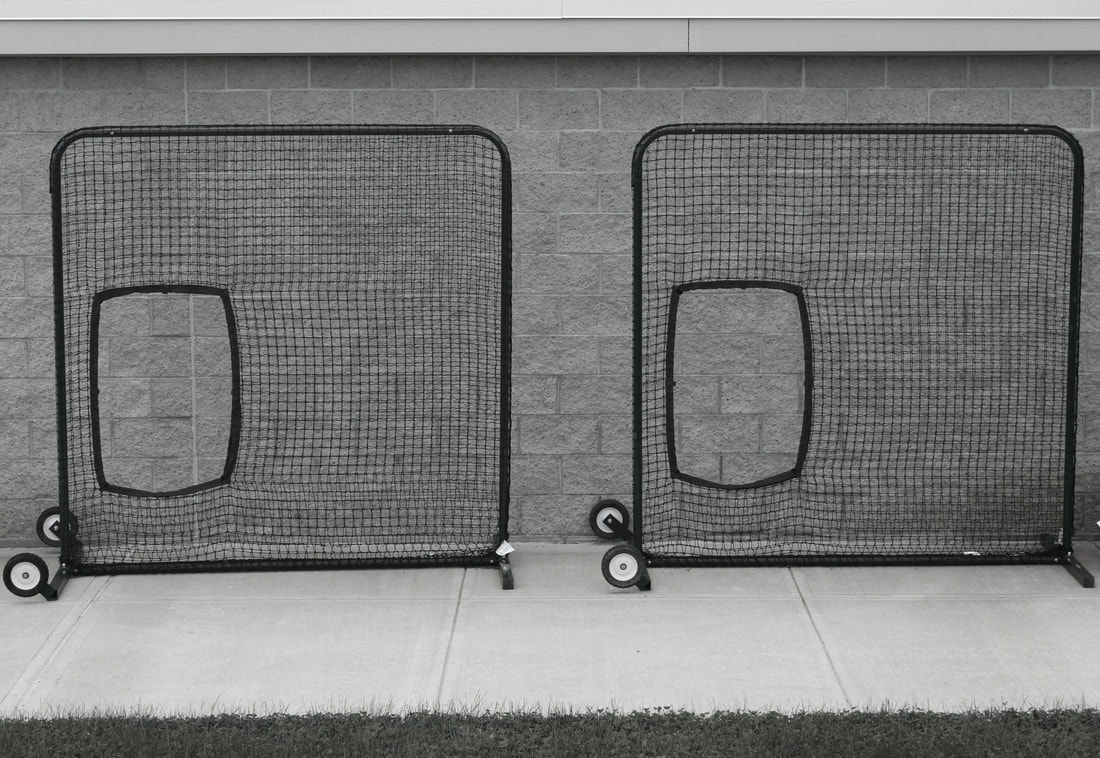
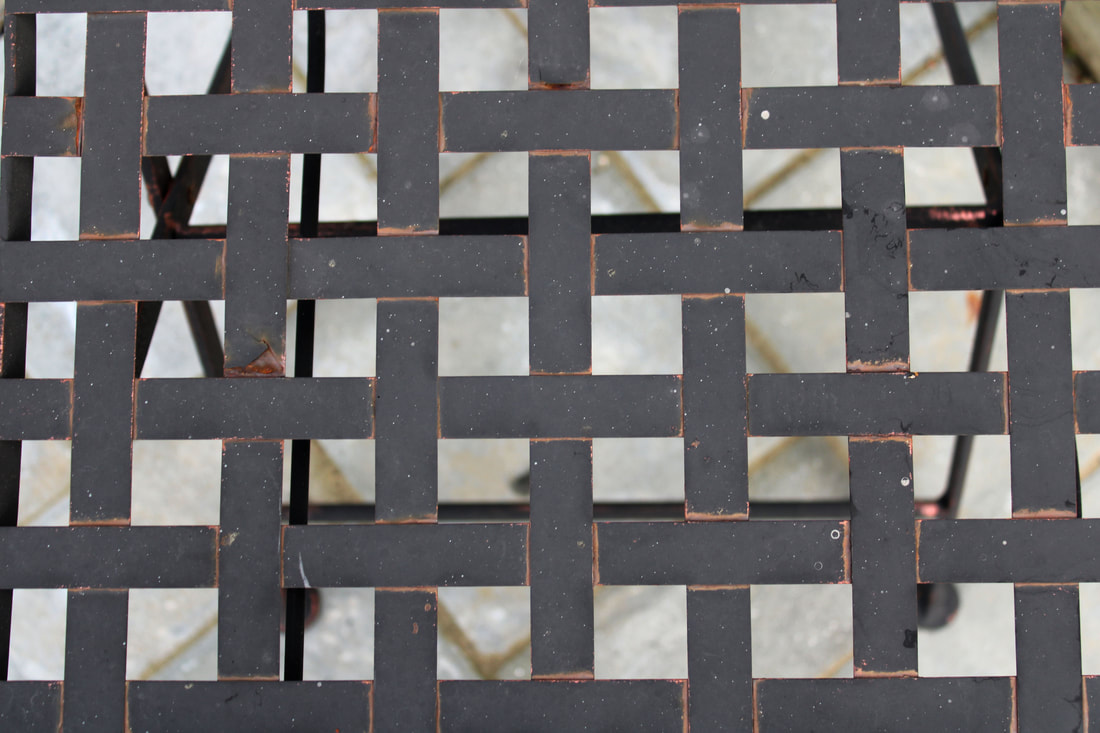
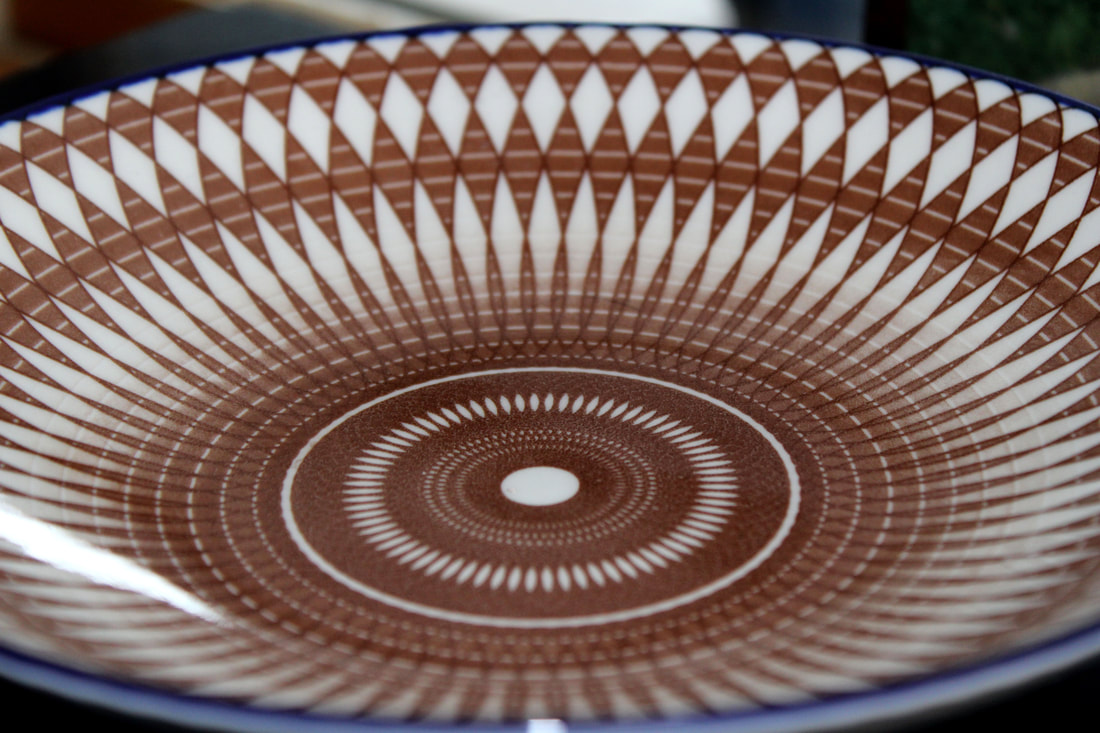
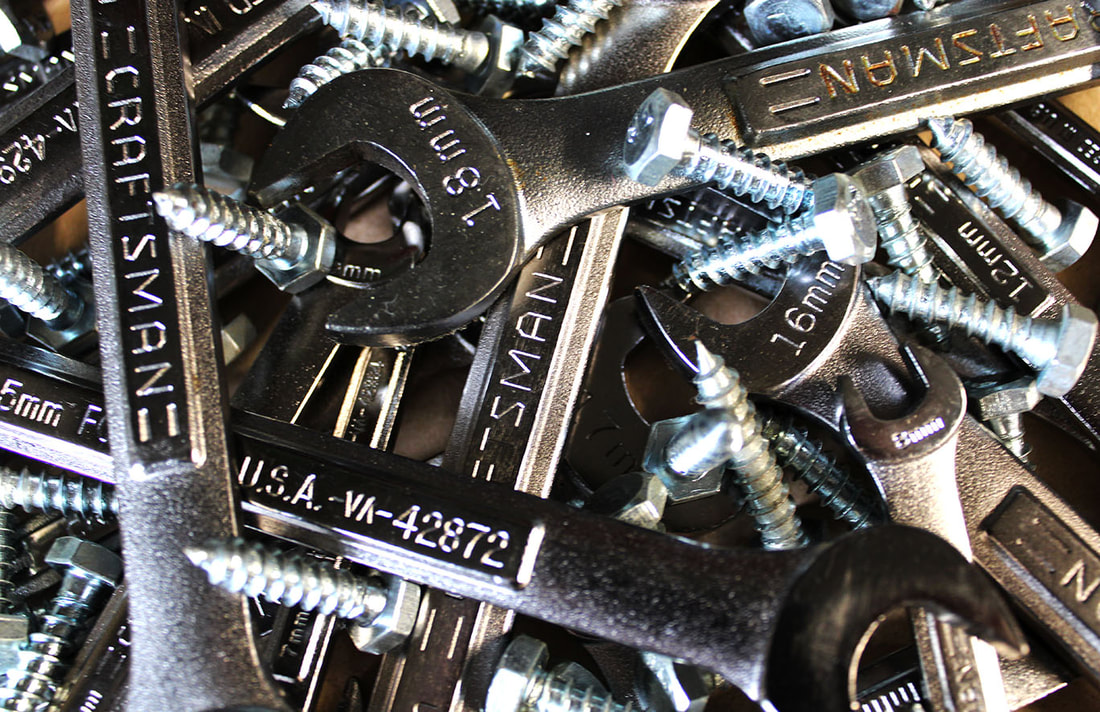
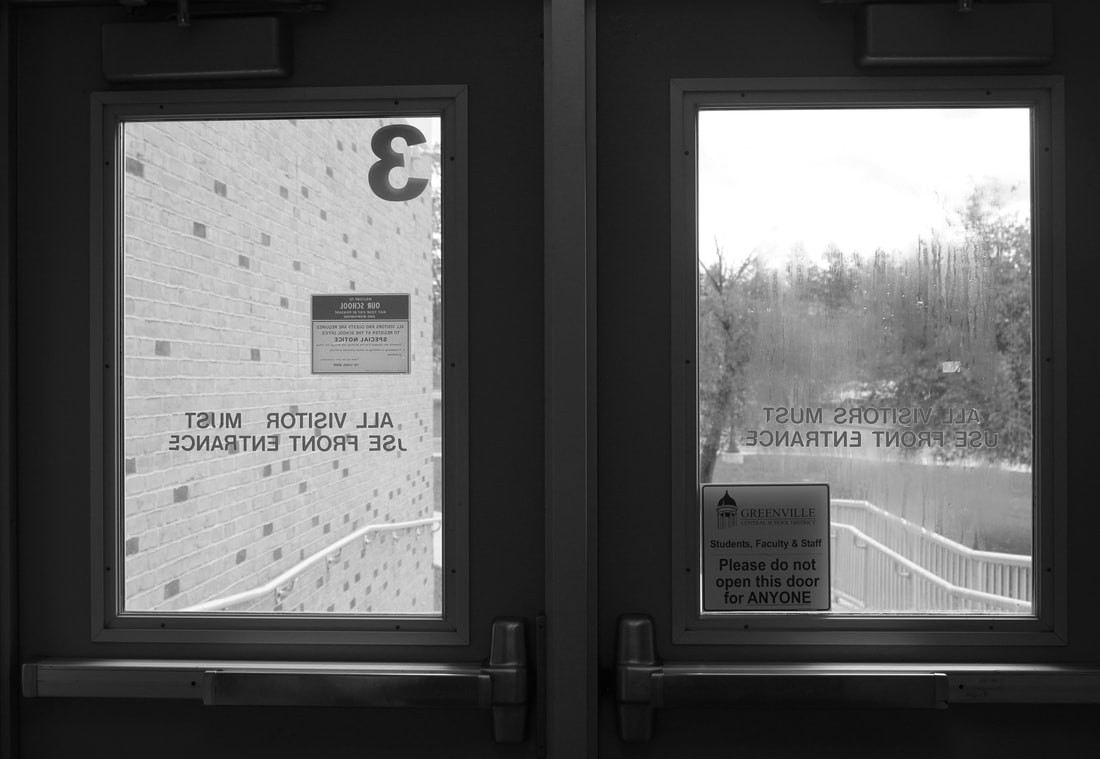
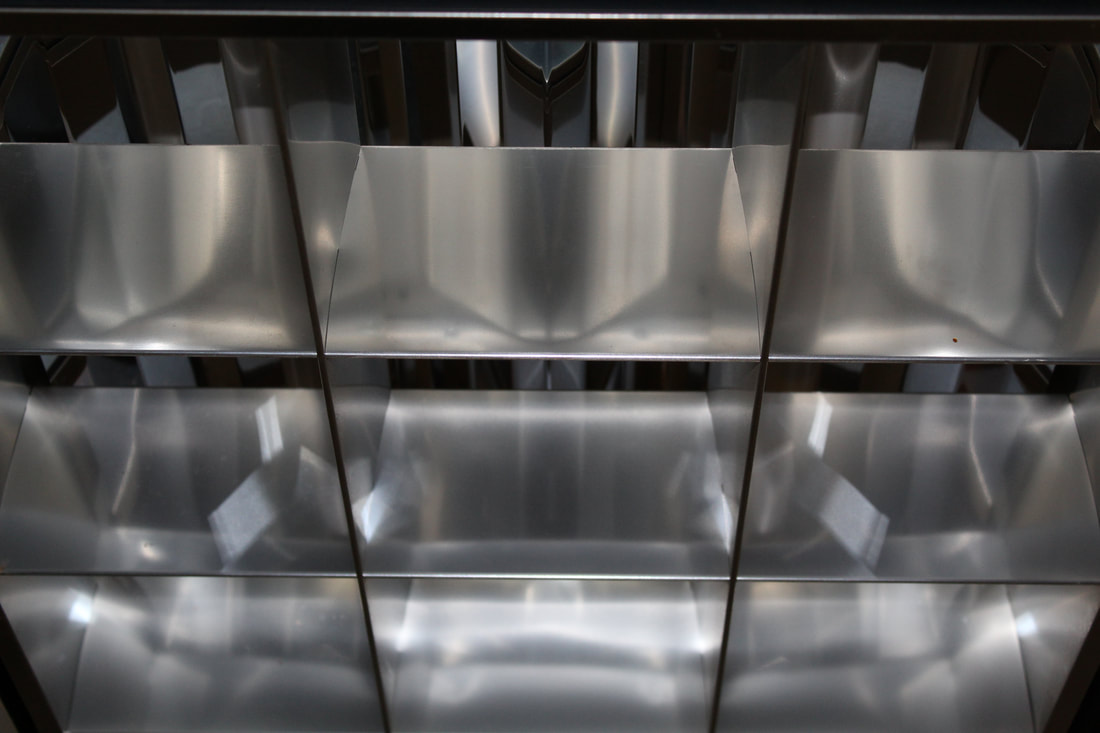
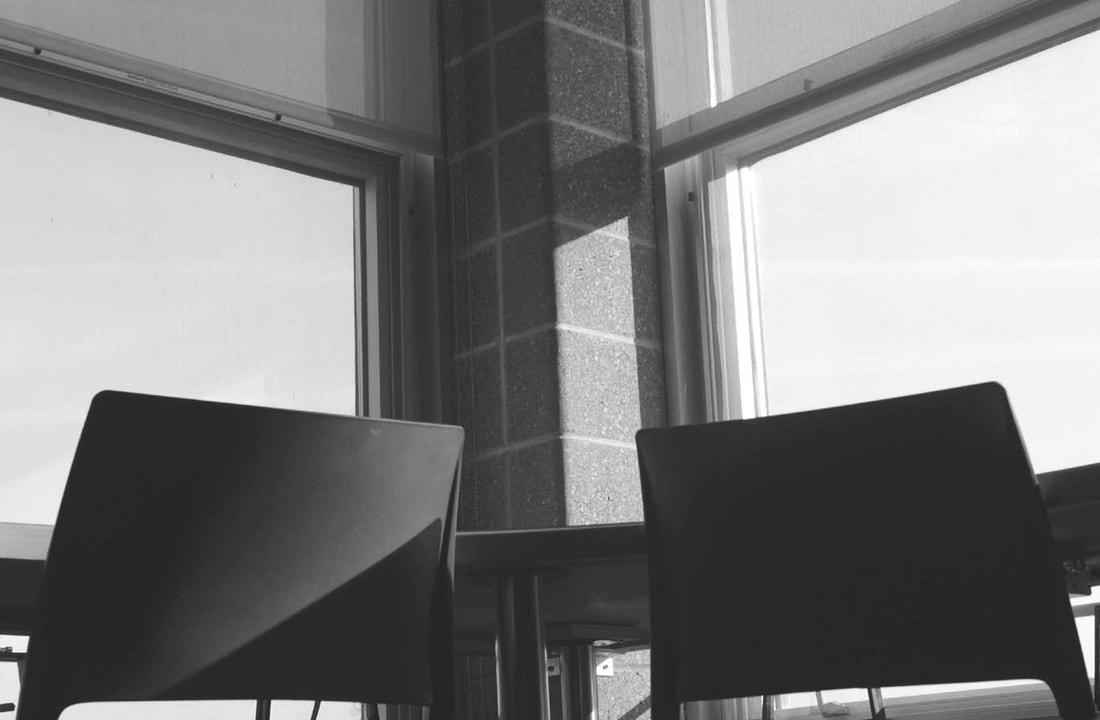
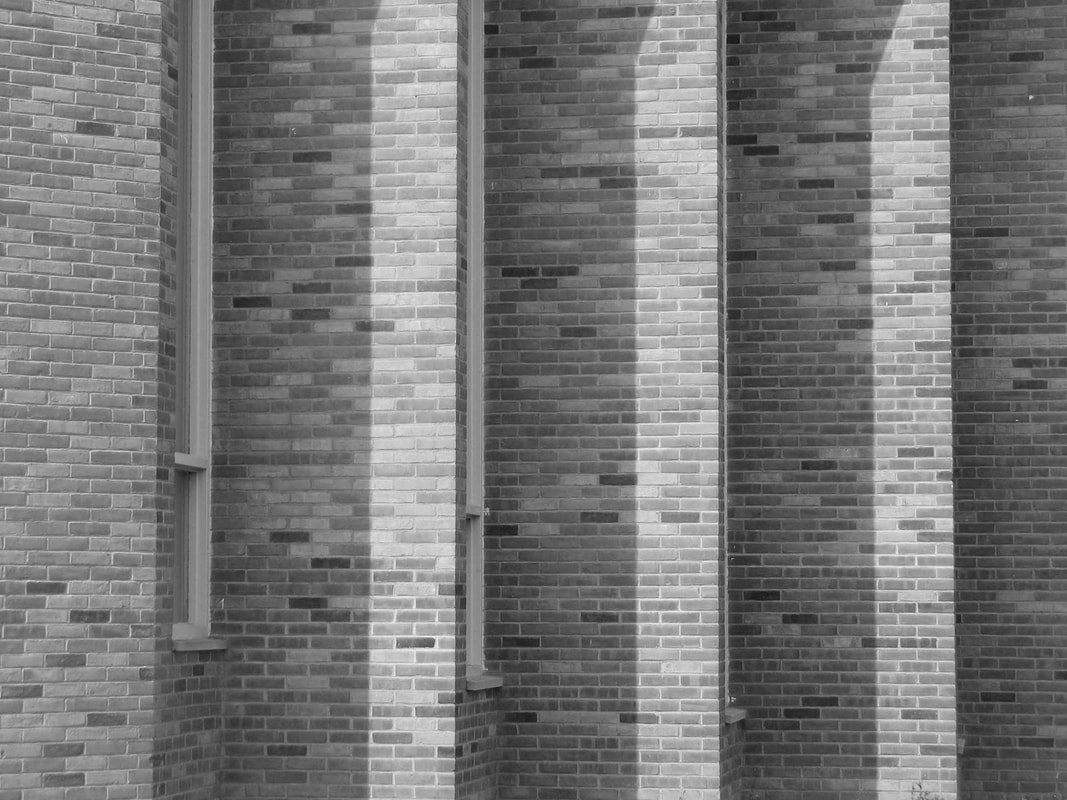
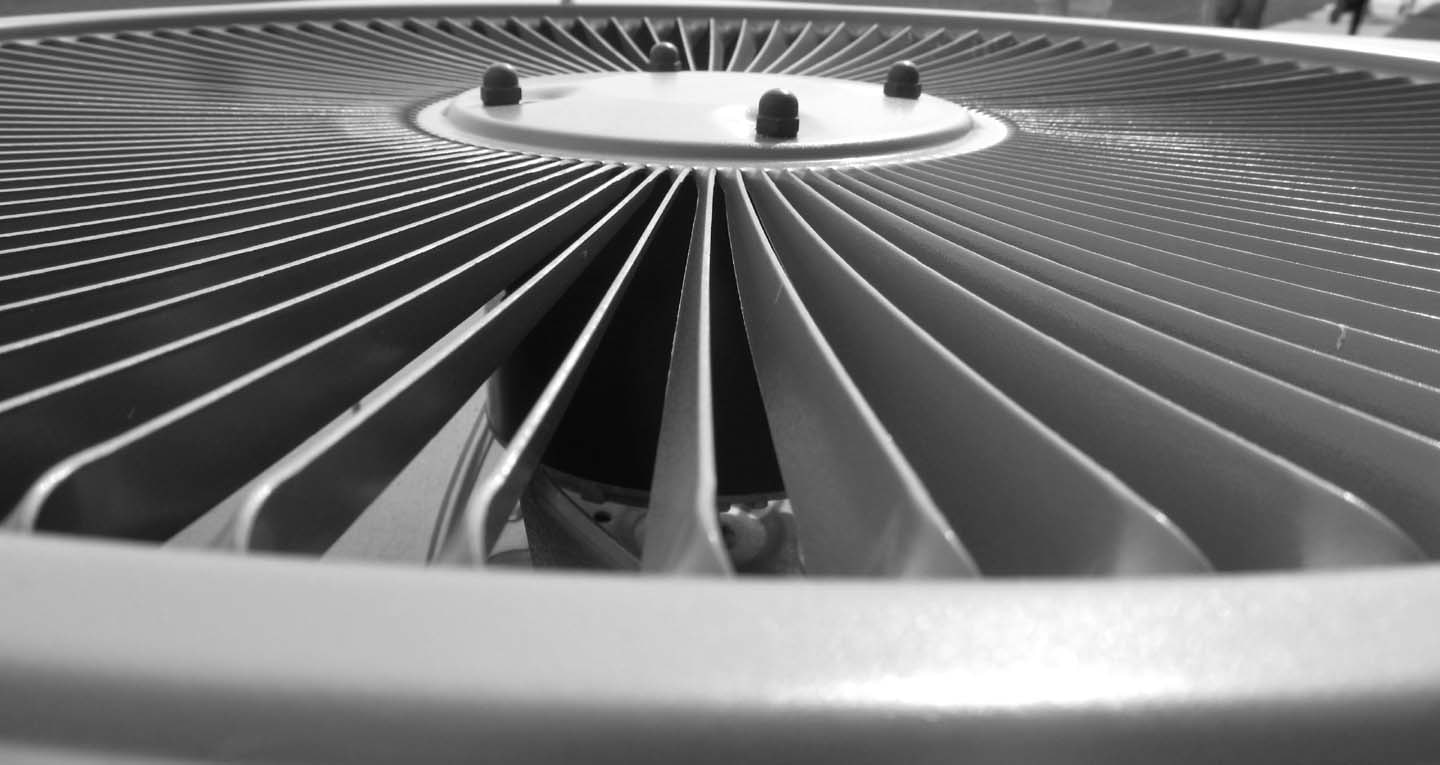
Symmetry and Pattern
|
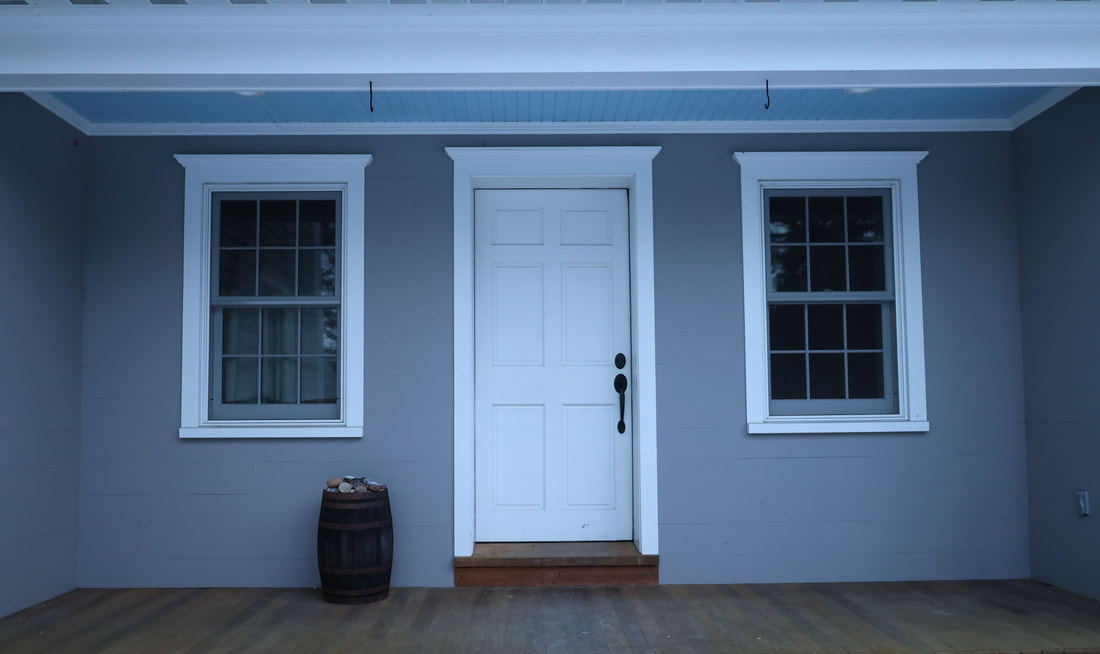
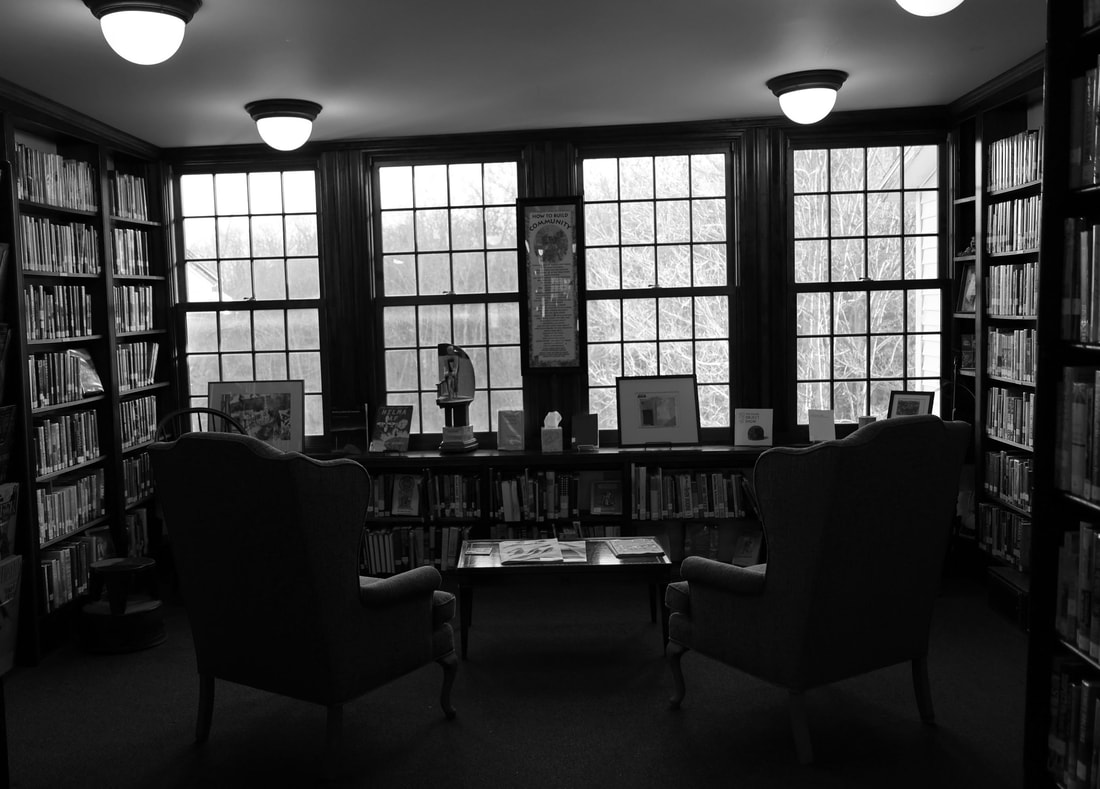
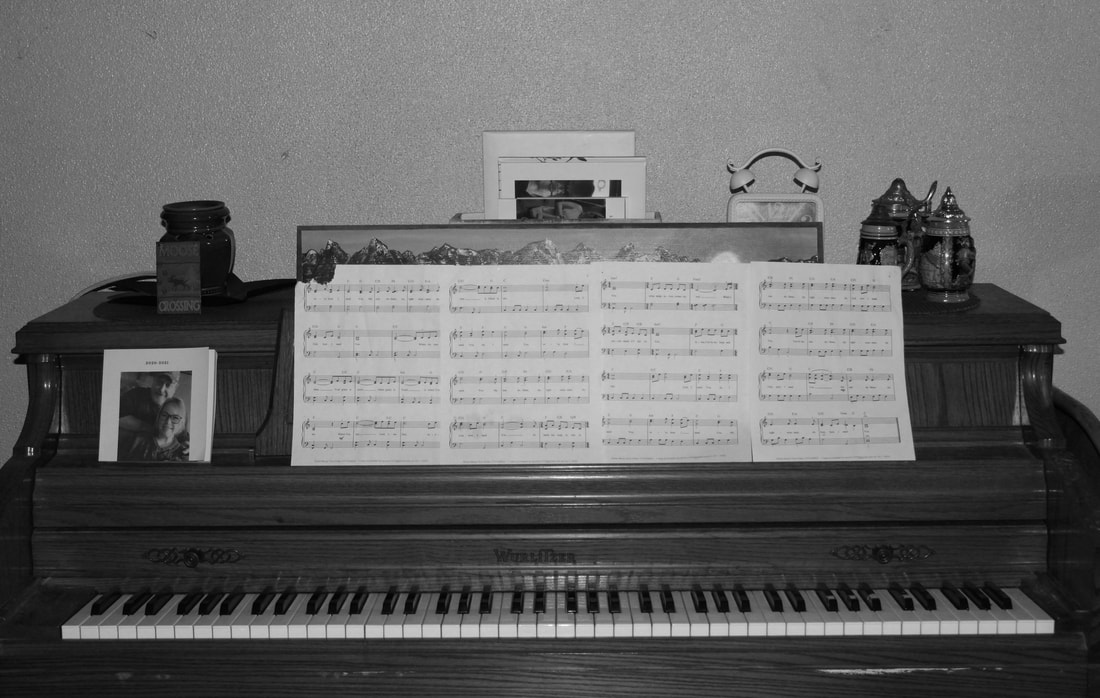
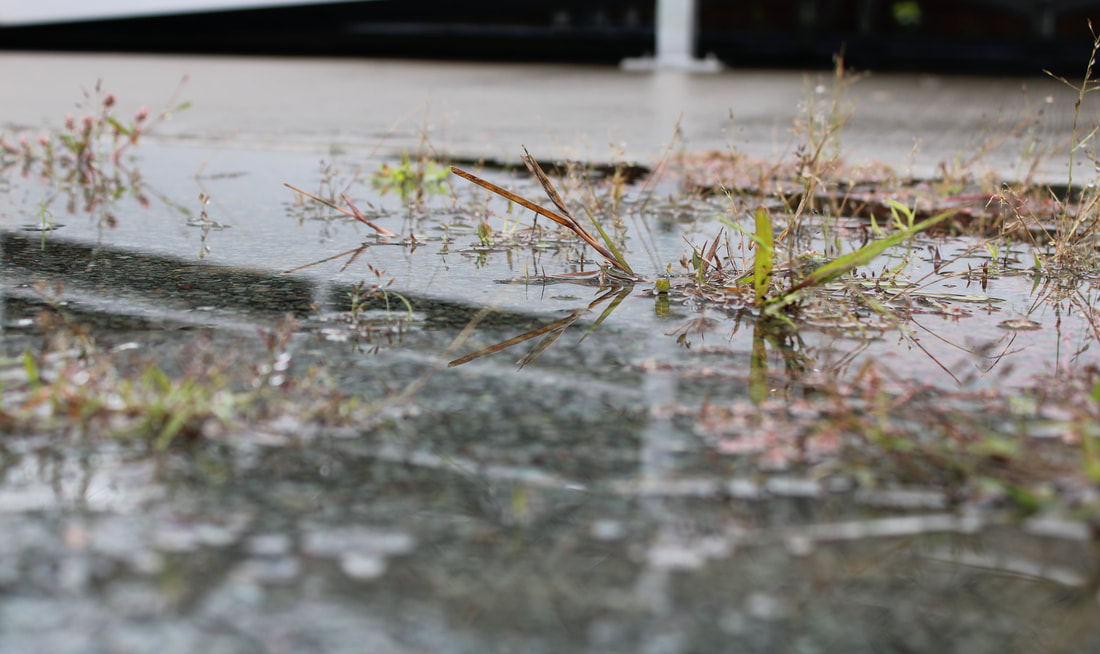
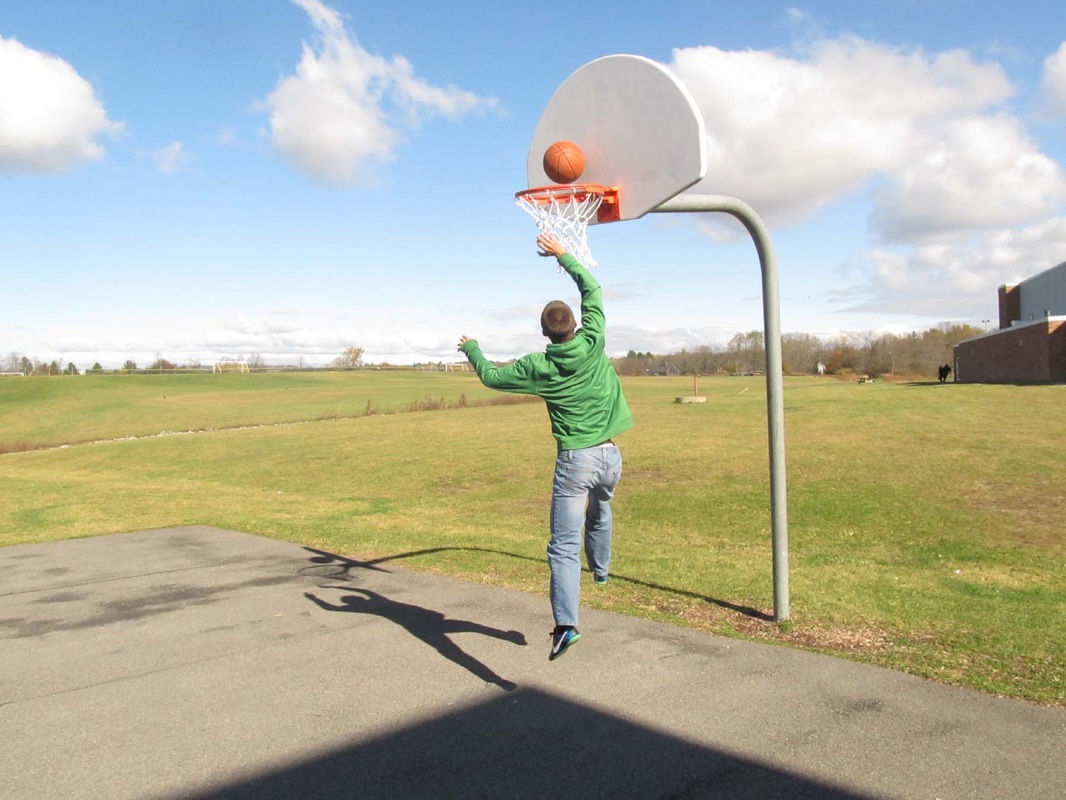
Rule of Thirds and Balancing Elements
|
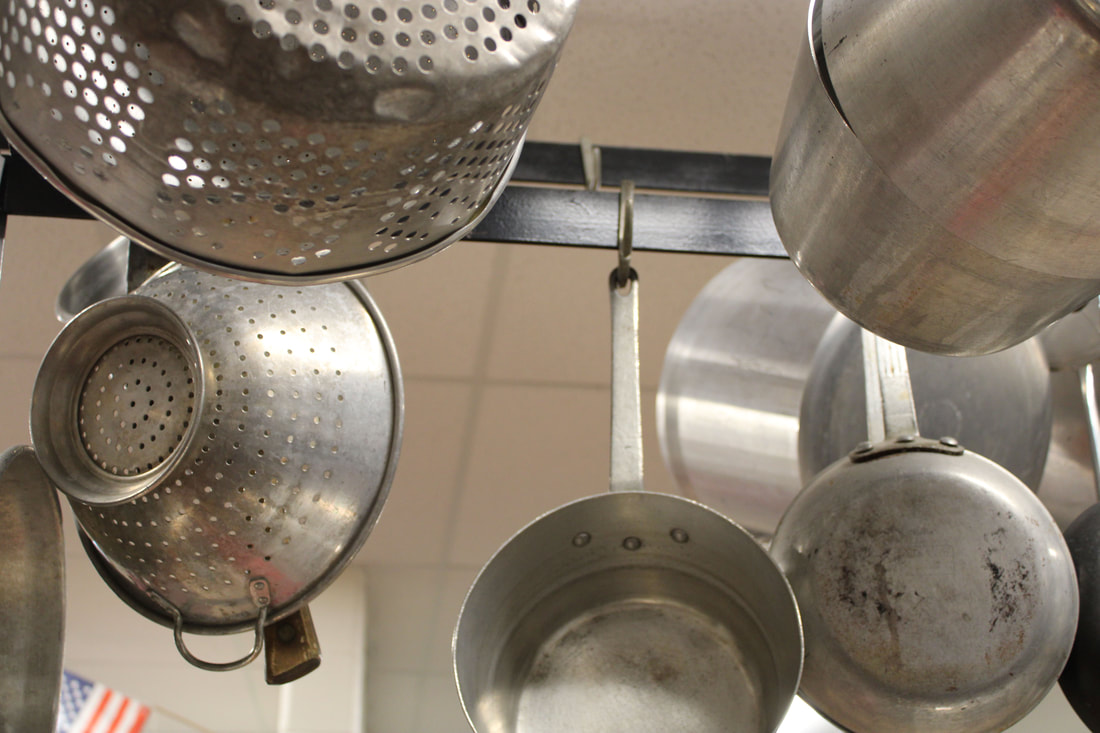
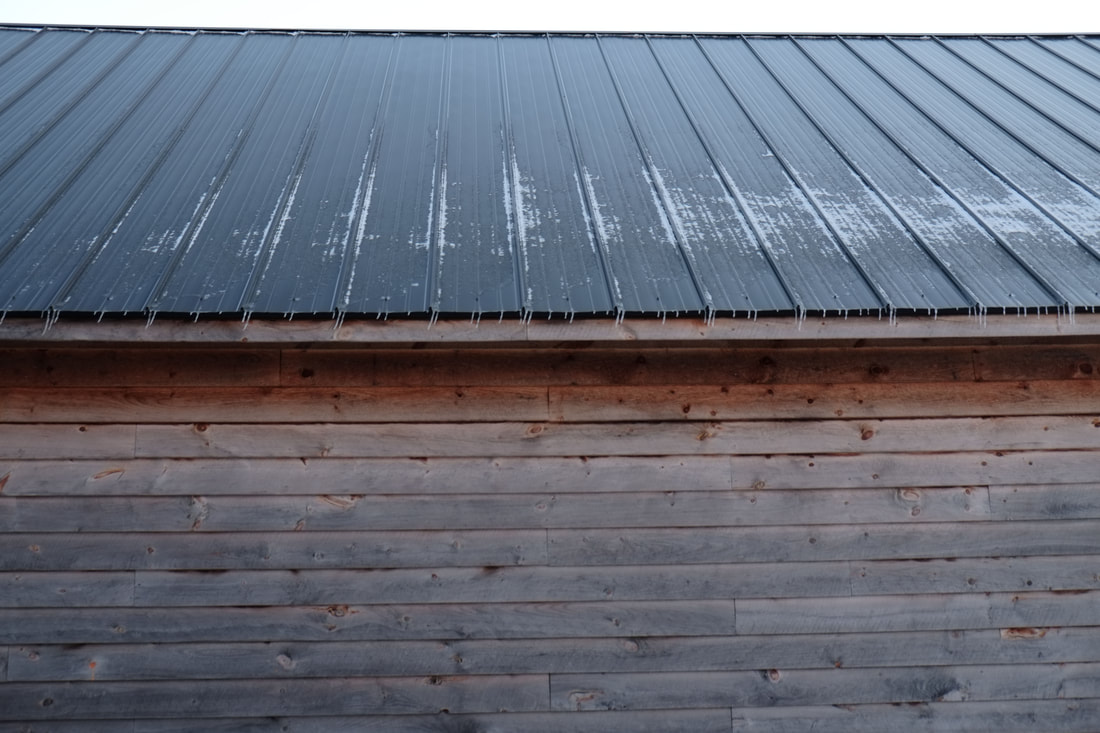
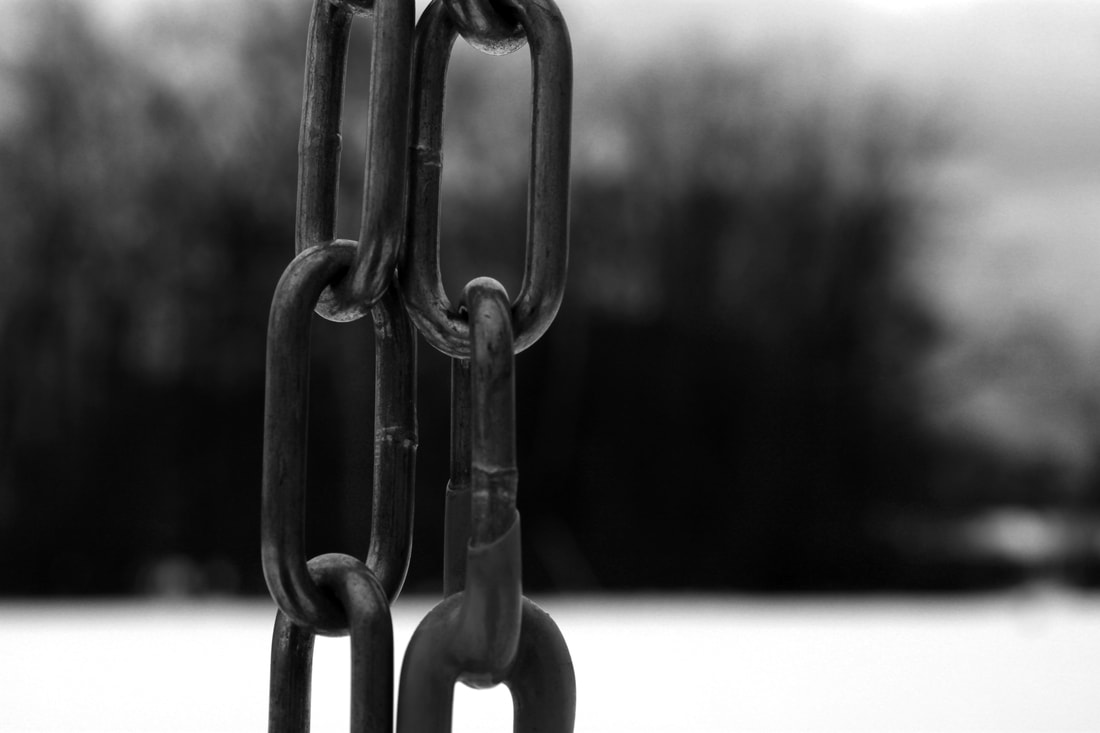
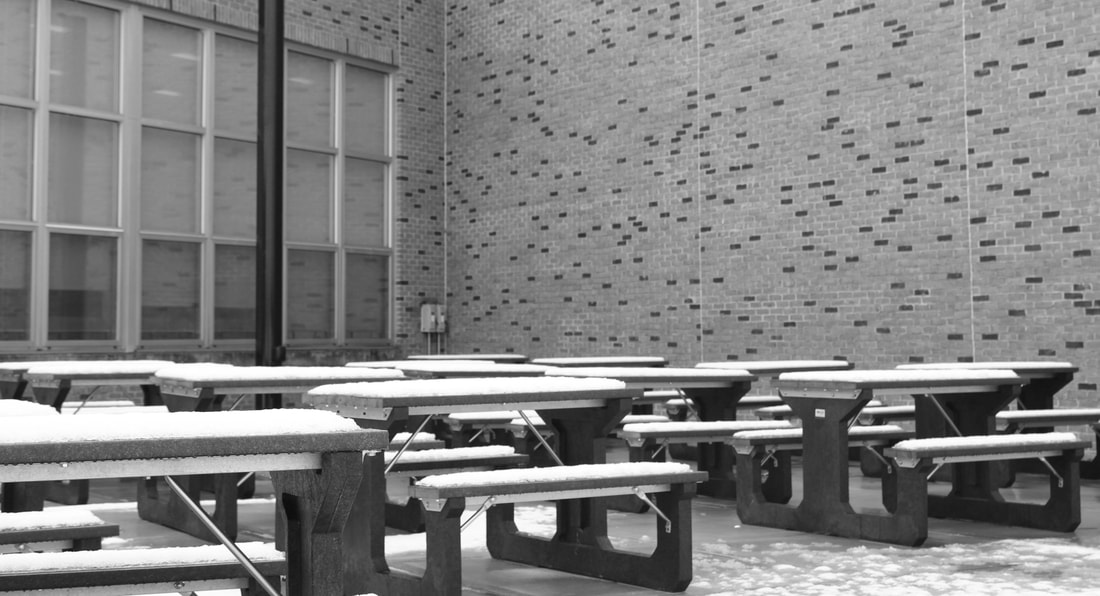
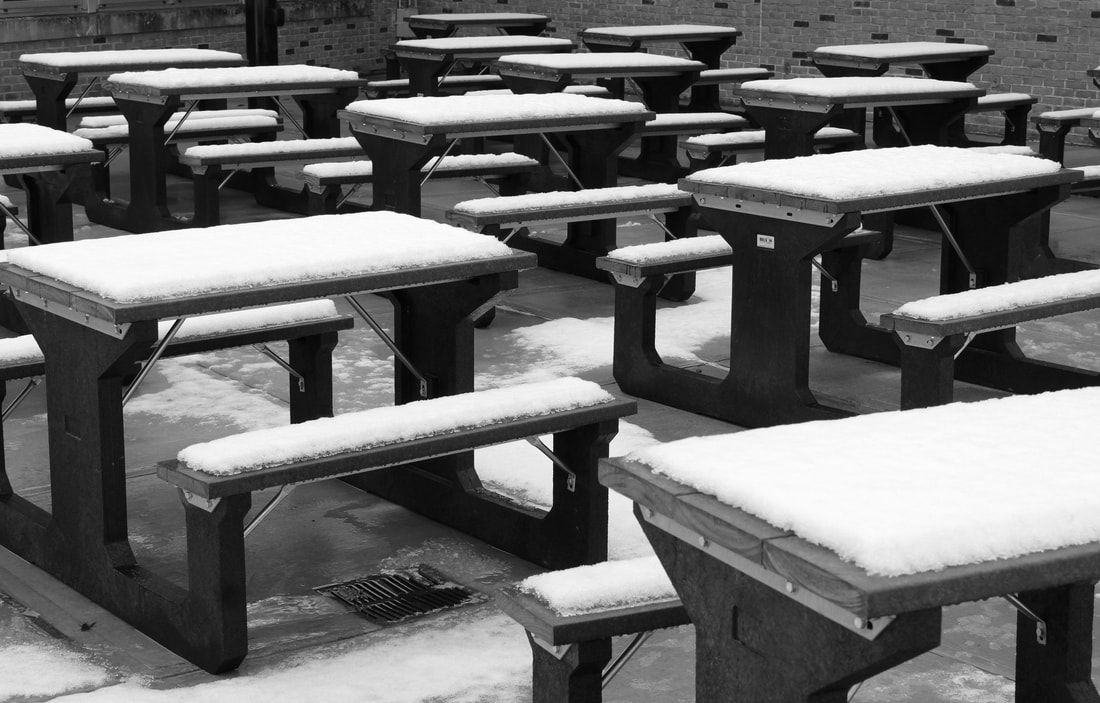
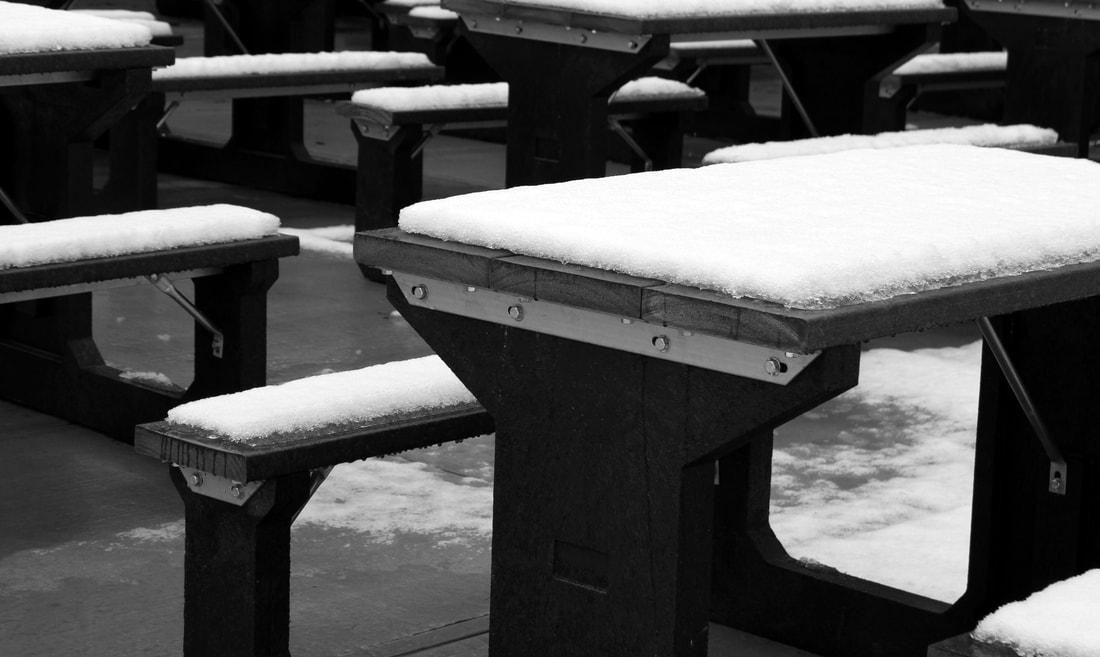
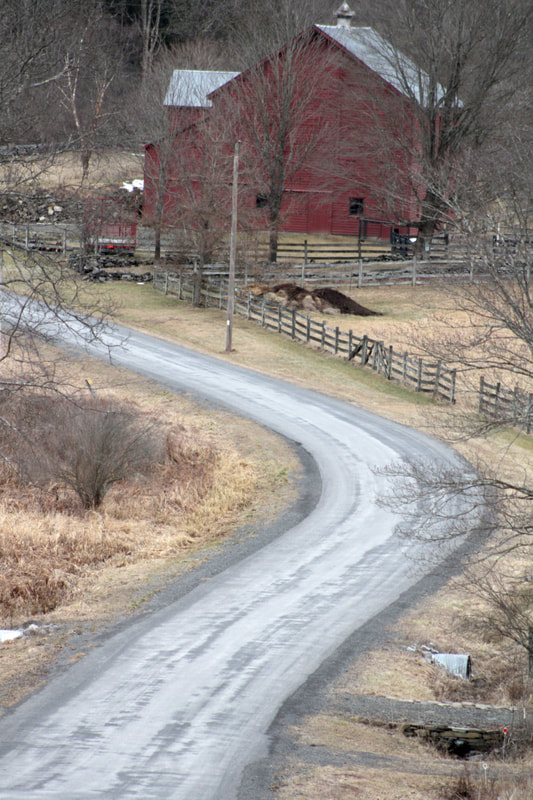
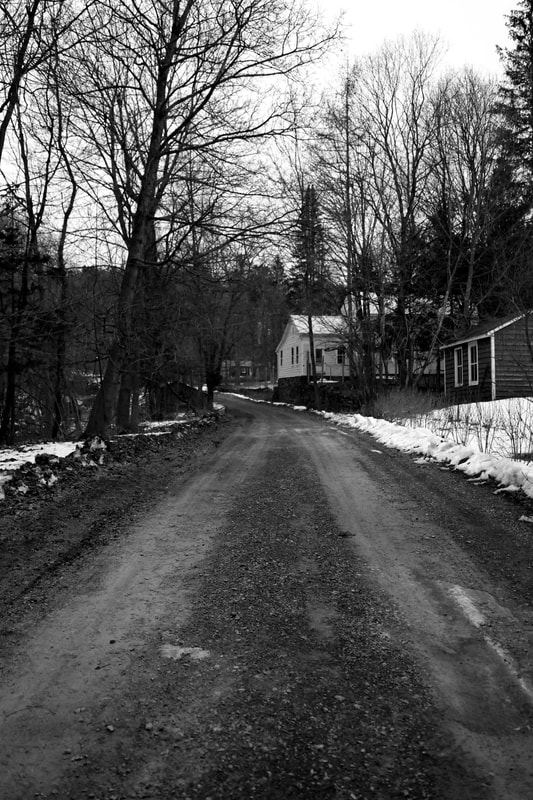
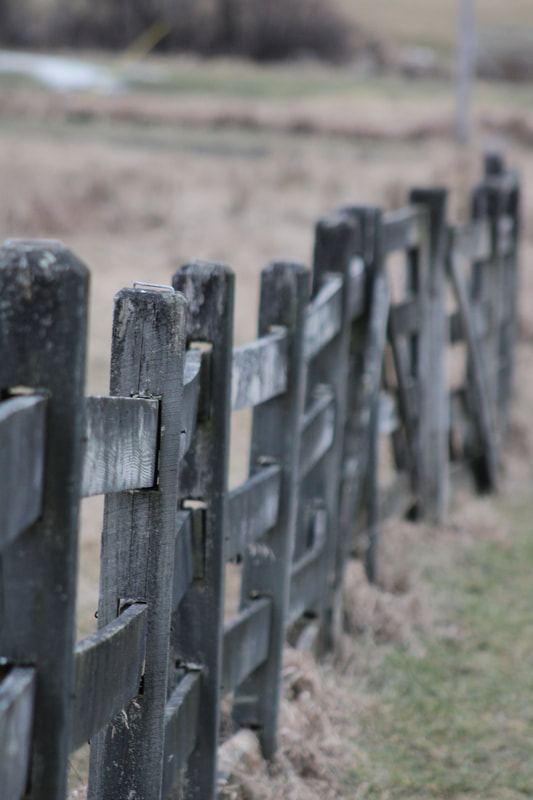
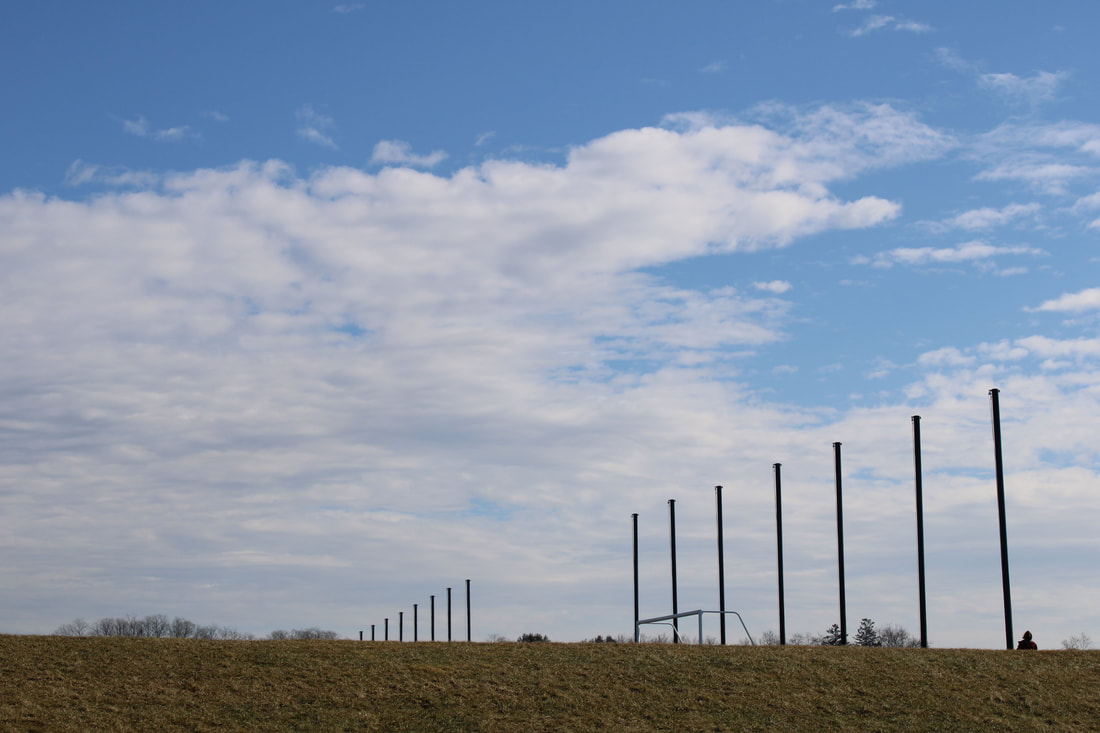
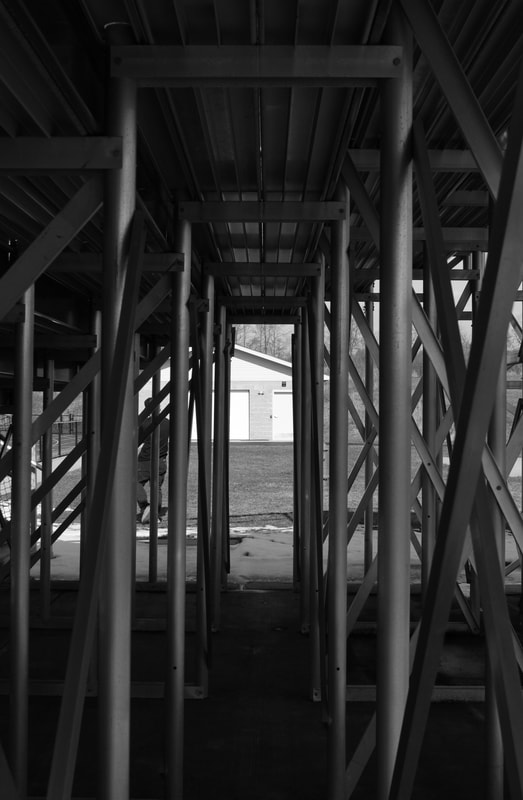
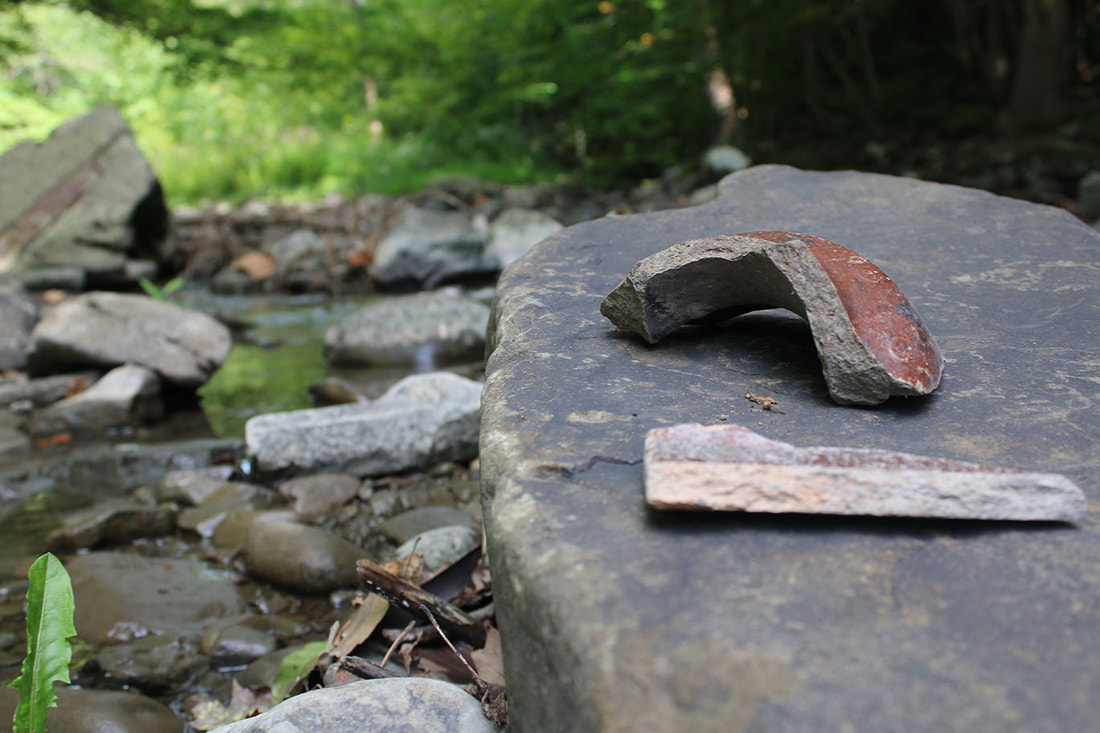
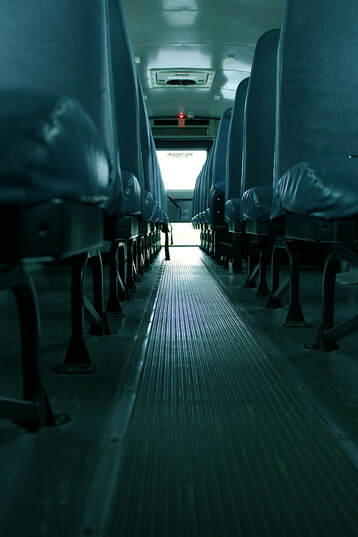
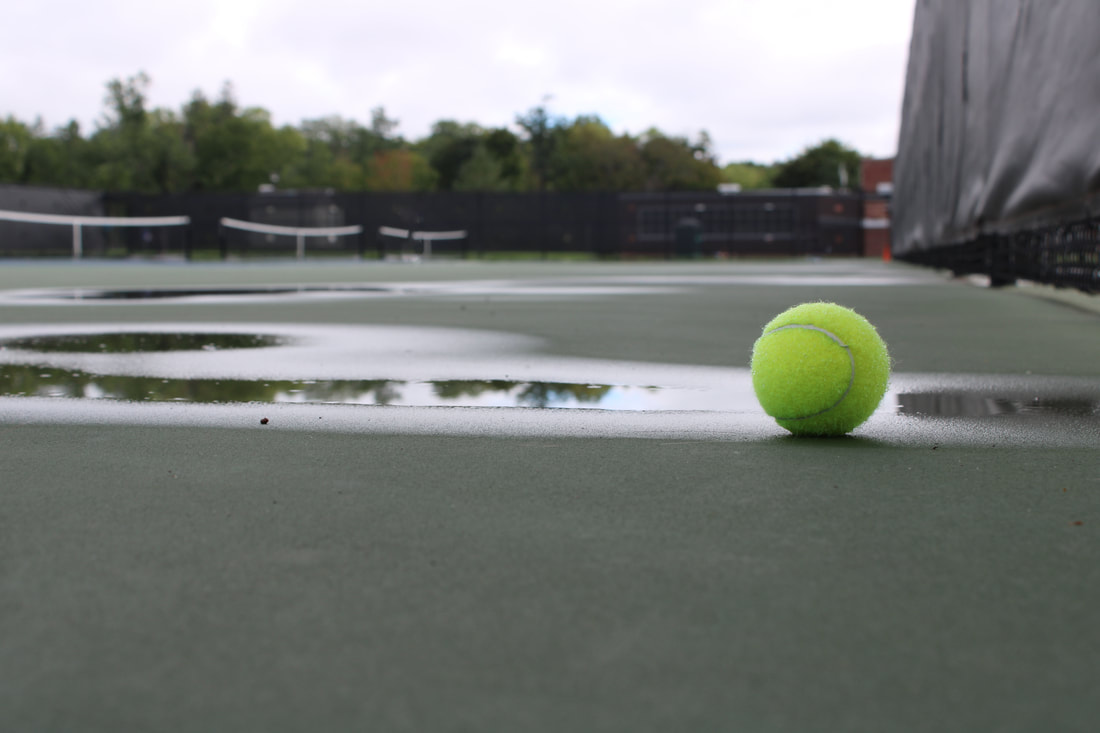
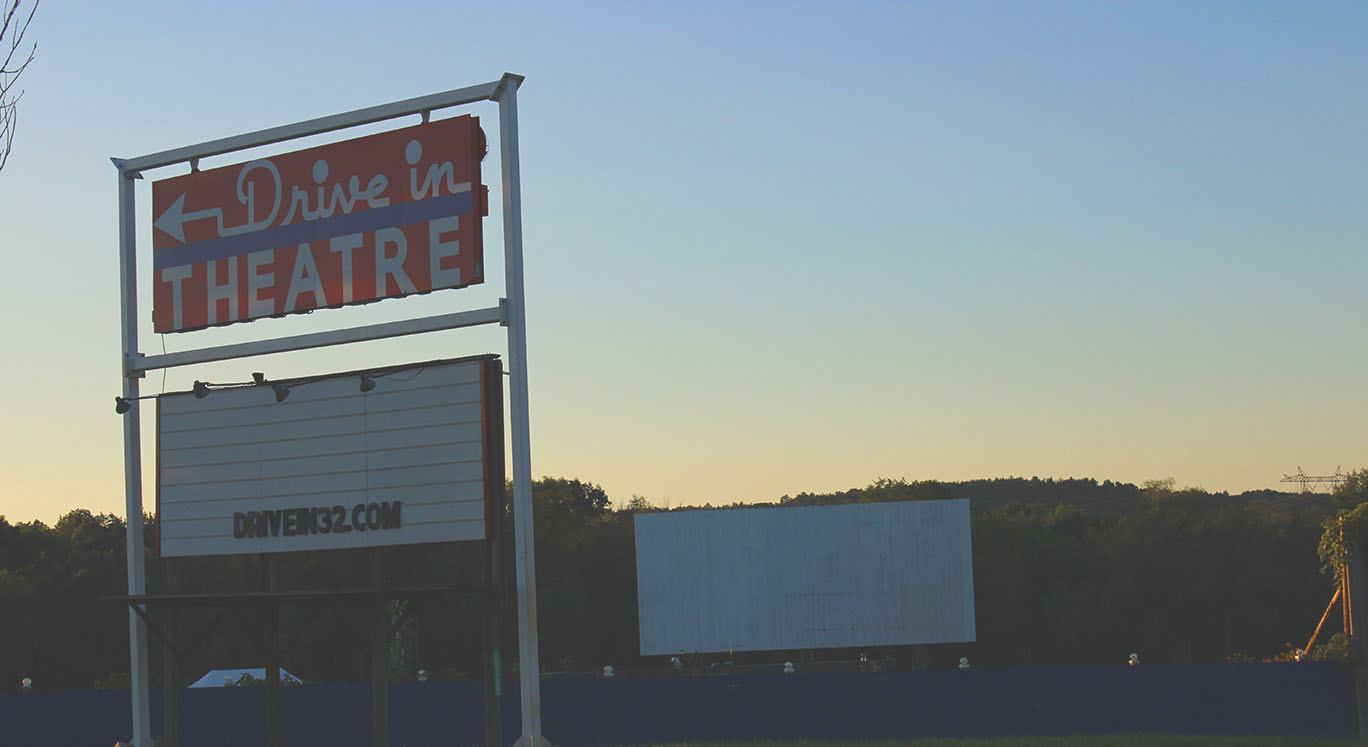
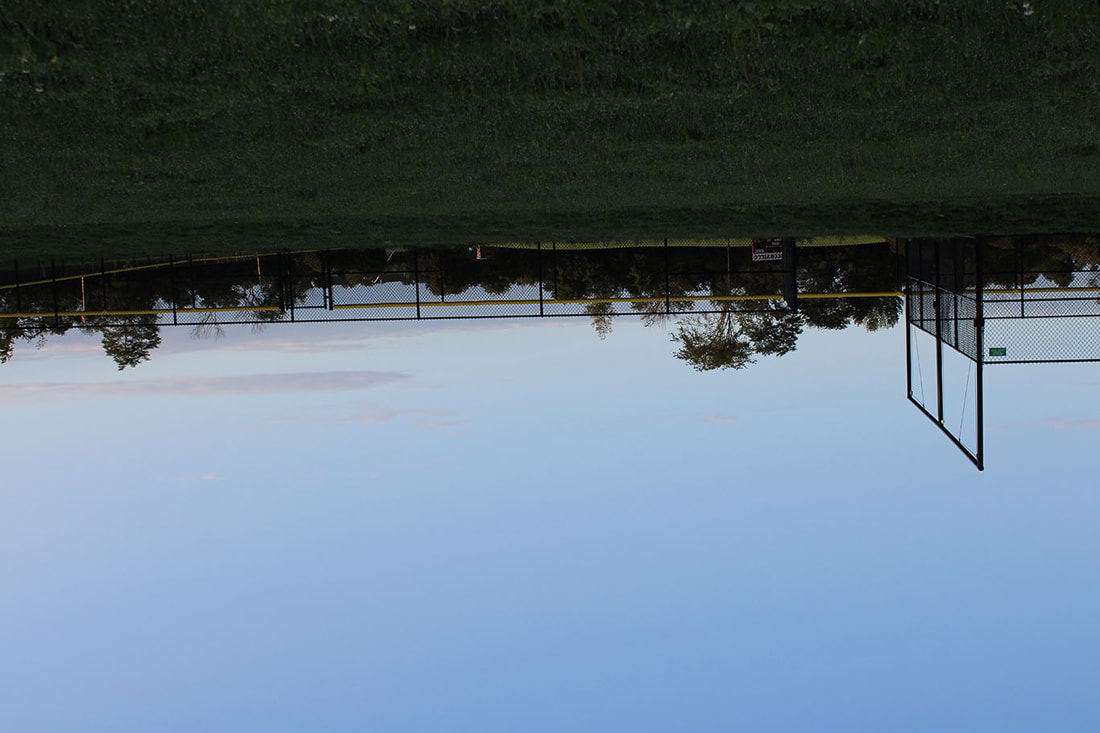
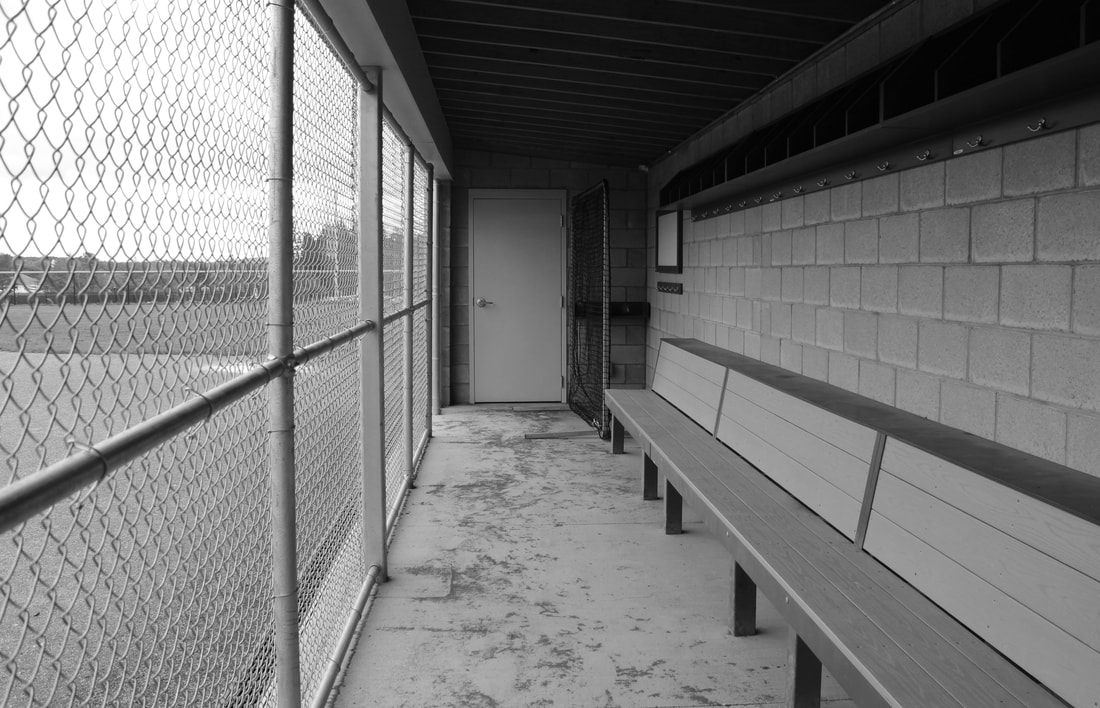
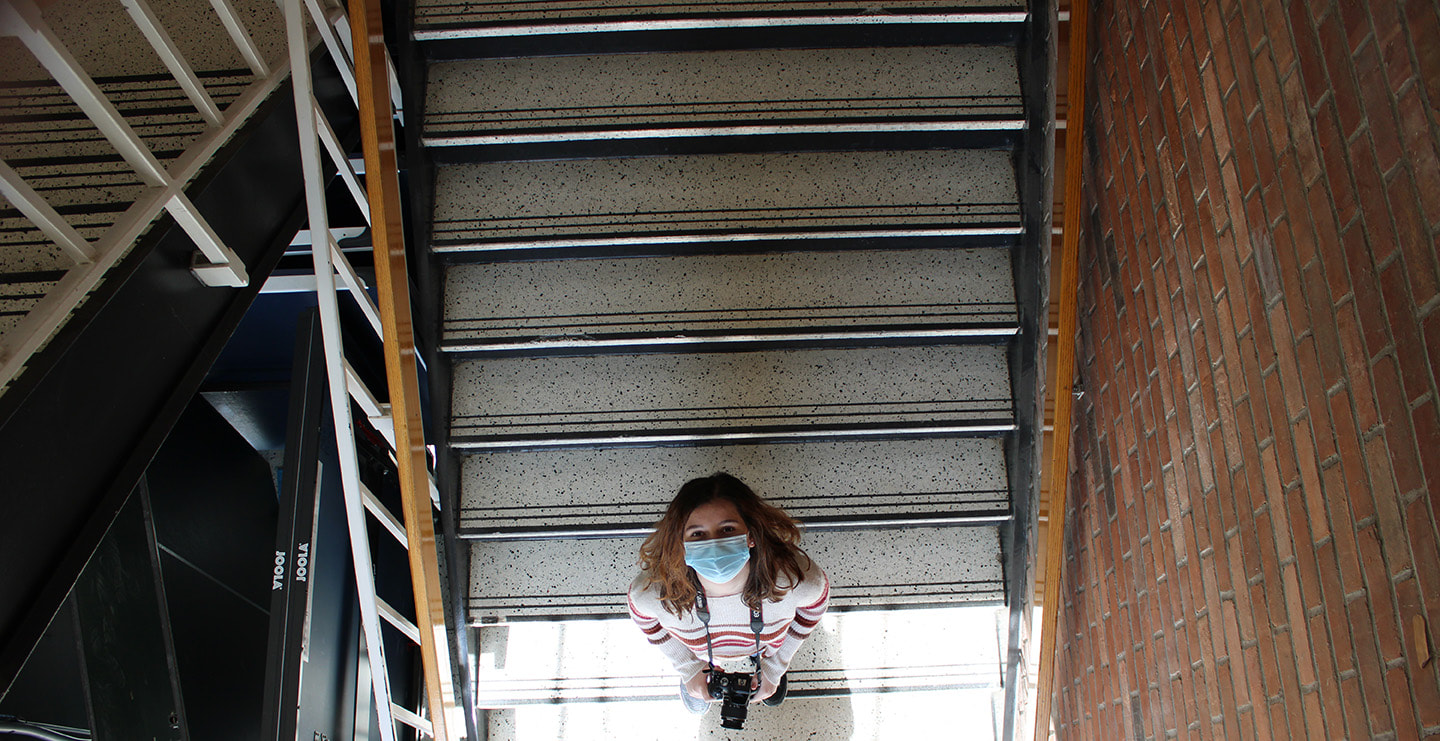
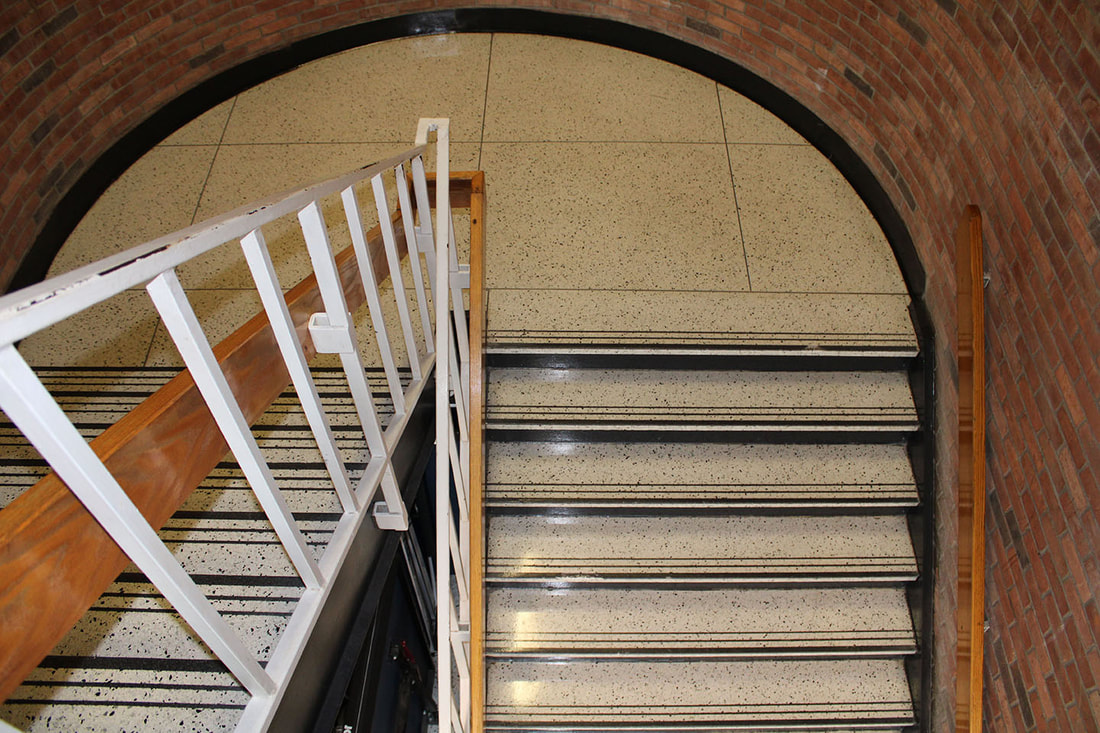
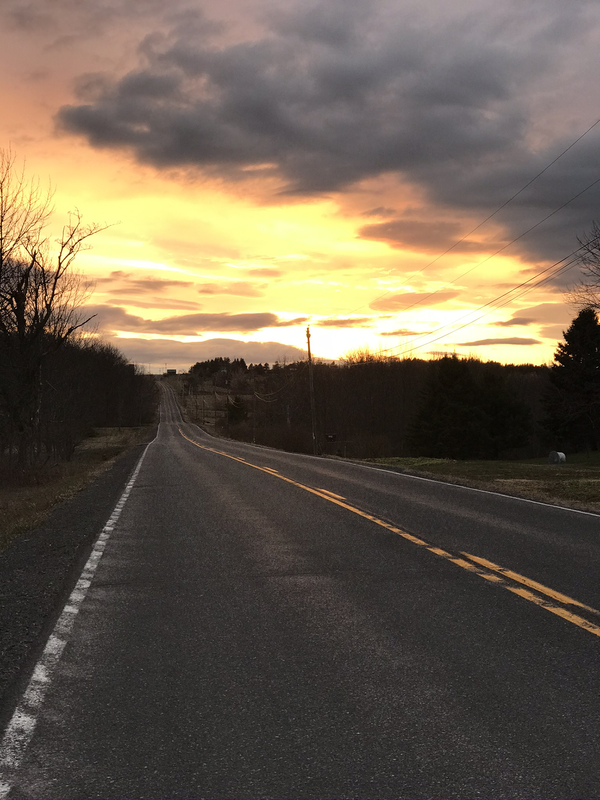
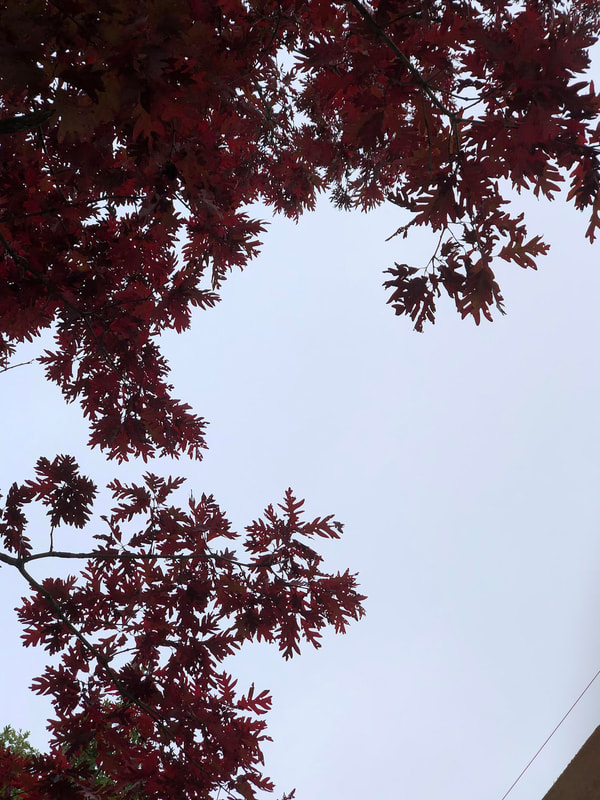
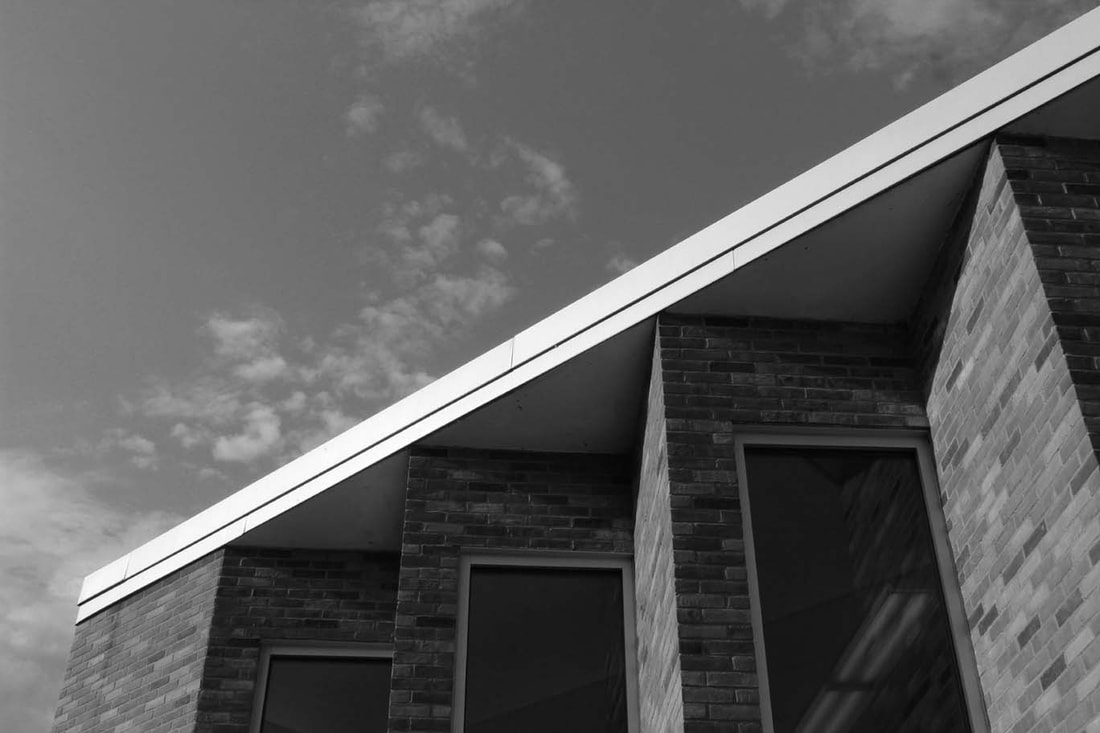
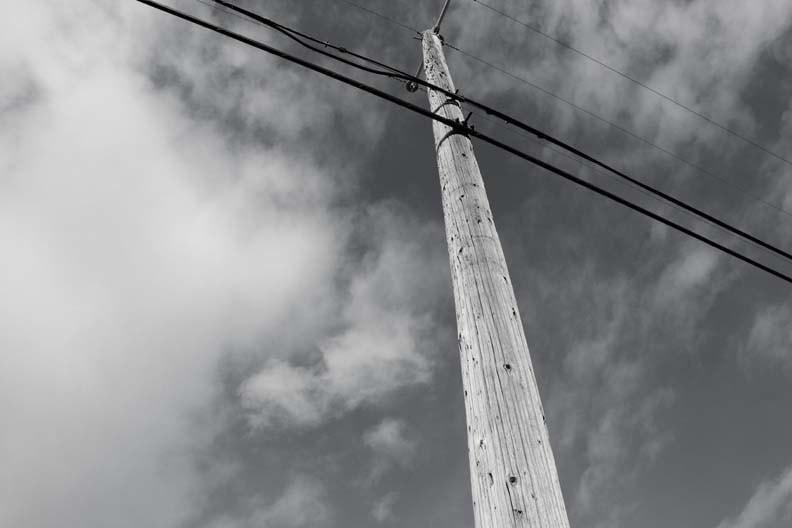
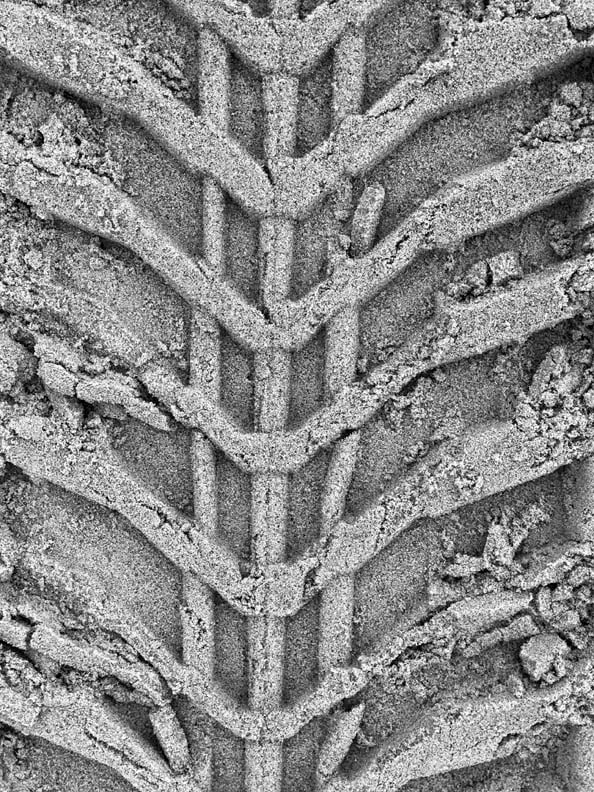
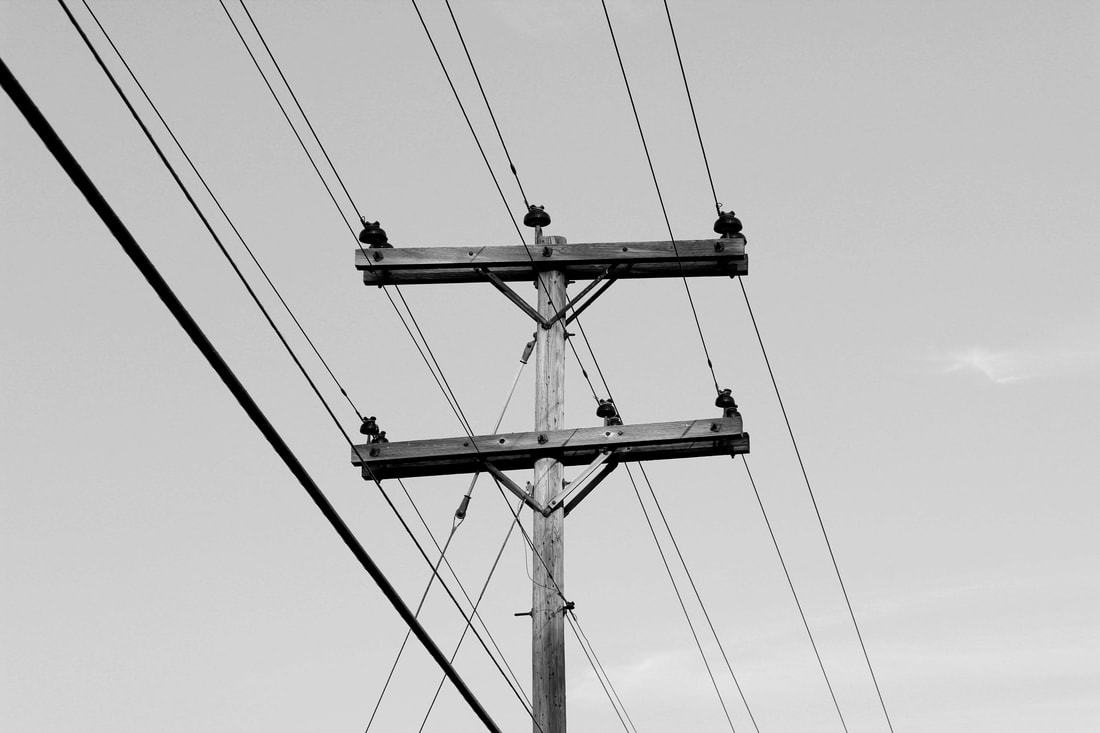
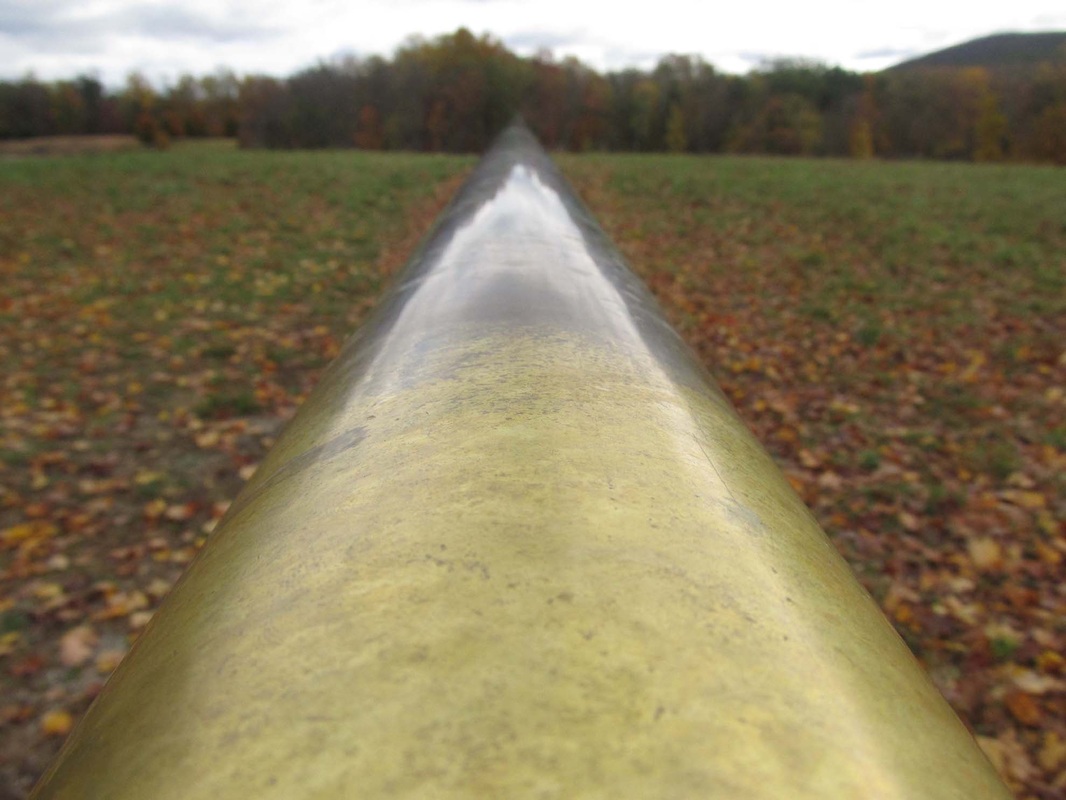
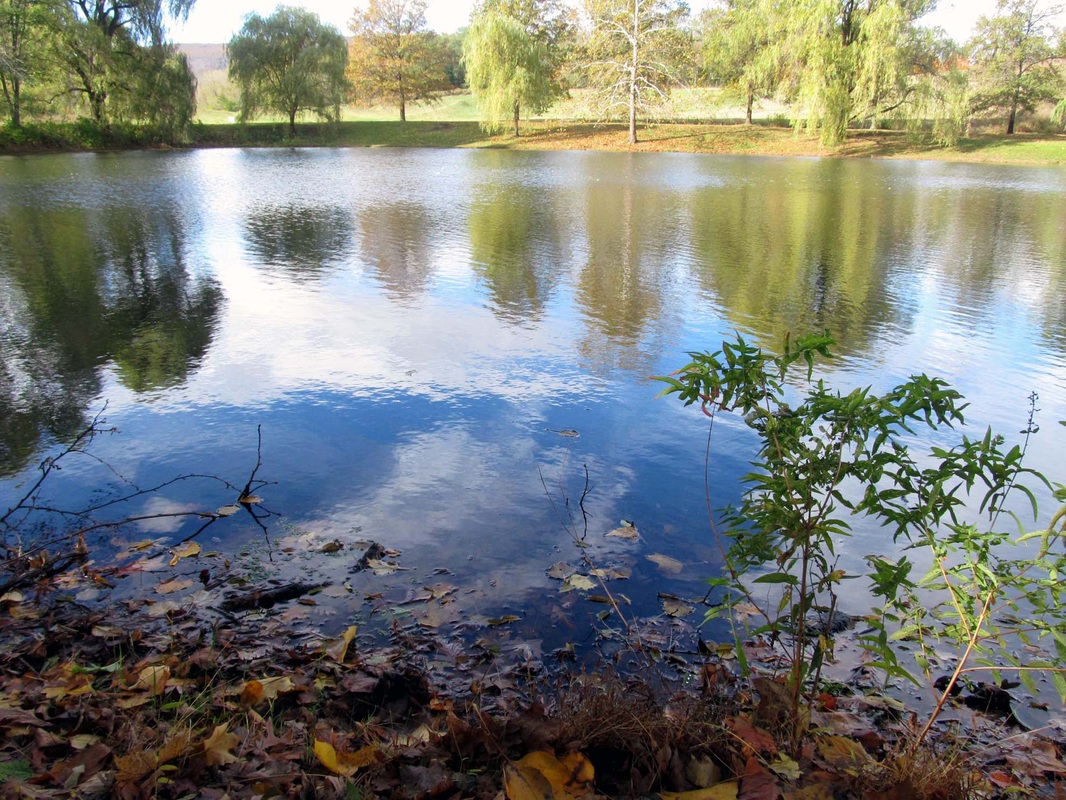
Depth and Leading Lines
|
|
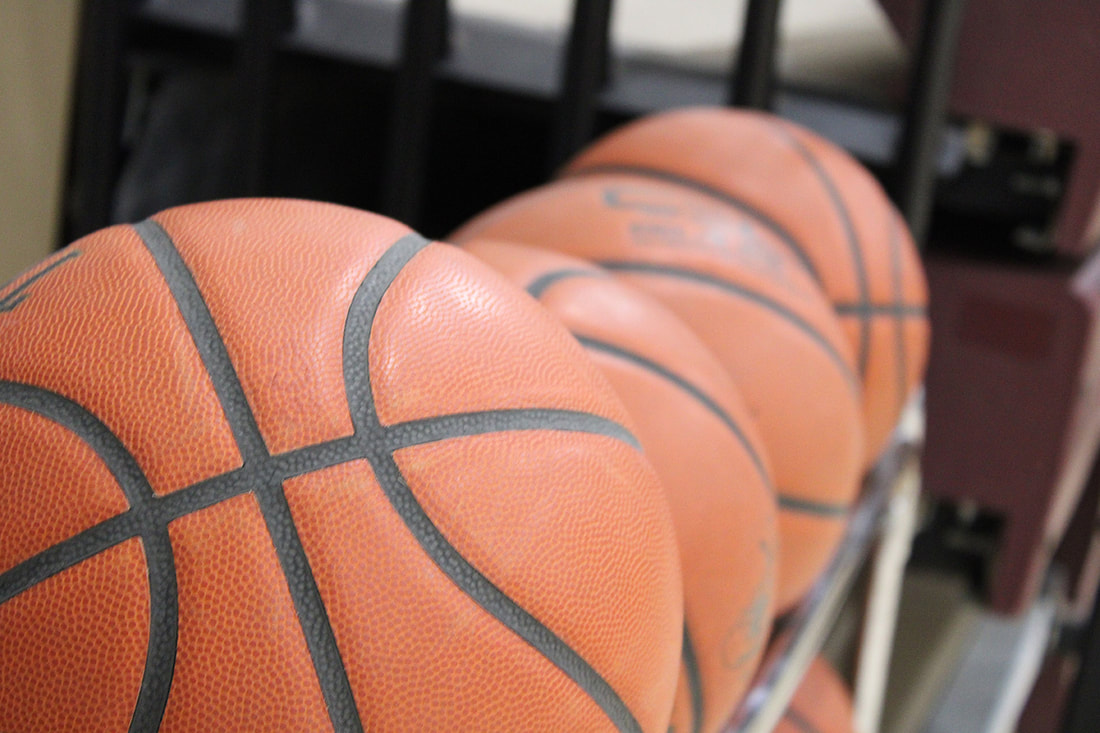
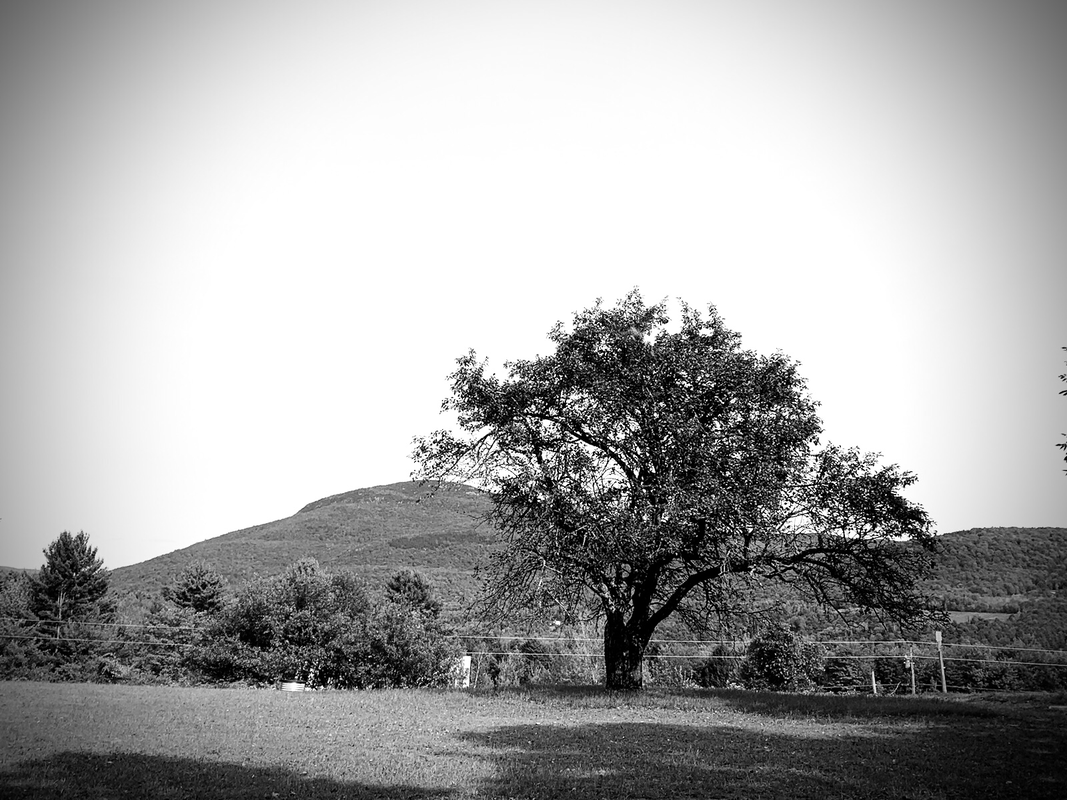
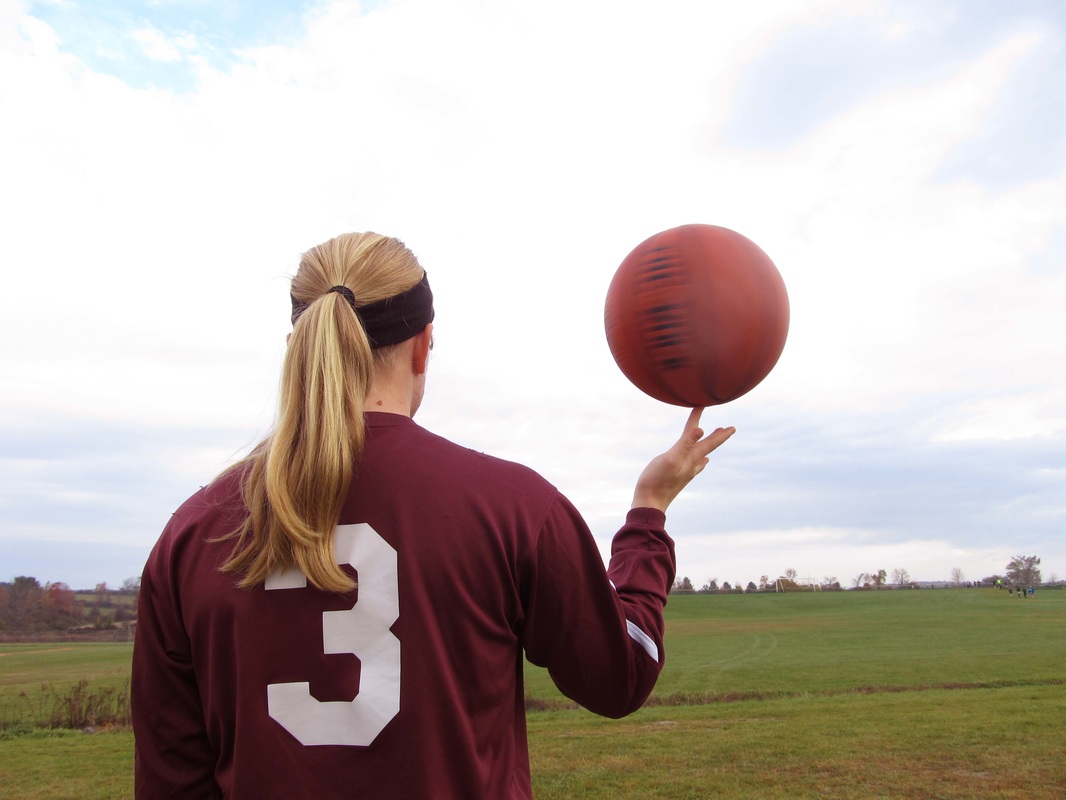
When taking a photo with Rule of thirds imagine that your image is divided into nine equal segments by two vertical and two horizontal lines. The rule of thirds says that you should position the most important elements in your scene along these lines, or at the points where they intersect.
When using Balance in a photo placing your main subject off-center, as with the rule of thirds, creates a more interesting photo, but it can leave a void in the scene which can make it feel empty. You should balance the "weight" of your subject by including another object of lesser importance to fill the space. |
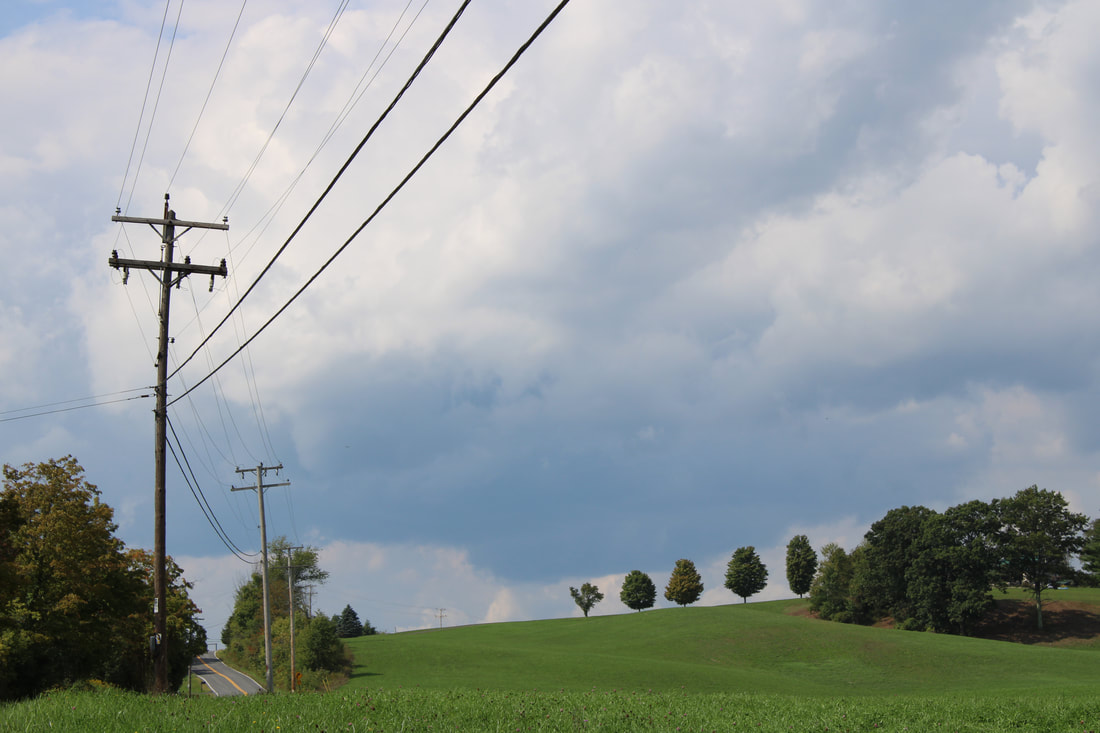
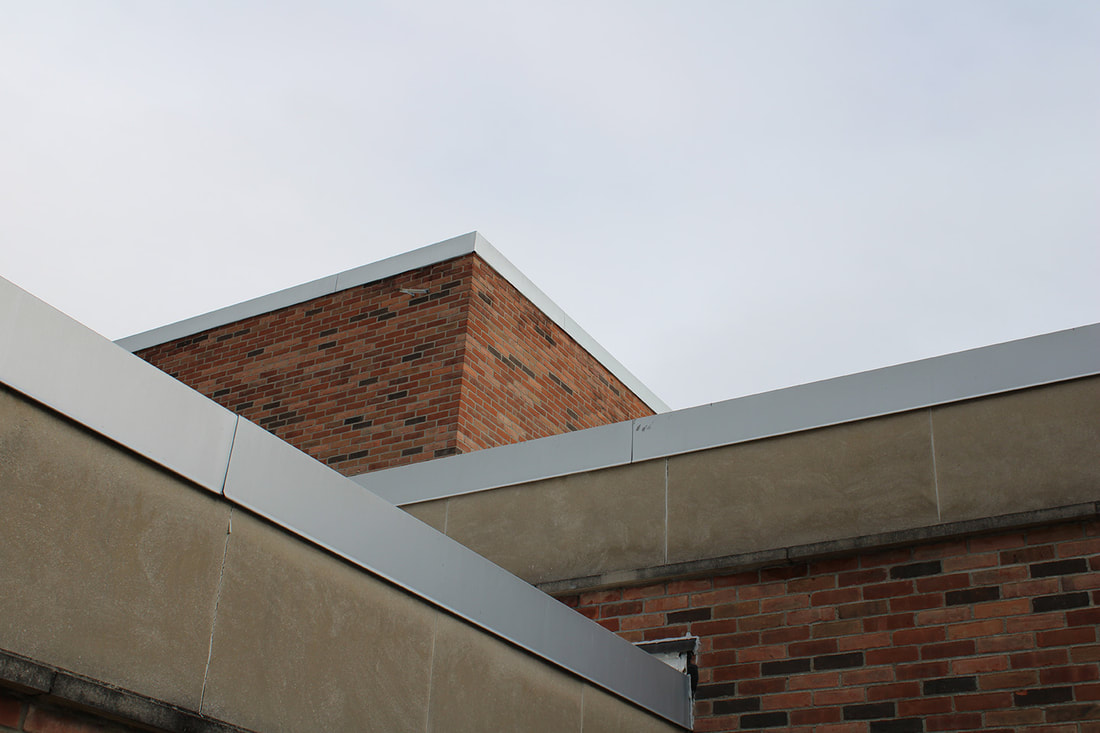
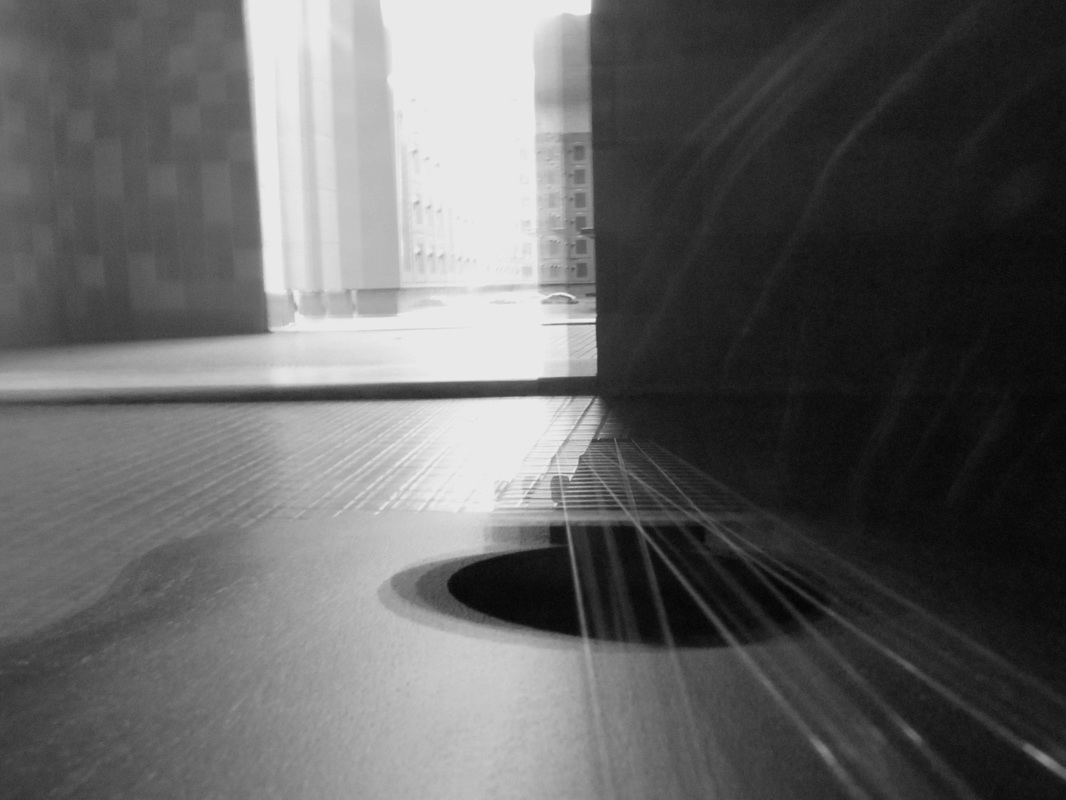
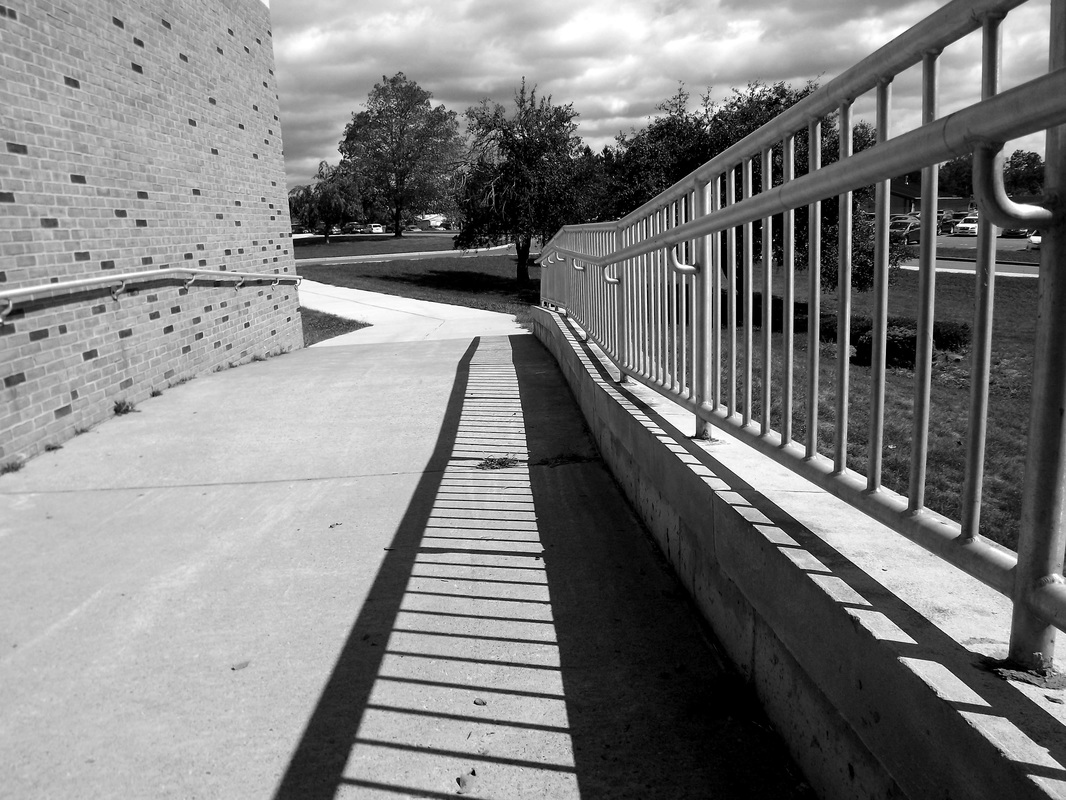
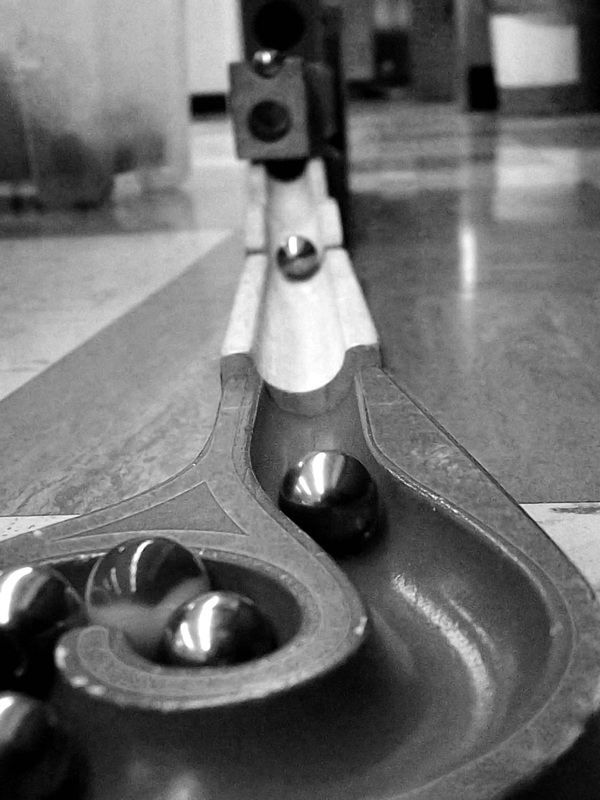
Photography is a two-dimensional medium, to convey a sense of depth it is important to think about the location where the photos are being taken. Offent the photographer needs to change their angle of view. Depth can be created by including objects in the foreground, middle ground, and background. Another useful composition technique is overlapping, where you deliberately partially obscure one object with another. The human eye naturally recognizes these layers and mentally separates them out, creating an image with more depth.
Our eye is naturally drawn along lines that are captured in a photo. When we carefully consider how lines in a composition, can affect the way we view the image, something in the image will appear to come toward us or move away from us. The students looked for different types of lines - straight, diagonal, curvy, zigzag, radial, etc - and each can be used to create an interesting photo composition. |


2022-2023...
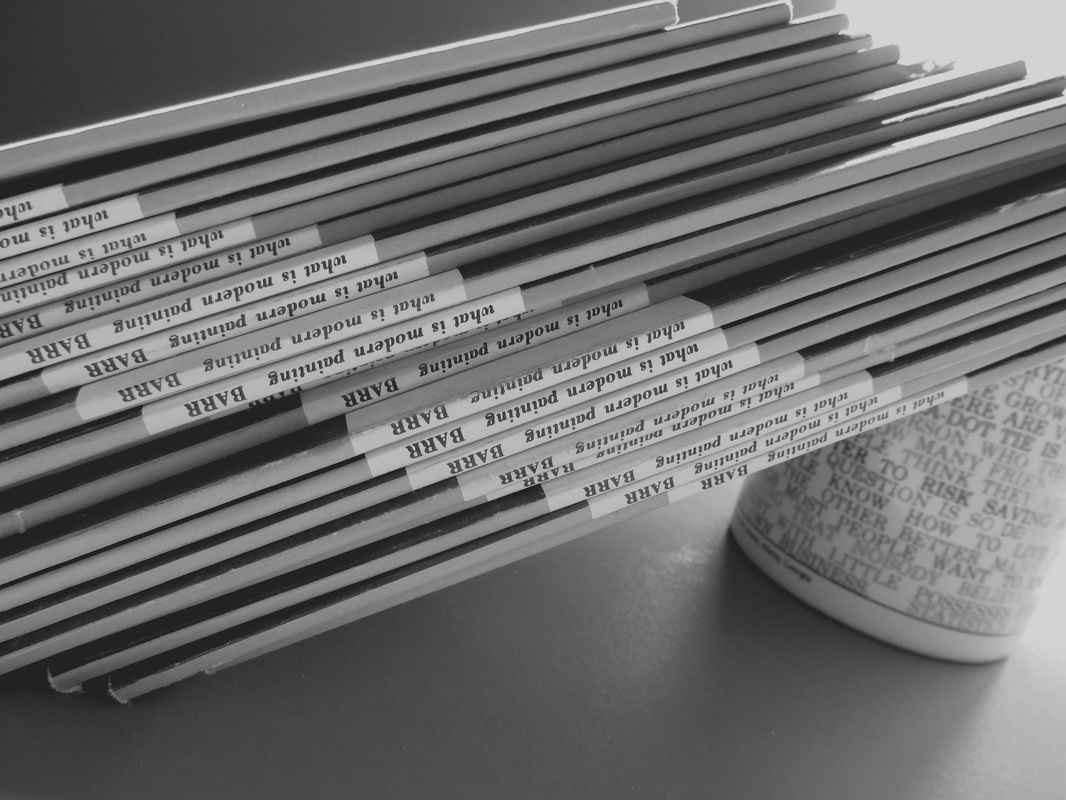
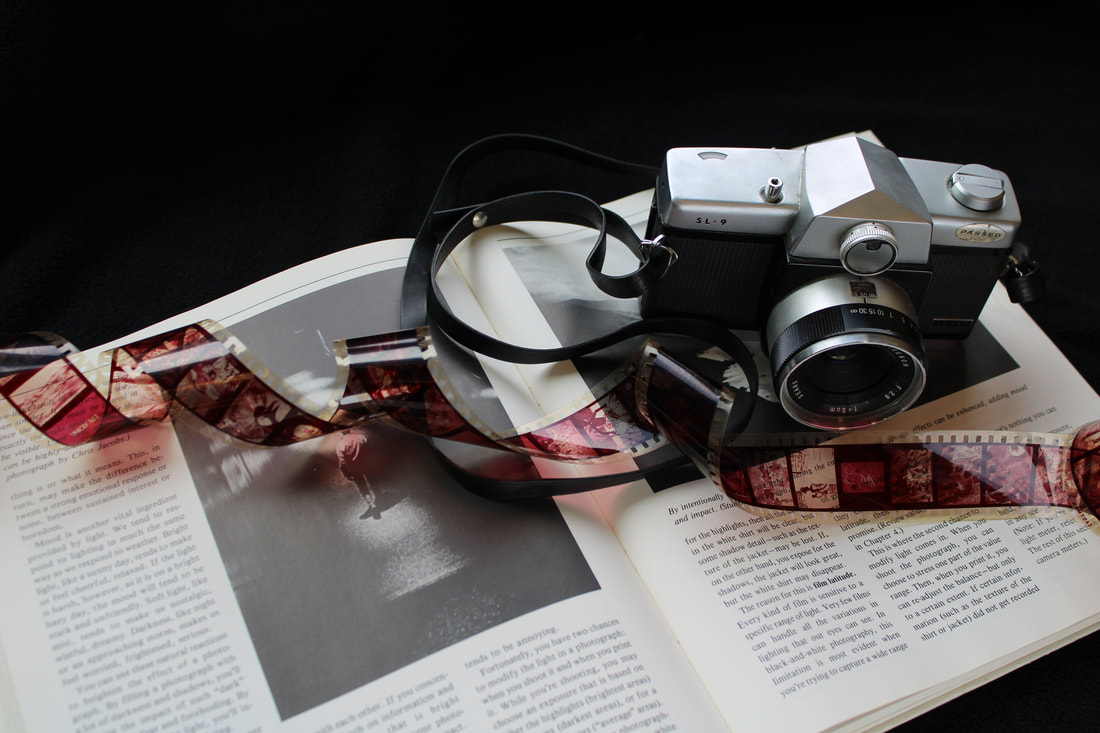
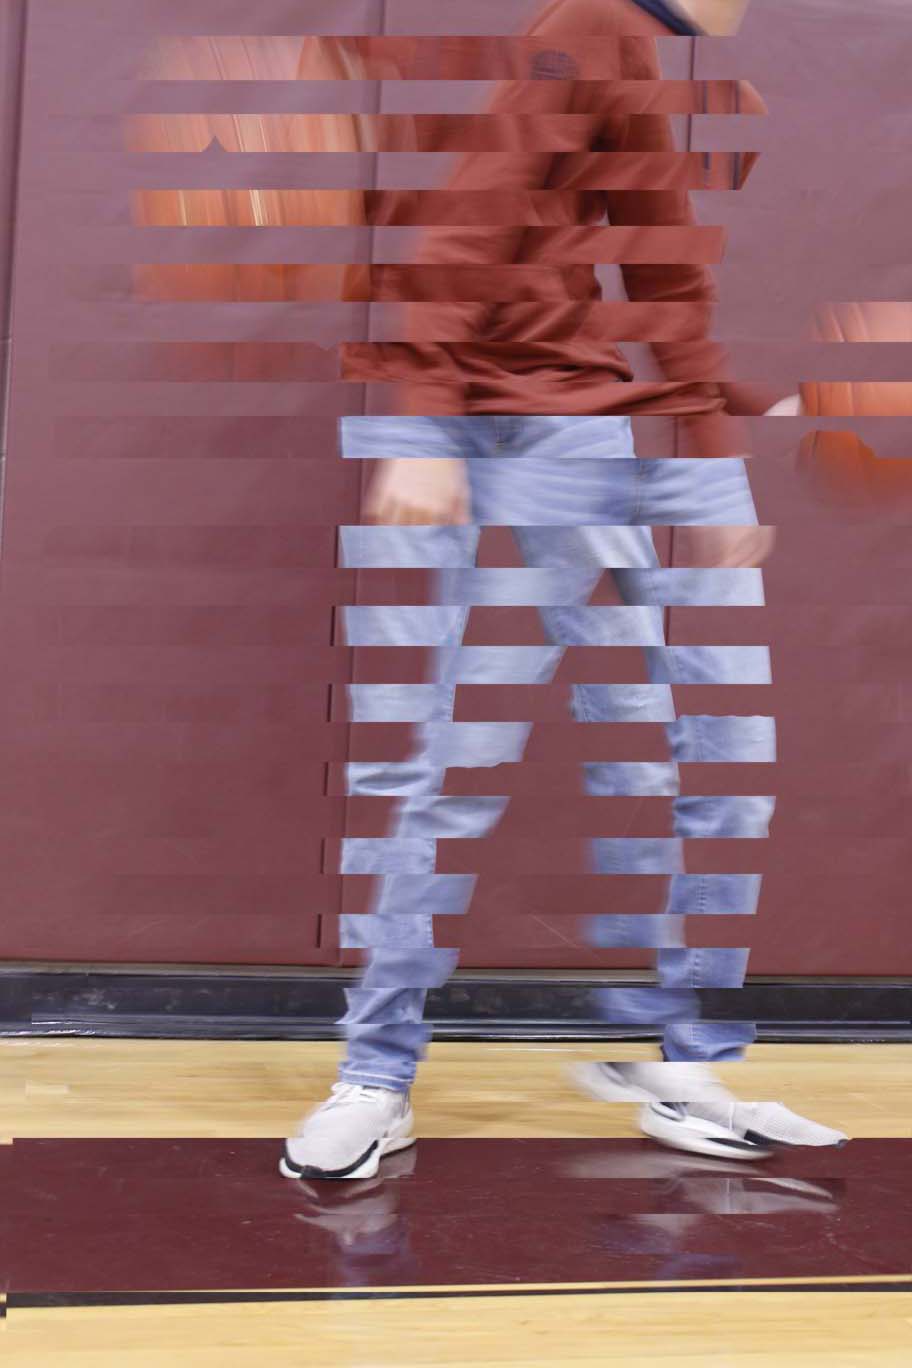
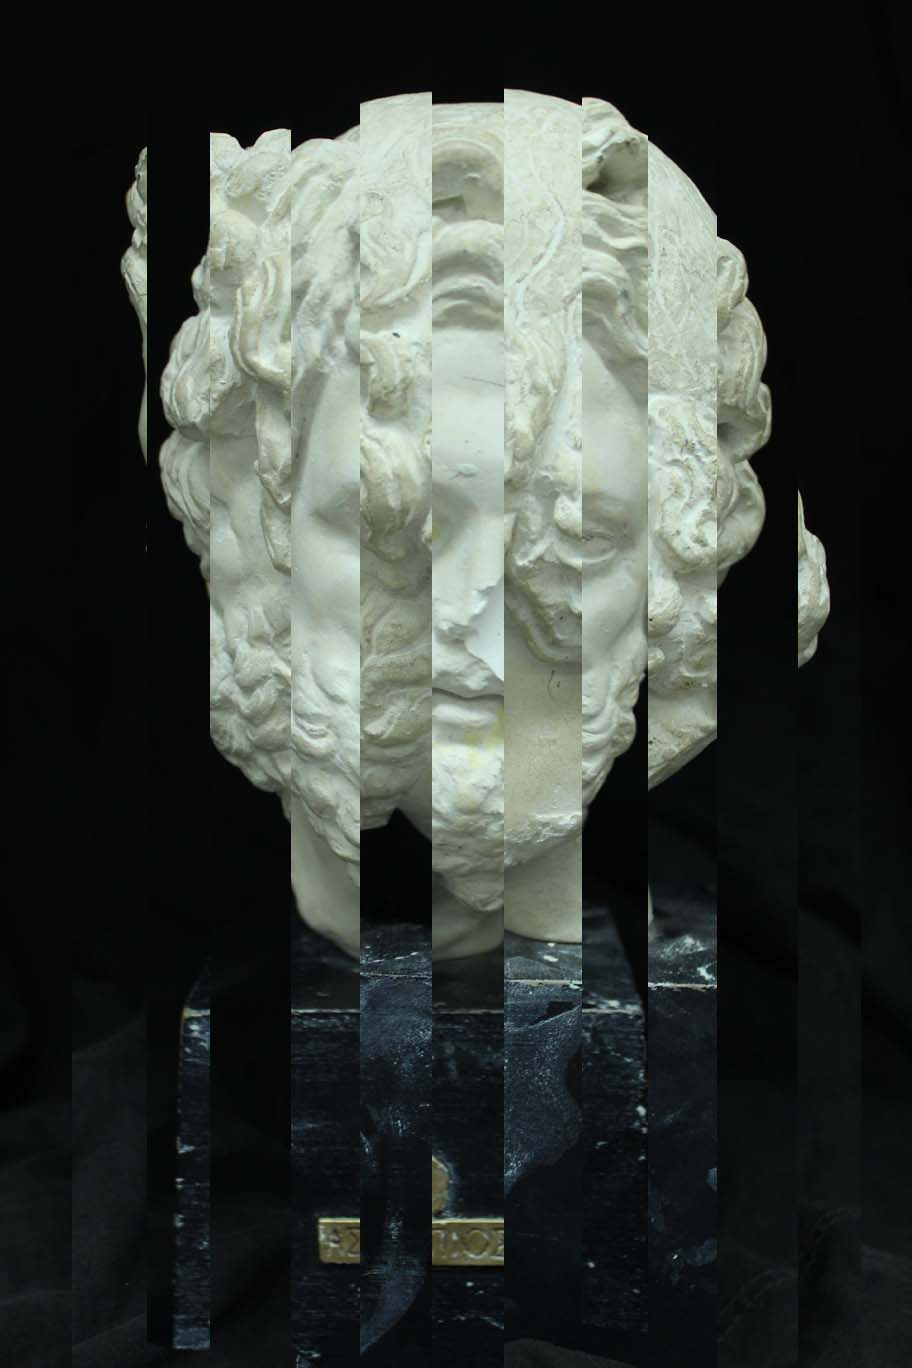
Photo Slices Project
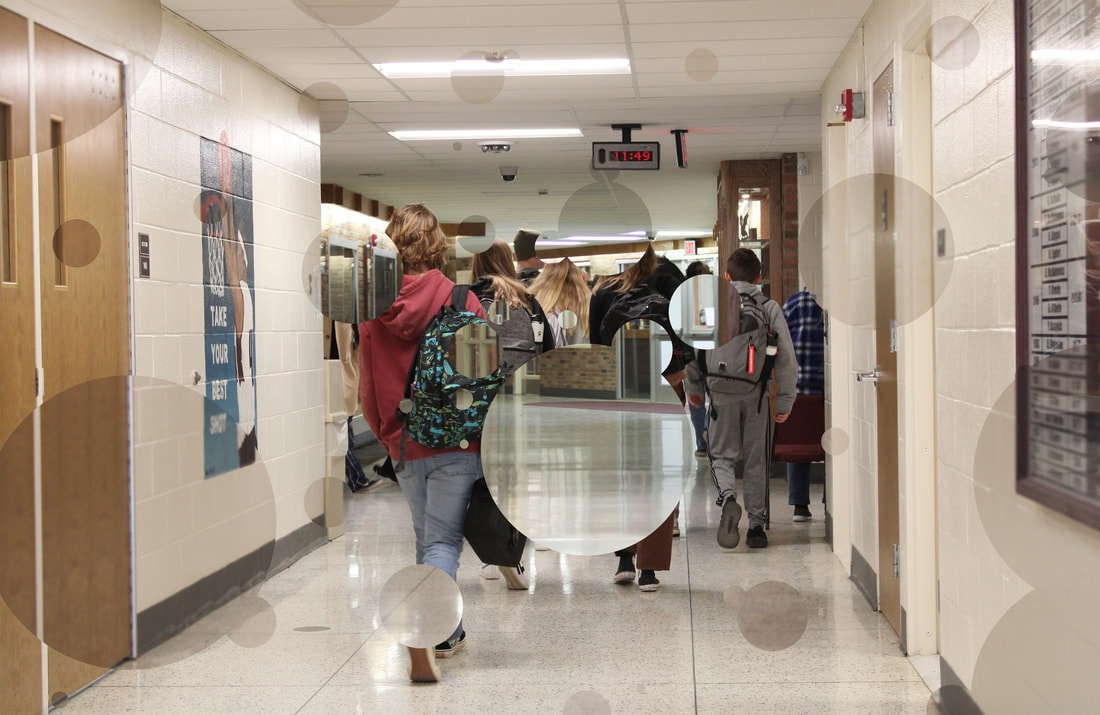
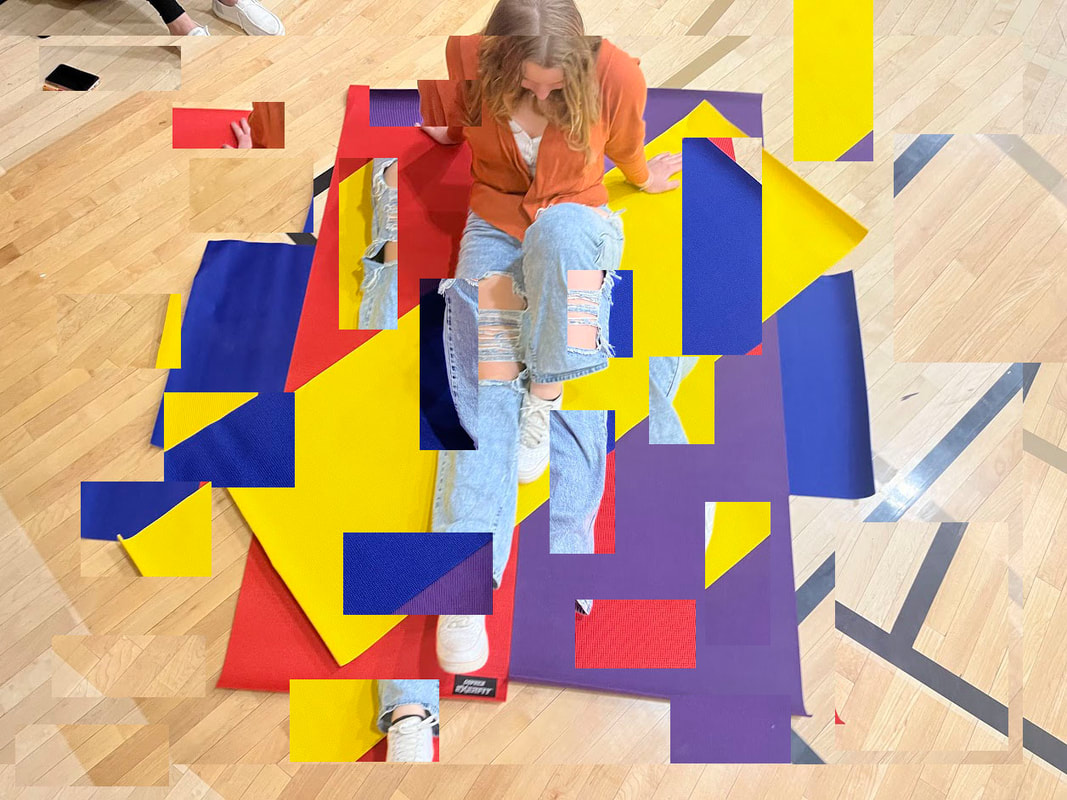
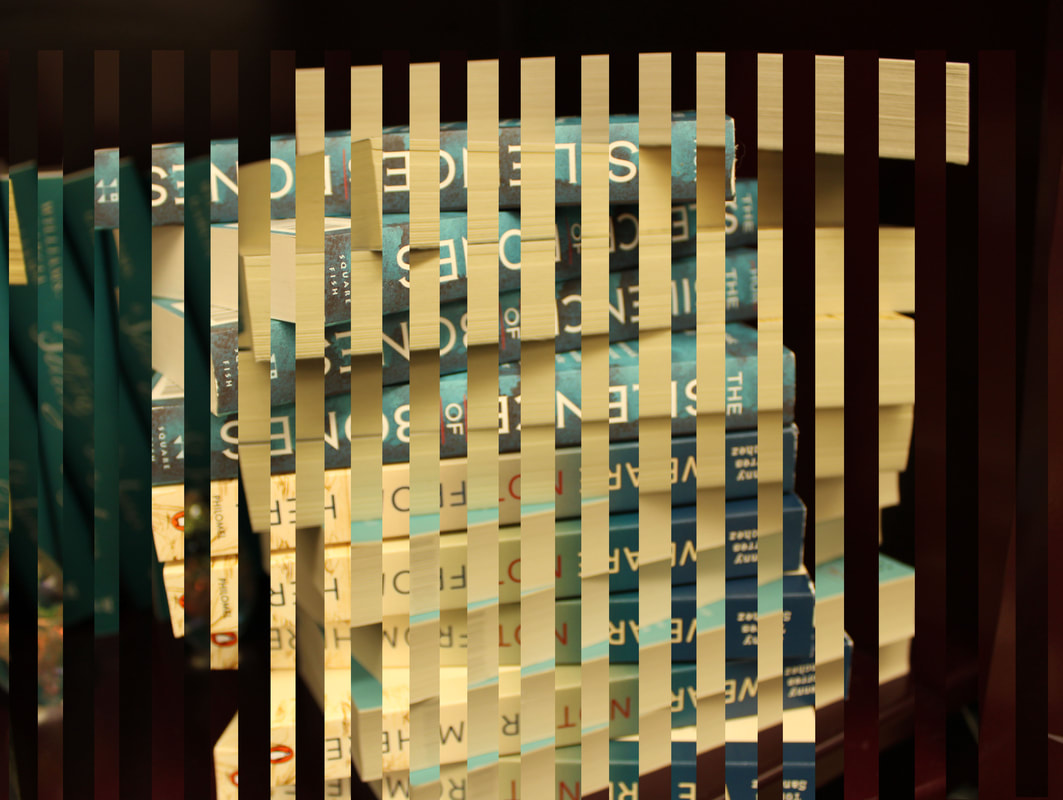
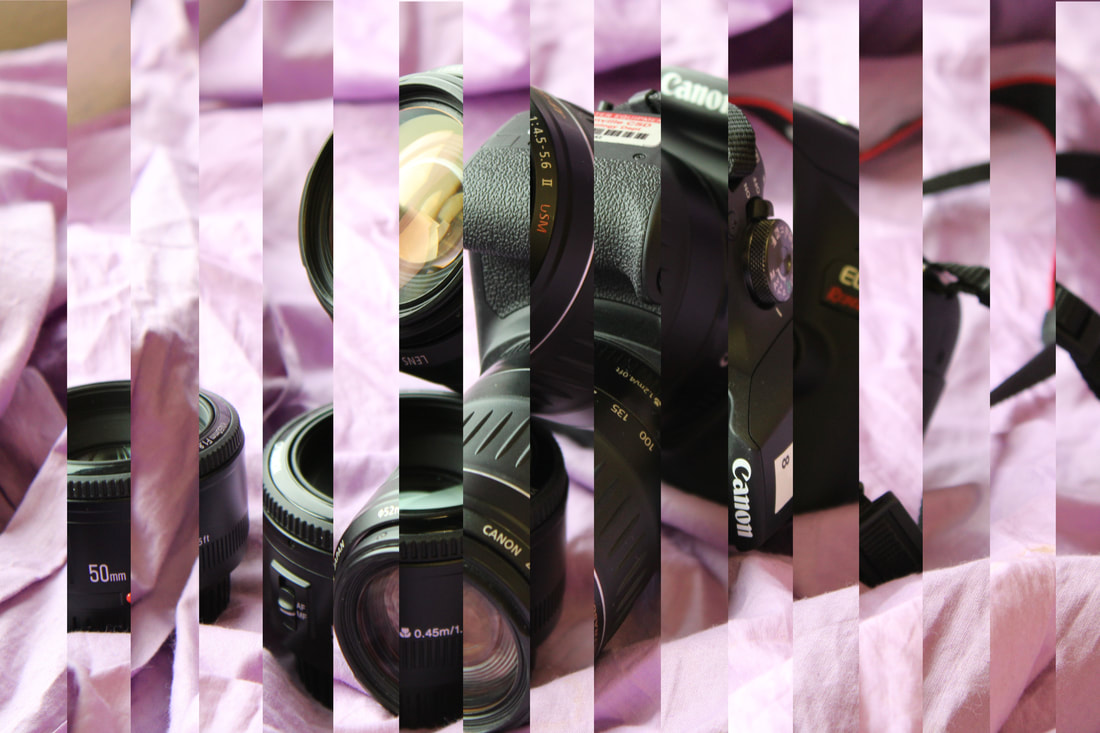
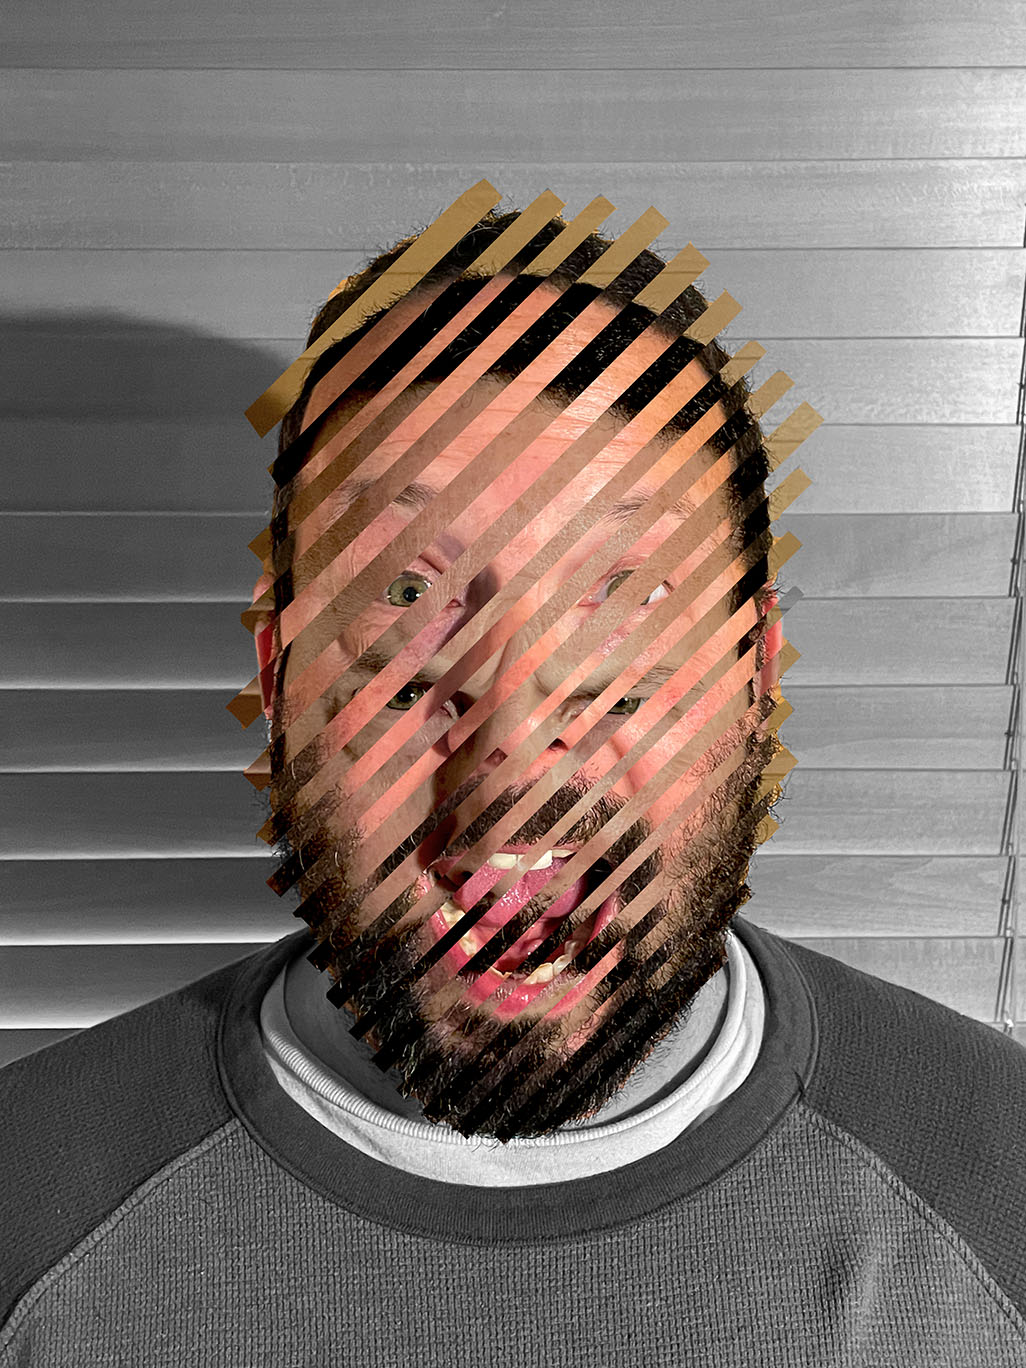
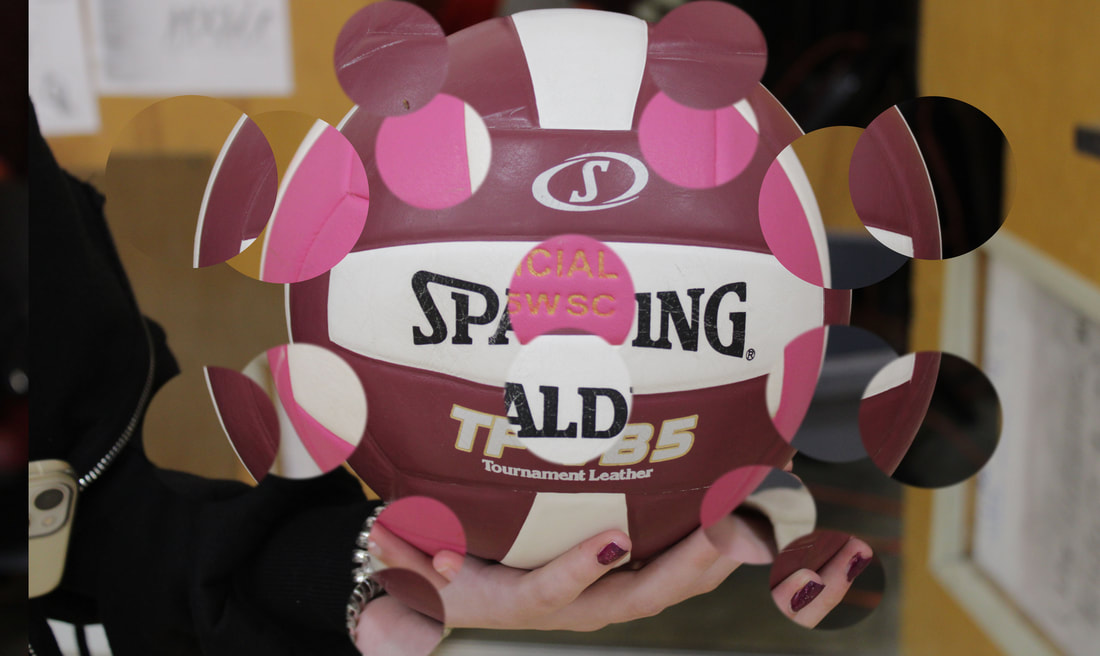
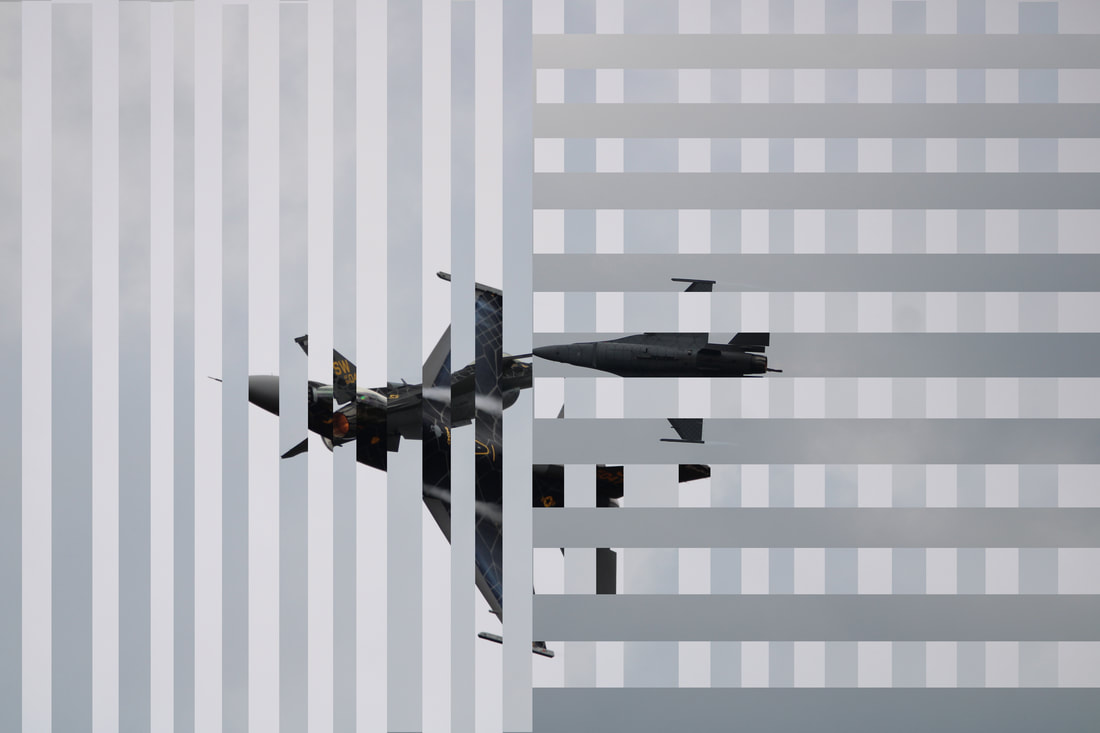
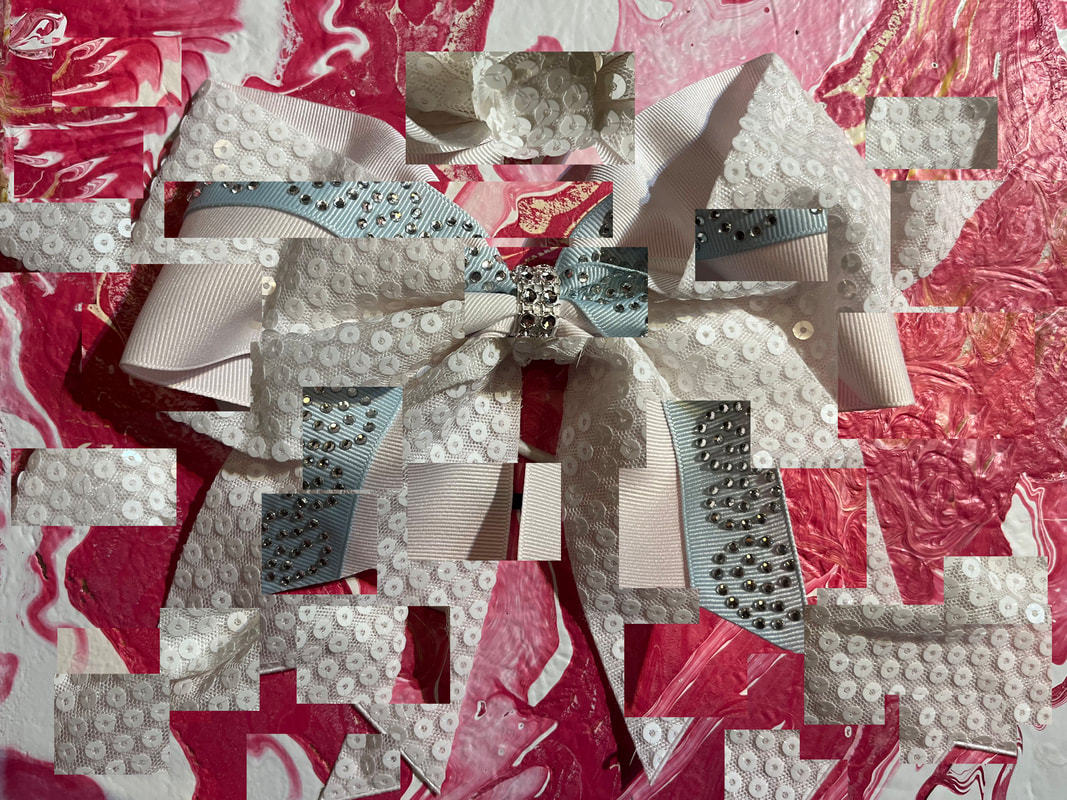
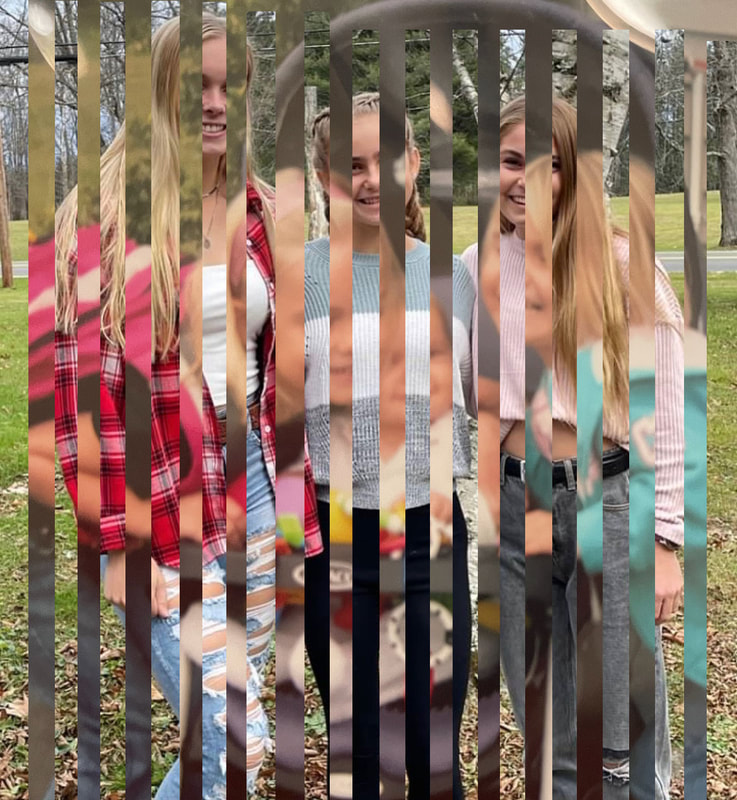
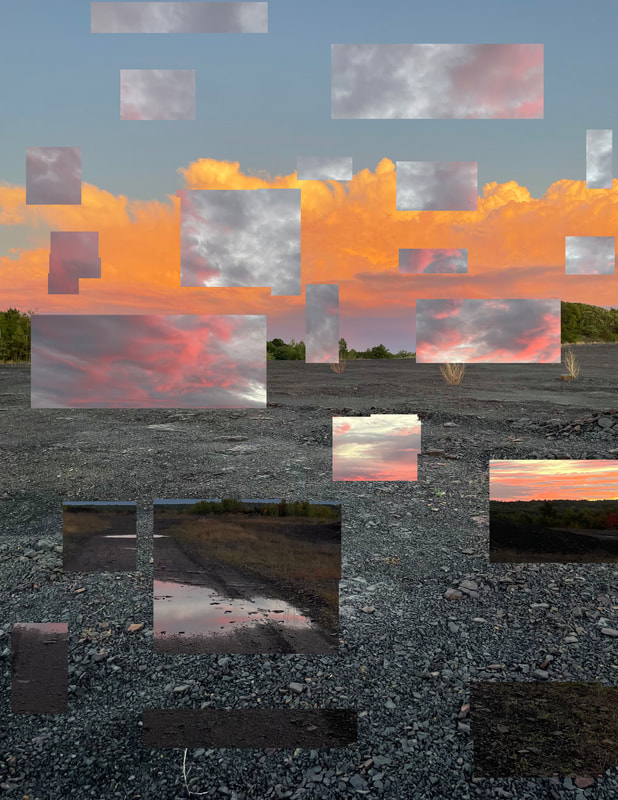
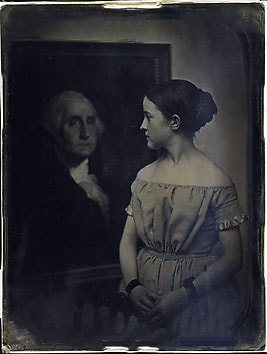
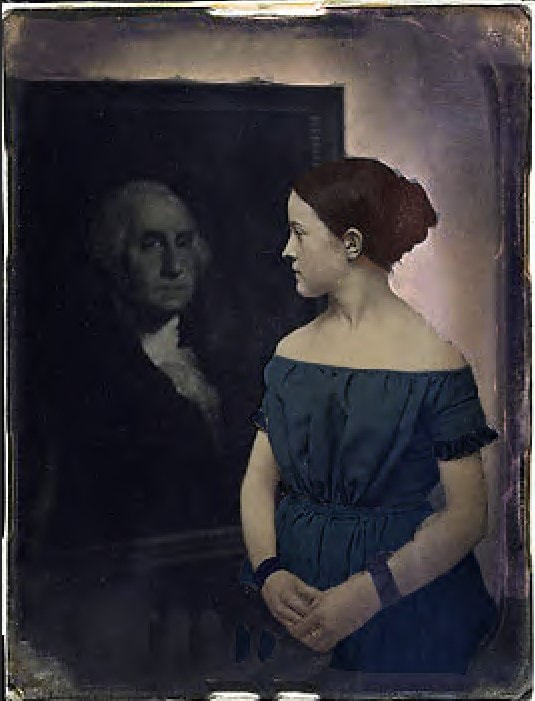
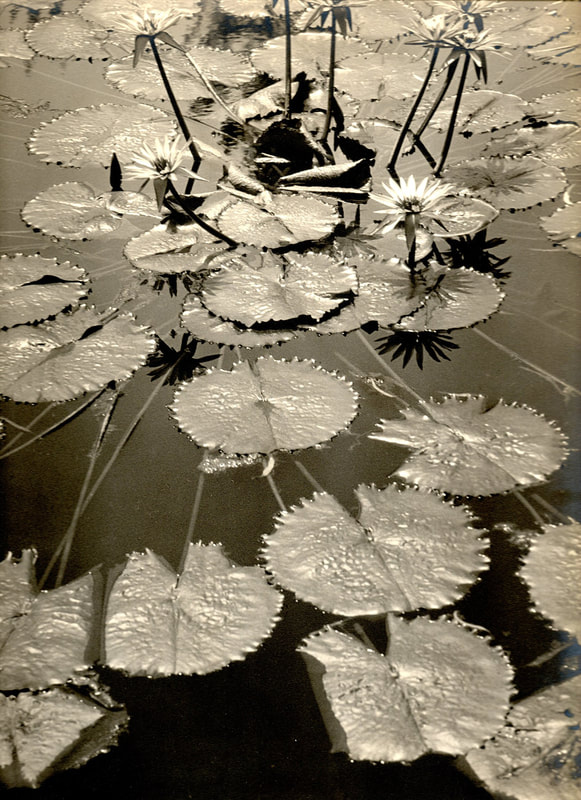
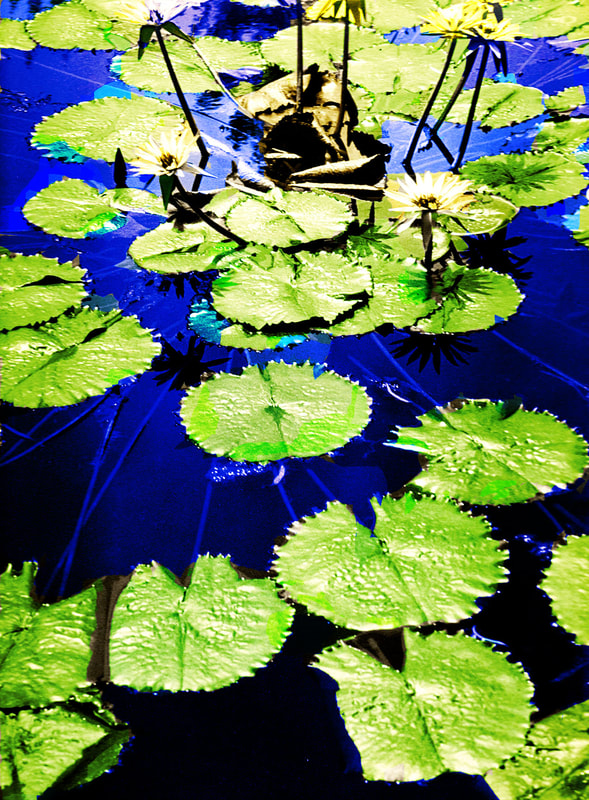
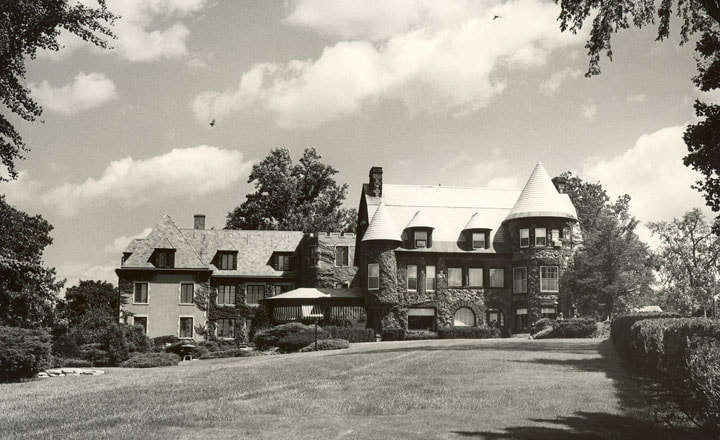
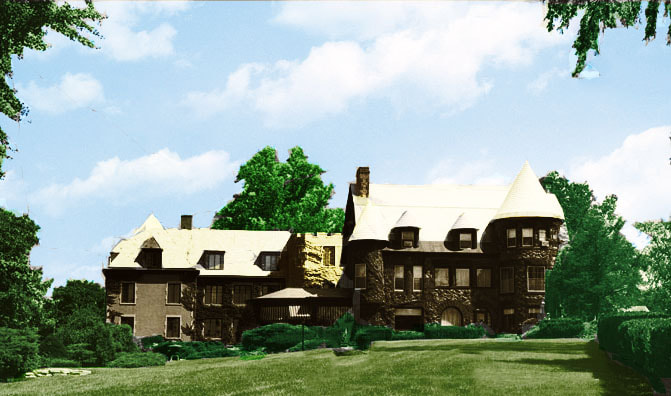
Photo Restoration
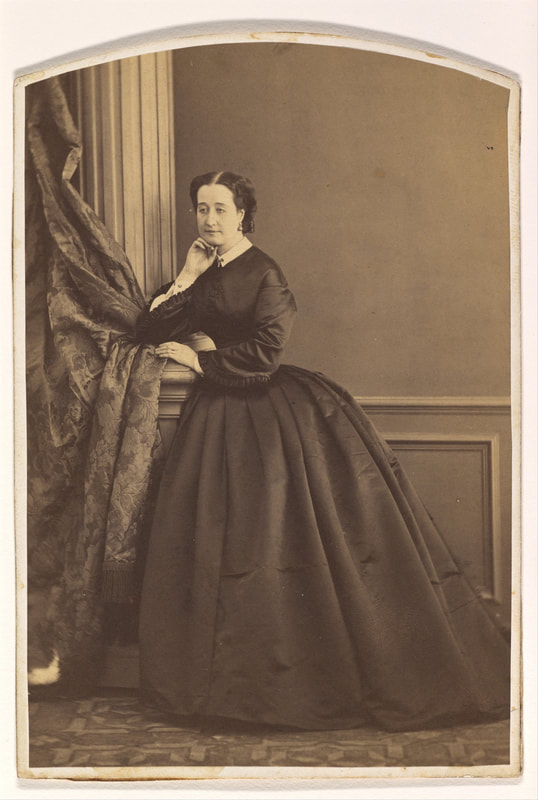
Photoshop can be used to edit photos in so many ways, one interesting use is to restore and enhance antique and damaged photos. This assessment allows the student to bring in an old photo from home or find an interesting historical photo from a museum collection to work with.
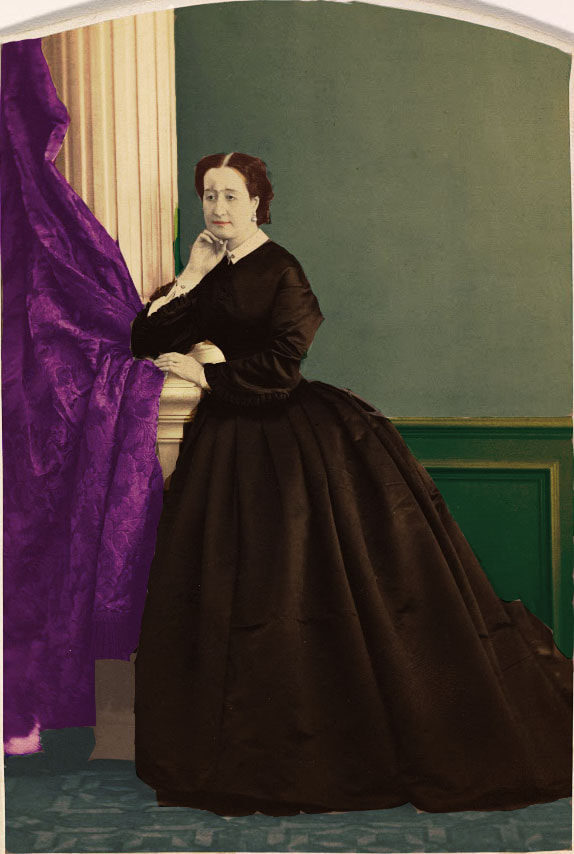
The class creates many layers to add color or in different locations. The students also learned how to use the sections, spots healing brush, and the clone stamp tool. These tools can "ease" rips, stains, and discoloration in photos.
The class creates many layers to add color or in different locations. The students also learned how to use the sections, spots healing brush, and the clone stamp tool. These tools can "ease" rips, stains, and discoloration in photos.
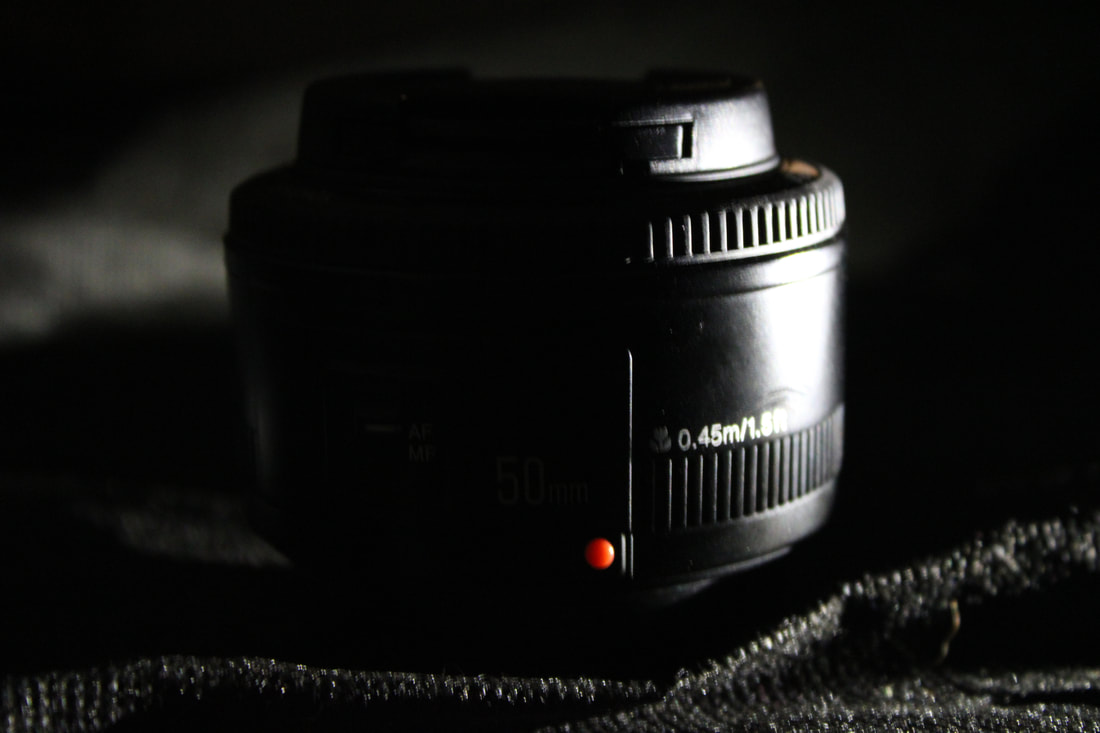
Tabletop Photos
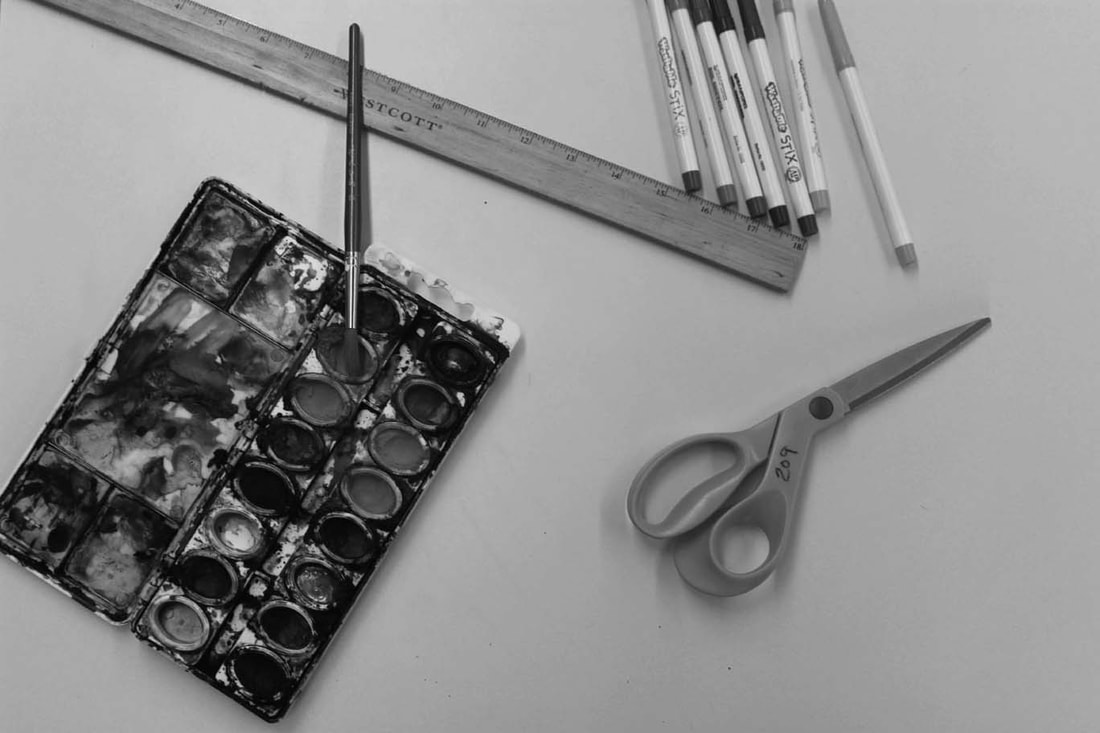
Lighting can evolve a photo from nice to impressive. In this lesson, the students learn how to use and reflect light on a still life. The class experimented with four different ways to take quality photographs of objects arranged on a table surface using light to make them more interesting. The students worked in groups to set up still lives and the lights and memories to take the different photo techniques. The students enjoyed the opportunity to work together and create the photo from start to finish. The still lives reflect the group members' interests and personalities.
Light from Behind with Merriore in a Dark Seeting & Light from Side in a Drak Setting
Eye Level with Tabletop and Window


Looking Down on the Tabletop

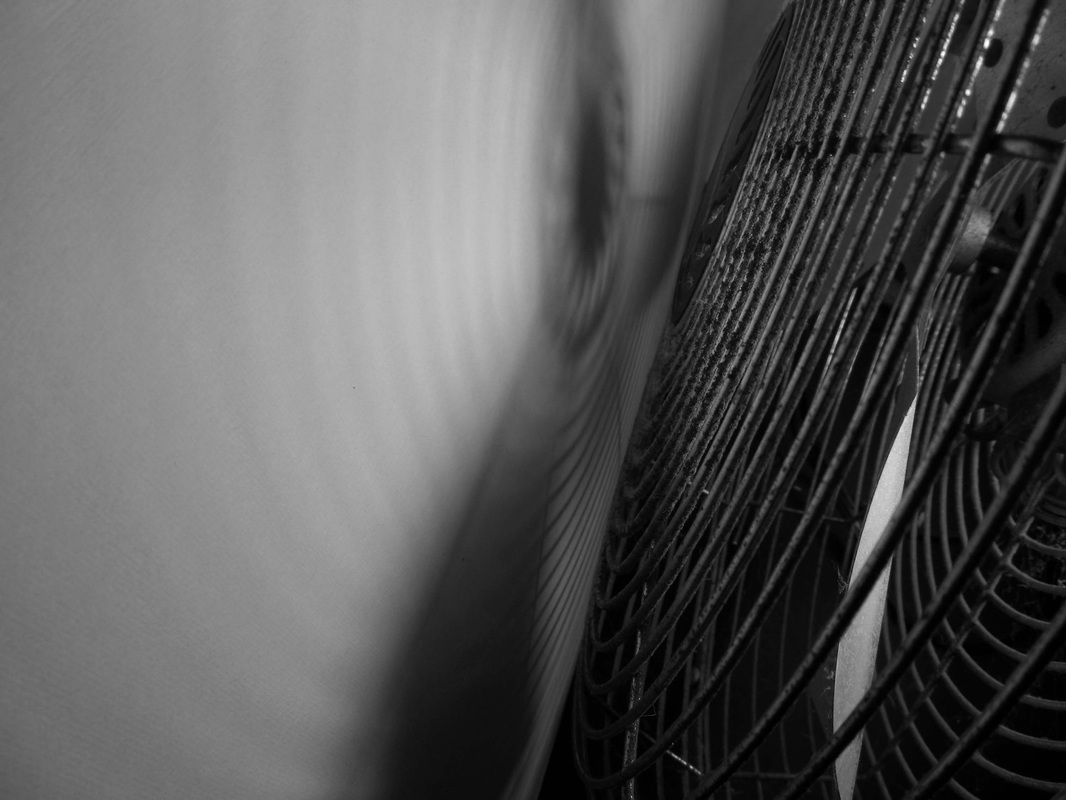
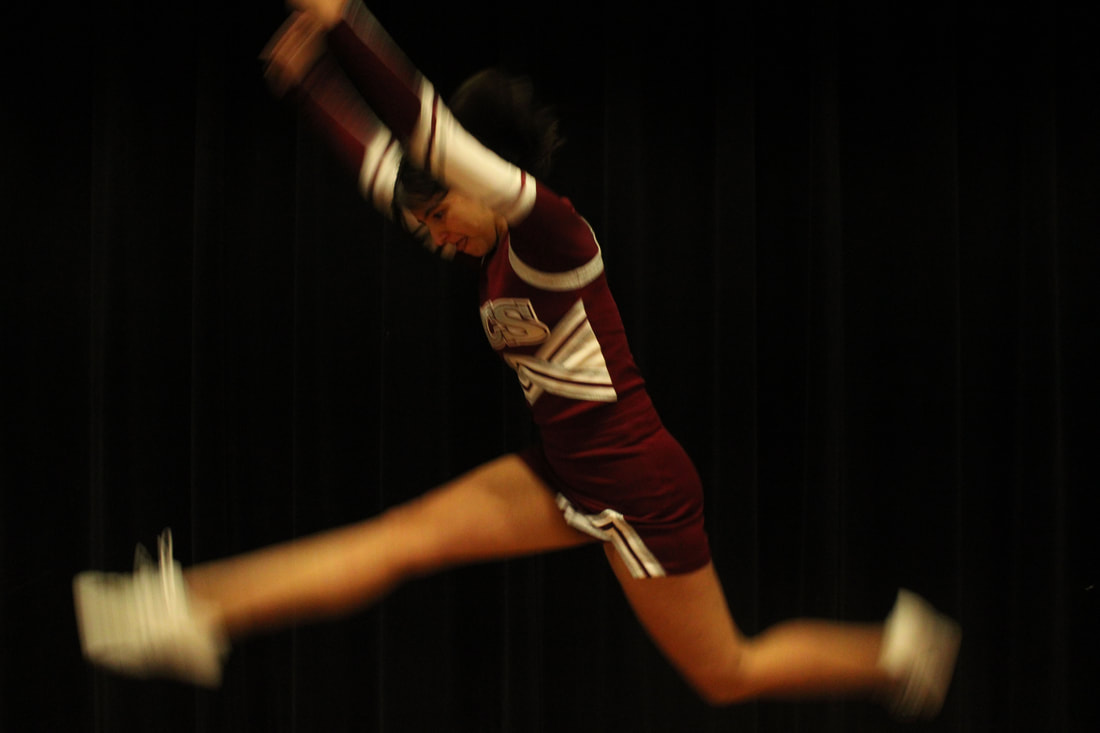
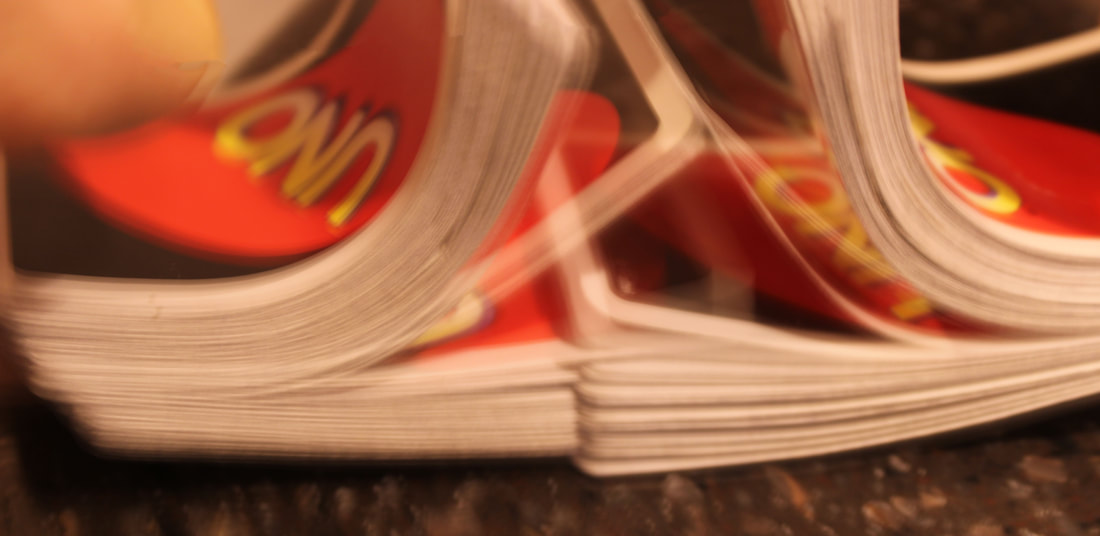
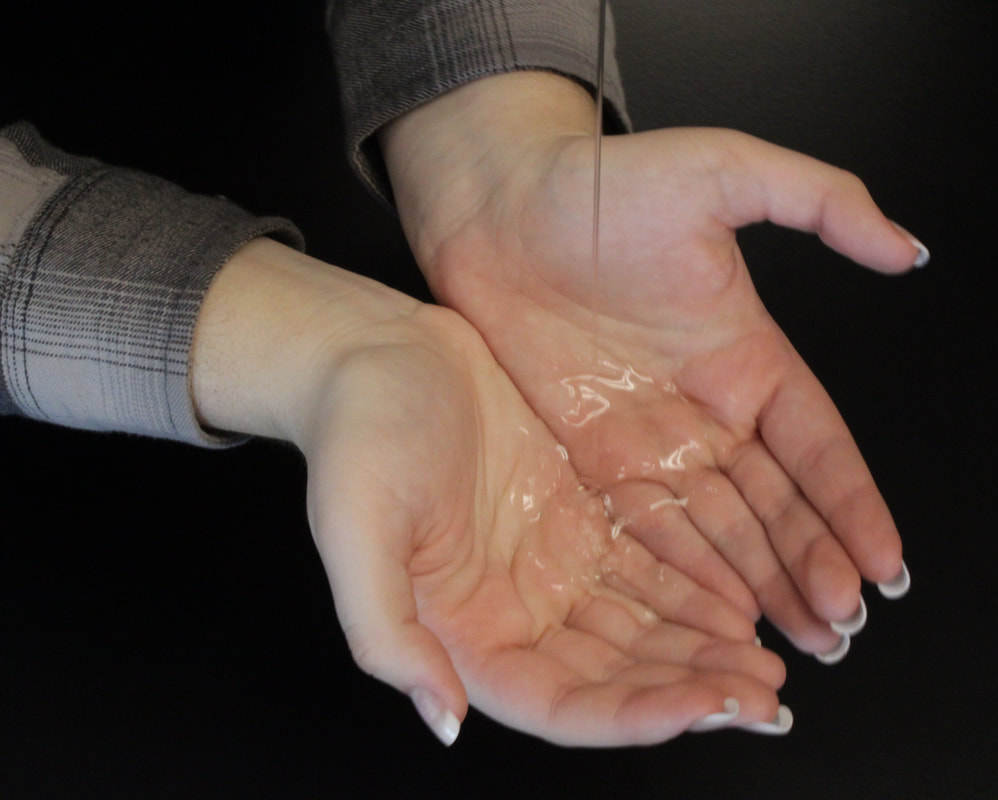
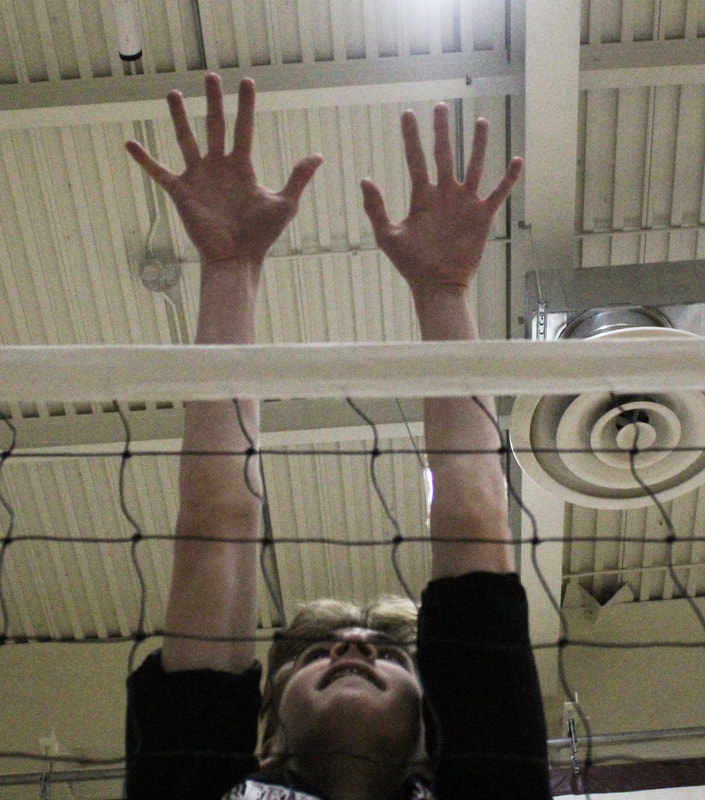
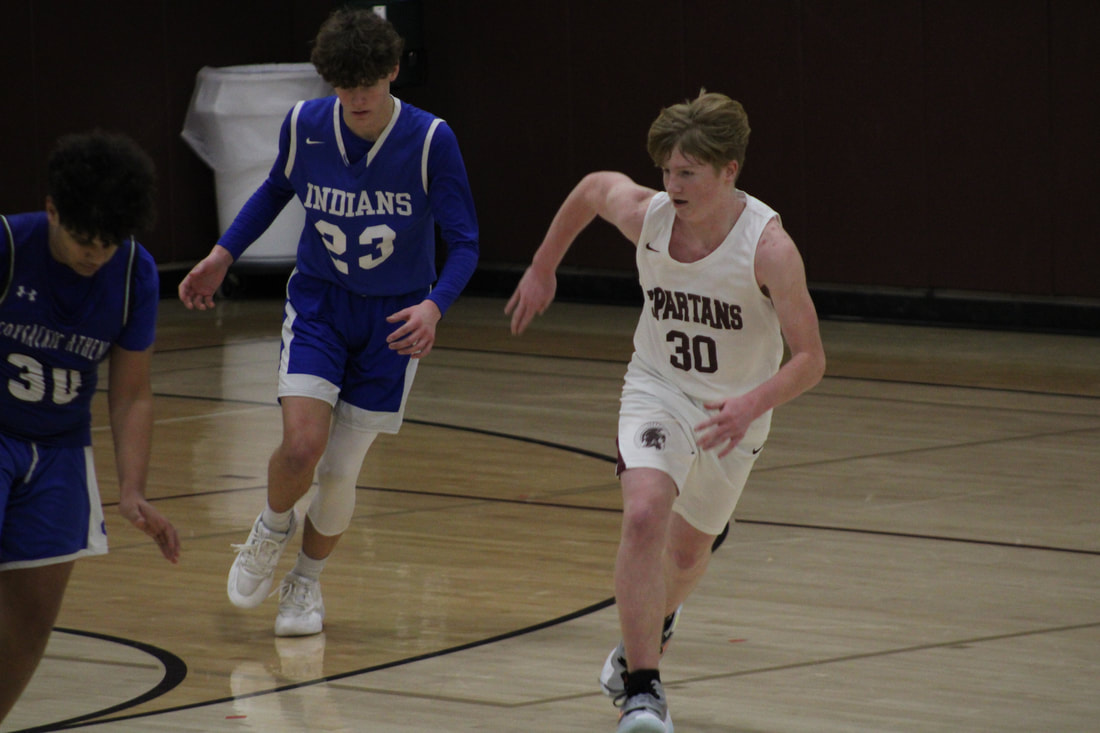
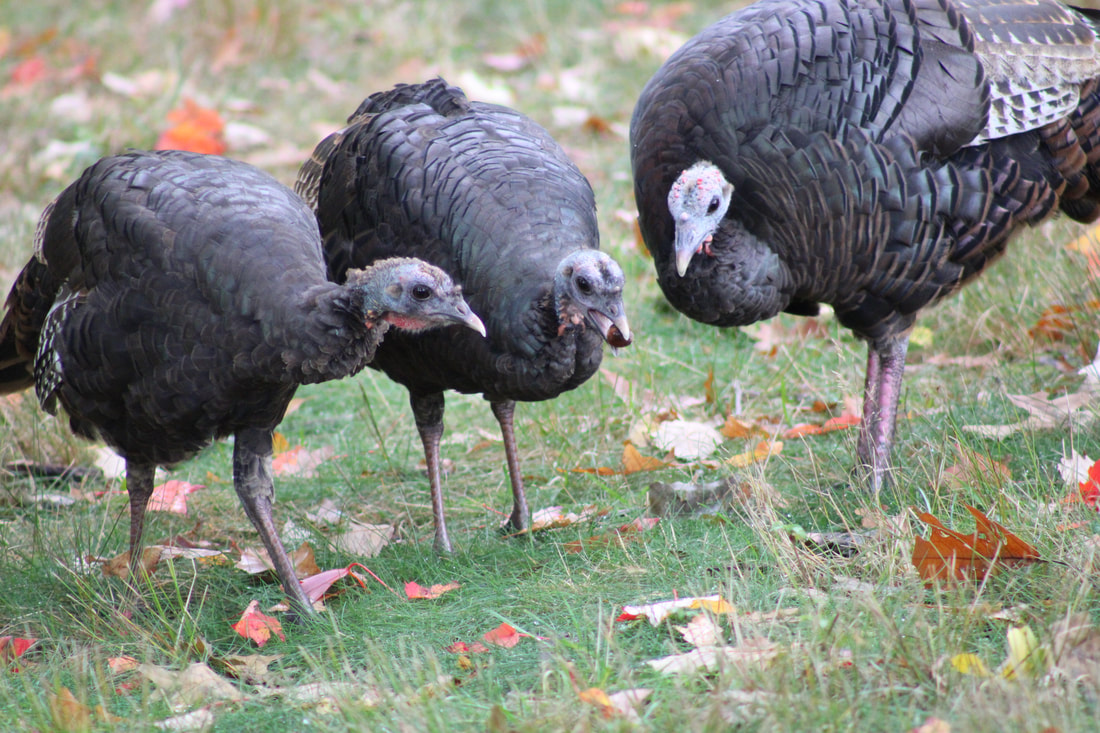
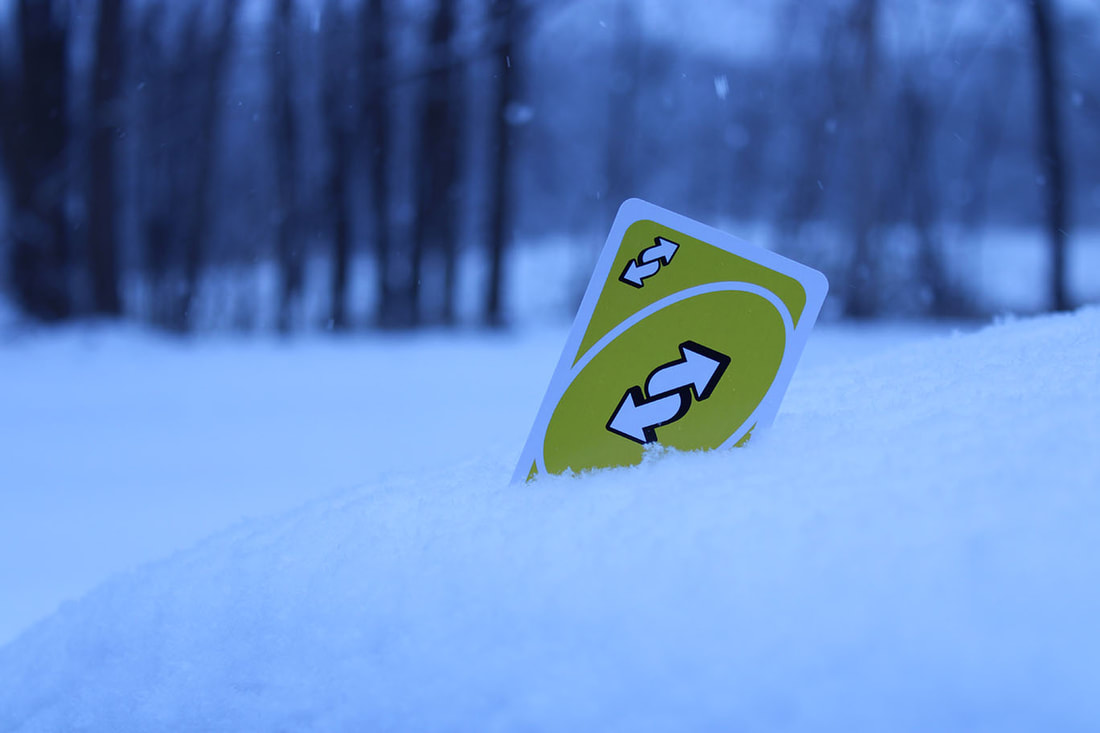
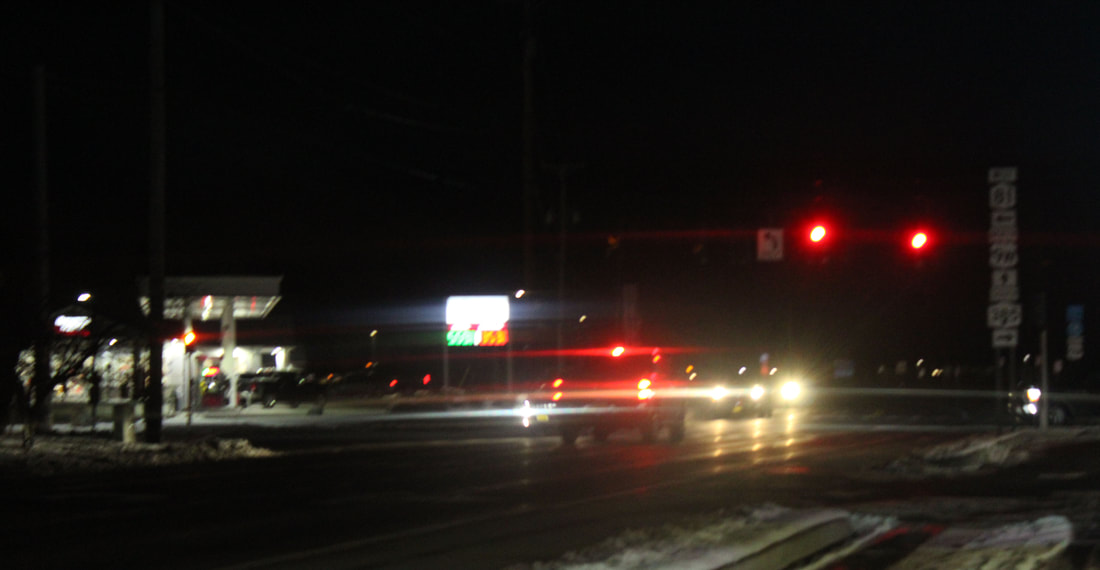
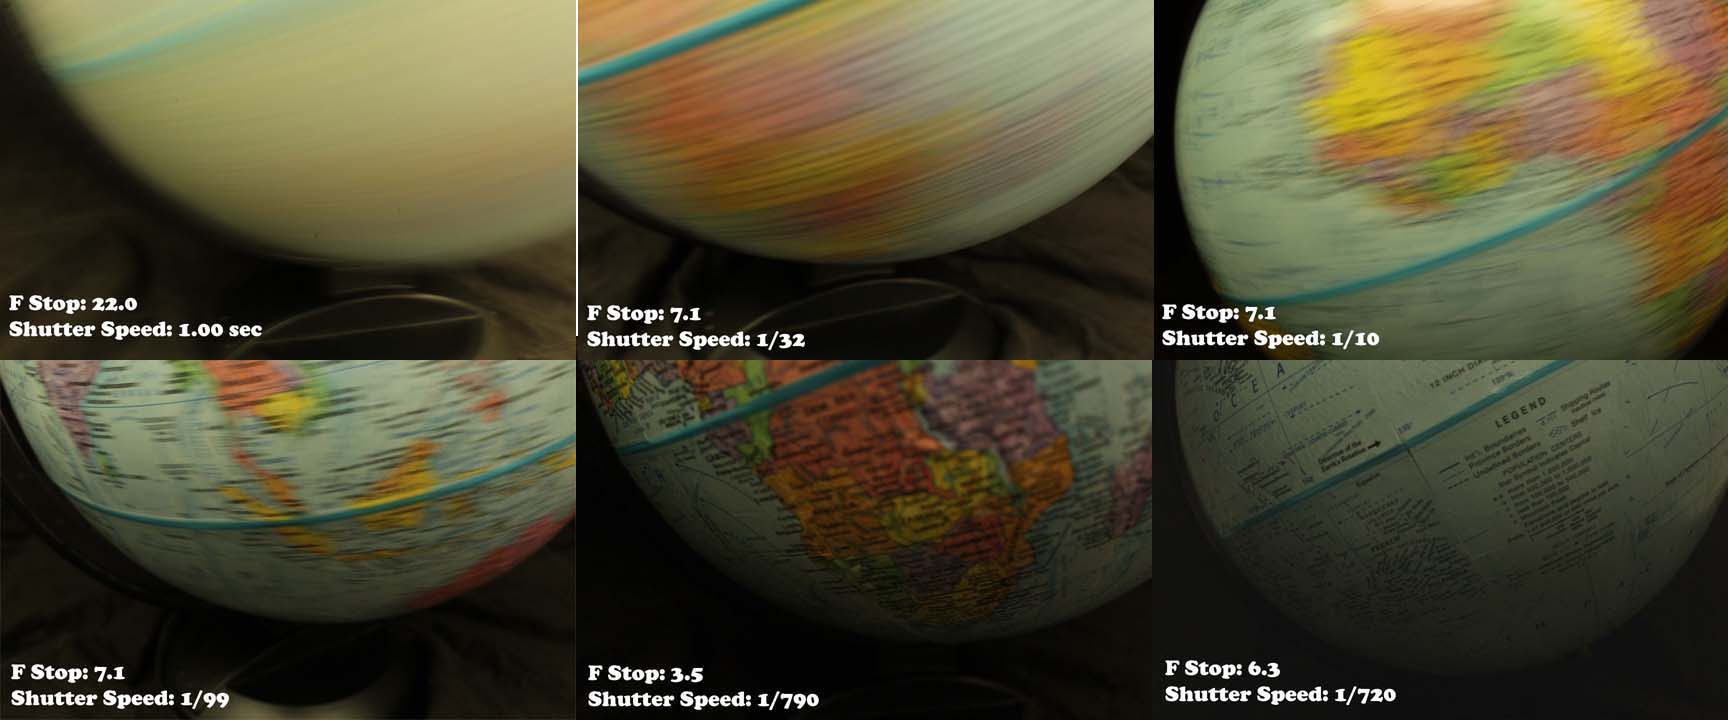
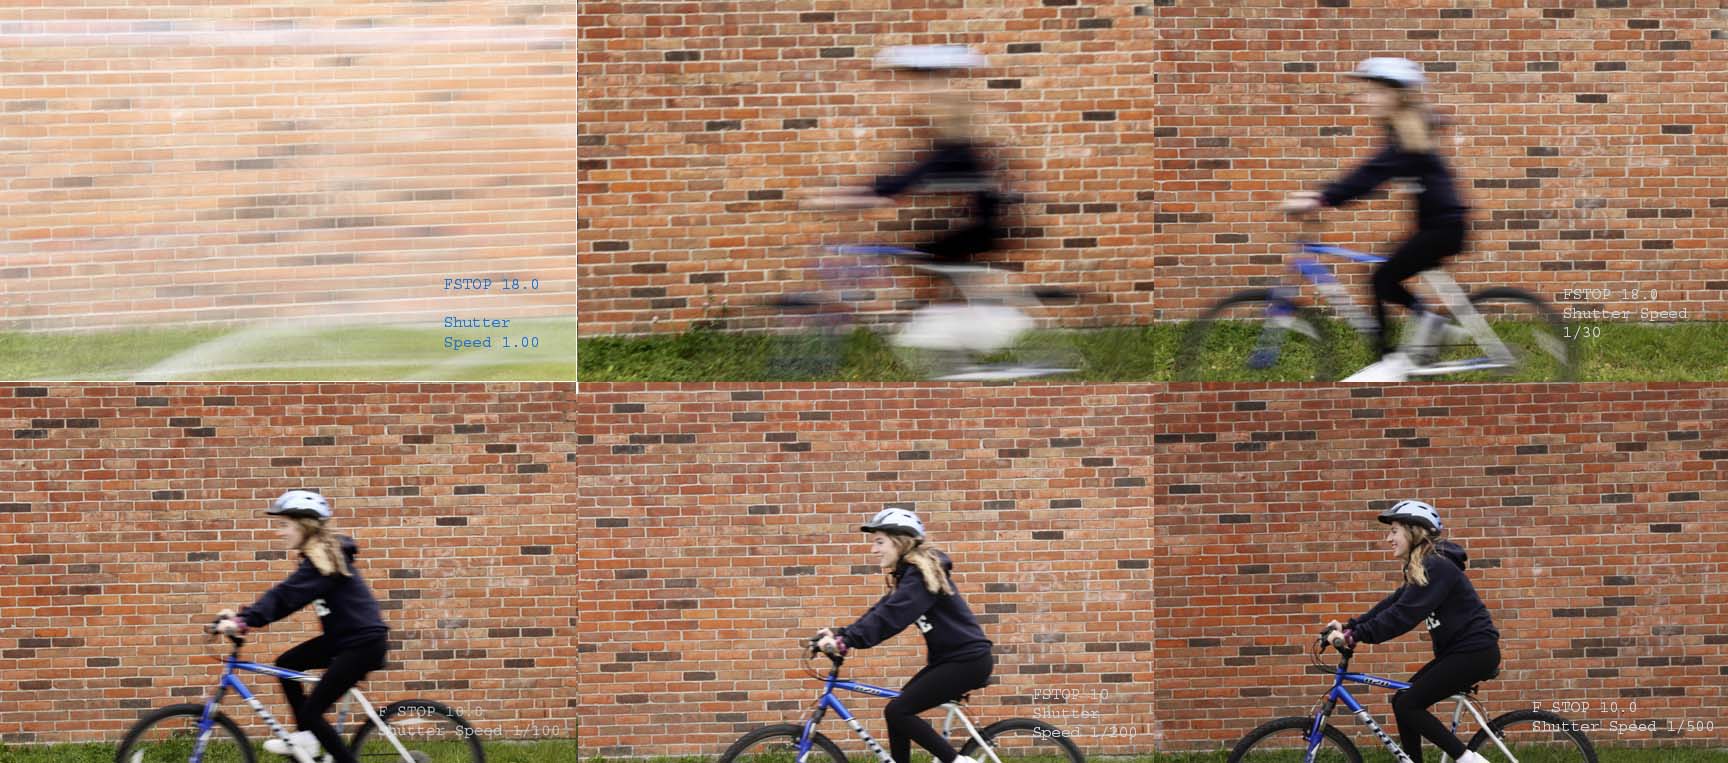
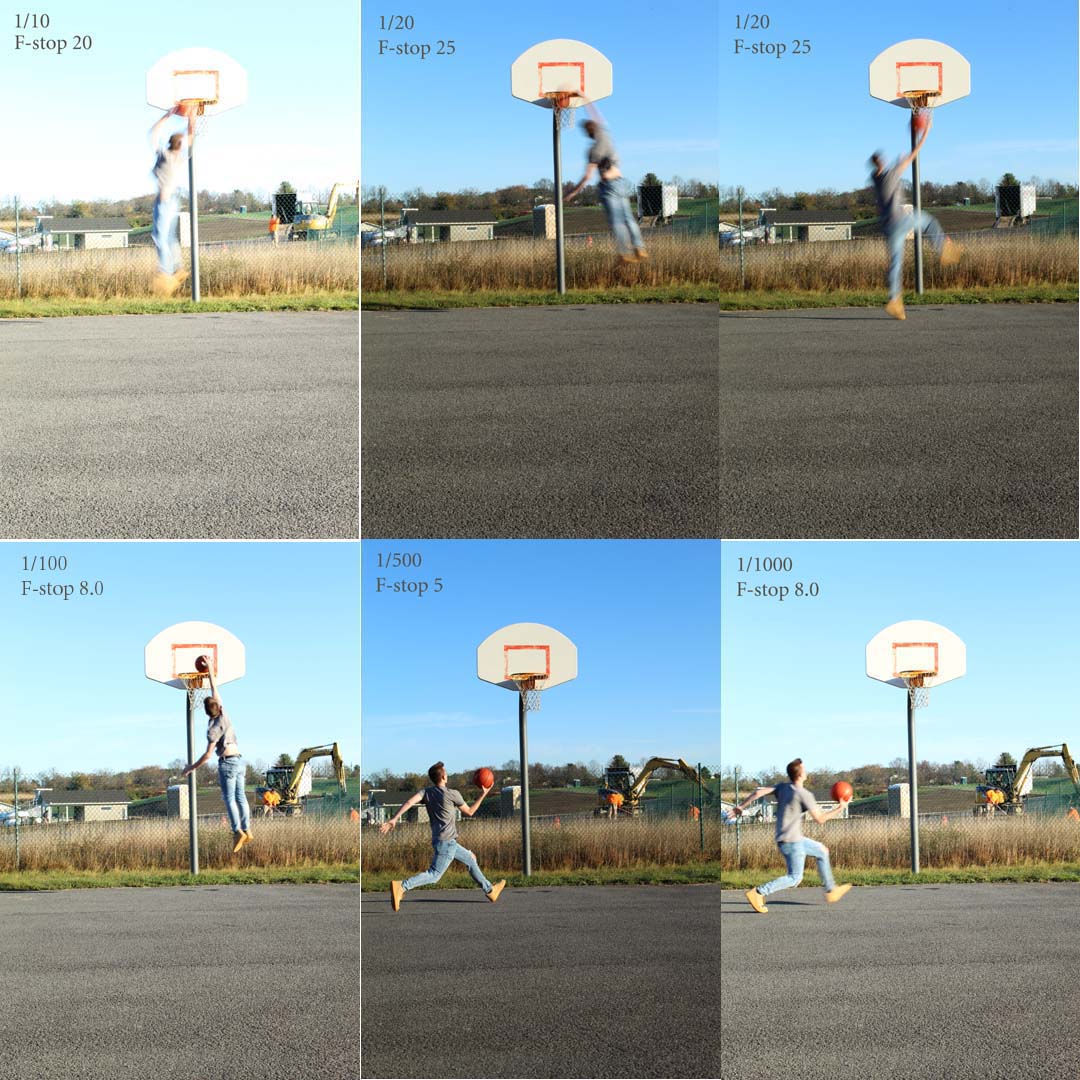
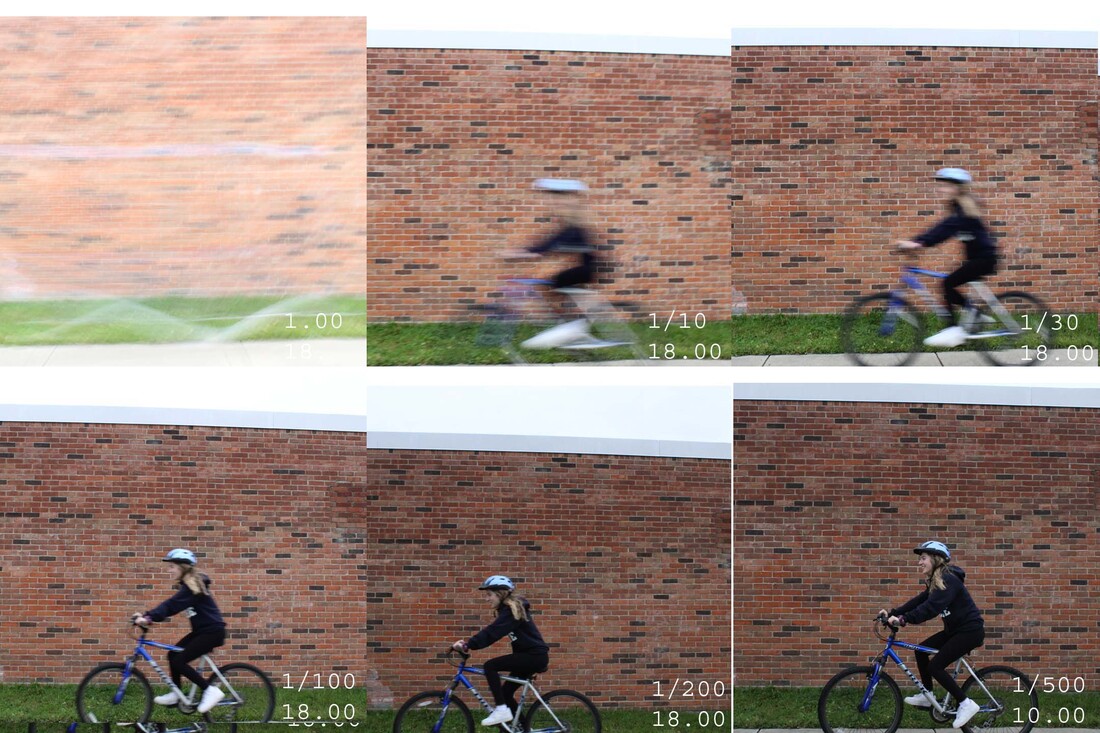
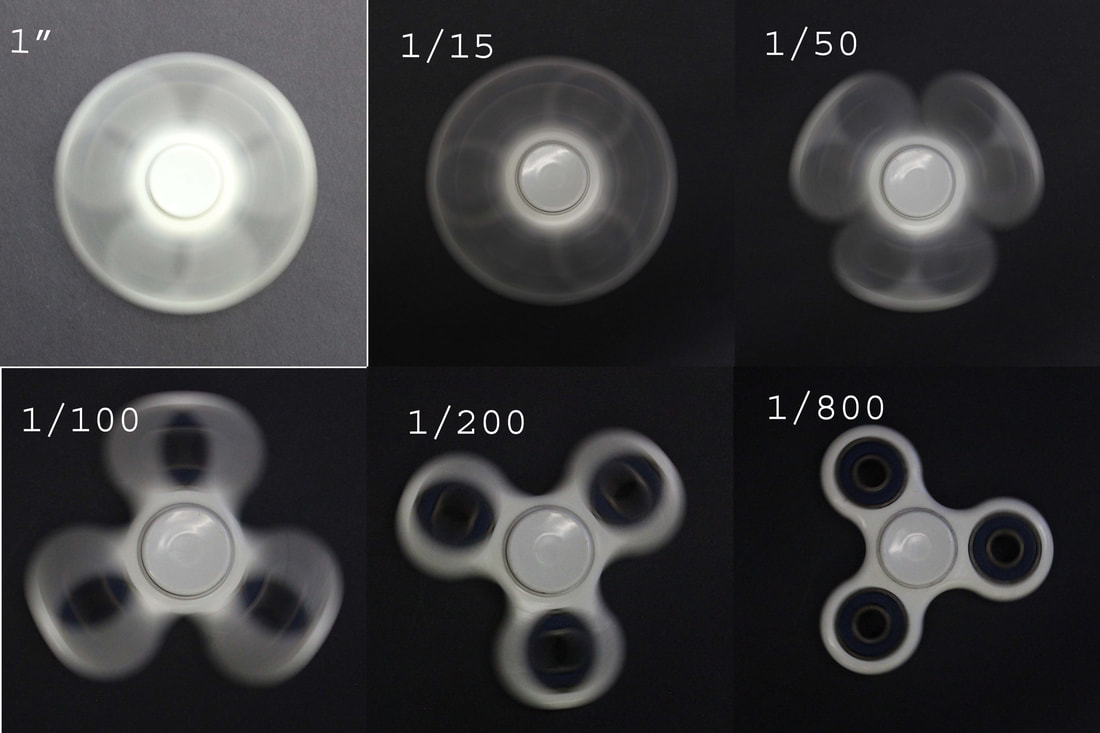
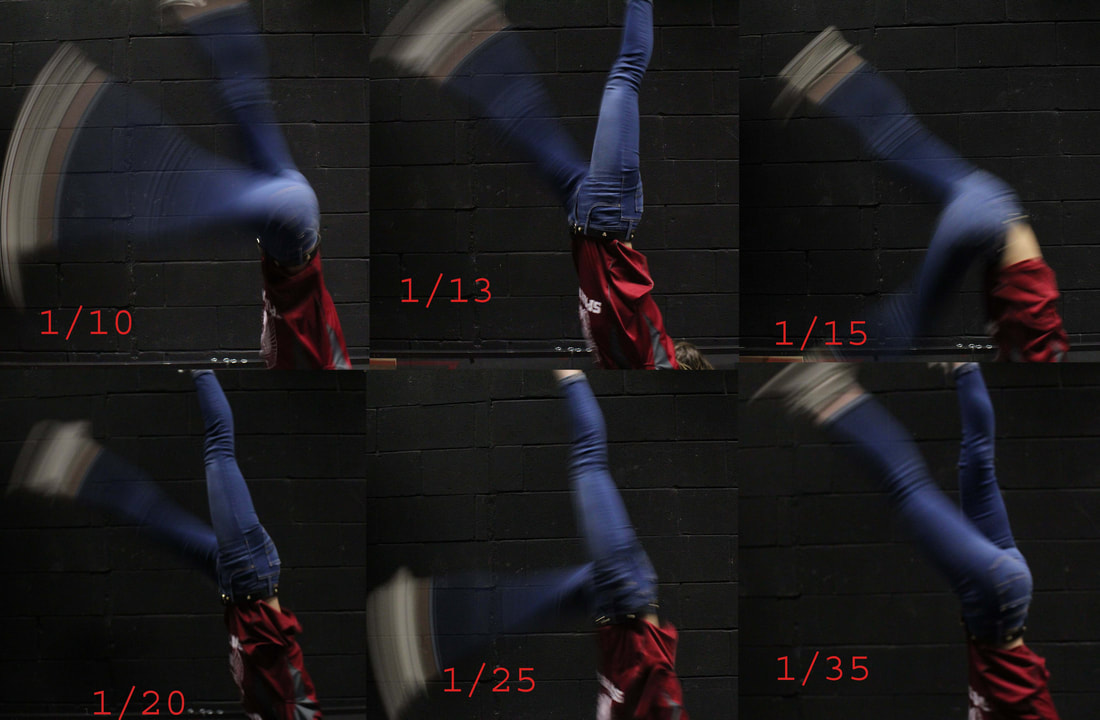
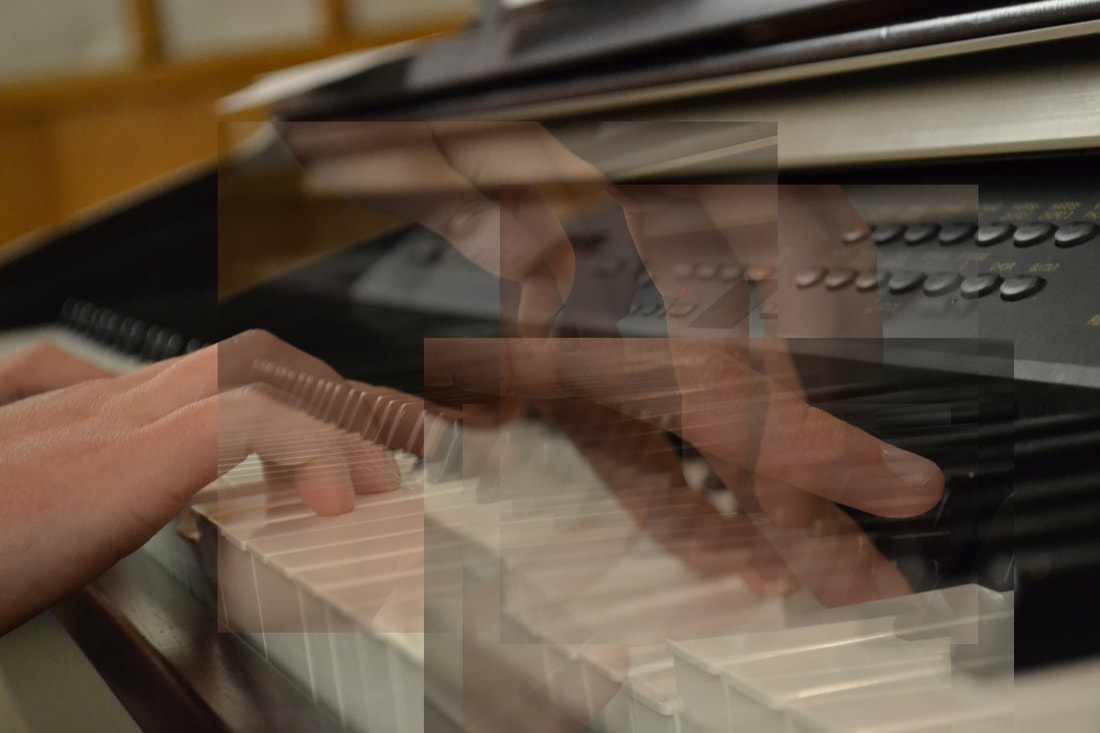
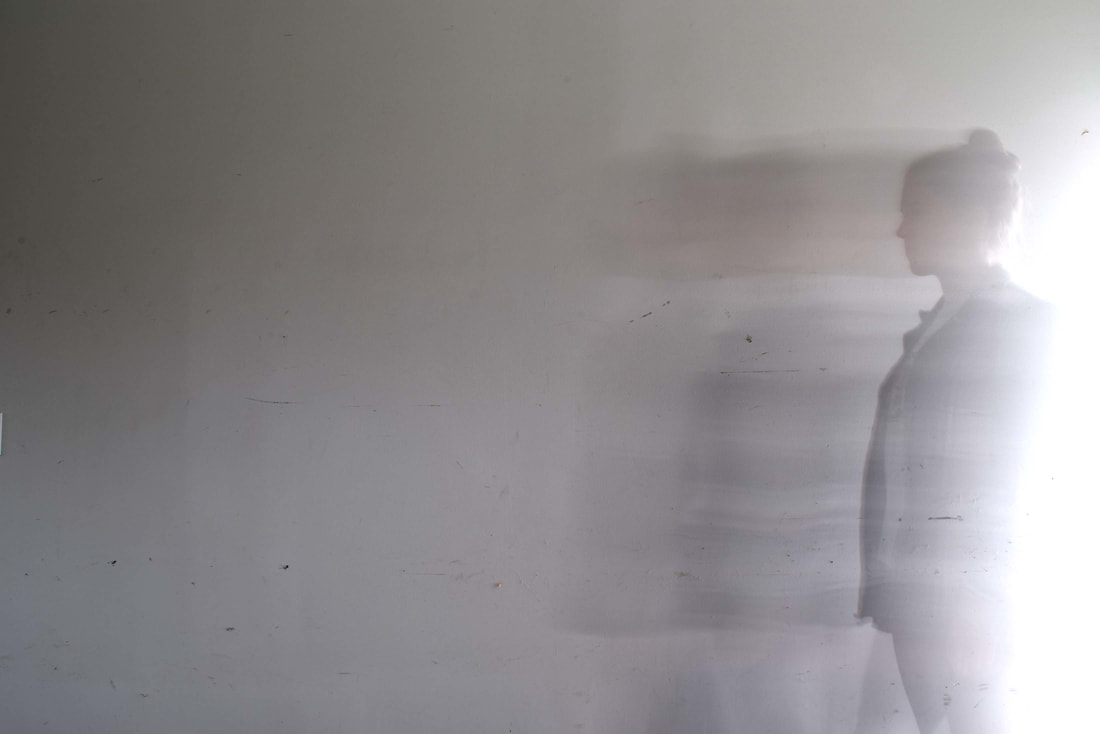
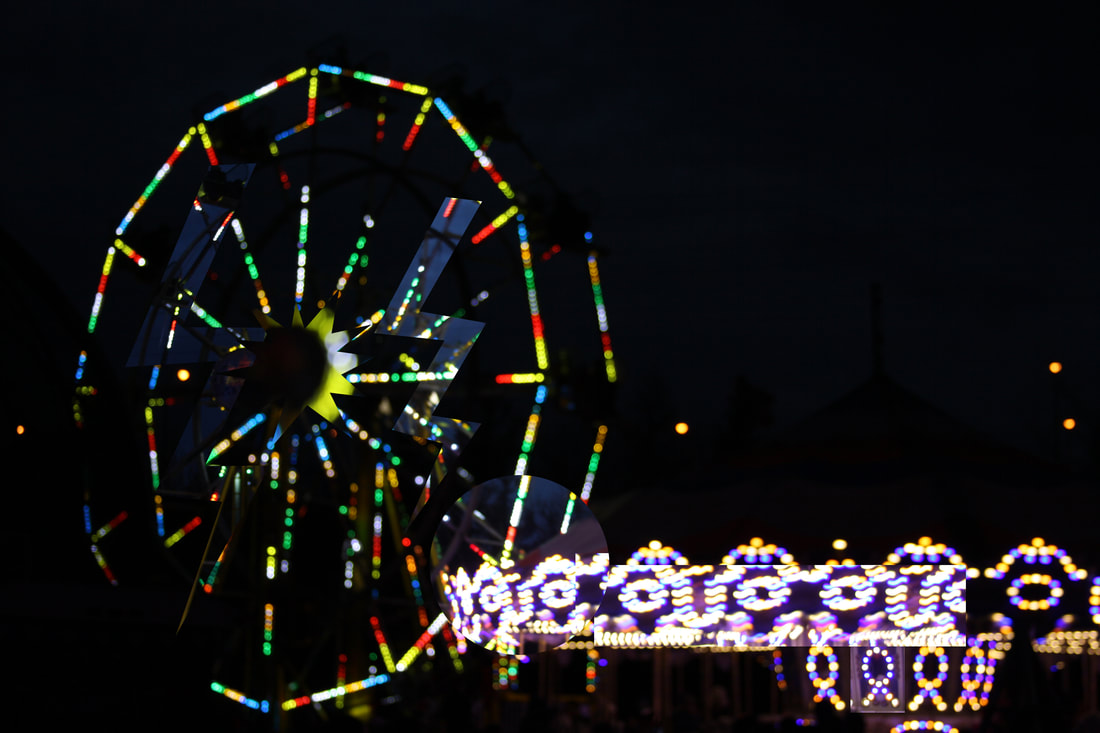
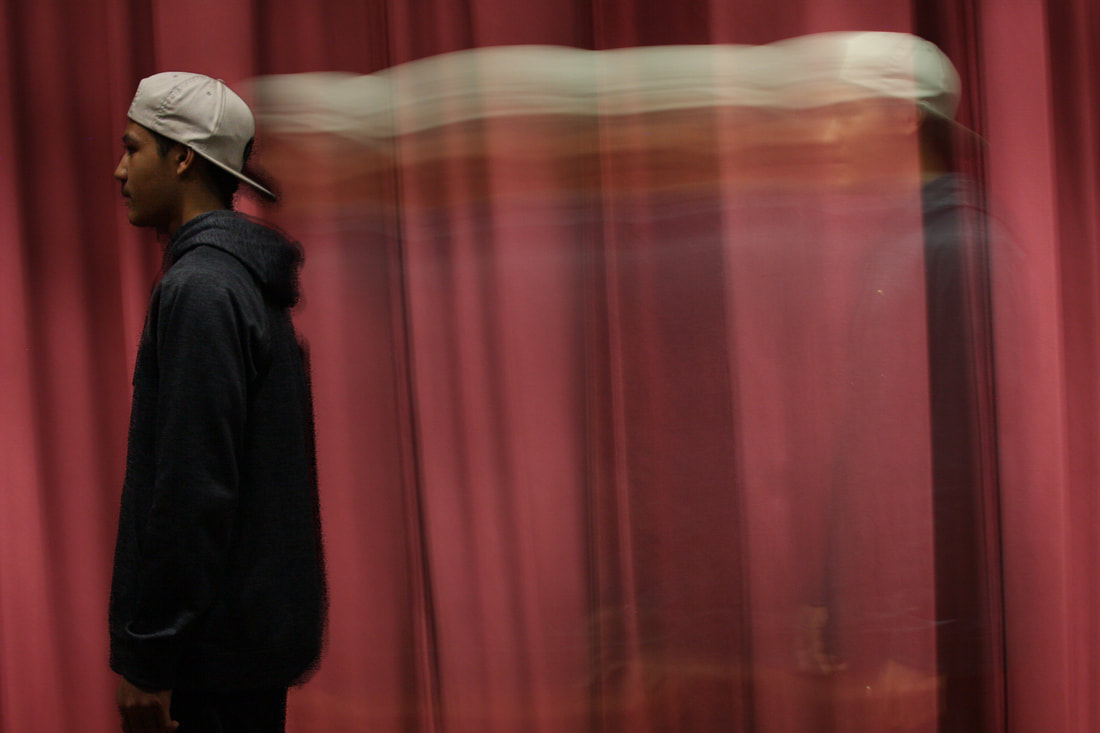
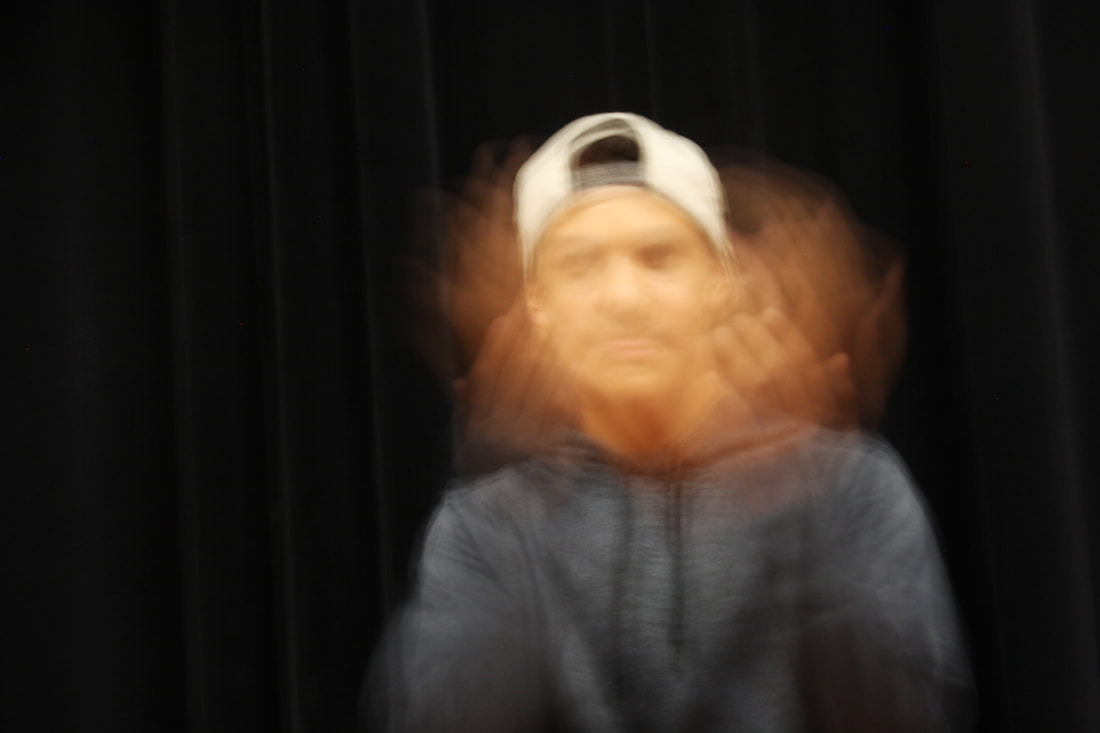
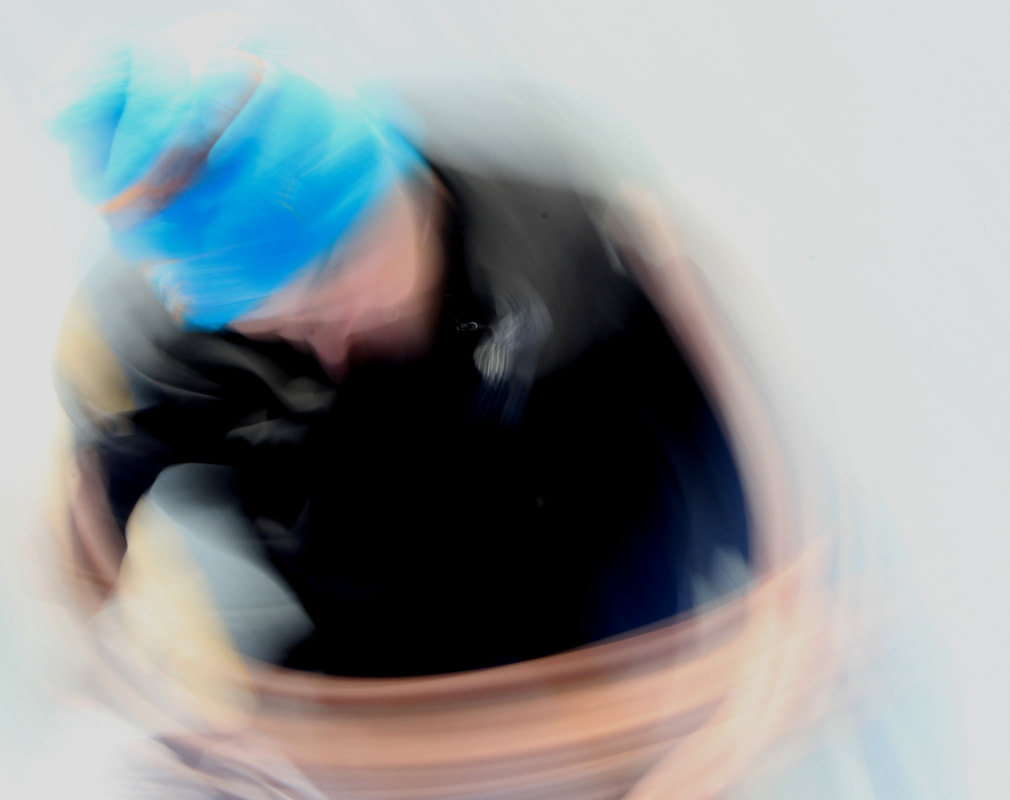
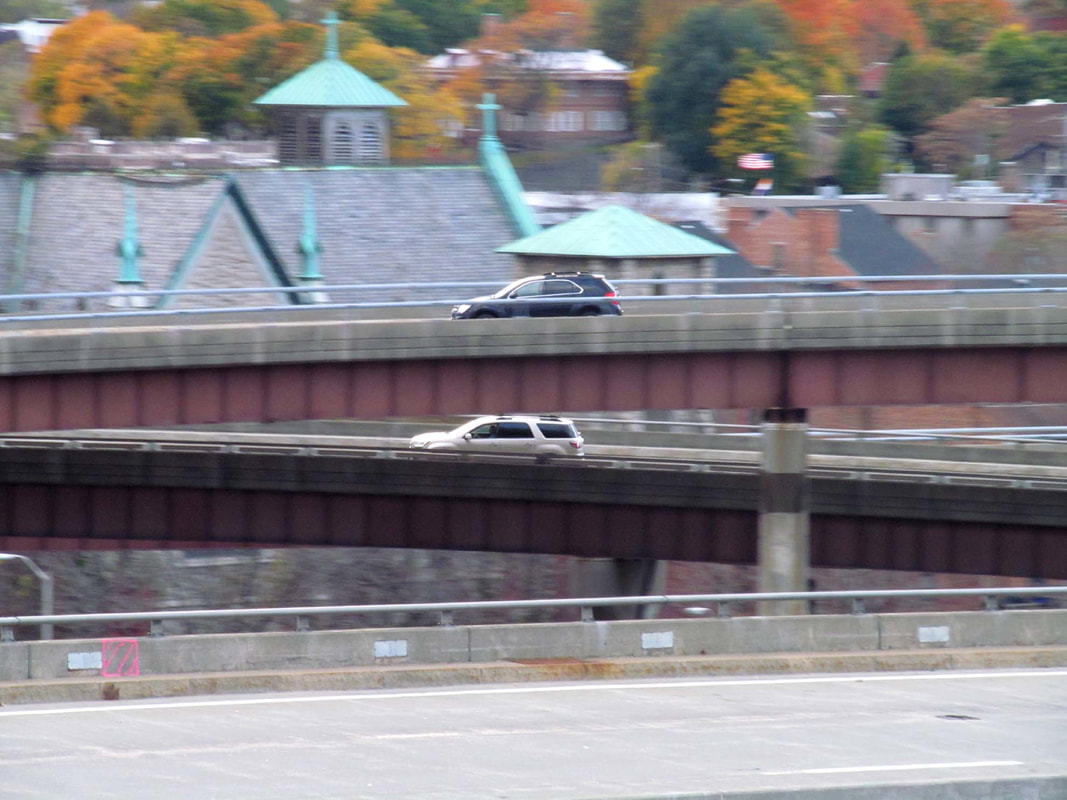
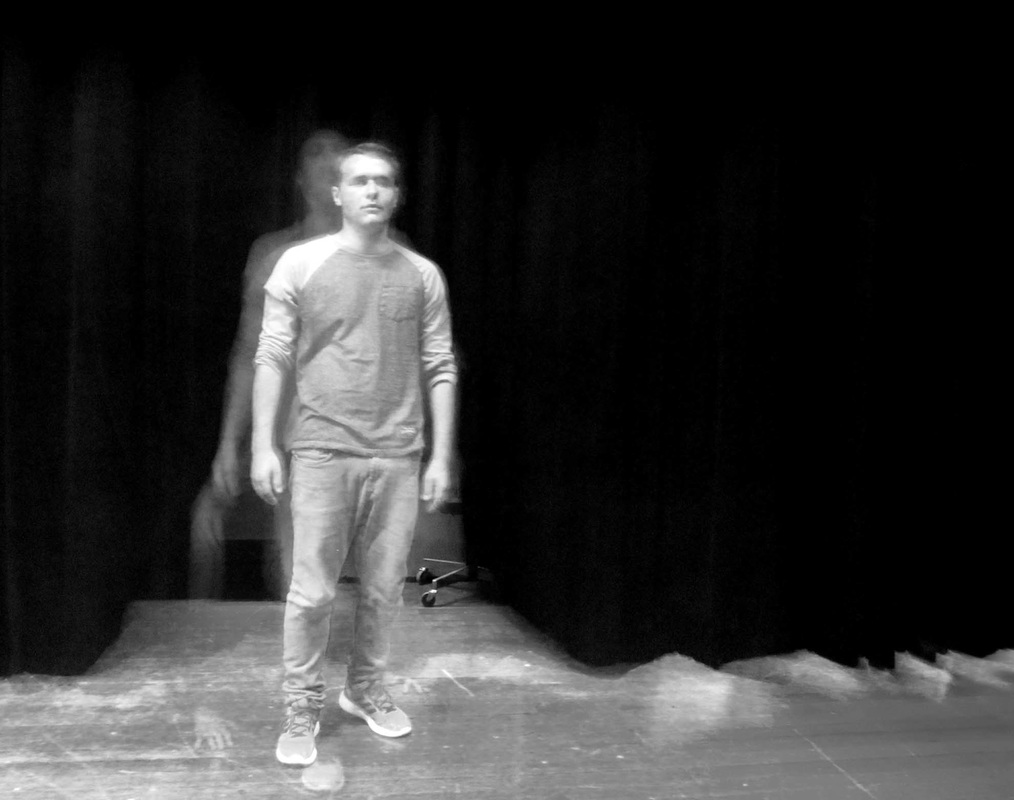
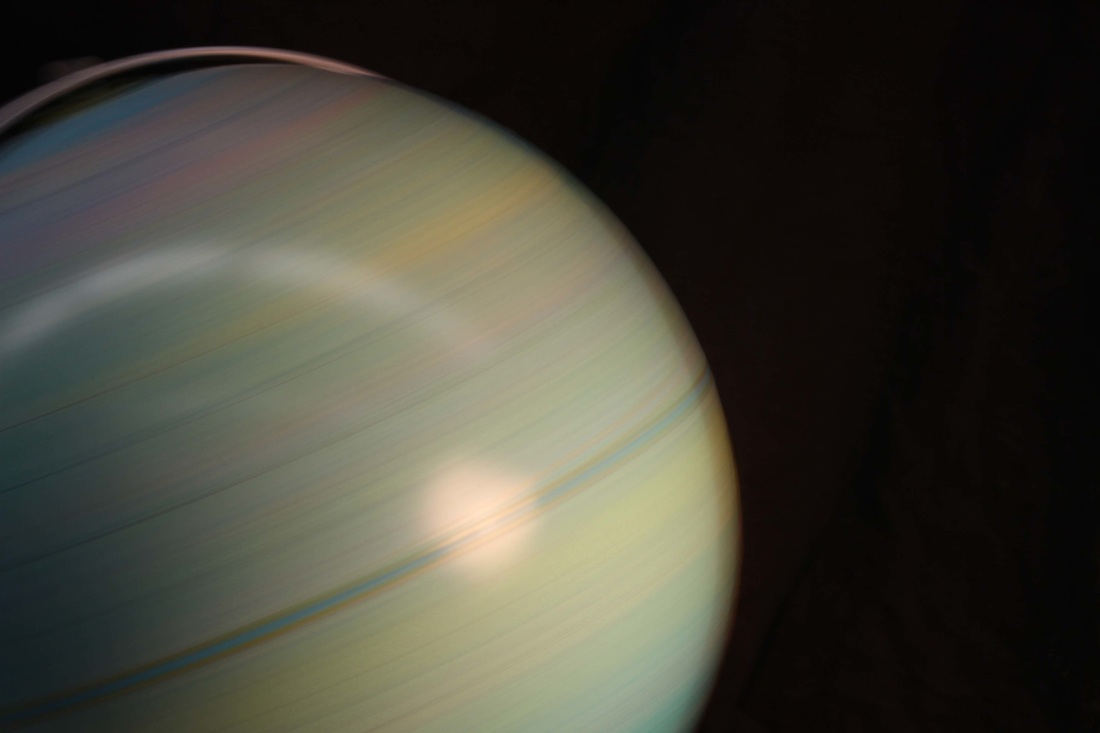
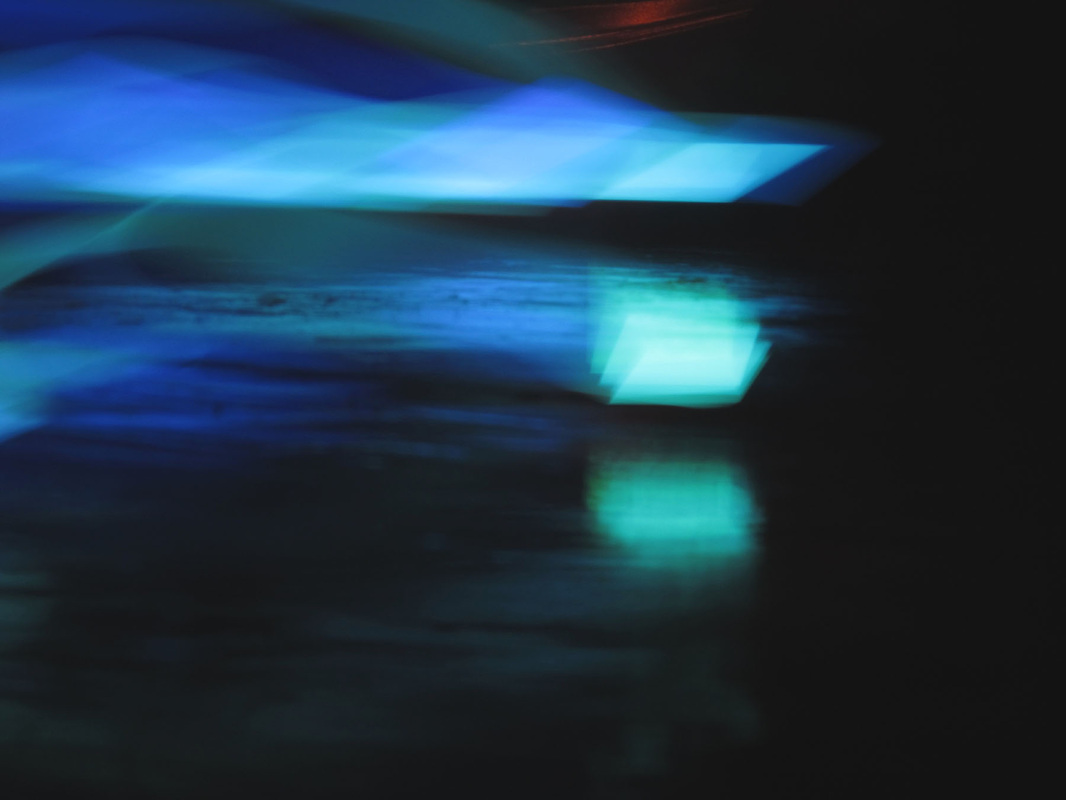
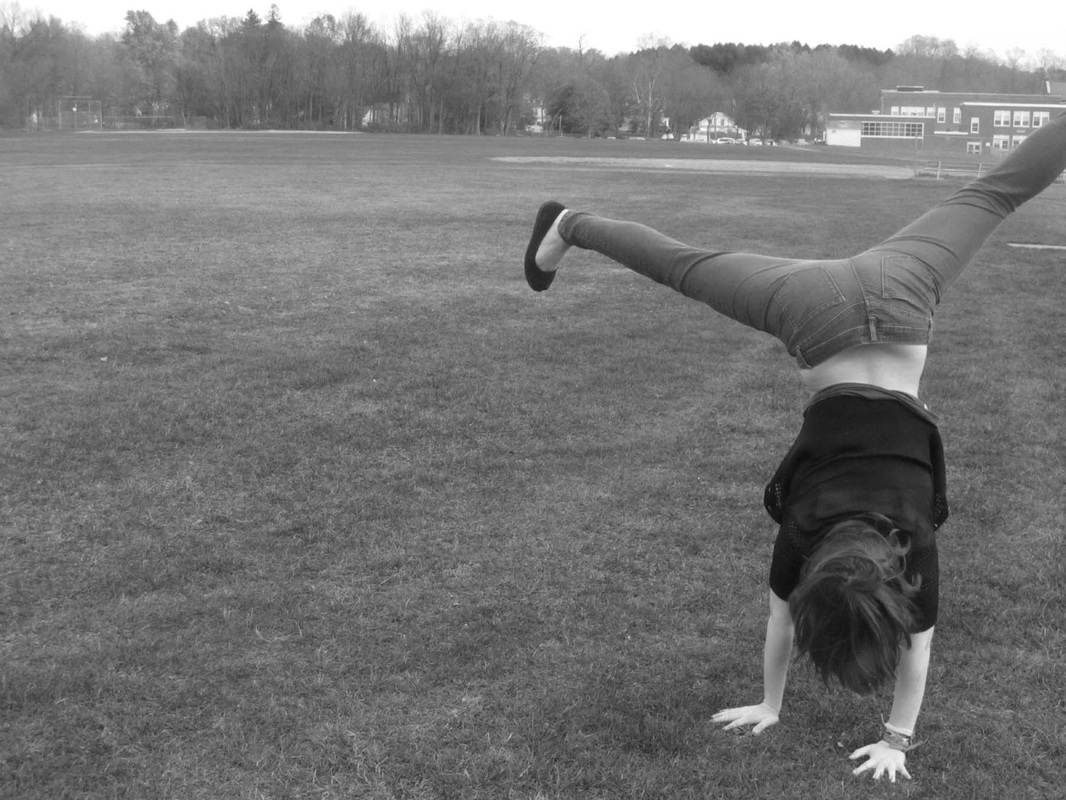
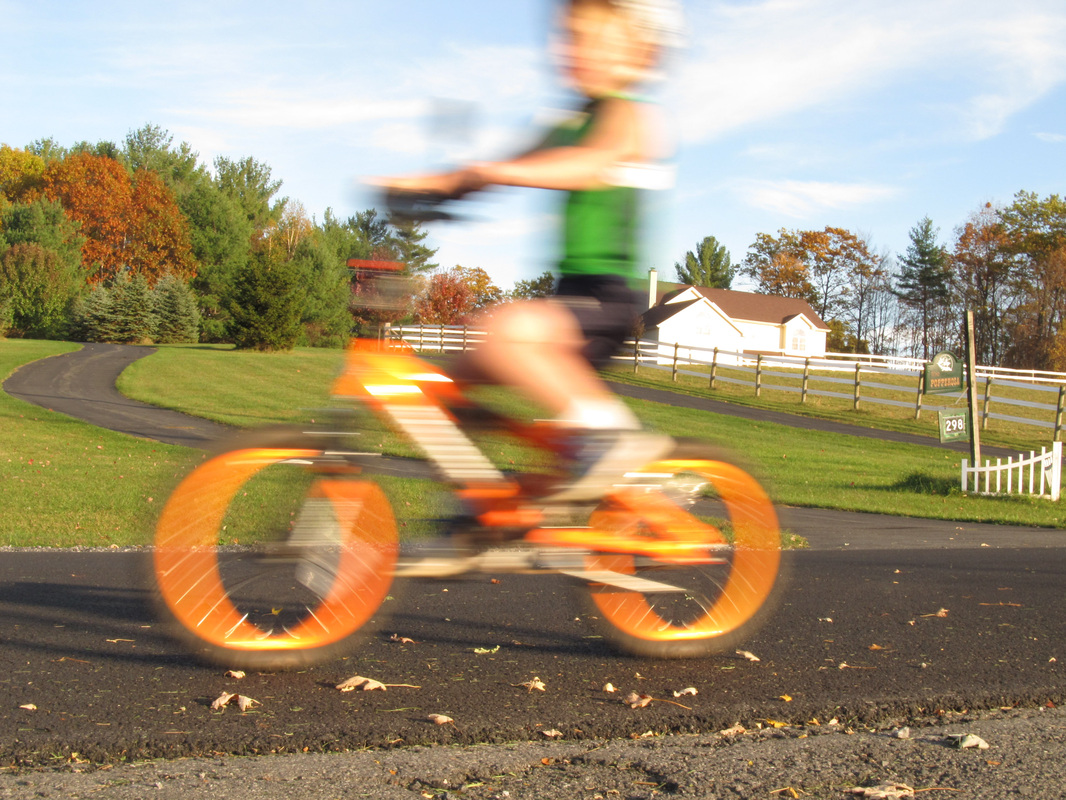
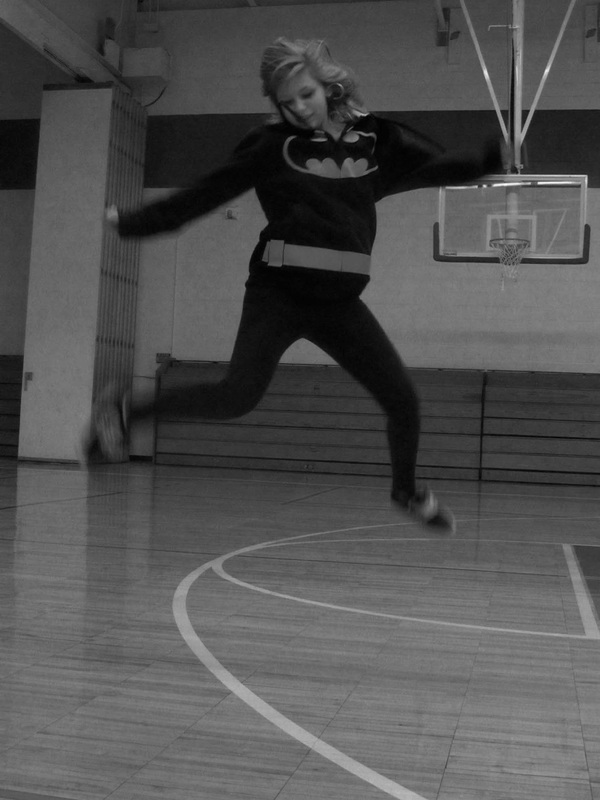
Shutter Speed and Capturing Motion
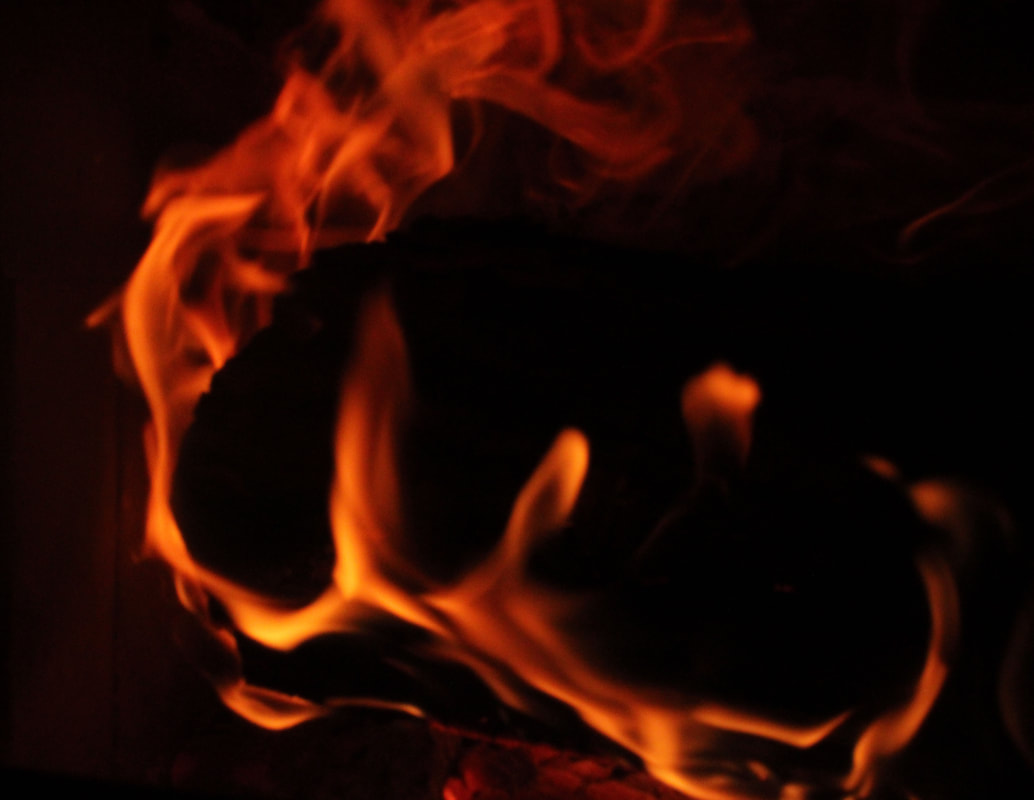
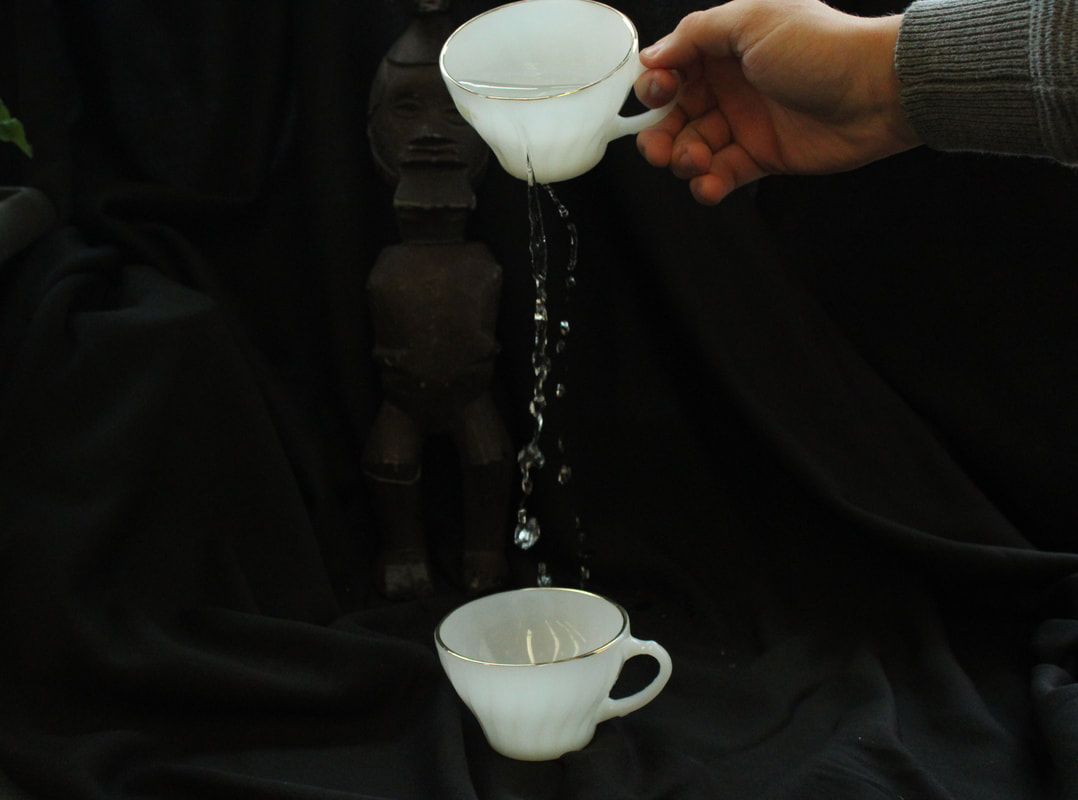
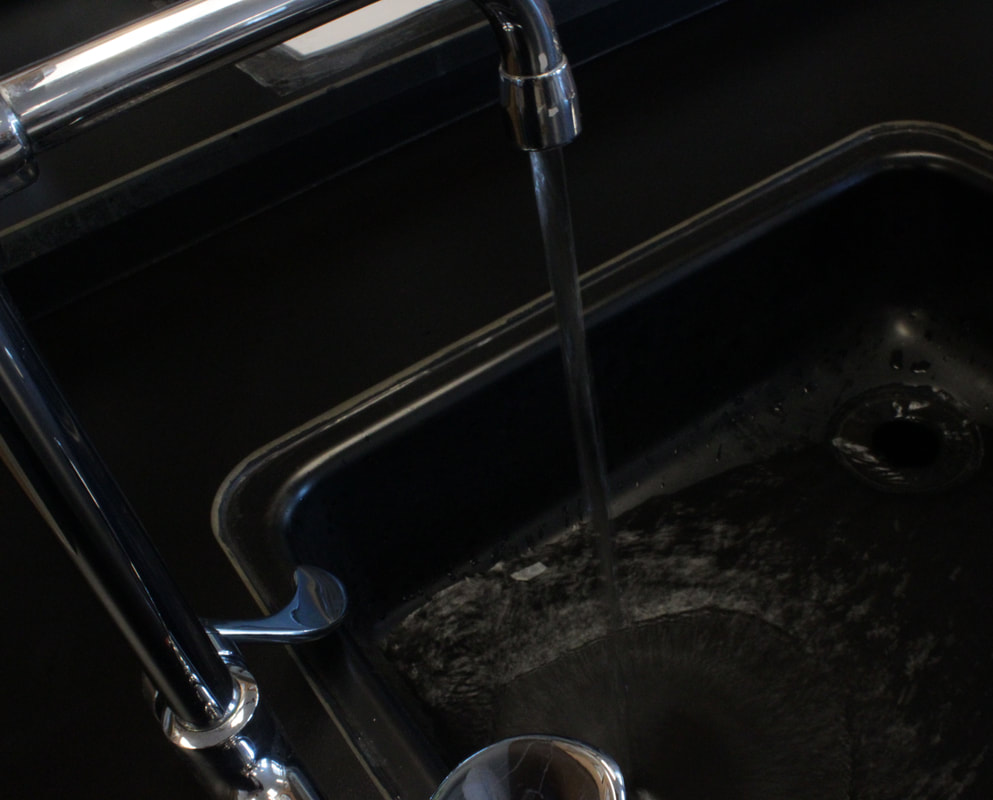
To better understand how to use all the functions of a camera, the photography class was challenged to capture motion. To do this, they needed to adjust the shutter speed and understand that the longer the shutter is open, the more movement (blur) the camera would capture. The shorter the shutter speed, the more crisp the photos would be.
Students then tried to create interesting images using shutter speed, their knowledge of the elements of art, and compositional techniques.
Students then tried to create interesting images using shutter speed, their knowledge of the elements of art, and compositional techniques.
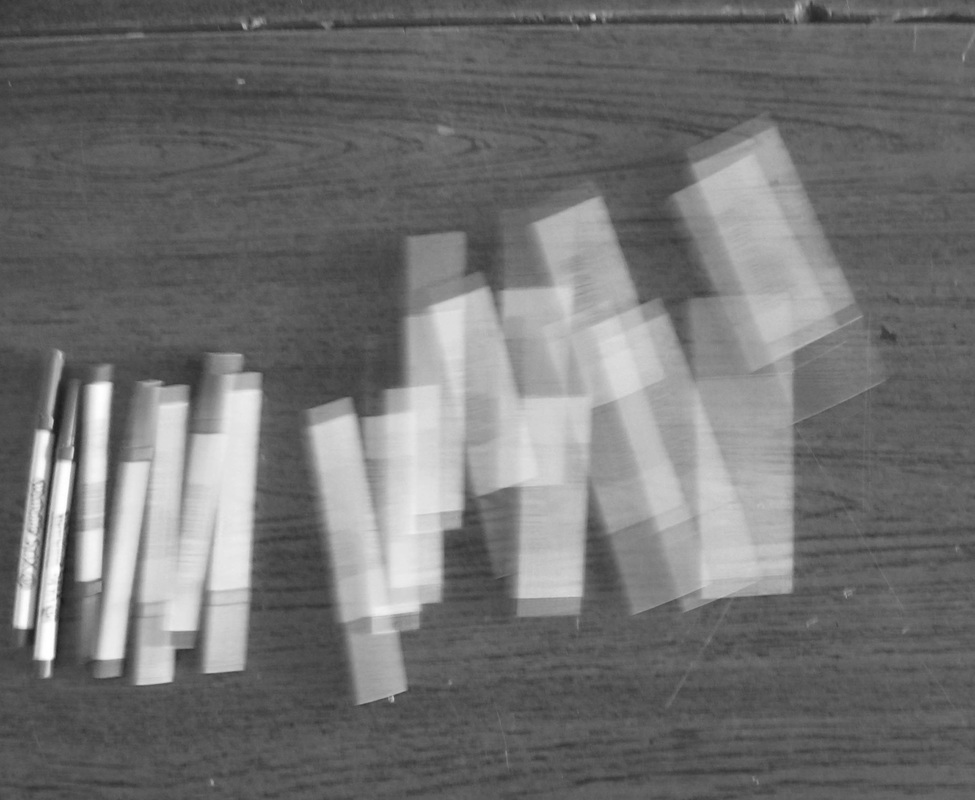
White Balance Settings
These may not be the most exciting photos but it was a great way for students to learn where and how to change their white balance settings. They can use these test strips as a reference when taking photos in the future to see how the White Balance can affect a photo and create more natural lighting.

By Adrianna P.

|

By Brianna S.
|

By Bryn F.

By Tatum L.
|

By Jack S.
|
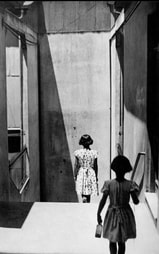
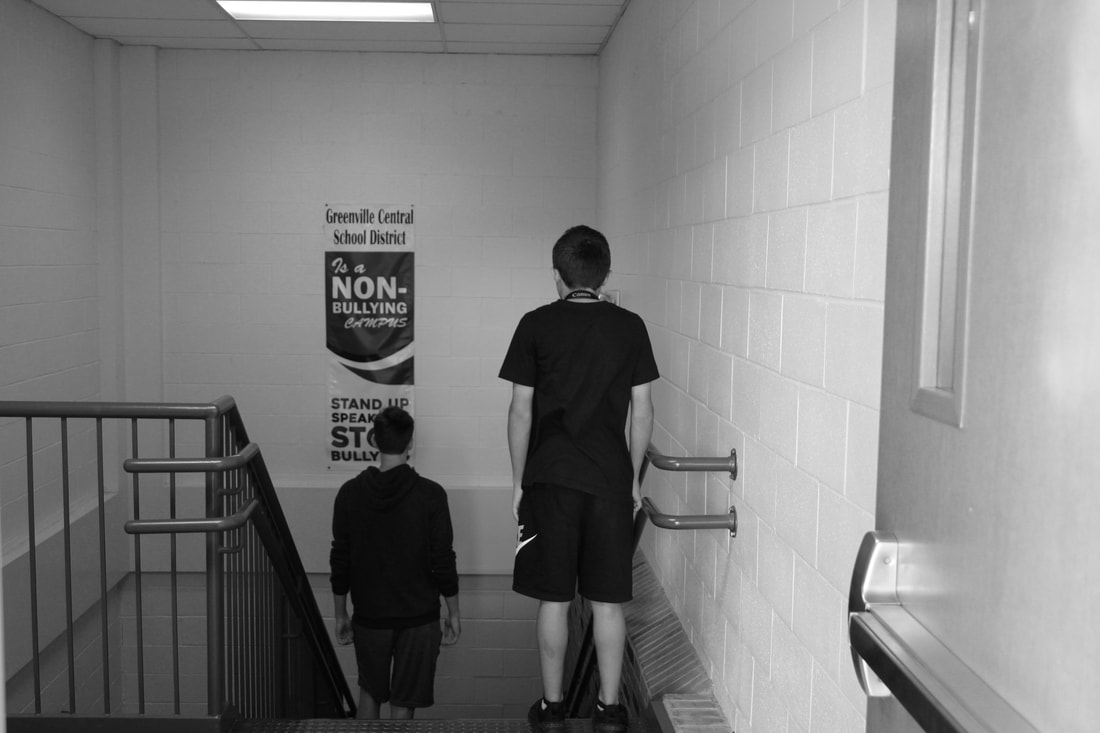
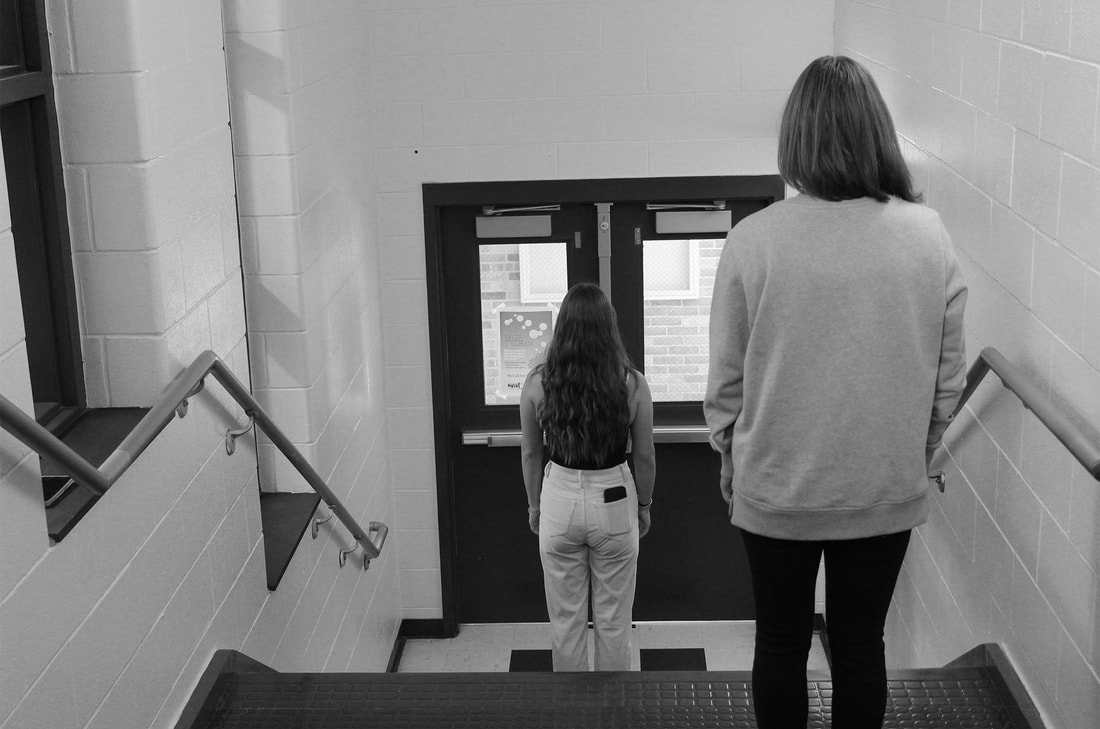
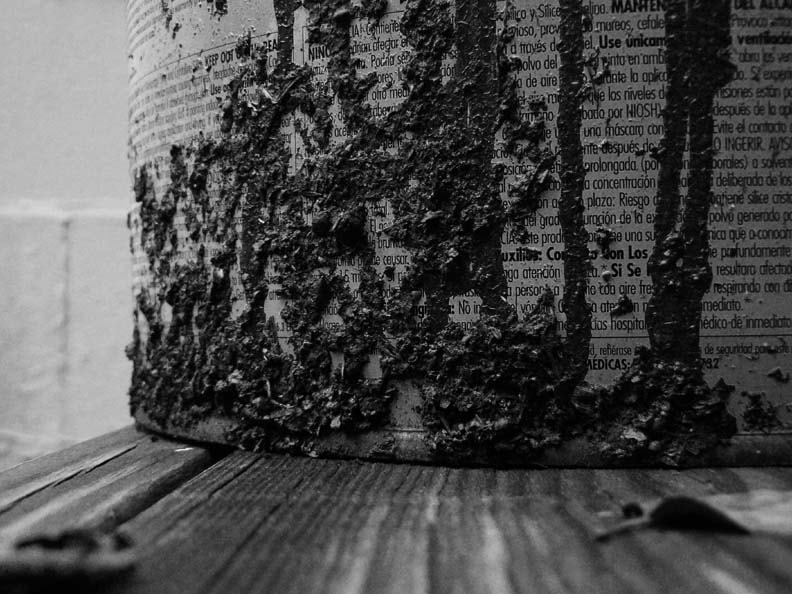
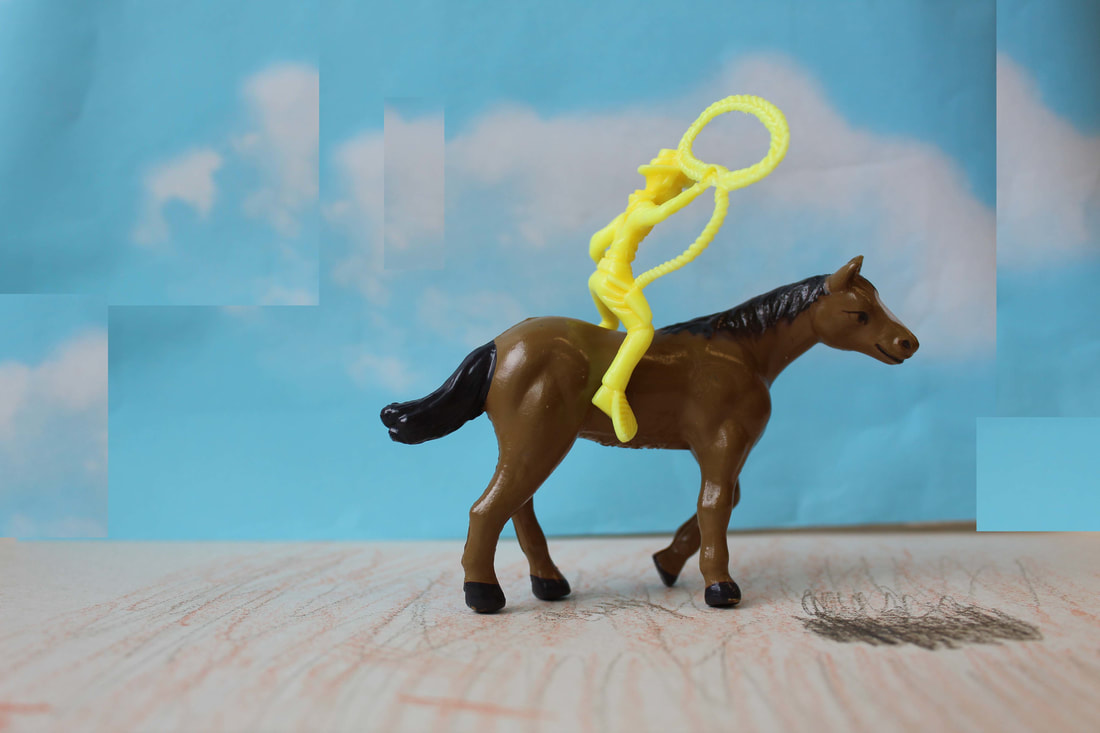
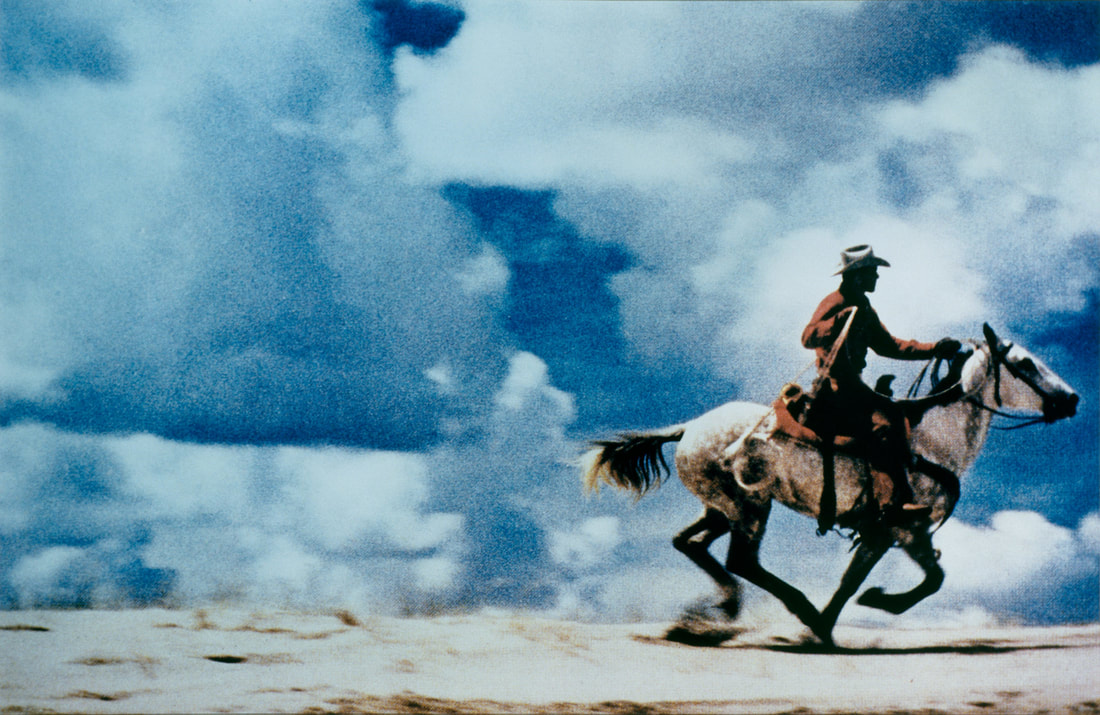
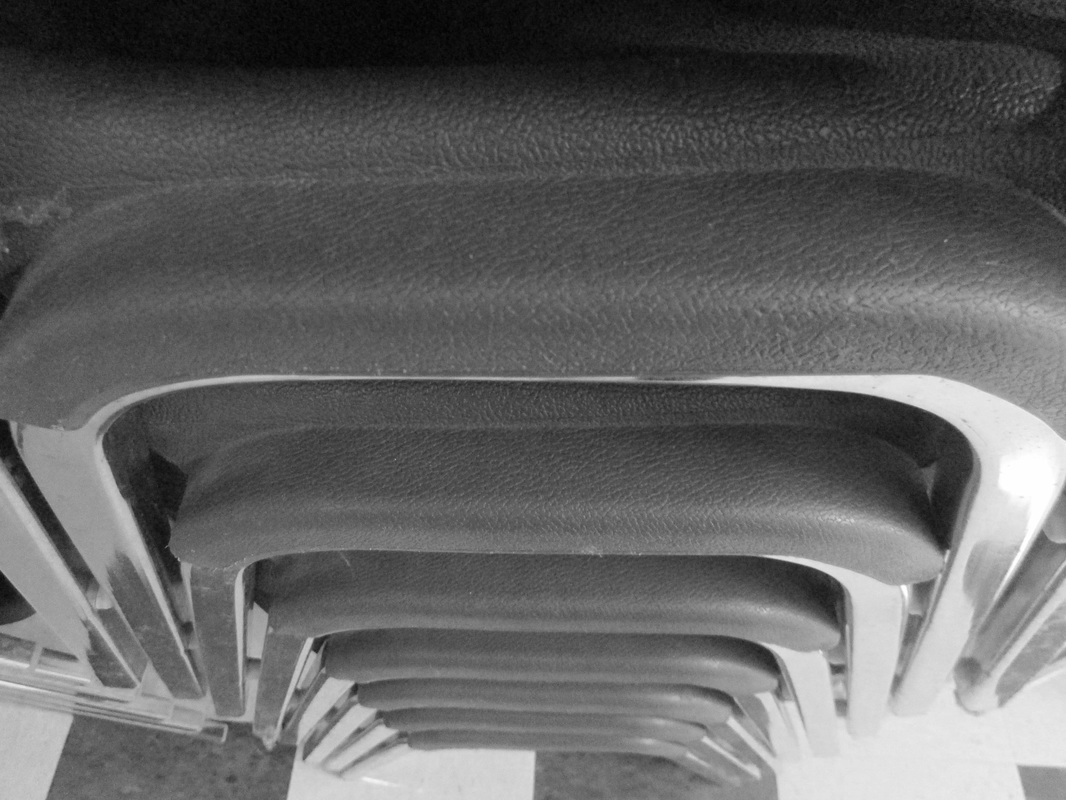
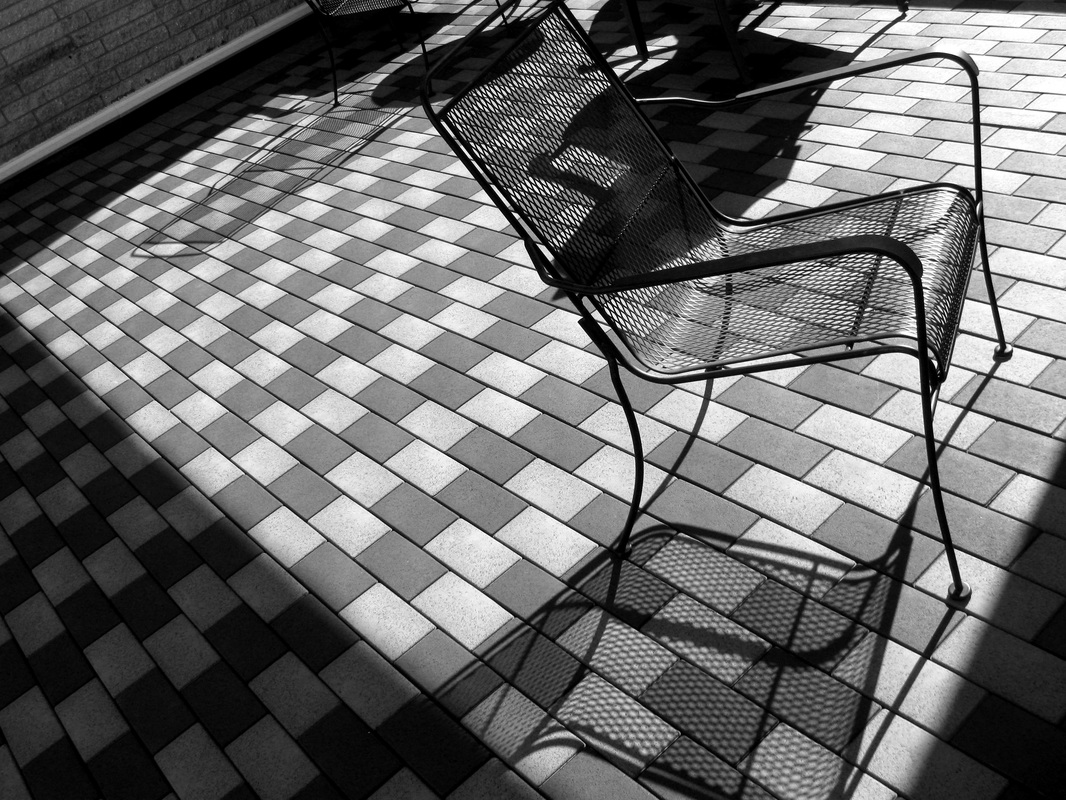
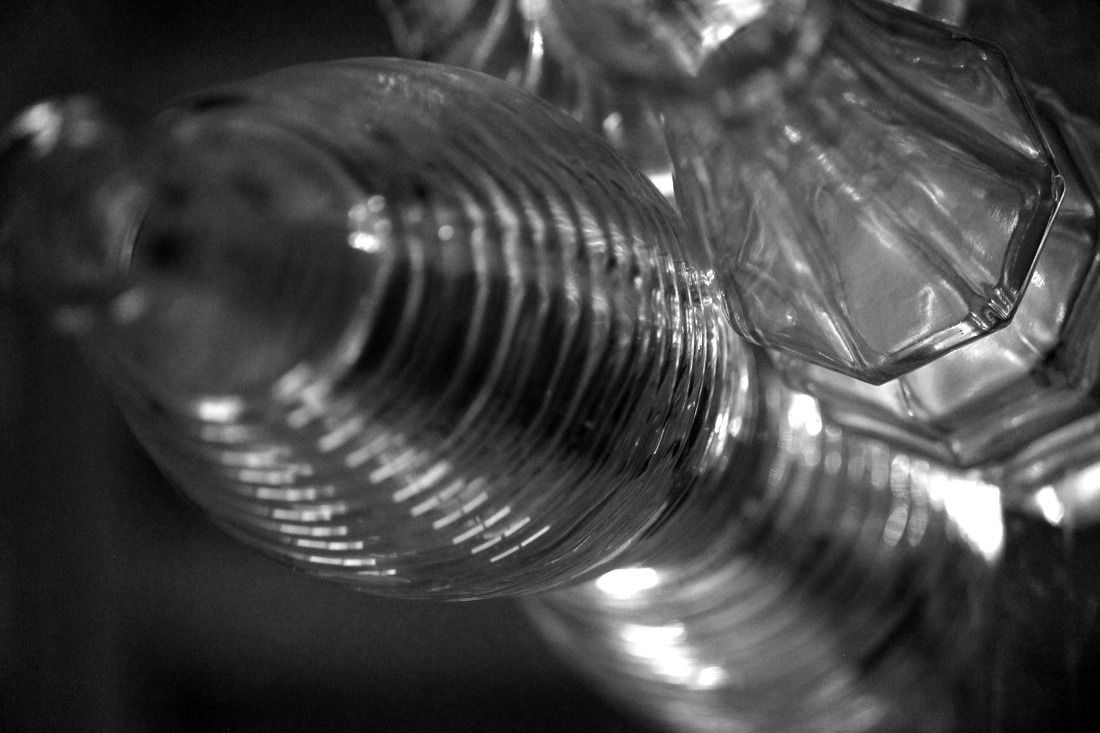
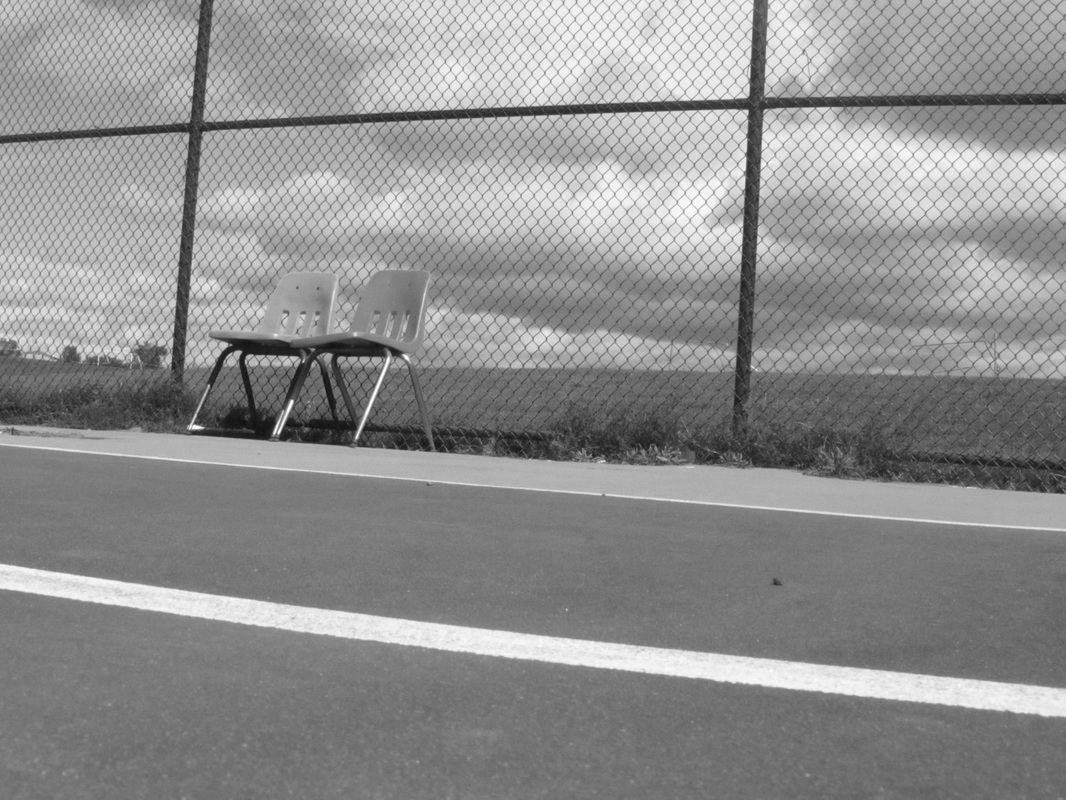
Recreating Practices
|
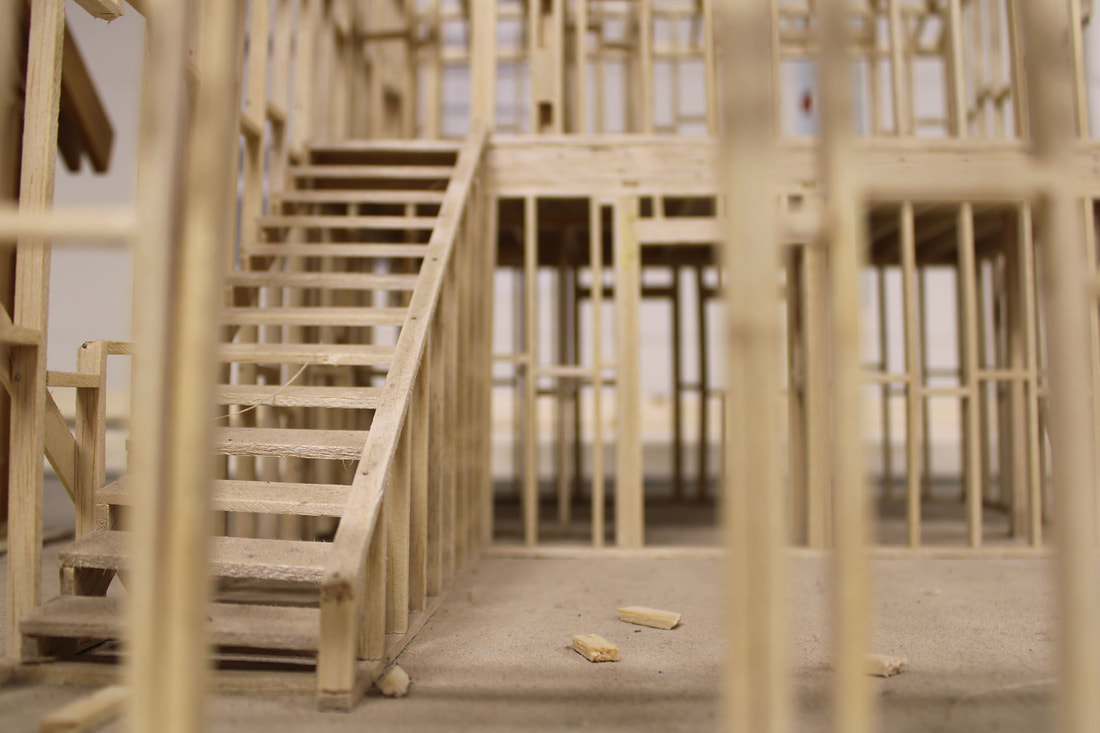
To get the feel for composition and Photoshop, the photography class was challenged with a "Who Made it Best" Photo rection challenge. The class looked at a photo by Valparaíso (Chile. 1952-1963), and we talked about how the image was created with shapes and values. The students then needed to recreate the image as best they could in the school. Check out their creative solutions above.
|
|

Selective Coloring
Compositional Strategies
To start the year off right, the photography students learned ways to create a strong composition. The lesson was broken down so each day the class learned about one to two new compositional stages. Then we traveled around the school to find examples of what we had studied. Students were encouraged to find even more unique images at home or in their day-to-day travels.
Negtive Space and Farmaing
By Adler K.
|
|


Cropping and Perspective
|
|
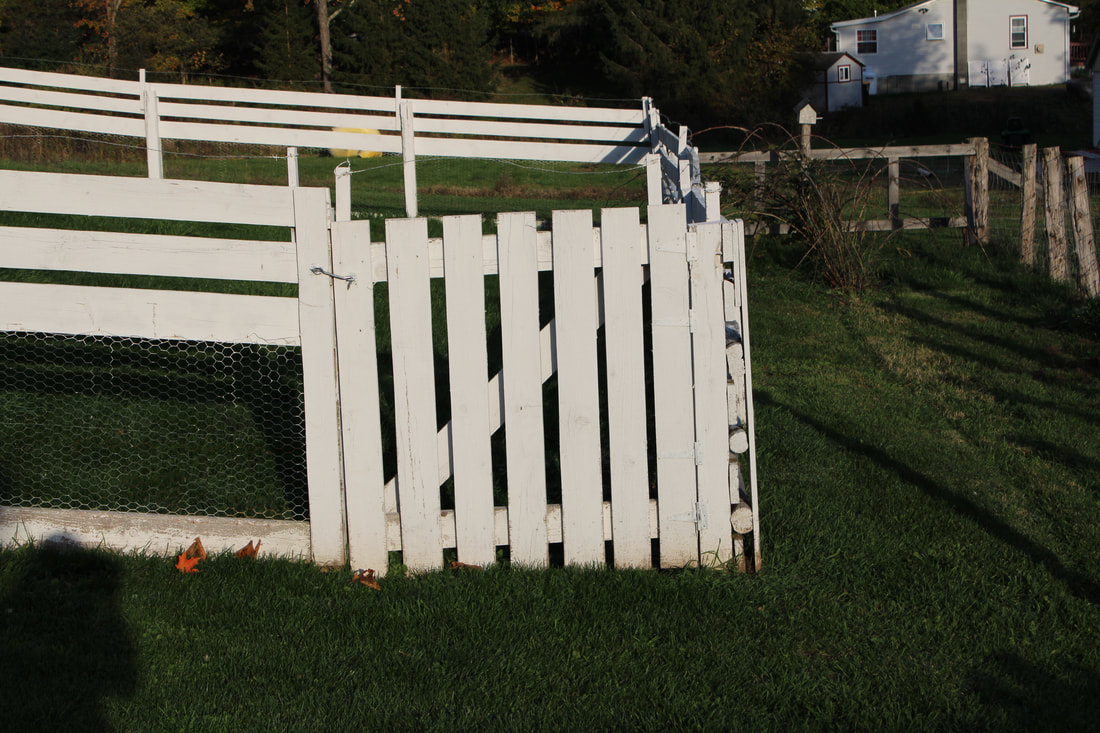
Photo by Violet G.
|
Symmetry and Pattern
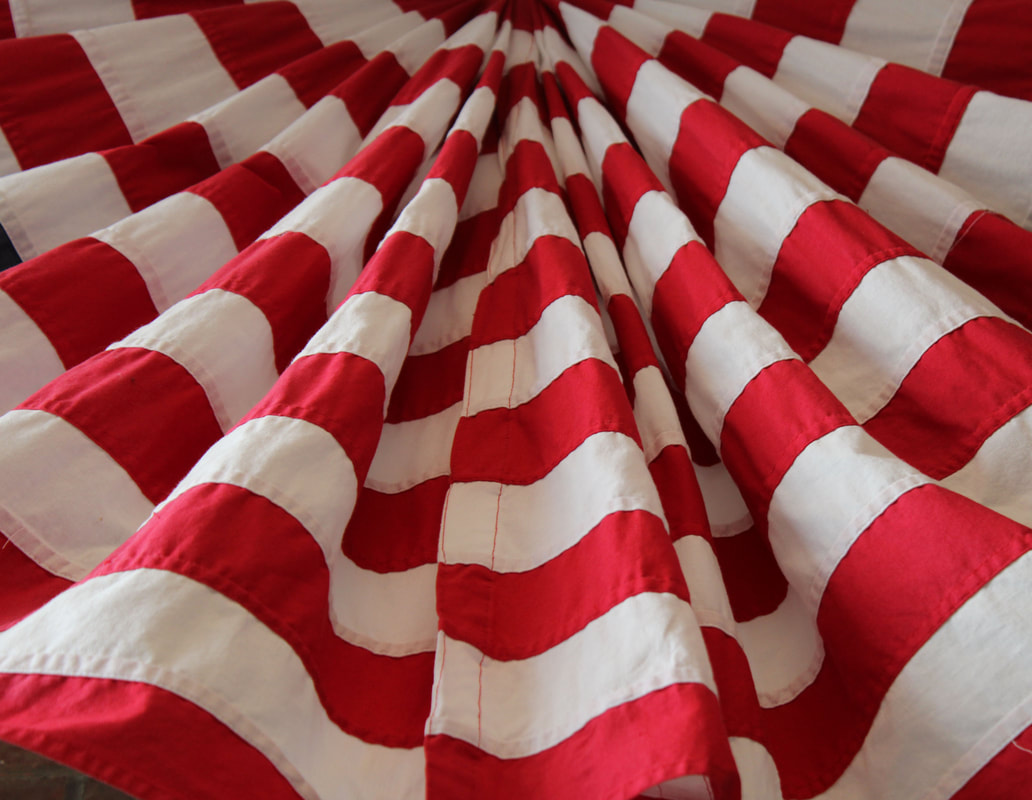
Photo by Violet G.
|
|
|
Rule of Thirds and Balancing Elements
|
Depth and Leading Lines
|


2021-2022...
Compositional Strategies
|
Rule of Thirds
Symmetry and Balance
Pattern & Perspective
|
To start the year off right, the photography students learned ways to create a strong composition. The lesson was broken down so each day the class learned about one to two new compositional stages. Then we traveled around the school to find examples of what we had studied. Students were encouraged to find even more unique images at home or in their day-to-day travels.
Croping & Negative Space
|


2020-2021...
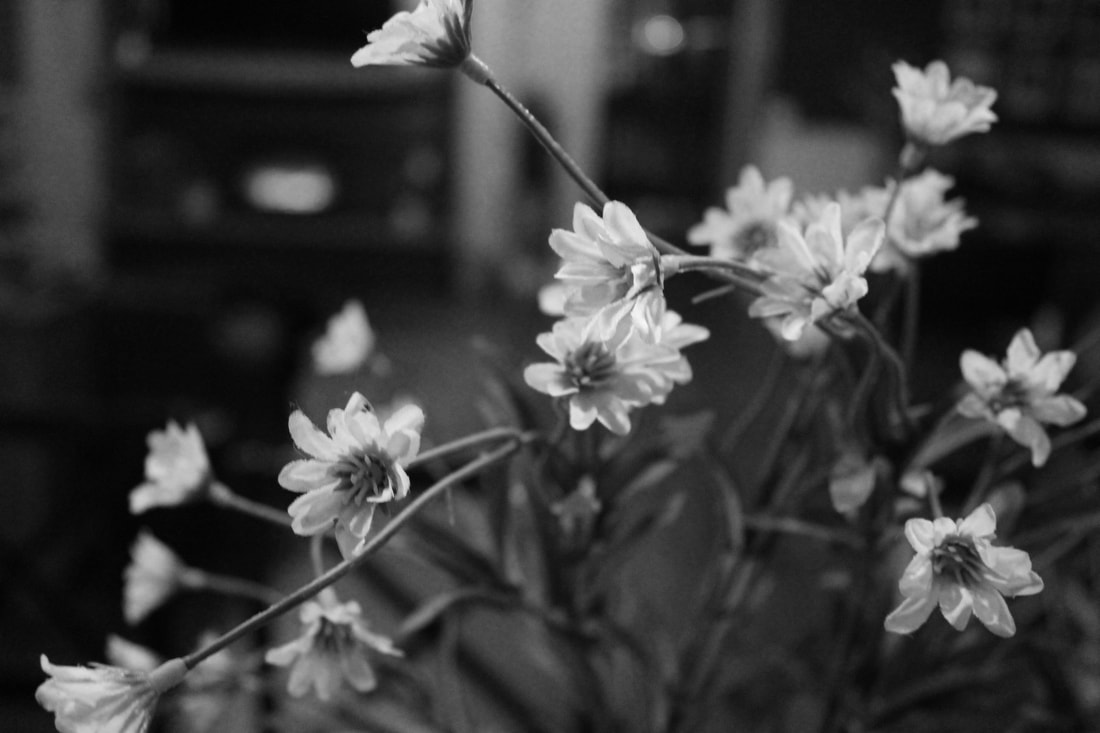
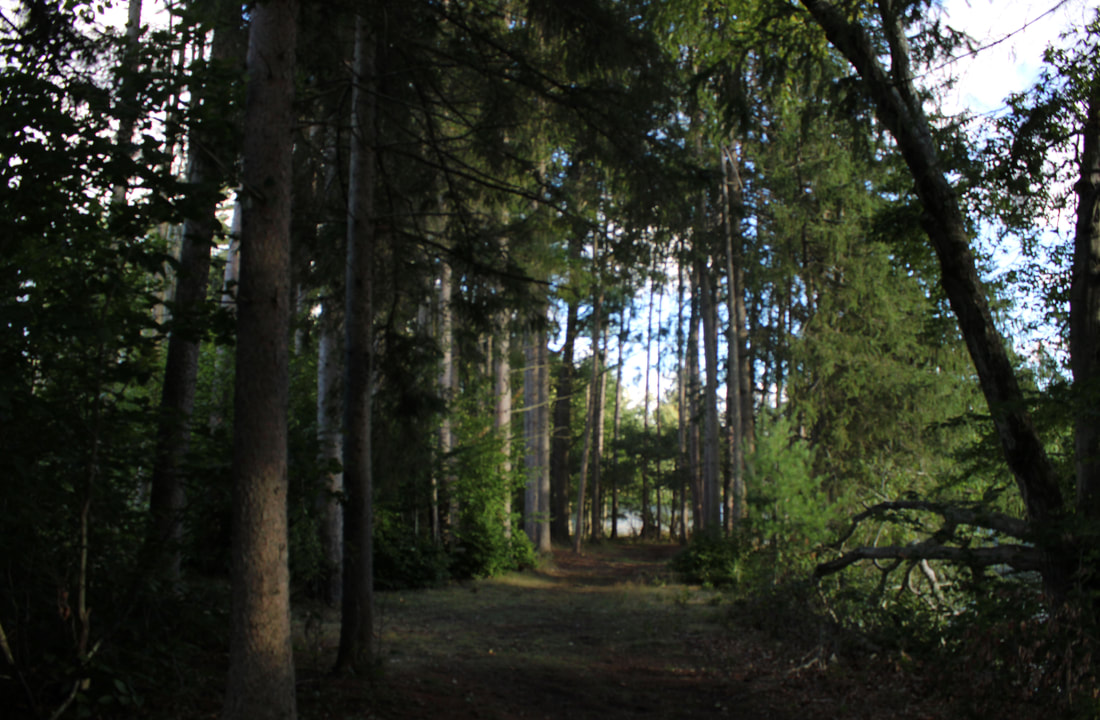
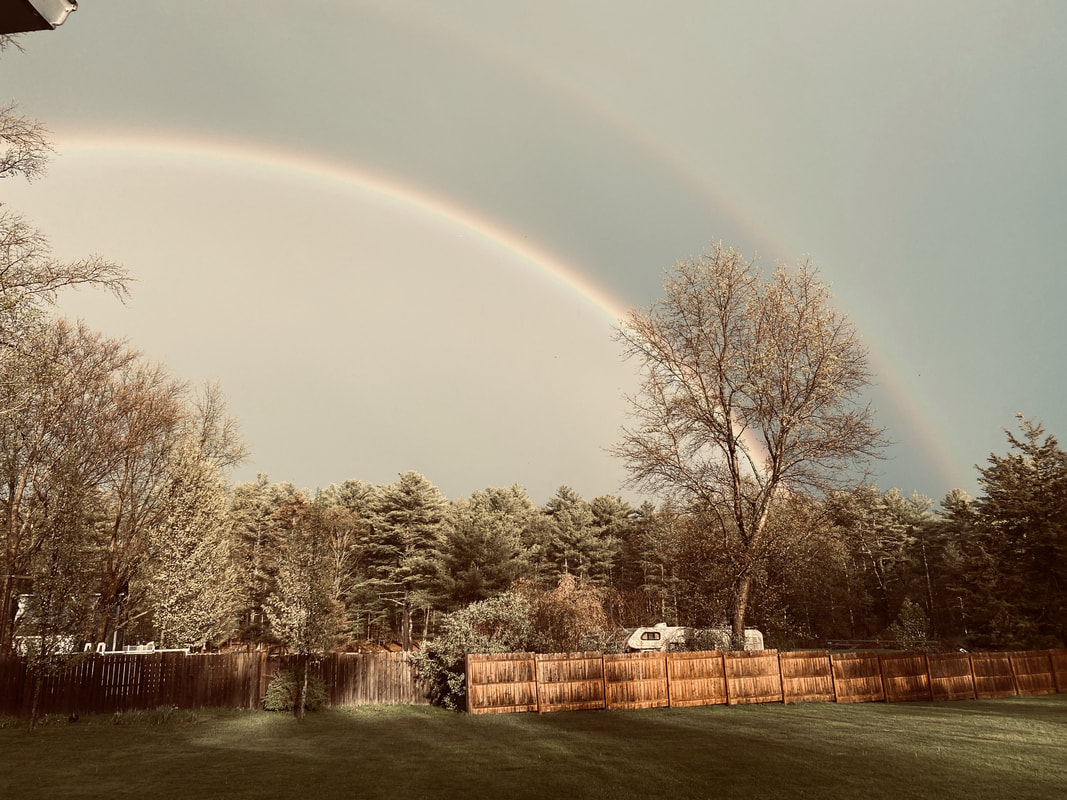
Tell a Story


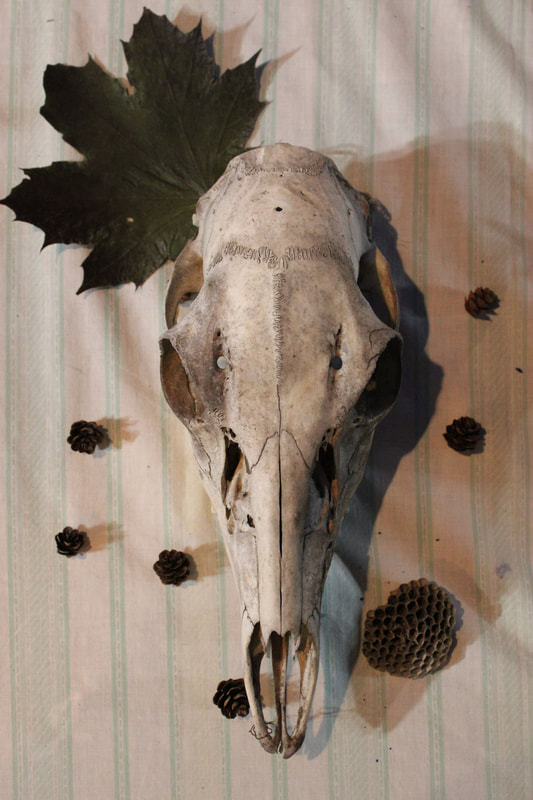
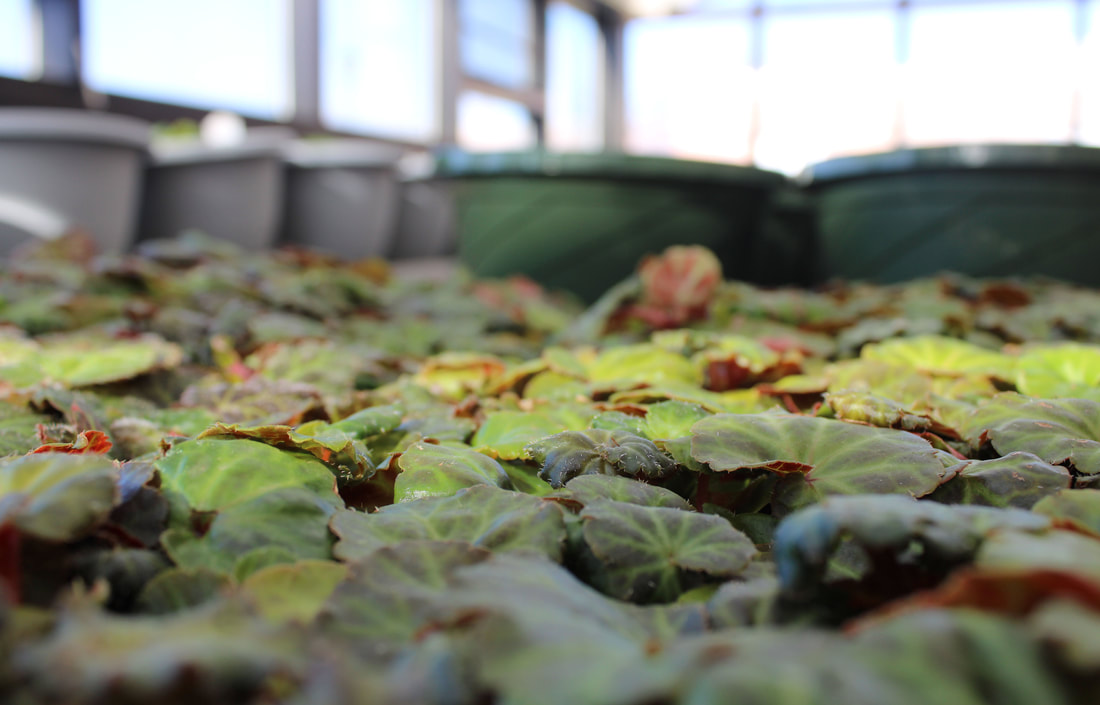
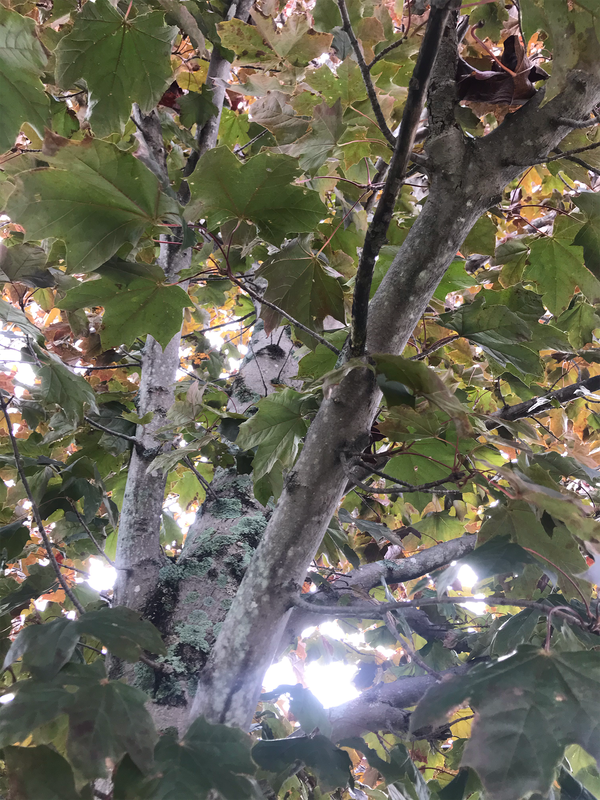
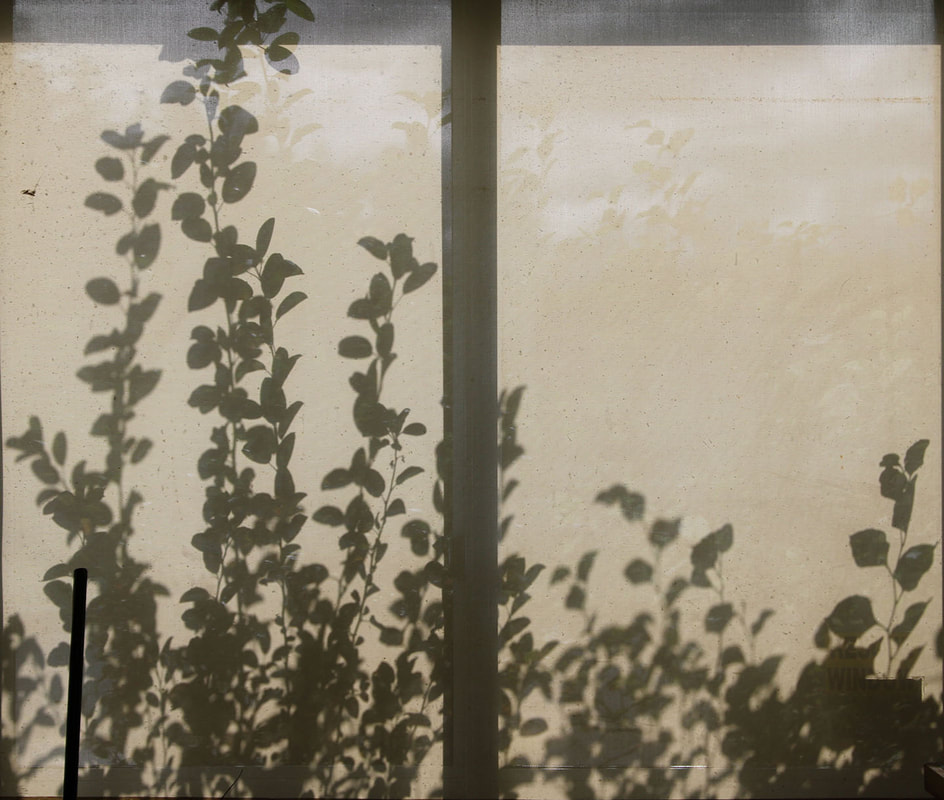
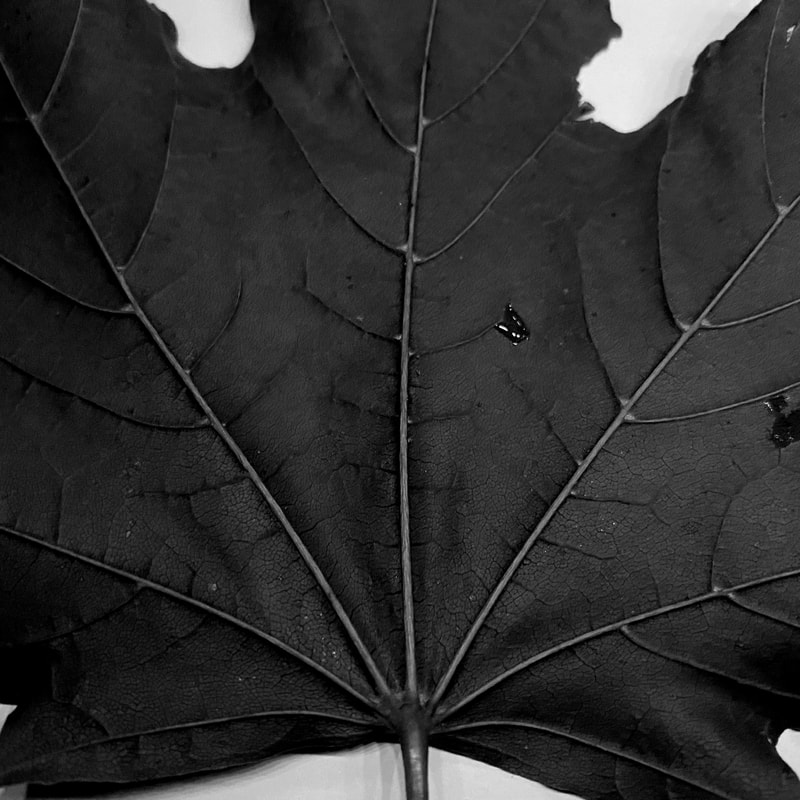
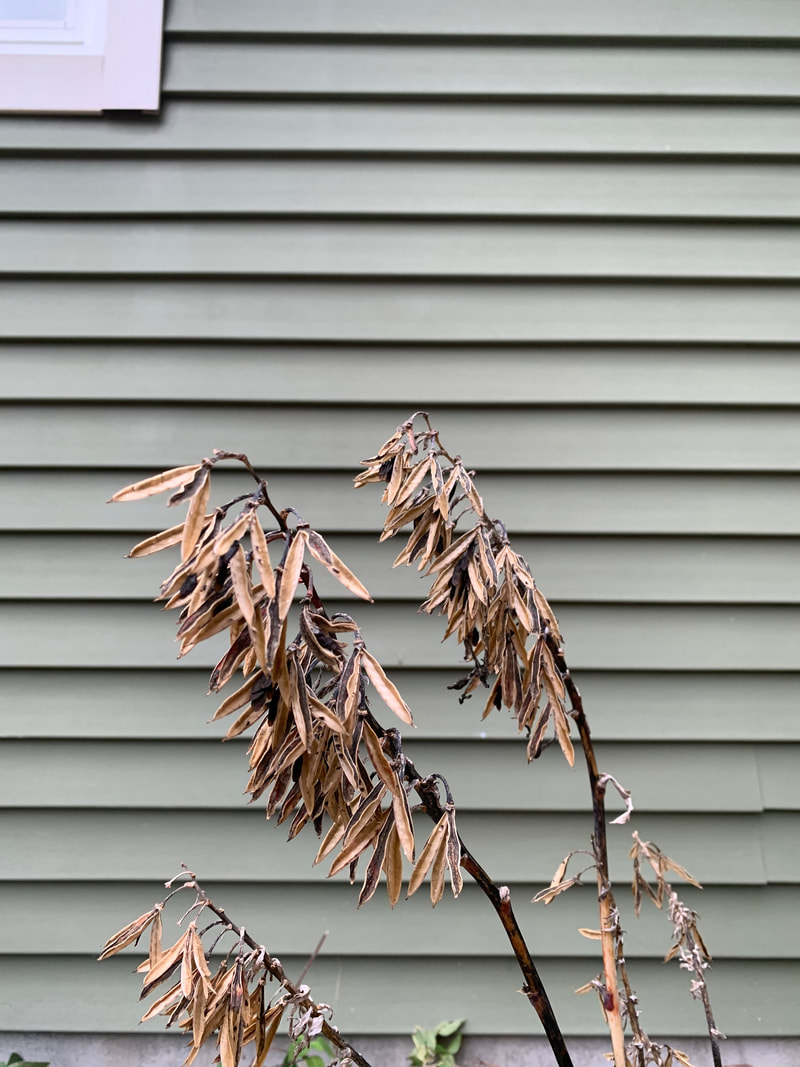
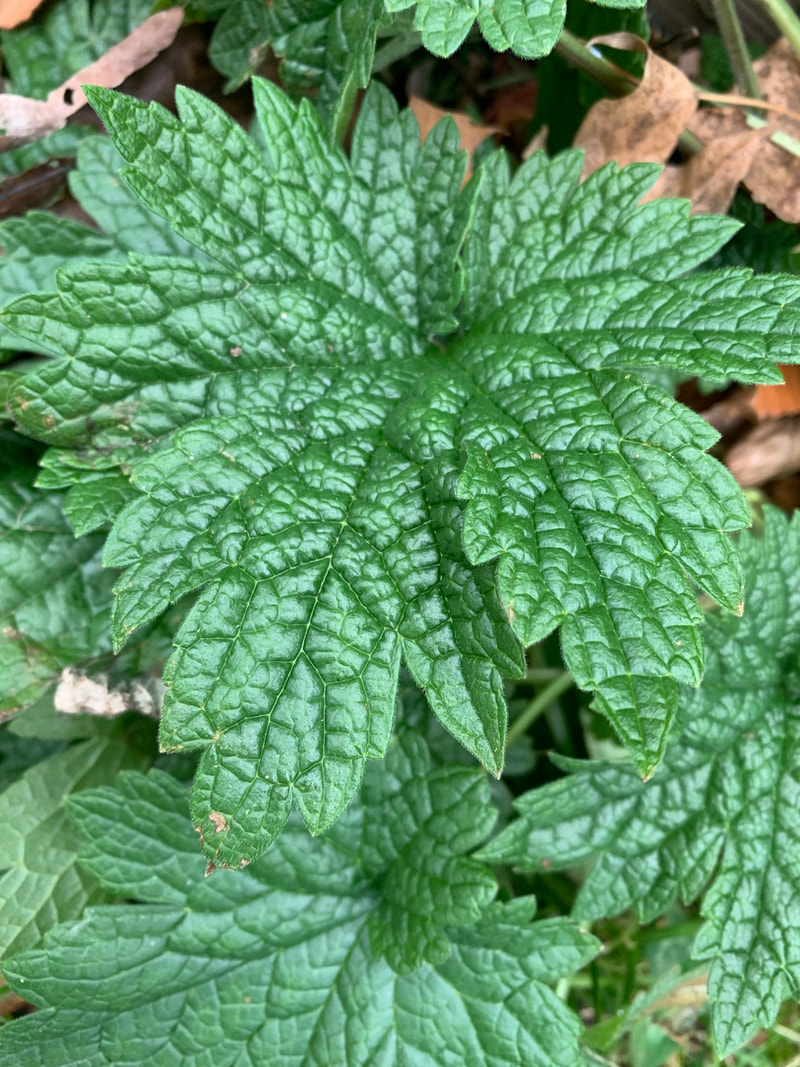
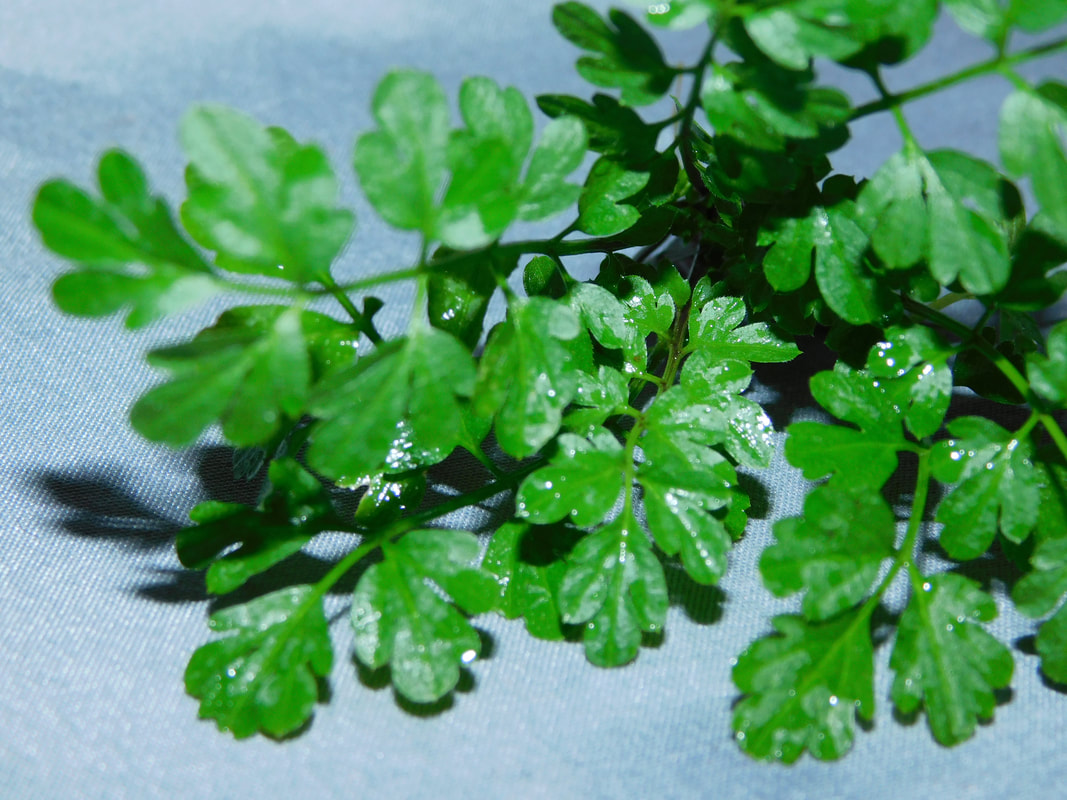
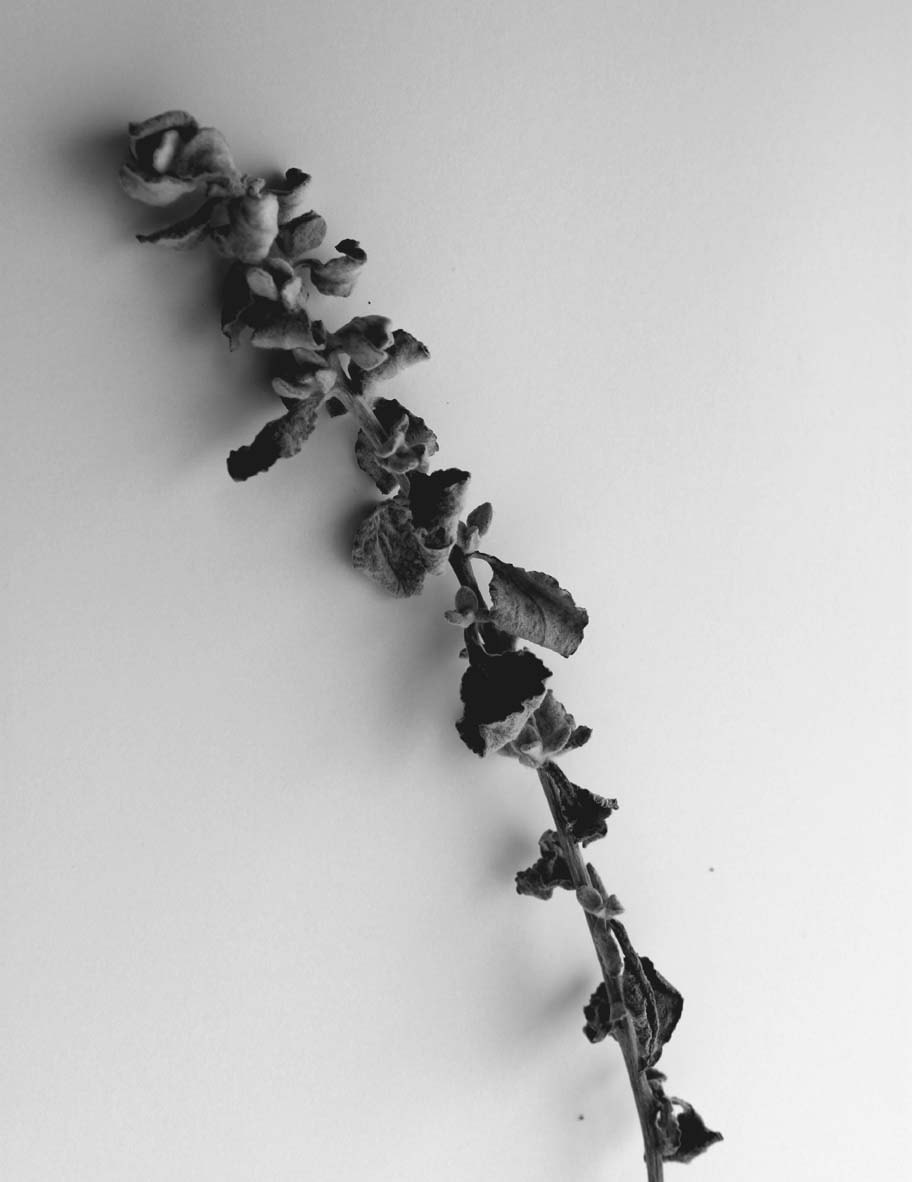
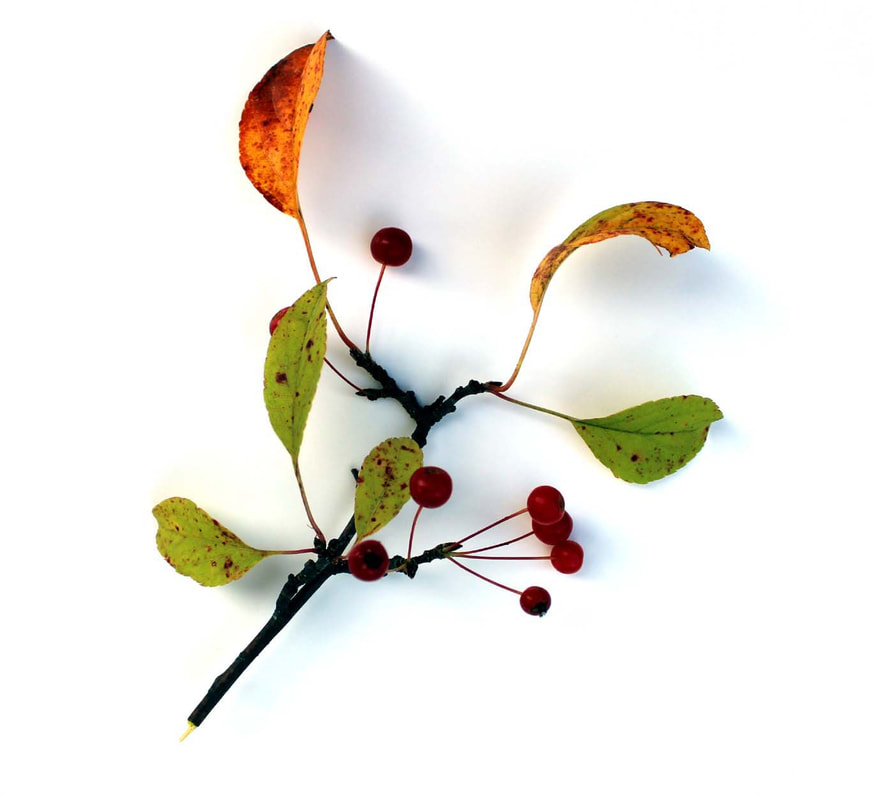
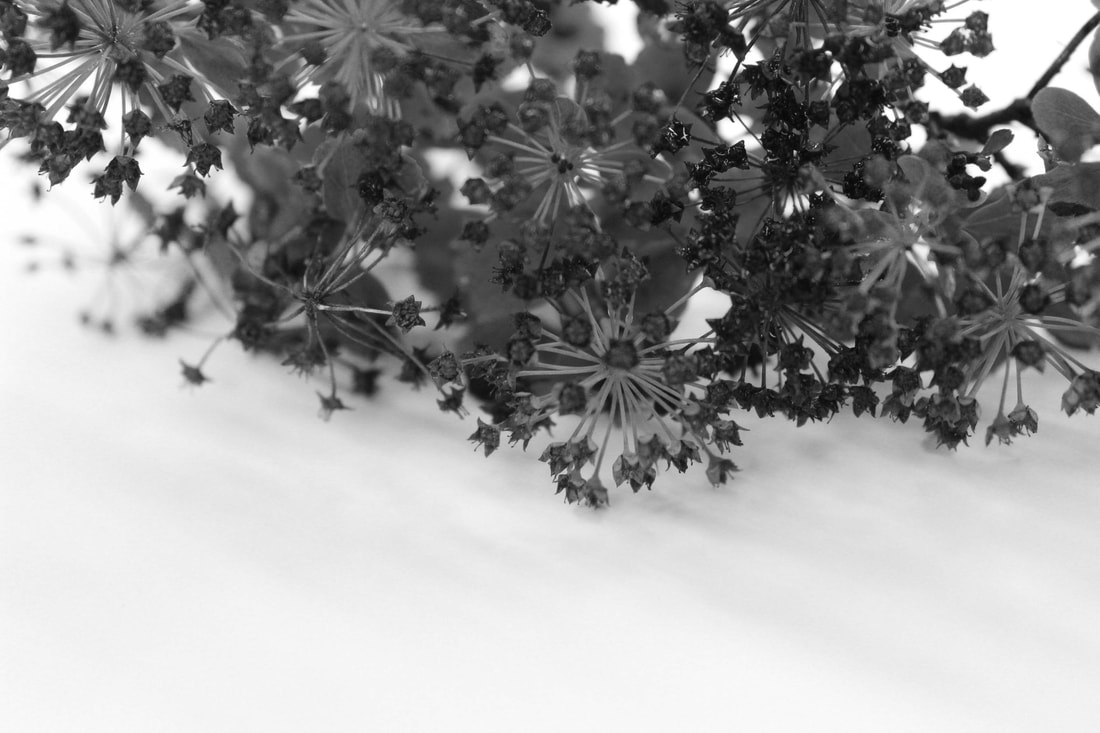
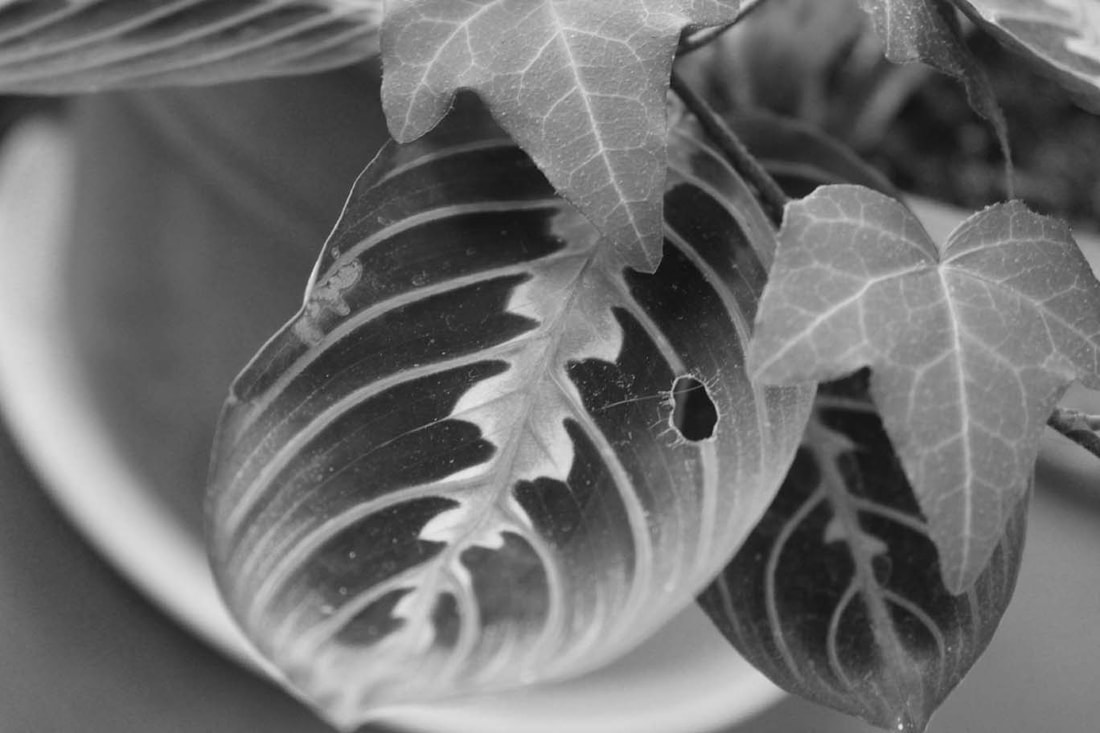
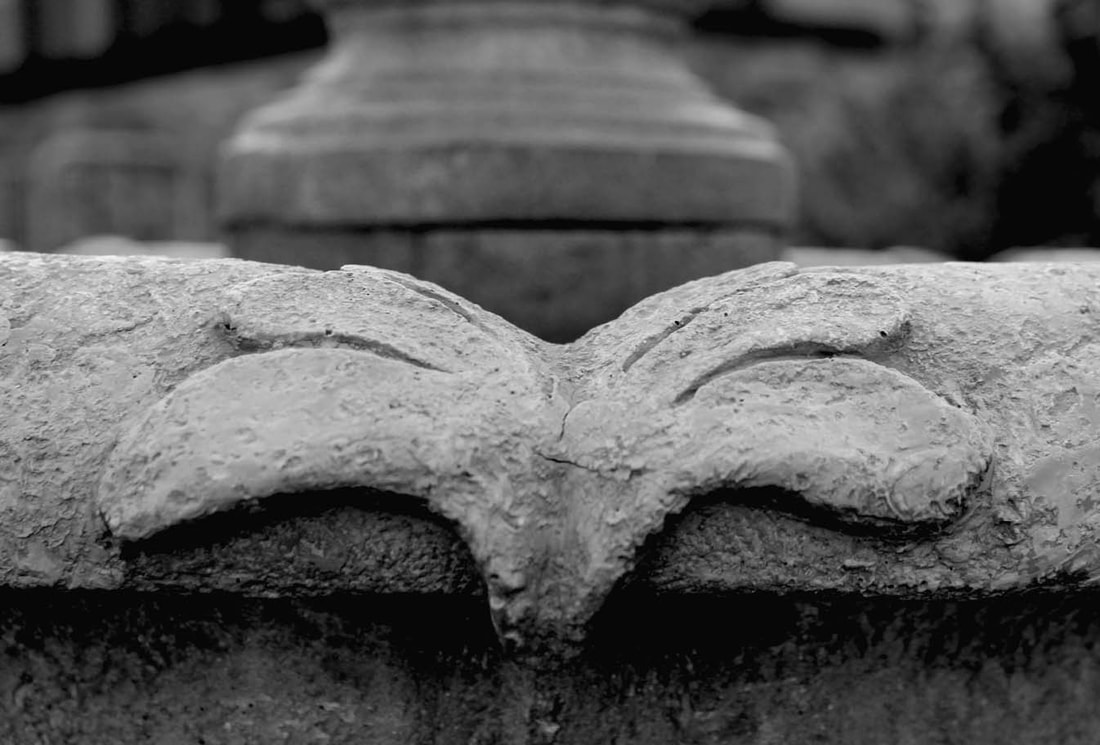
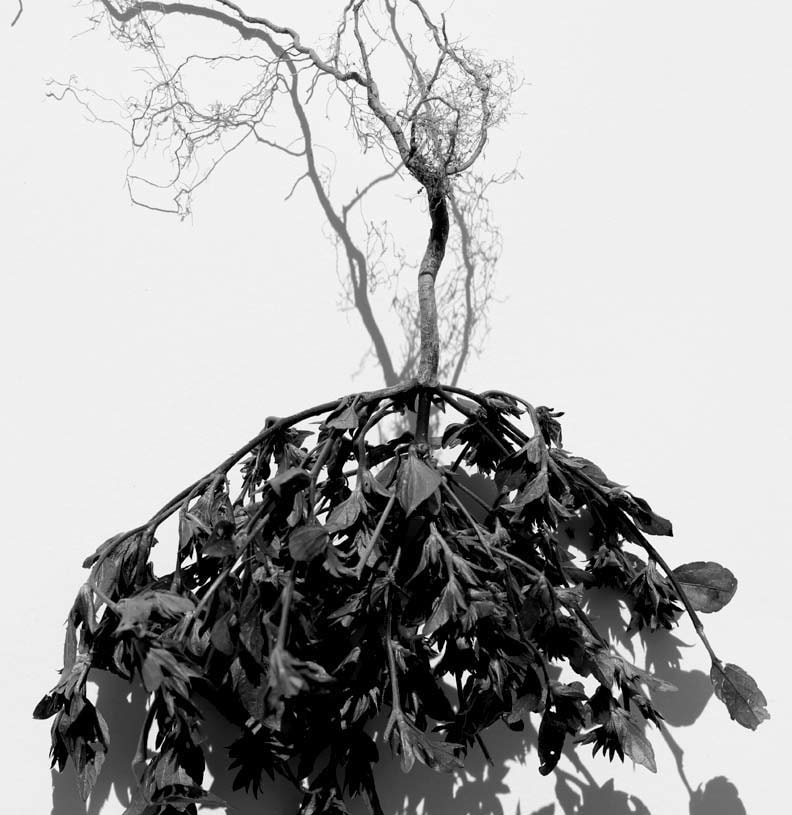
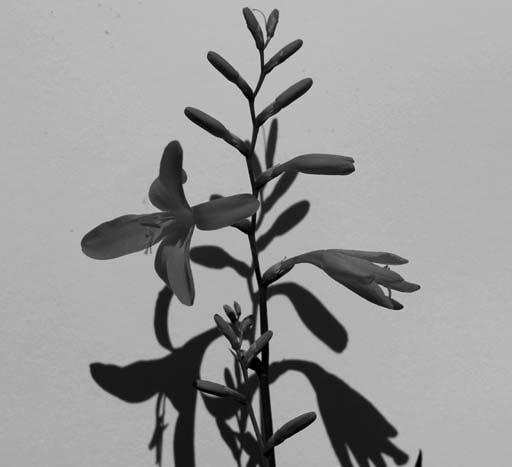
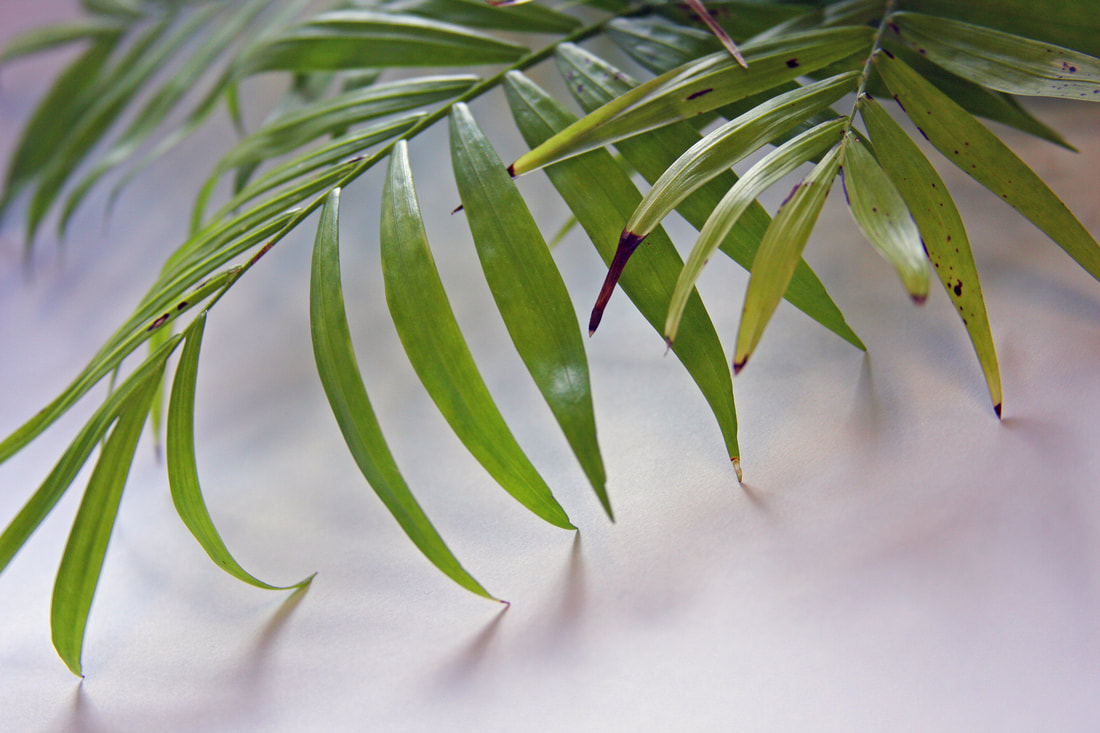
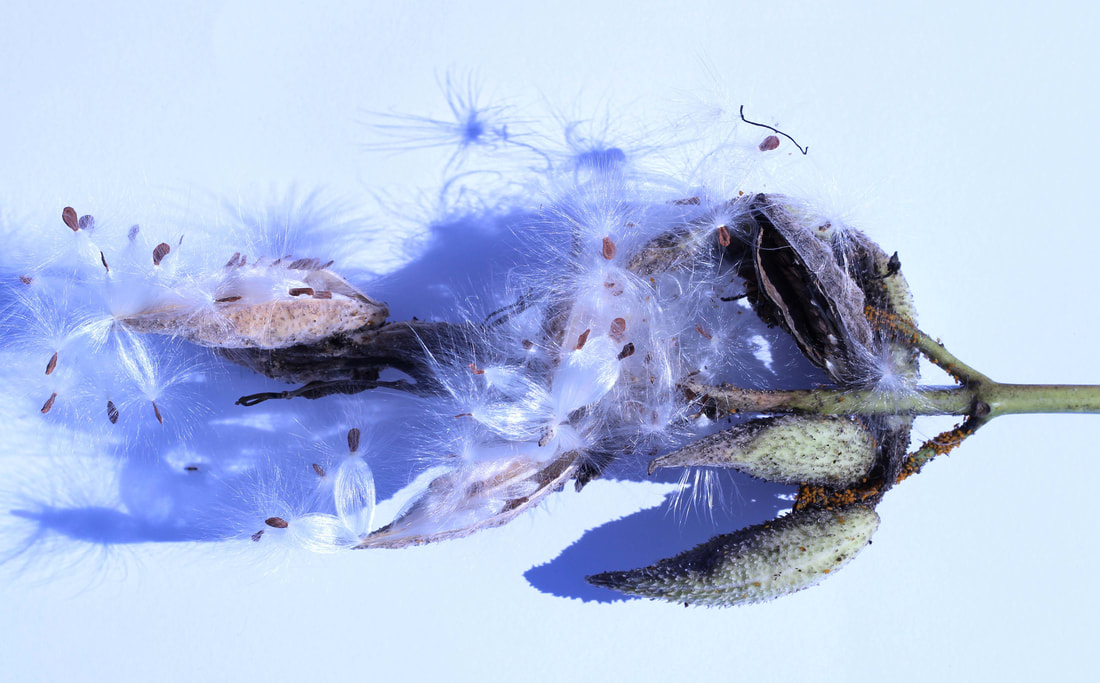
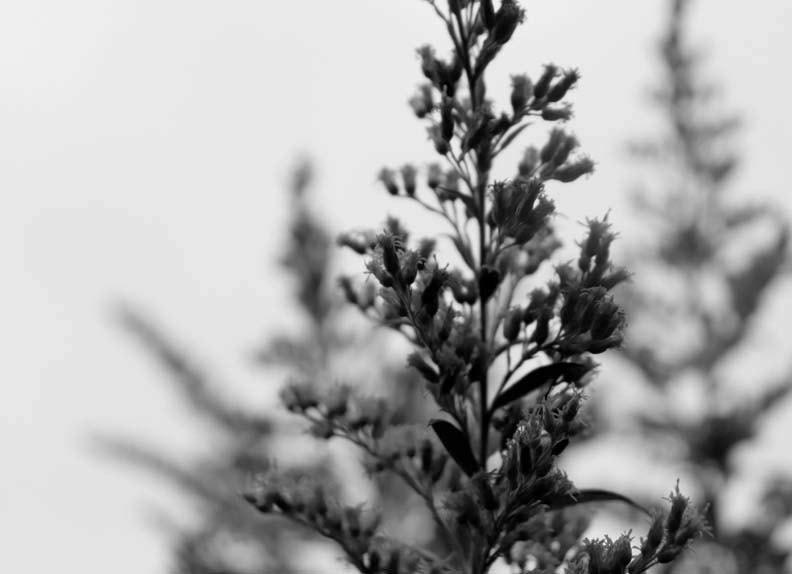
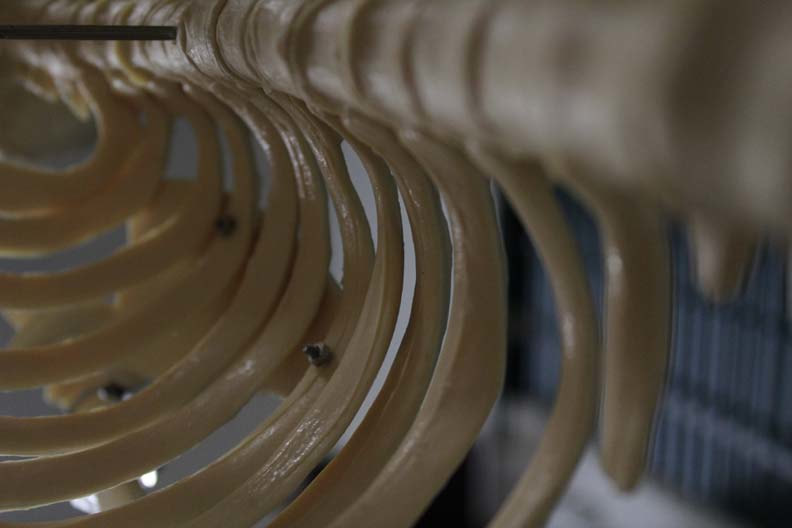
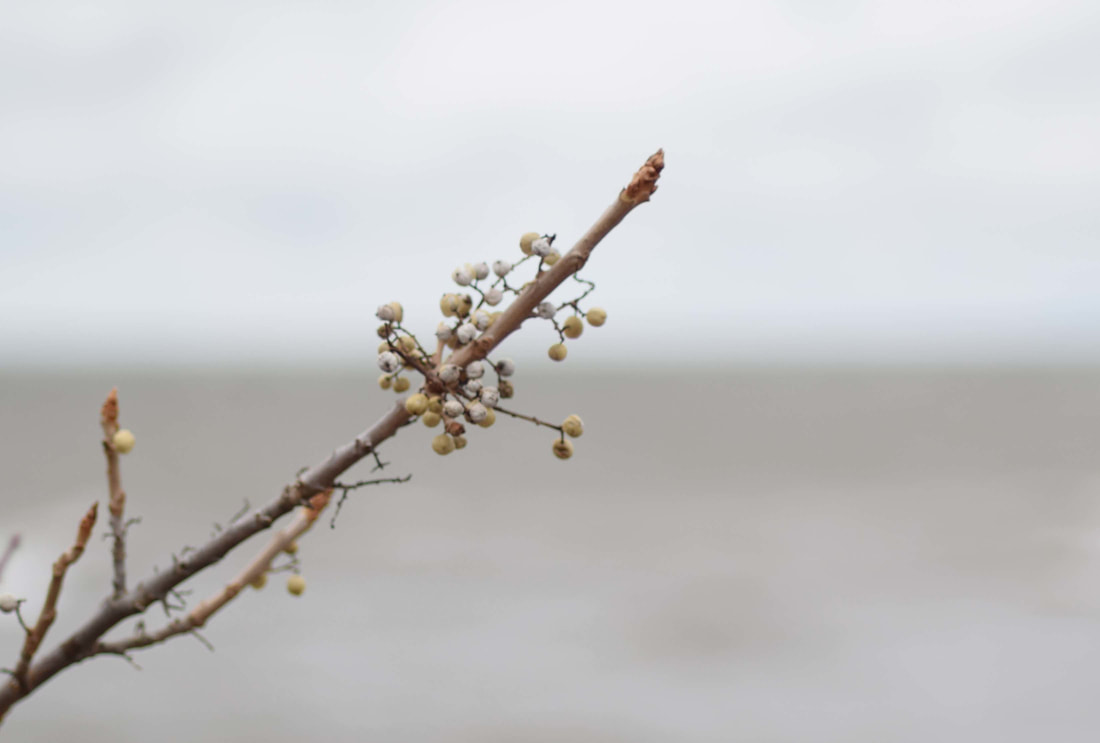
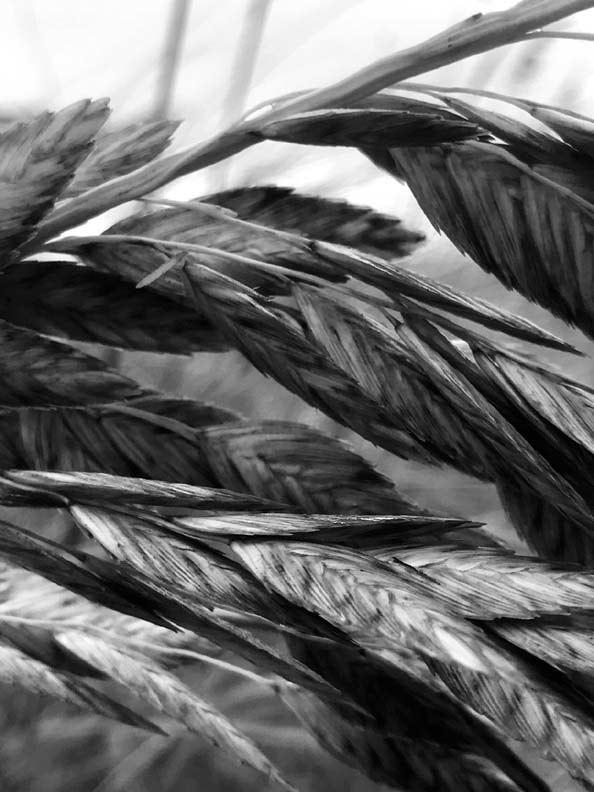
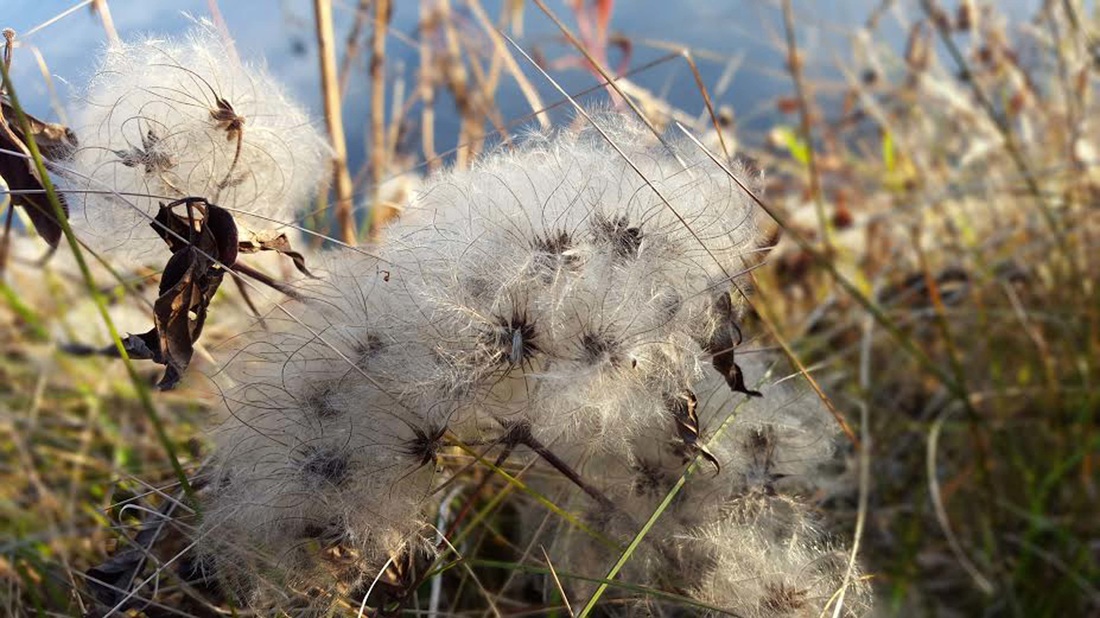
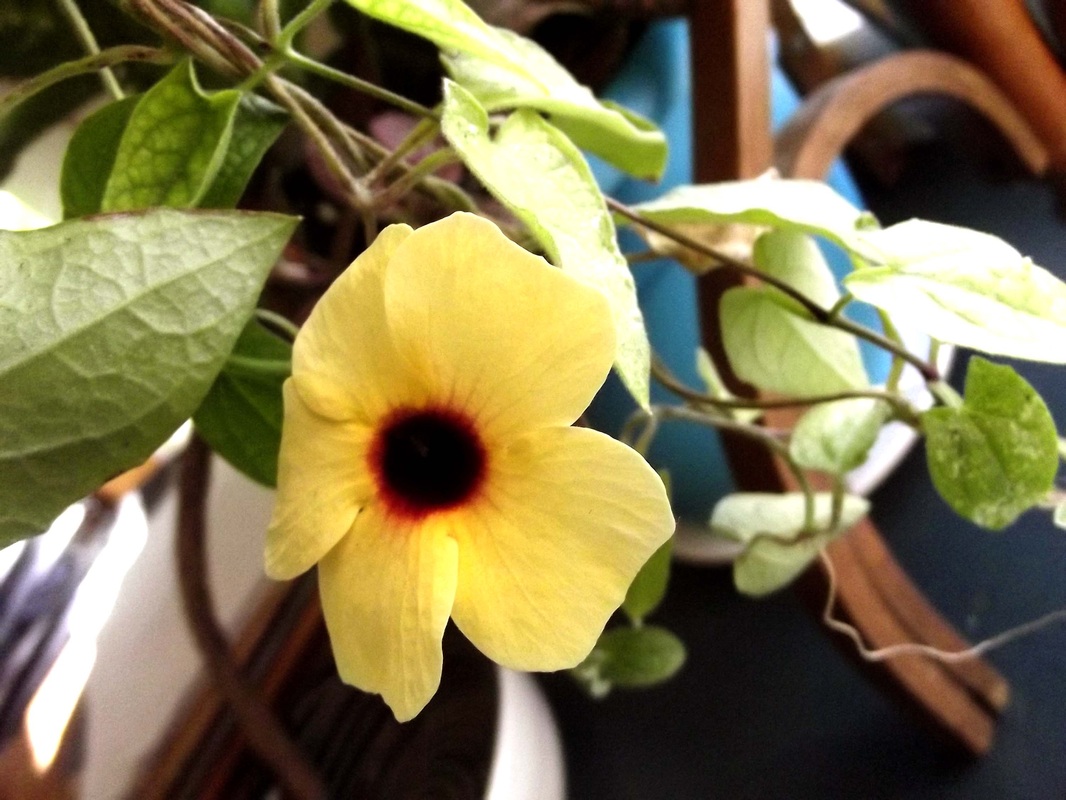
Karle Blossfeldt Inspiration
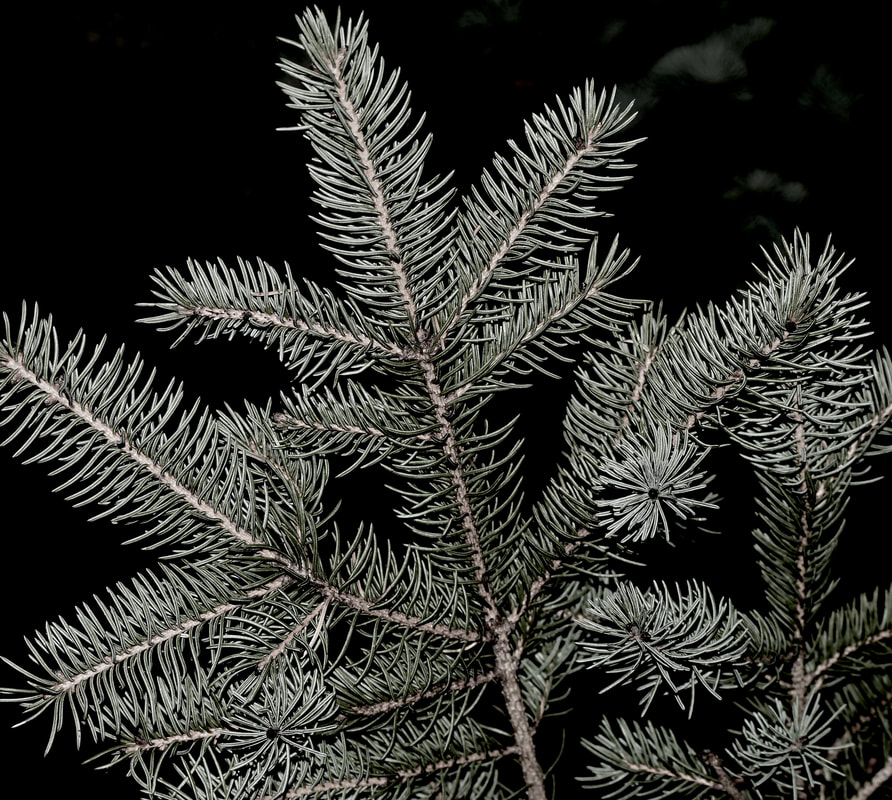
Photo by Finn Kosich
|
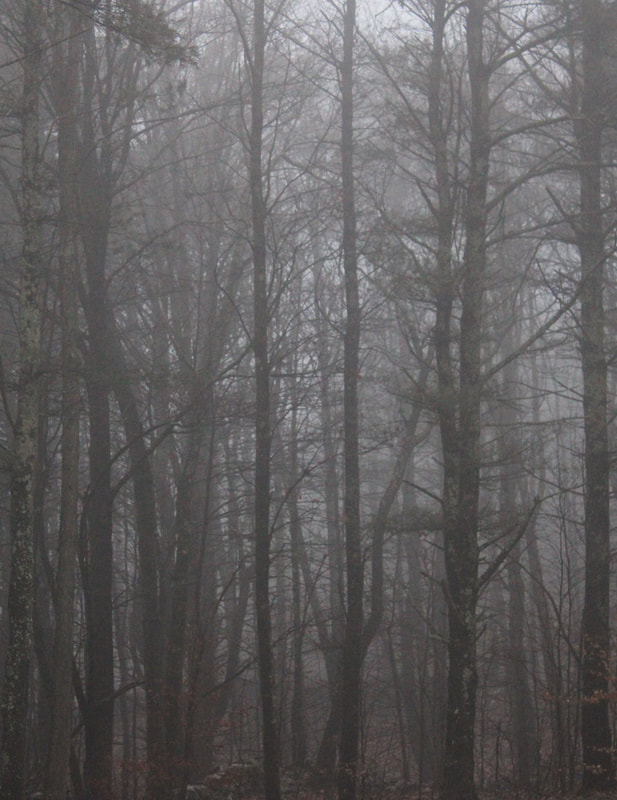
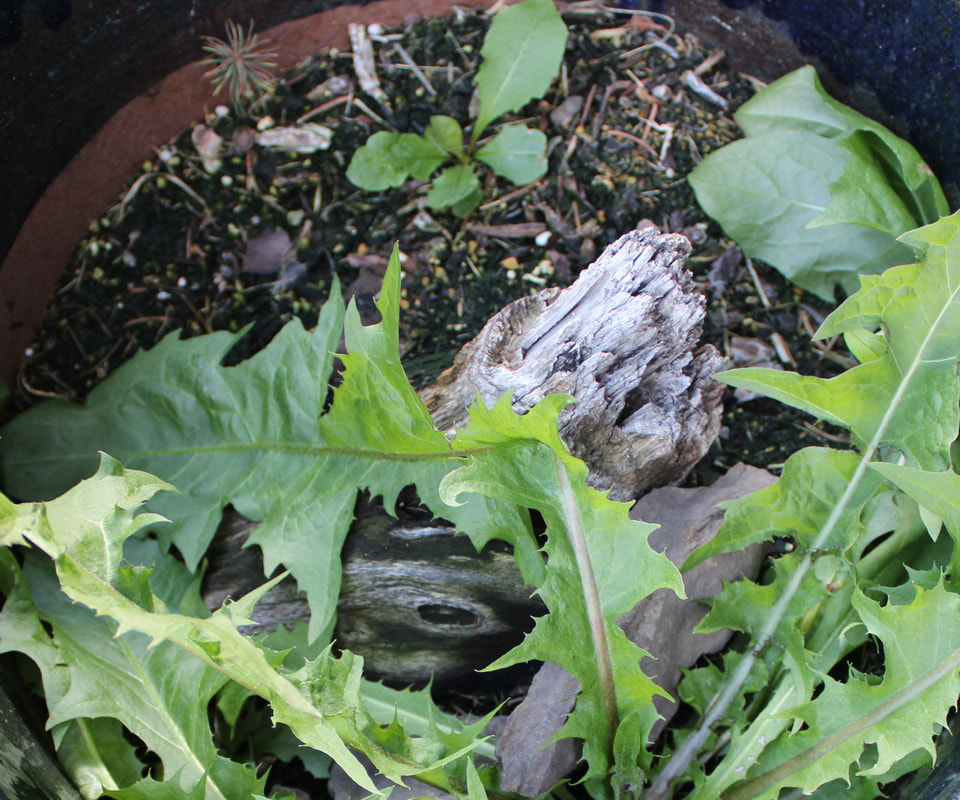
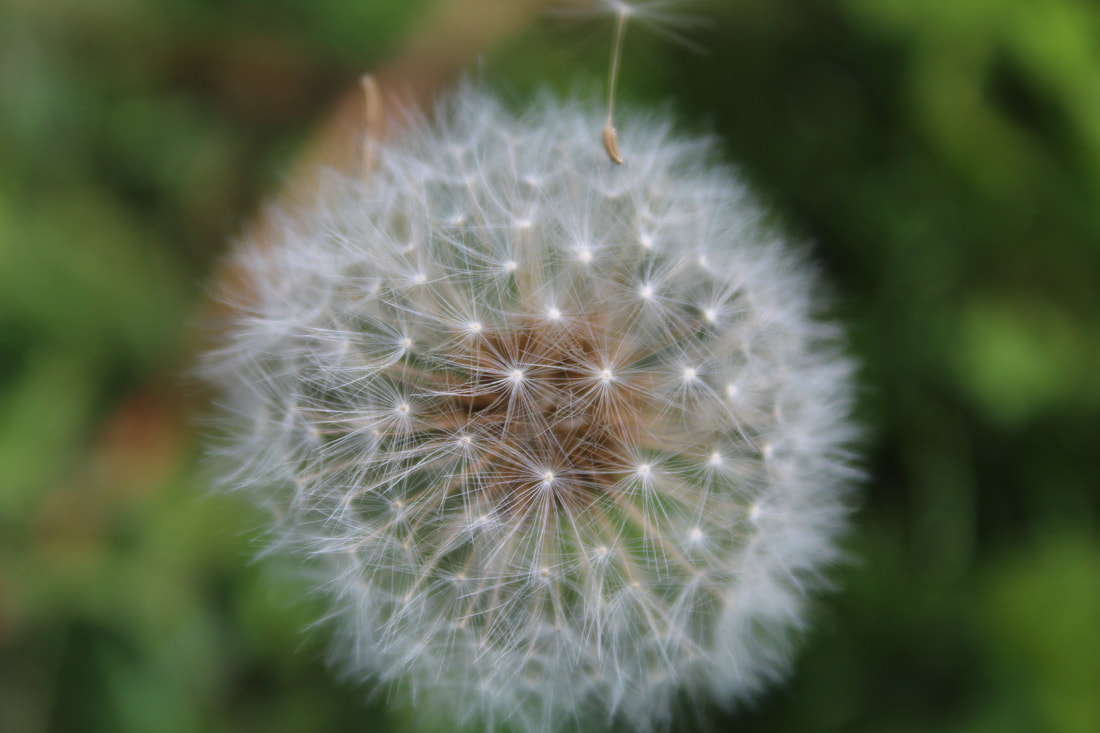
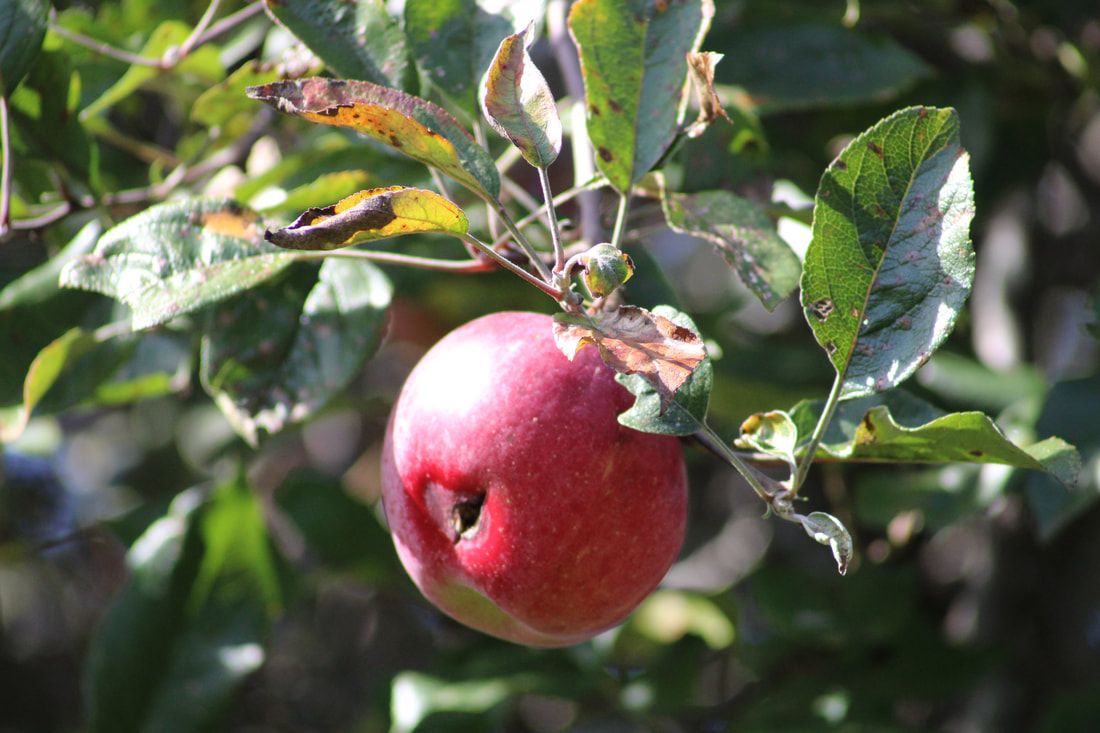
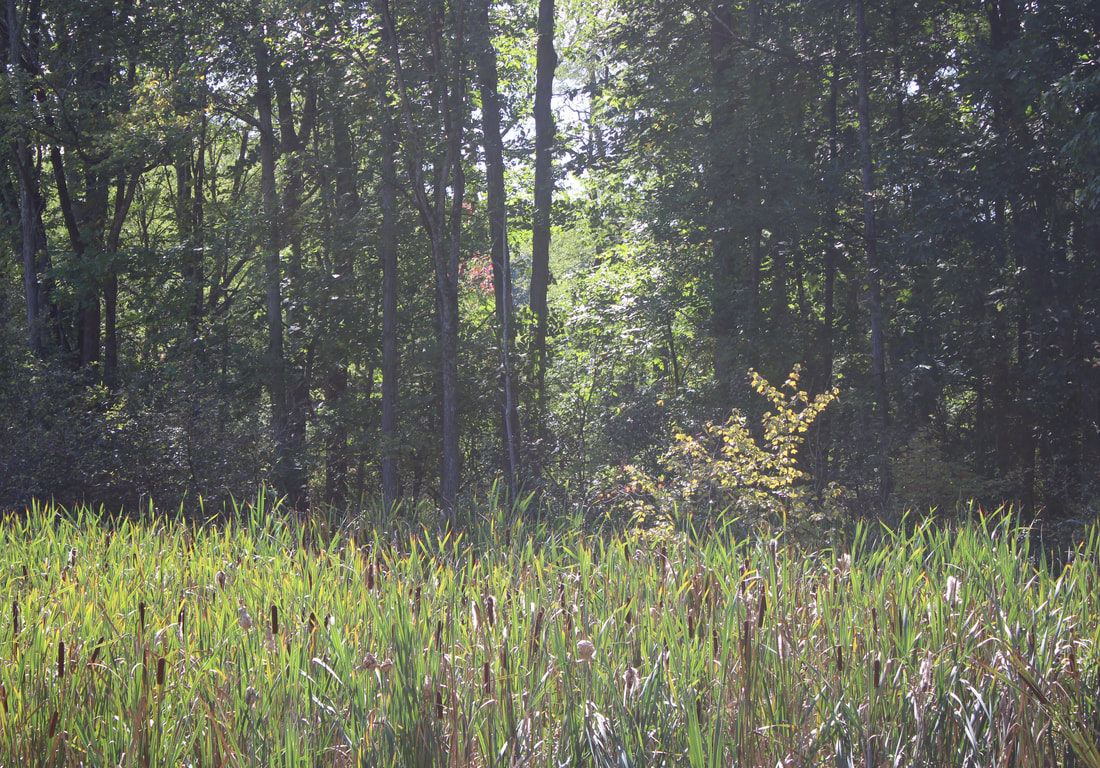
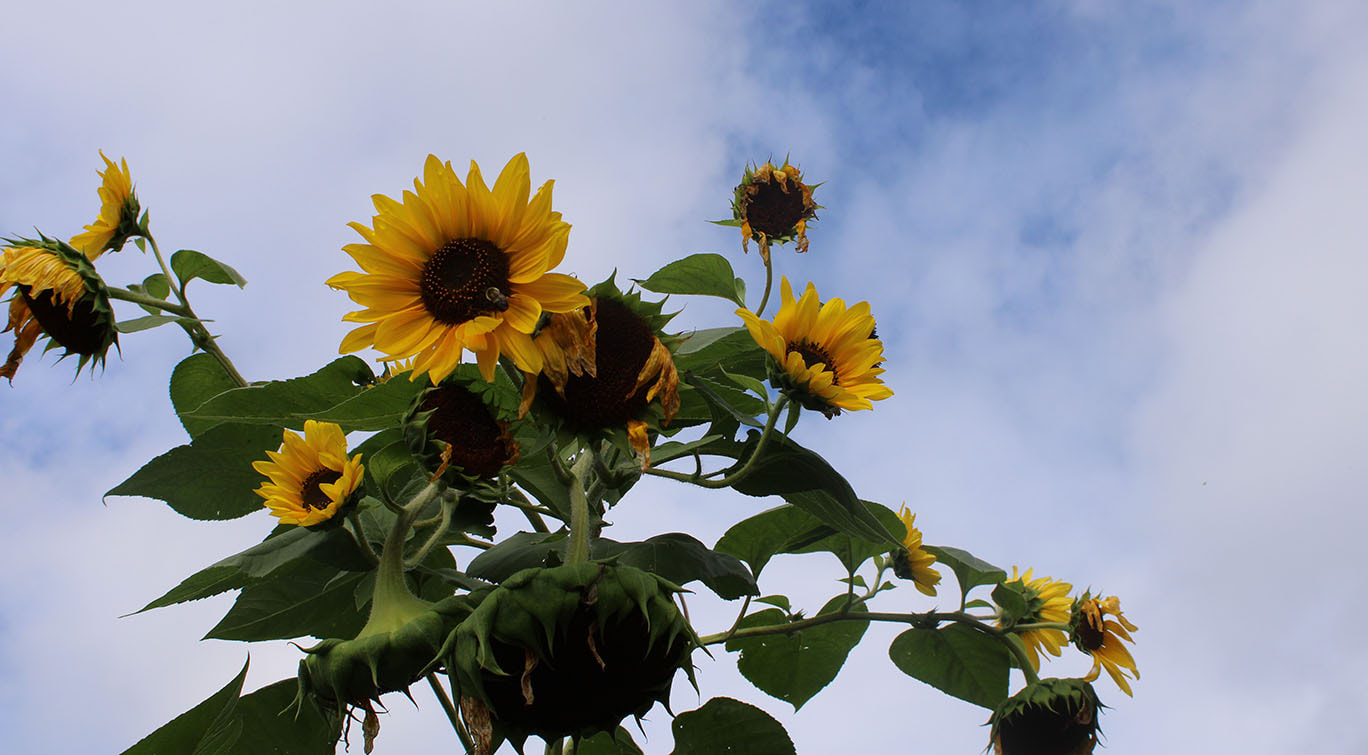
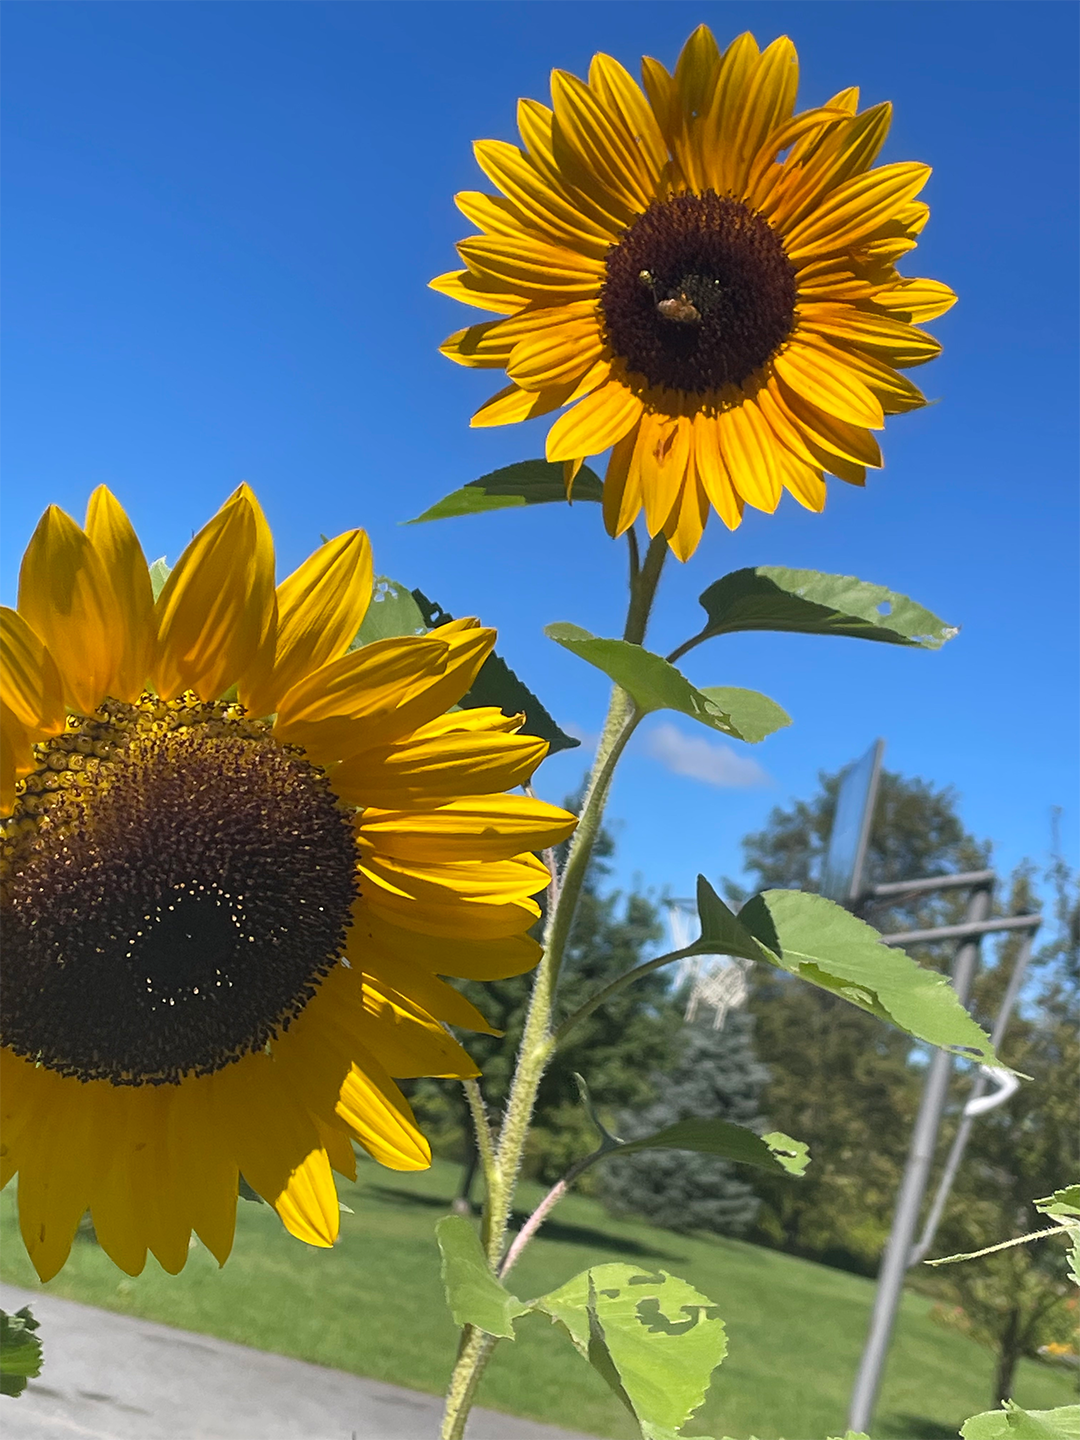
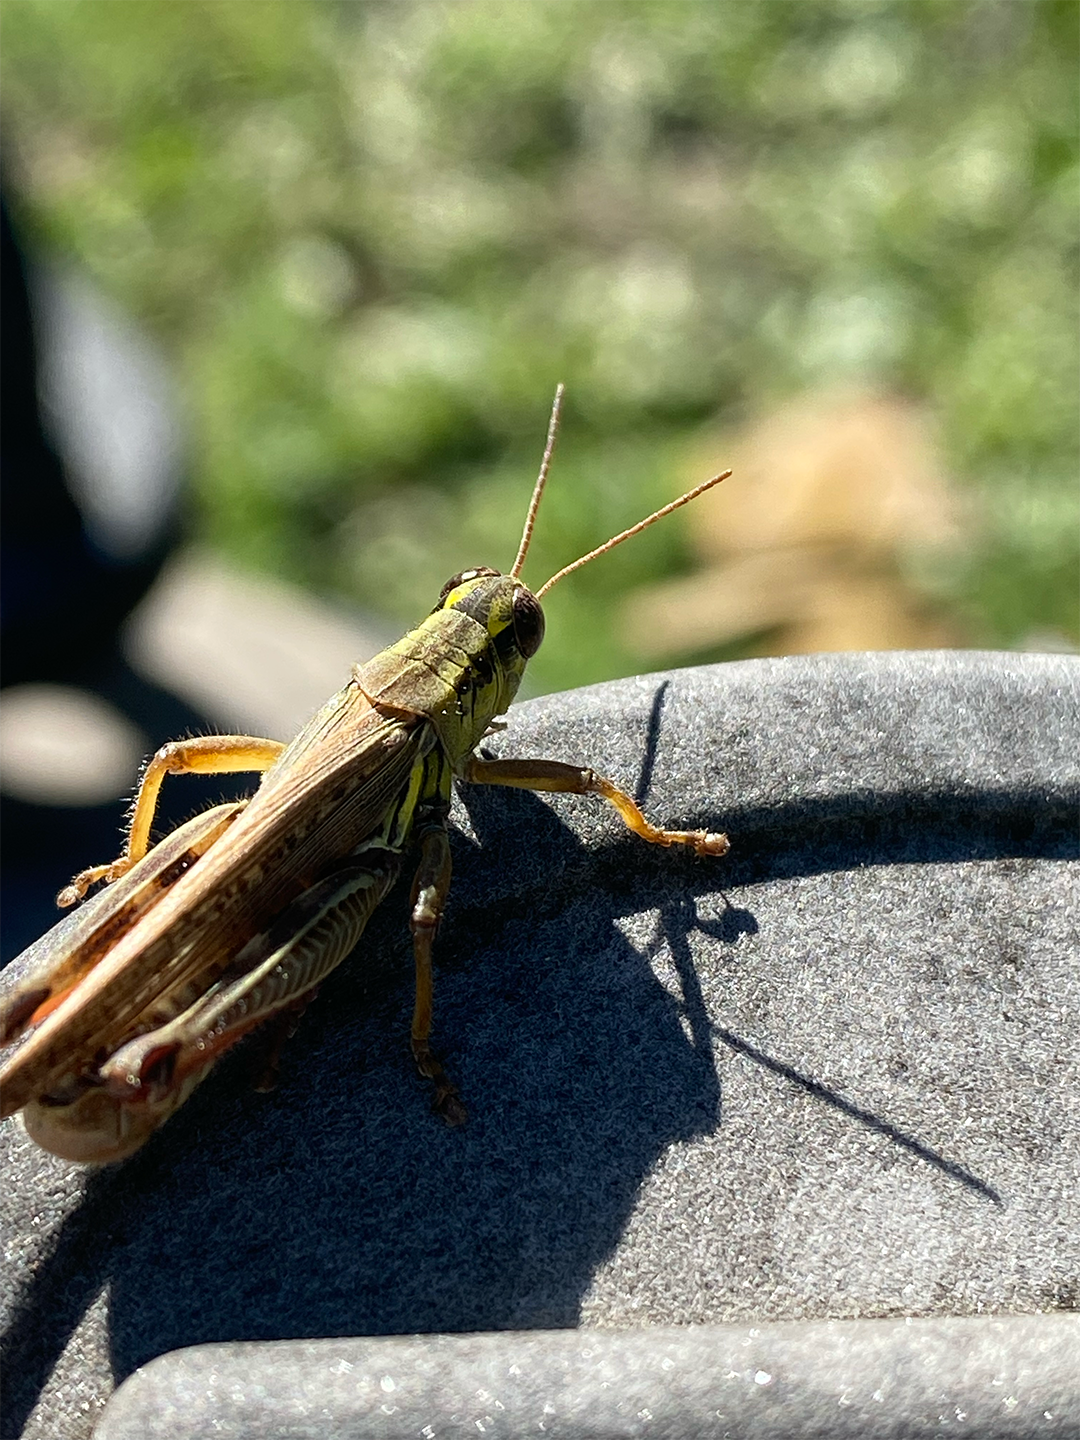
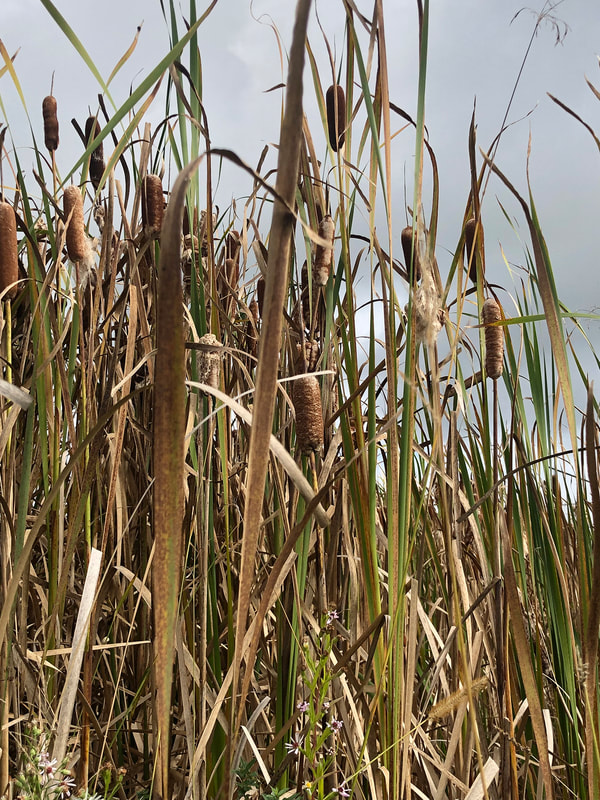
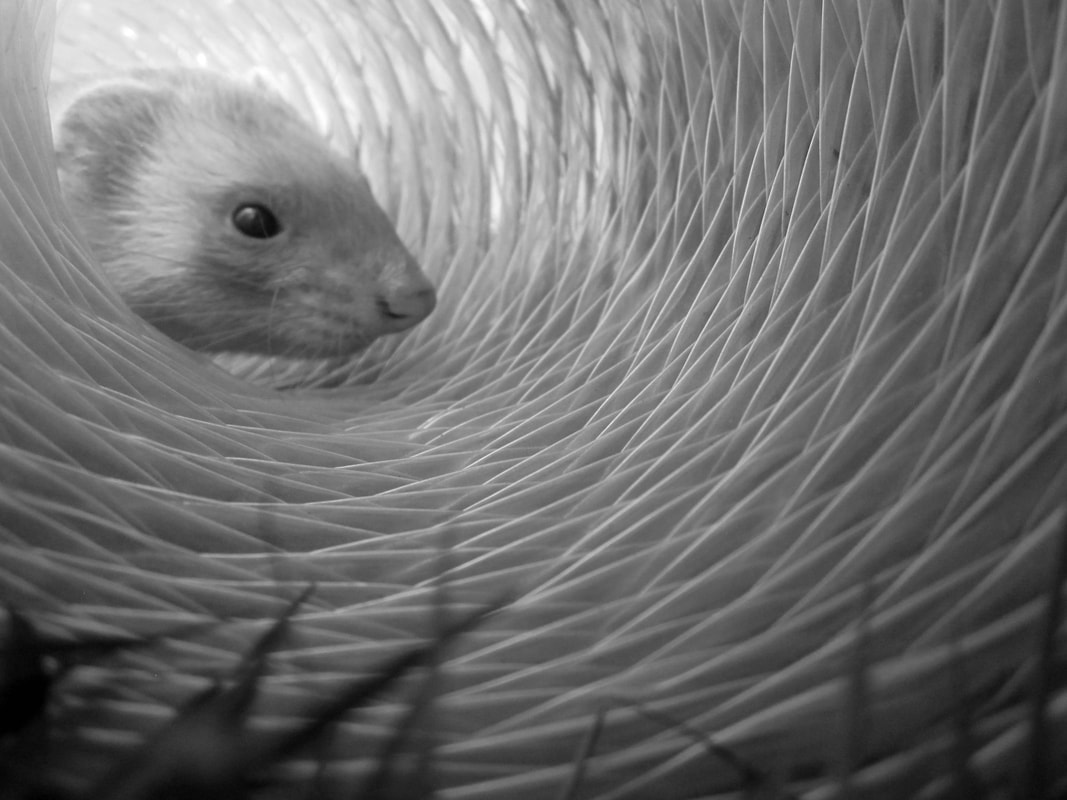
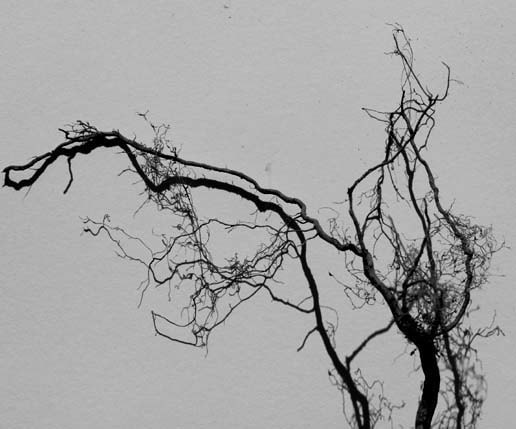
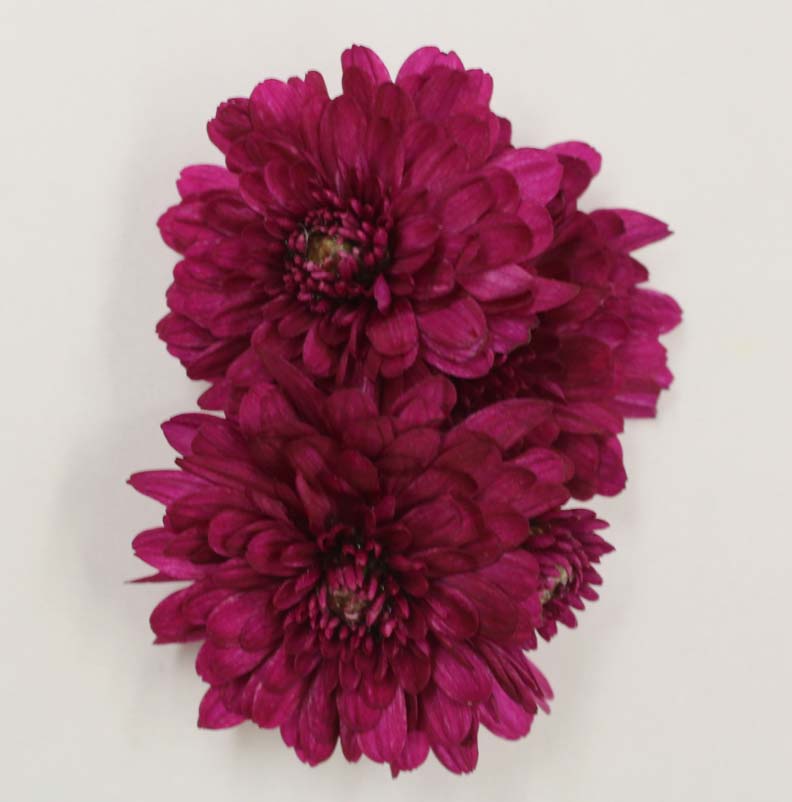
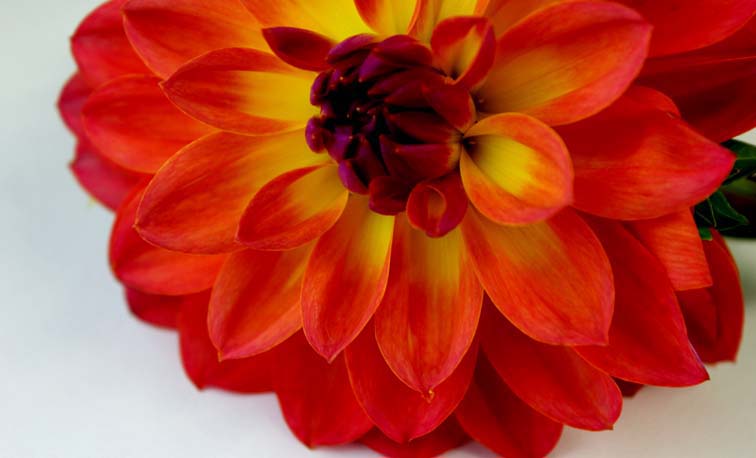
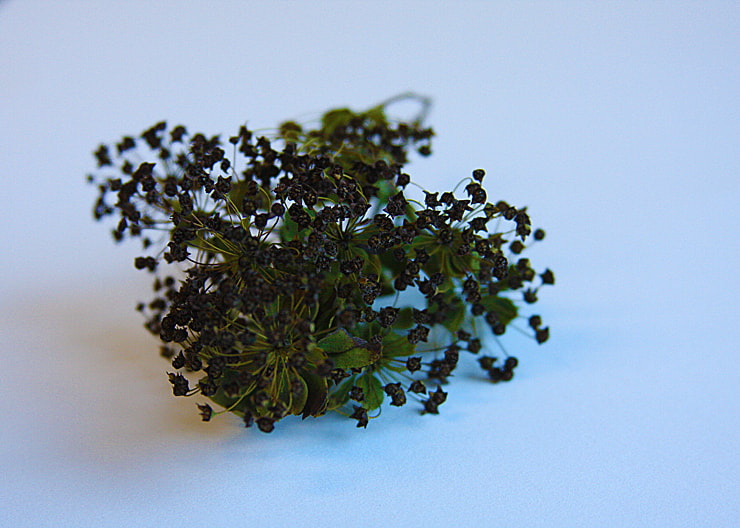
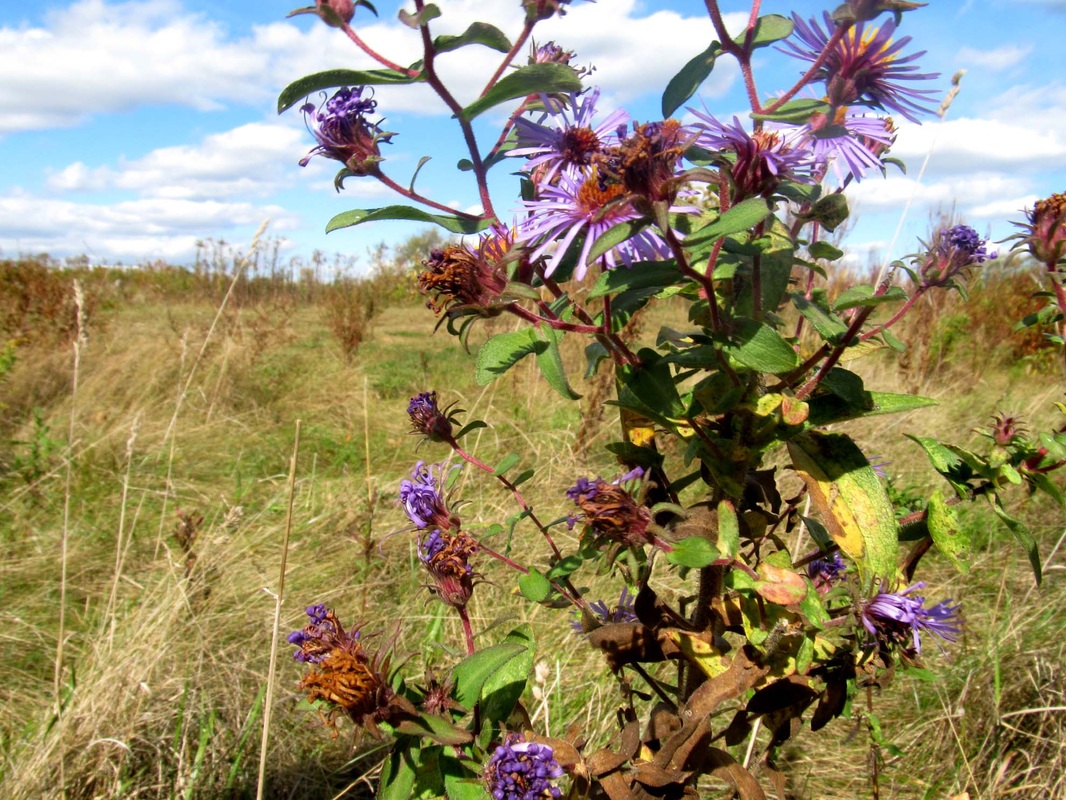
Karle Blossfeldt was self-taught in photography who lived from 1865-1932. He was working with photography when it was a relatively new technology and artform, His work focuses on plant life, his images are so close up and detailed they become abstract. His documentation acted like portraits of plants celebrating their complex structures.
After learning about Blossfeldt the photography class whent exploring outside to find plants that they could create images inspired by Blossfeldt style and aesthetic. This assignment also allowed students to play with the settings on thire cameras, they needed to figure out what would give them the best result for a close up image. |

Compostional Techniques
The first project of the year can take us all out of our comfort zone, this is especially true when you have never used a camera before. As a class, we all look at the cameras and learn what most of the functions do. Then we start to talk about what makes an intresting photo, starting with the basics such as rule of thirds, angle of view and framing. Students then explored the world they live in through the camera lens looking for interesting examples of these compositional techniques to create works of art.
2019-2020...
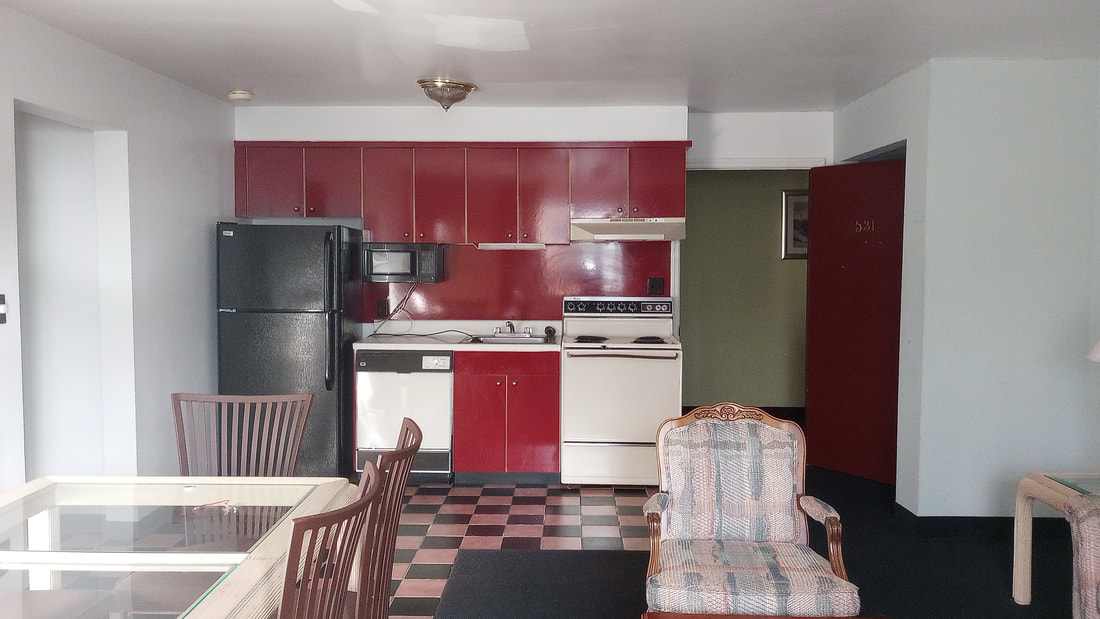
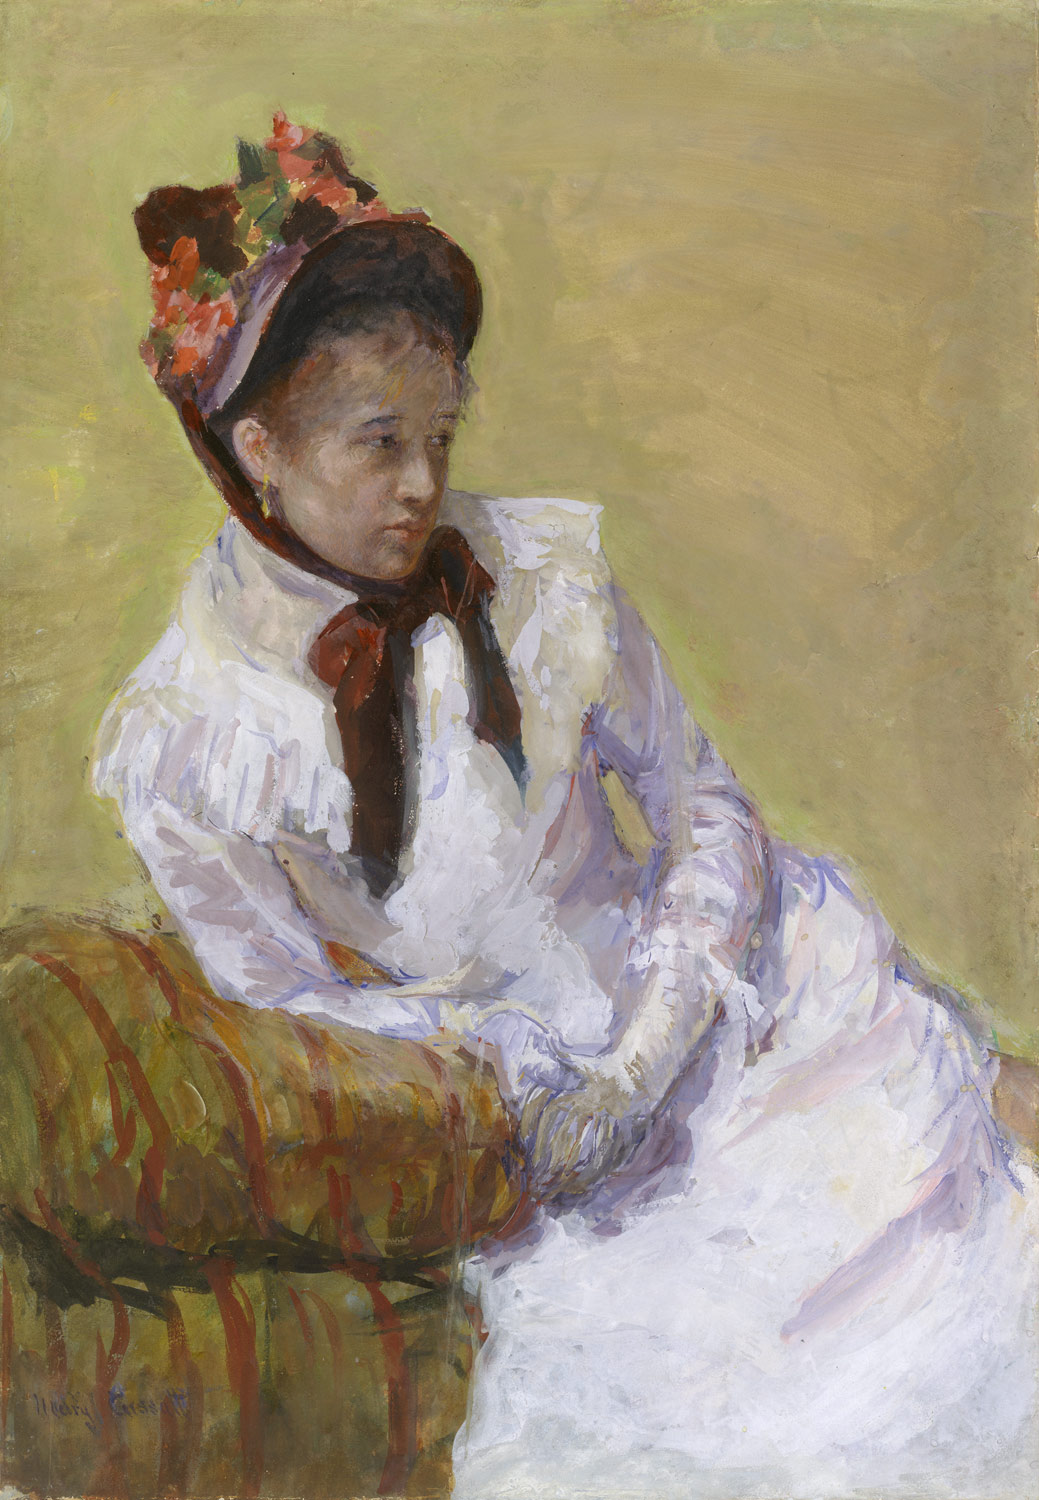
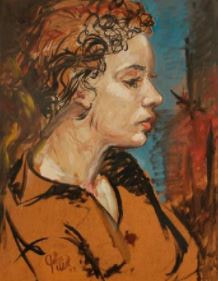
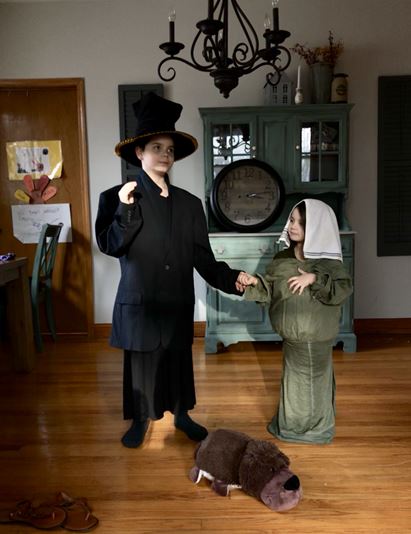
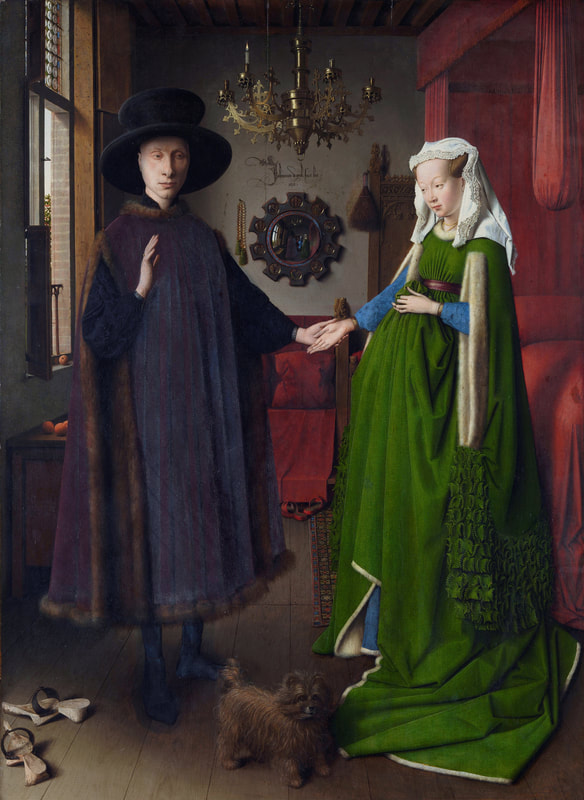
Reimagining the Master Works of Art
|
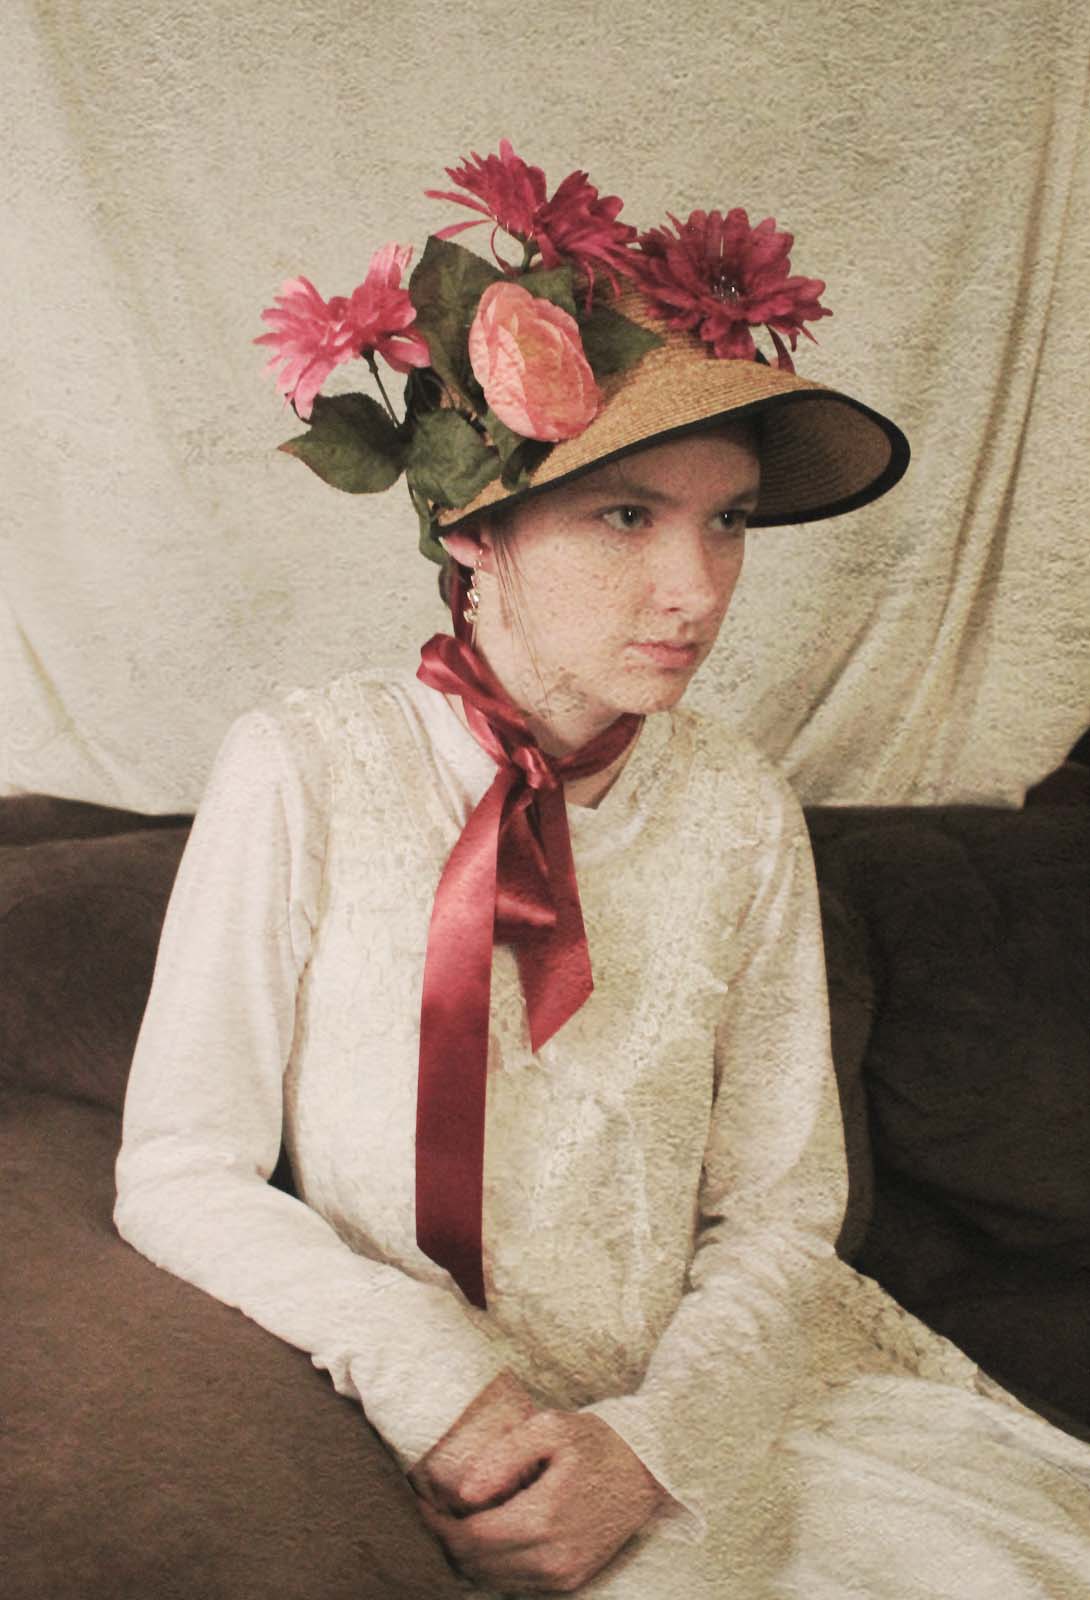
Self Portrait by Mary Cassatt
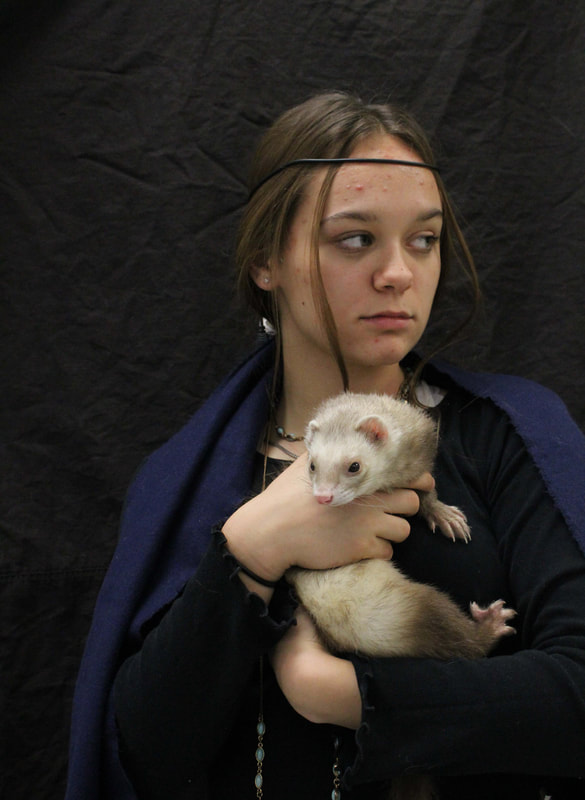
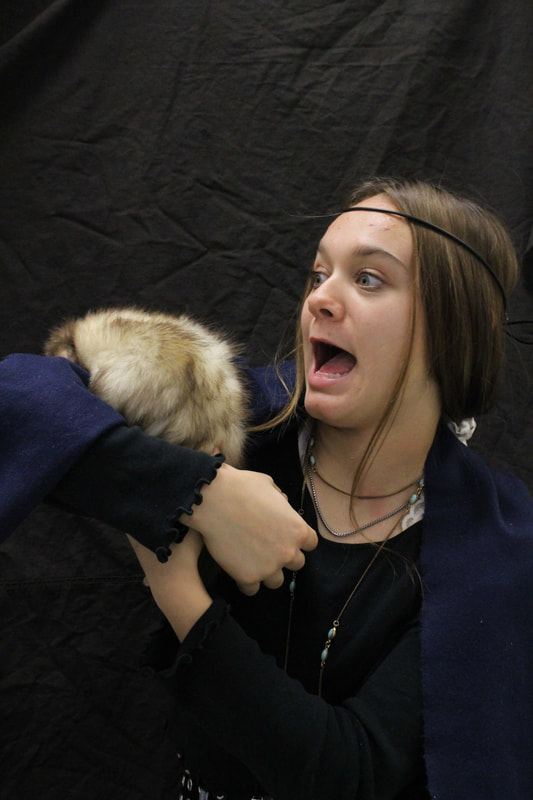
Recrated by Caitlin Connors Lady with an Ermine by Leonardo De Vinci
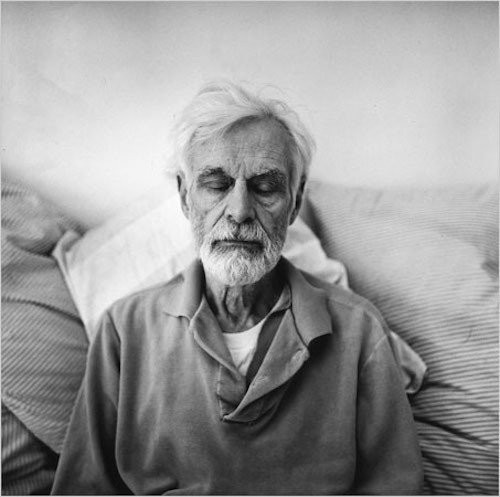
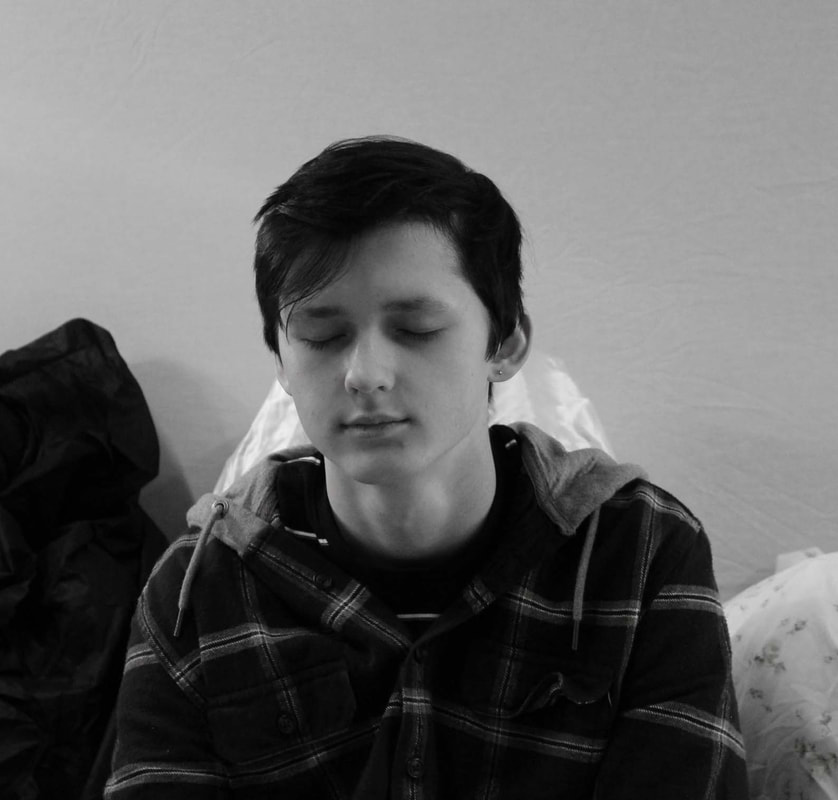
Recrated by Josie O’Hare Edwin Denby by Peter Hujar
Recrated by Colby Klob |
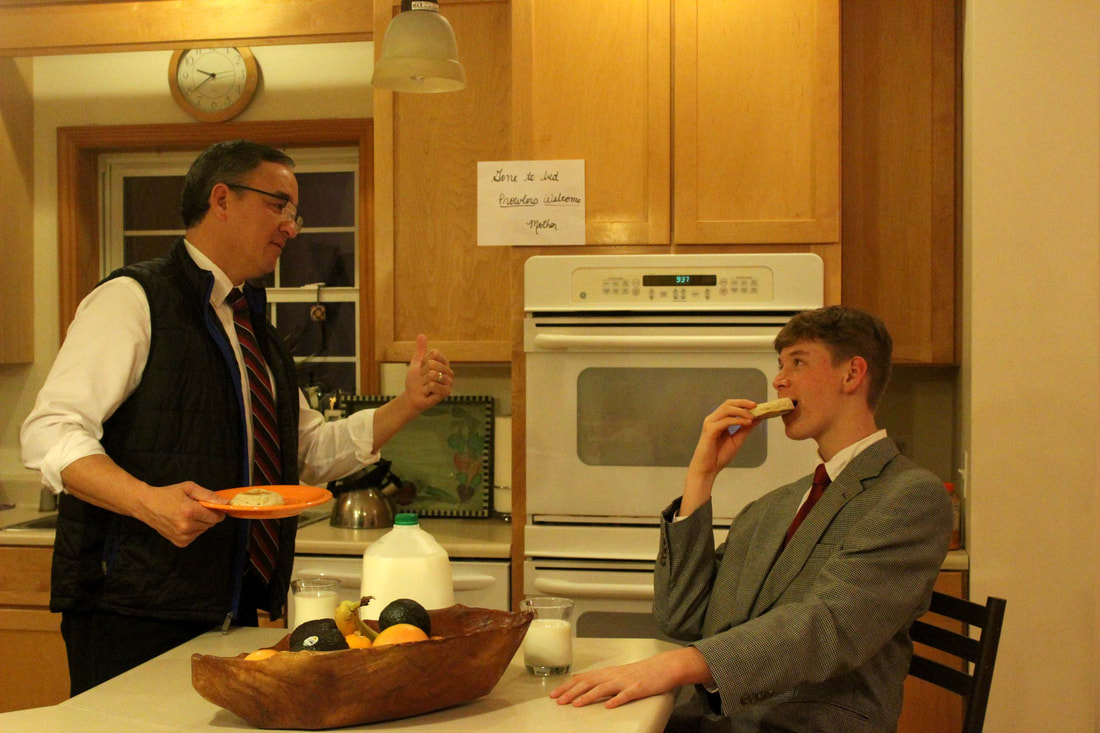
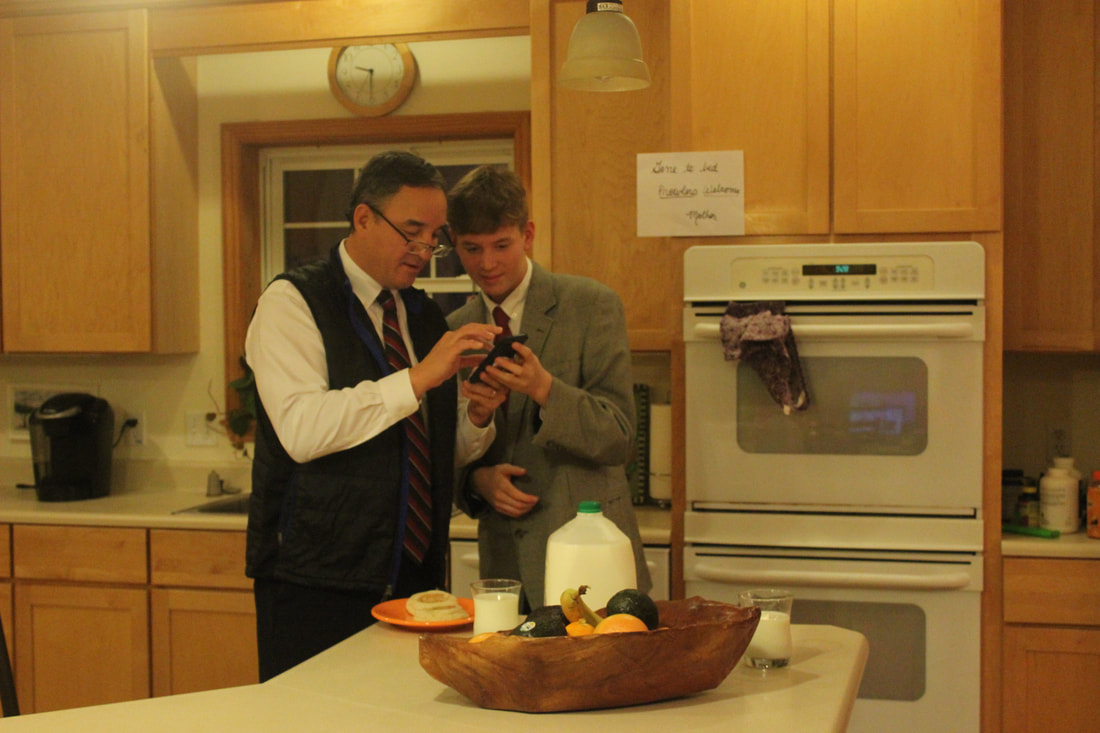
Each student found a work of art from any time period, by any artist, and in any medium that they found interesting. Once they selected a work of art, they learned that they would have to recreate it in a photo. This is always a bit shocking and students try to change their image to something else they feel is "easier". They are disappointed instantly to hear that they cannot change the image but they become excited when they begin to plan how they can recreate the image.
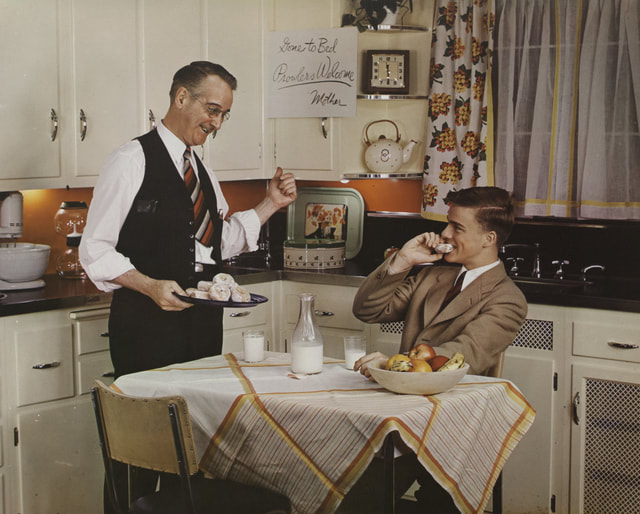
The process of the project pushes students to think creatively and work together to problem solve. Often they take a photo and then compare it to the original work of art and see what they need to do to impove. The final results are always rewarding. Students also complete a research presentation on their artist and artwork. Sharing what they learned with their classmates and showing off their creative interpretations of the original image. Father and Son in Kitchen by Paul Outerbridge
Recated by Trey Smith |

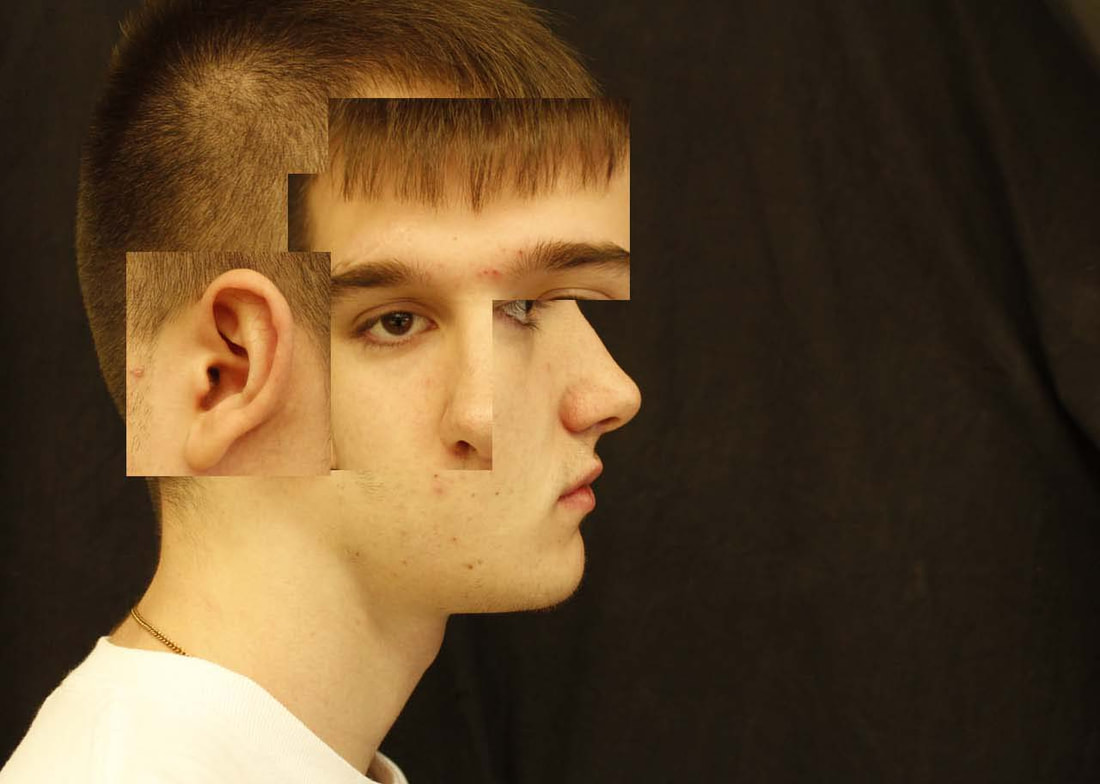
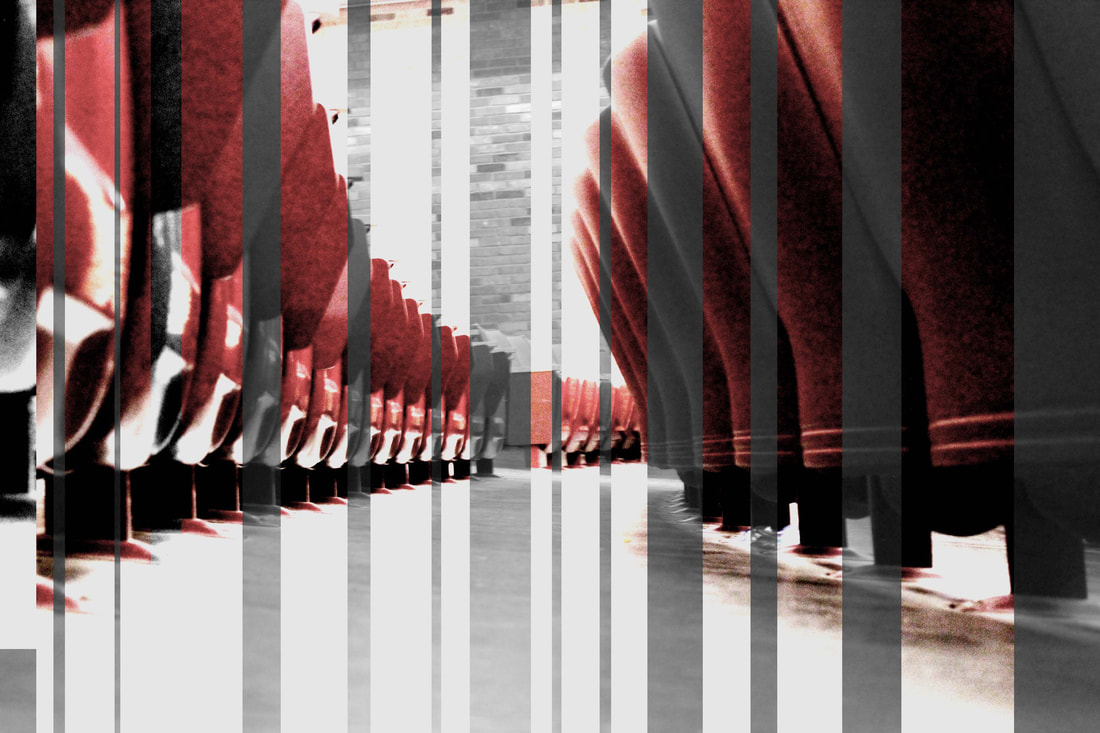
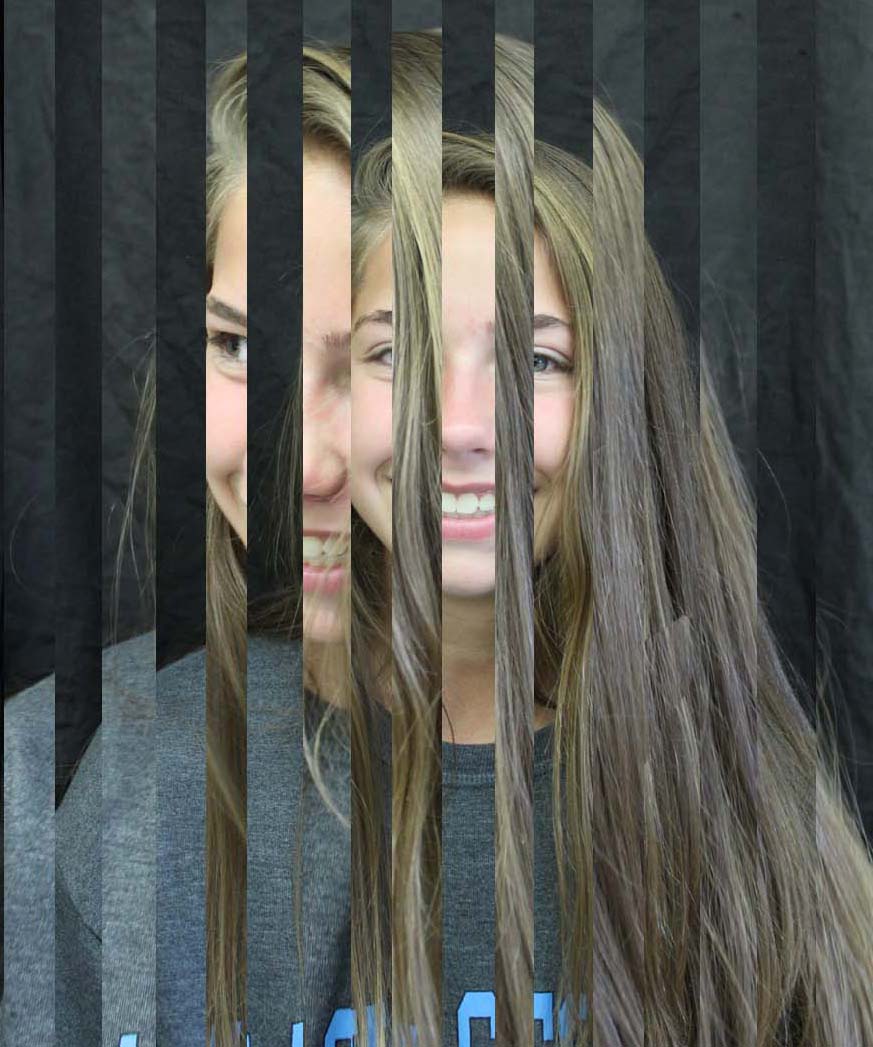
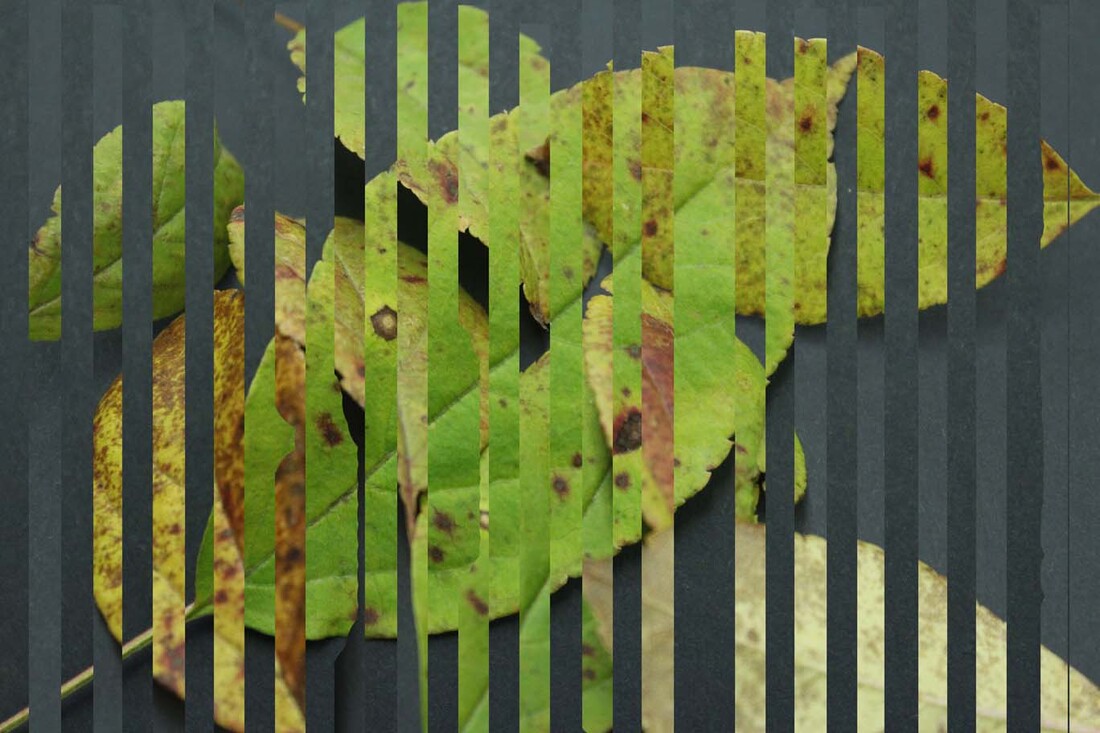
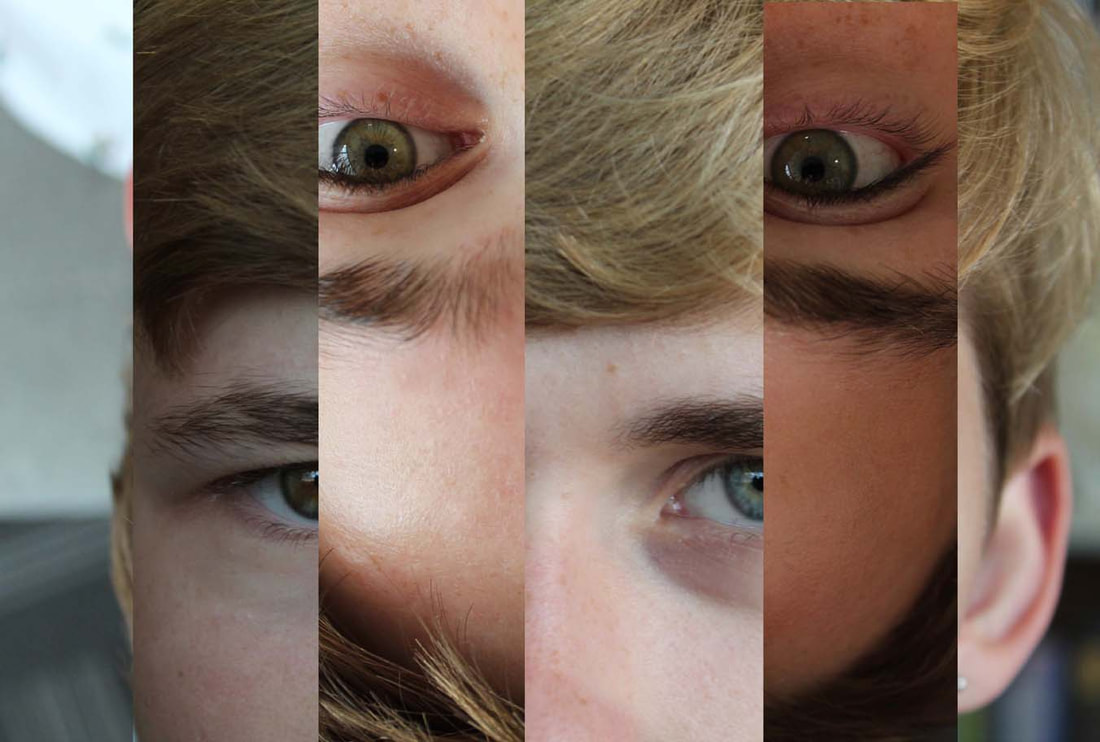
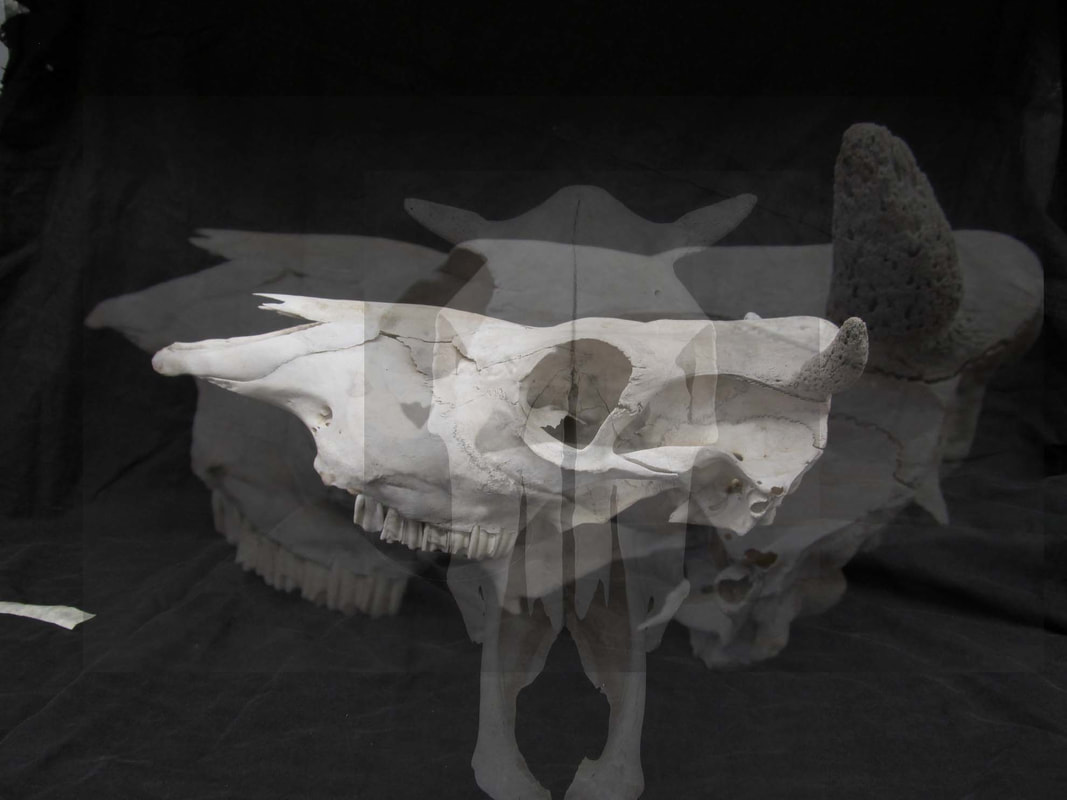
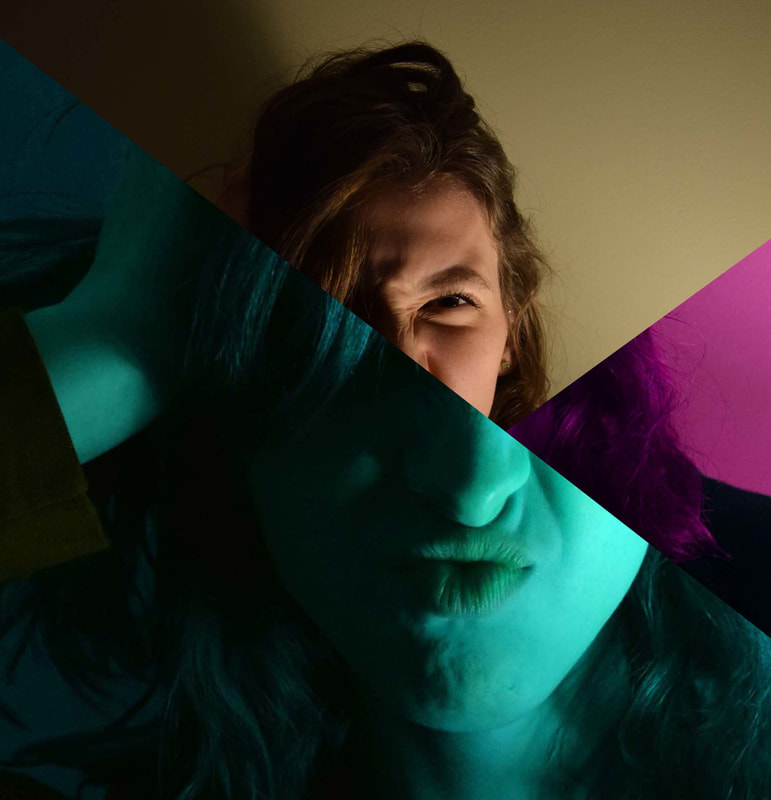
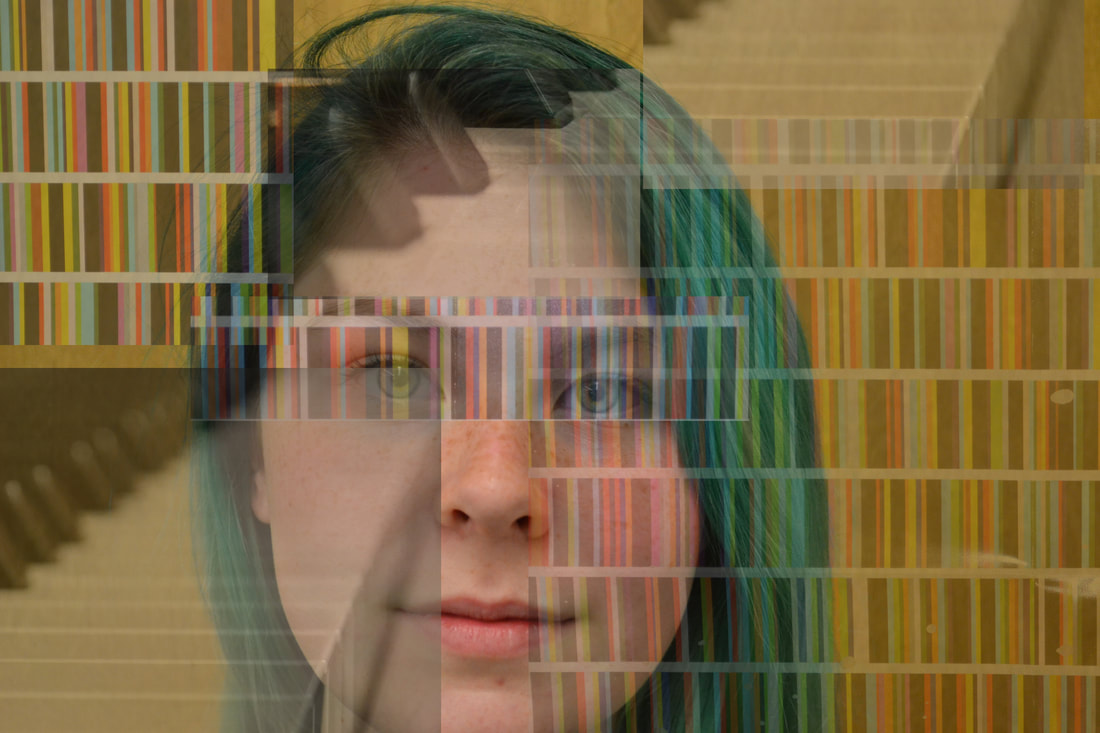
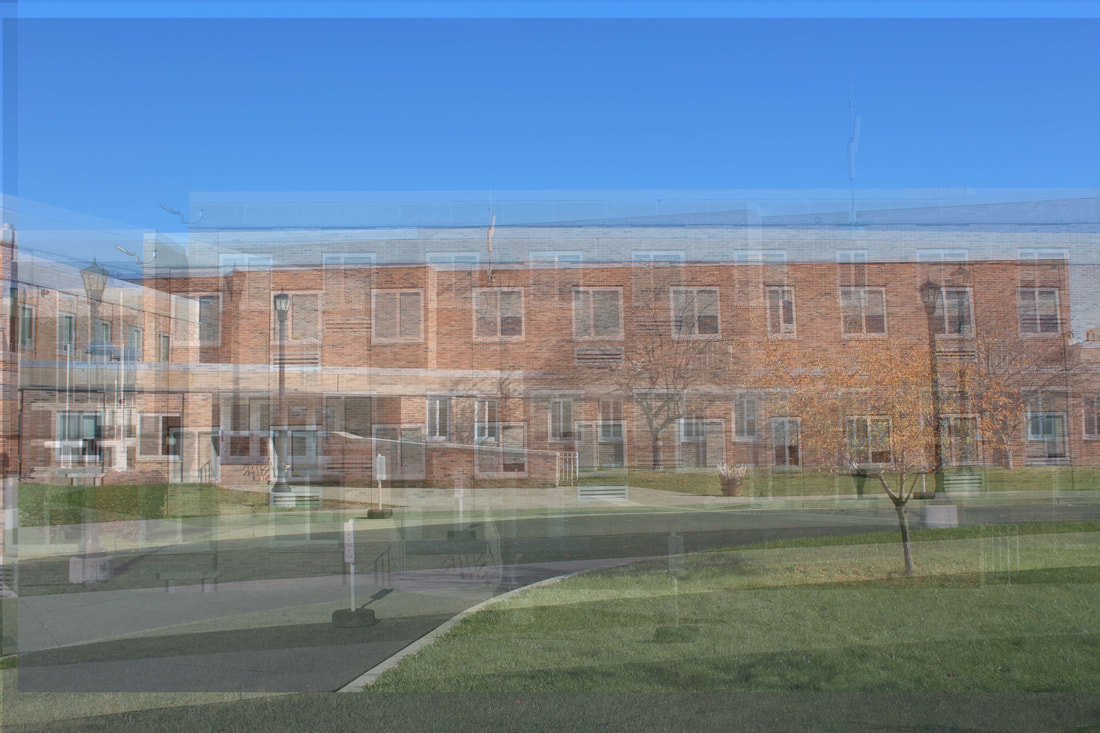
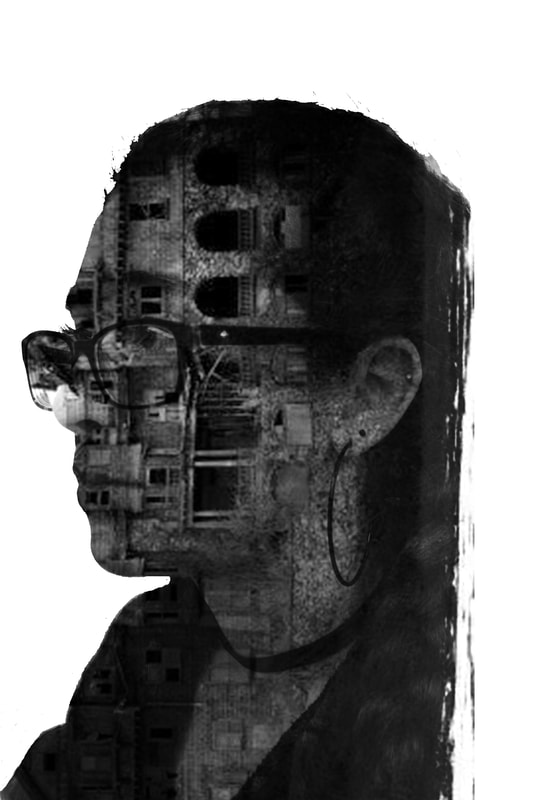
Muti Layer Photo
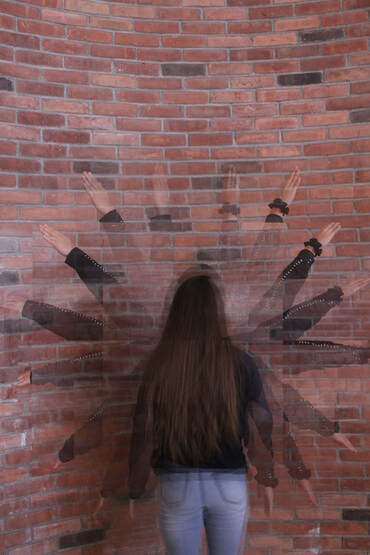
By Josi O'Hare
|
Once students started to get the hang of the camera settings, how to make an interesting composition and the basics of photoshop, they were ready to get creative. With the multi-layer project, students needed to create three different images. Each image needed to be made up of three different photos. Using photoshop, students needed to select portions of each photo to layer together and create unique images. Take a close look and see if you can see each of the different photos the students have selected.
|


The Clark Art Museum
|
|
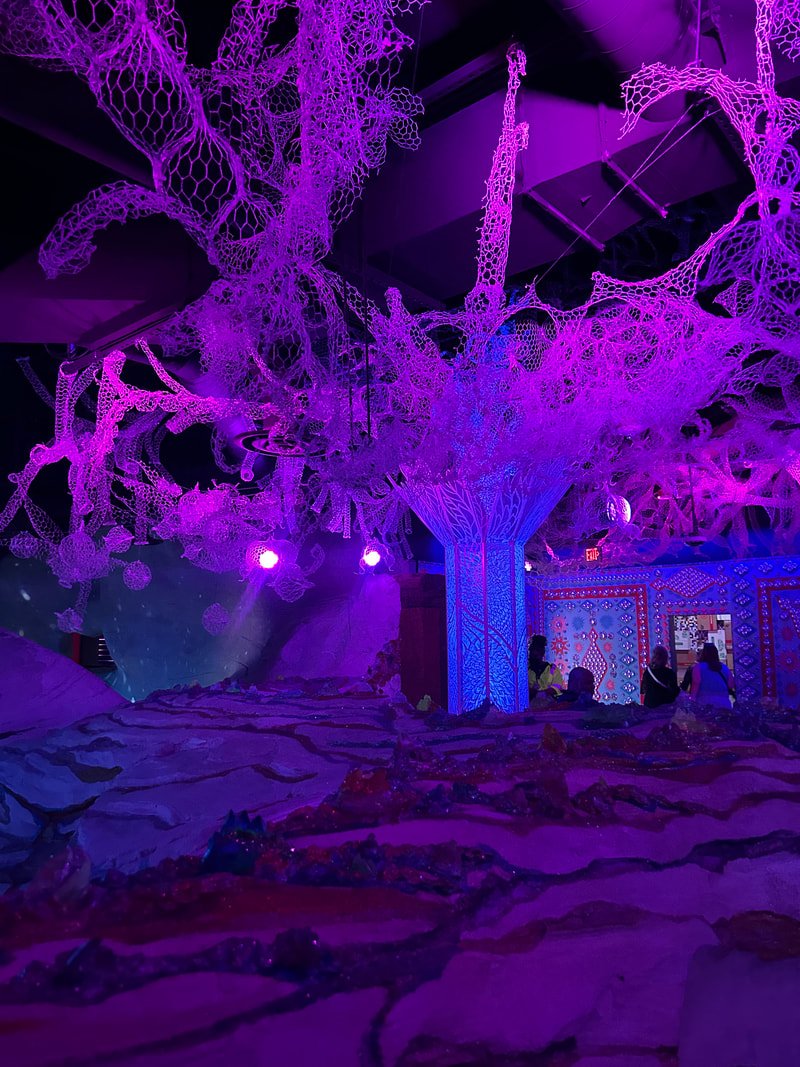
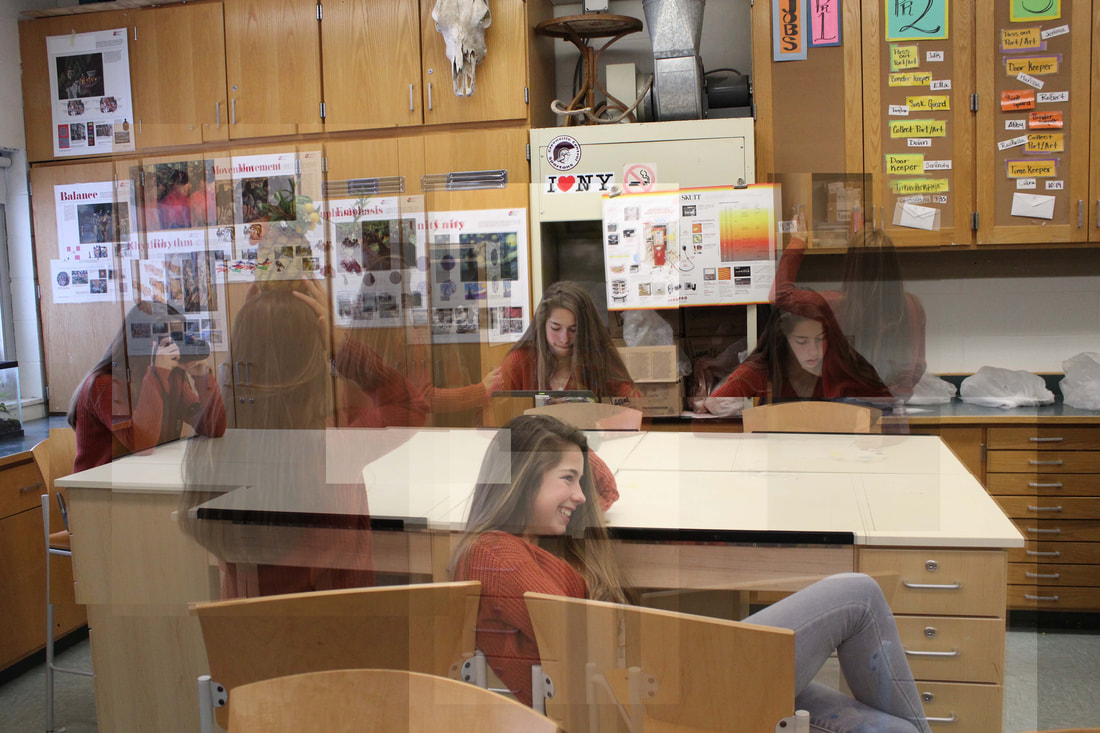
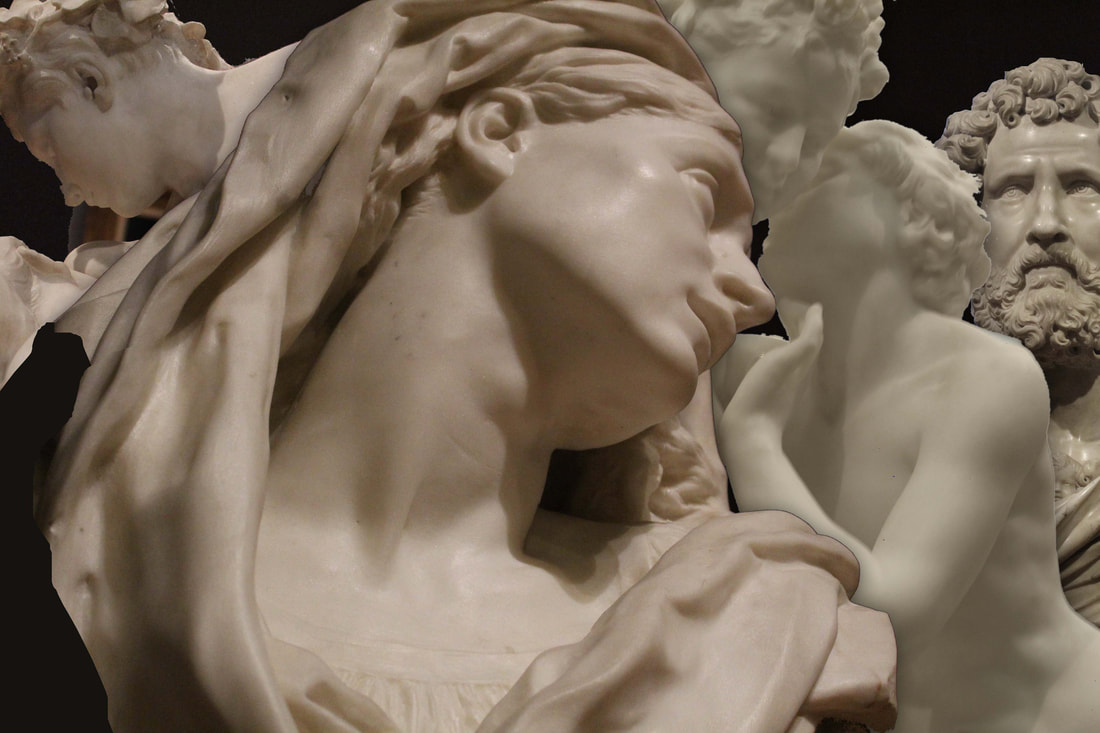
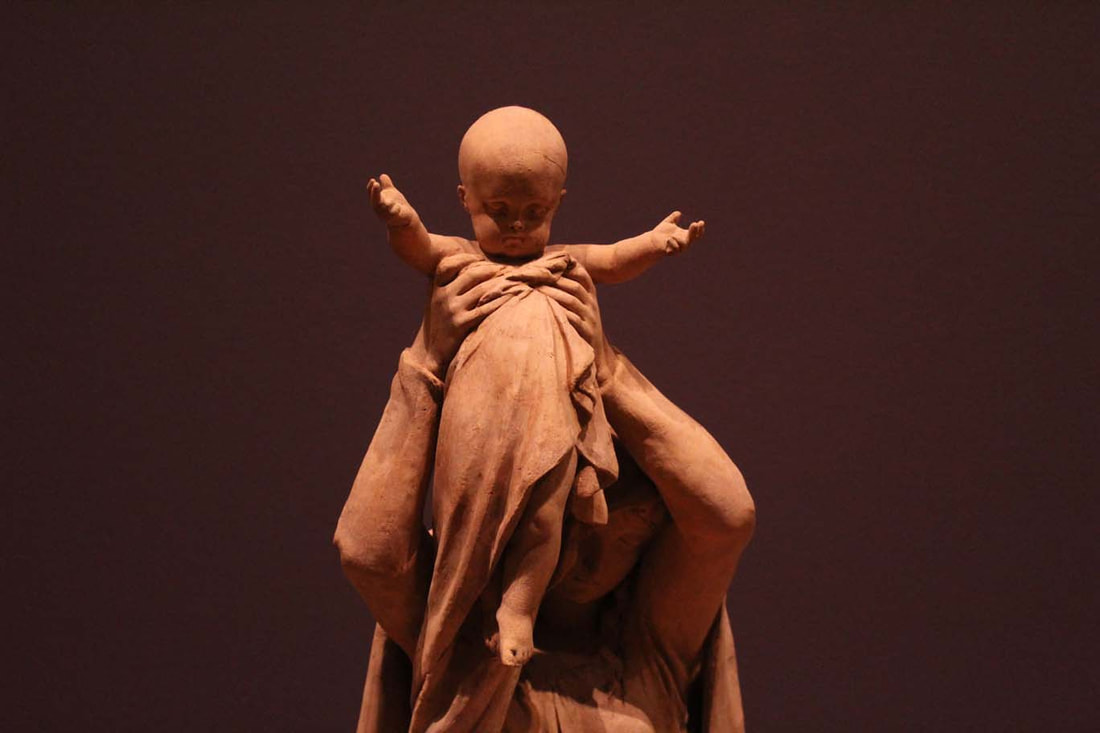
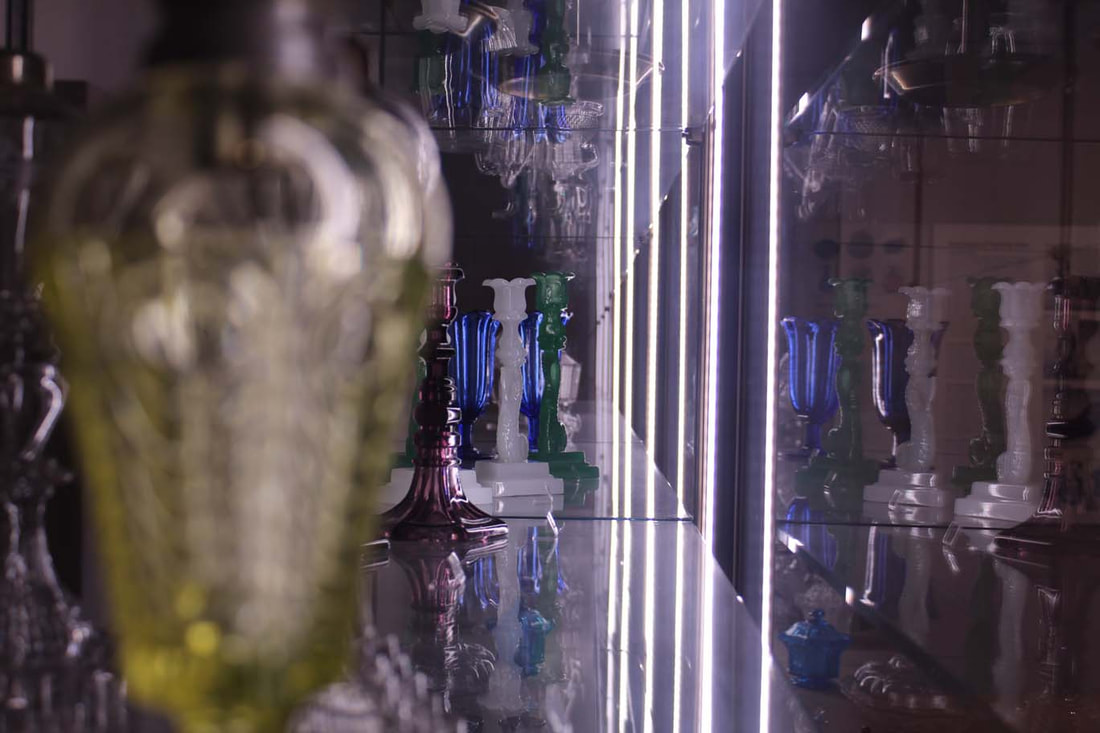
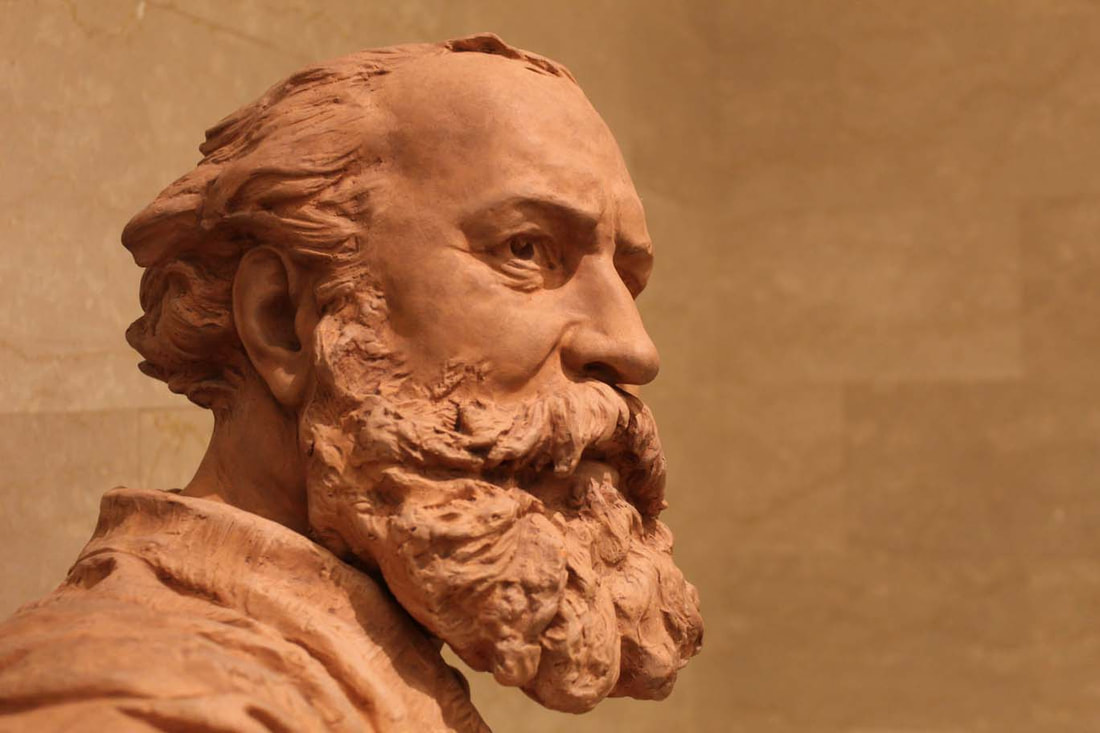
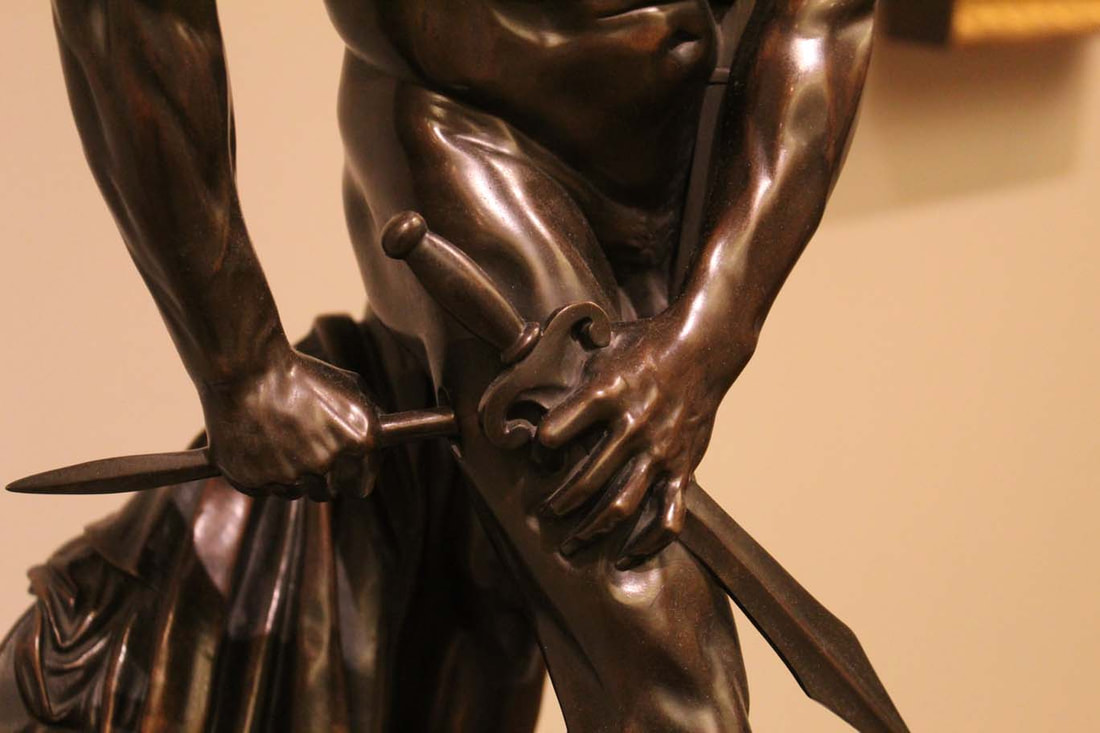
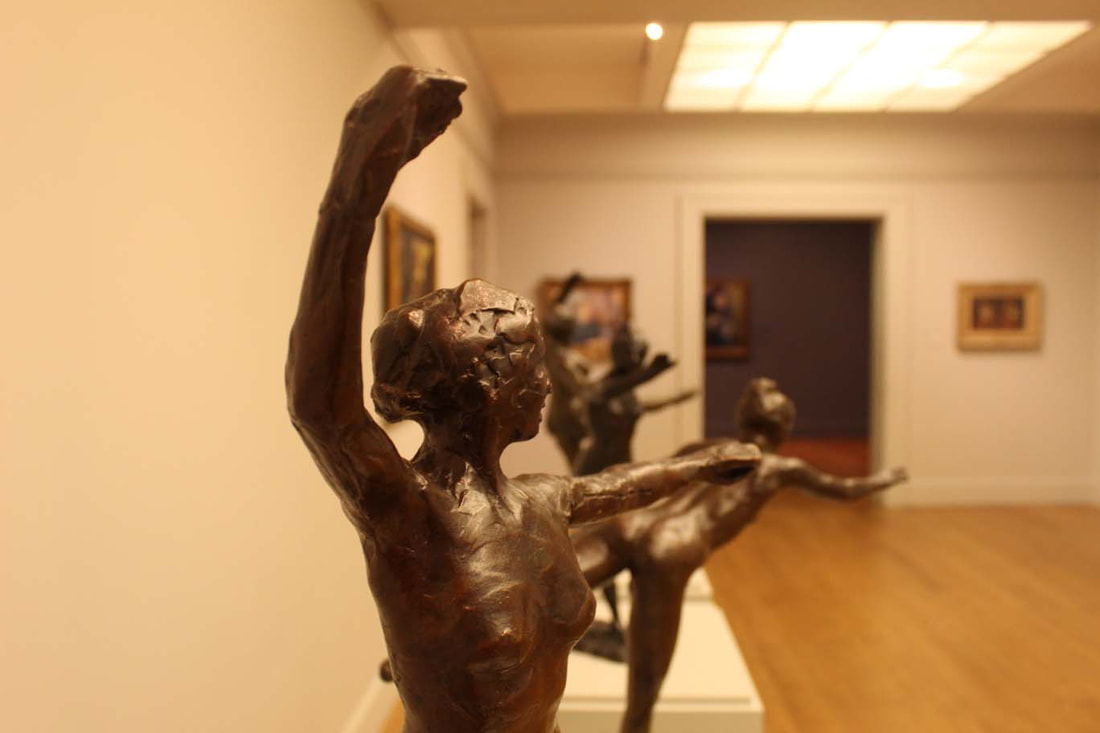
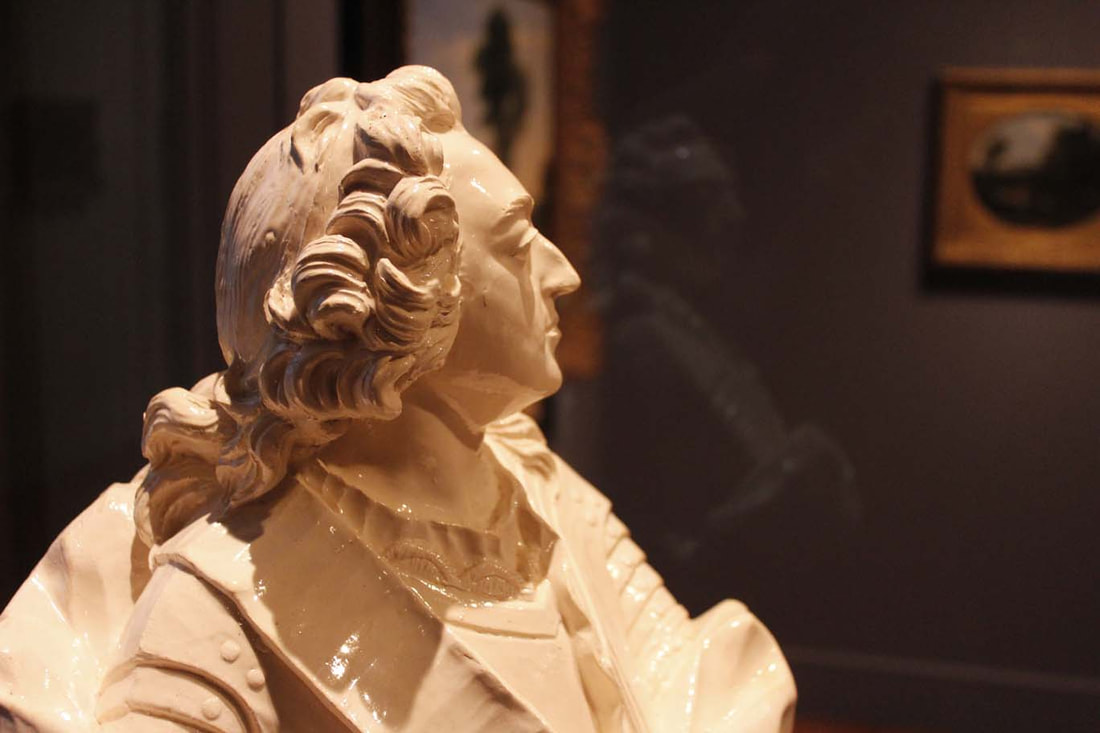
The Greenville art students traveled to Massachusetts to visit the Clark Art Institute to study and experience art in real life. The group began their visit with a tour led by the Clark's docent. The docent focused on a variety of works from different time periods. The students then had an opportunity to explore the gallery on their own and find artworks that they found inspirational. They had a great time and gained a greater appreciation for art.
The photo class was tasked with finding interesting spaces, works of art and details in the museum and capturing them on camera. Chek out what they found. |


Slice and Dice Photo
Once students started to get the hang of the camera settings, how to make an interesting compostion and the basics of photoshop, they were ready to get creative. With the multi-layer project, students needed to create three different images. Each image needed to be made up of three different photos. Using photoshop, students needed to select portions of each photo to layer together and create unique images. Take a close look and see if you can see each of the different photos the students have selected.

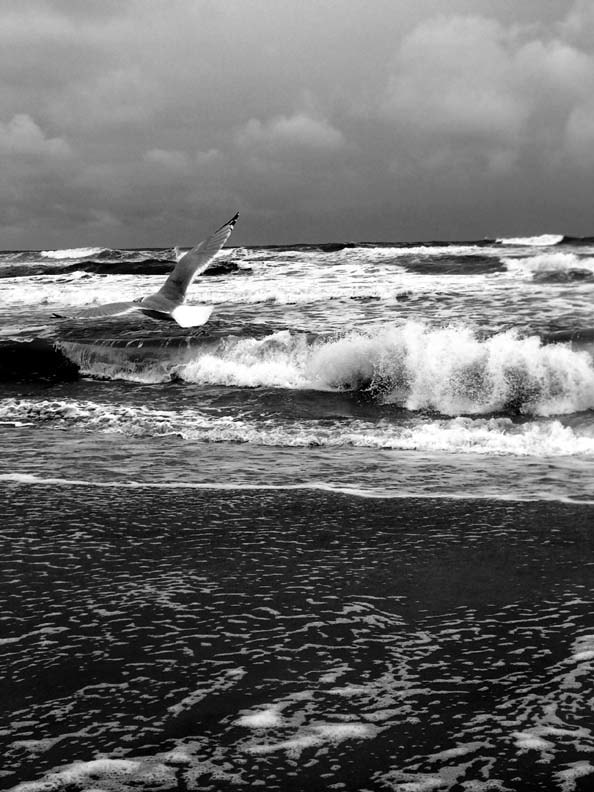
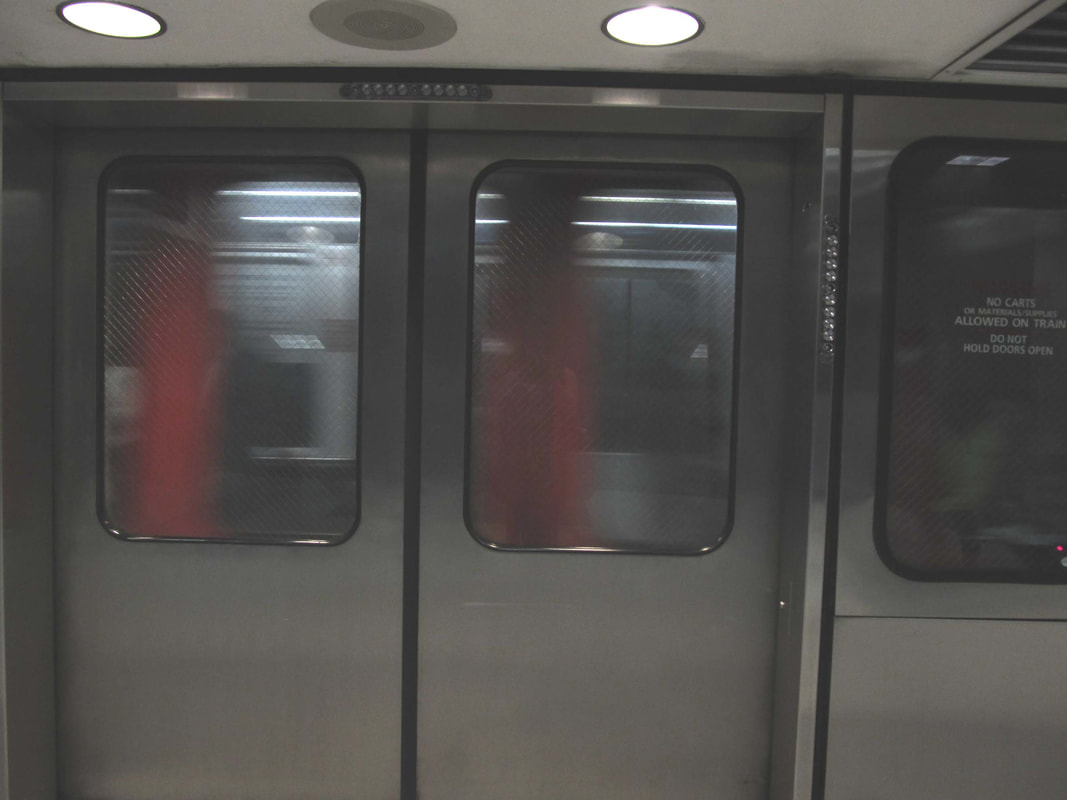
Capturing Motion
Caitlin Connors
|
Cameras are able to capture motions from a fragment of a second to many seconds, this inevitably changes the image. The class learned how to change the shutter speed and aperture on their cameras and document how a moving object would look with different settings. Each student needed to slect one moving subject matter and take mutiple photos with different shutter speeds. The longer shutter speed the more blury the images became. Students then compiled their images to create a visual display that they could reference to as they experimented and took more advanced and conceptual images.
|
Karle Blossfeldt Inspiration


|
Karle Blossfeldt was a self-taught in photography who lived from 1865-1932. He was working with photography when it was a relitvily new tencnoligy and artfrom, His work fouces on plant life, his images are so close up and detailed they become abstract. His documention acted like a portraits of plants celebrating their complex structures.
After learing about Blossfeldt the photo class whent exploring outside to find plants that they could creat images ispired by Blossfeldt styl and astedick. This asminet also alowed studesn to play with the settings on thire cameras, they needed to figure out what would give them the best resutl for a close up image. |
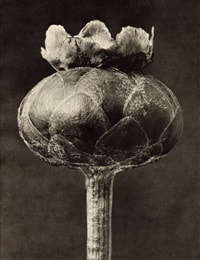
Karl Blossfeldt
Plate 91- Centaurea odorata, 1932 |
Compostional Techniques
|
The first project of the year can take us all out of our comfort zone, this is especially true when you have never used a camera before. As a class, we all look at the cameras and learn what most of the functions do. Then we start to talk about what makes an intresting photo, starting with the basics such as rule of thirds, angle of view and framing. Students then explored the world they live in through the camera lens looking for interesting examples of these compositional techniques to create works of art.
|

Photo by Colby Klob
|


Capturing Motion
Cameras are able to capture motions from a fragment of a second to many seconds, this inevitably changes the image. The class learned how to change the shutter speed and aperture on their cameras and document how a moving object would look with different settings. Each student needed to slect one moving subject matter and take mutiple photos with different shutter speeds. The longer shutter speed the more blury the images became. Students then compiled their images to create a visual display that they could reference to as they experimented and took more advanced and conceptual images.
Karle Blossfeldt Inspiration


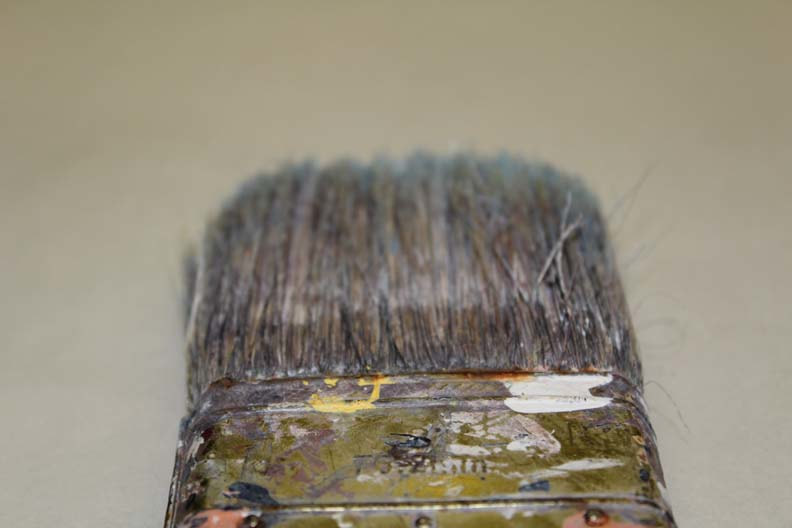
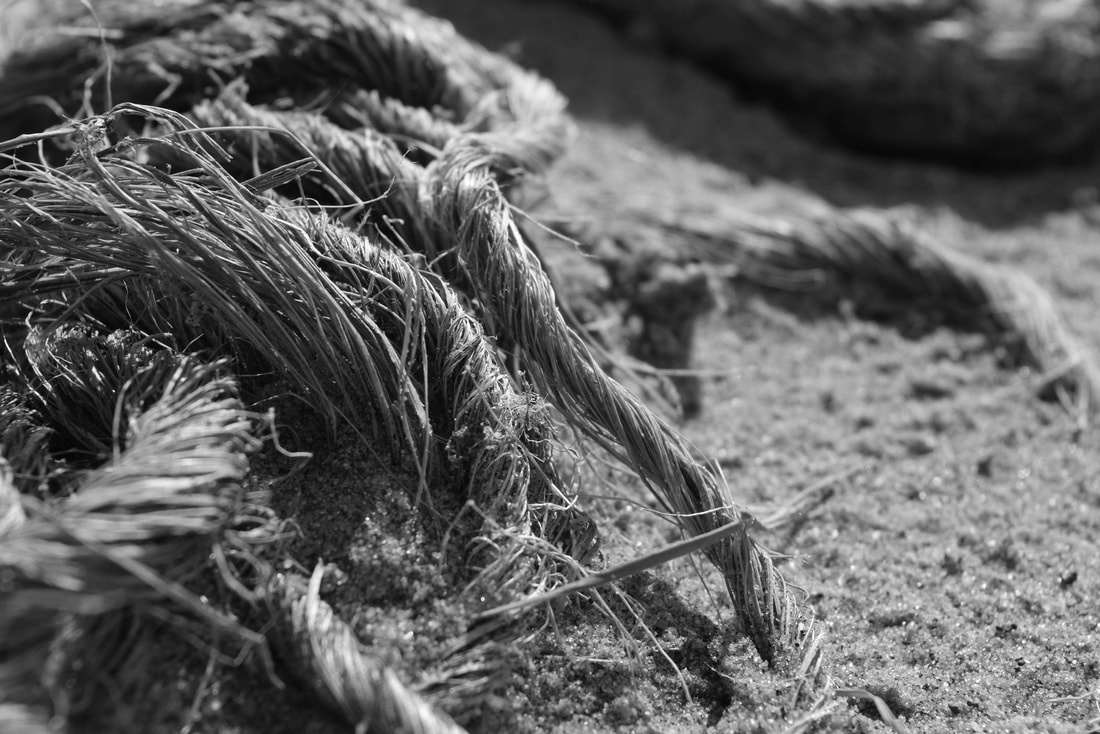
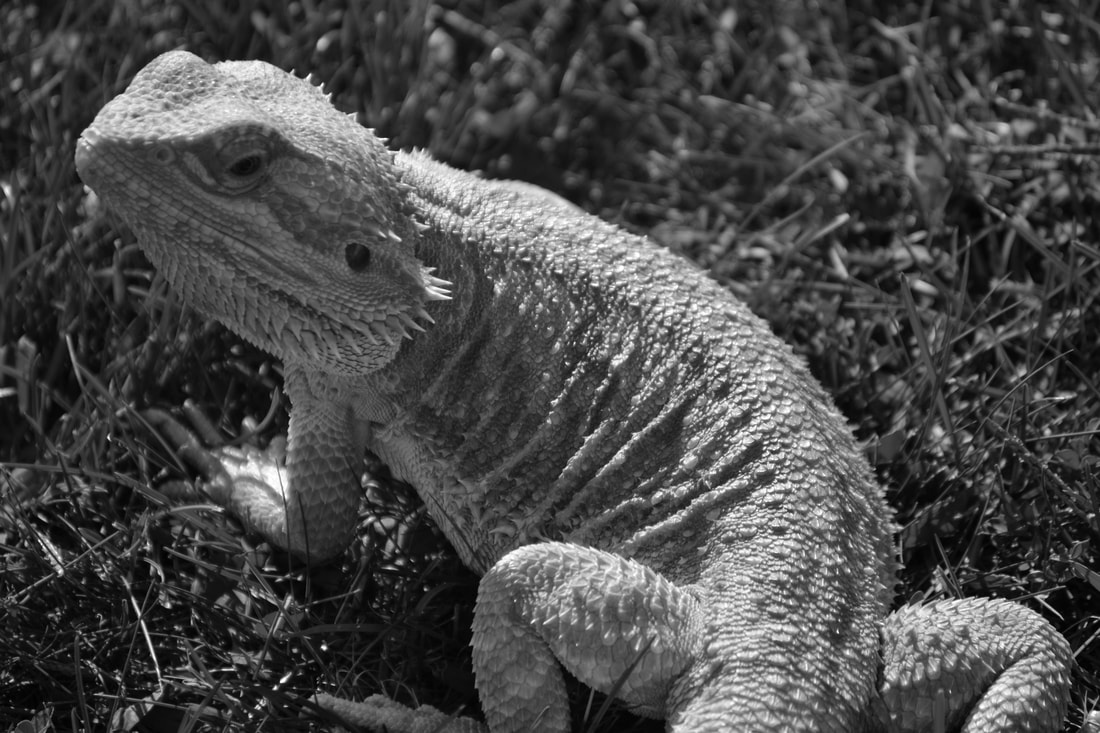
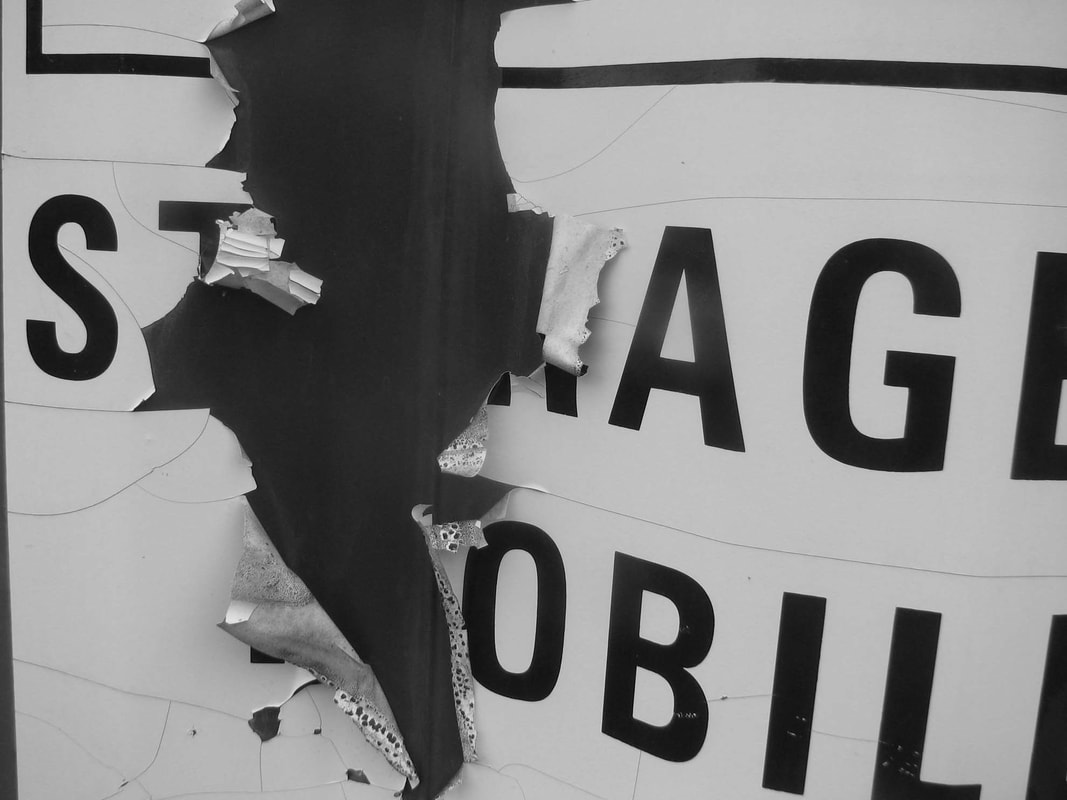
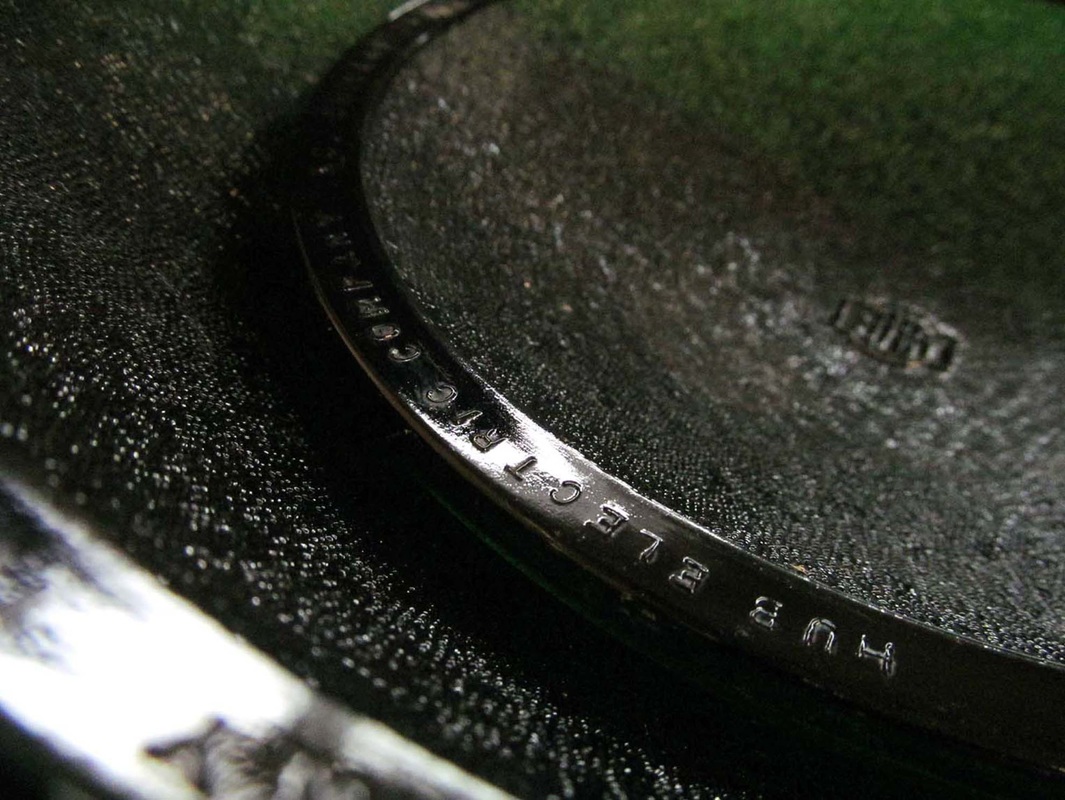
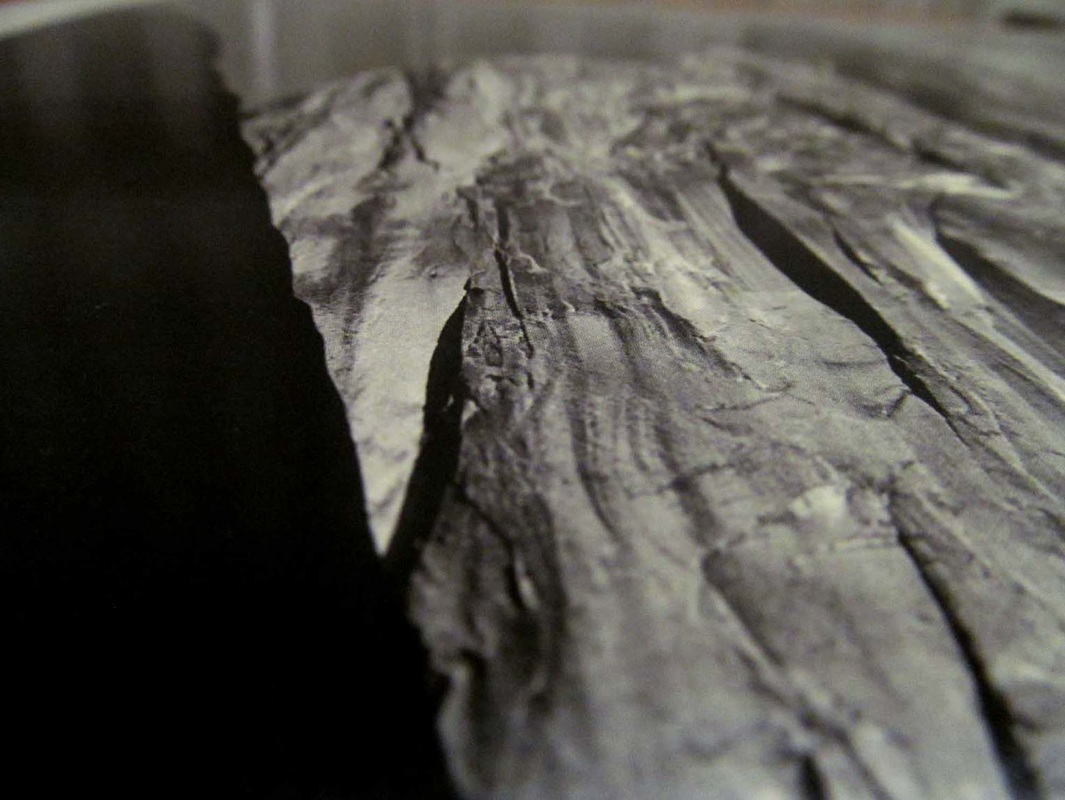
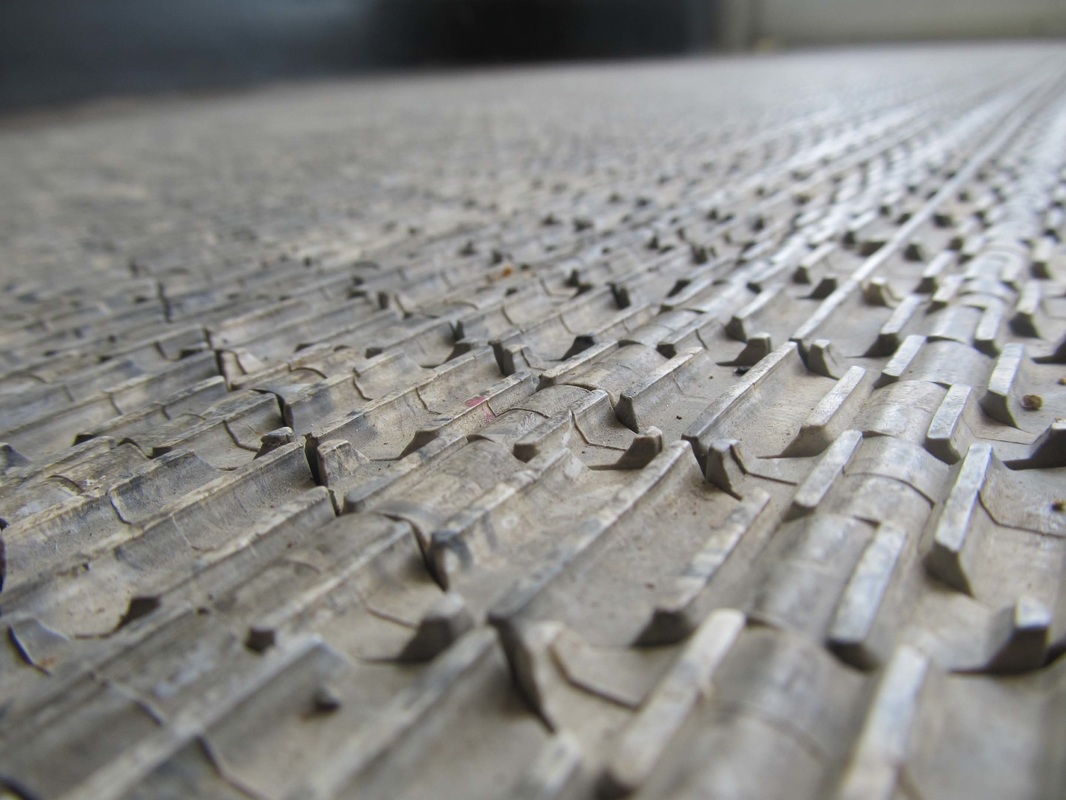
Elements of Art
|
The class reviewed the elements of art for their first photo project. They were challenged to find examples of line, shape. space, texture and value. We also discussed photo techniques such as rule of thirds, angle of view and framing. Students then explored the world they live in through the camera lens looking for interesting examples of the elements of art.
|
|


2017-2018...
Reimagining the Master Works of Art
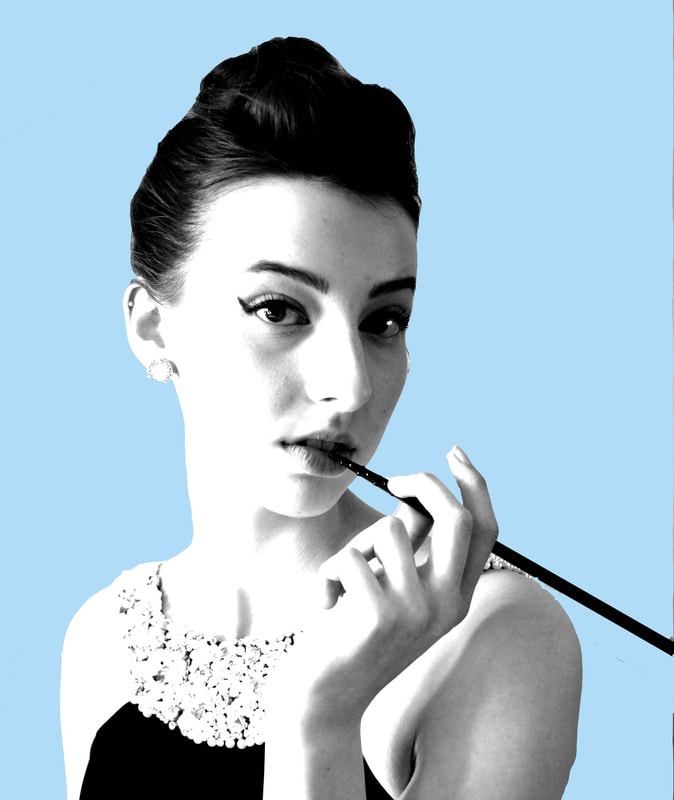 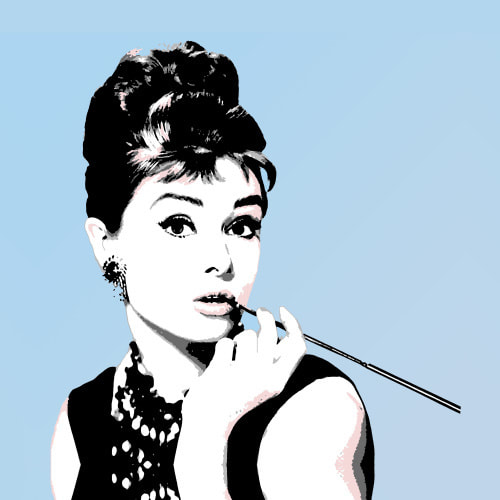         |
Each student found a work of art from any time period, by any artist, and in any medium that they found interesting. Once they selected a work of art, they learned that they would have to recreate it in a photo. This is always a bit shocking and students try to change their image to something else they feel is "easier". They are disappointed instantly to hear that they cannot change the image but they become excited when they begin to plan how they can recreate the image.
The process of the project pushes students to think creatively and work together to problem solve. Often they take a photo and then compare it to the original work of art and see what they need to do to impove. The final results are always rewarding. Students also complete a research presentation on their artist and artwork. Sharing what they learned with their classmates and showing off their creative interpretations of the original image. 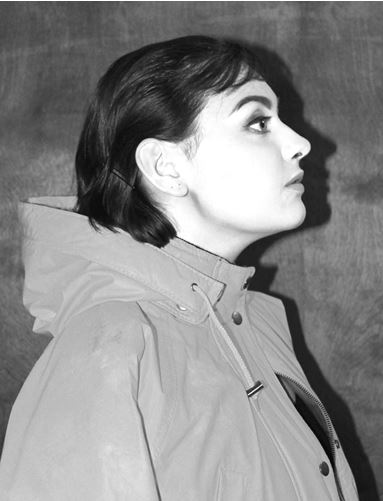 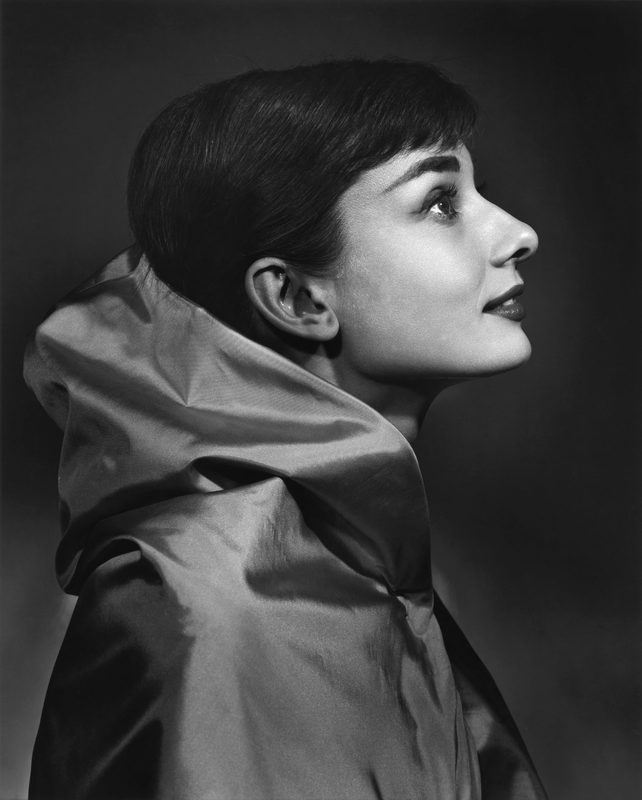 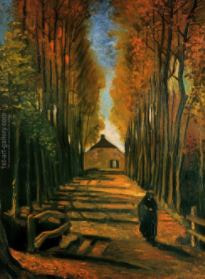 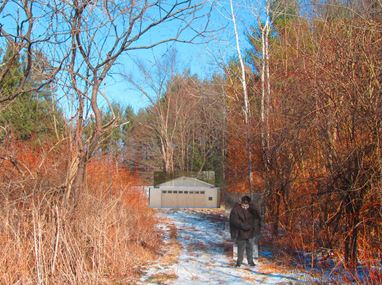 |
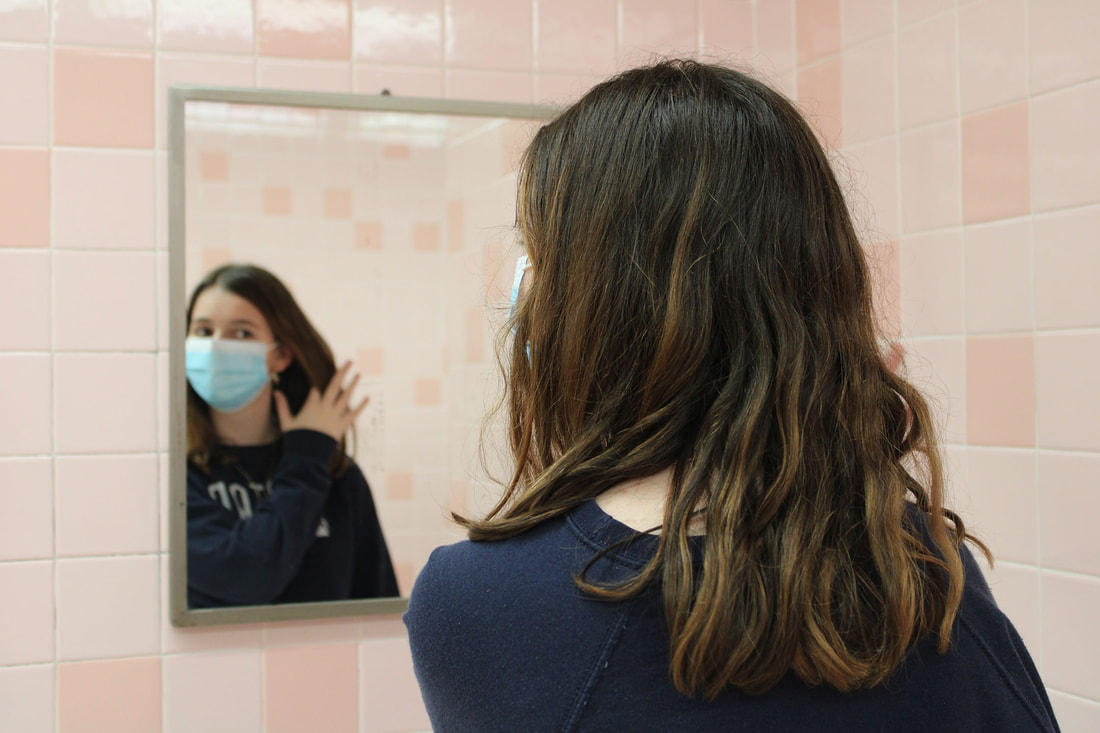
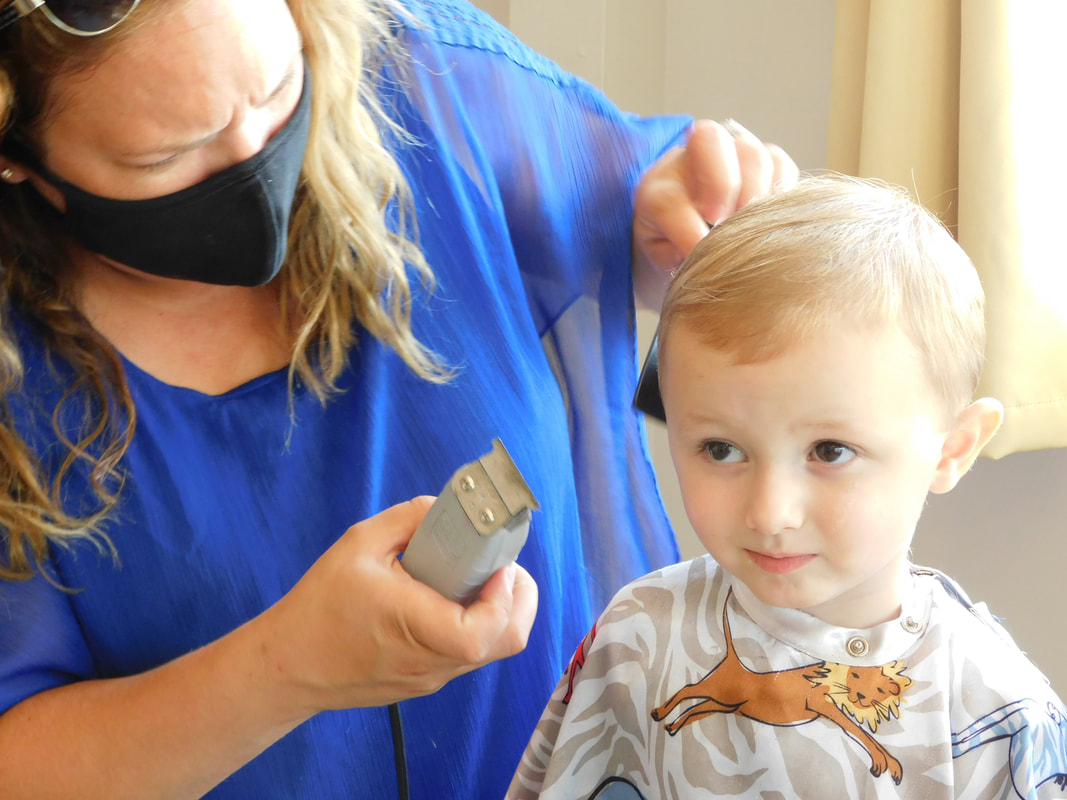
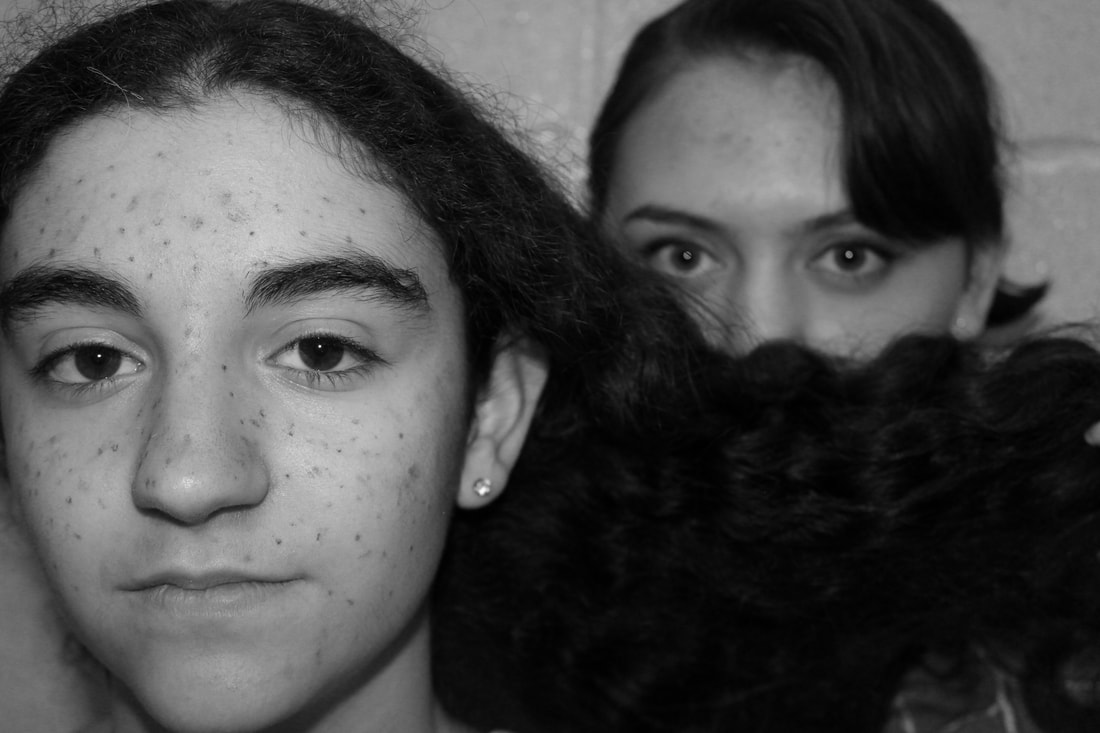
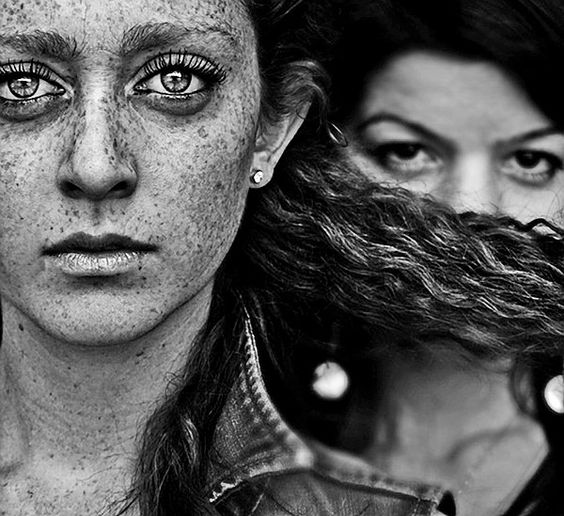
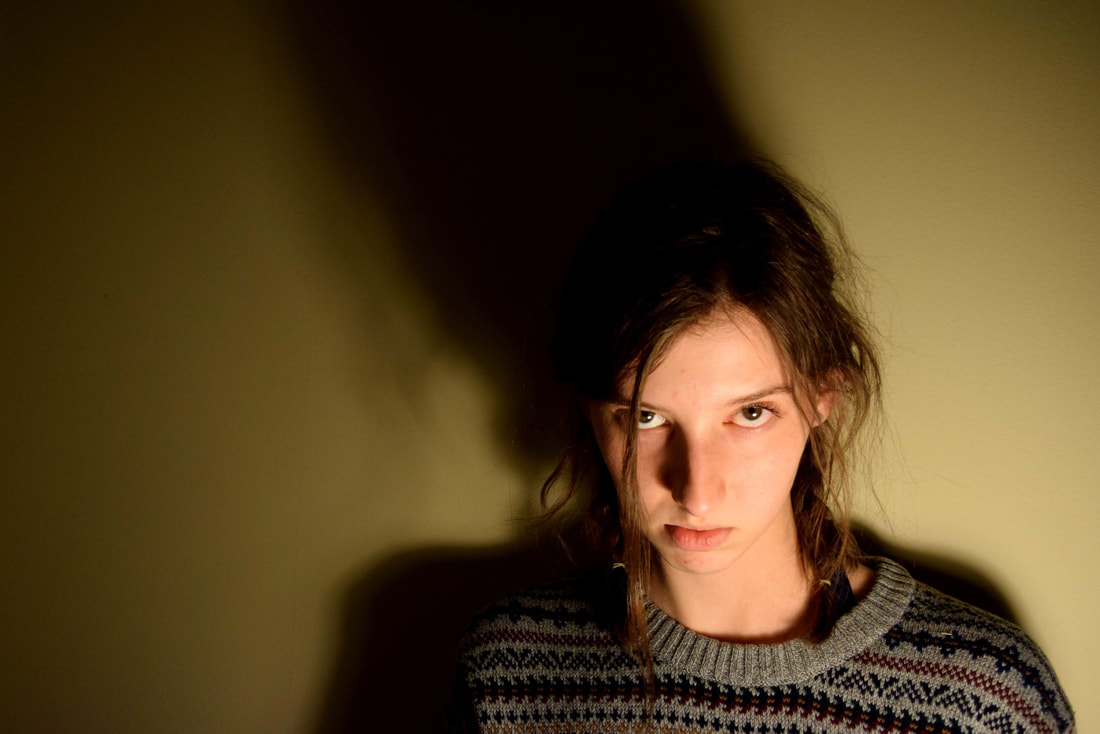
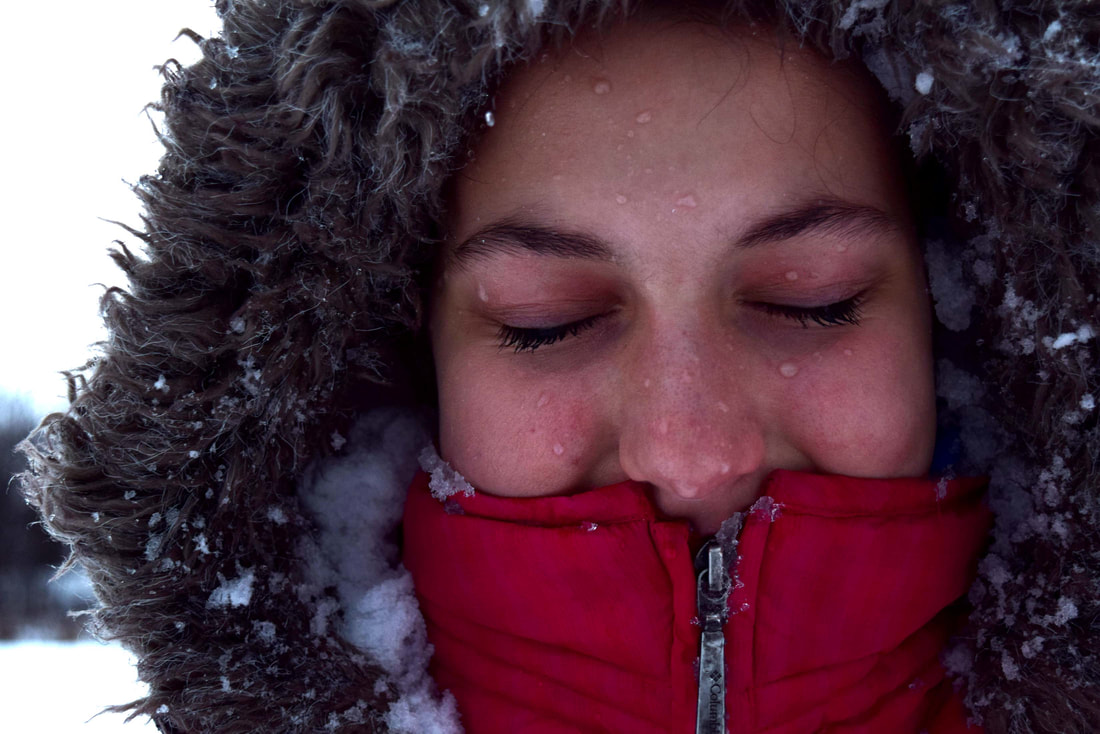
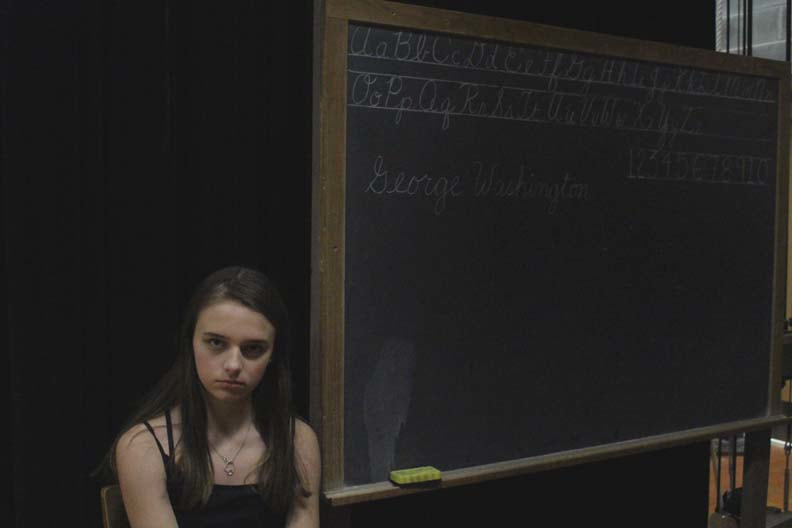
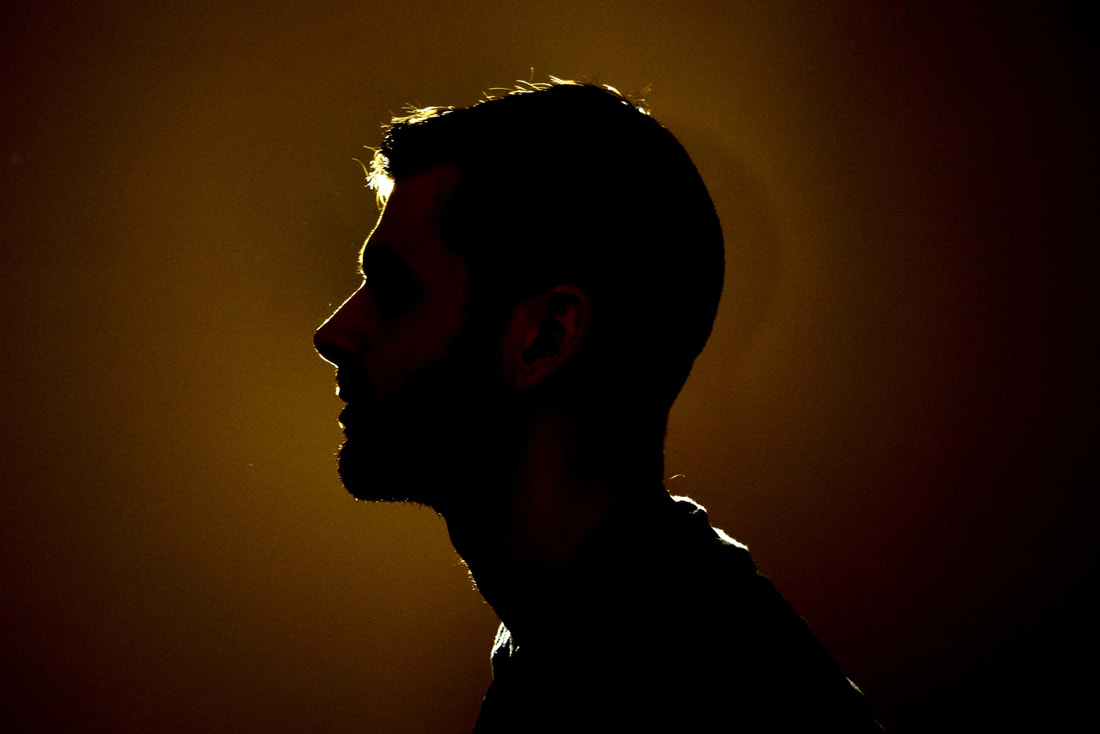
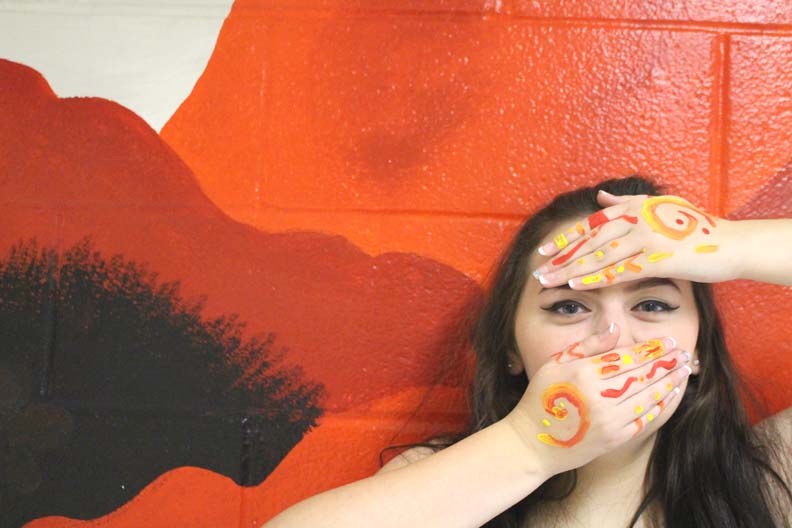
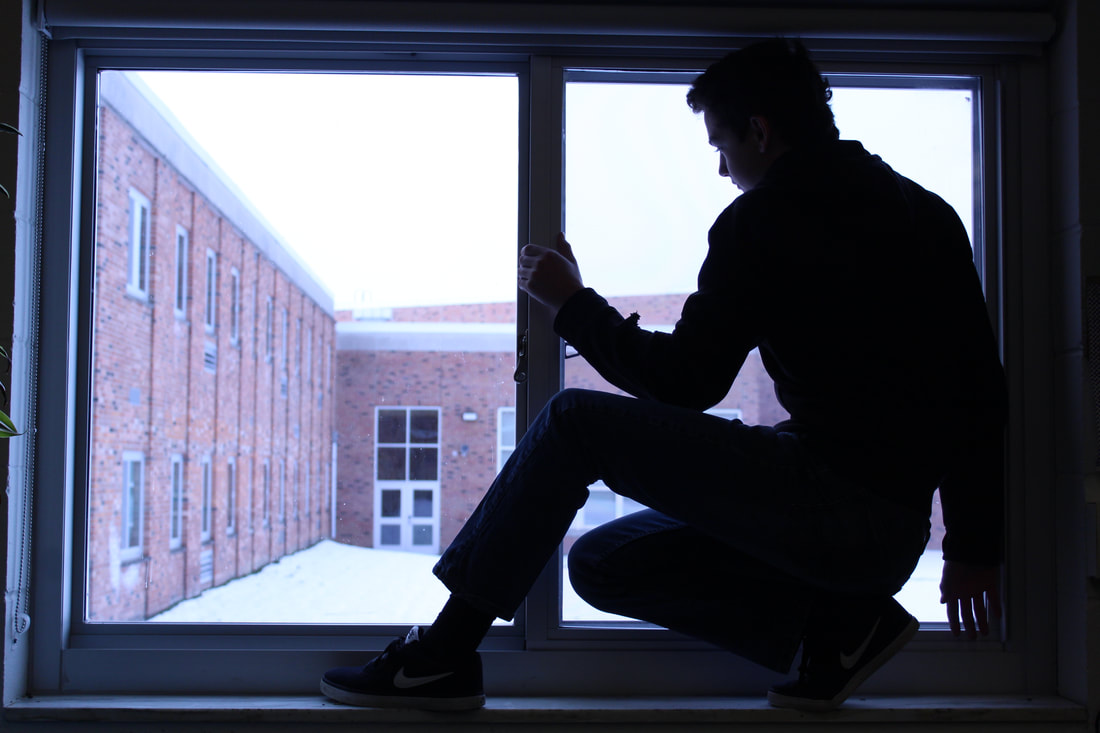
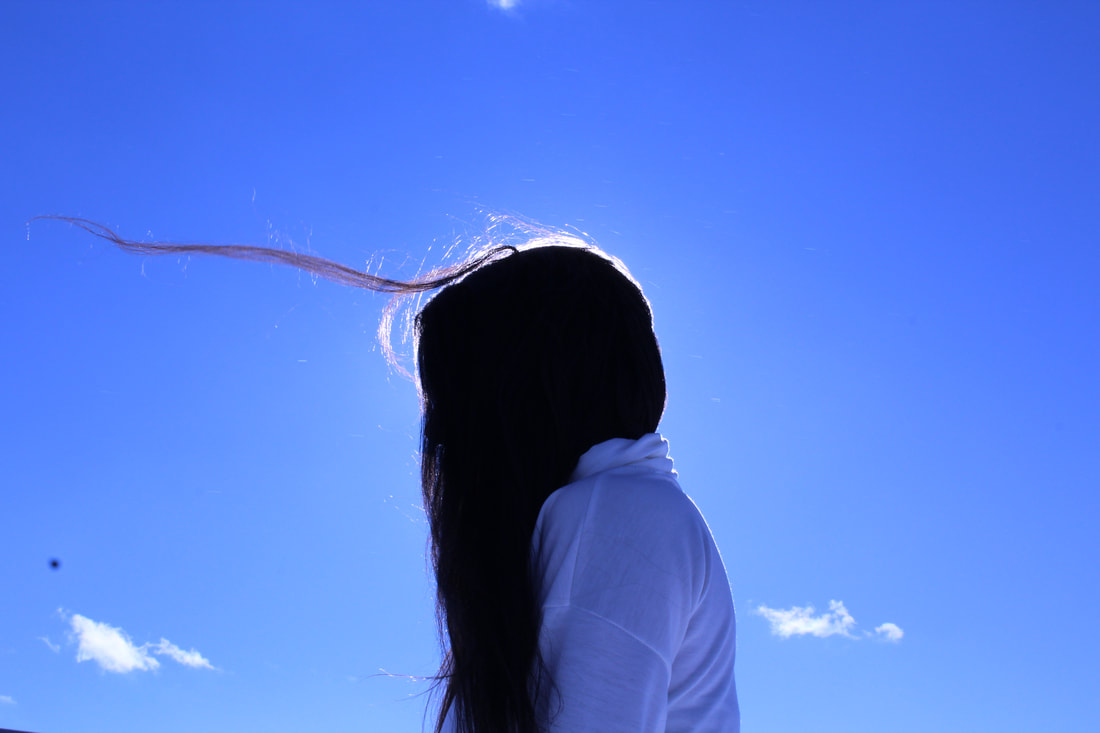
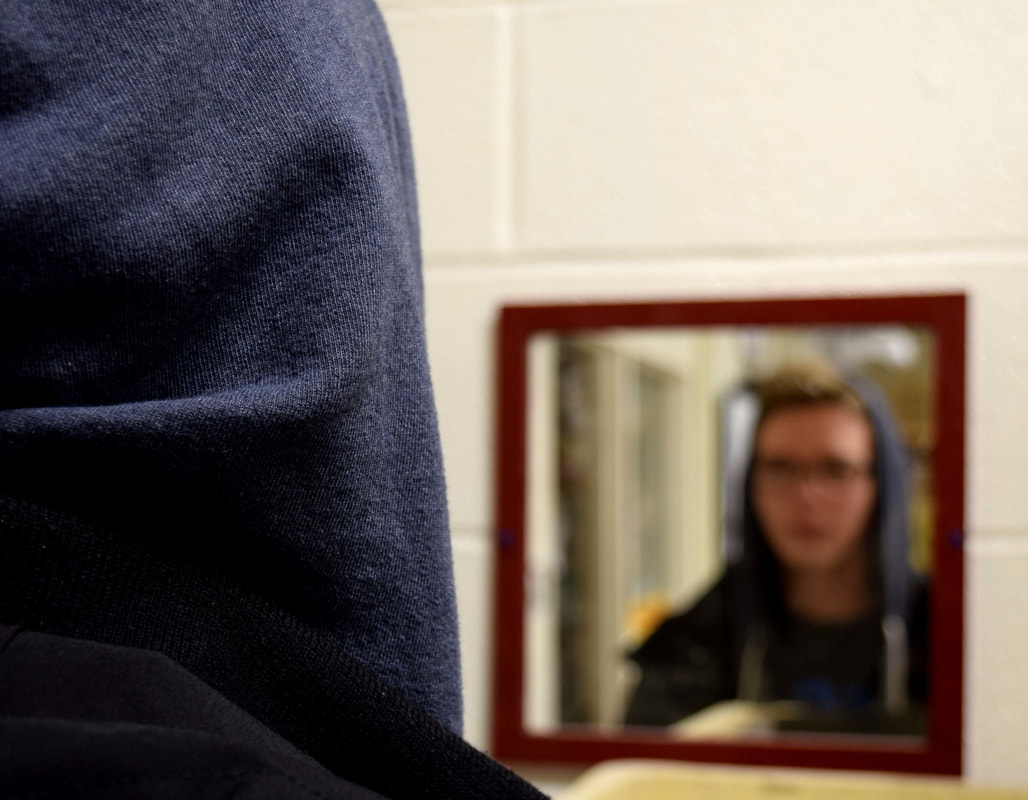
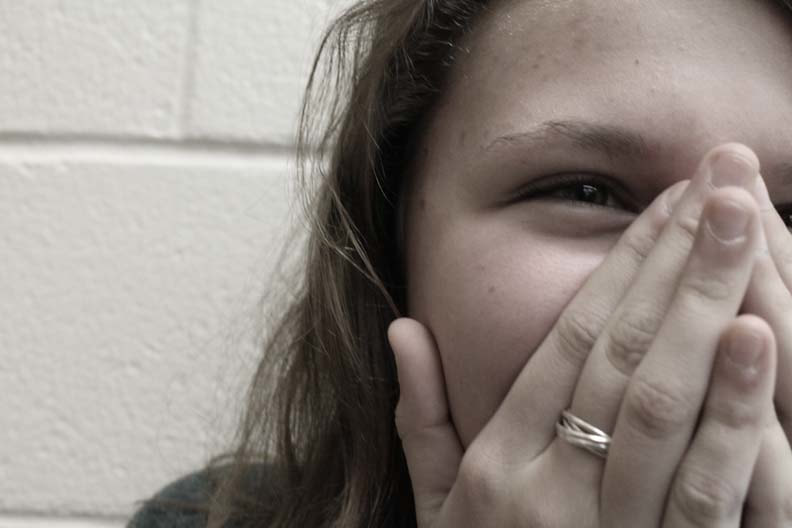
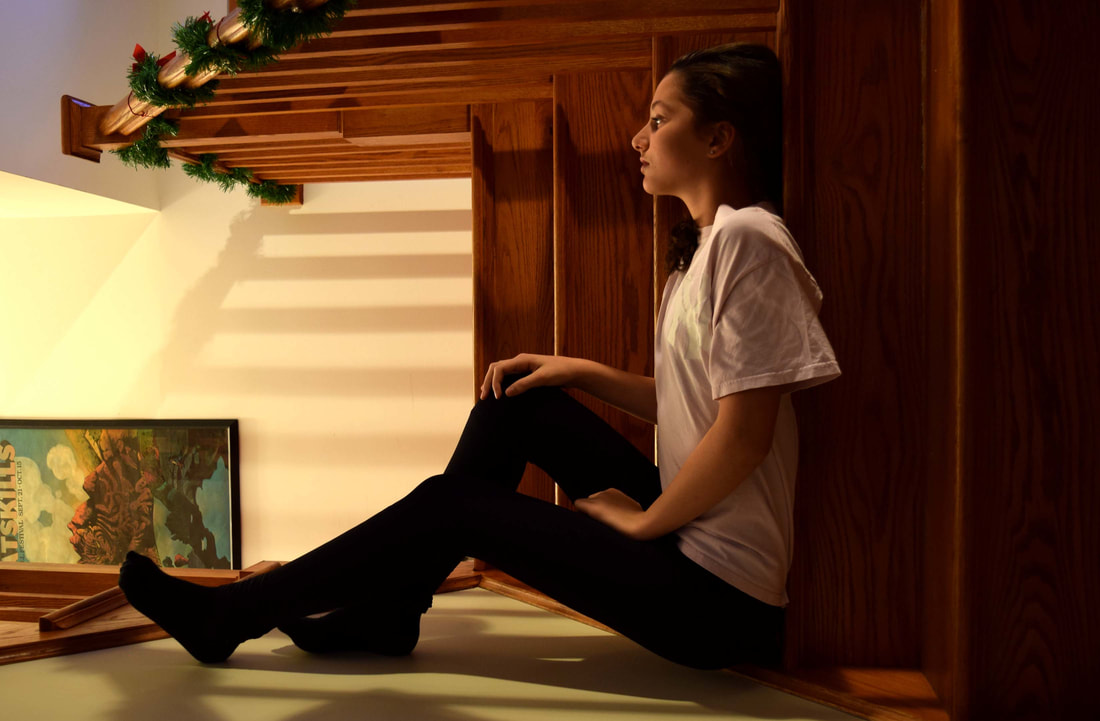
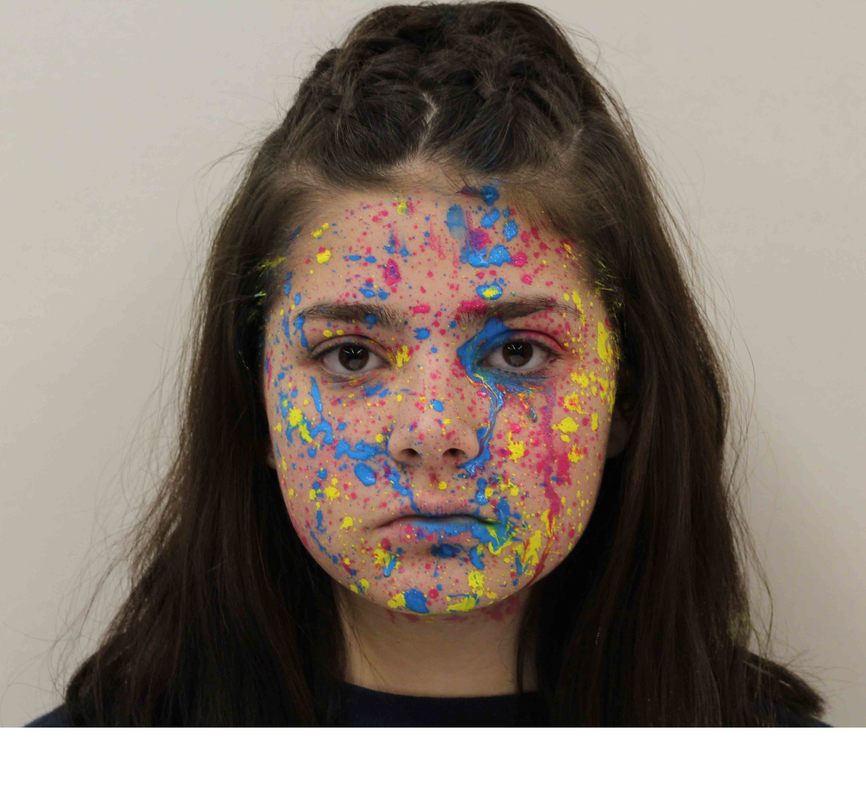
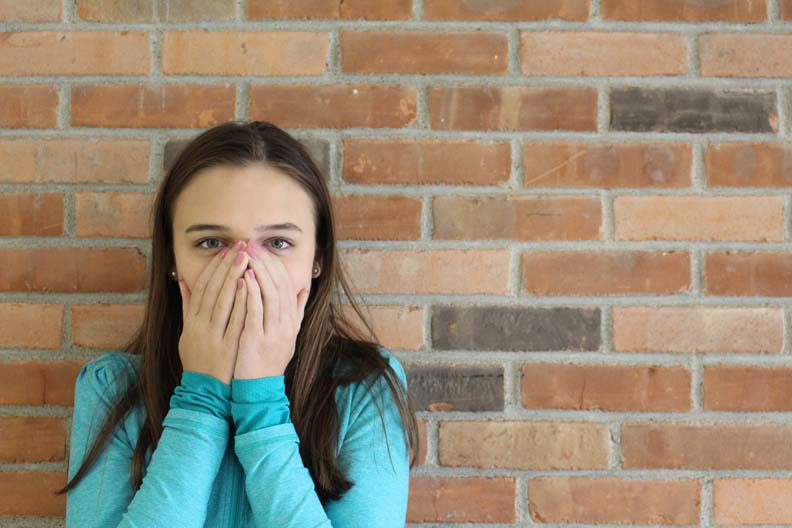
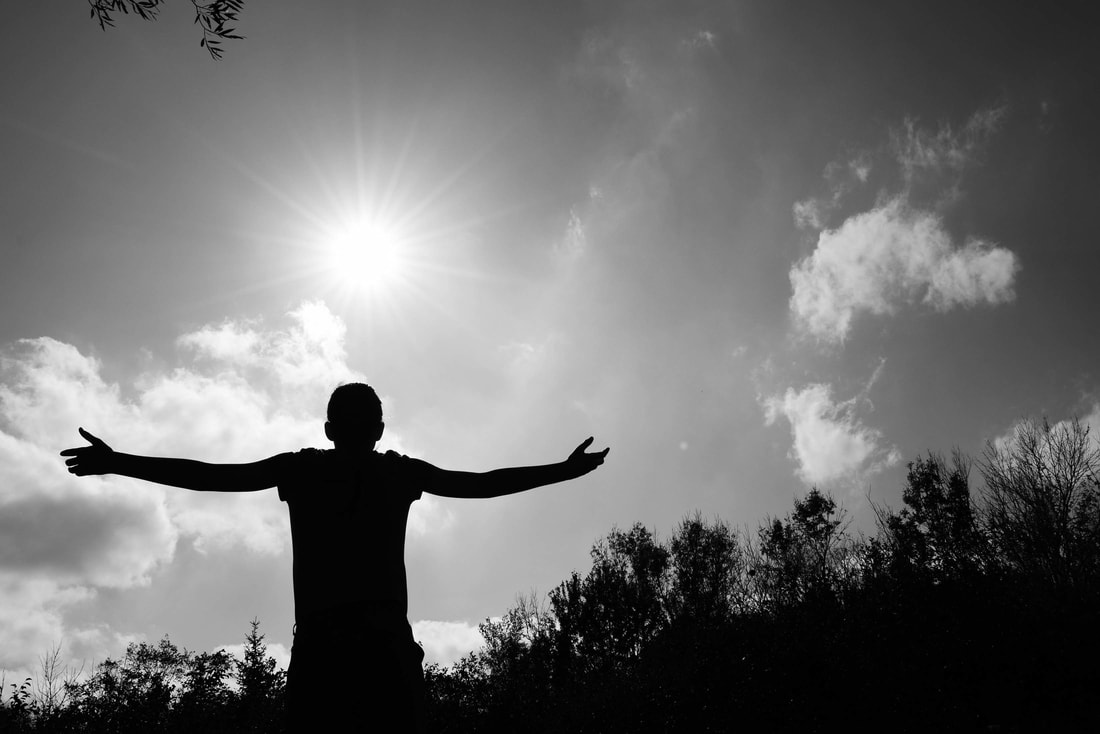
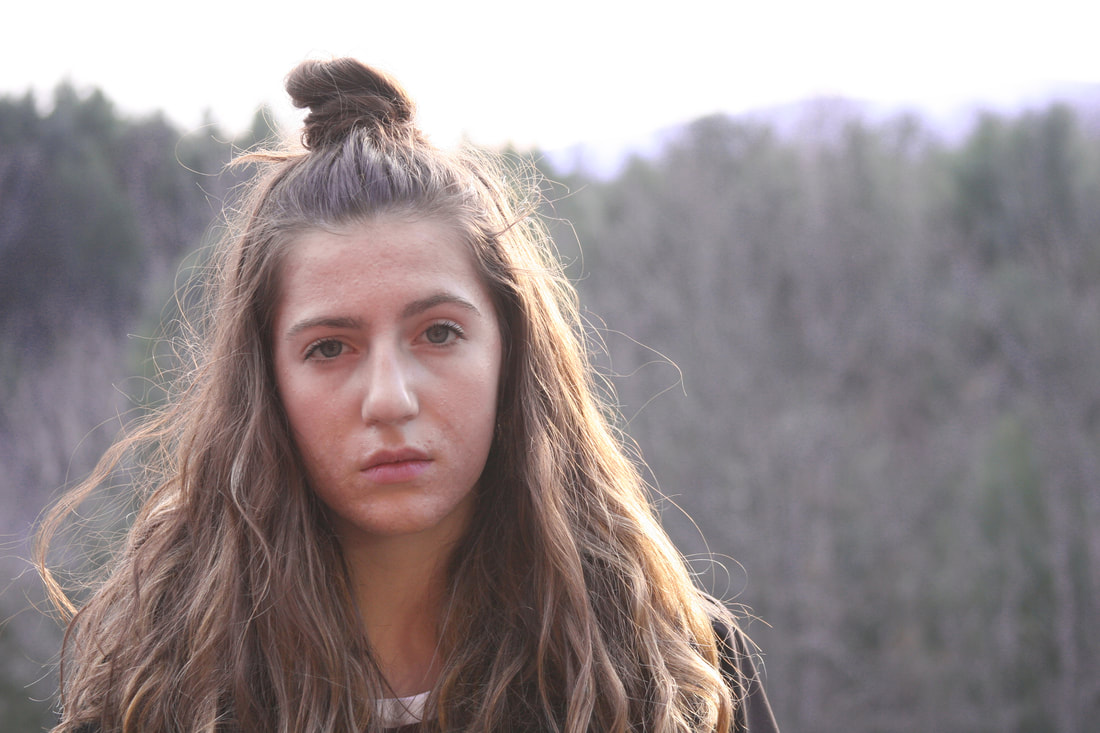
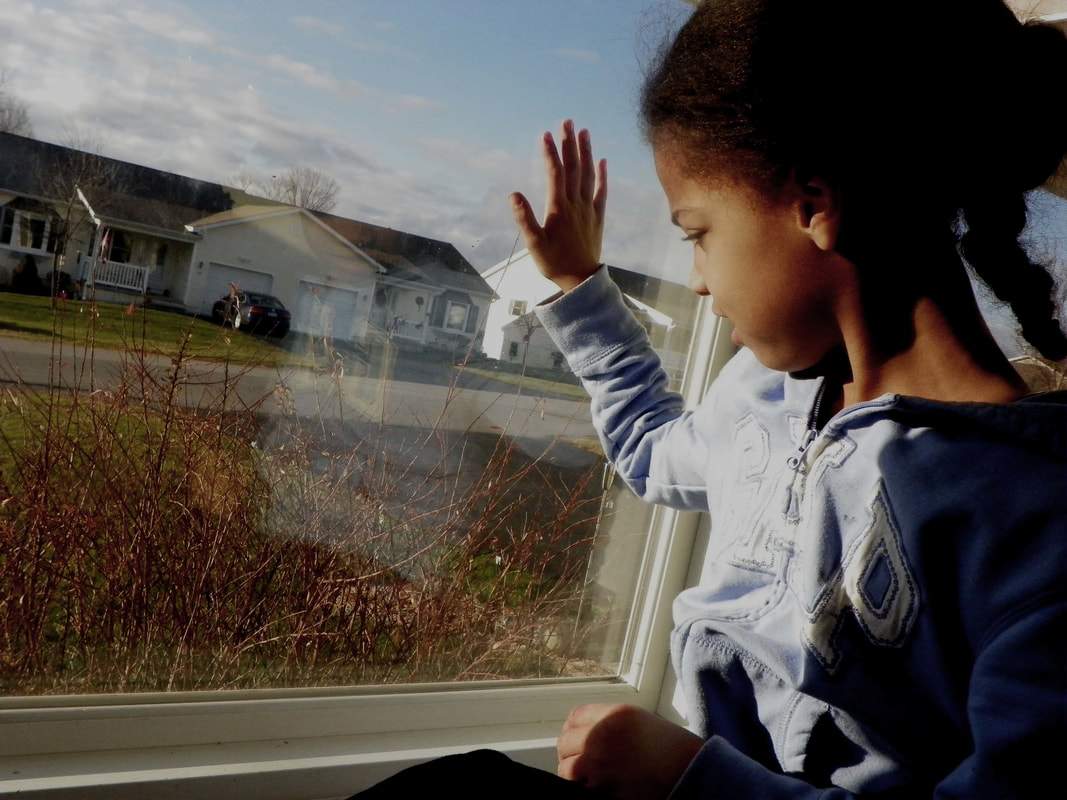
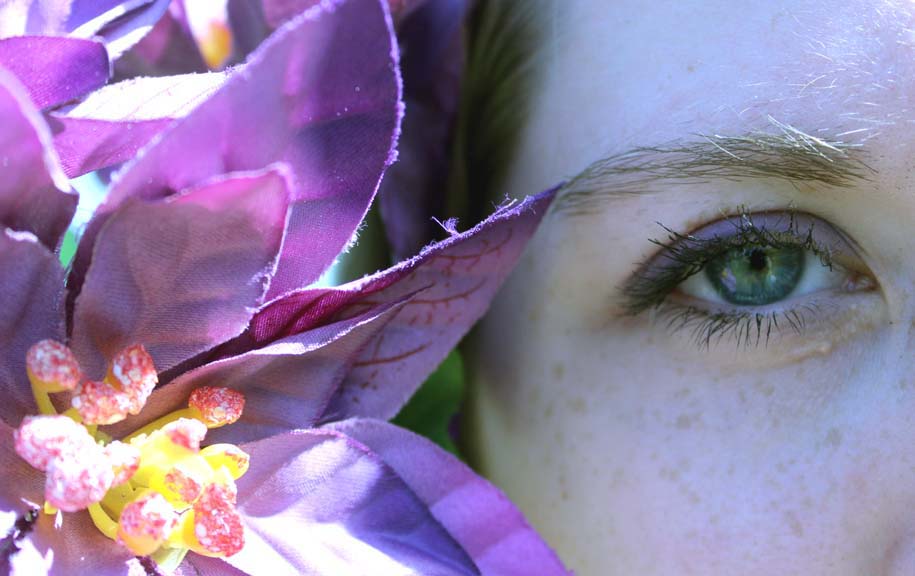
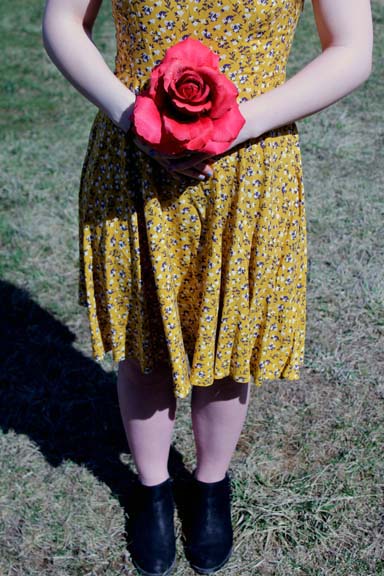
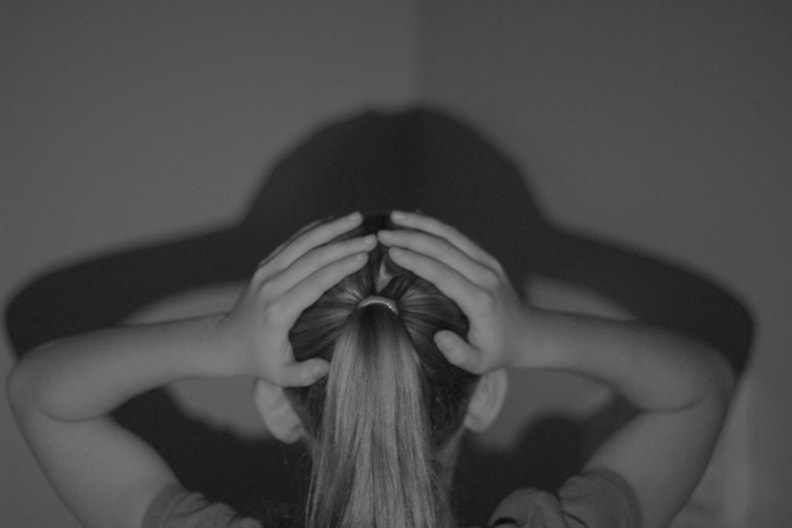
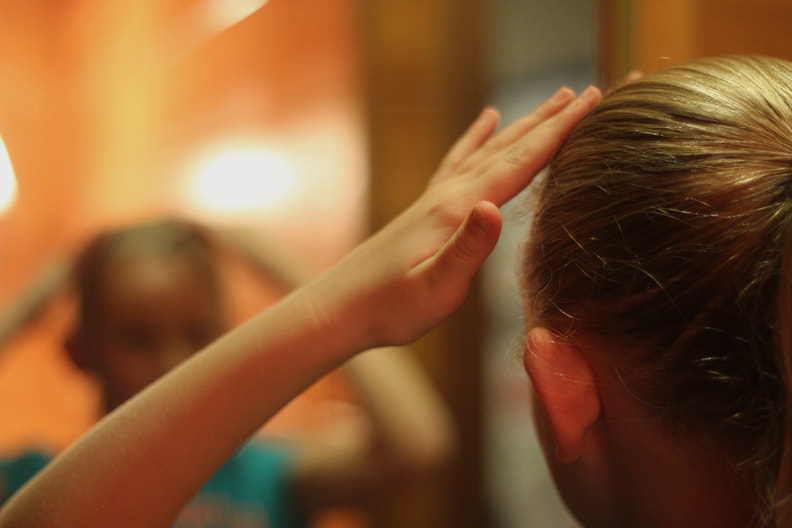
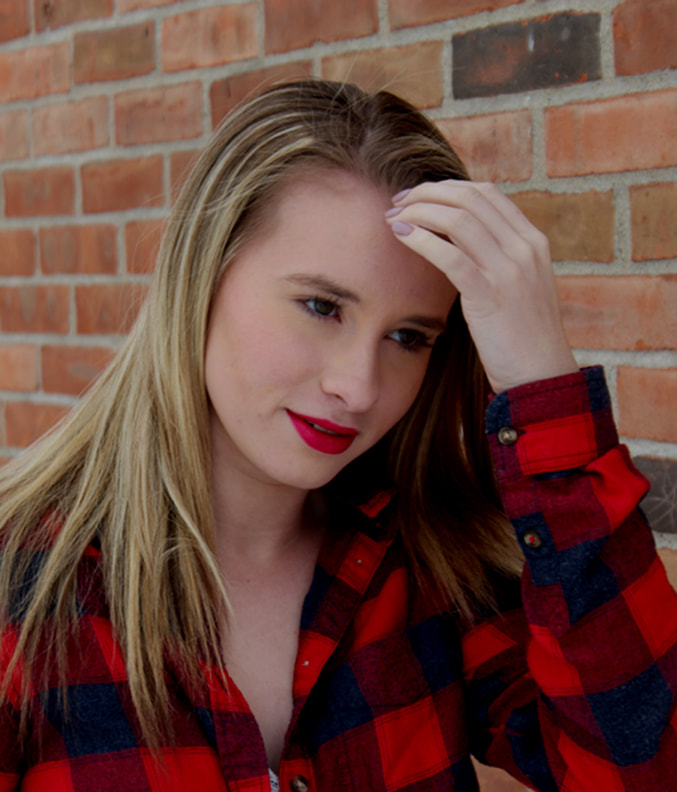
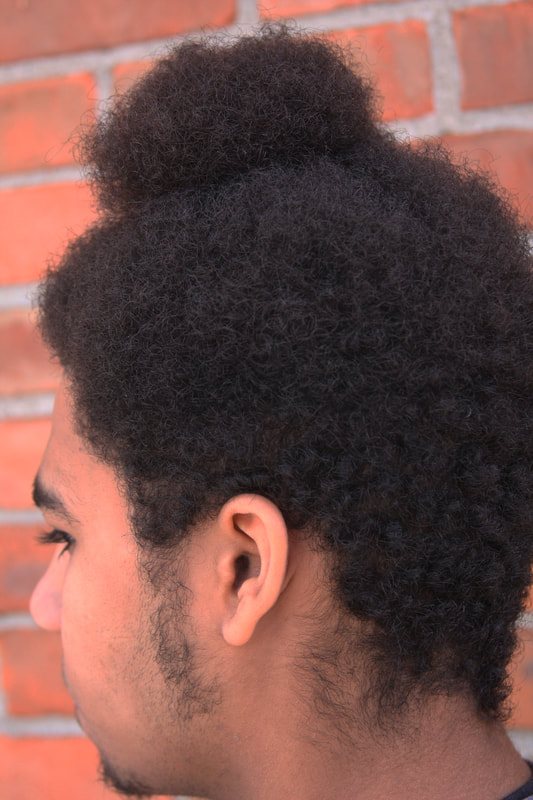
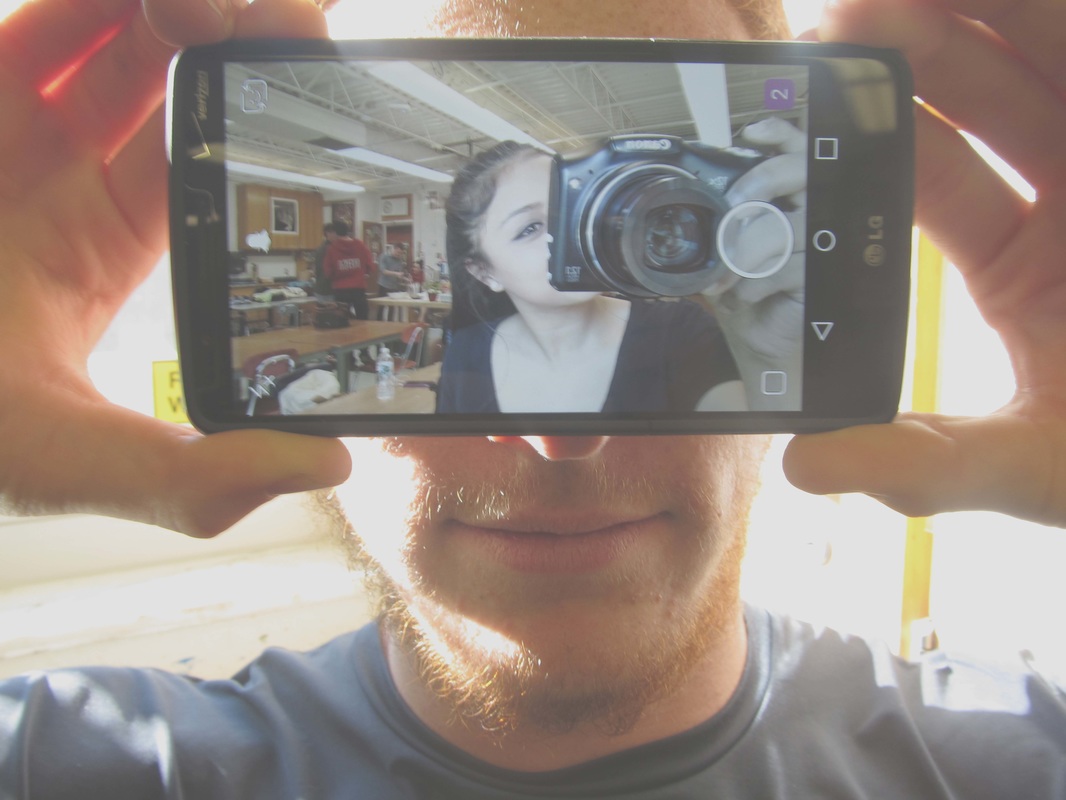
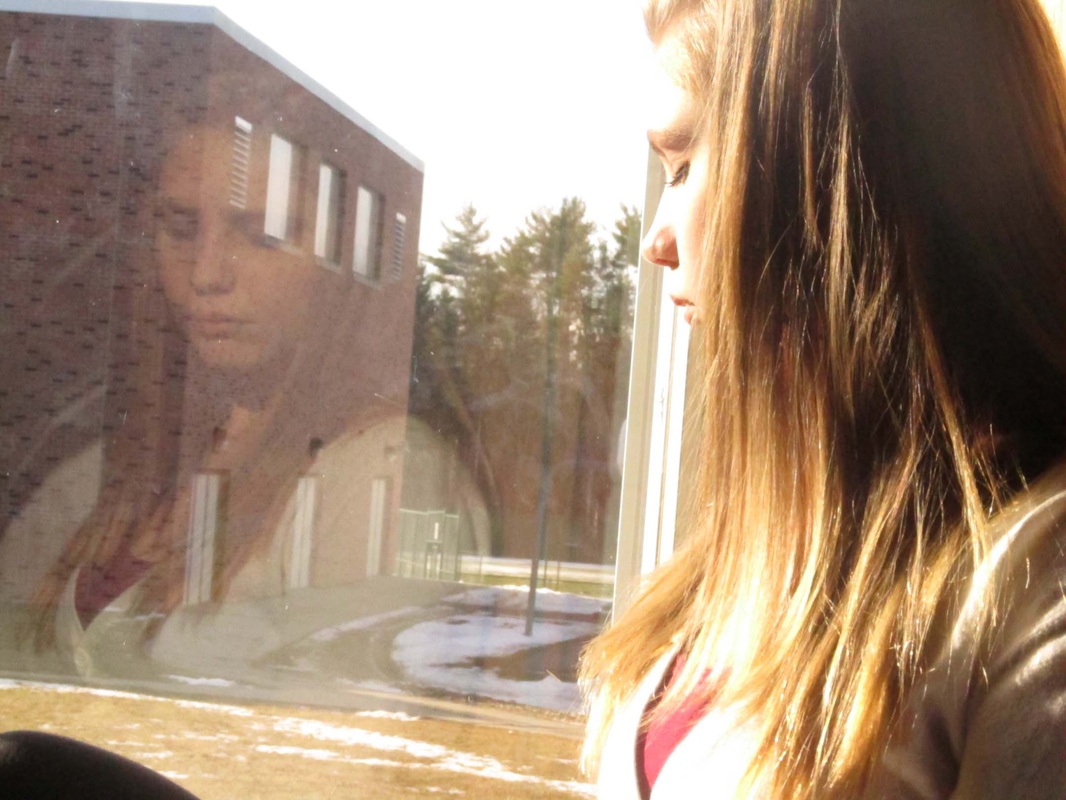
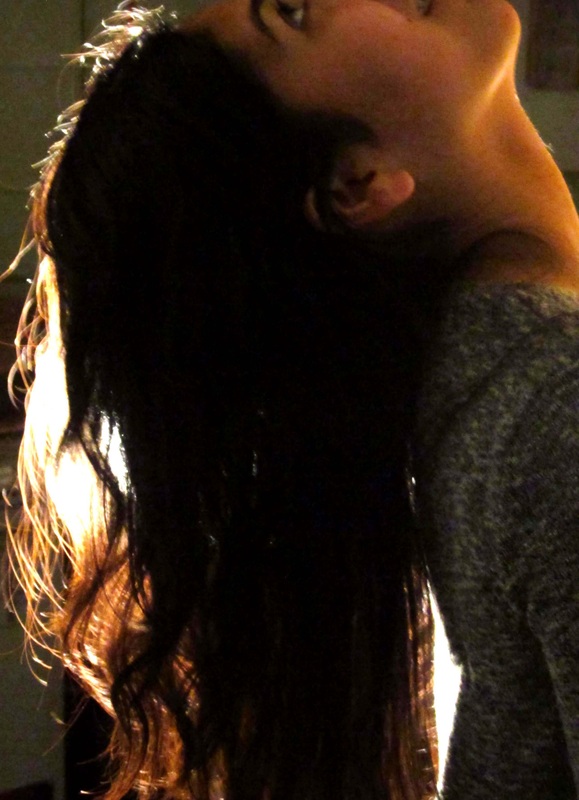
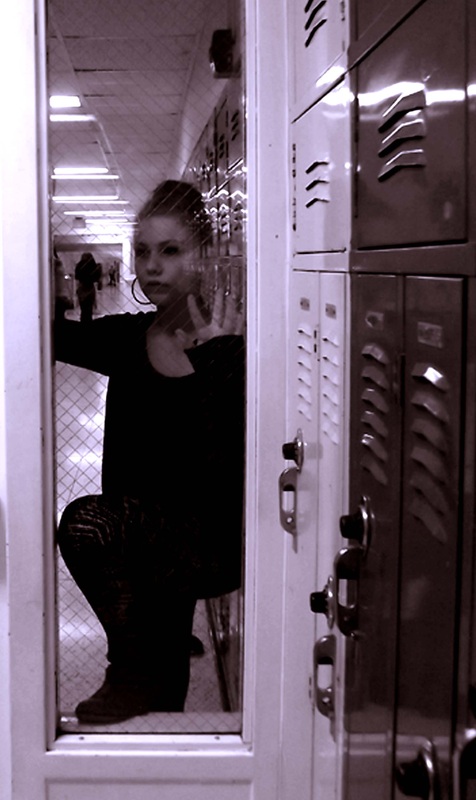
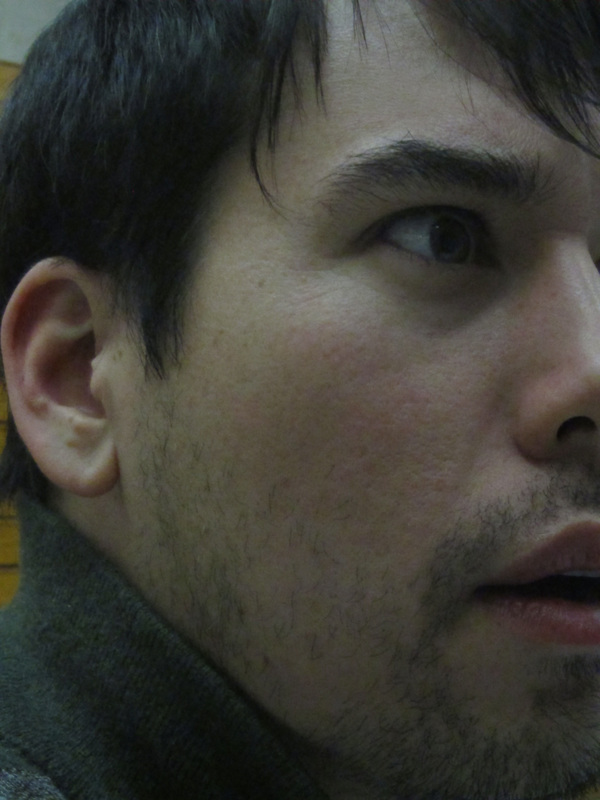
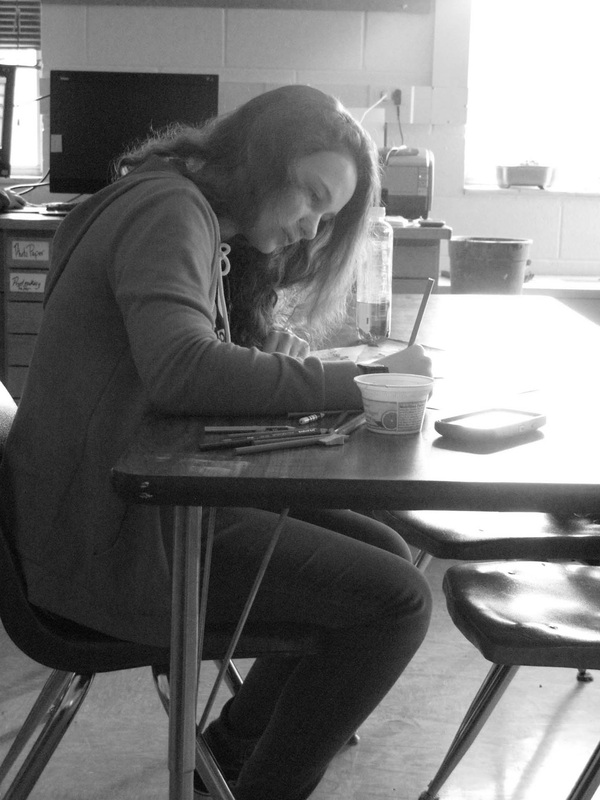
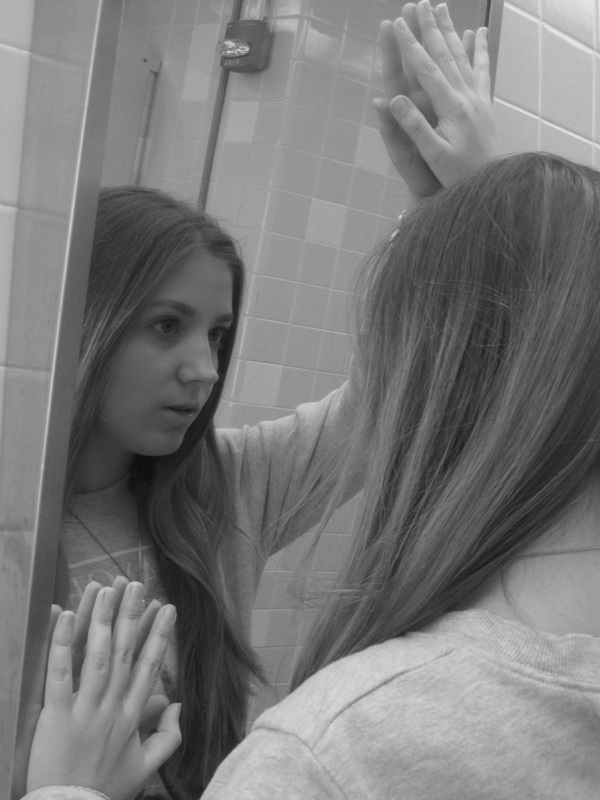
Portraits
The class looked at several different photographers throughout history that took portrait photos such as Cindy Sherman, Richard Avedon, Tanja Alexia Hollander,and Man Ray. Each artist has a different style and philosophy of capturing a portrait. The class discussed the differences and similarities of each as well as photo techniques that can be used to create a diverse looking image. Students then needed to create or capture ten portraits from the folowing options: Texture, Overexposure, Underexposure, Back-light, Posing, Reflections, Shadows, Self Portraits, Specific Setting, Get Close, Capture the Moment, Color, Get Serious, Props and Self Portrait. Can you match the images below with the categories students worked from?
Muti Layer Photo

Photo by Courtney Baeckmann
|
Once students started to get the hang of the camera settings, how to make an interesting compostion and the basics of photoshop, they were ready to get creative. With the multi-layer project, students needed to create three different images. Each image needed to be made up of three different photos. Using photoshop, students needed to select portions of each photo to layer together and create unique images. Take a close look and see if you can see each of the different photos the students have selected.
|


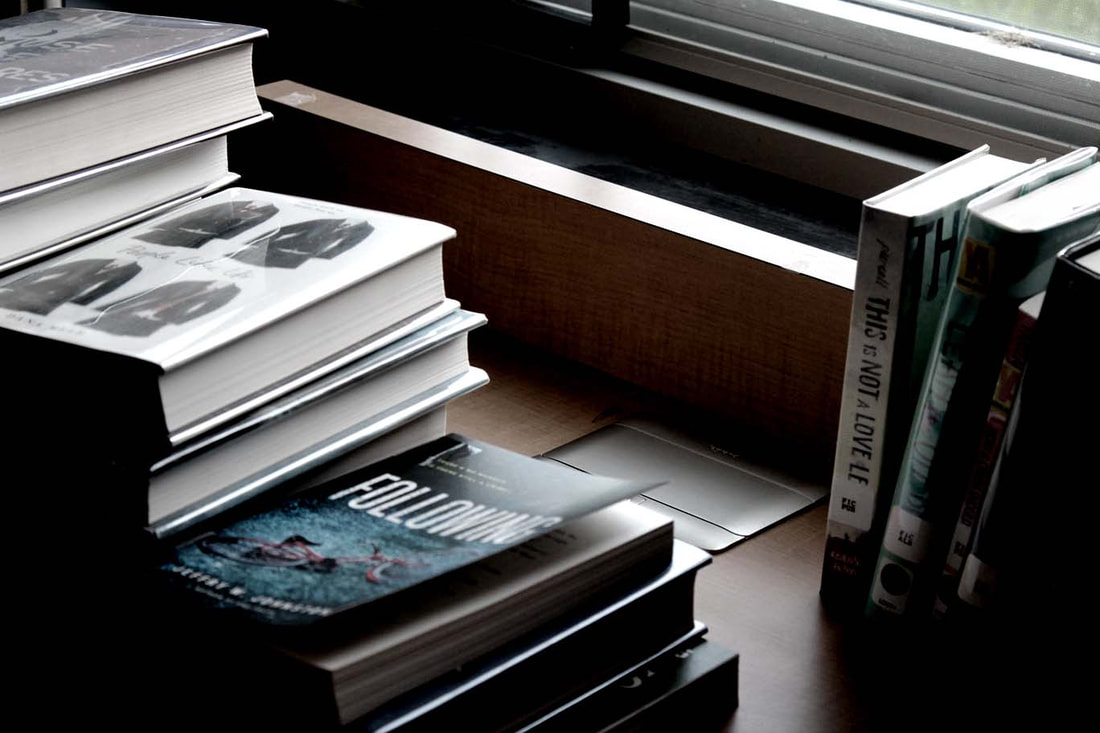
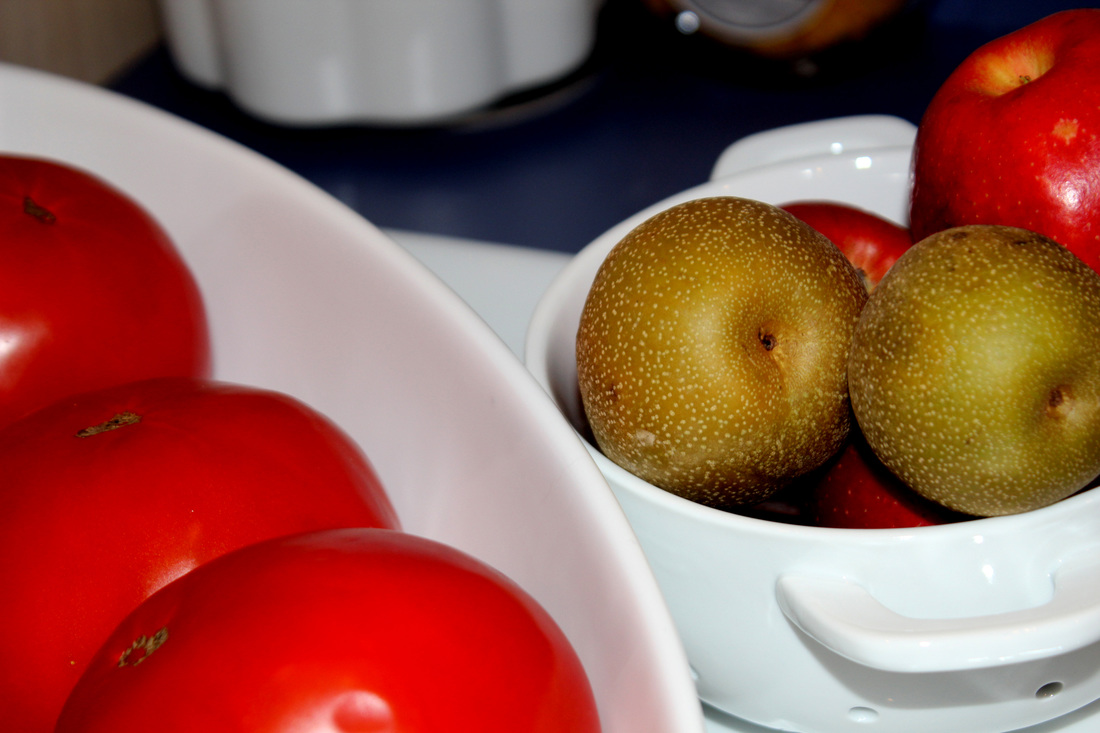
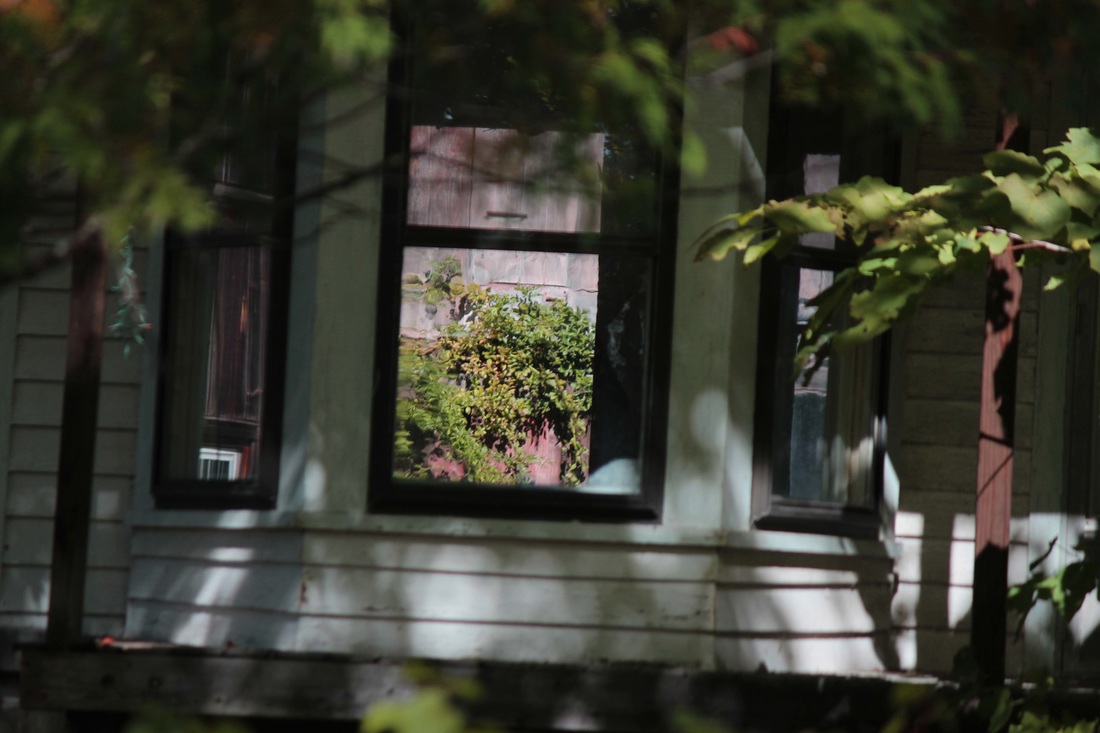
Depth of Field
|
|
Depth of field is the distance between the nearest and farthest objects in a photo that appear sharp in an image. Students experimented with different f-stops to capture photos with everything in focus and photos with only one important part of the image in focus.
|


Shutter Speed and Capturing Motion
|
To better understand how to use all the functions of a camera, the photography class was challenged to capture motion. To do this, they needed to adjust the shutter speed and understand that the longer the shutter is open, the more movement (blur) the camera would capture. The shorter the shutter speed, the more crisp the photos would be.
Students then tried to create interesting images using shutter speed, their knowledge of the elements of art, and compositional techniques. |
|


Elements of Art
|
|
The class reviewed the elements of art for their first photo project. They were challenged to find examples of line, shape. space, texture and value. We also discussed photo techniques such as rule of thirds, angle of view and framing. Students then explored the world they live in through the camera lens looking for interesting examples of the elements of art.
|


2015-2016 School Year...
Reimagining the Master Works of Art
|
Students each found a work of art from any time period, by any artist and in any medium that they found interesting. Once they selected a work of art, they learned that they would have to recreate it in a photo. This is always a bit shocking and students try to change their image to something else they feel is "easier". They are disappointed instantly to hear that they cannot change the image but they become excited when they begin to plan how they can recreate the image.
The process of the project pushes students to think creatively and work together to problem solve. Often they take a photo and then compare it to the original work of art and see what they need to do to impove. The final results are always rewarding. Students also complete a research presentation on their artist and artwork. Sharing what they learned with their classmates and showing off their creative interpretations of the original image.  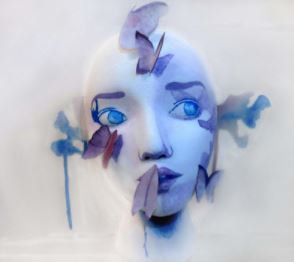 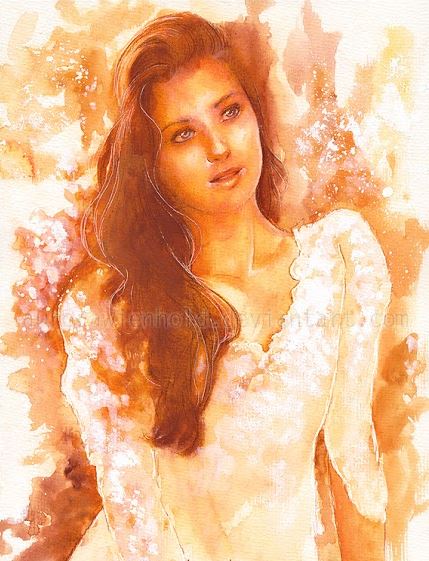 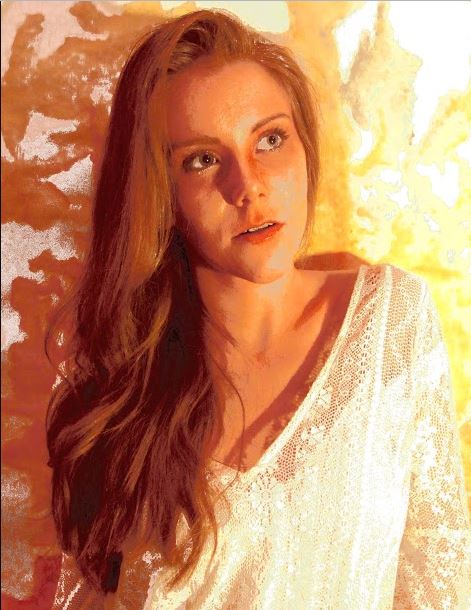  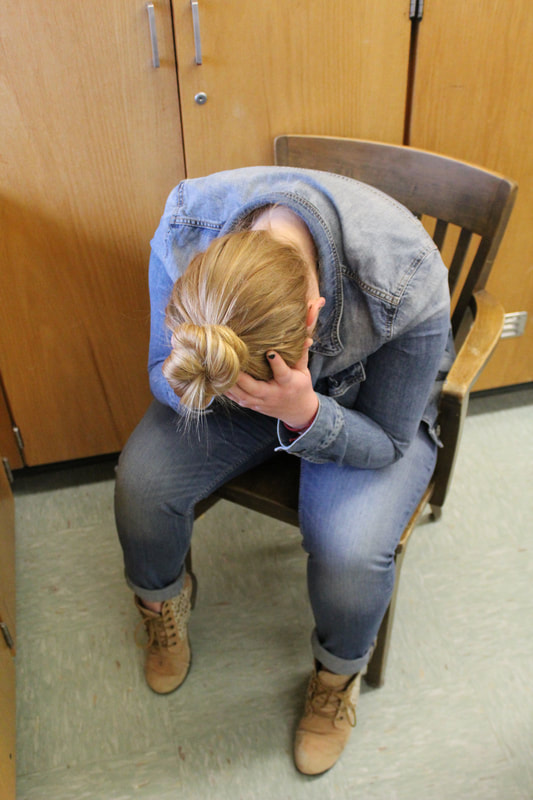  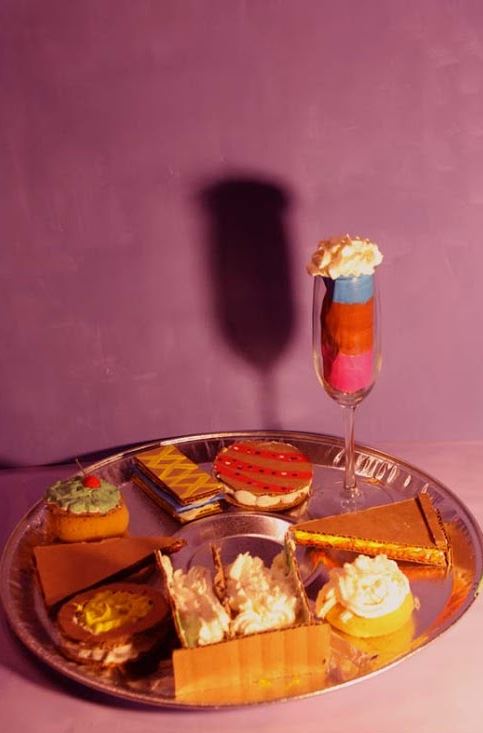 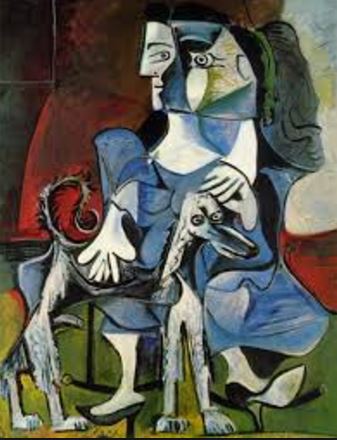  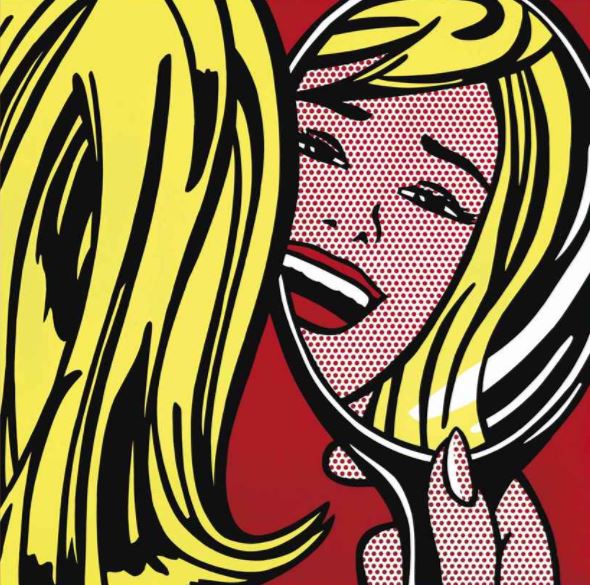 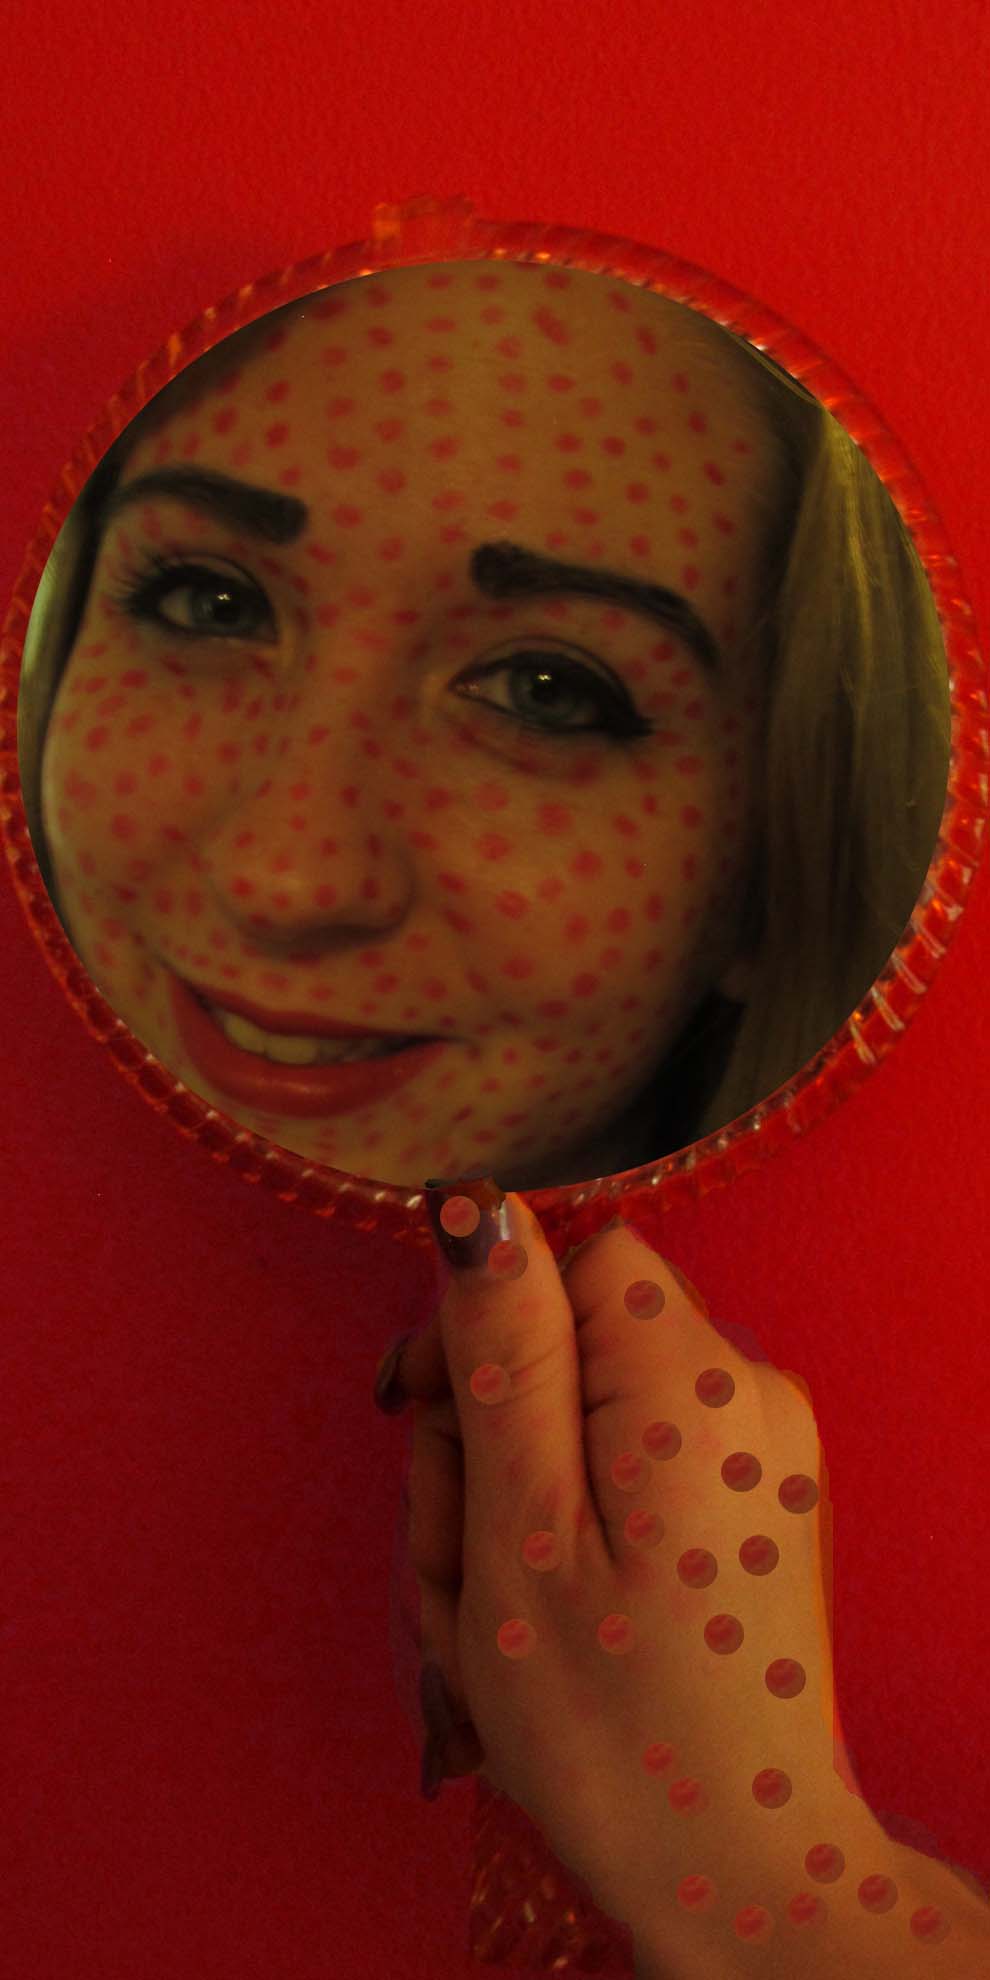 |


Photograph by Grace Statham
|
Portraits


Muti Layer Photo
Once students started to get the hang of the camera settings, how to make an interesting compostion and basic photoshop they are ready to get creative. With the muti layer project, students needed to create three different images, each image needs to be made up of three different photos. Using photoshop students need to select portions of each photo to layer together and create unqiue images. Take a close look and see if you can see each of the different photos the student have selected.


Depth of Field
|
|
Depth of field is the distance between the nearest and farthest objects in a photo that appear sharp in an image. Students experimented with different f-stops to capture photos with everything in focus and photos with only one important part of the image in focus.
|


Shutter Speed and Capturing Motion
|
|
To better understand how to use all the functions of a camera, the photography class was challenged to capture motion. To do this, they needed to adjust the shutter speed and understand that the longer the shutter is open, the more movement (blur) the camera would capture. The shorter the shutter speed, the more crisp the photos would be.
Students then tried to create interesting images using shutter speed, their knowledge of the elements of art, and compositional techniques. |


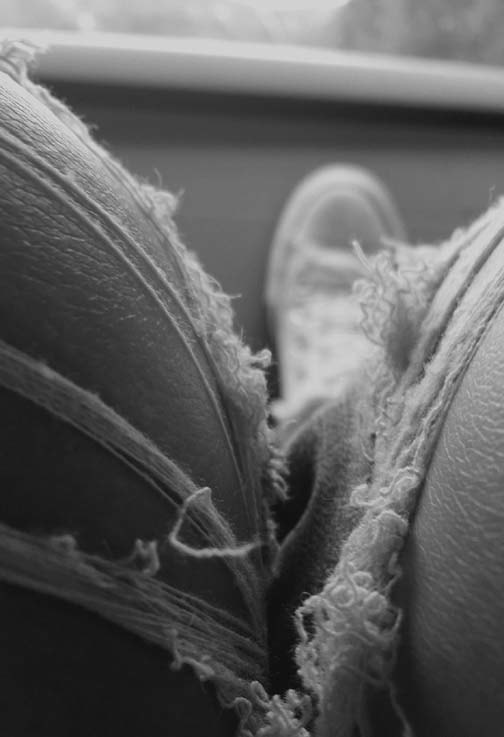
Line, Shadow and Texture


2014-2015 School Year...
Multi Layer Photo
Once students started to get the hang of the camera settings, how to make an interesting compostion and the basics of photoshop, they were ready to get creative. With the multi-layer project, students needed to create three different images. Each image needed to be made up of three different photos. Using photoshop, students needed to select portions of each photo to layer together and create unique images. Take a close look and see if you can see each of the different photos the students have selected.


Depth of Field


Motion
Texture


Line and Shadow

2014-2015 School Year...
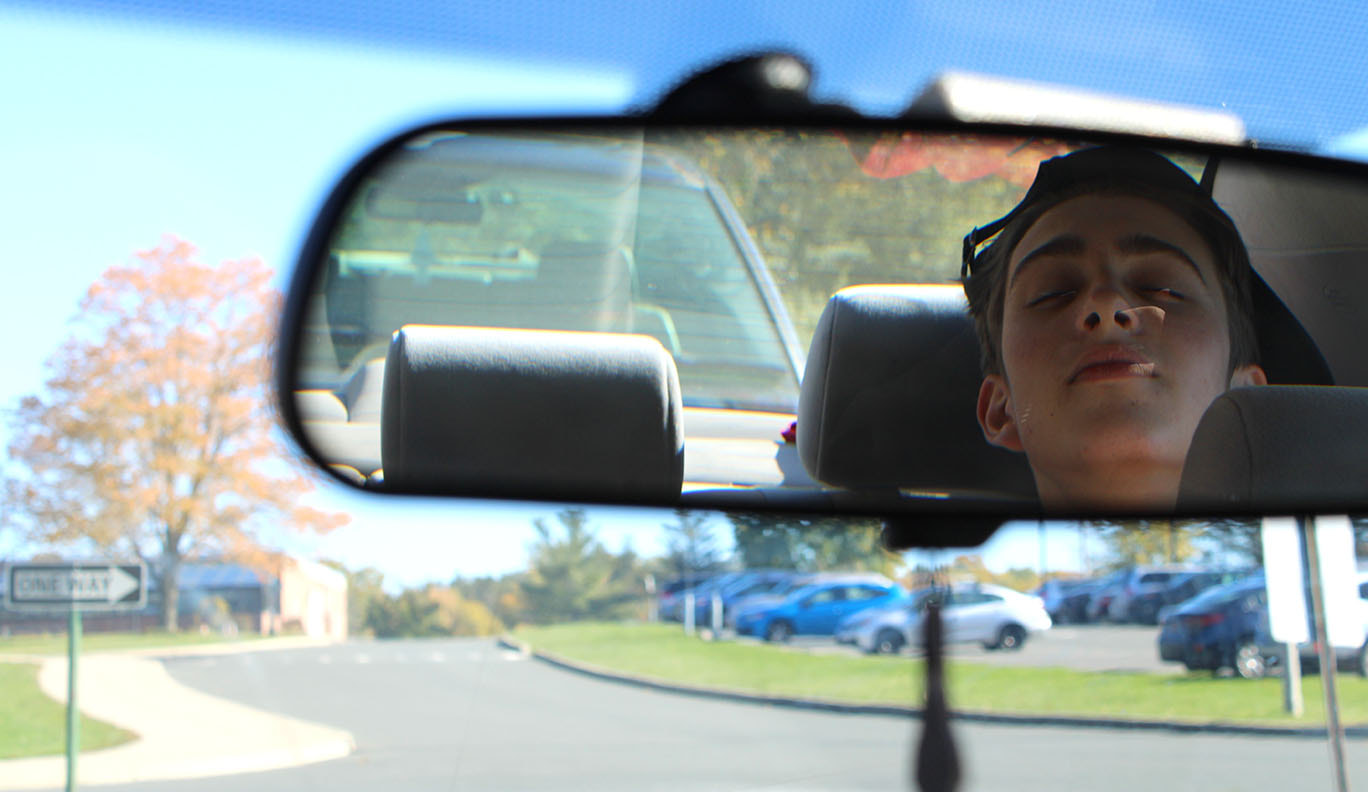
Portraits
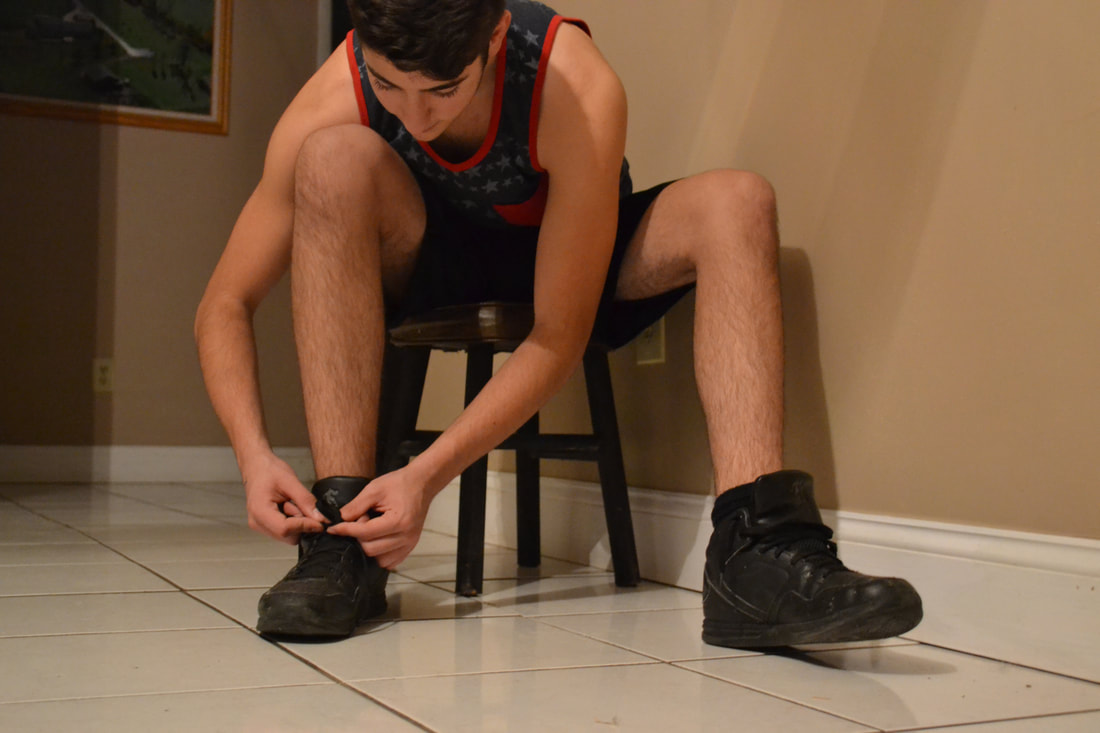
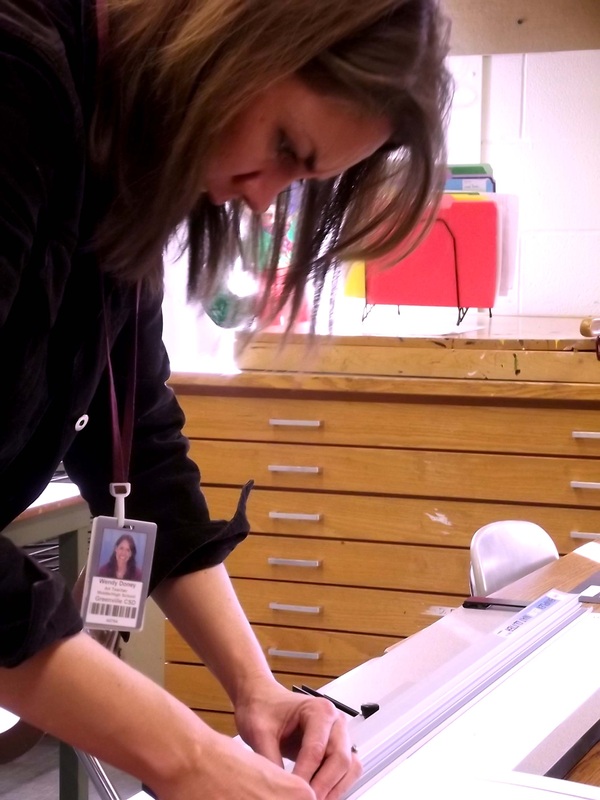
Students are challenged with capturing a wide range of portraits. Each student needed to photograph a candid, movement, serious, reflection, back lit, close-up, awkward, environmental portrait. Each student had their own take on the category and all especially liked taking candid portraits. Here is a selection from their work. Students also have a great joy in photographing their teachers. A special thank you to all the teachers who allowed them to take multiple portraits!


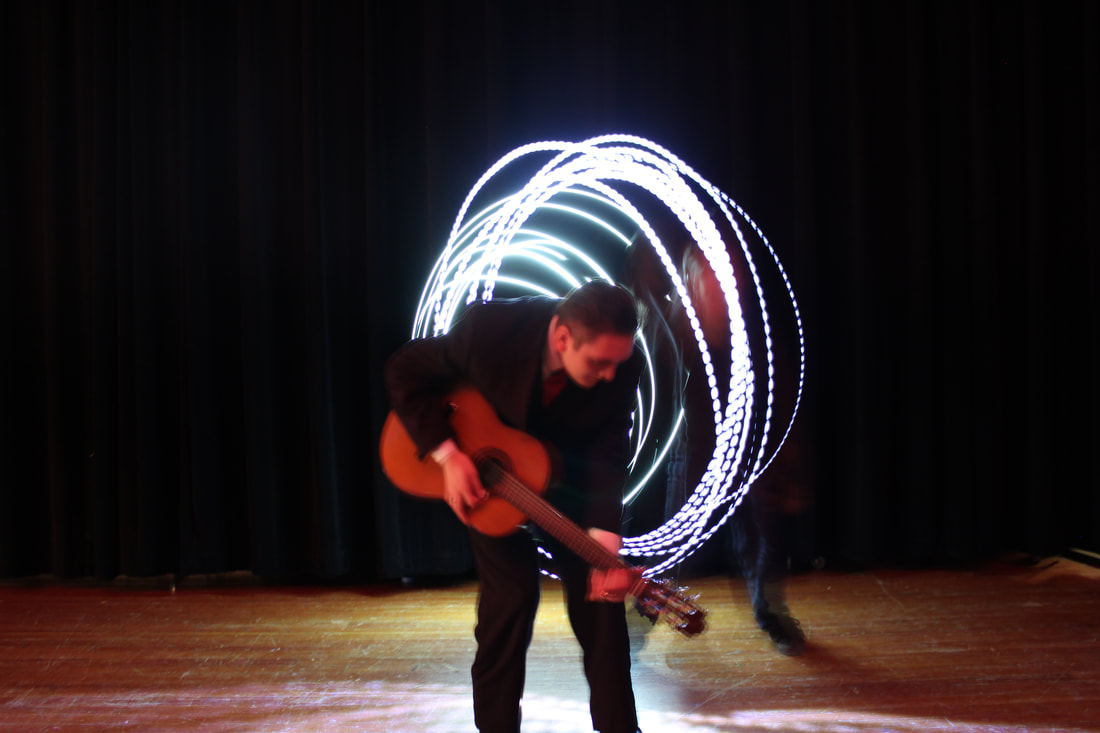
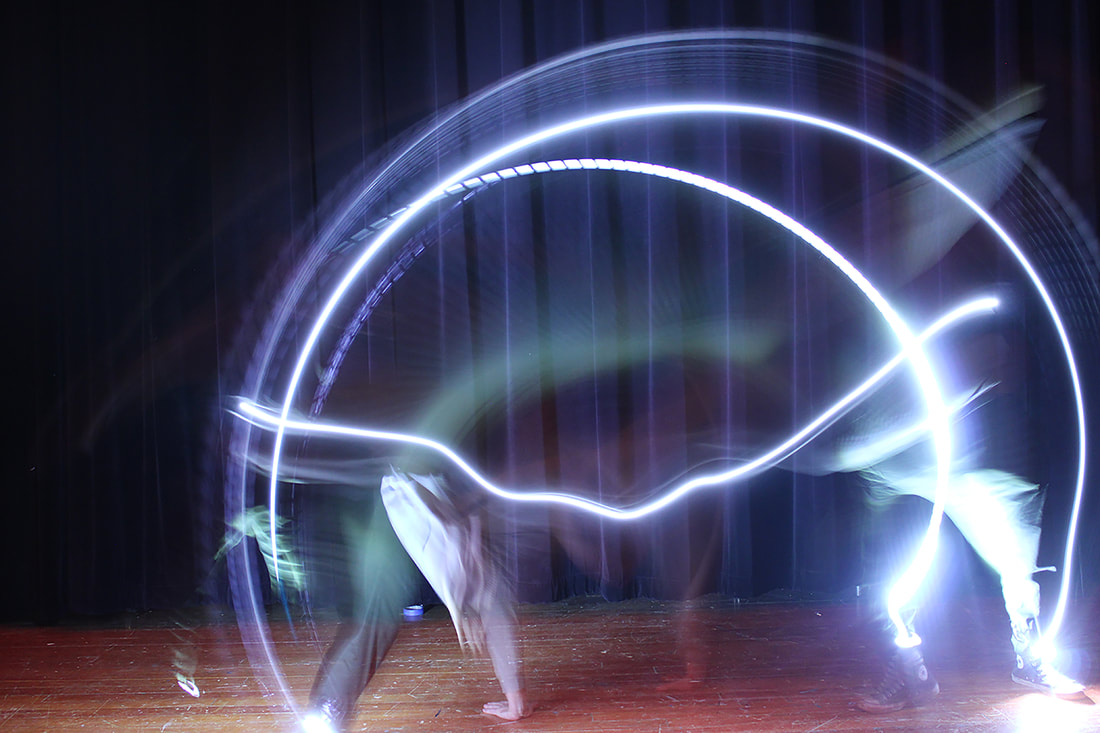
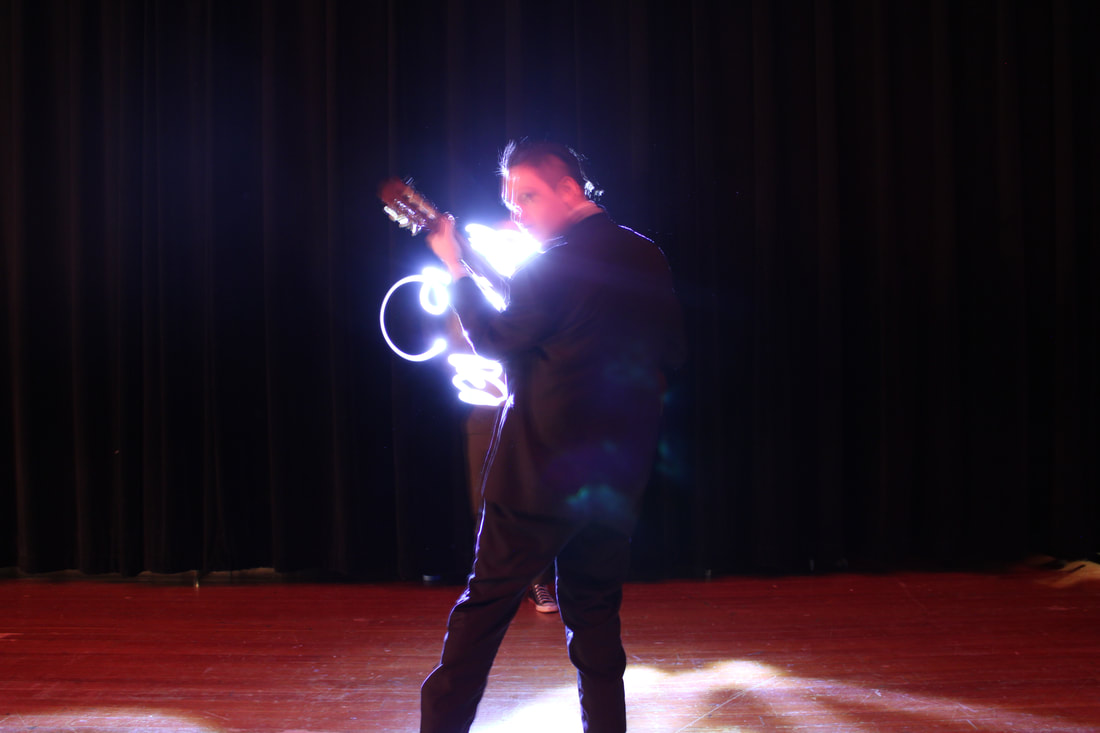
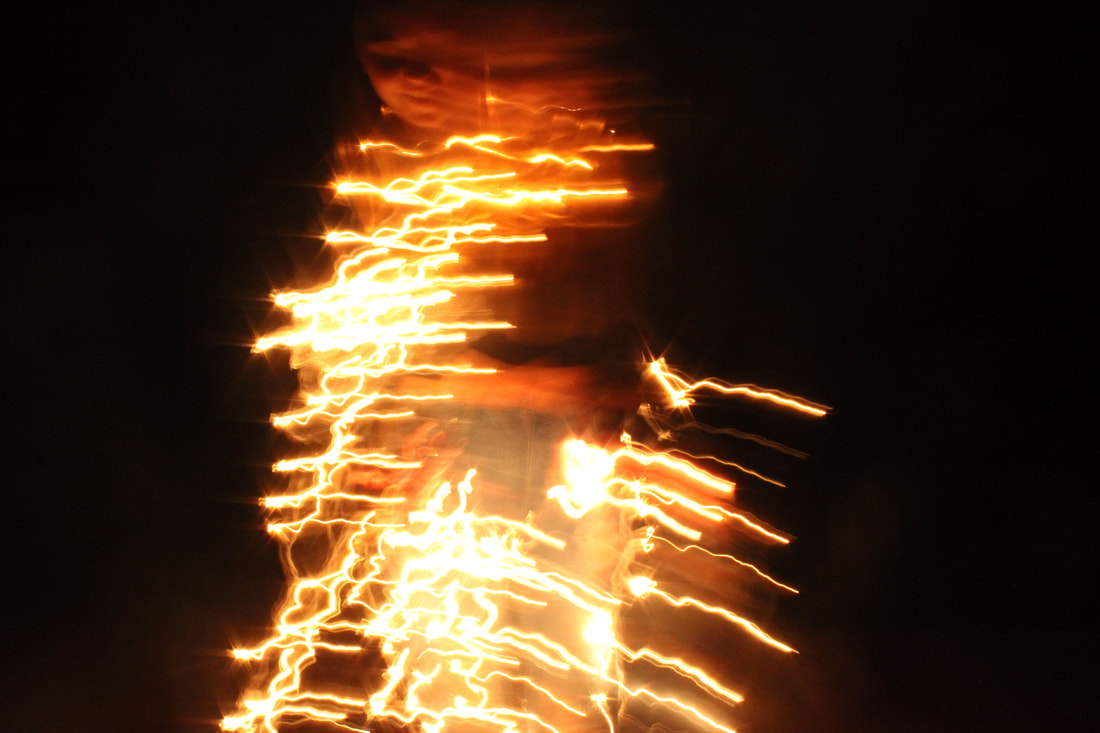
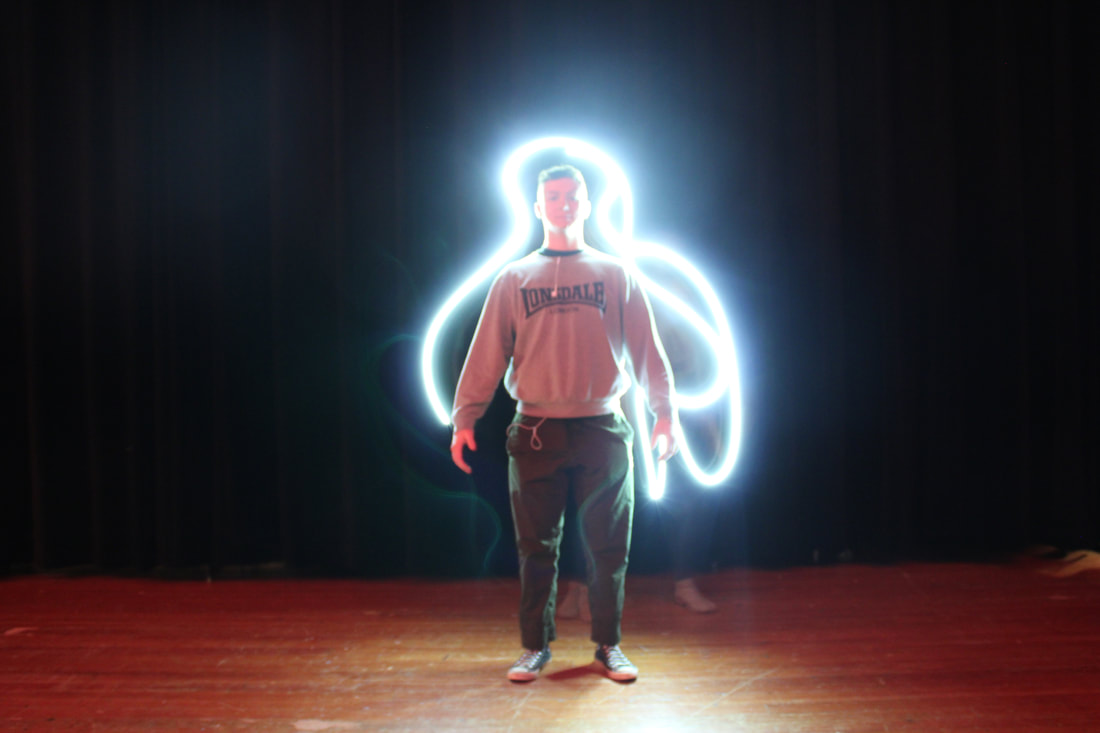
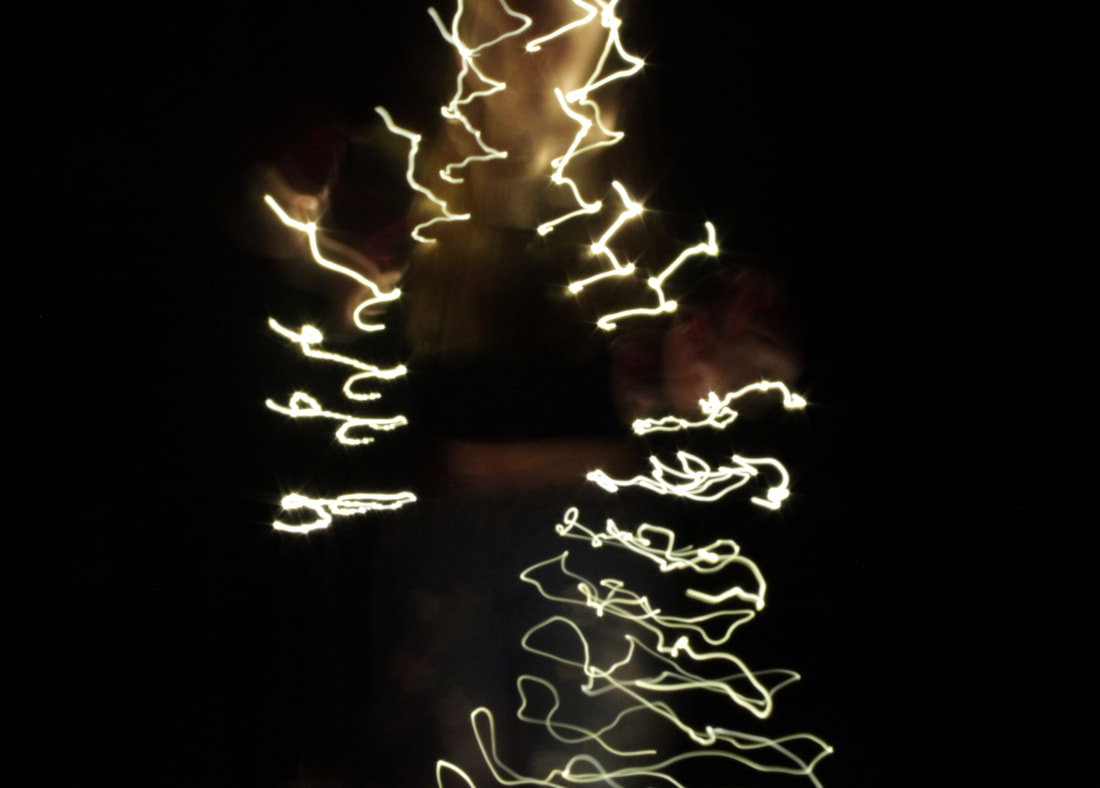
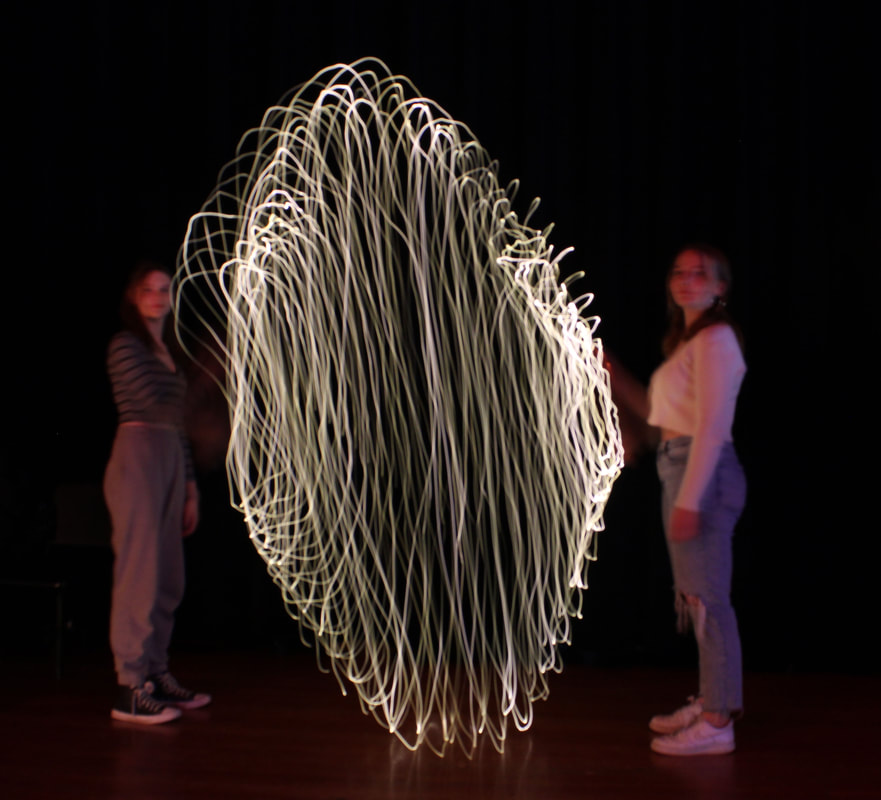
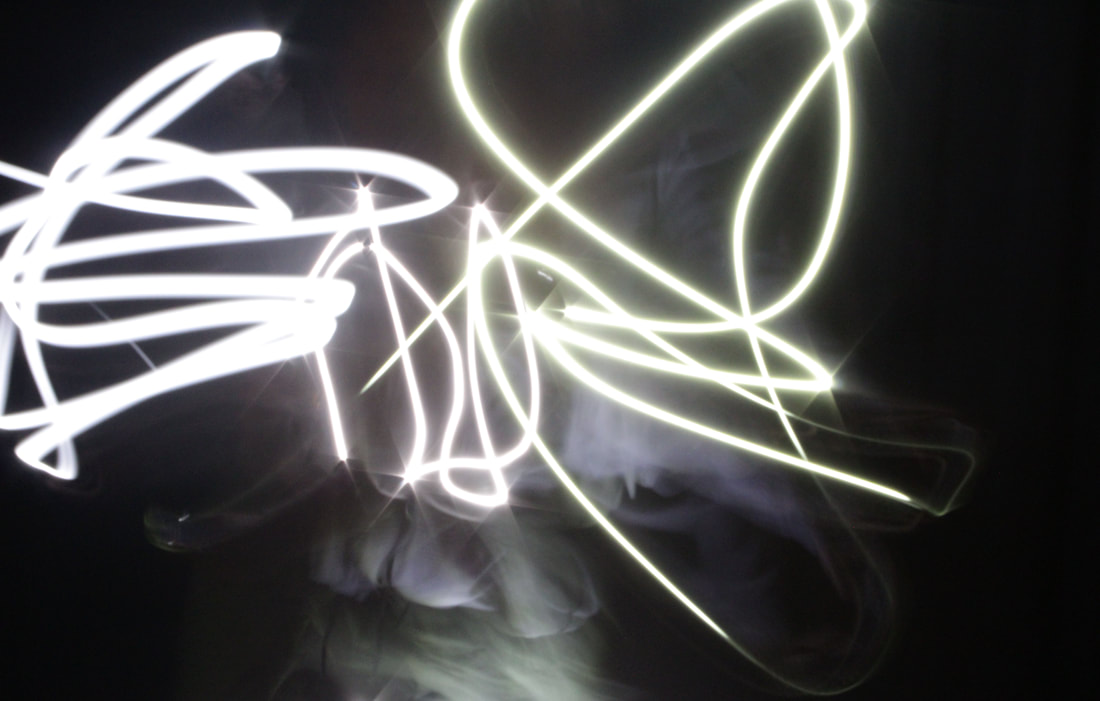
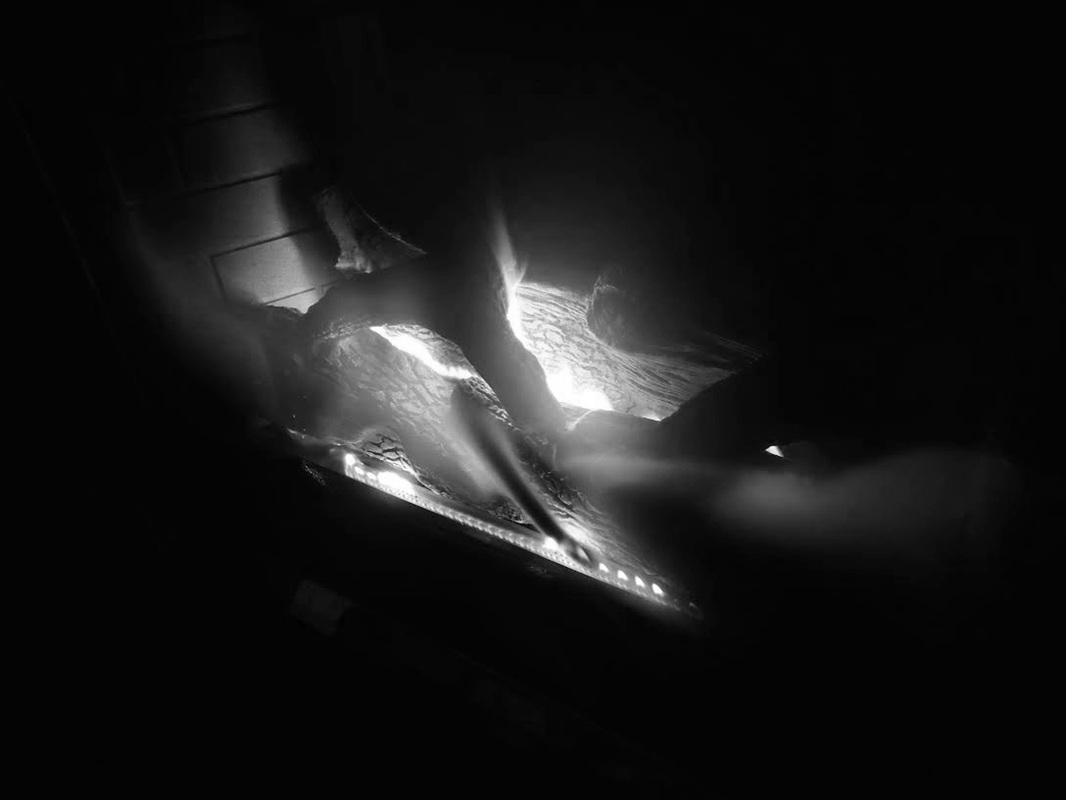
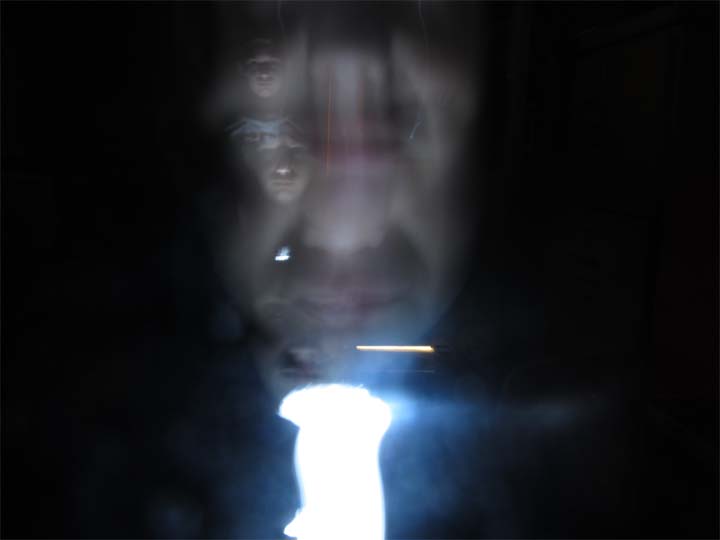
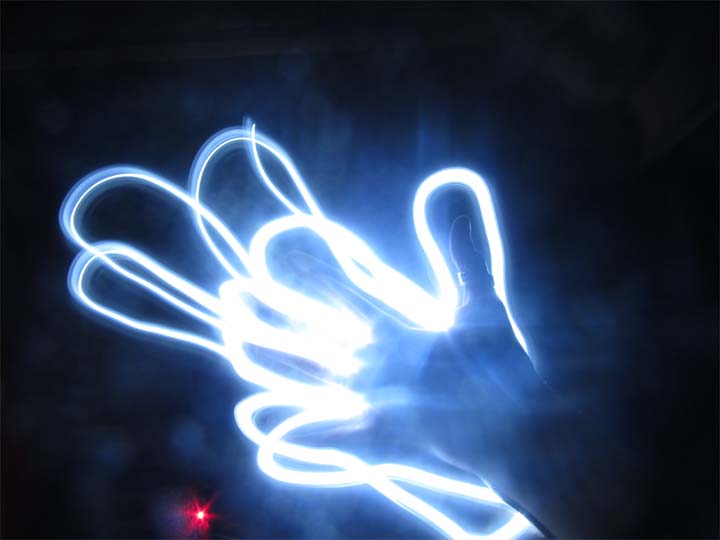
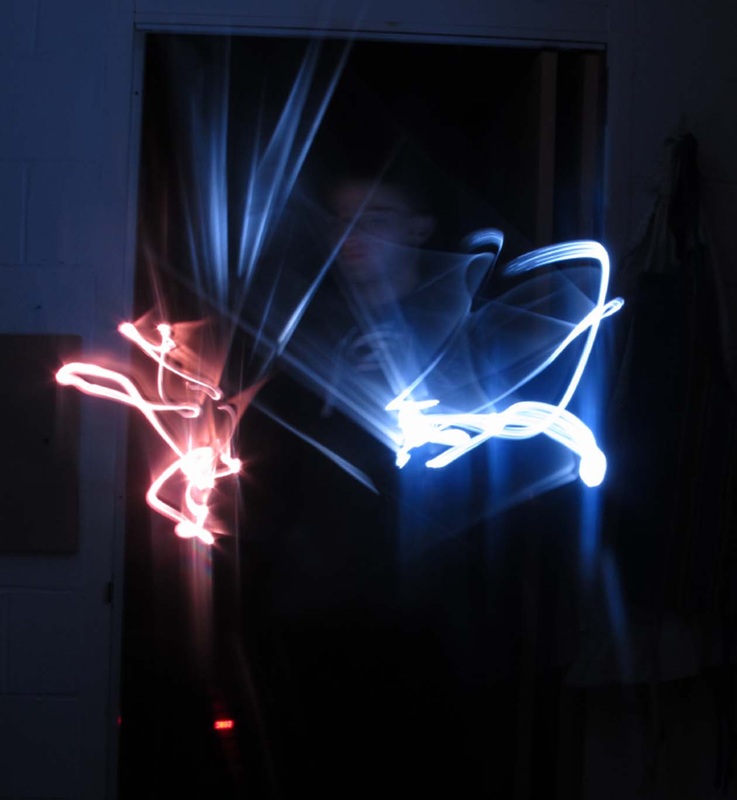
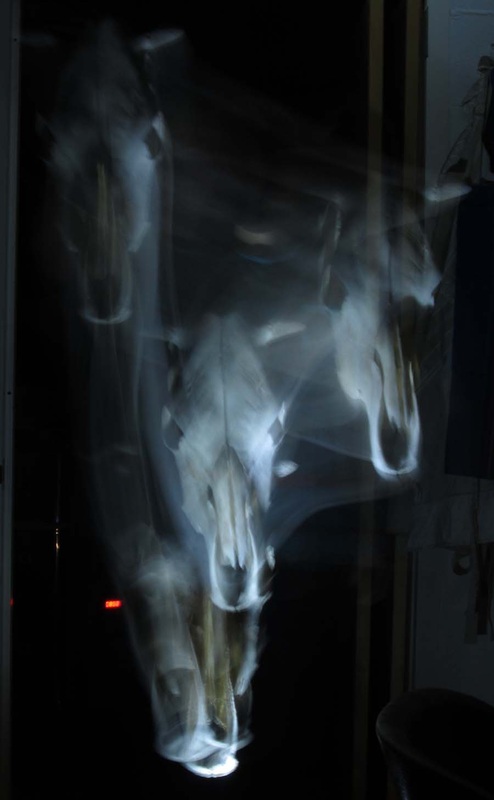
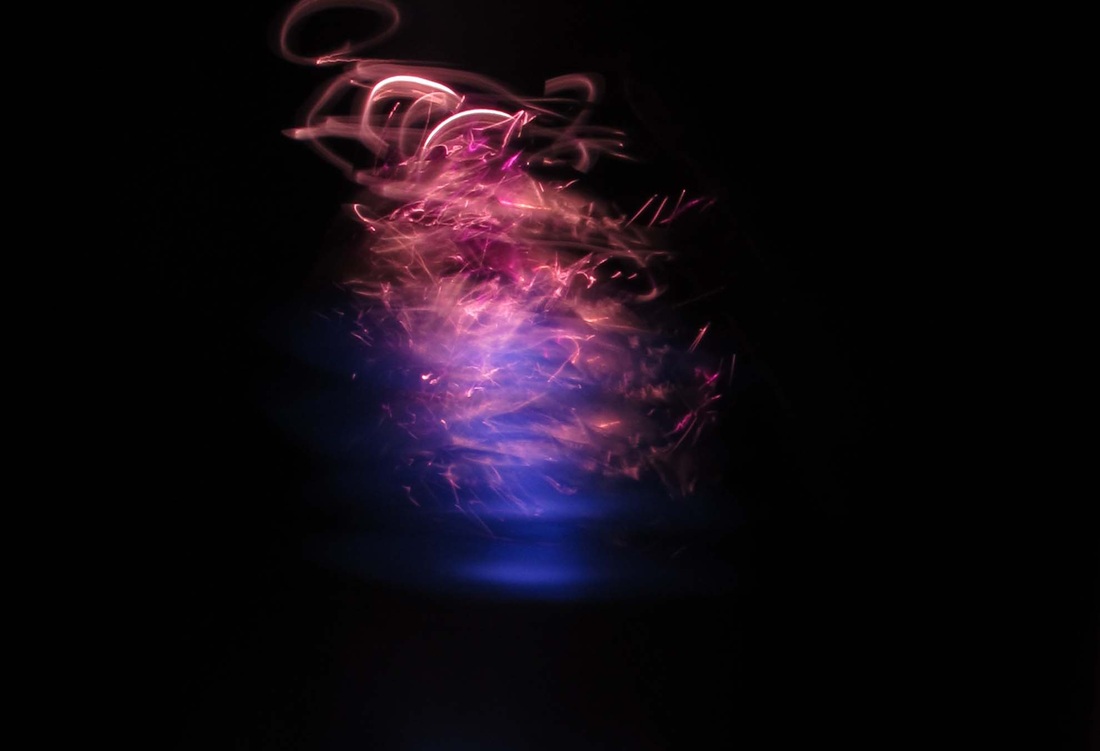
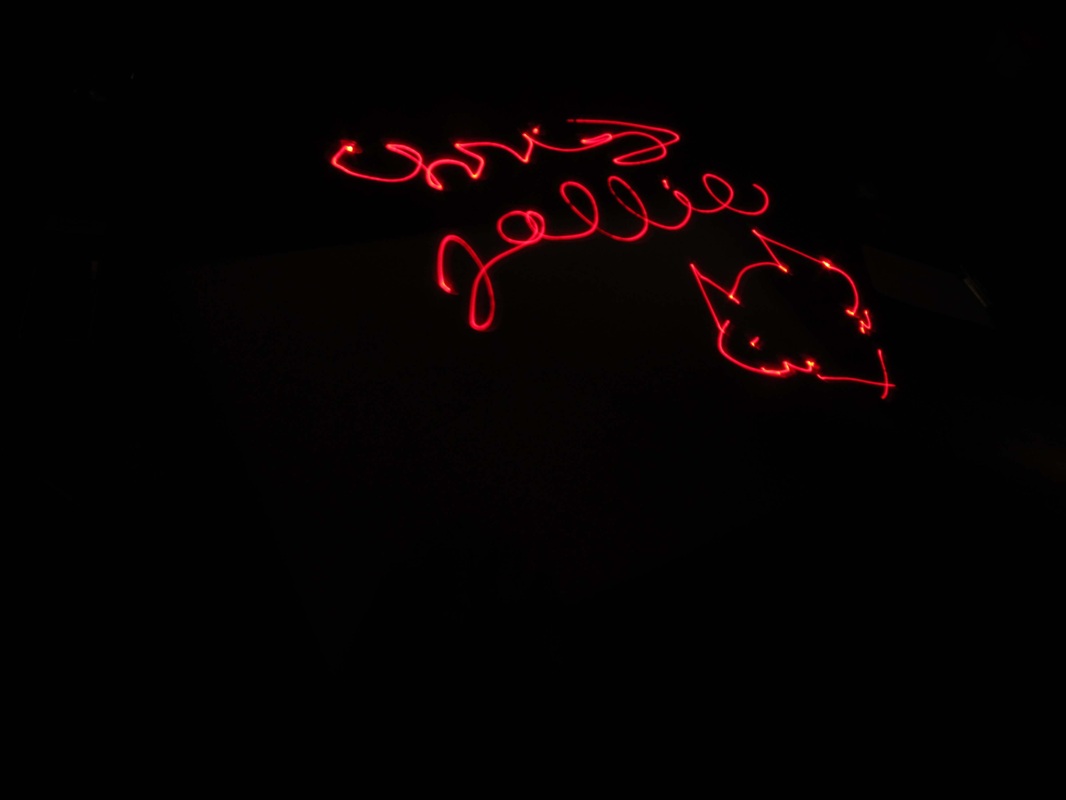
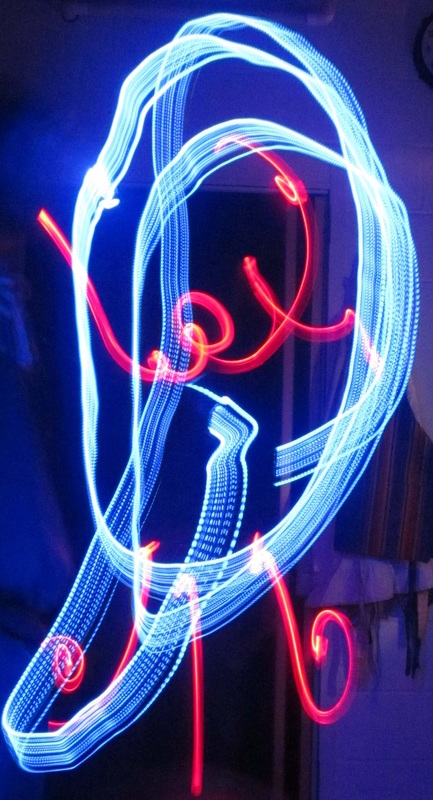
Light Painting
Students learn how to control the shutter speed and aperture of their cameras to capture images of light and light in the darkness.


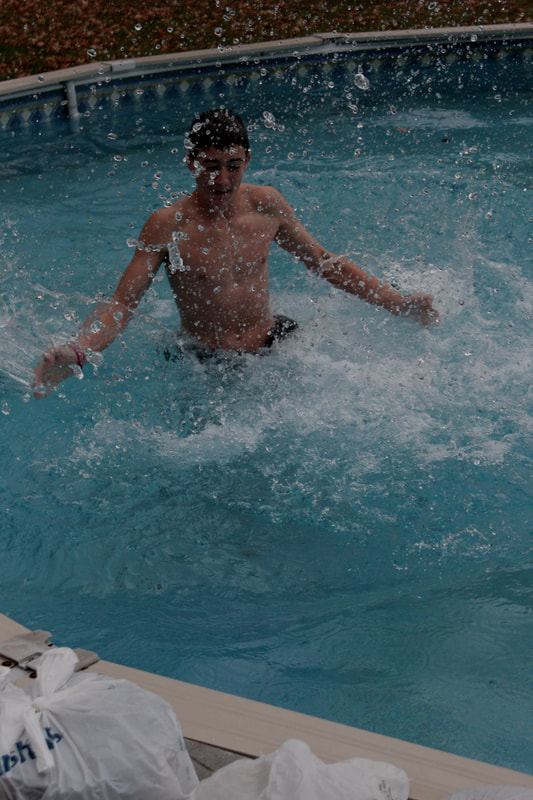
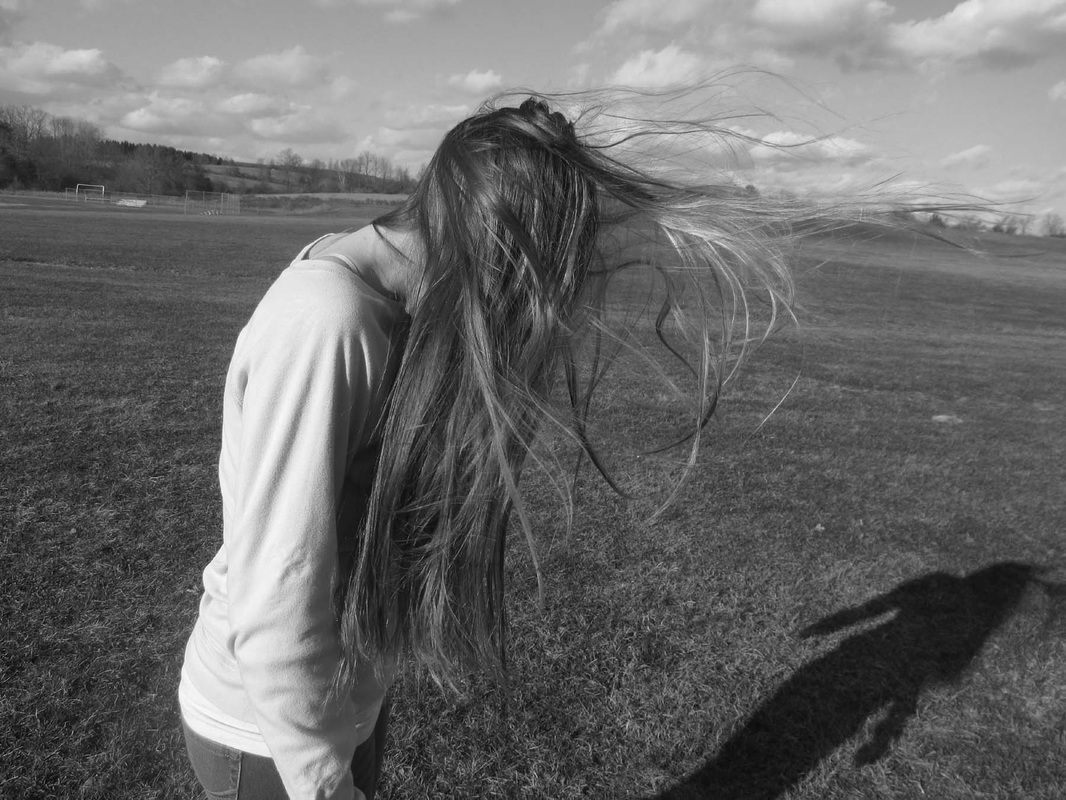
Capturing Motion
Students used settings on the camera to capture motion. Students could capture freeze frames of movement or could set cameras to capture motion with a longer exposure and reveal the blur of objects moving.


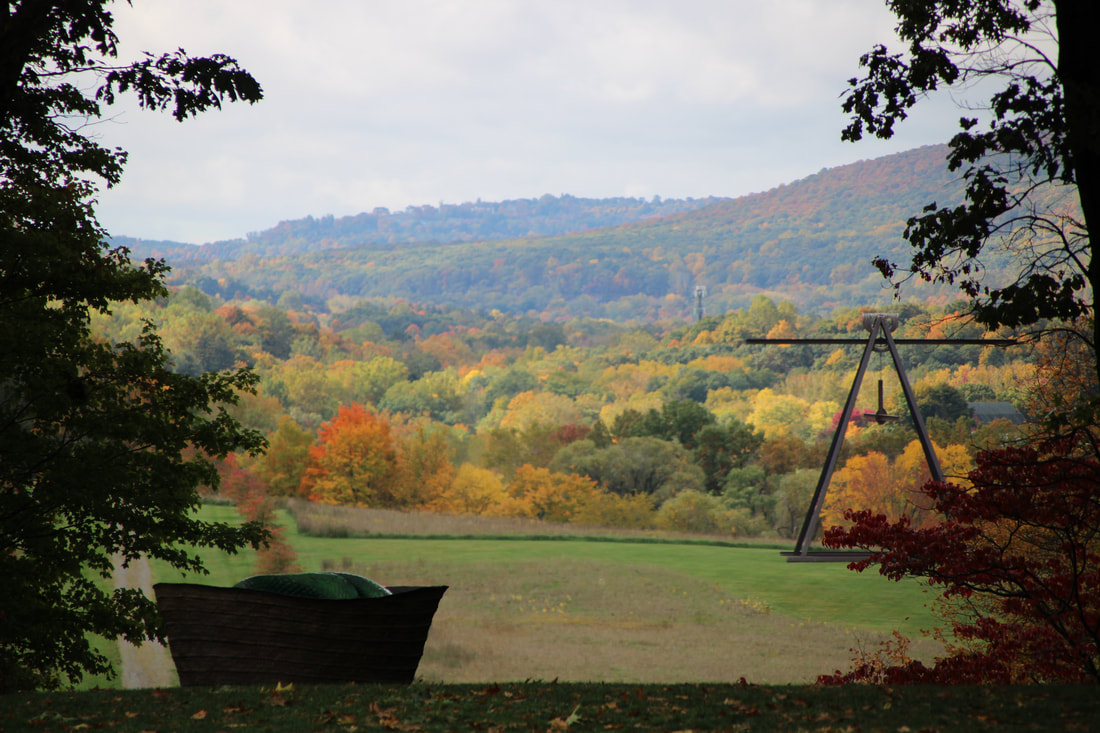
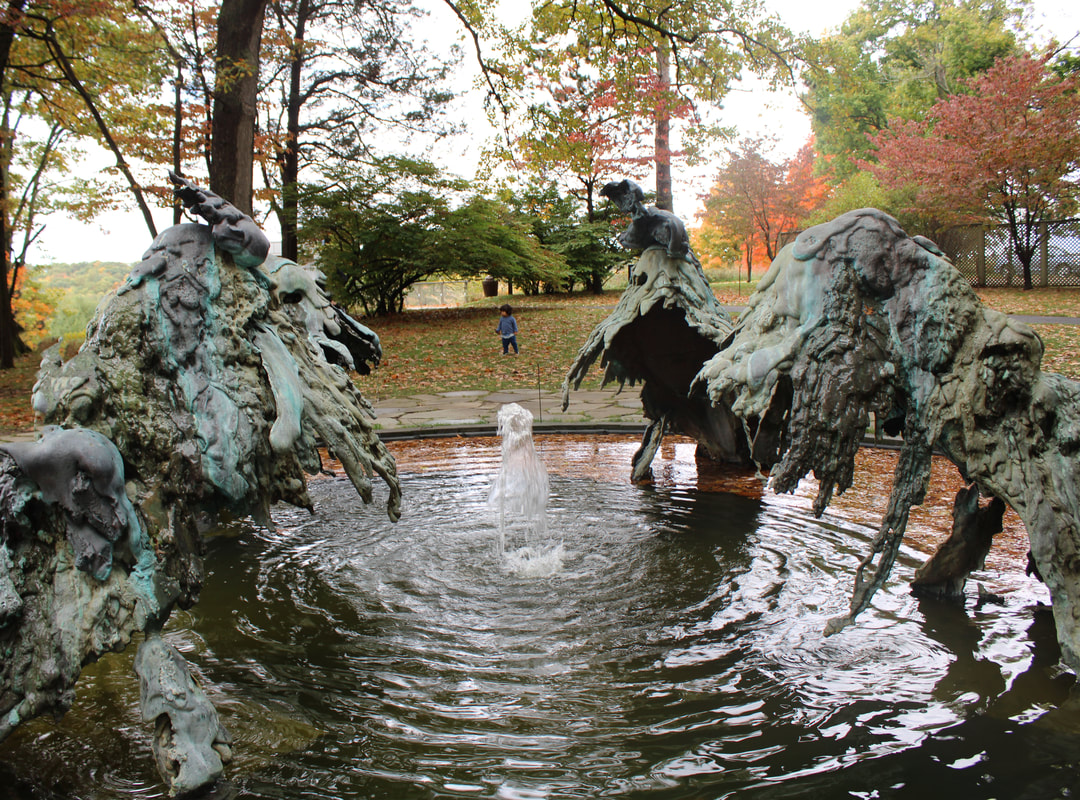
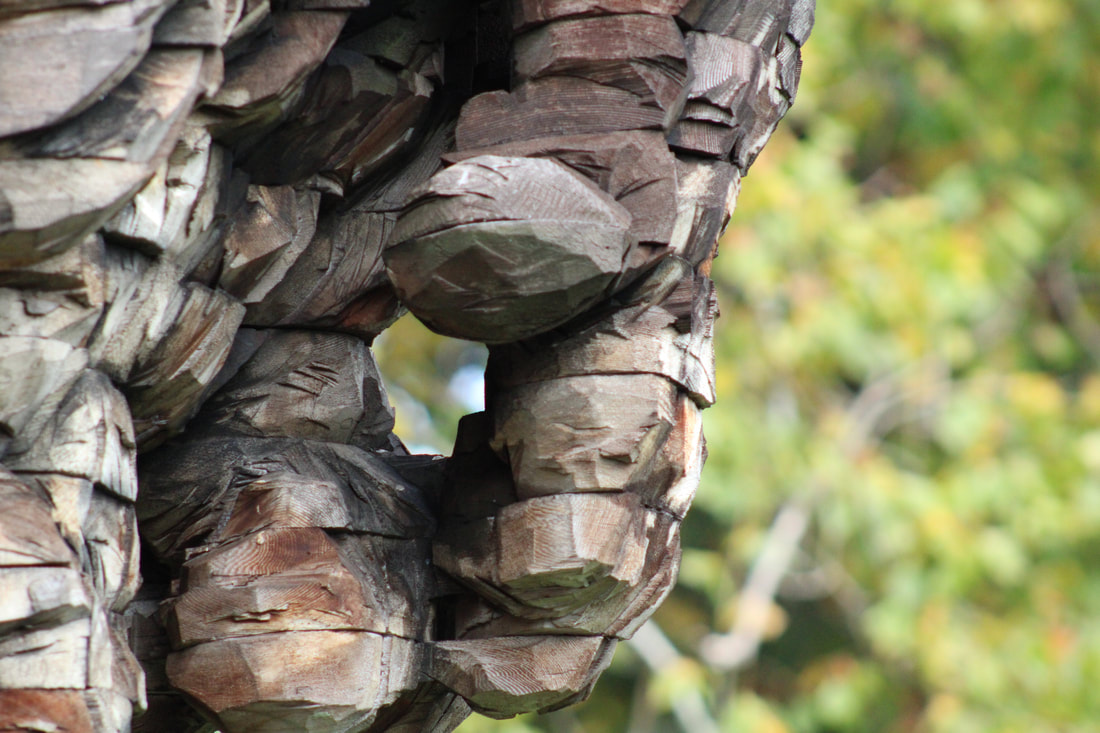
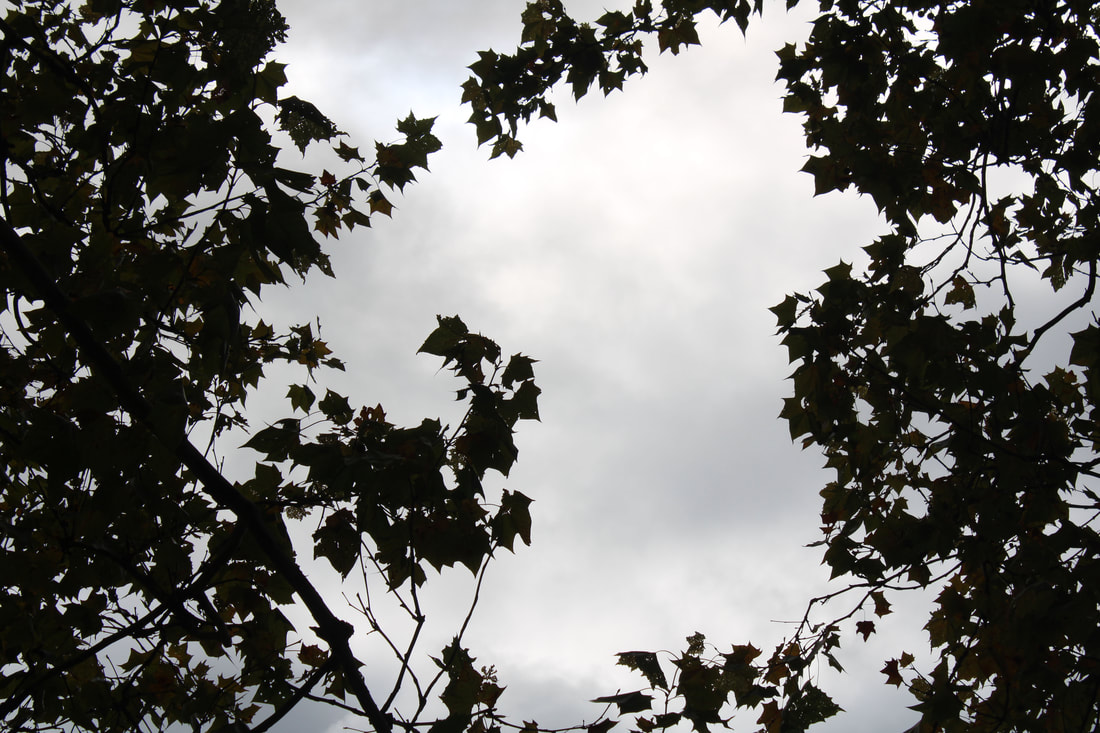
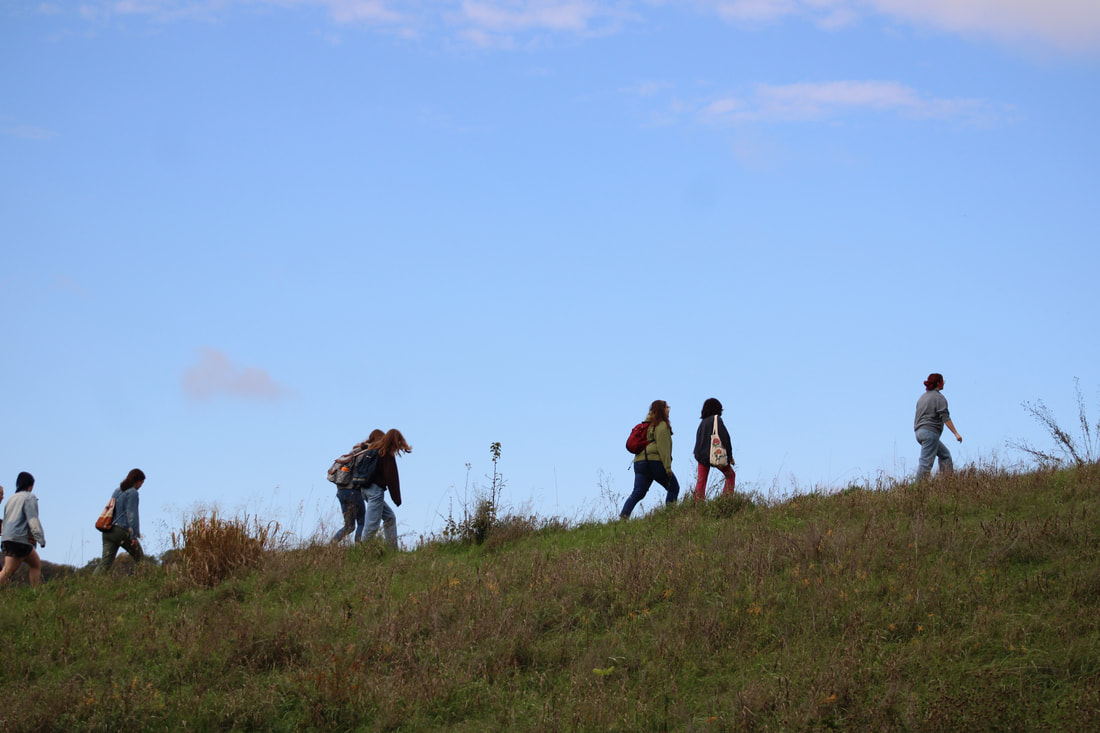
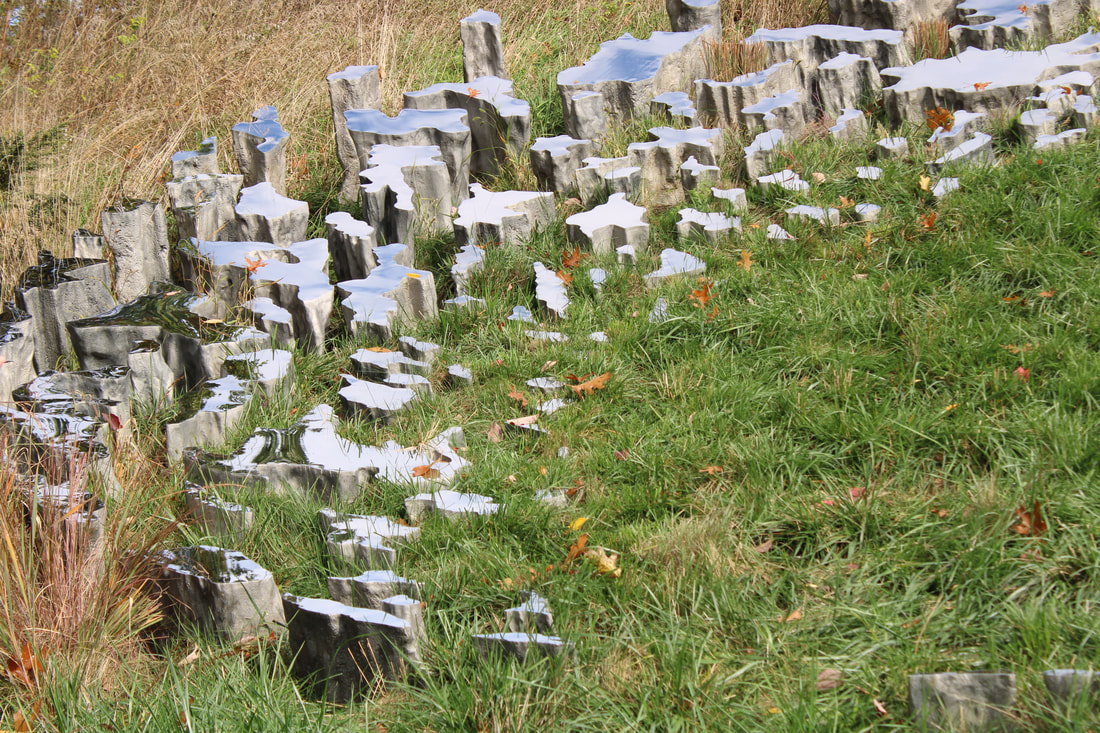
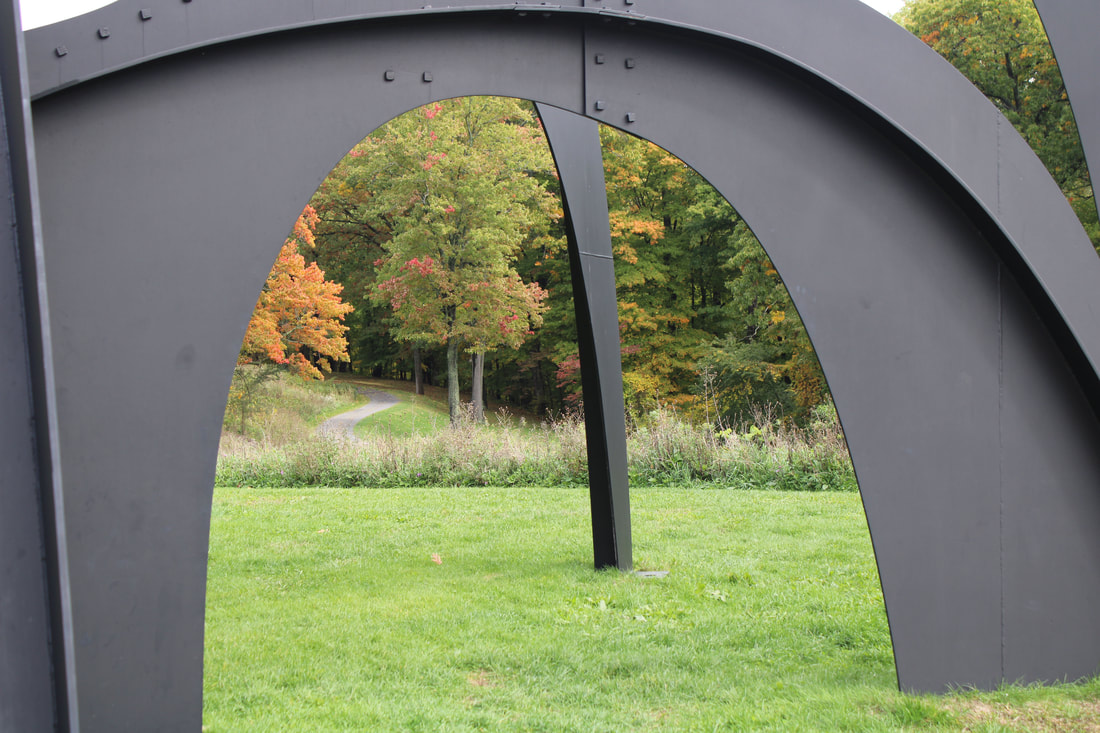
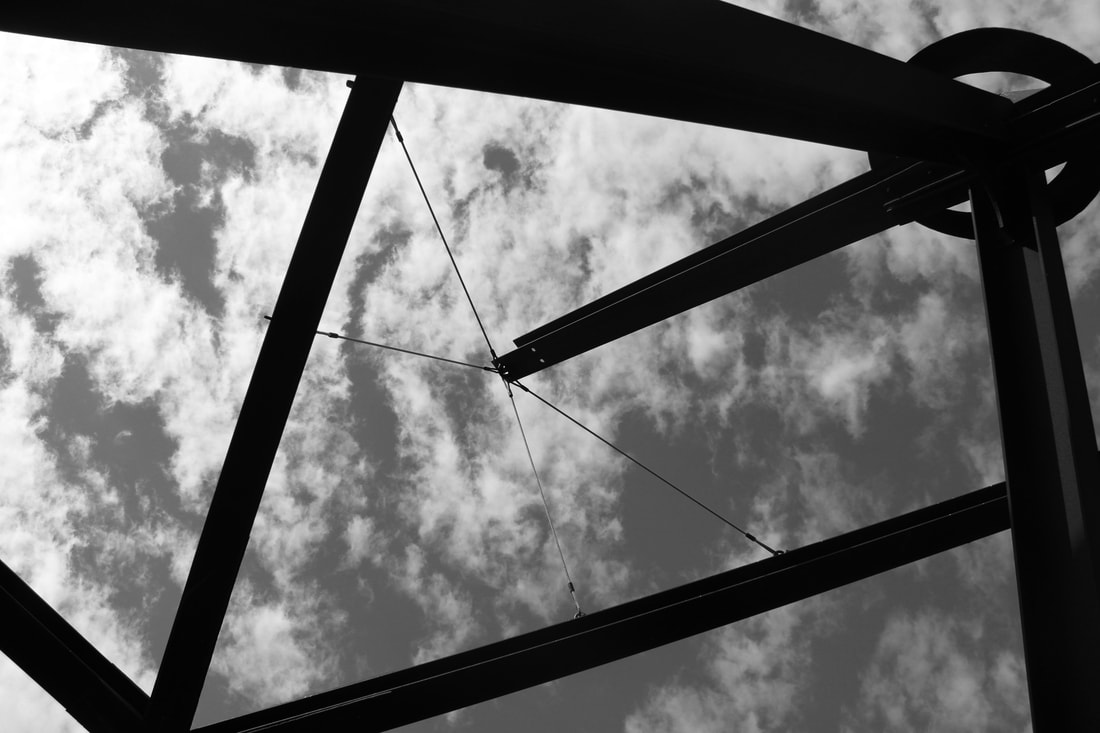
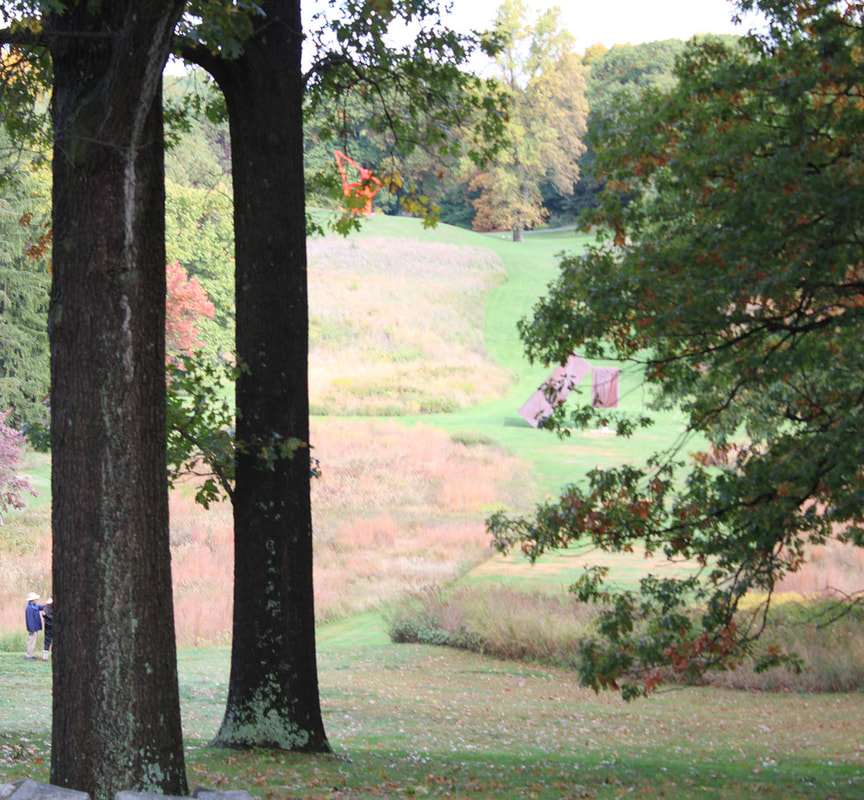
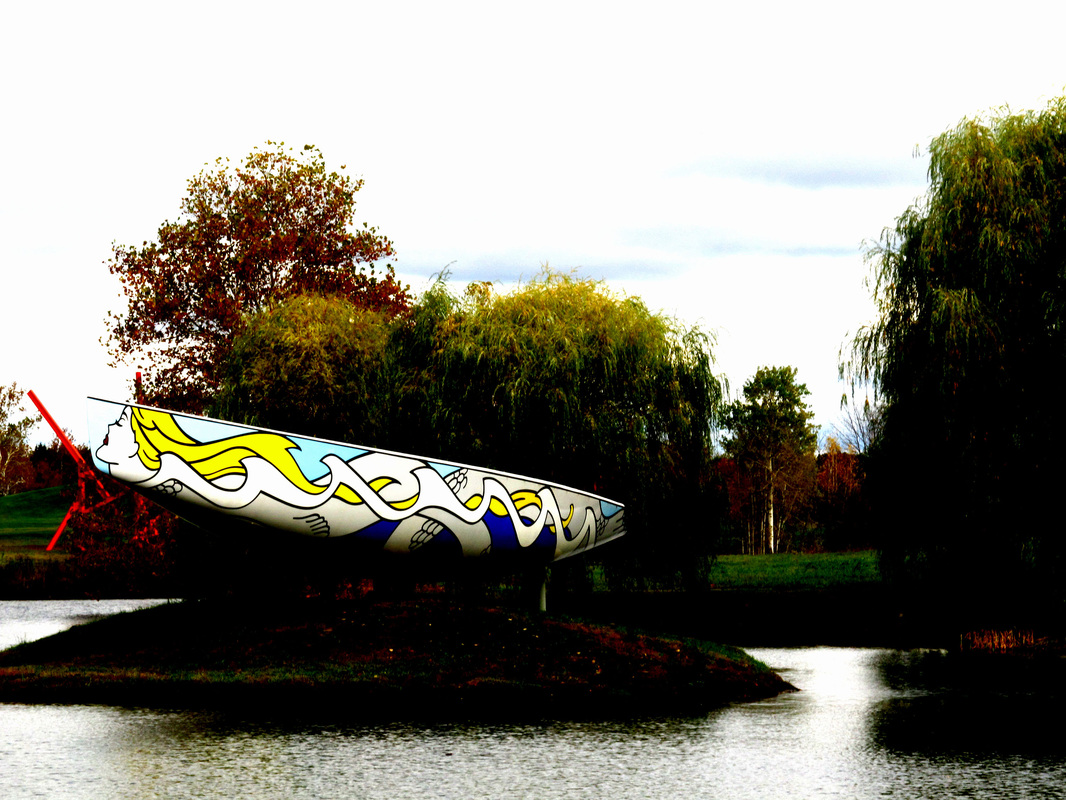
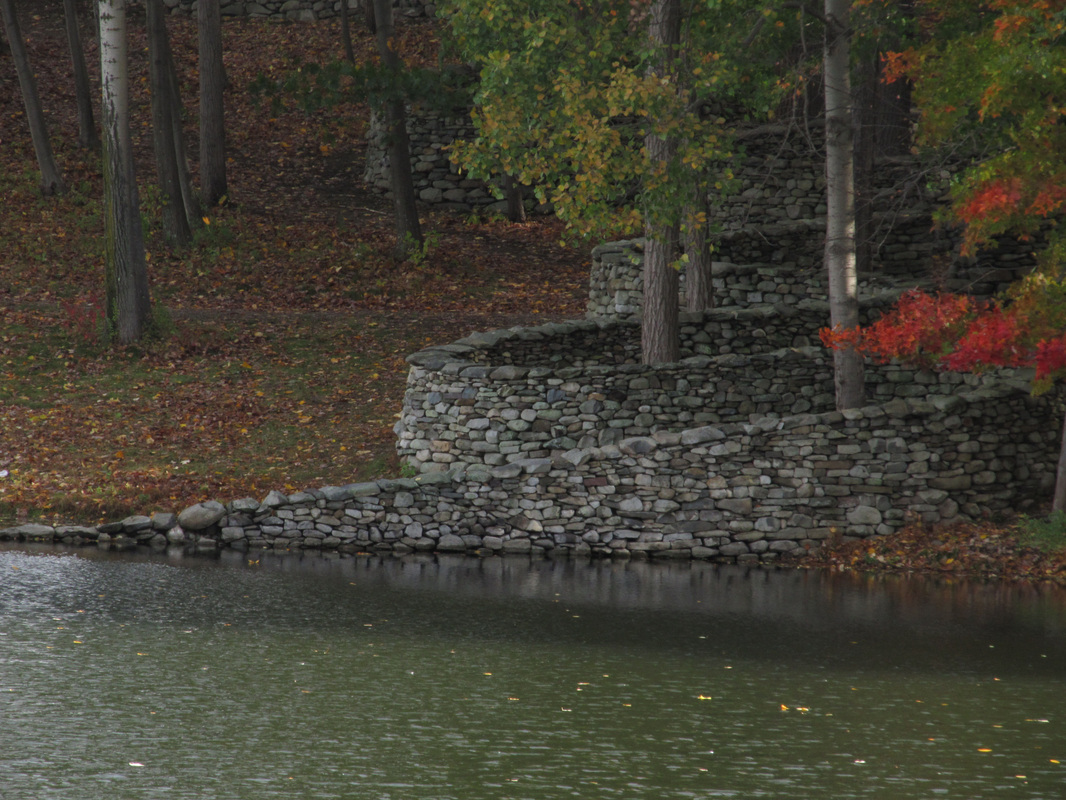
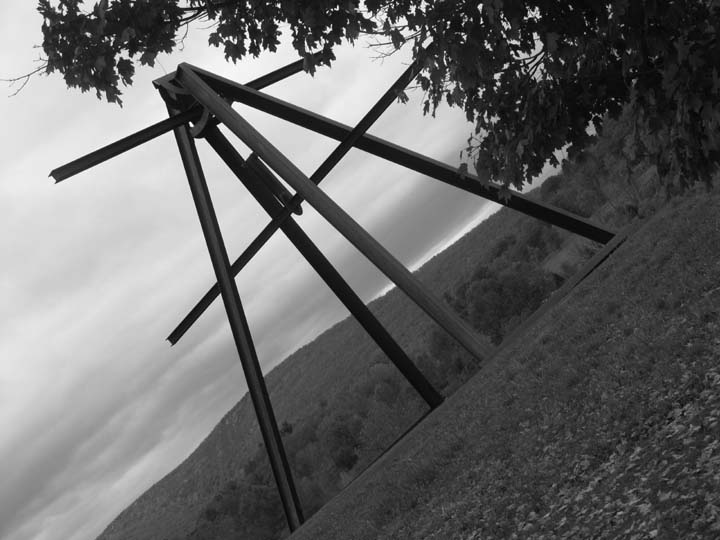
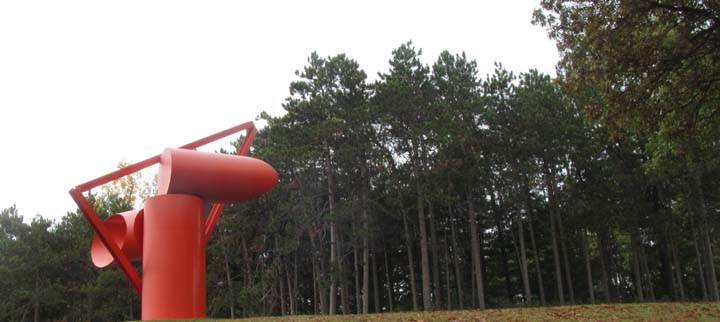
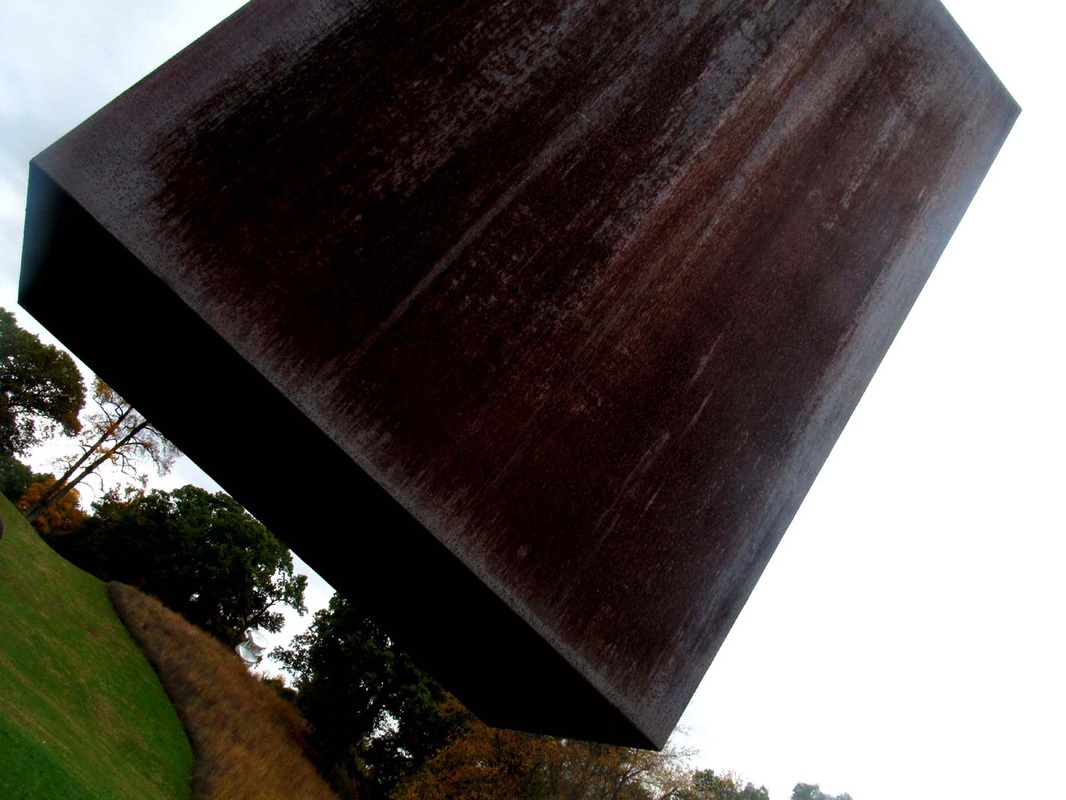
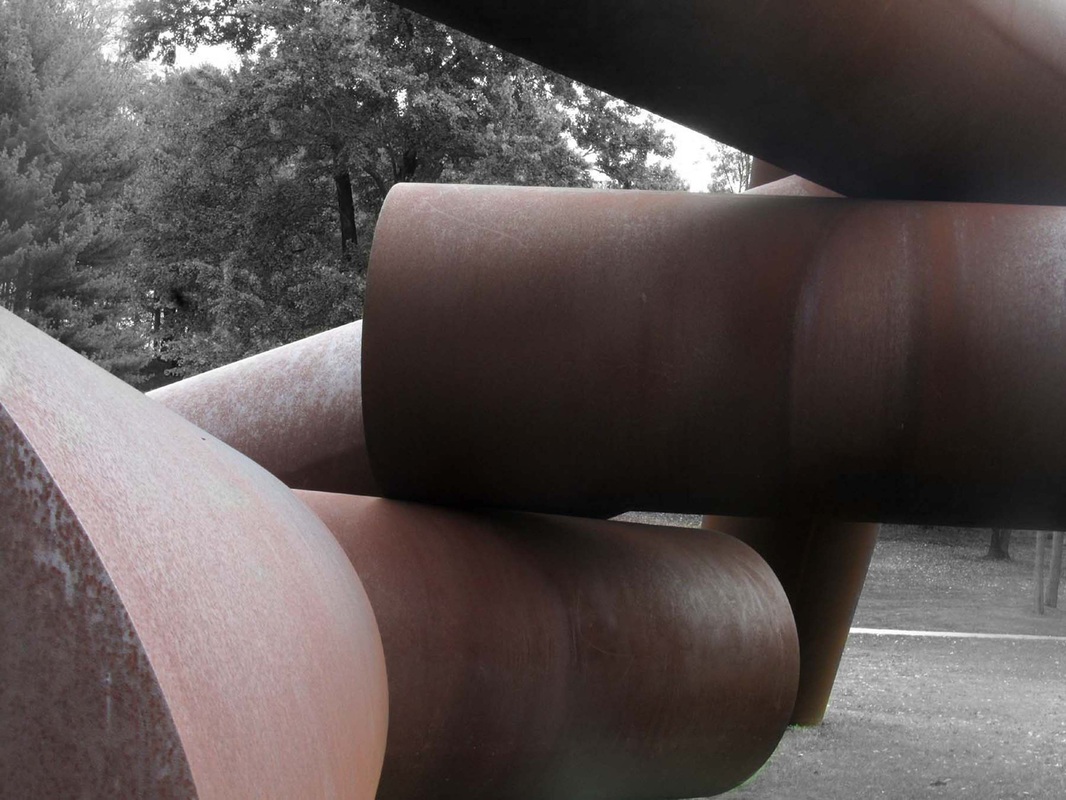
Storm King Sculpture Park
The photo class took a field trip to Storm King Sculpture Park, allowing them to experience the Modern and Contemporary sculpture in the natural world. They documented the trip with their photos.


Depth of Field
Adjusting the aperture allows a photographer to focus on a specific area in a photo, or keep everything in focus. Students practiced working with aperture creating photos with deep depth of field (everything in focus) or shallow depth of field (only one section in focus).
Selective coloring was introduced using layers in Photoshop, allowing students to highlight parts of their photos.
Selective coloring was introduced using layers in Photoshop, allowing students to highlight parts of their photos.
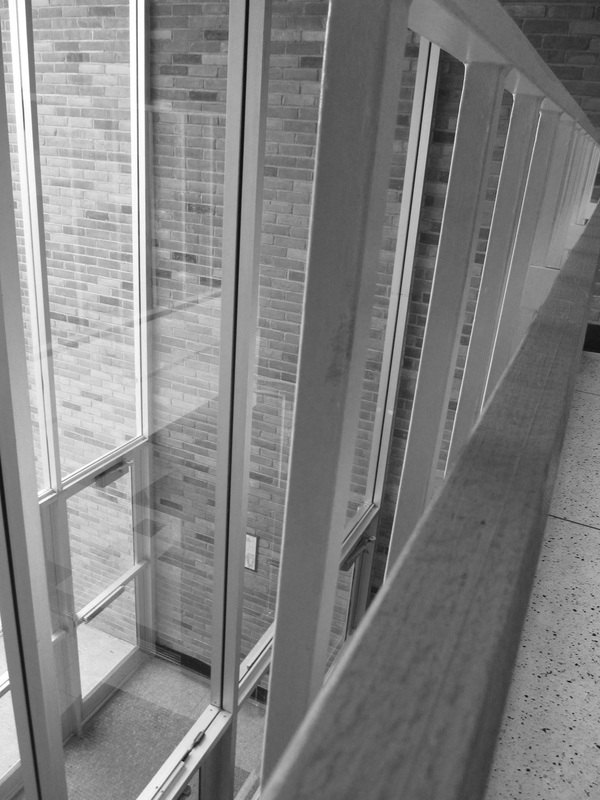
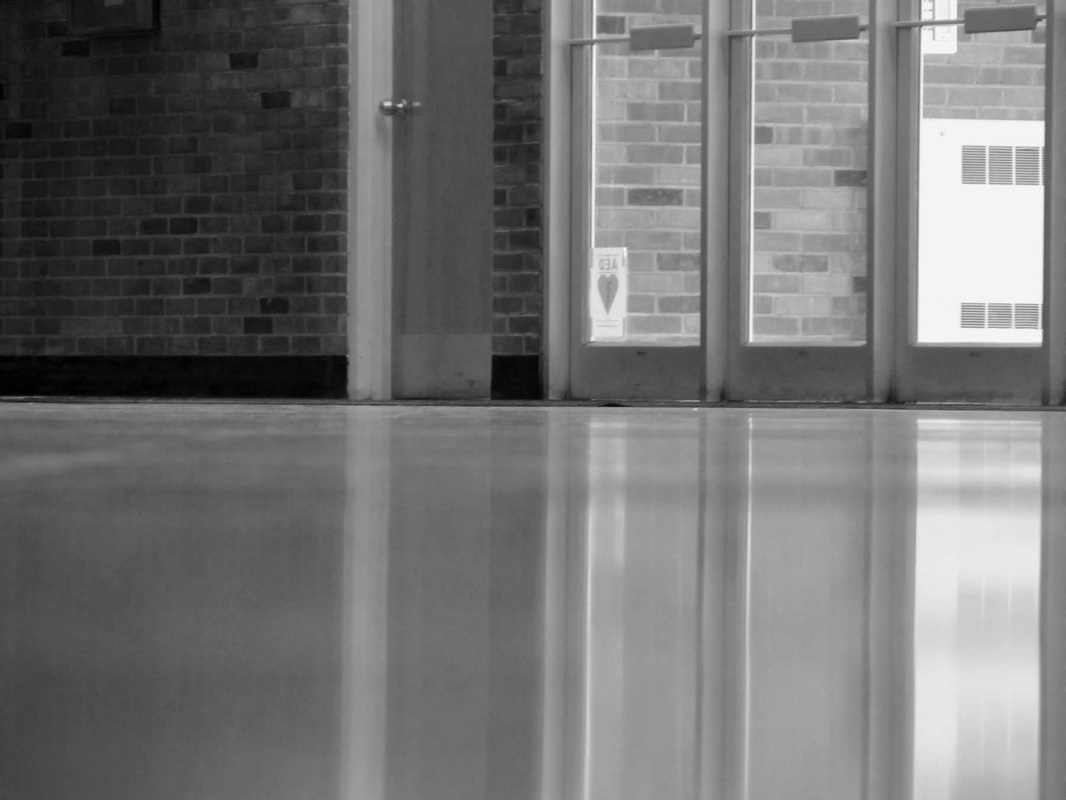
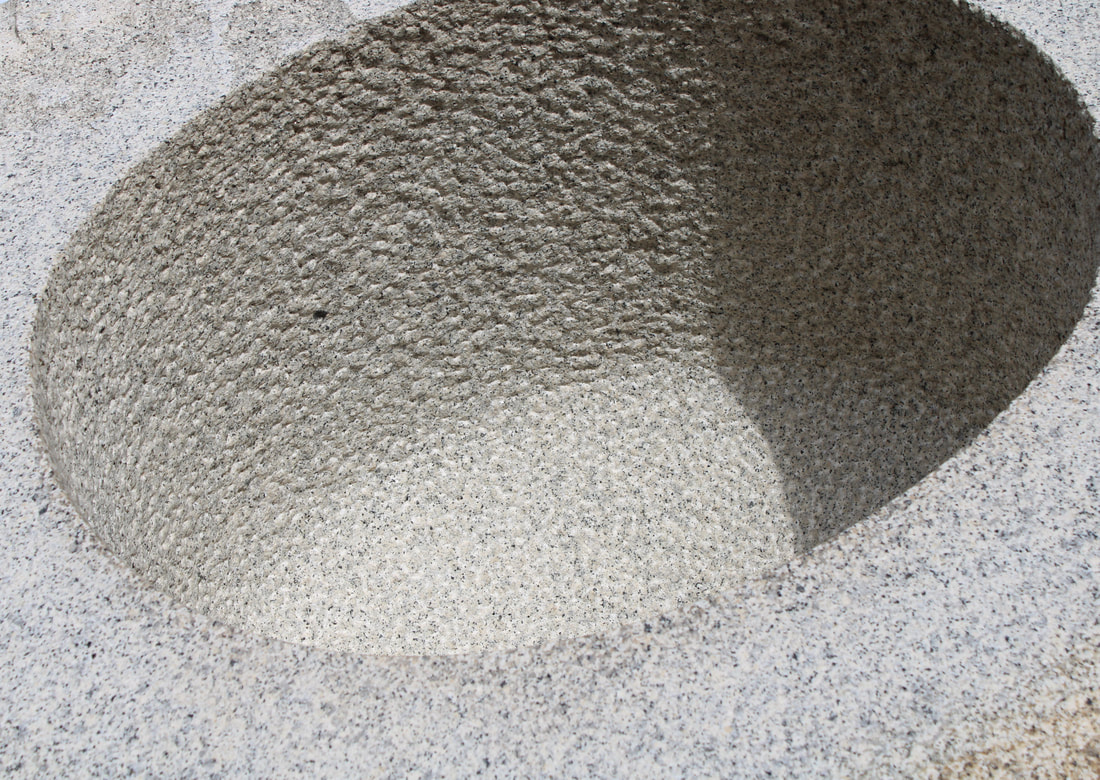
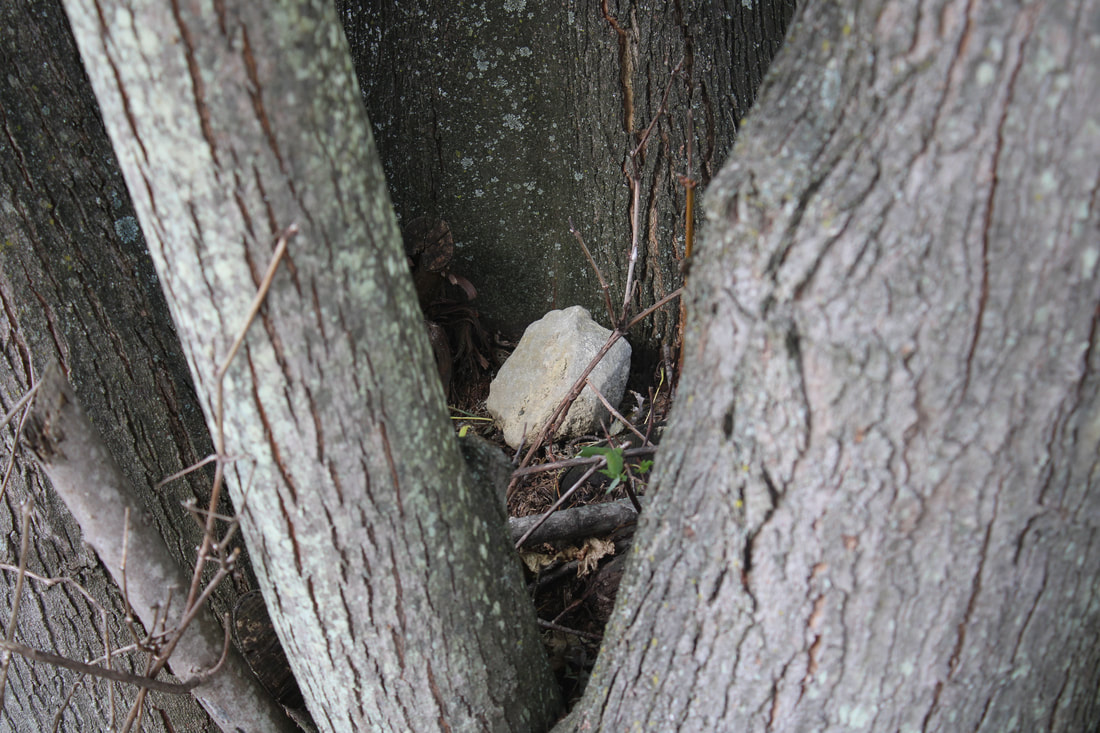
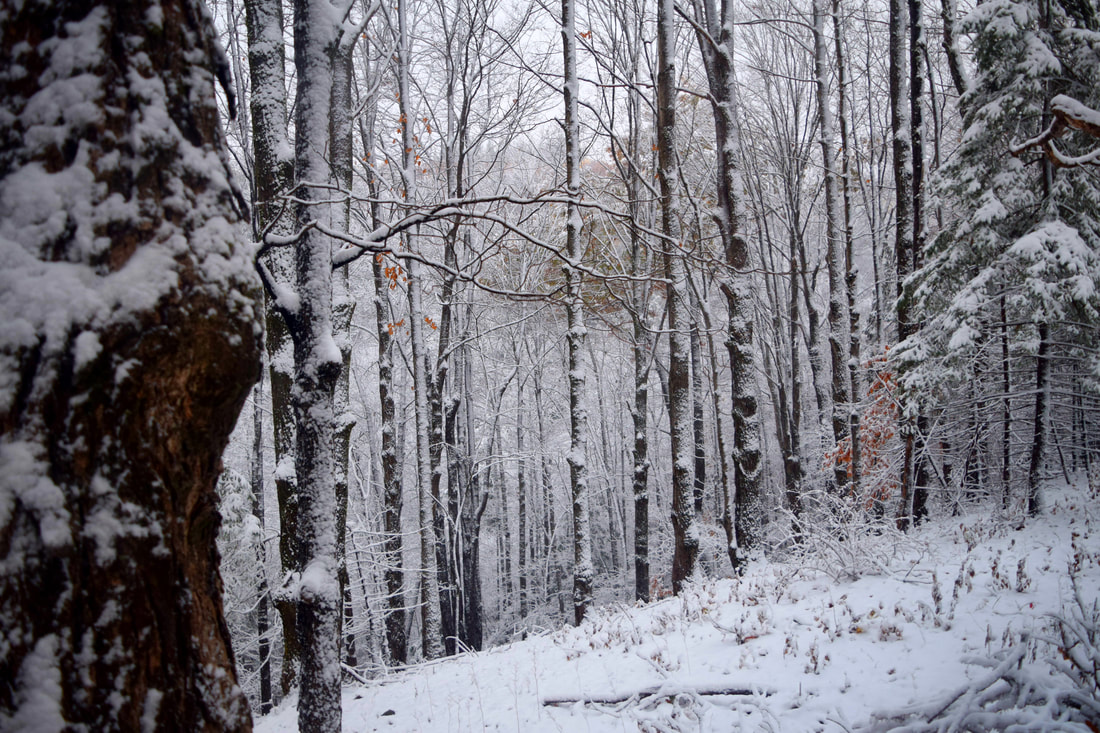
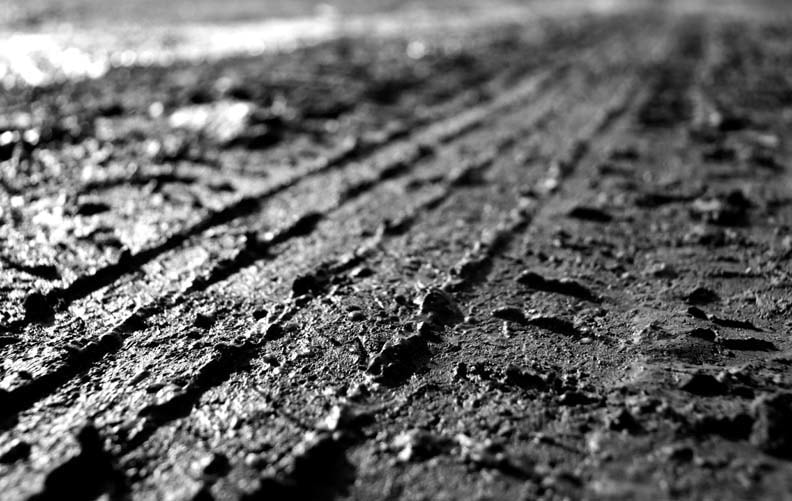
Photos of Line and Shadow
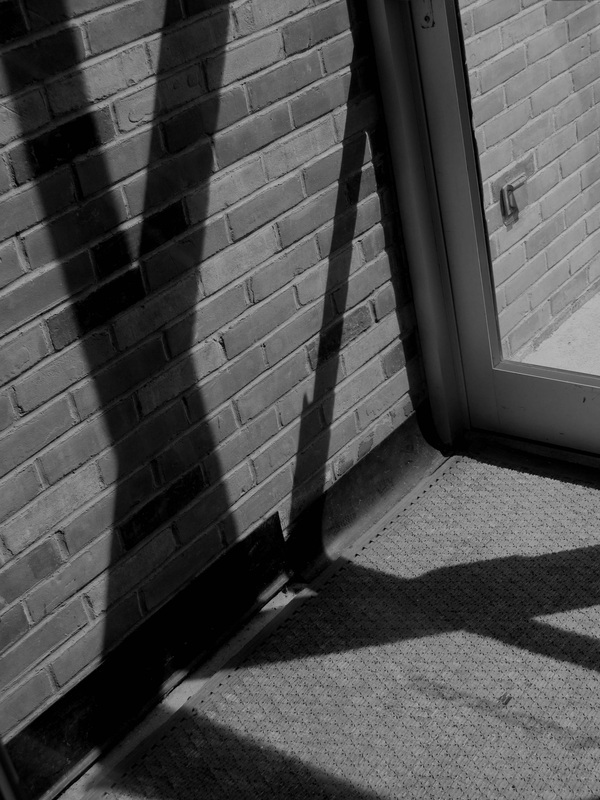
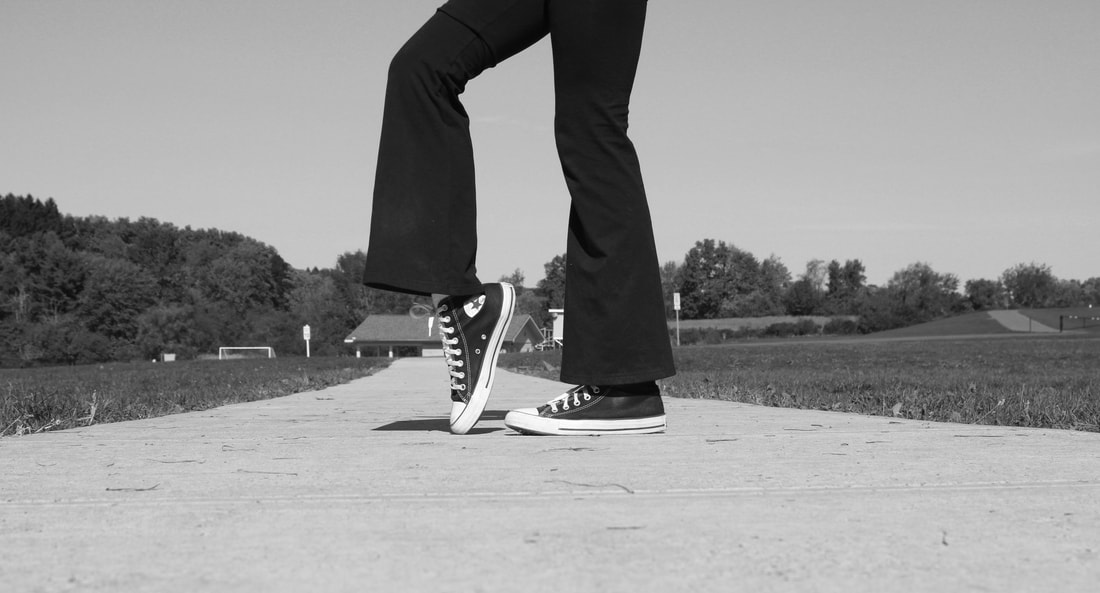
Students were challenged to look at the world through the lens of the camera, searching for intriguing images of only line and shadows.