Monoprints
|
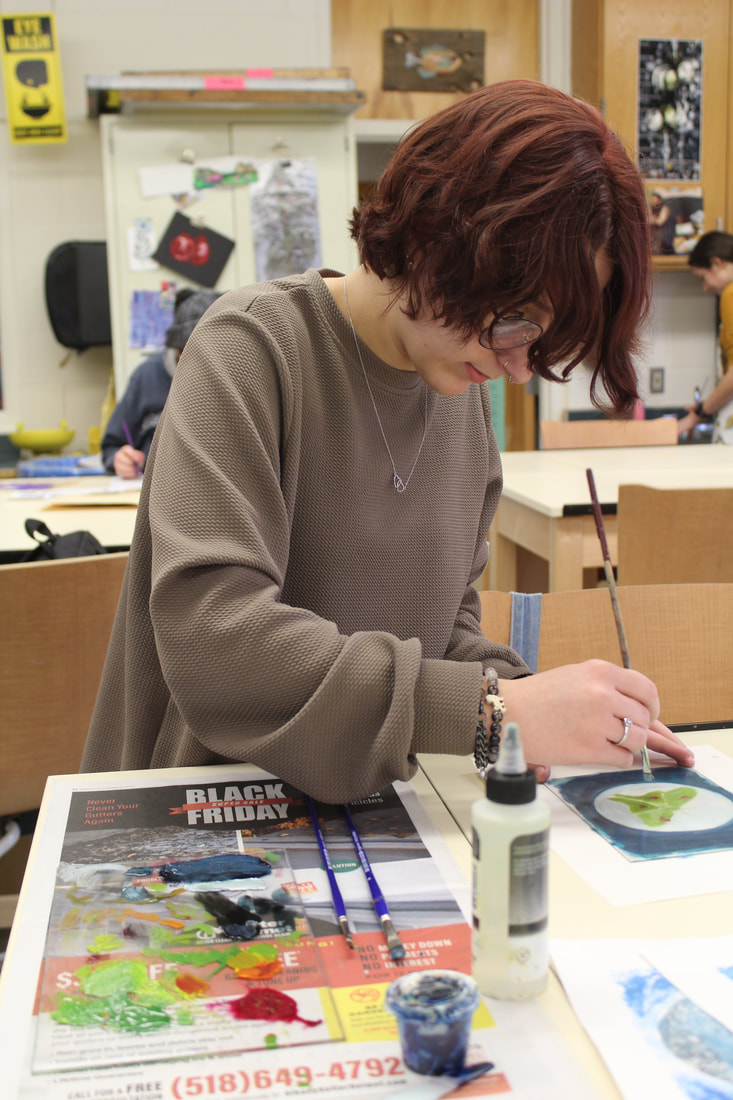
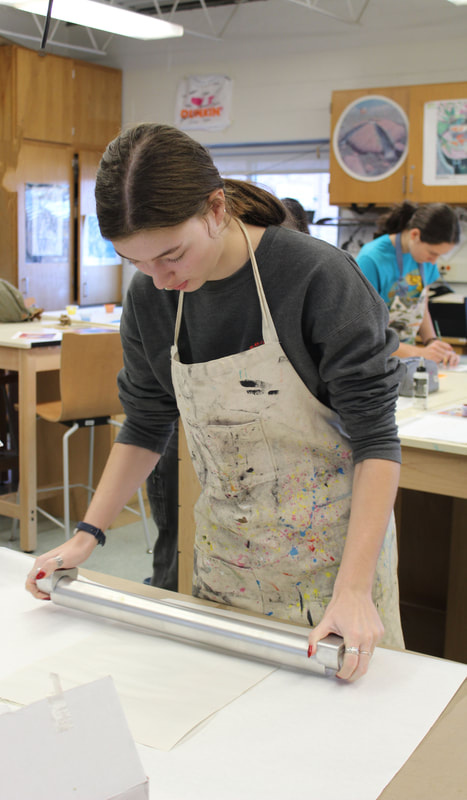
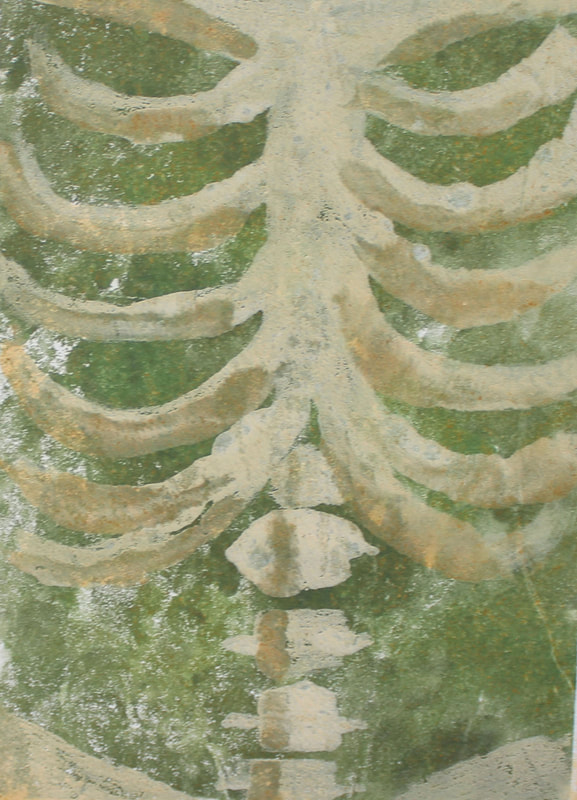
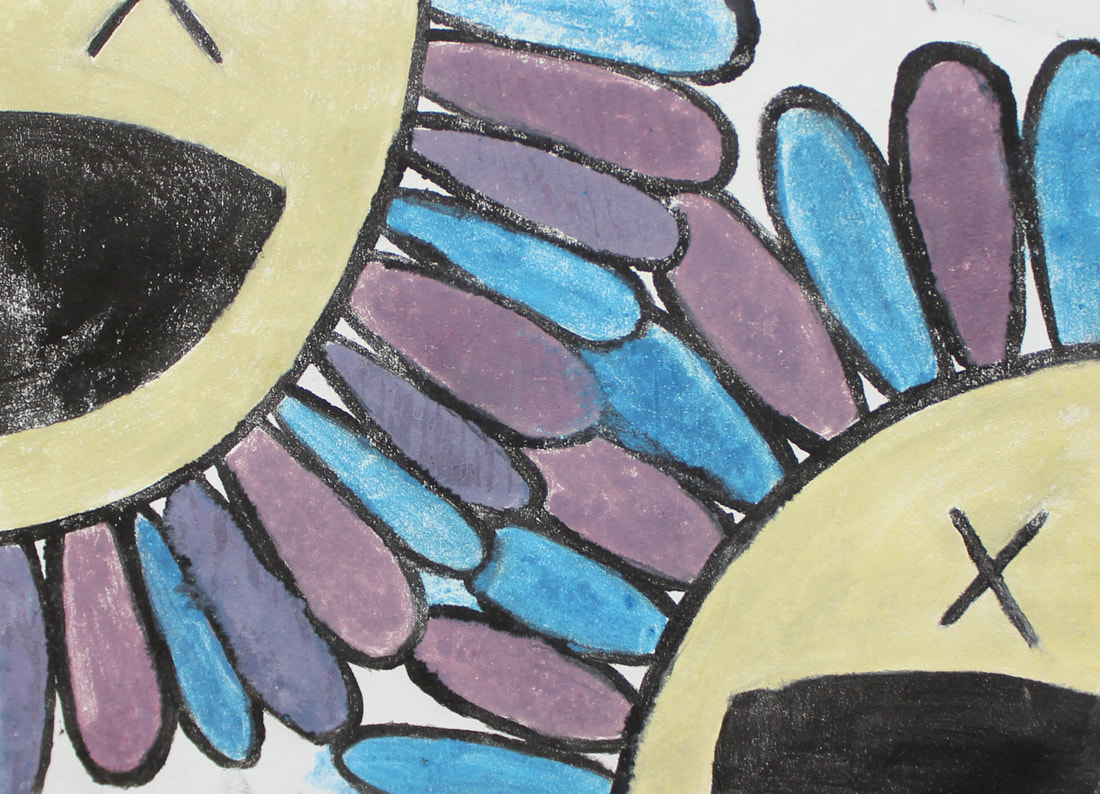
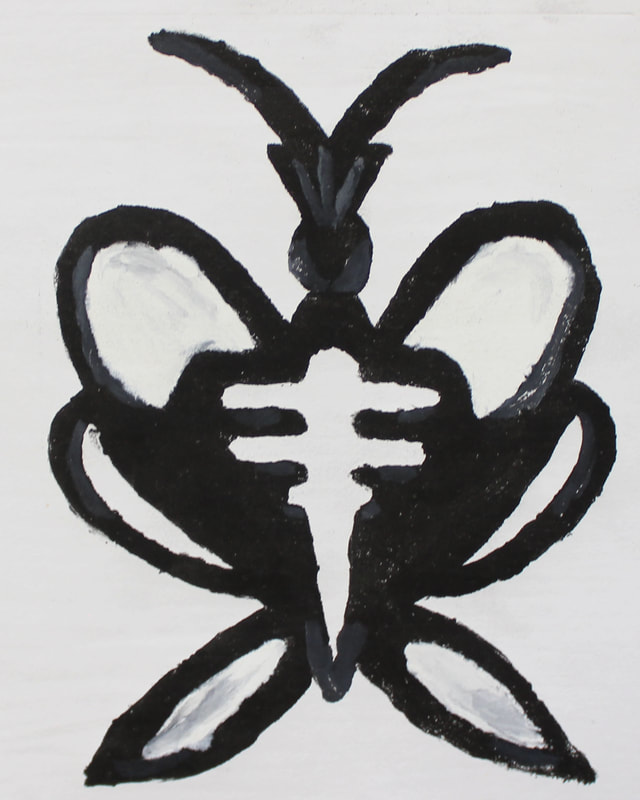
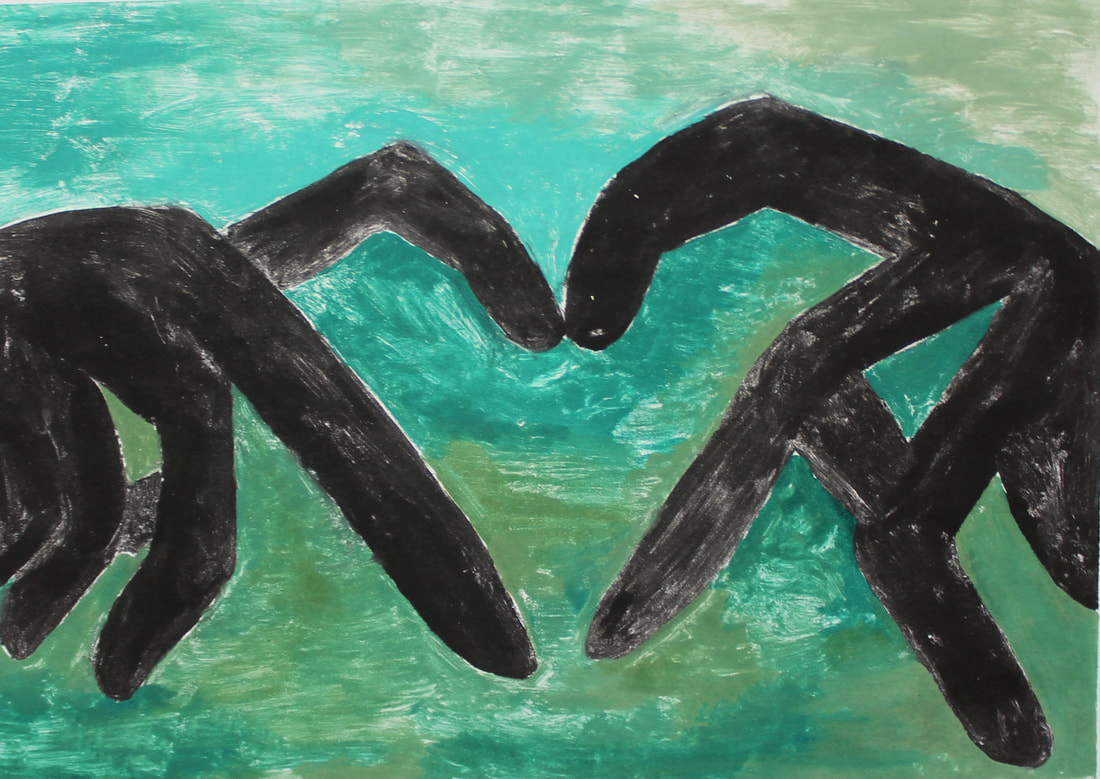
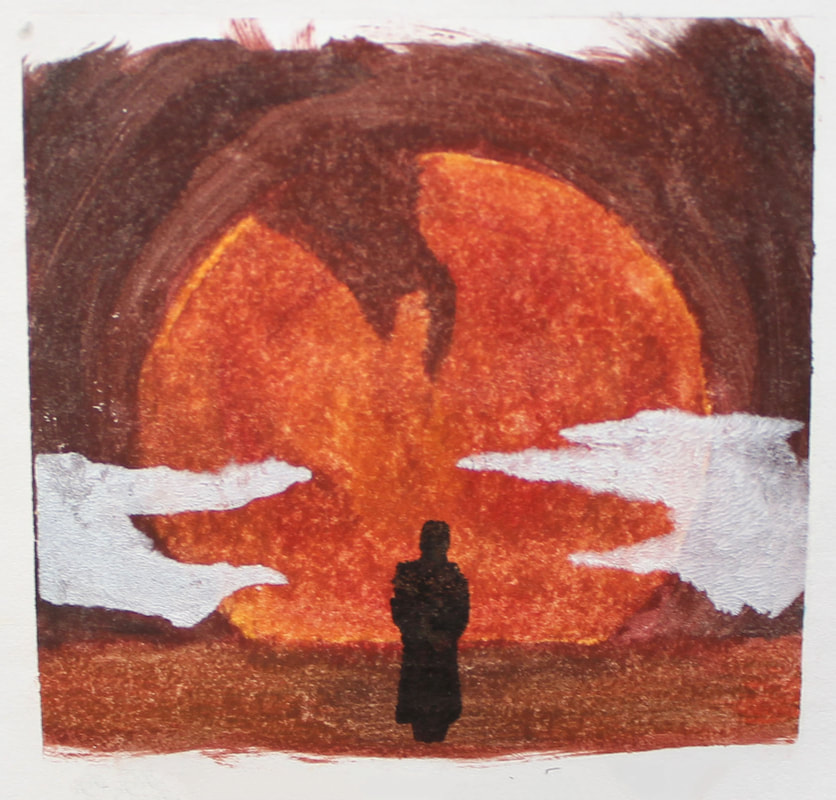
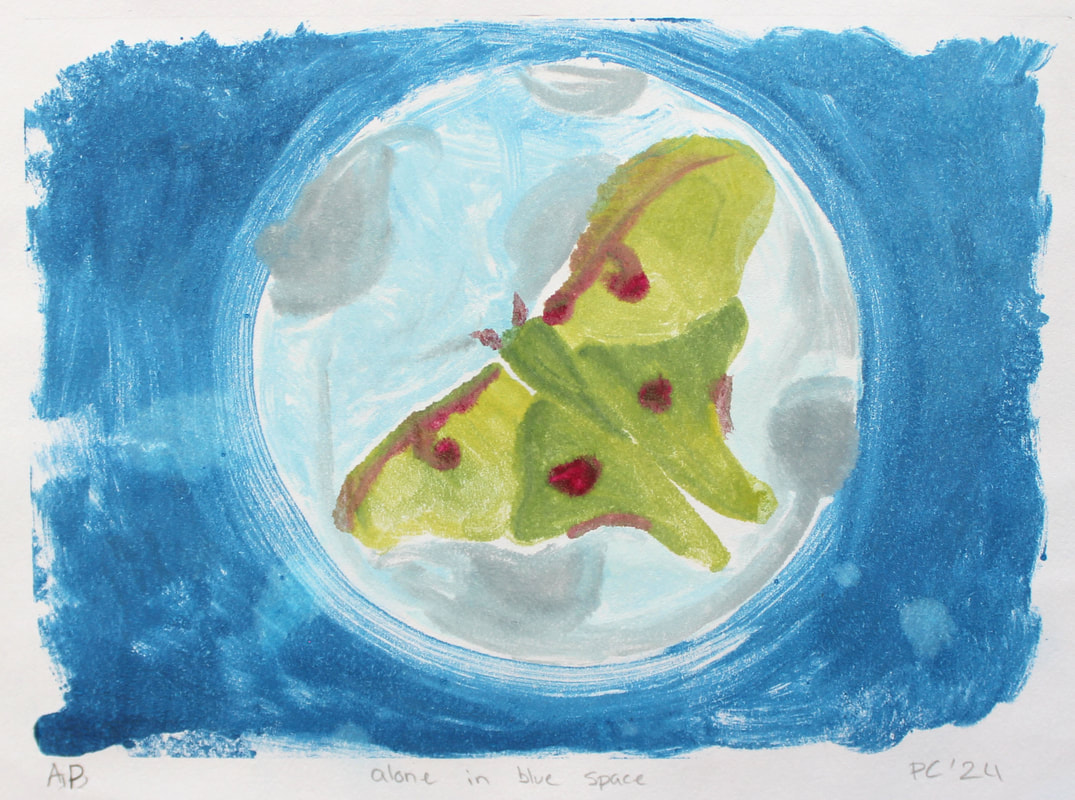
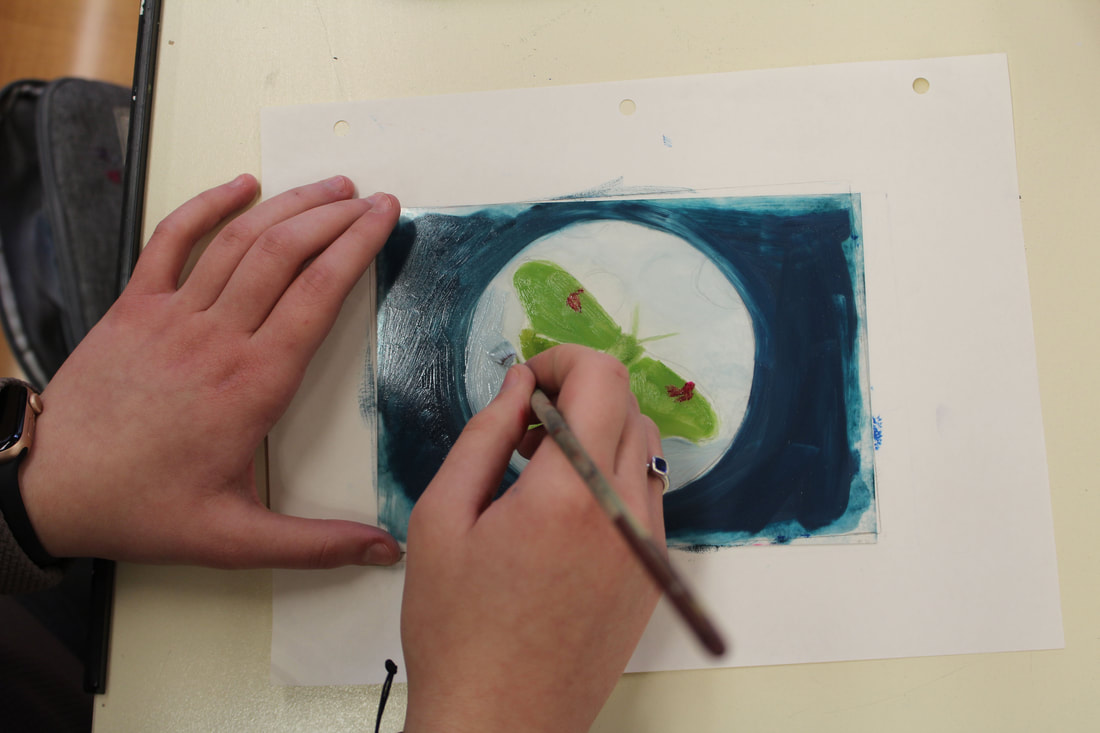
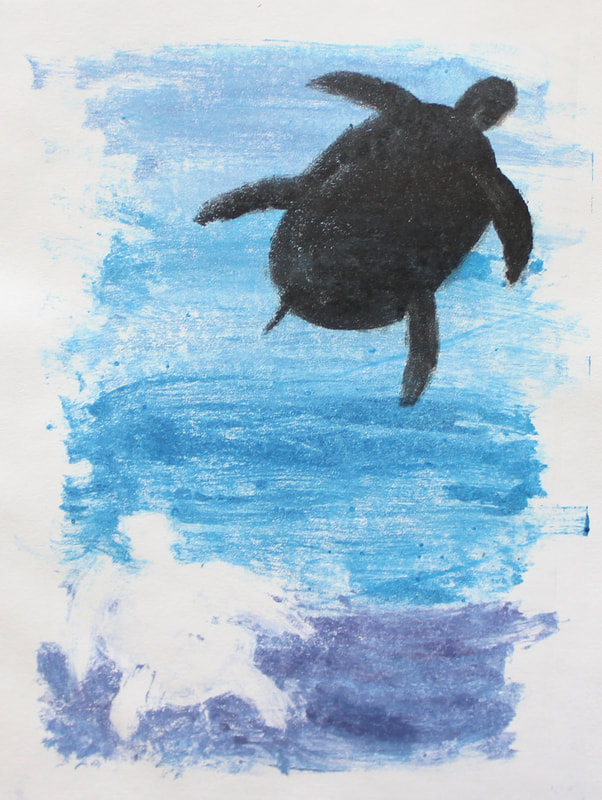
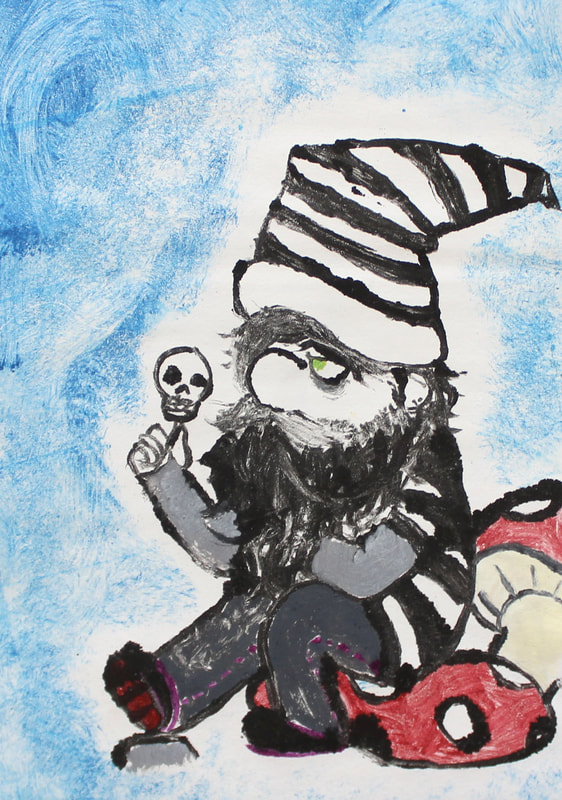
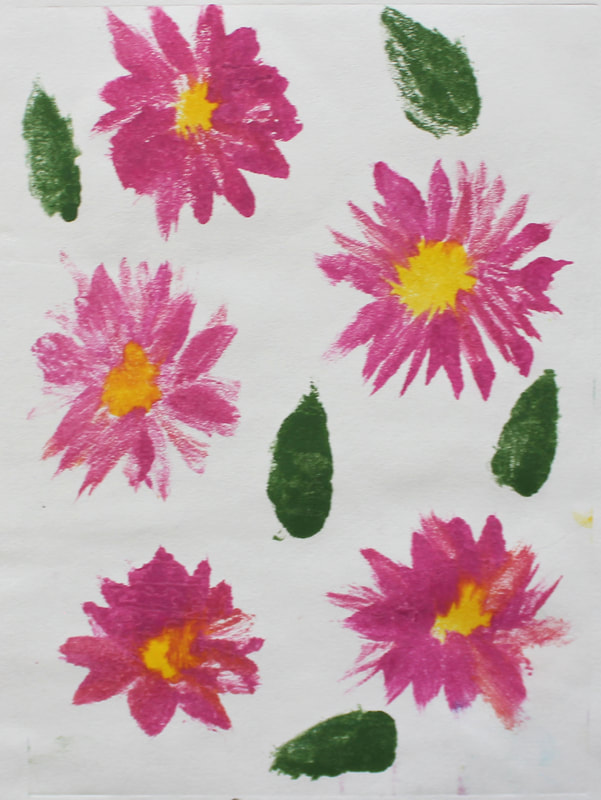
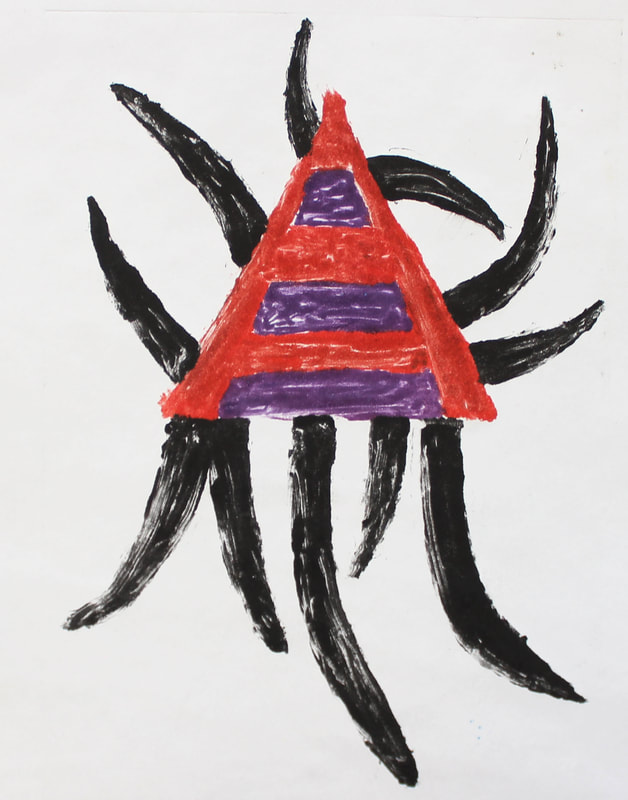
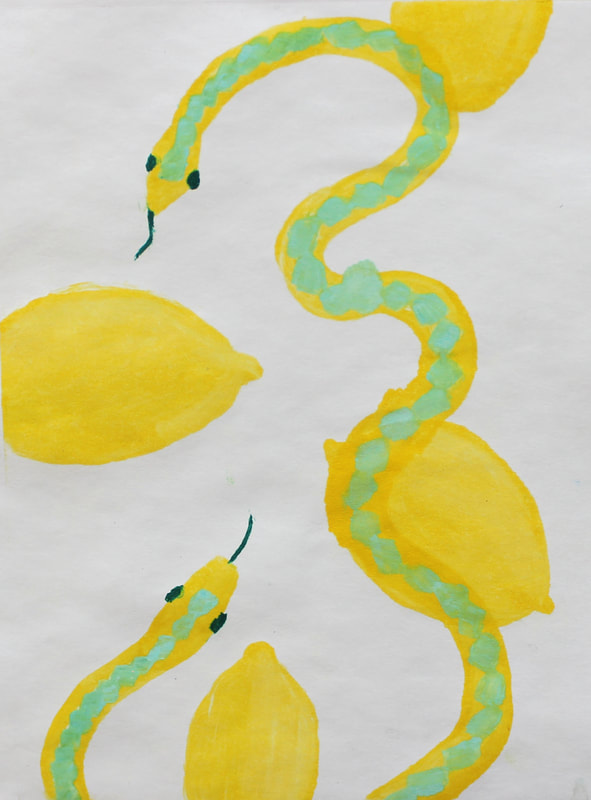
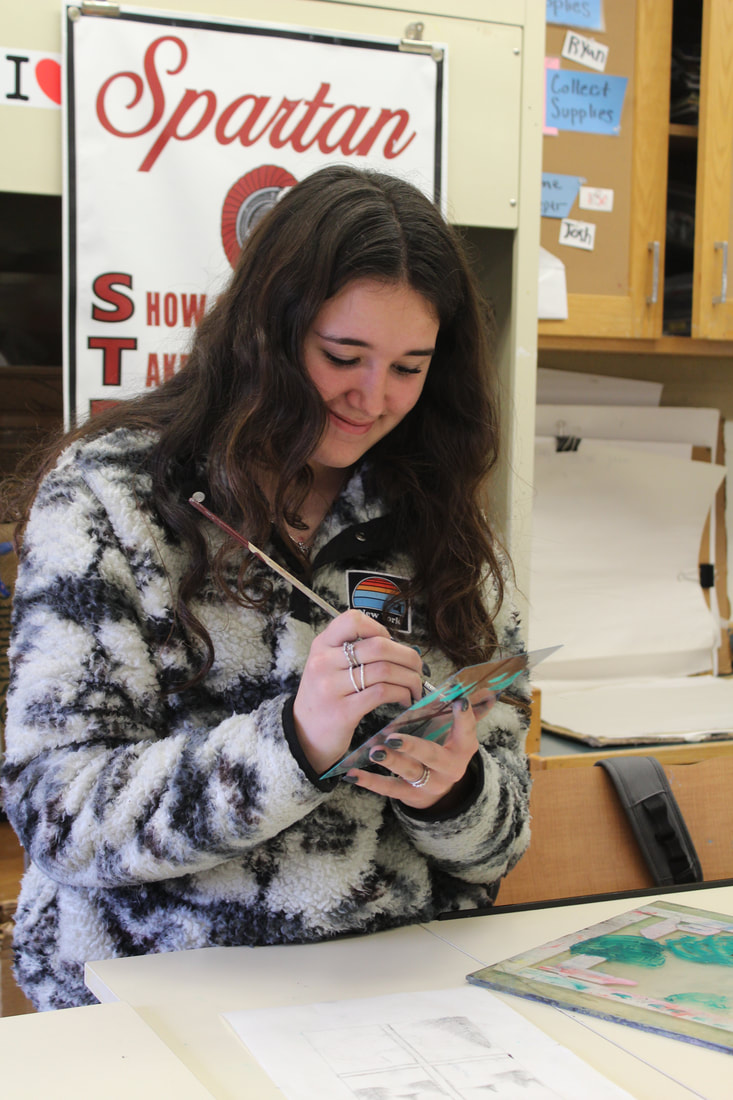
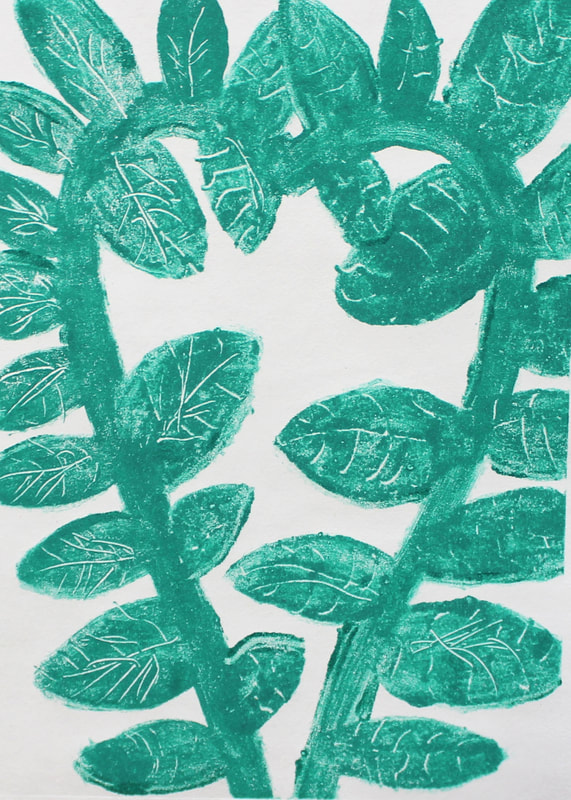
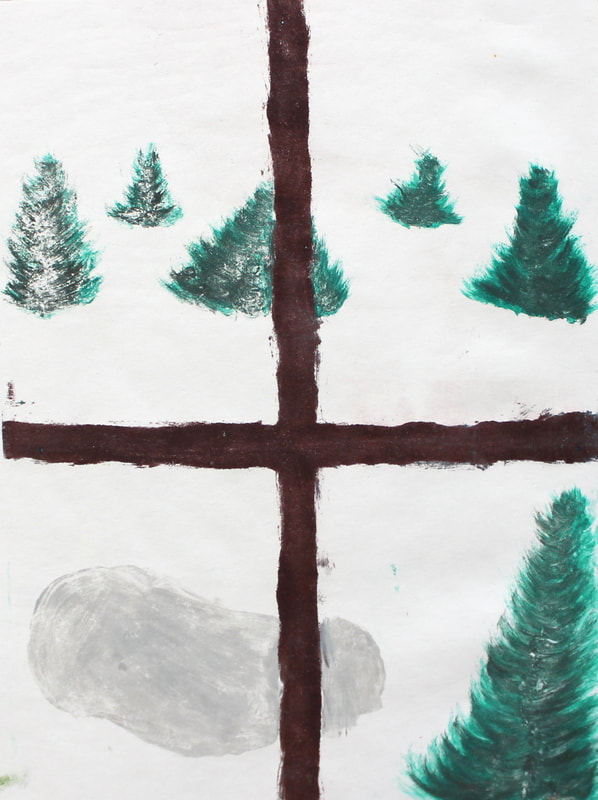
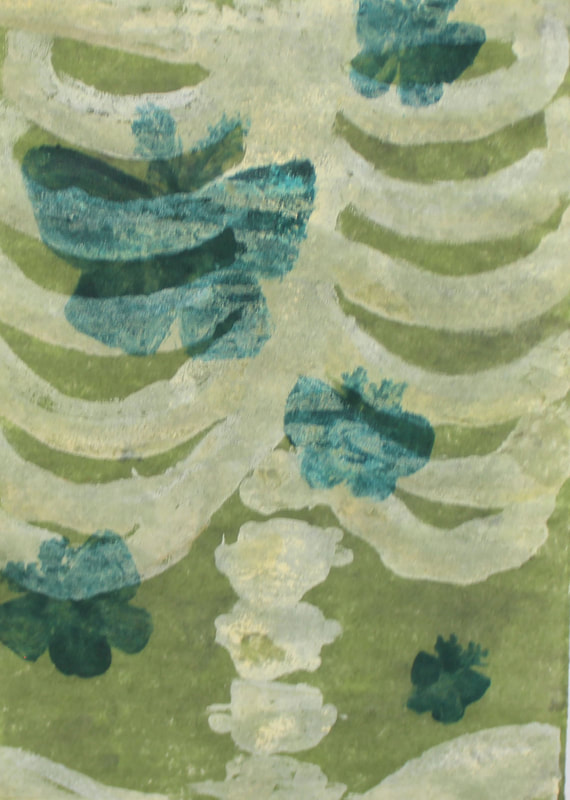
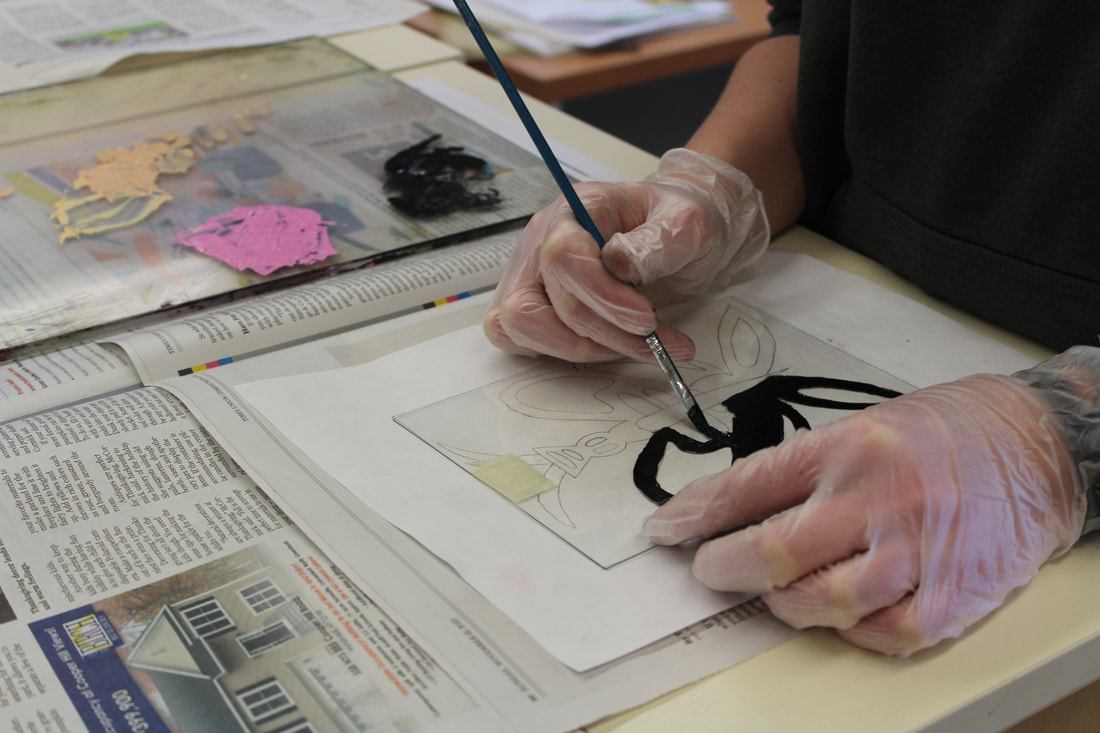
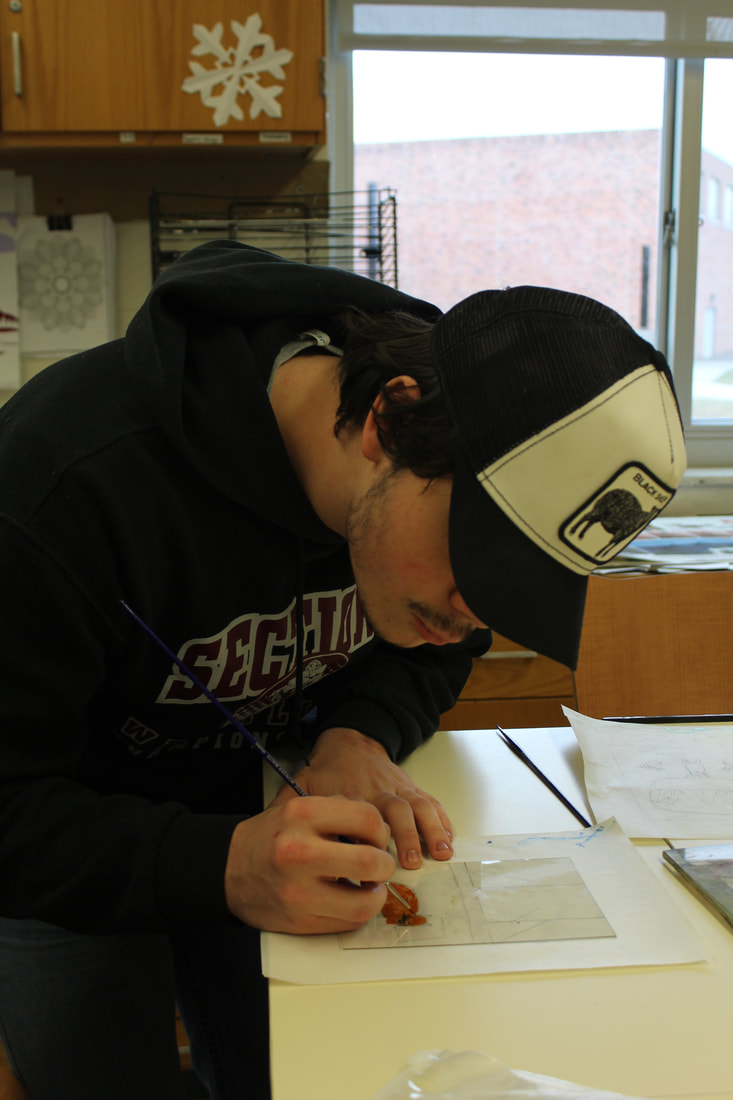
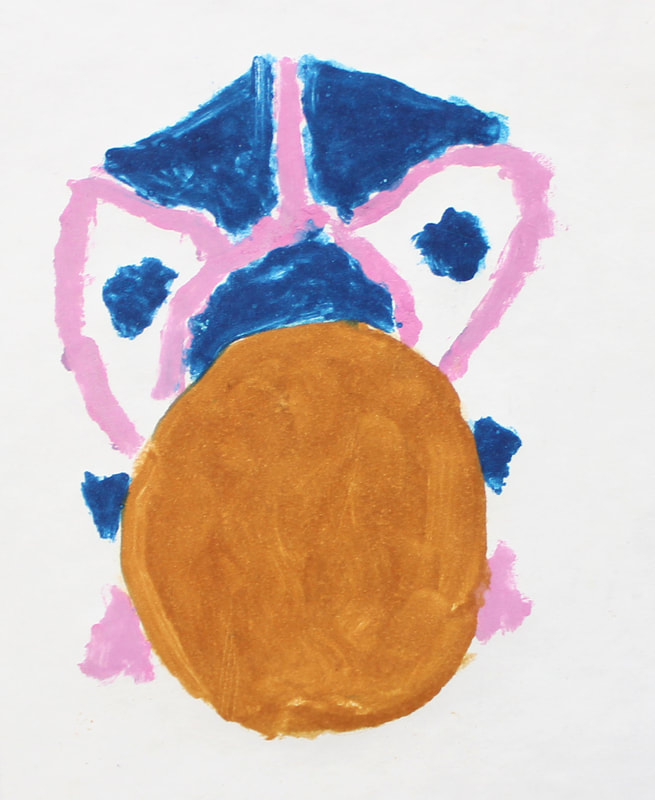
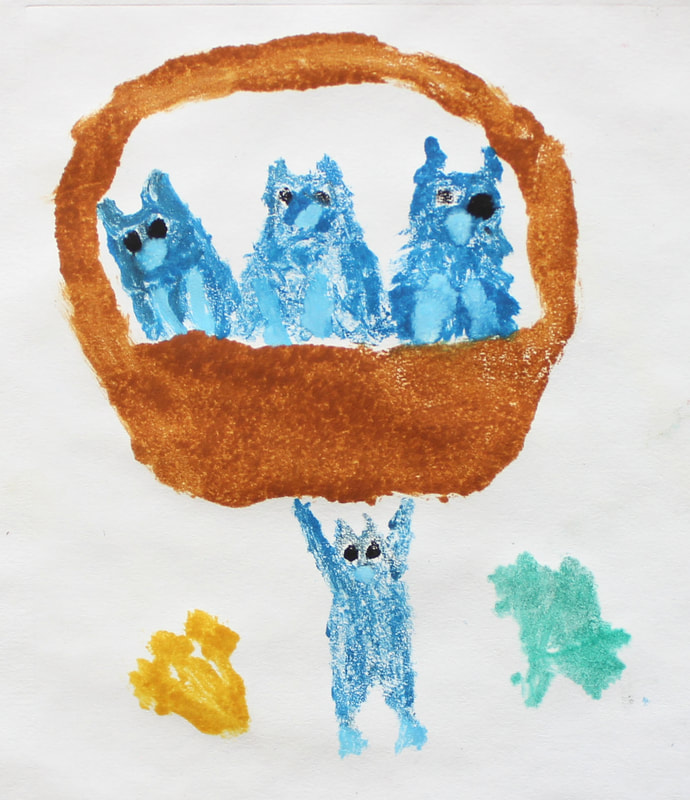
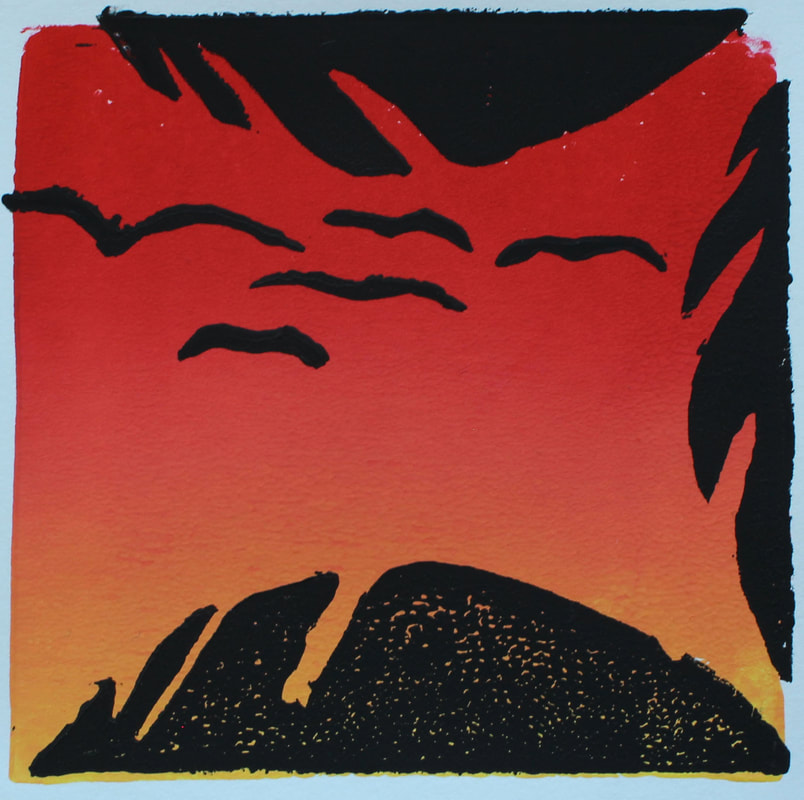
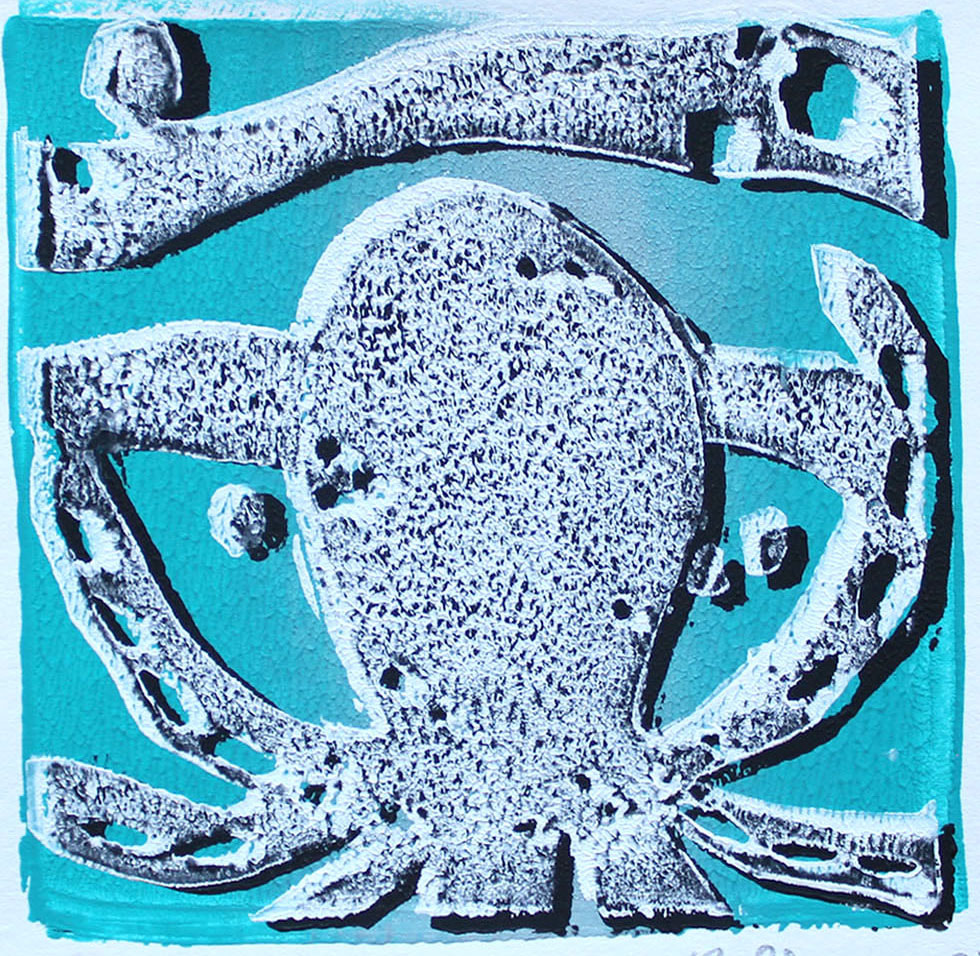
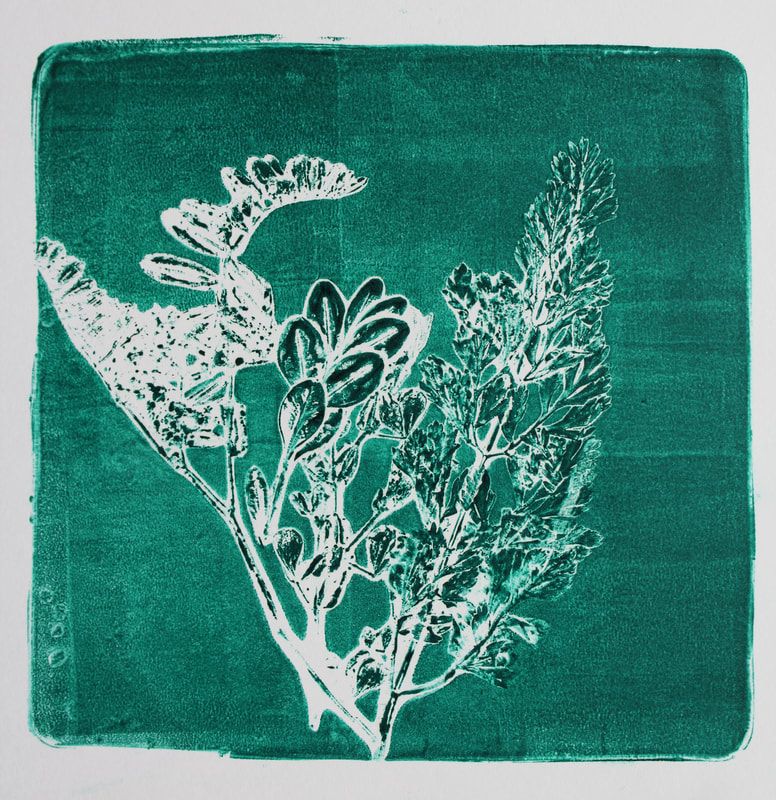
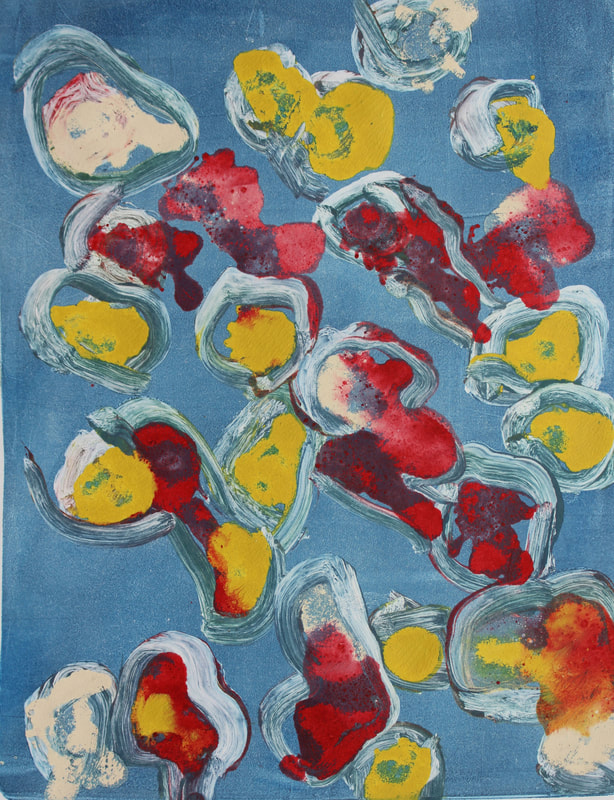
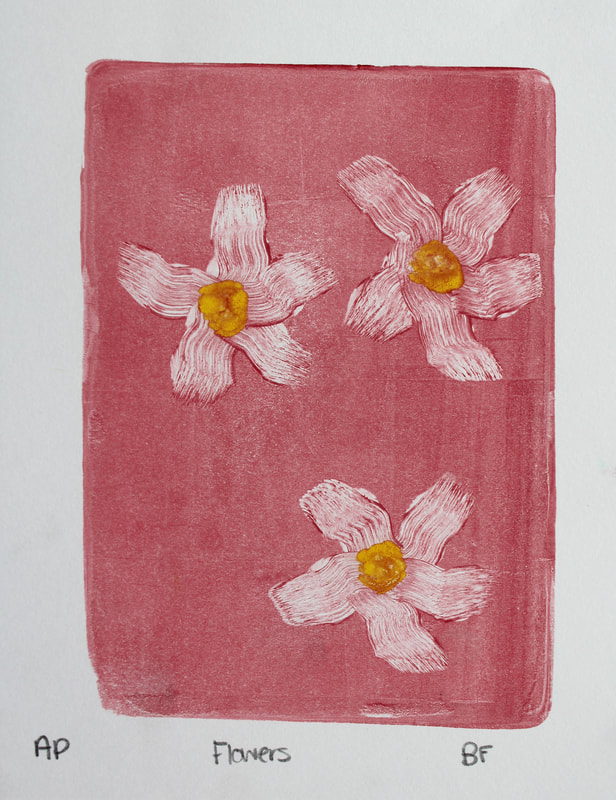
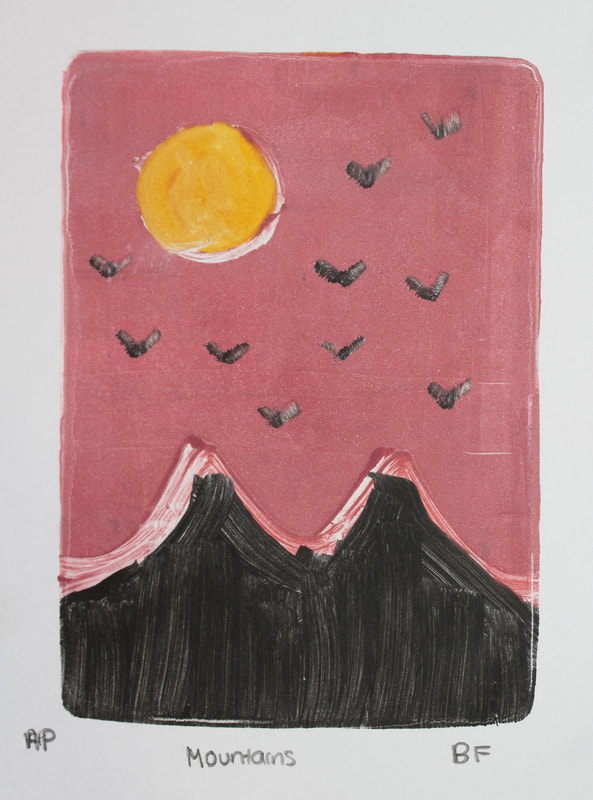
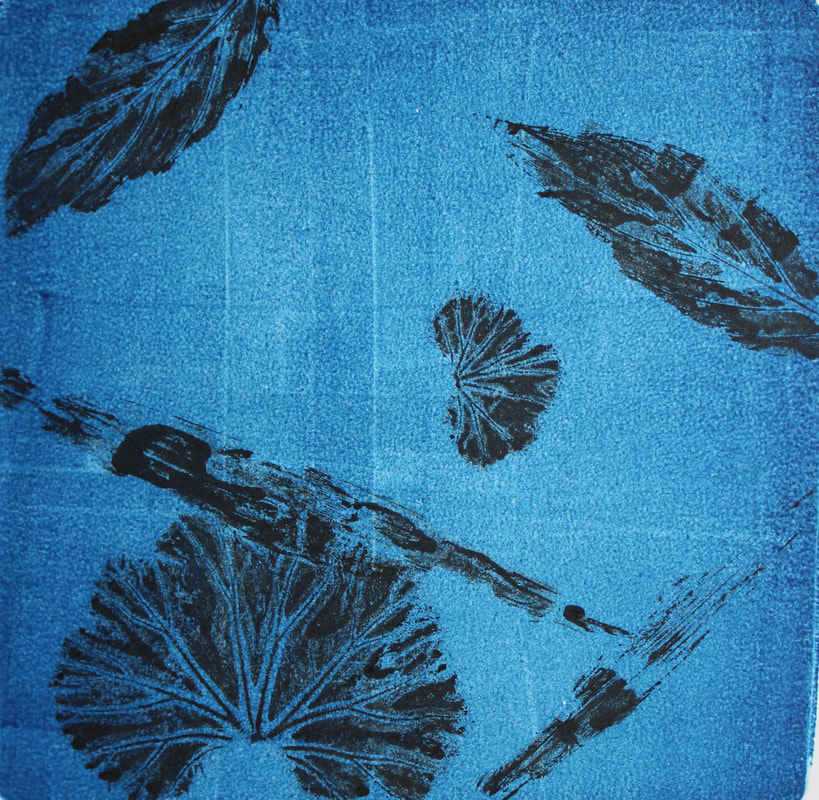
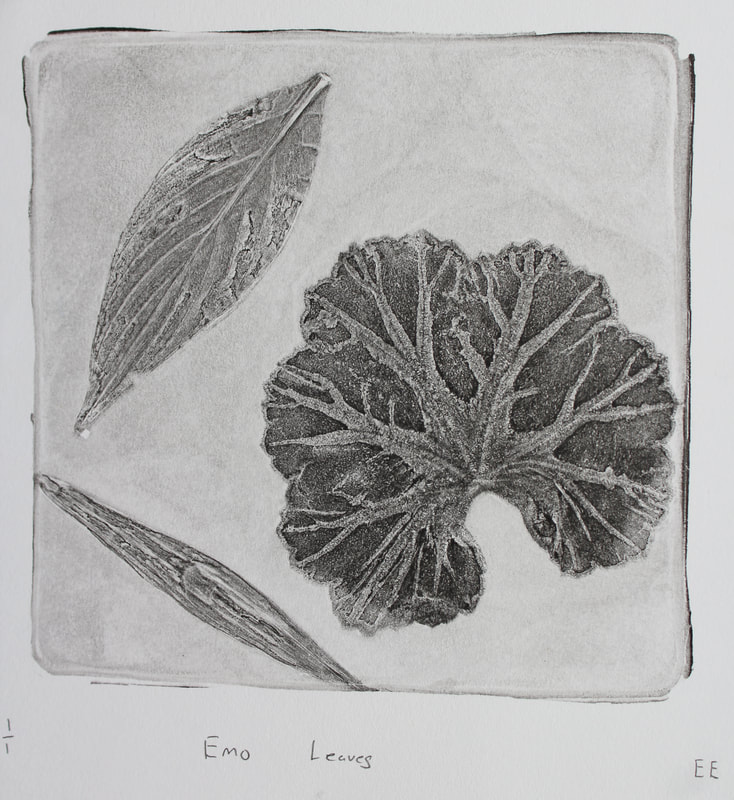
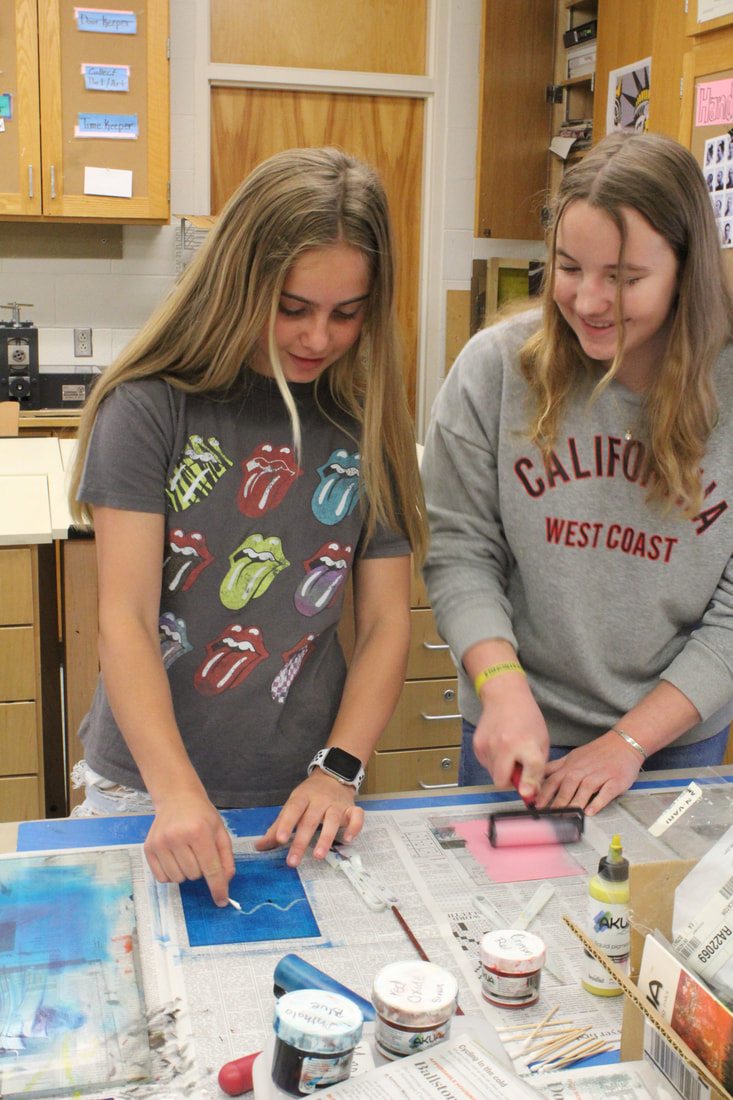
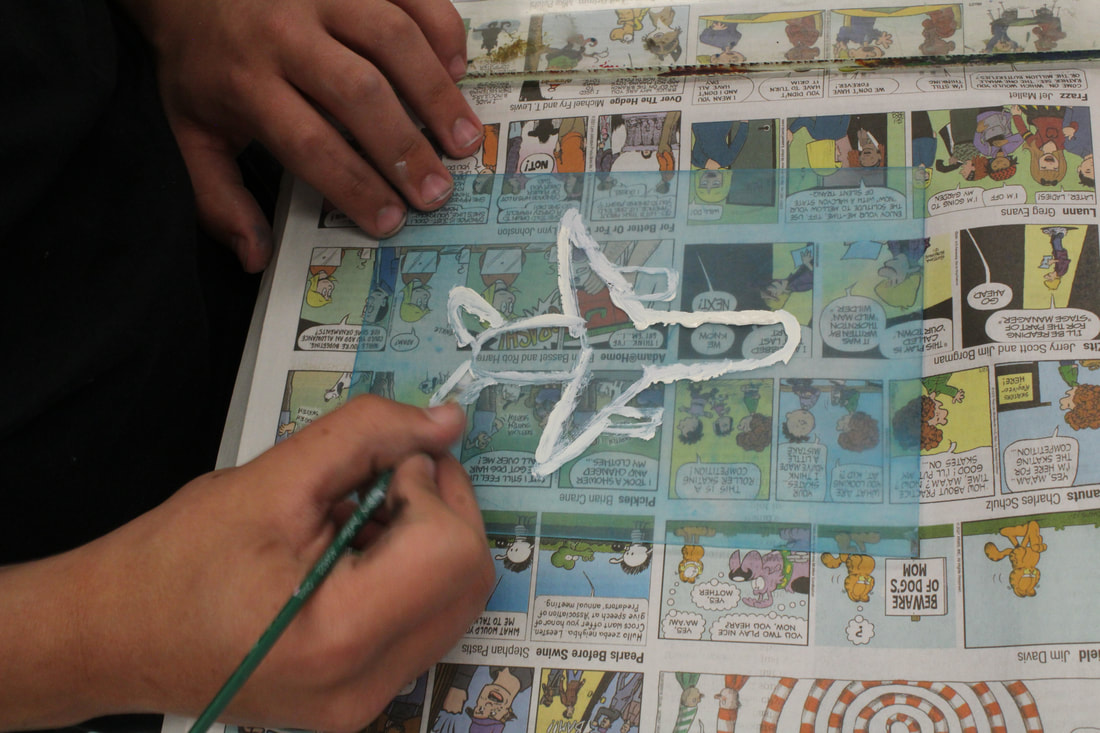
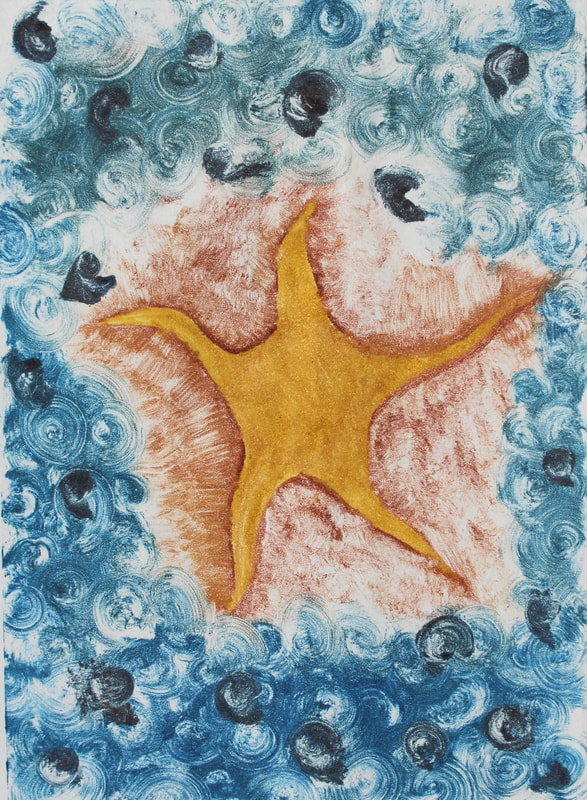
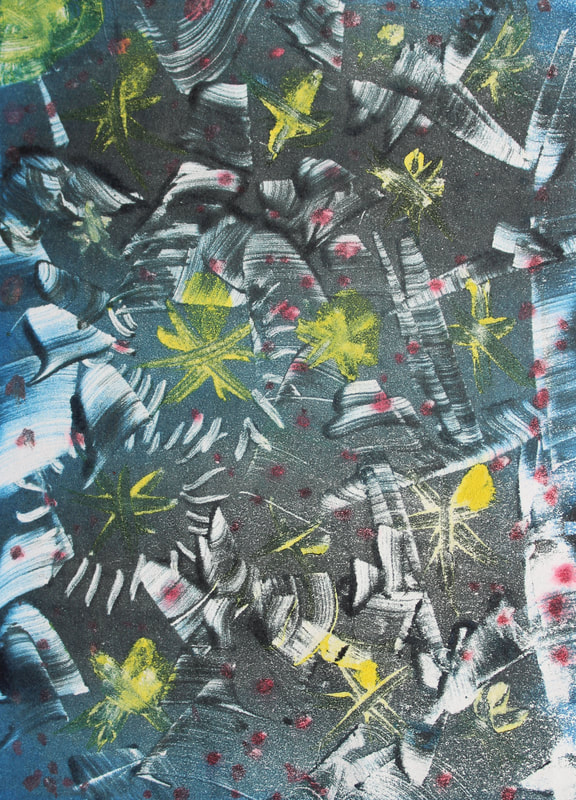
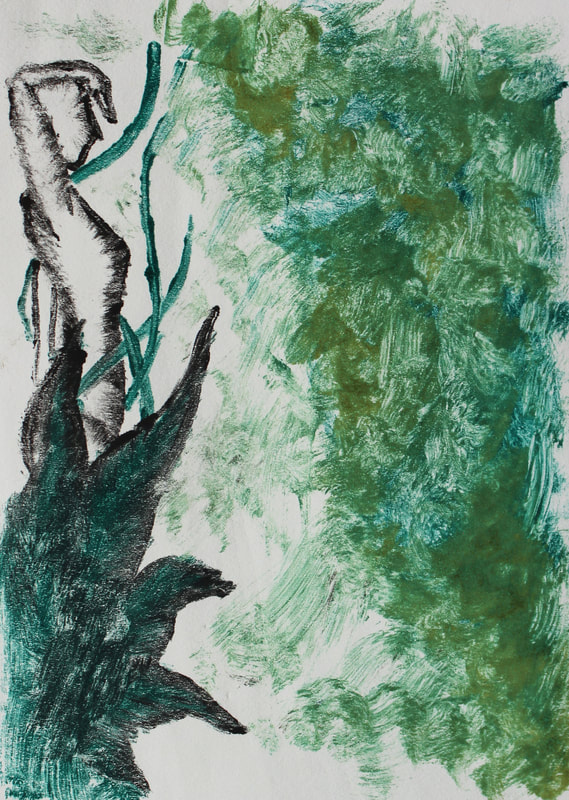
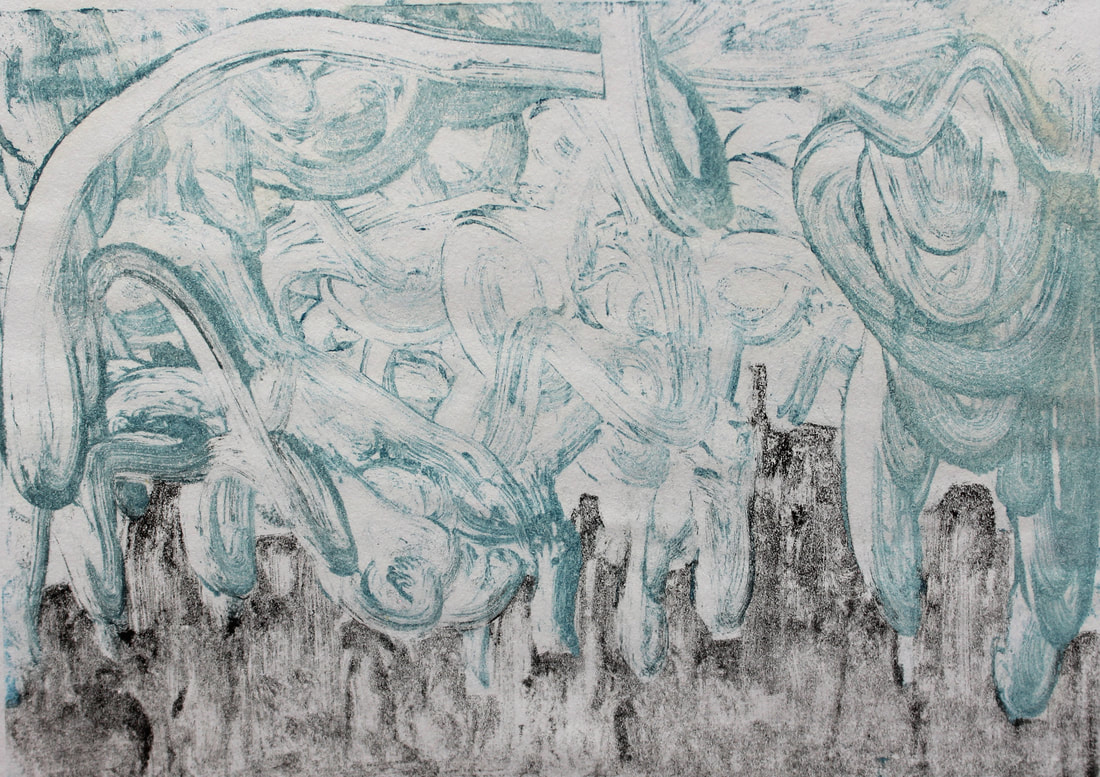
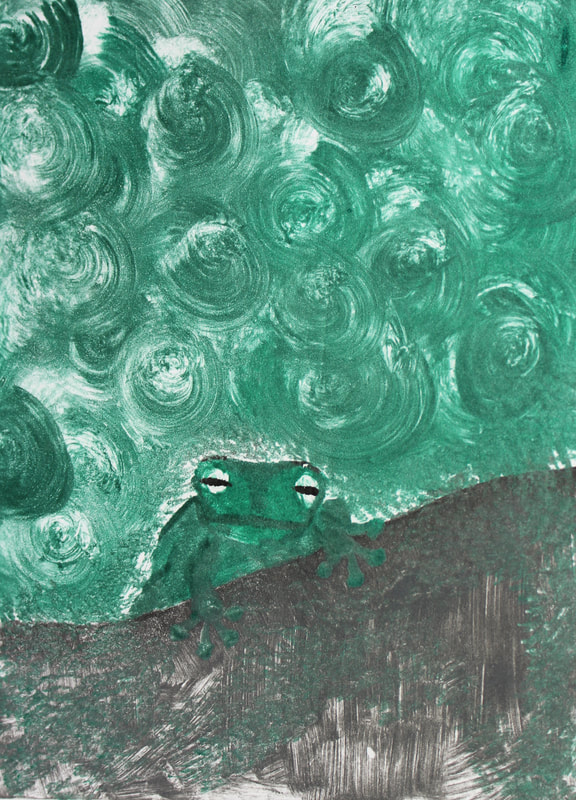
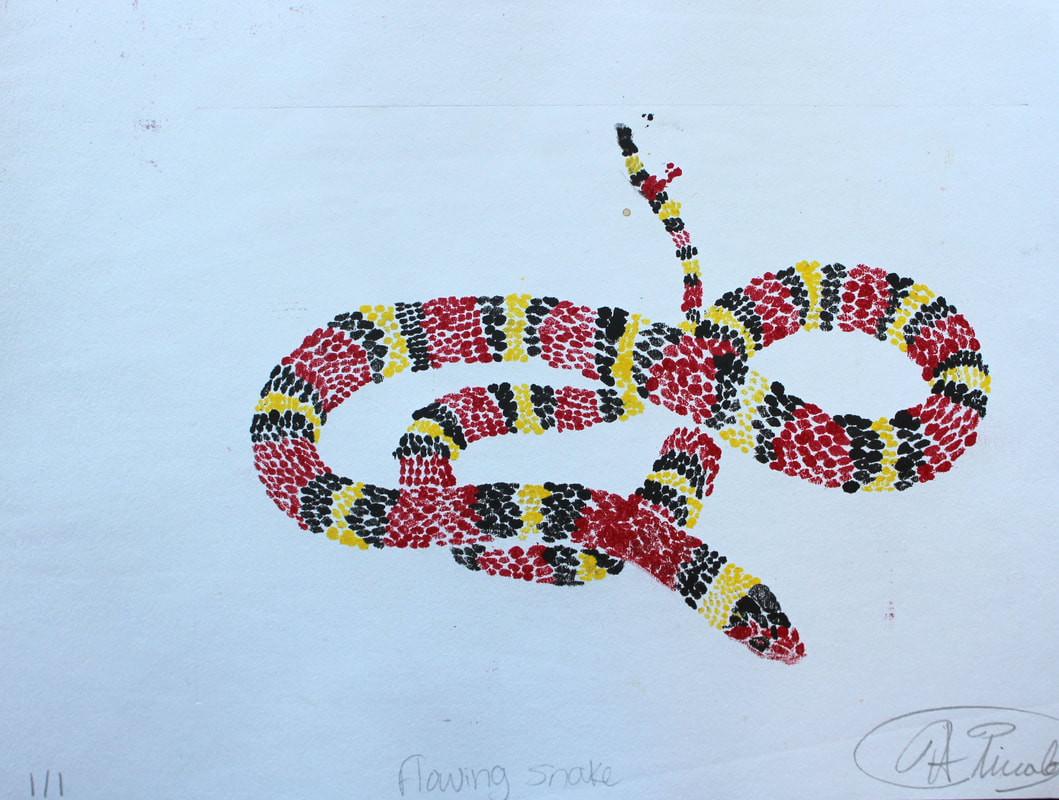
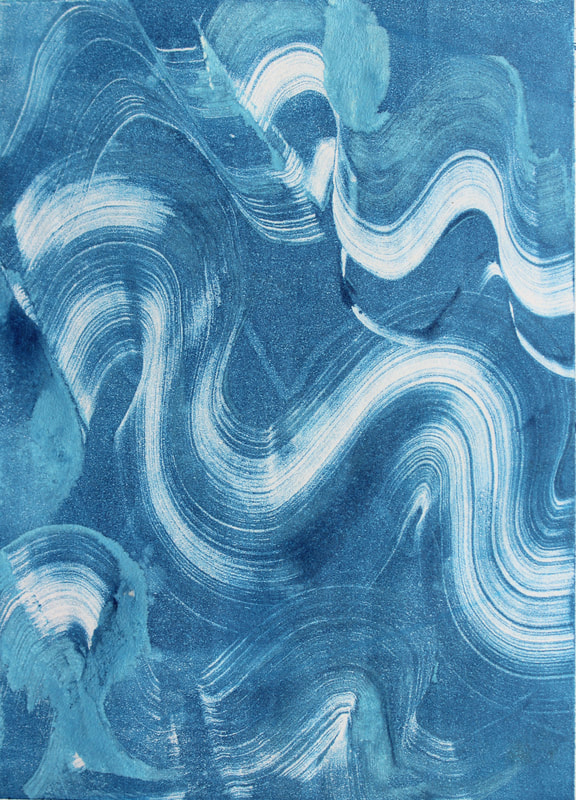
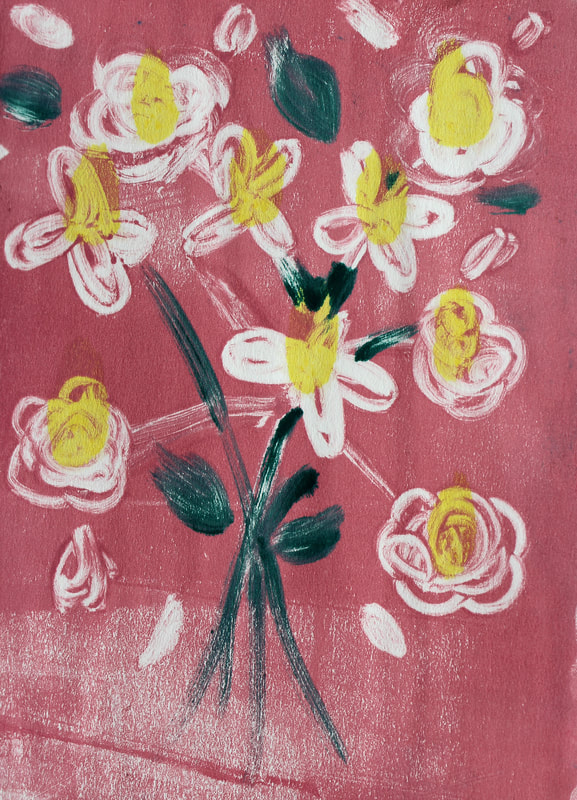
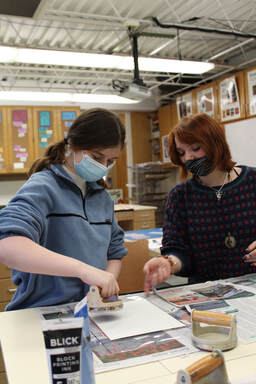
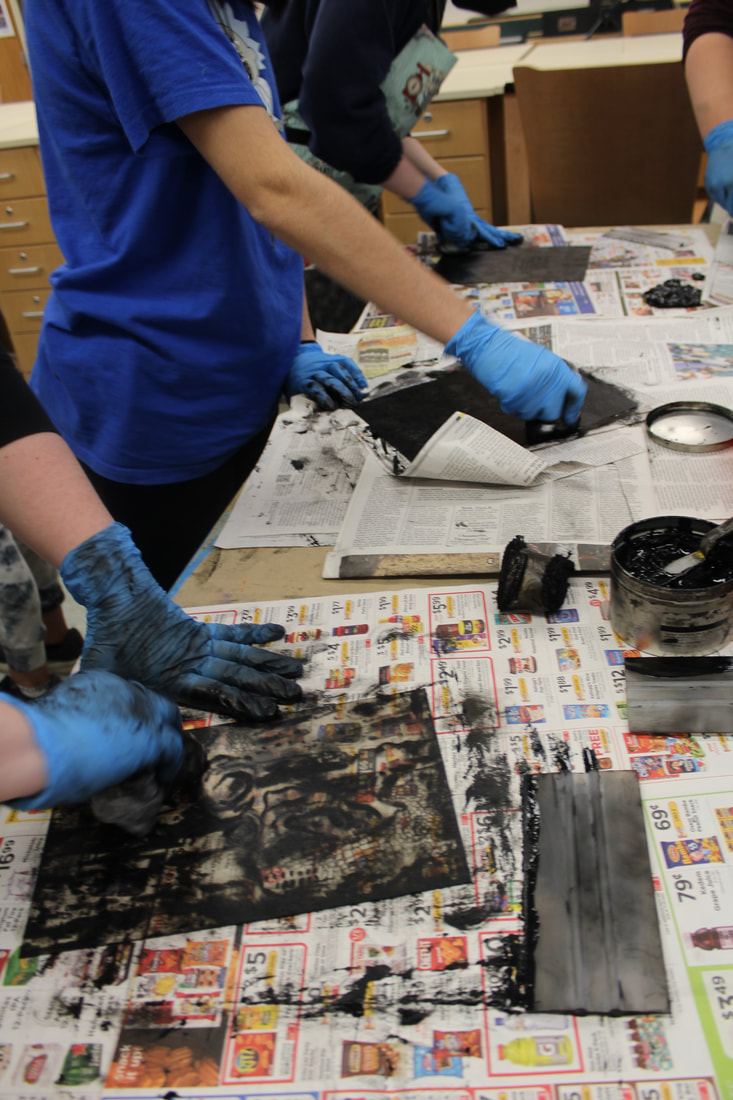
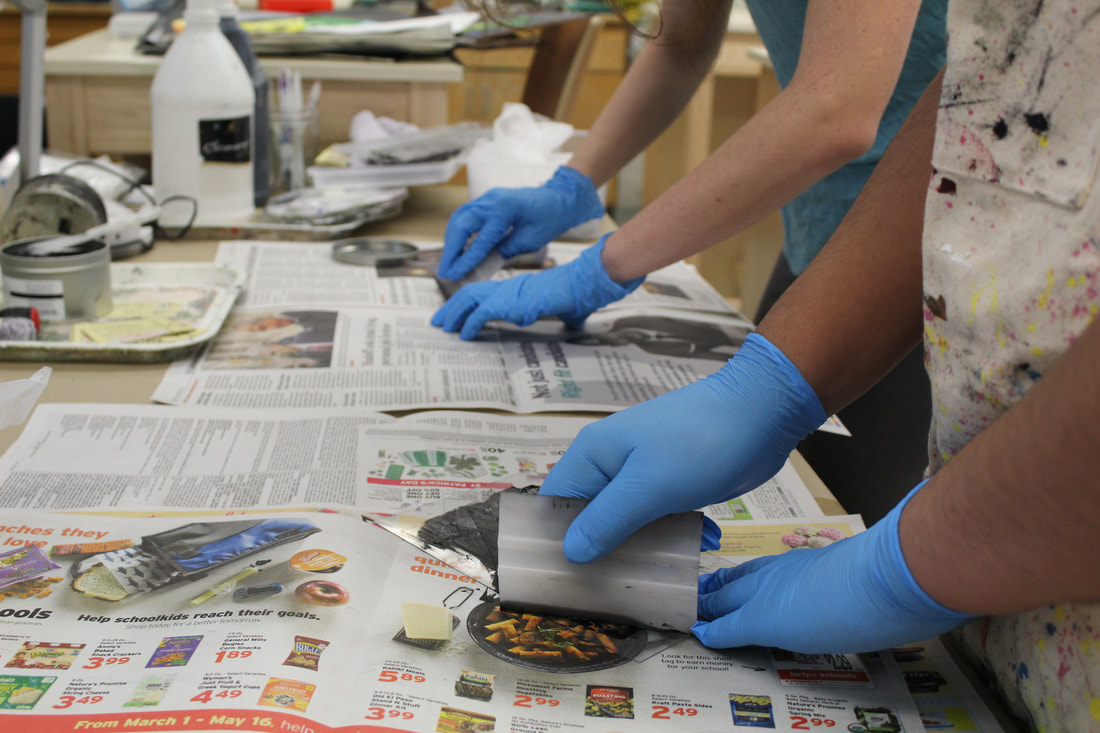
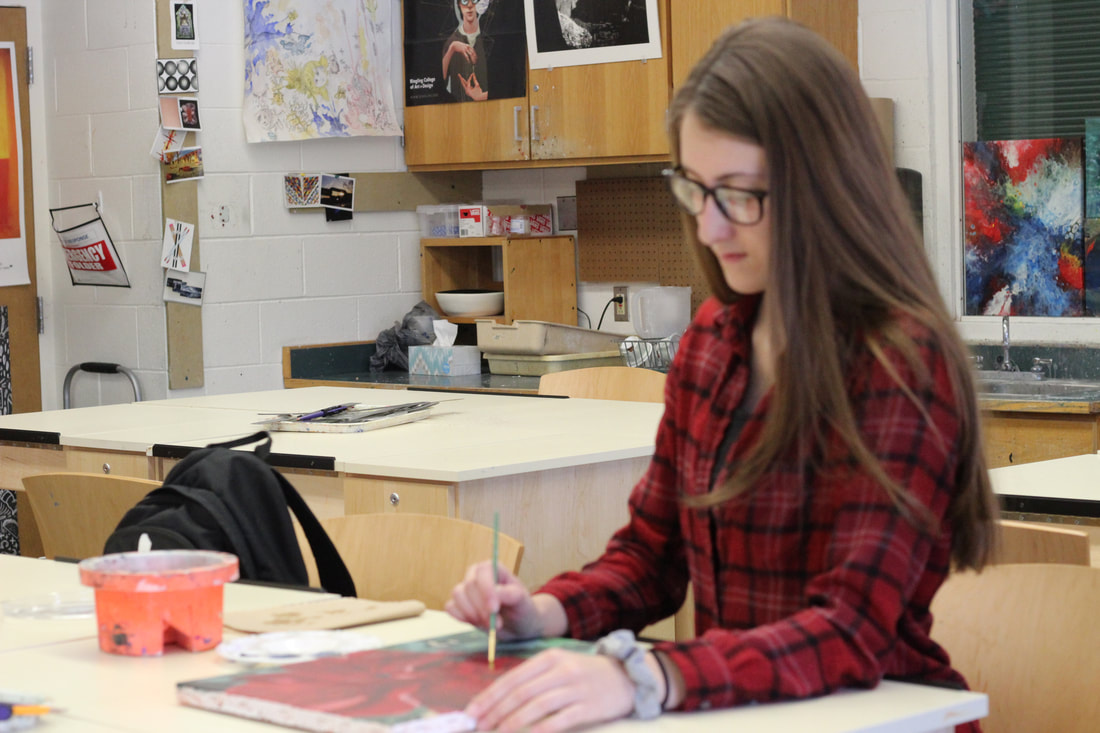
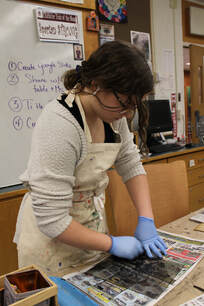
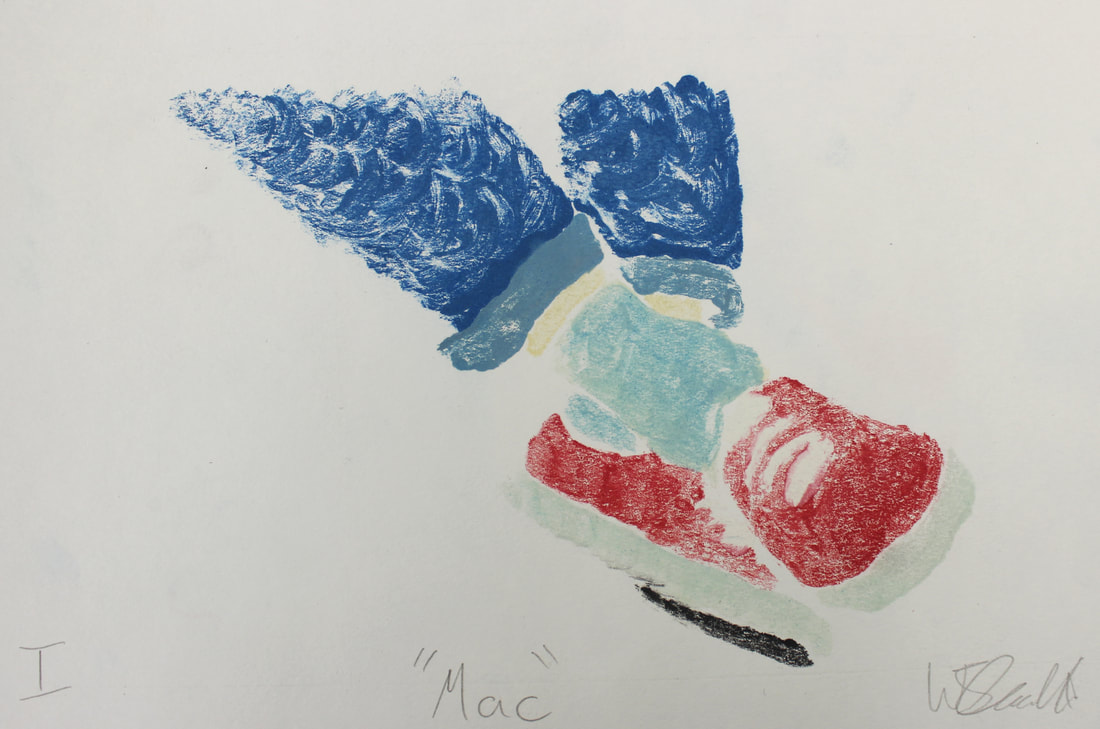
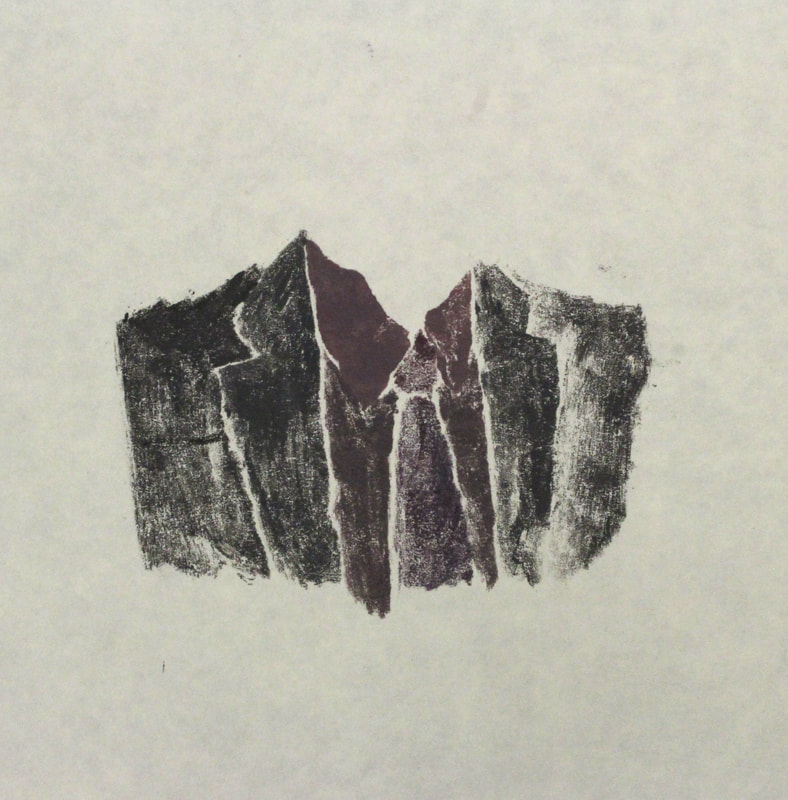
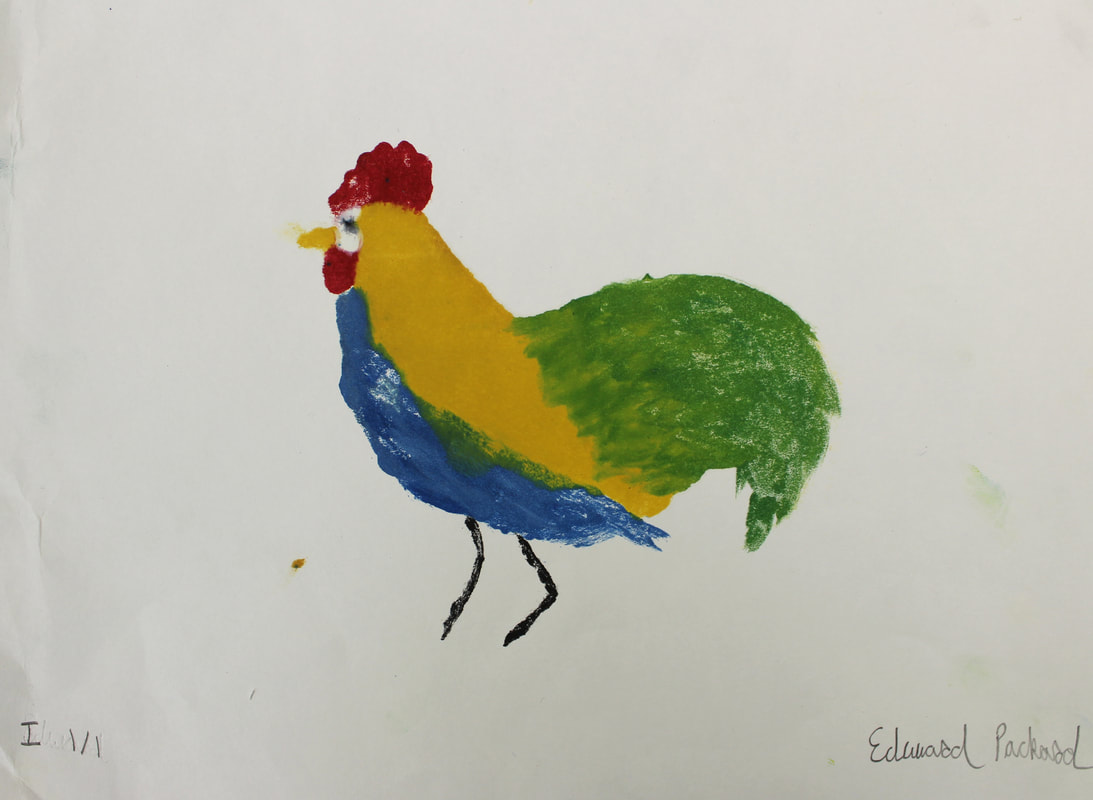
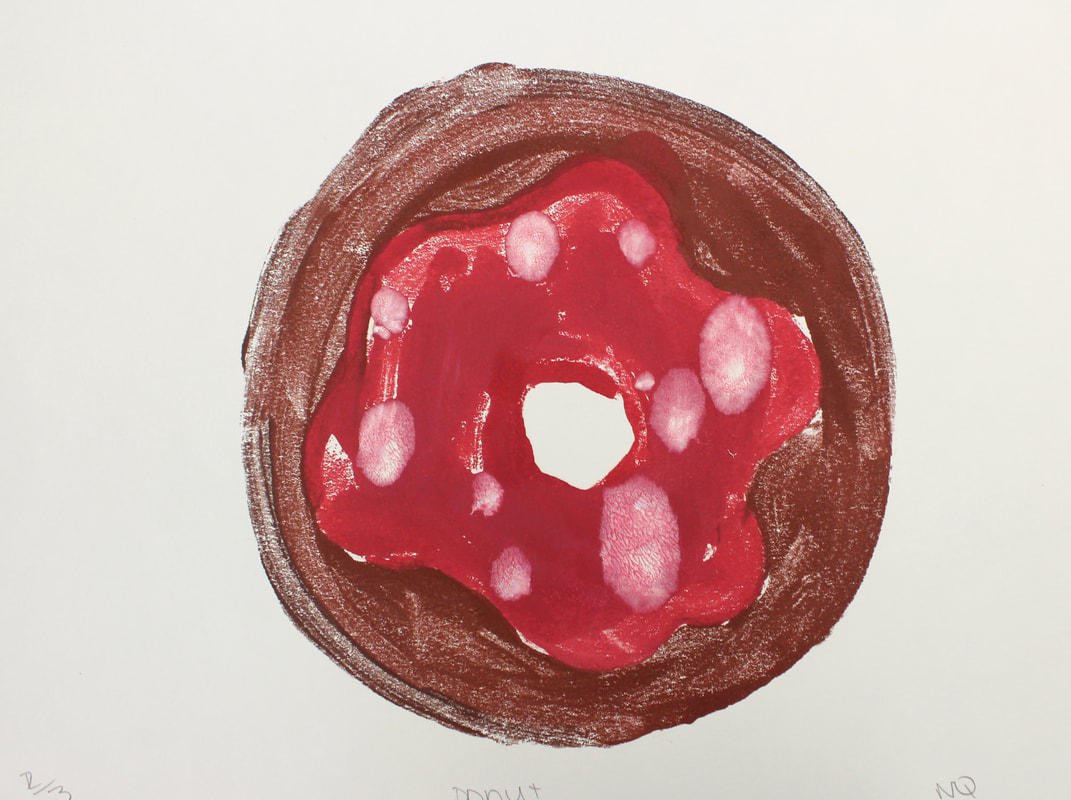
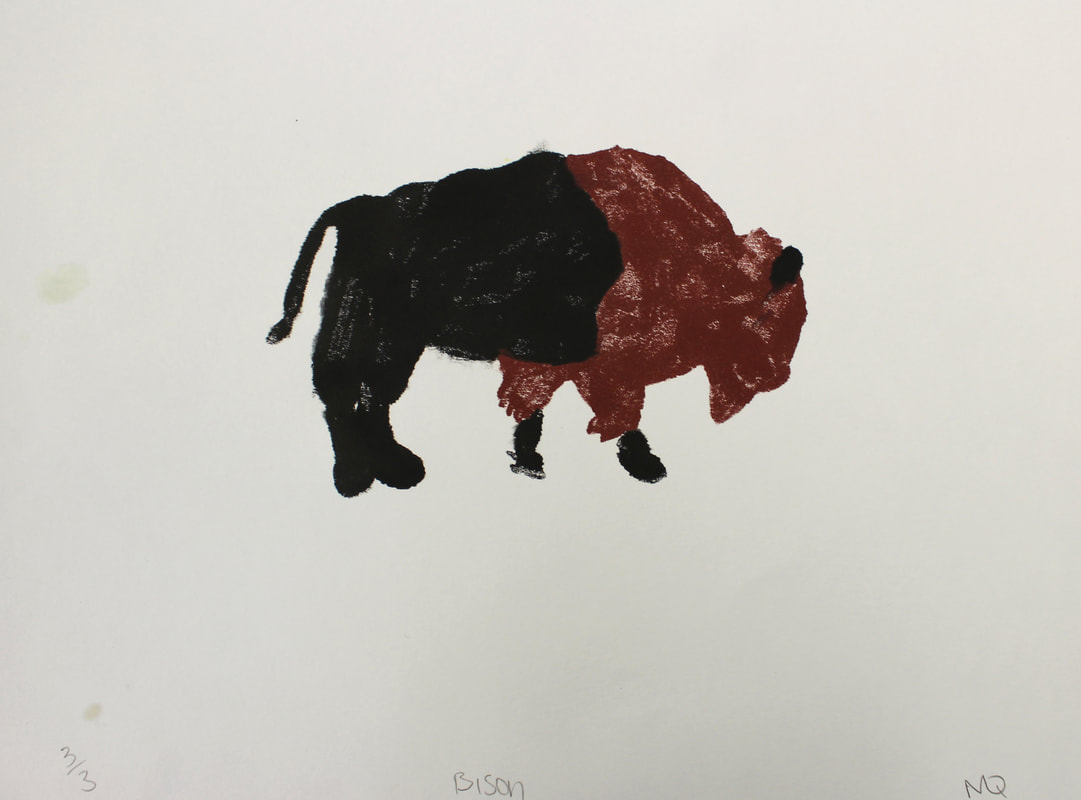
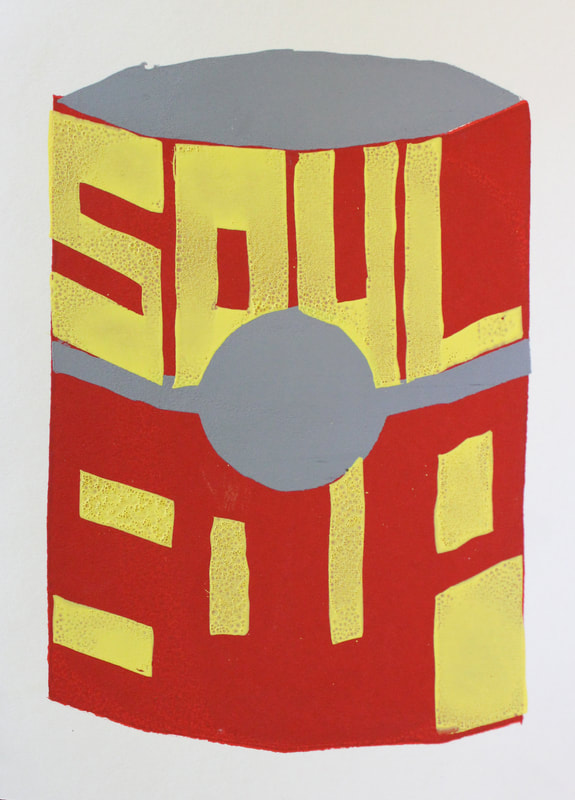
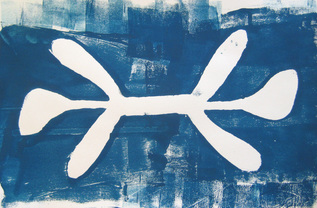
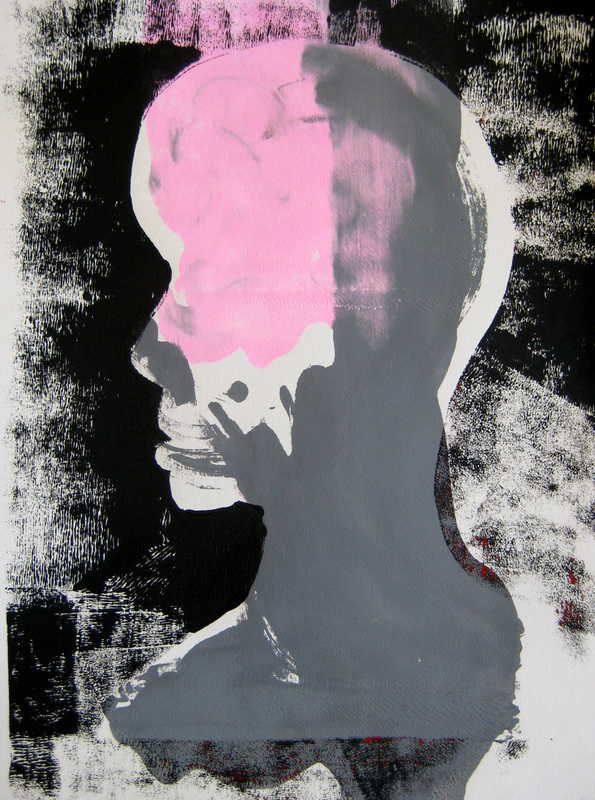
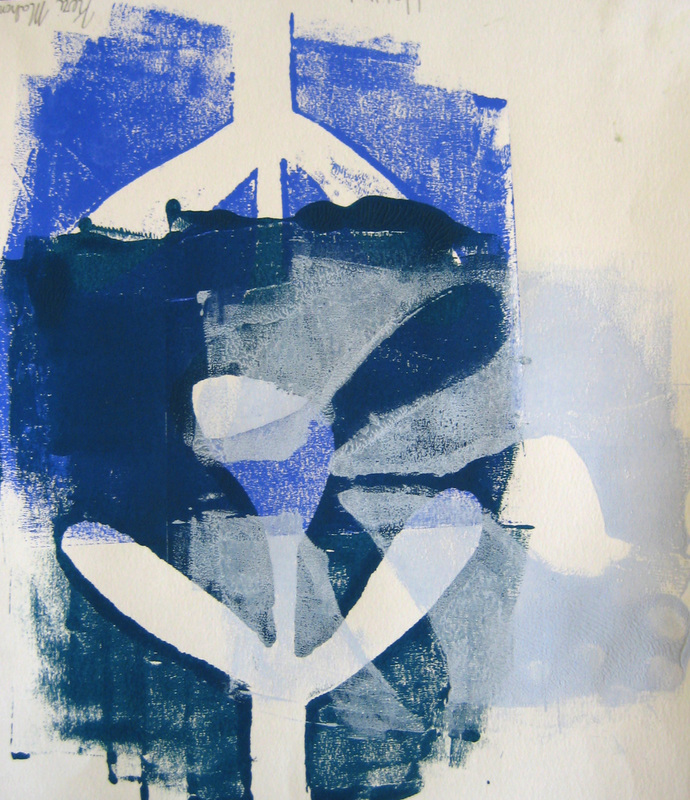
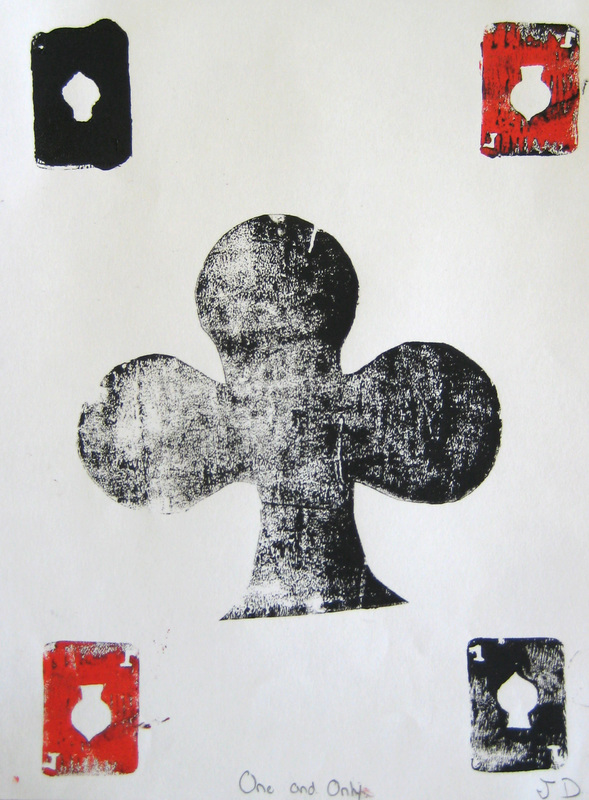
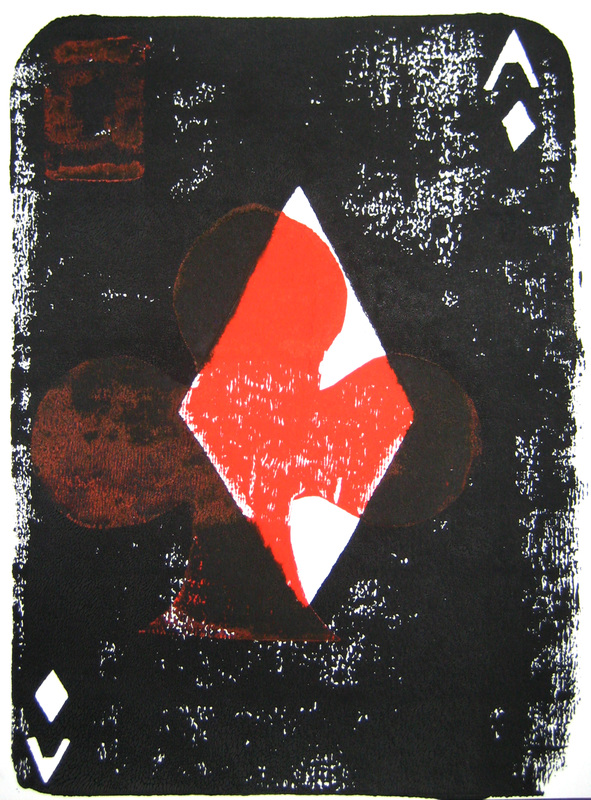
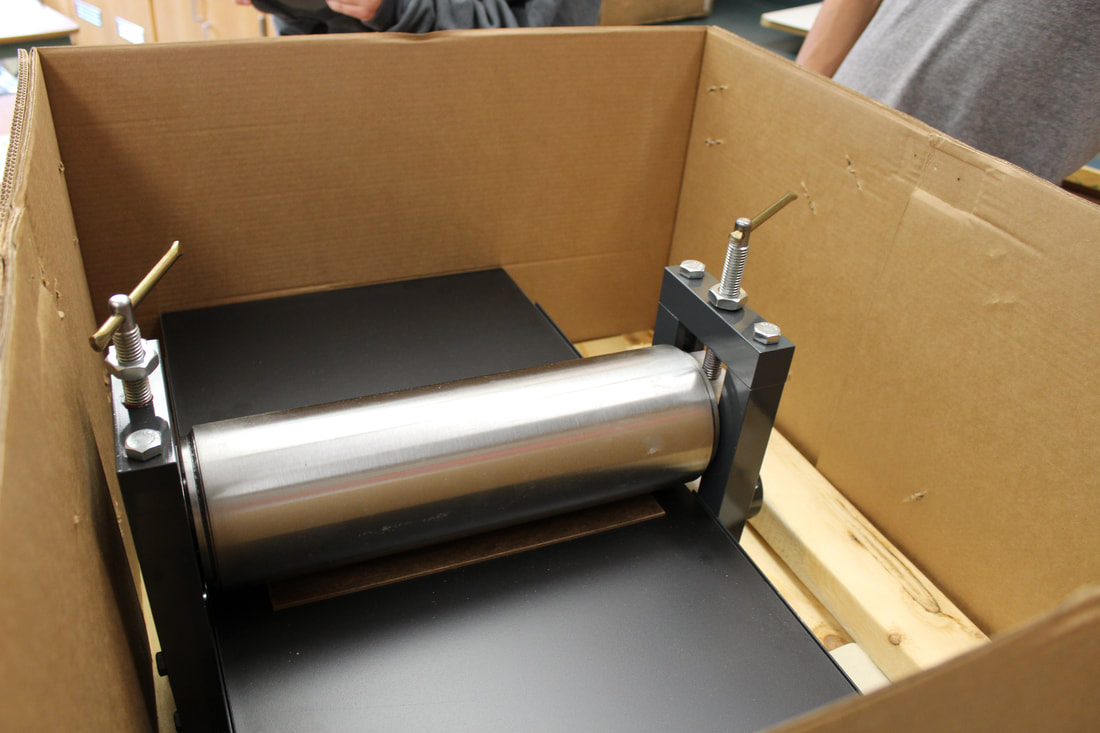
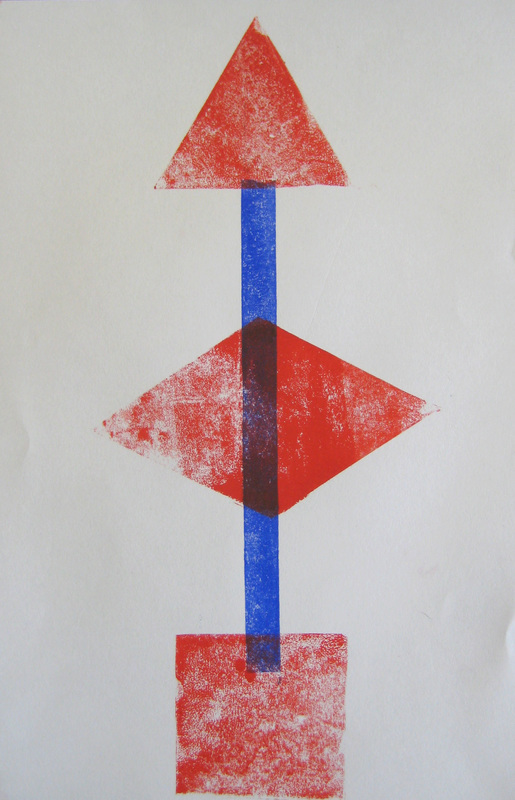
This process makes only one print, but sometimes you can make a ghost print (a lighter version of the original image). Students painted with ink on a piece of plexiglass (plate) and then placed a sheet of printmaking paper on the plate. Using a pin press, the students applied pressure by rolling over the paper. This transfers the image from the plate to the paper. These prints will have a painterly look and have a lighter and airy look compared to the flat color of a screenprint or linoleum block.
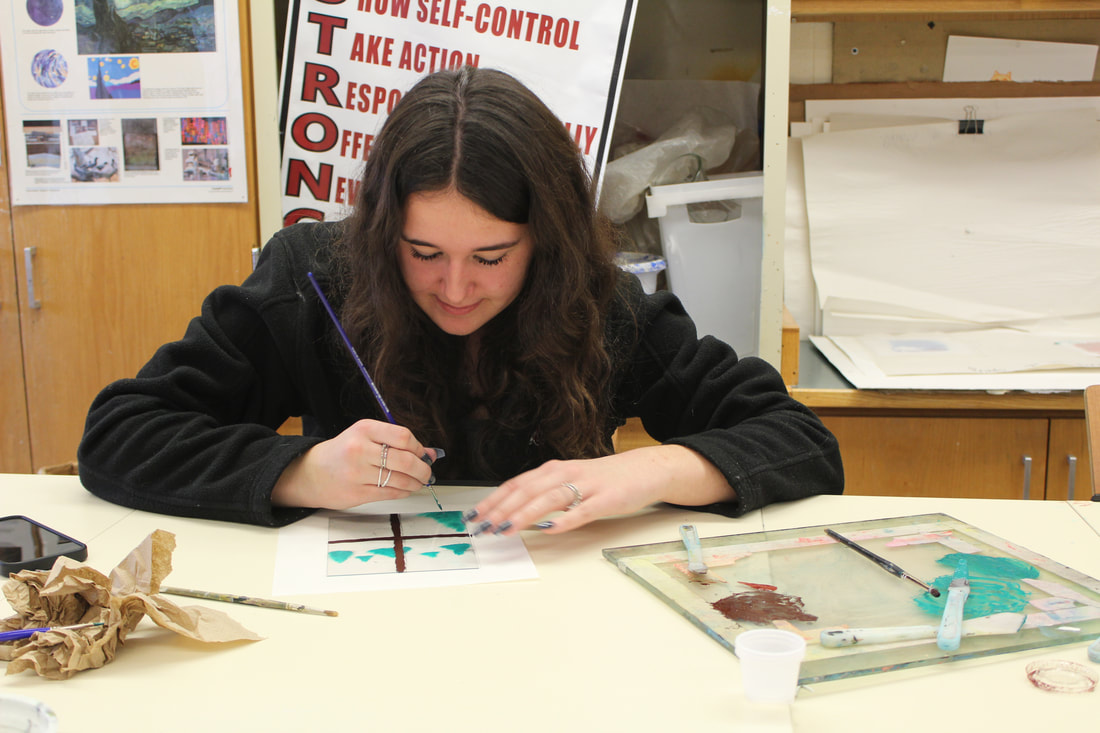
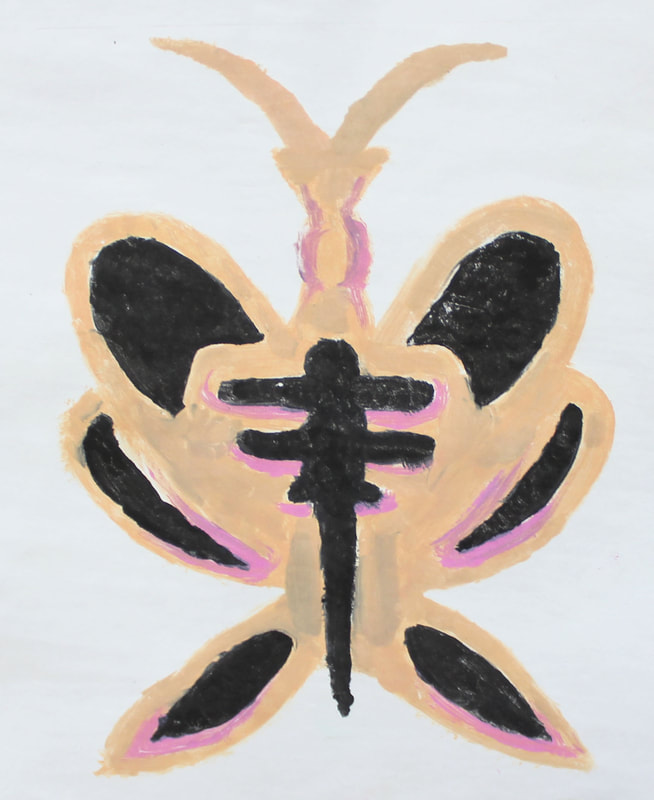
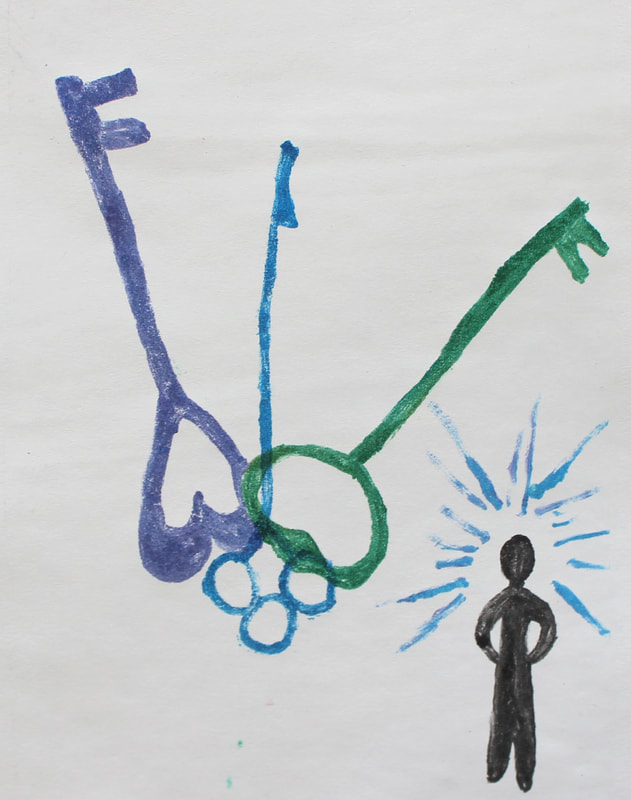
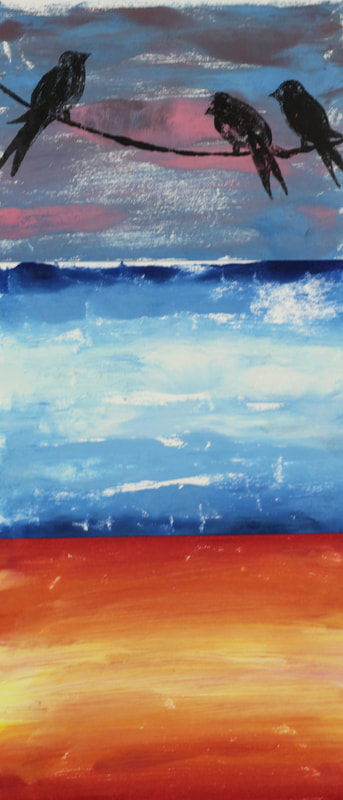
To come up with the subject matter for these prints the students were challenged to think about their mindset or mood. They then brainstormed how they could visually represent the mindset or mood they had selected. Some students chose to create realistic-looking subject matters others experimented with creating abstract images. |
|


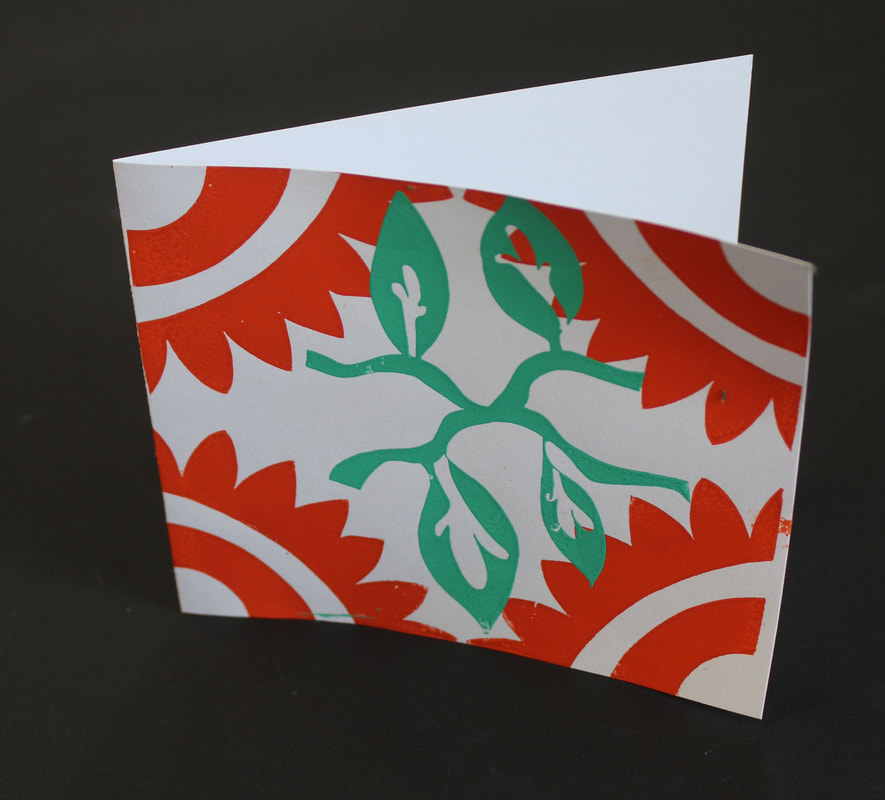
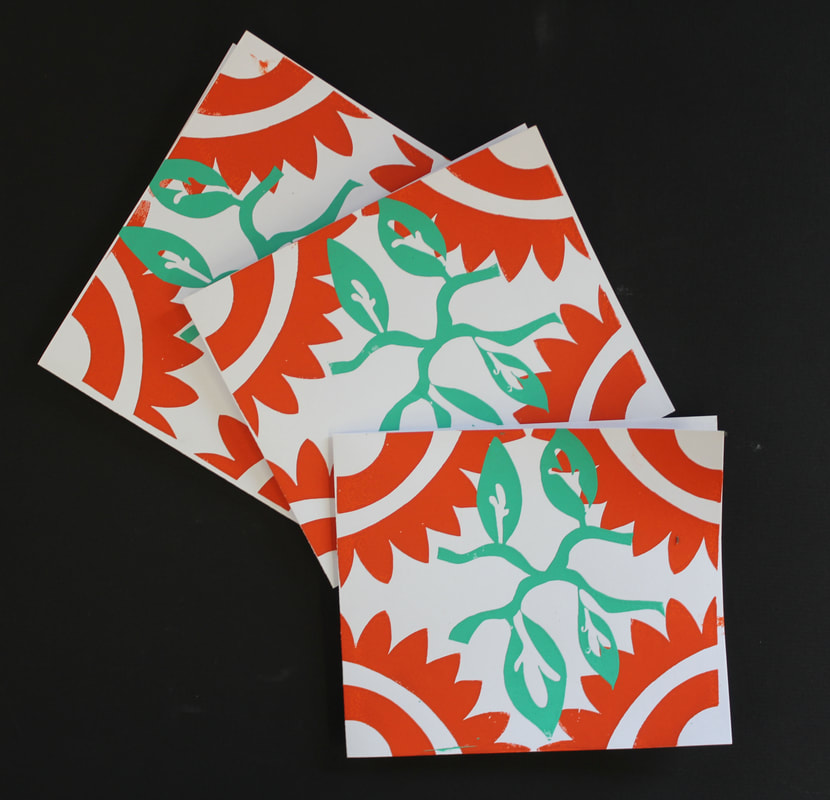
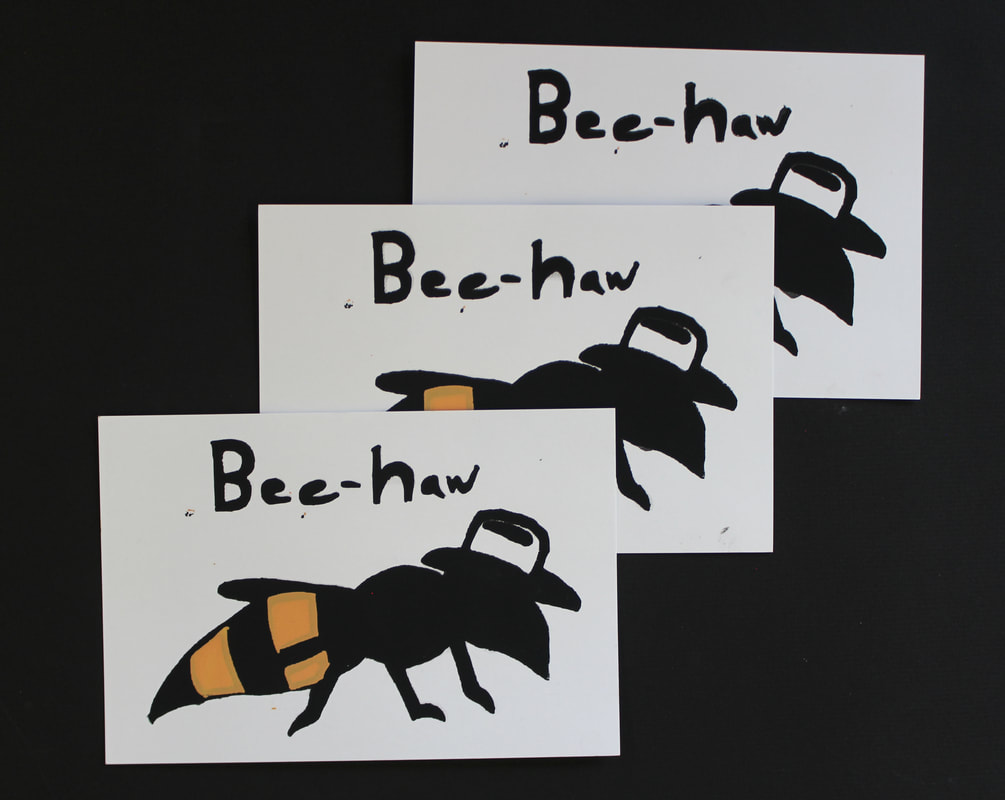
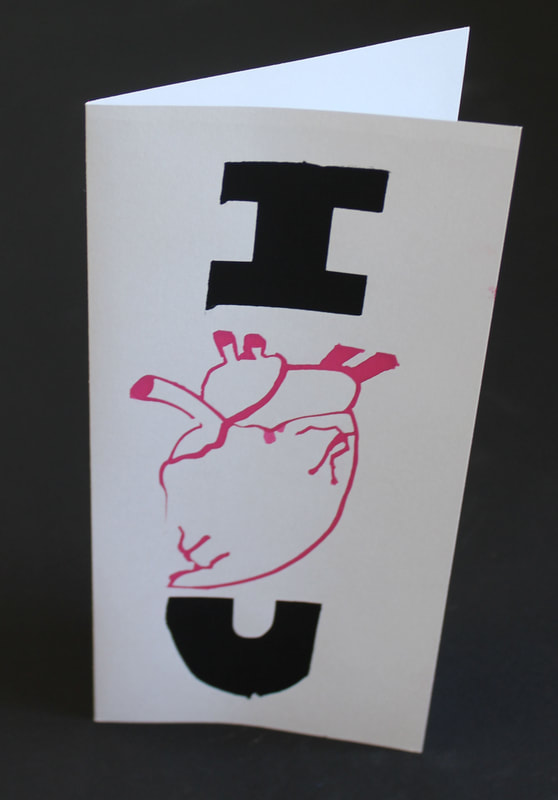
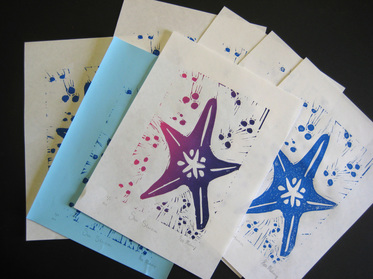
Screenprinted Greeting Cards
|
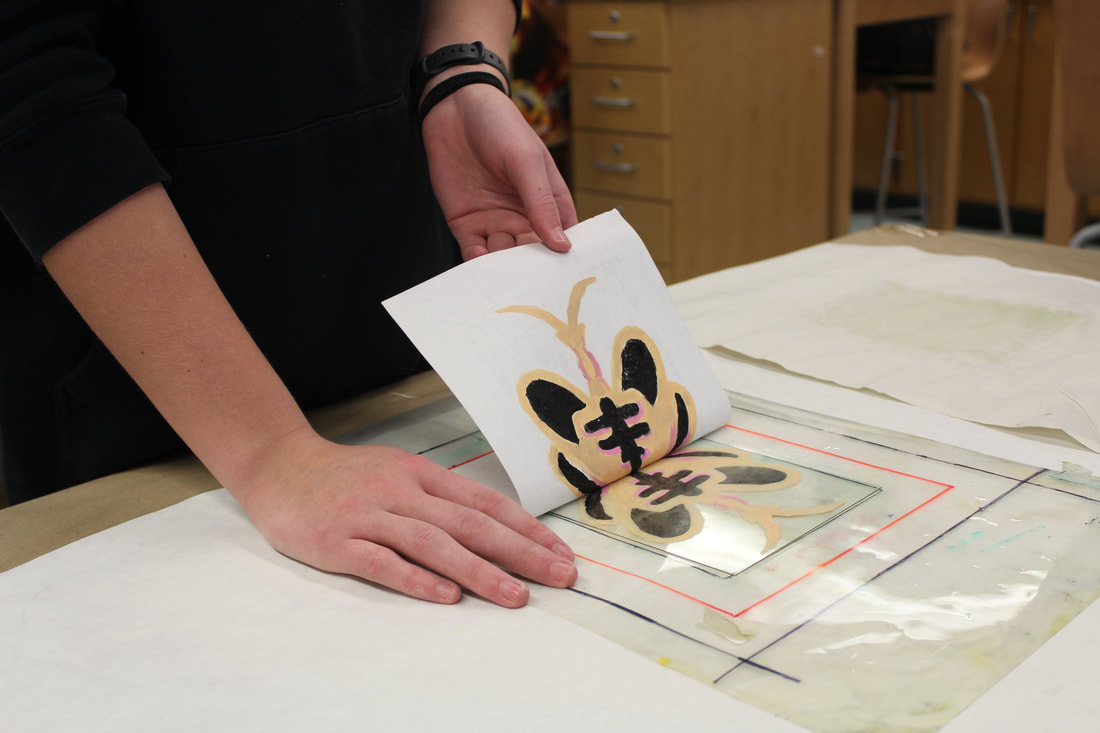
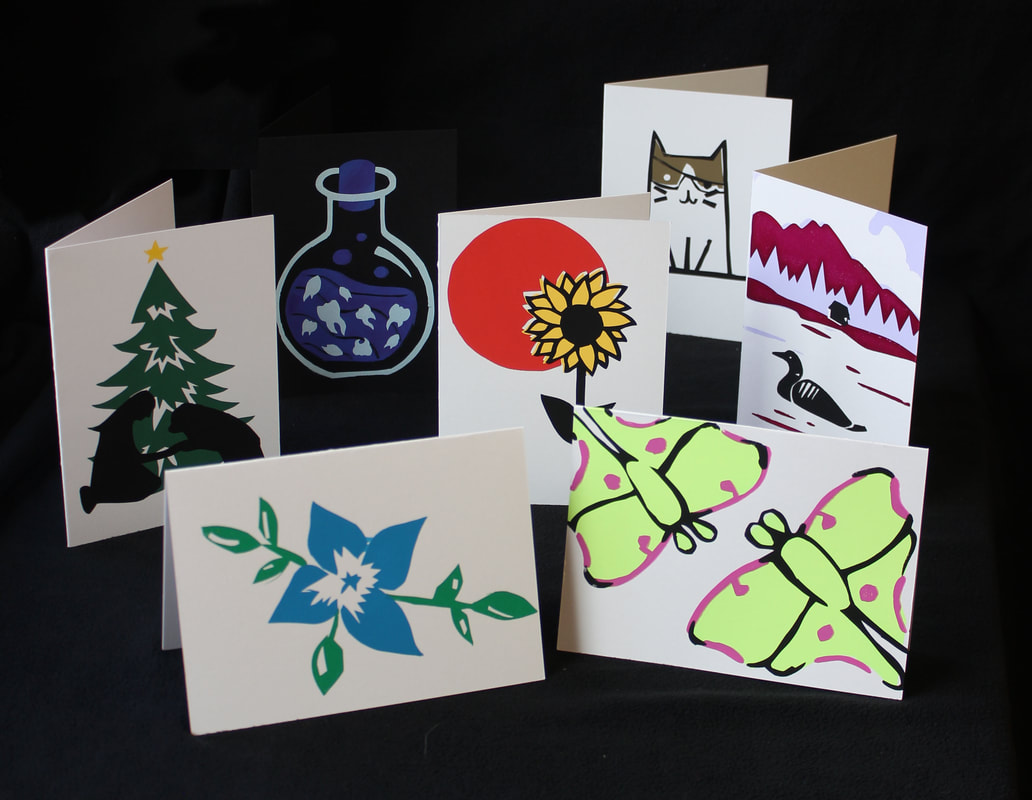
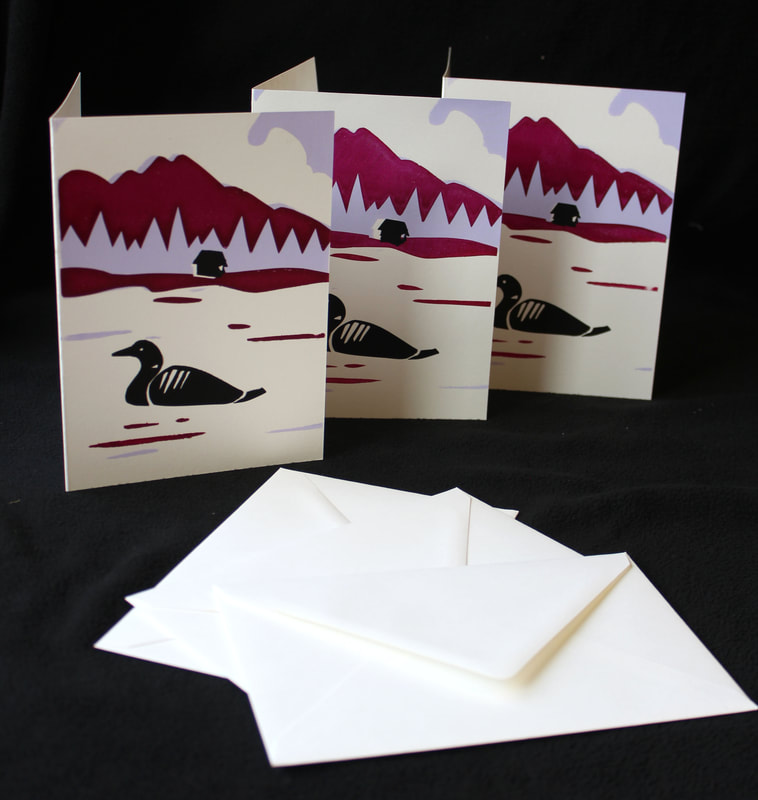
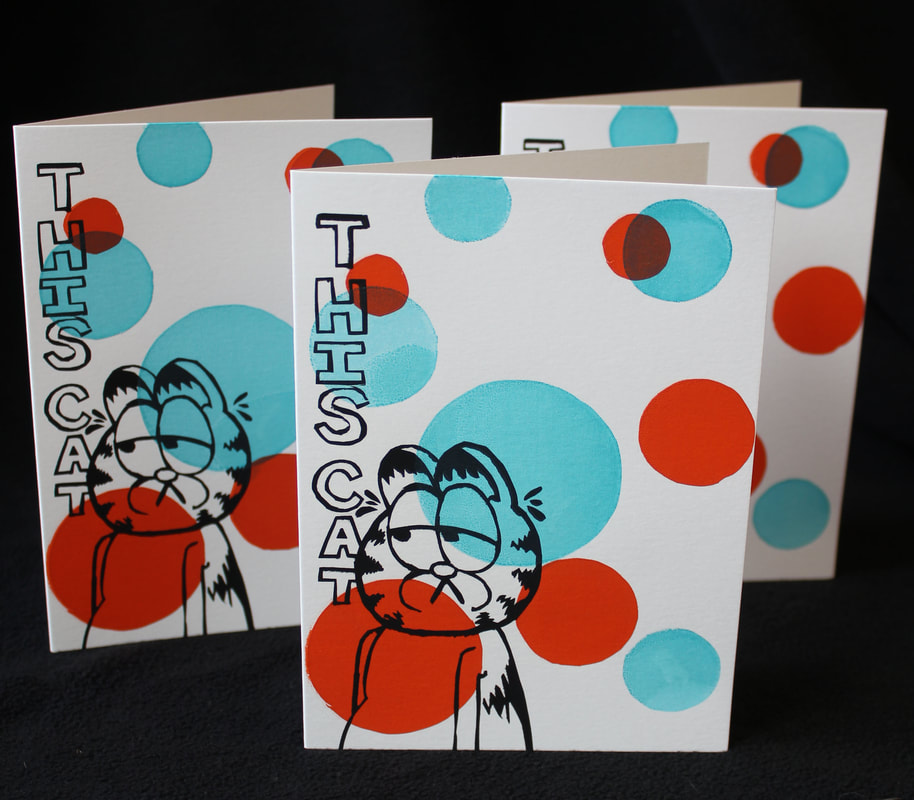
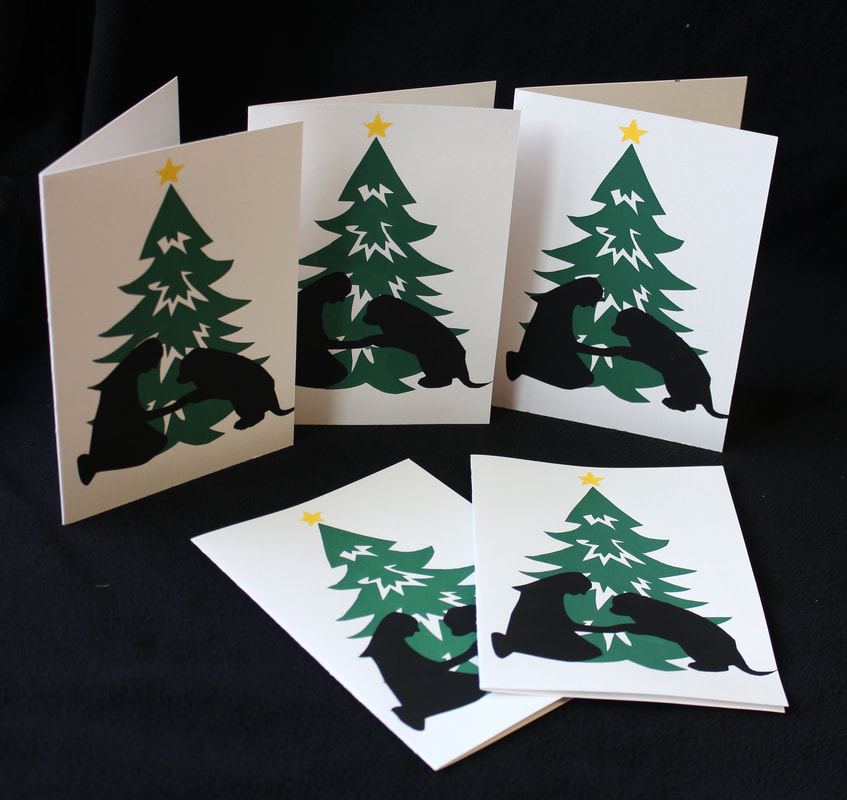
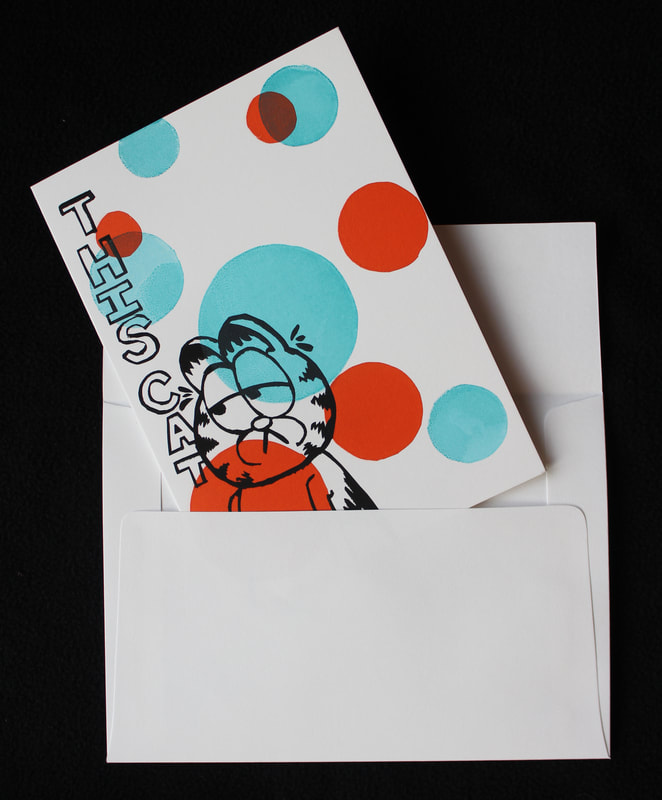
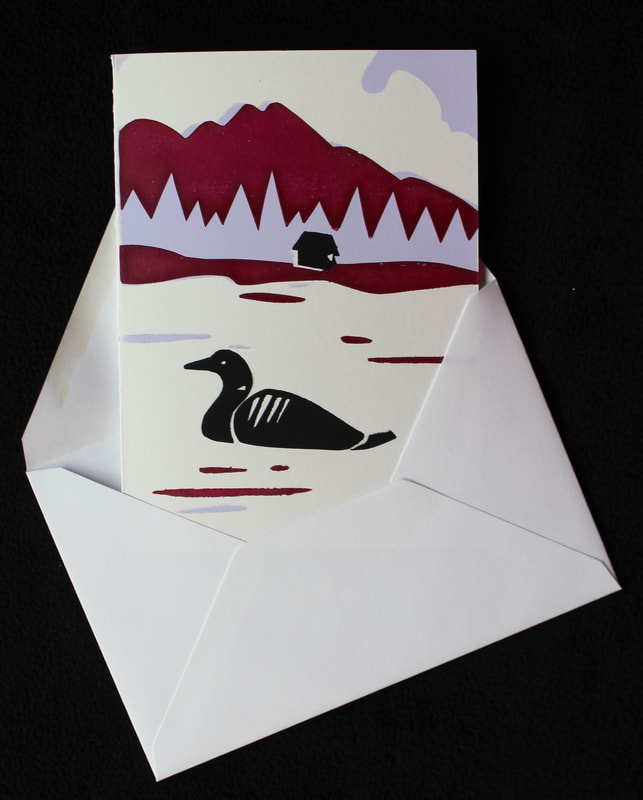
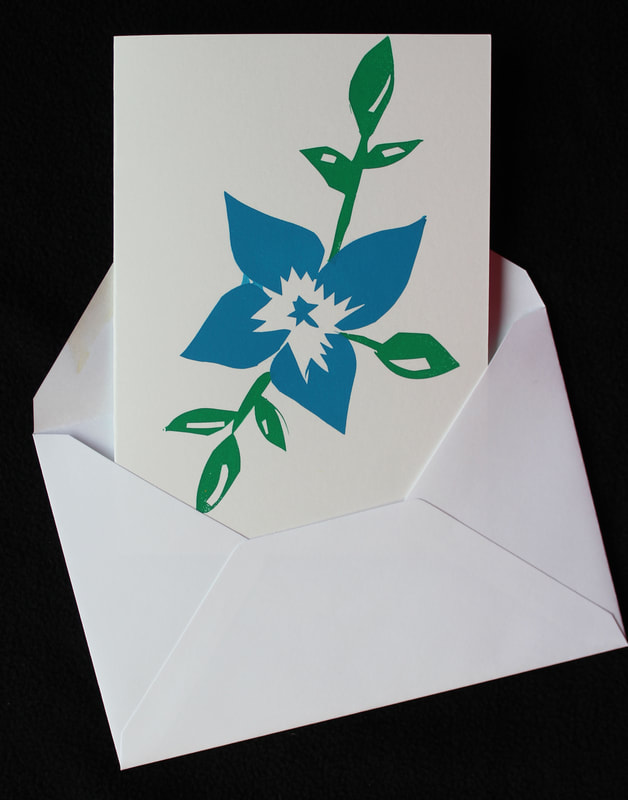
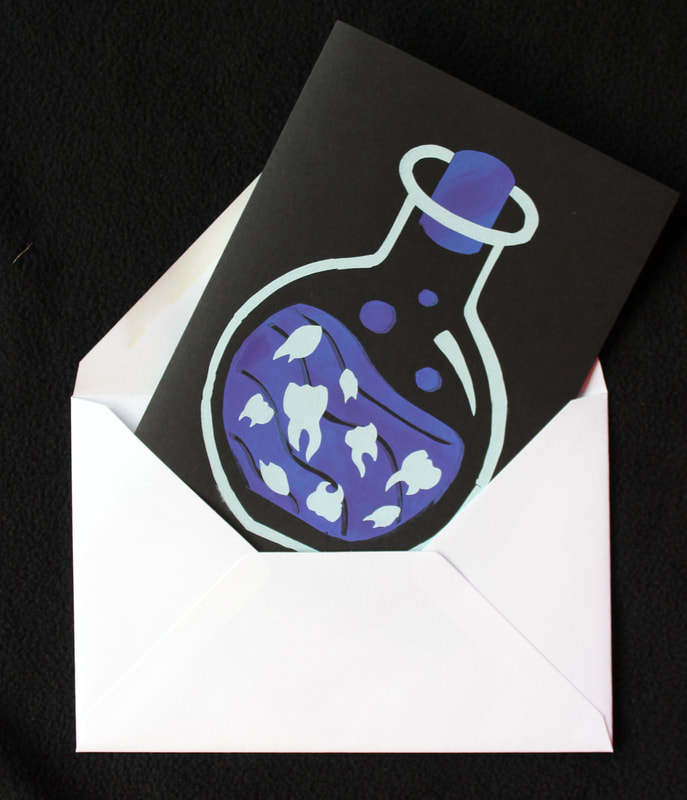
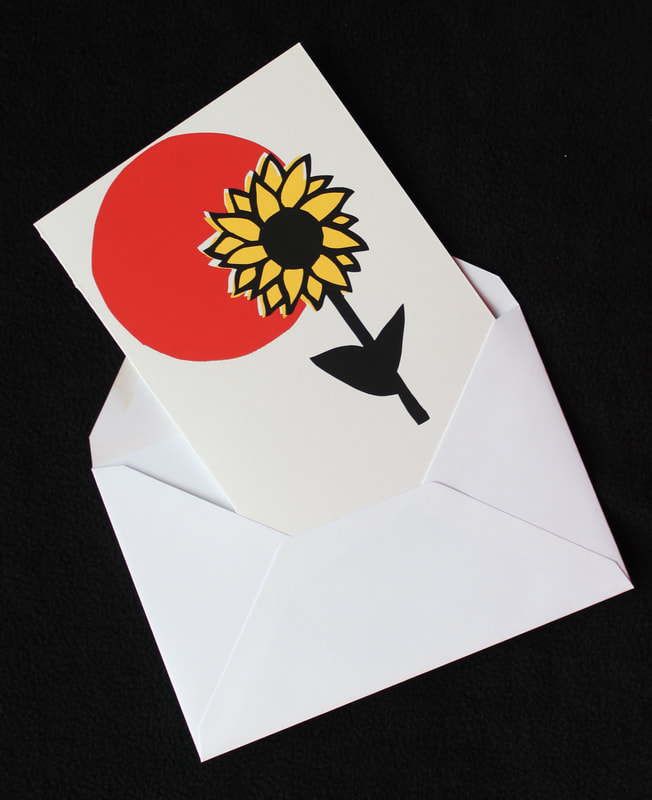
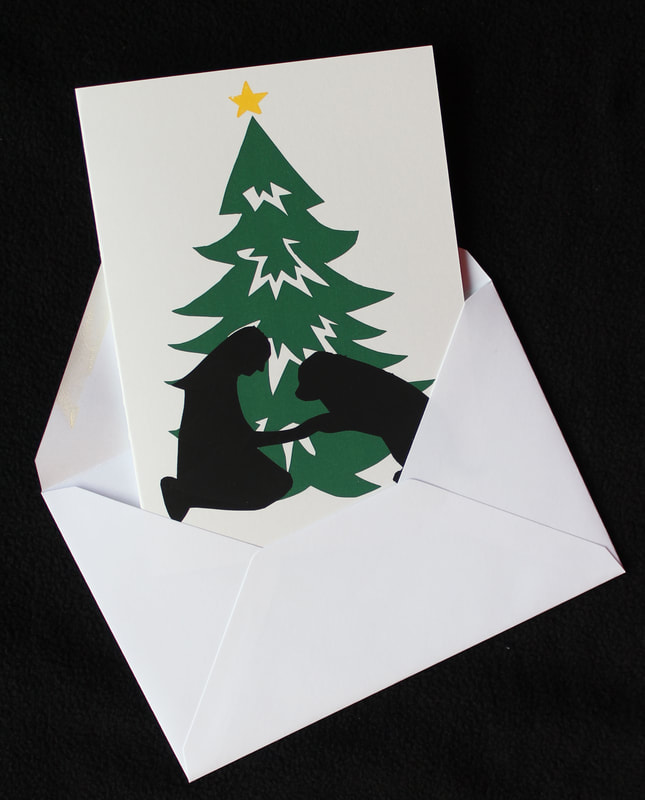
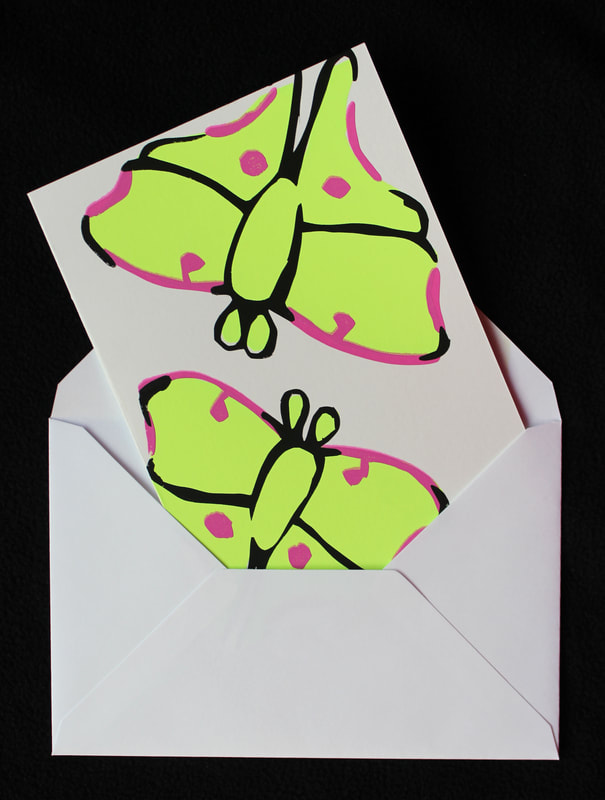
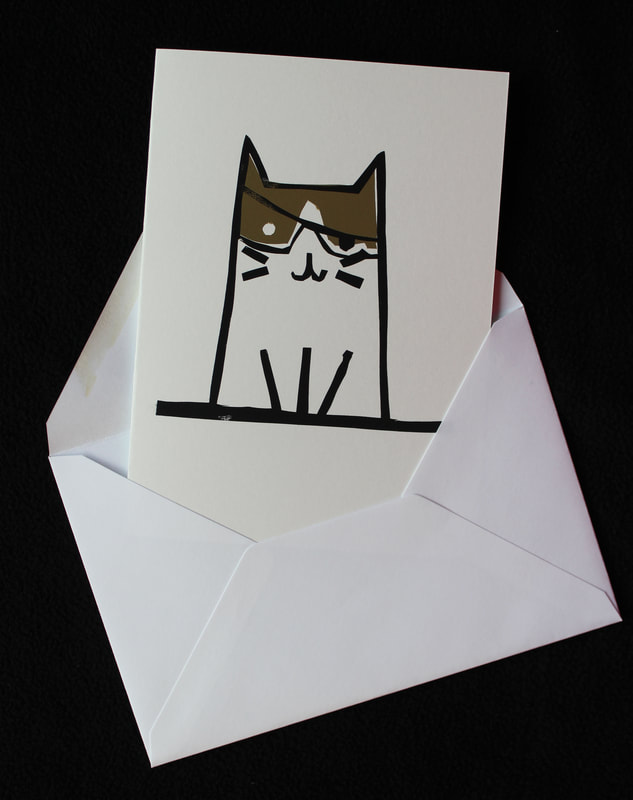
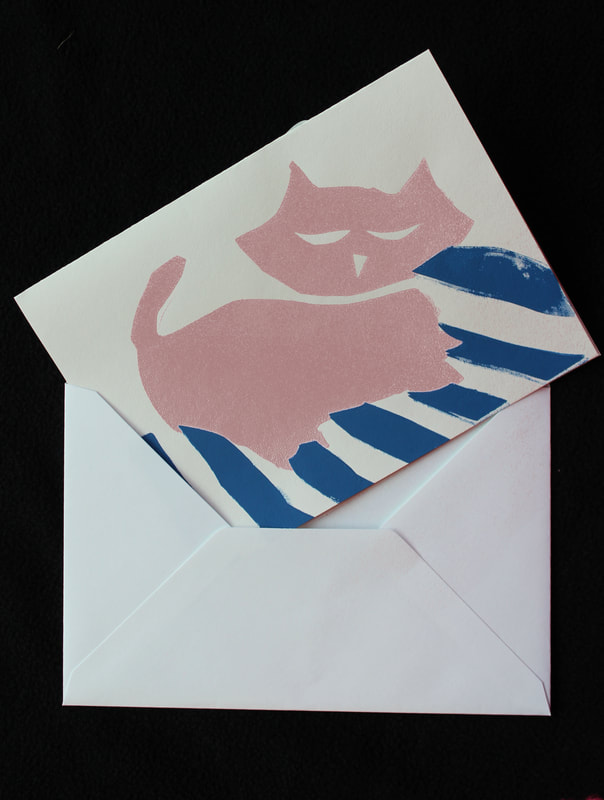
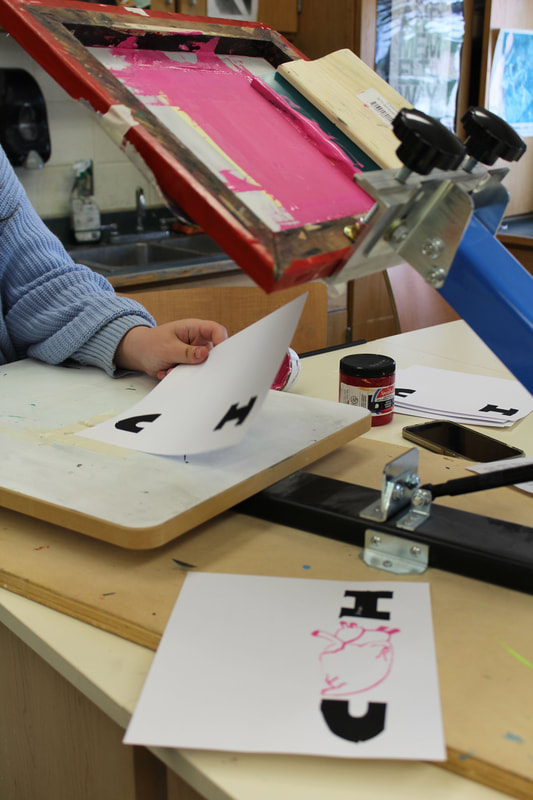
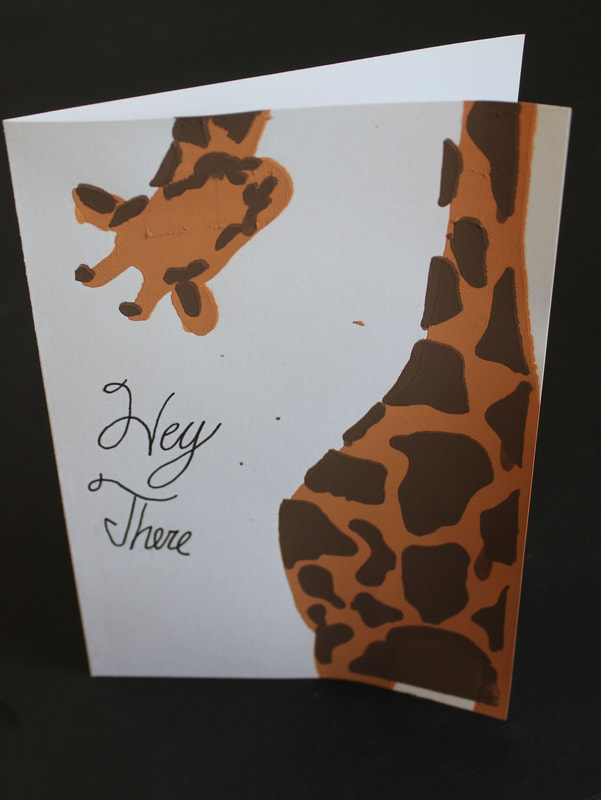
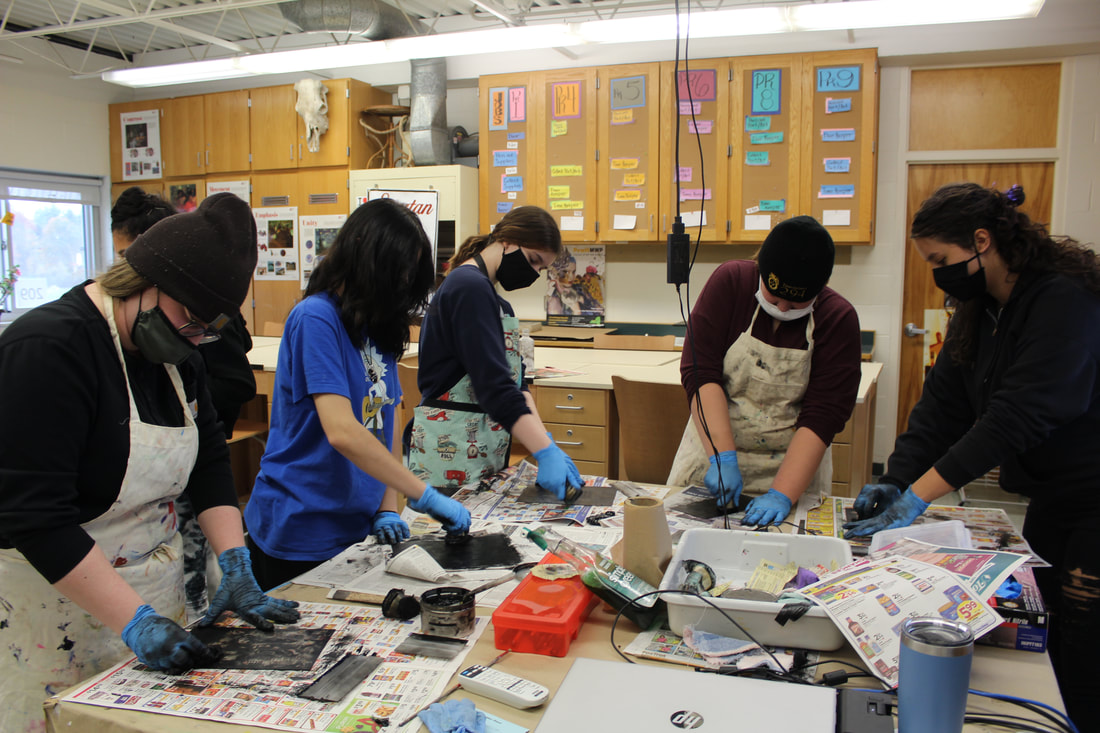
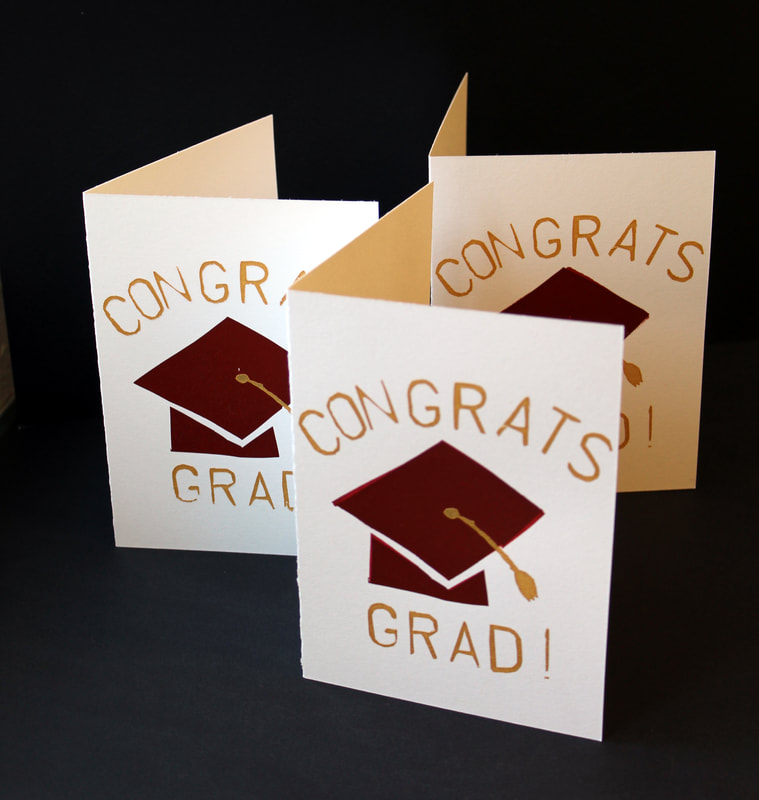
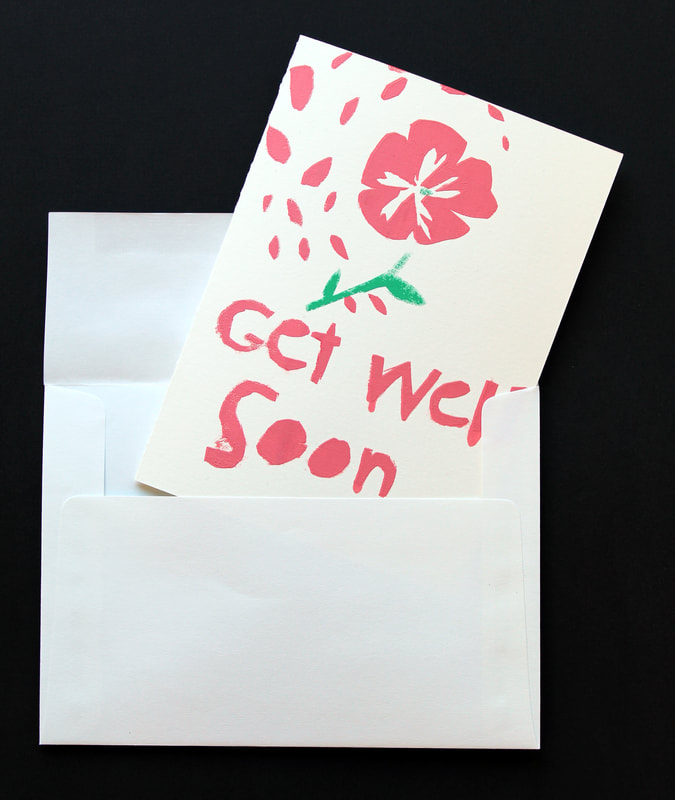
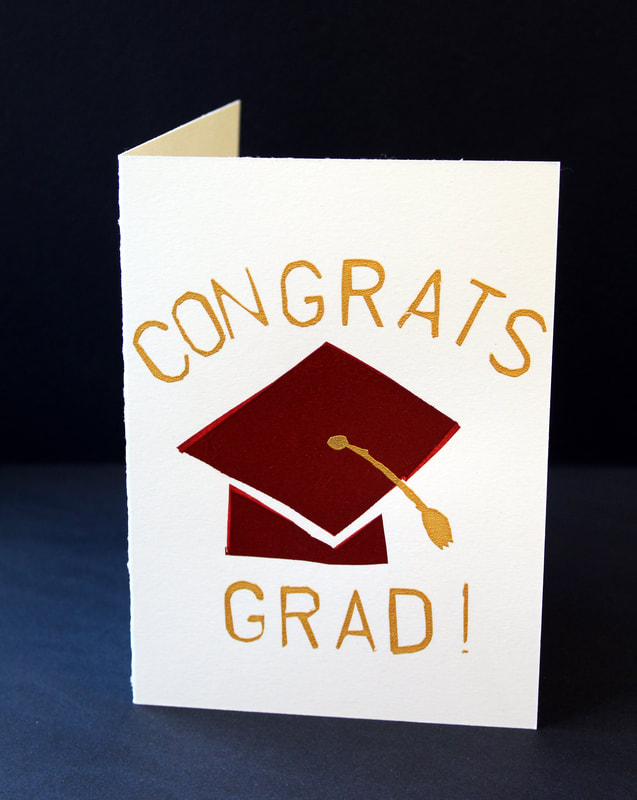
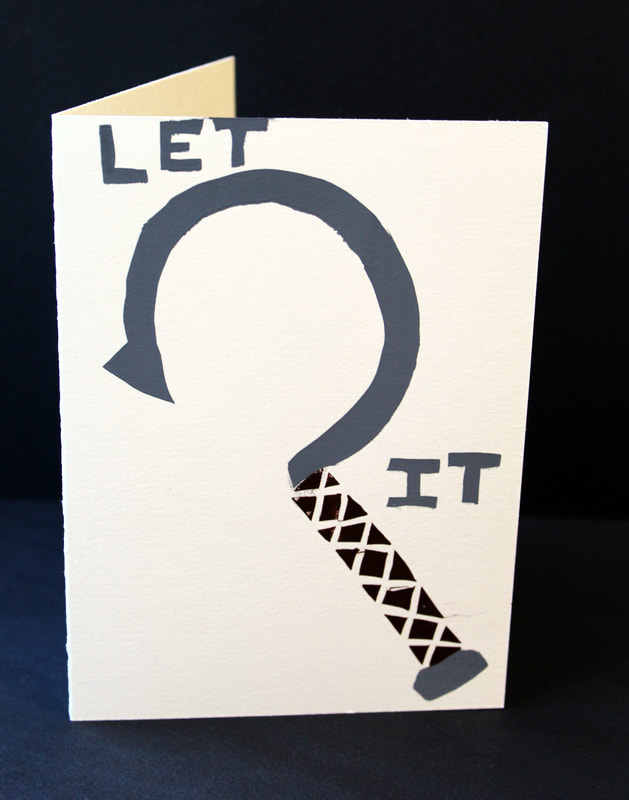
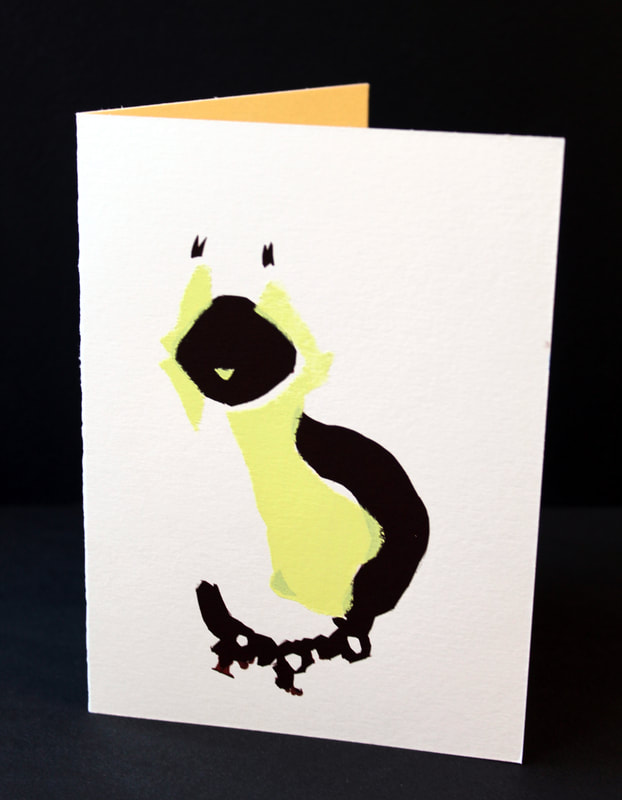
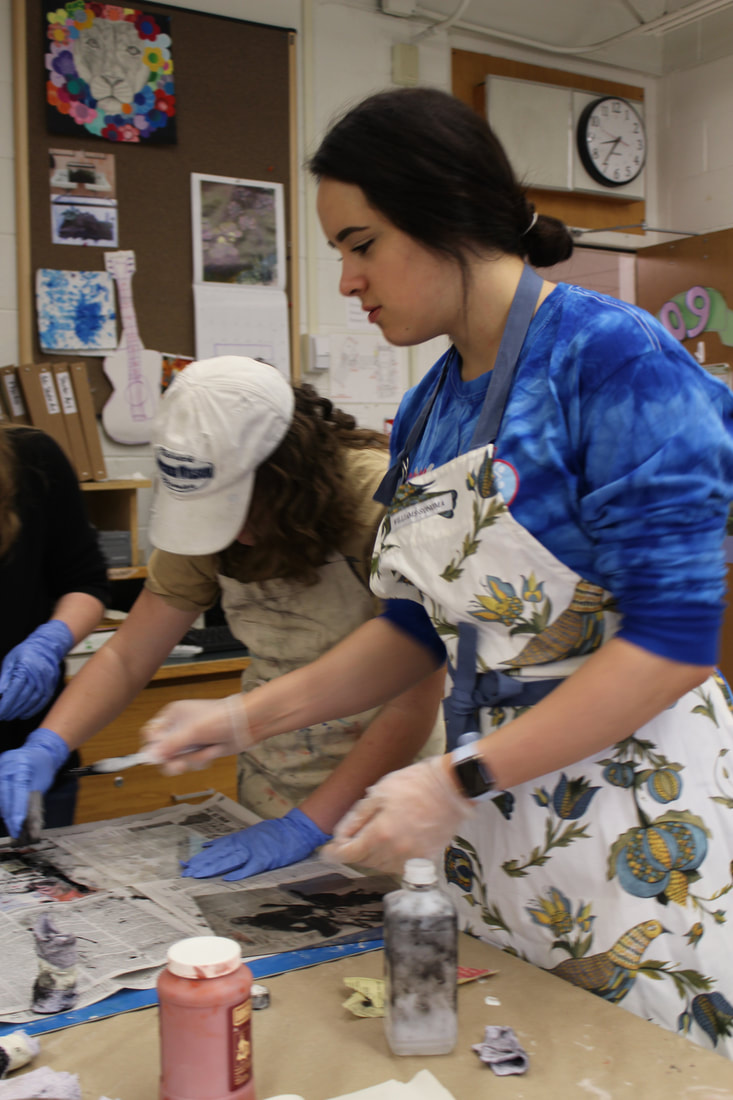
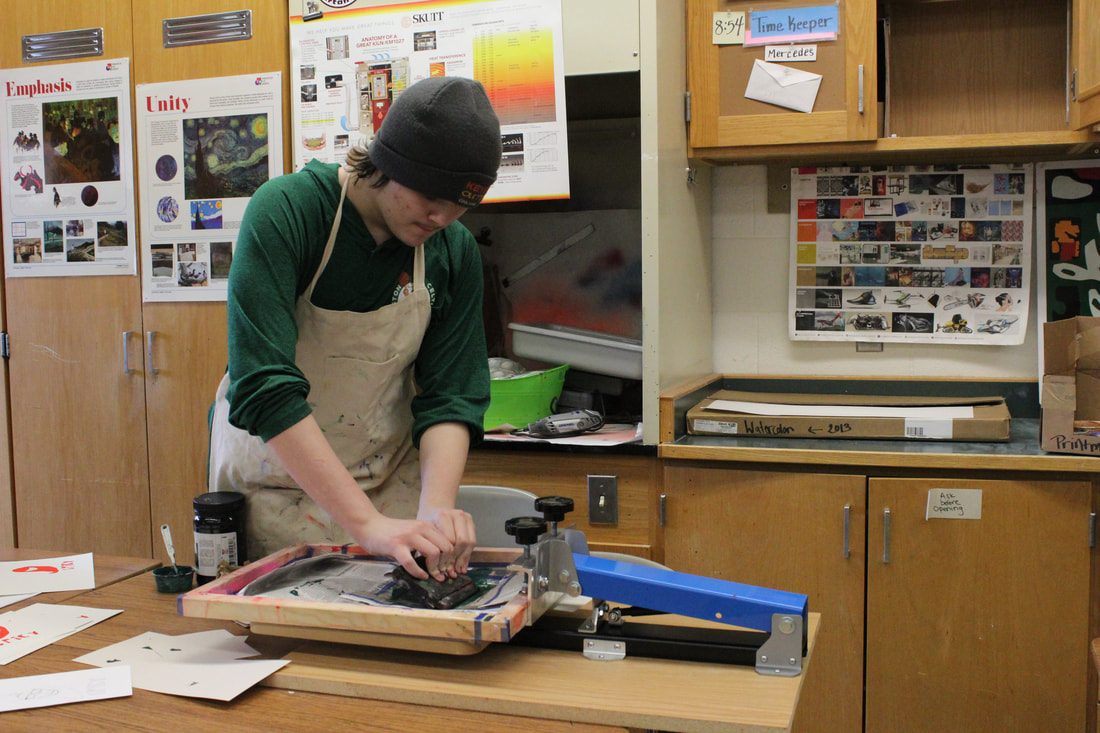
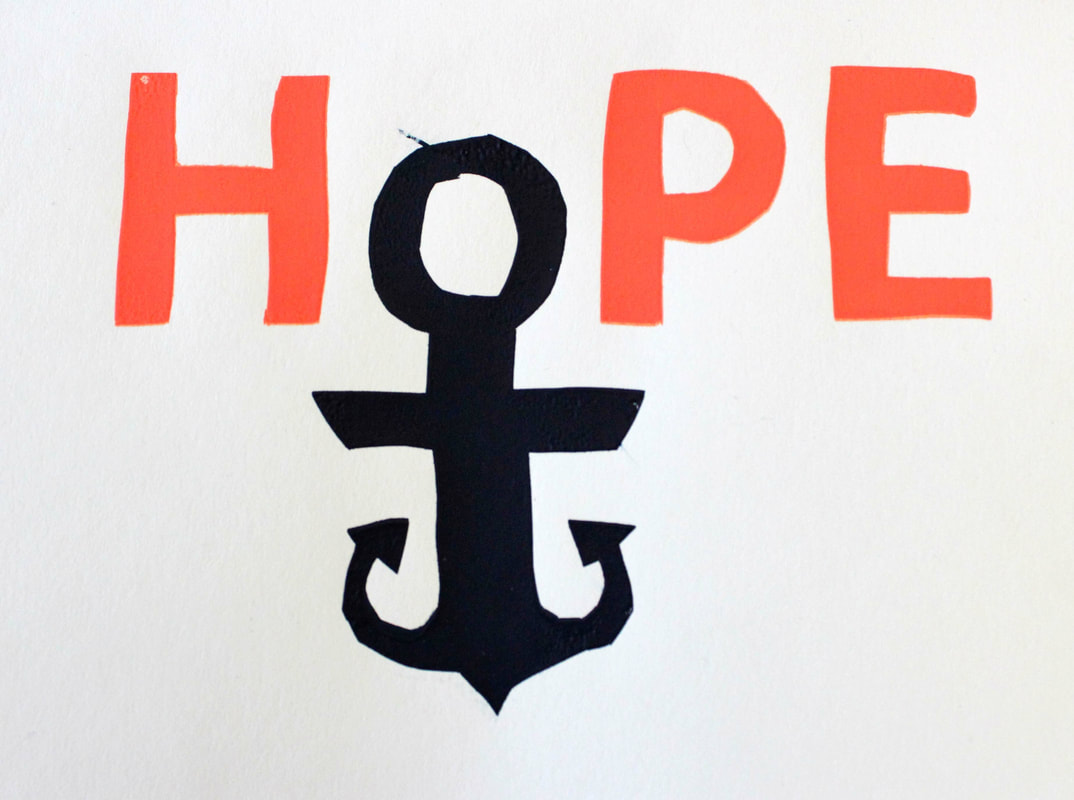
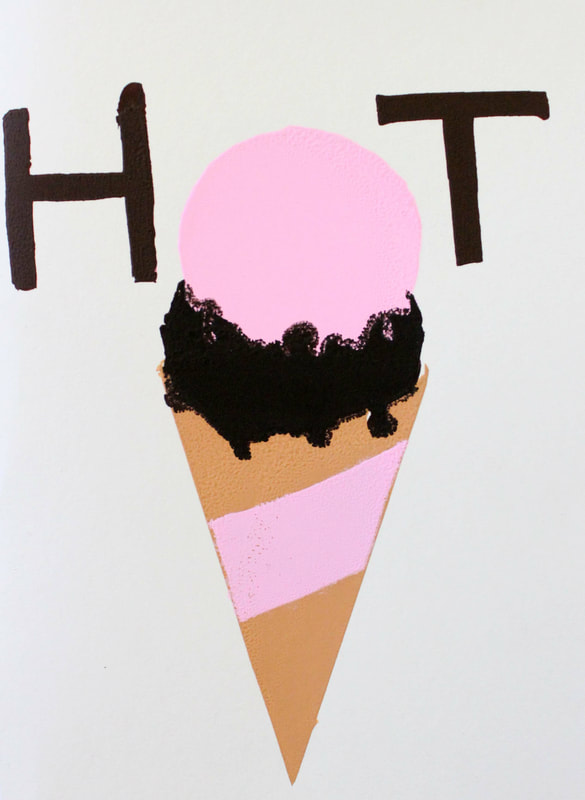
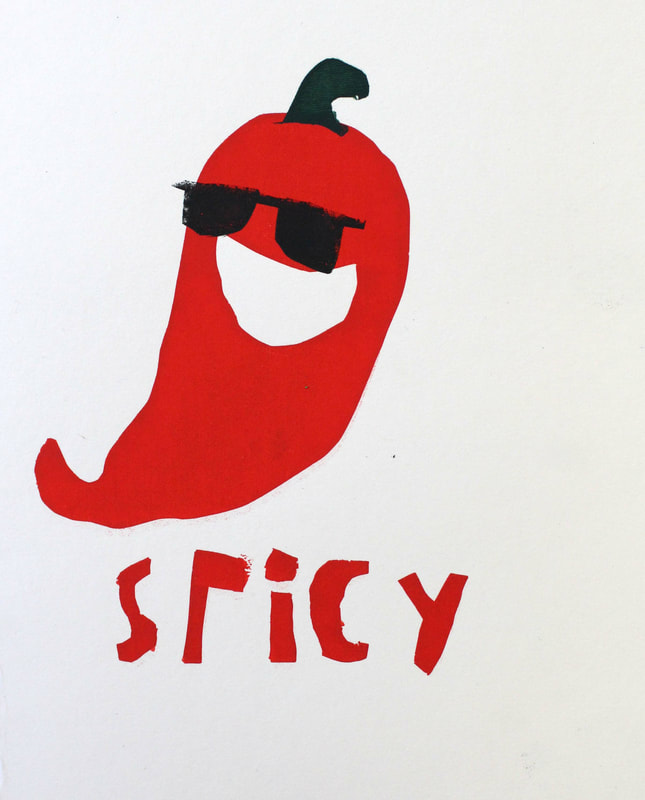
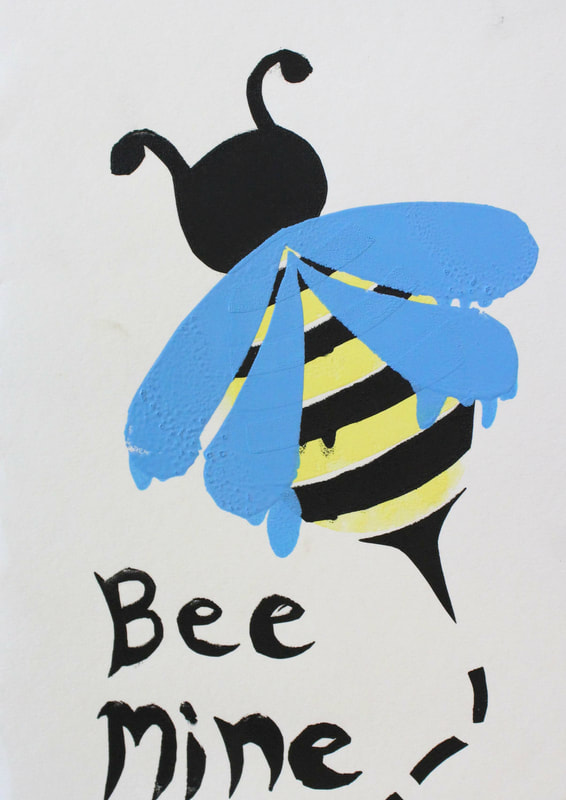
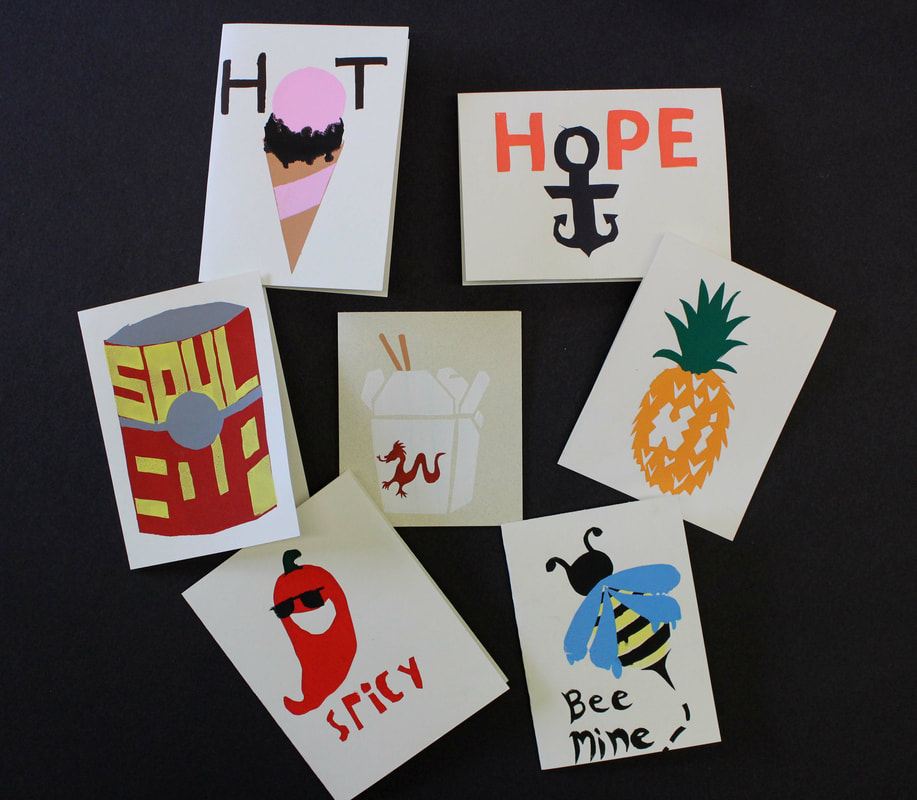
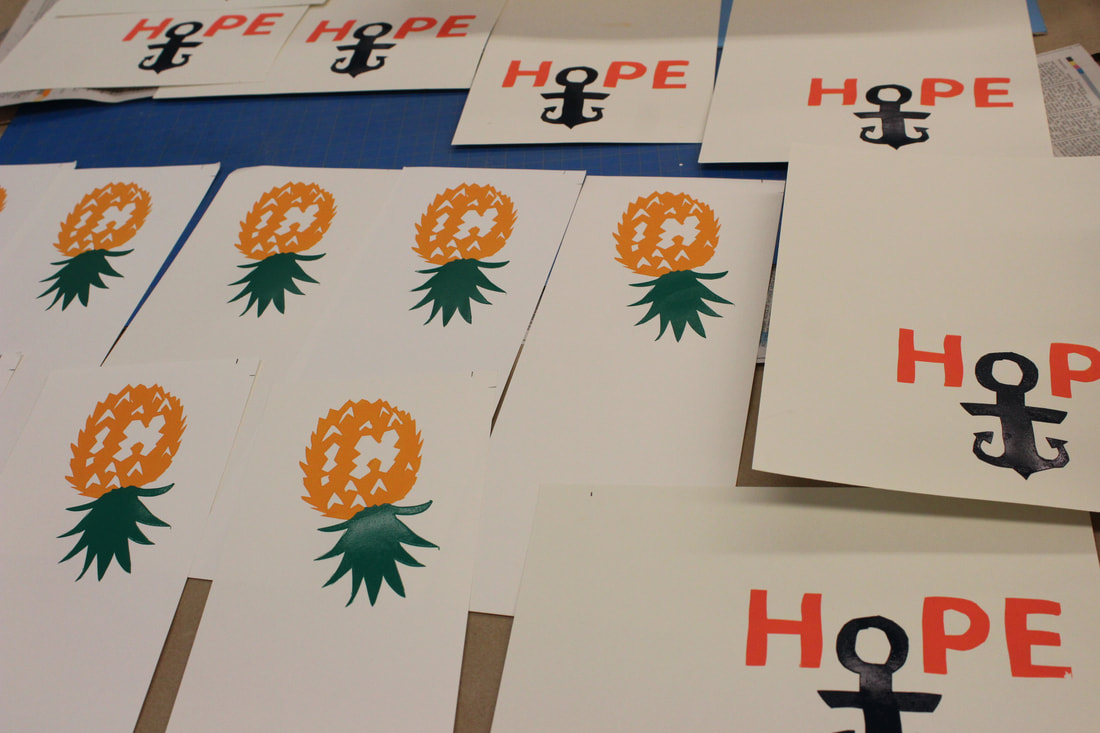
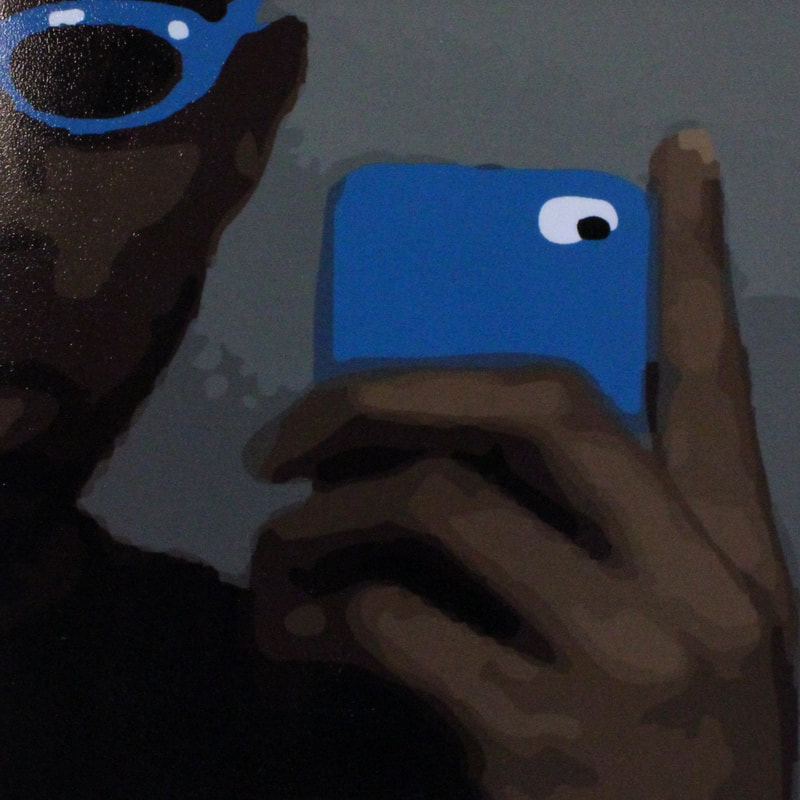
The benefit of printmaking is that the artist can make more than one of the images they have created. The screen printing process creates bright and bold images made from stencils. The bold and clean looks and style of screen printing lend itself to commercial products, such as t-shirts, posters, and so much more.
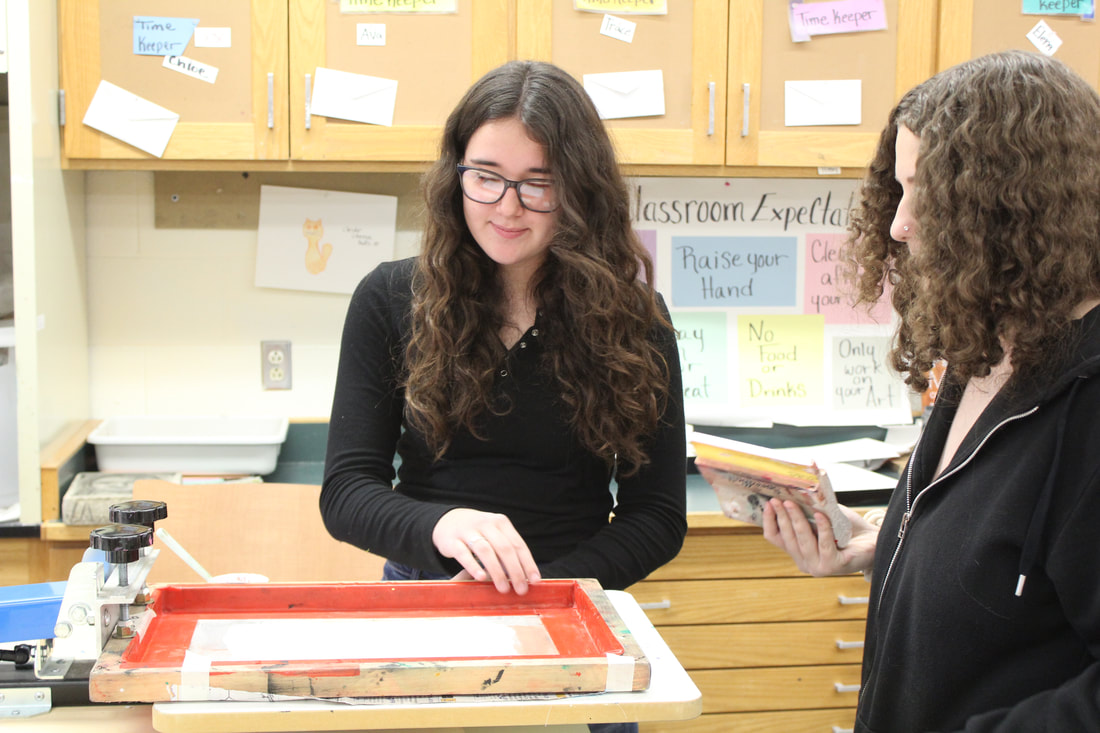
To help students understand how artists make work more commercially and get a feel for screen printing, each student needed to design a greeting card. The card could be for any occasion even just to say "hello". The design needed to be made using at least two colors/stencils, this would make a more complicated image and require proper use of registration. The class worked with mask-ys (a stencil that sticks to the screen), this is a great way for beginners to learn screen printing. Each step requires students to work professionally and proficiently. Their goal was to create five or more perfect prints that could be sold. To print five perfect prints the students learned that they needed to start with more in case they made a mistake. Working with a pattern and sharing observations on how to print more smoothly helped to create an art community in the classroom. Check out their creations! |
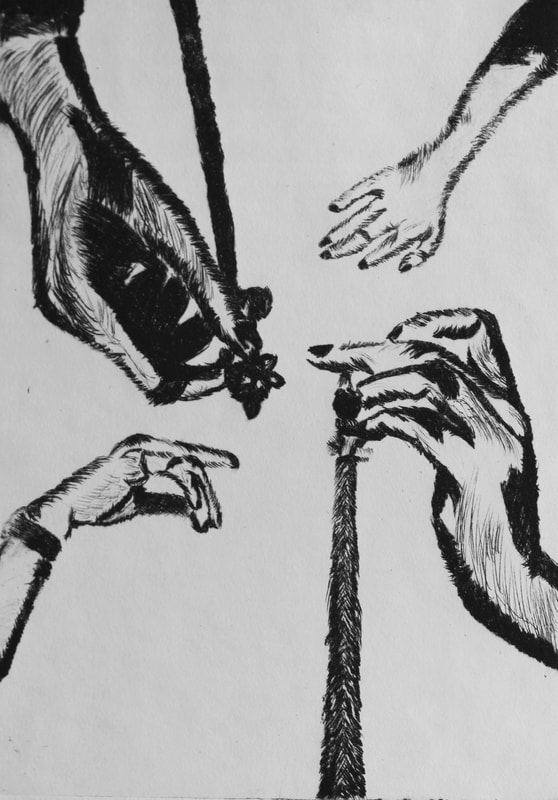
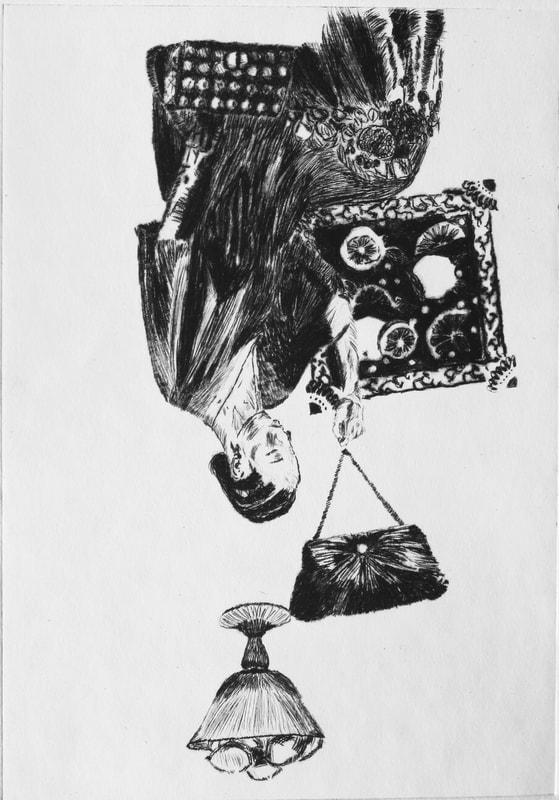
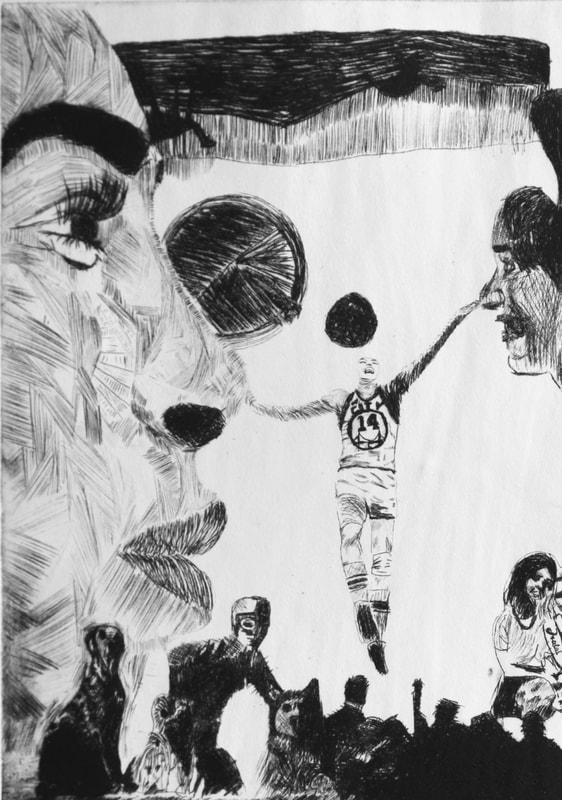
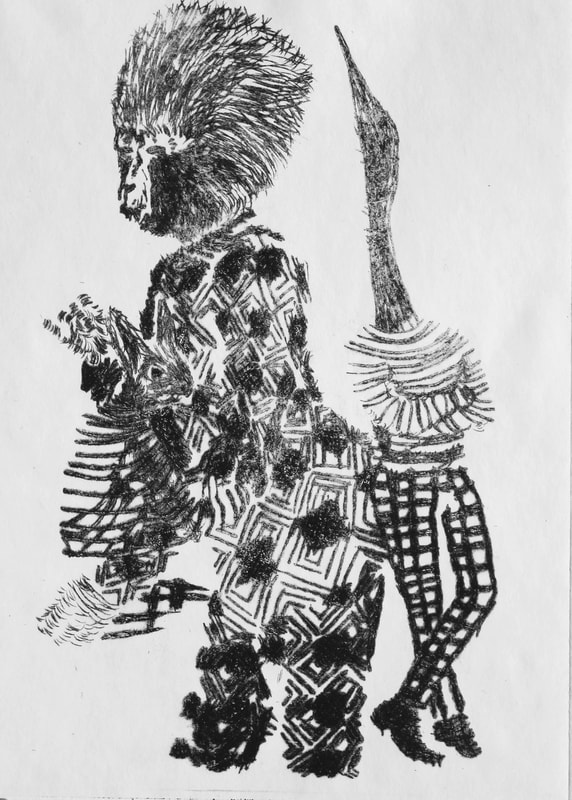
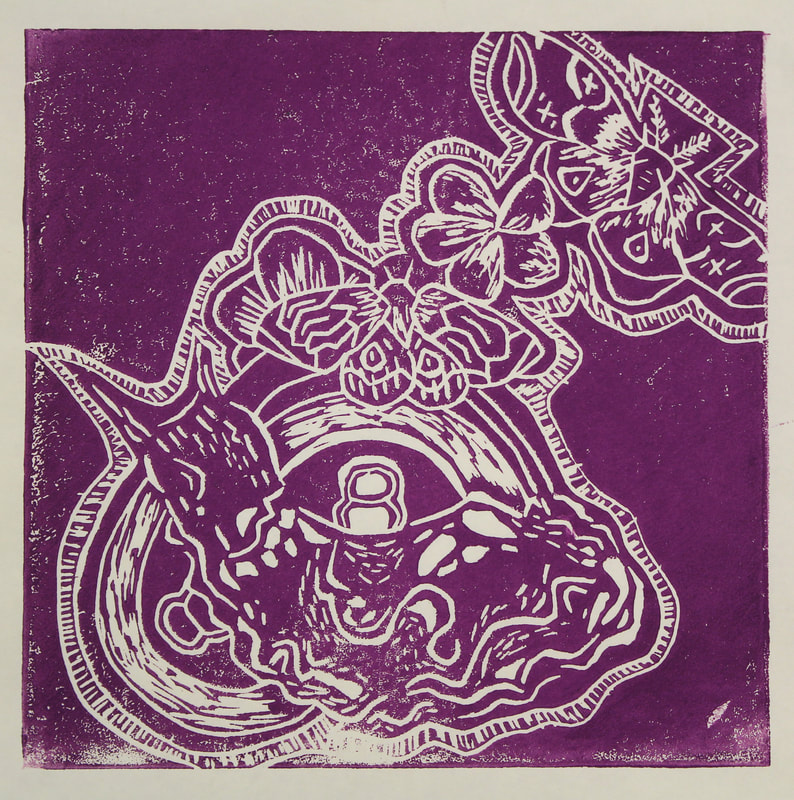
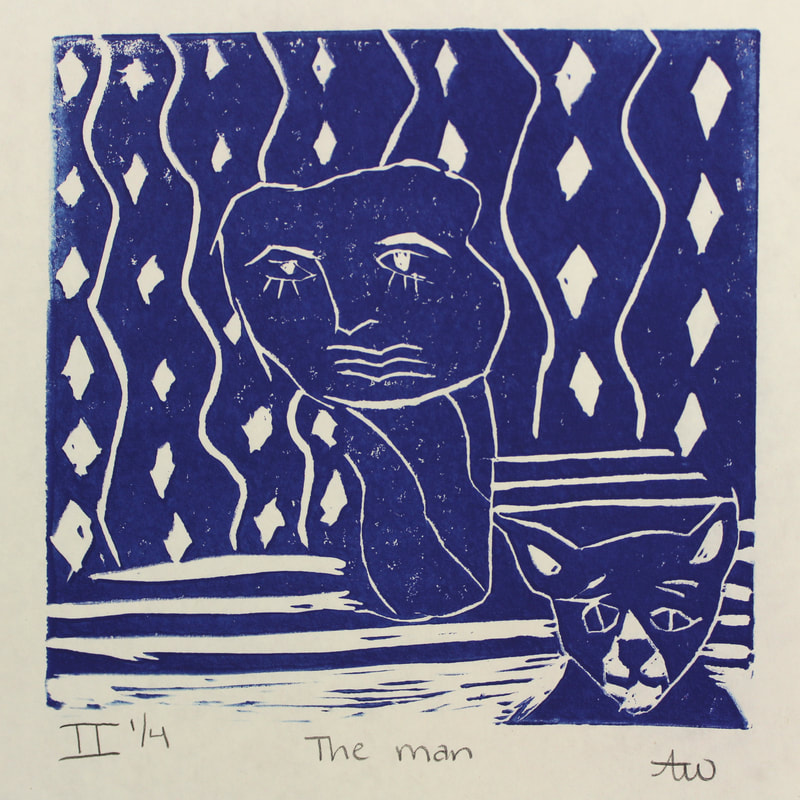
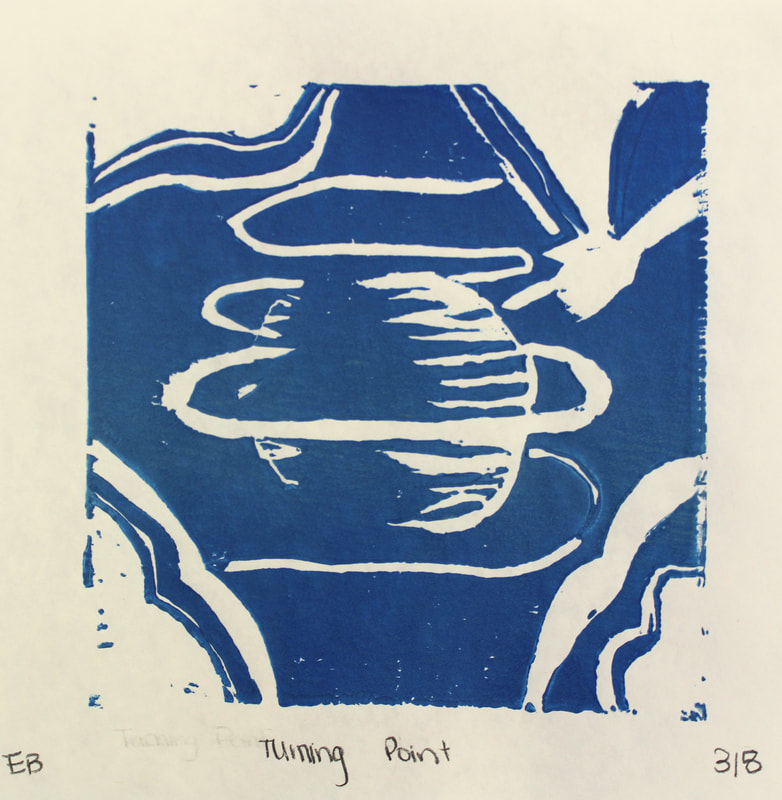
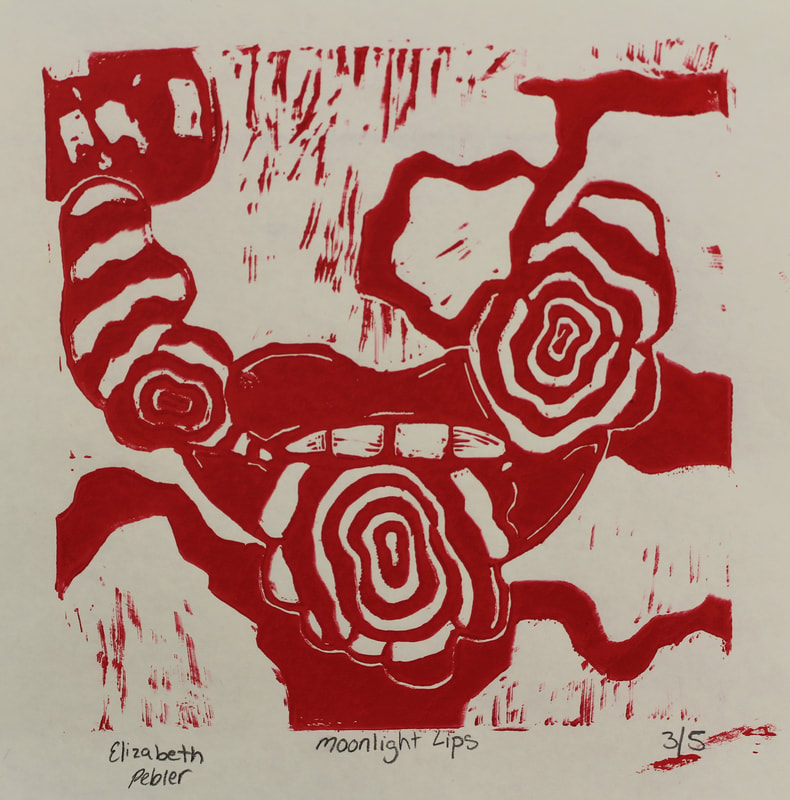
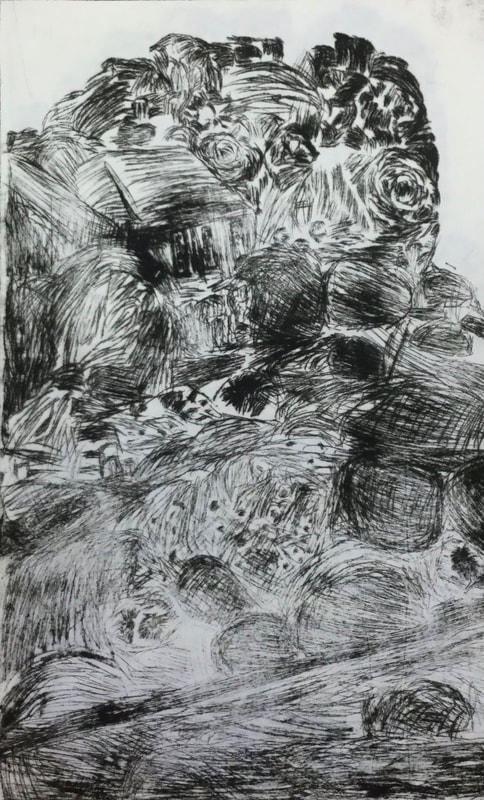
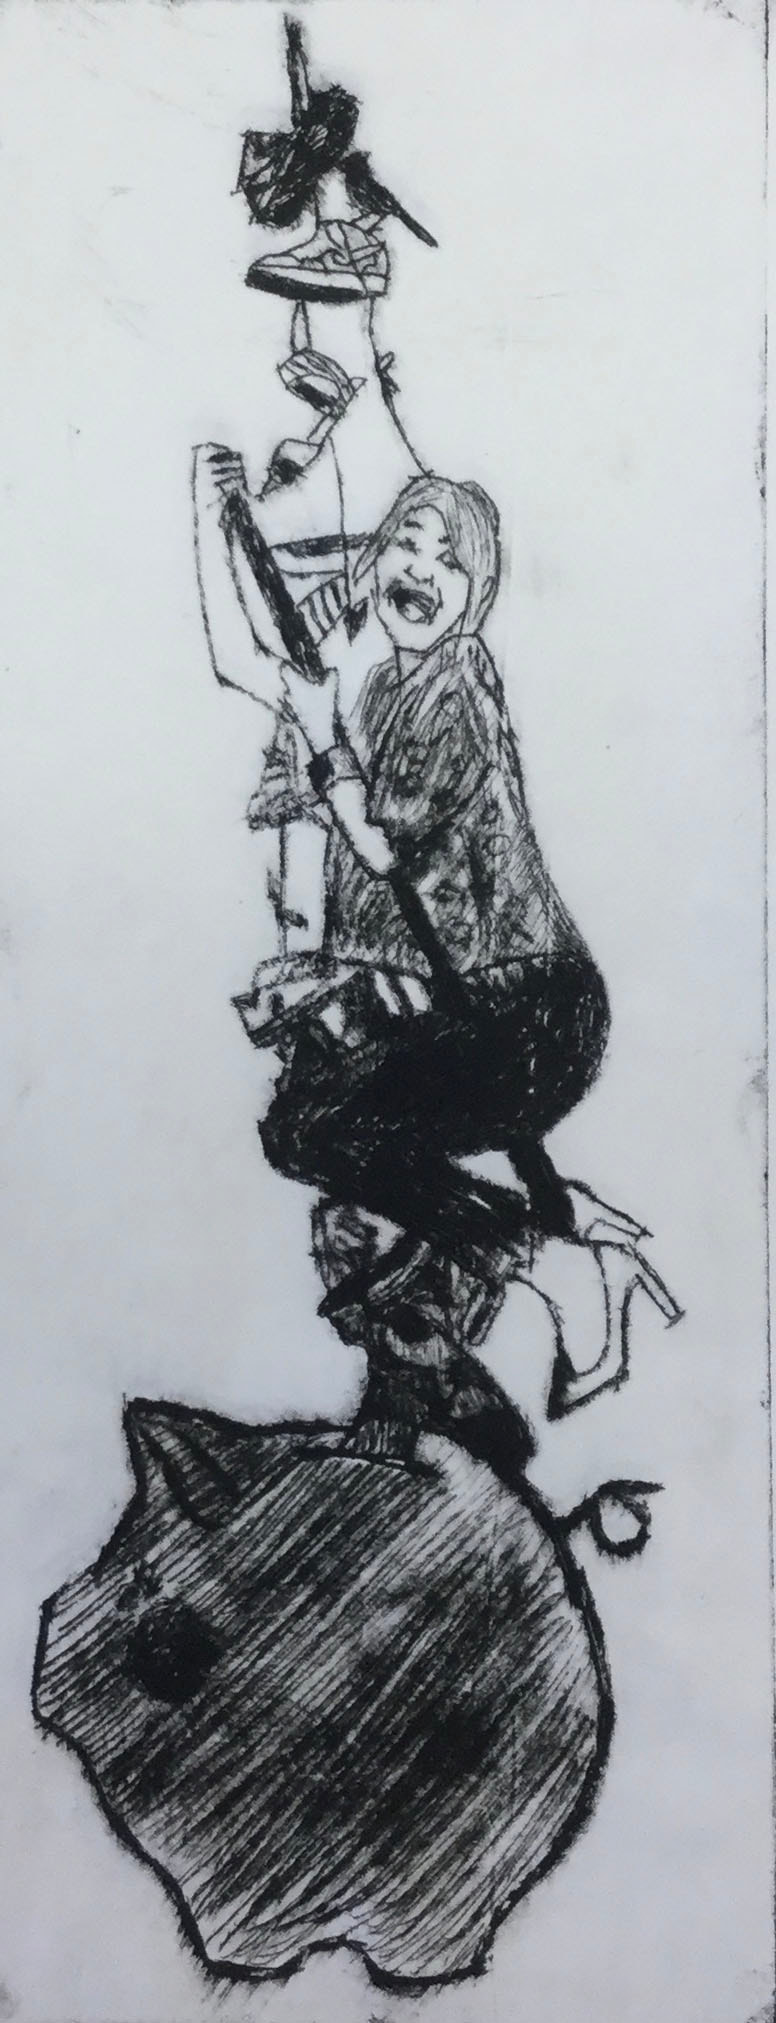
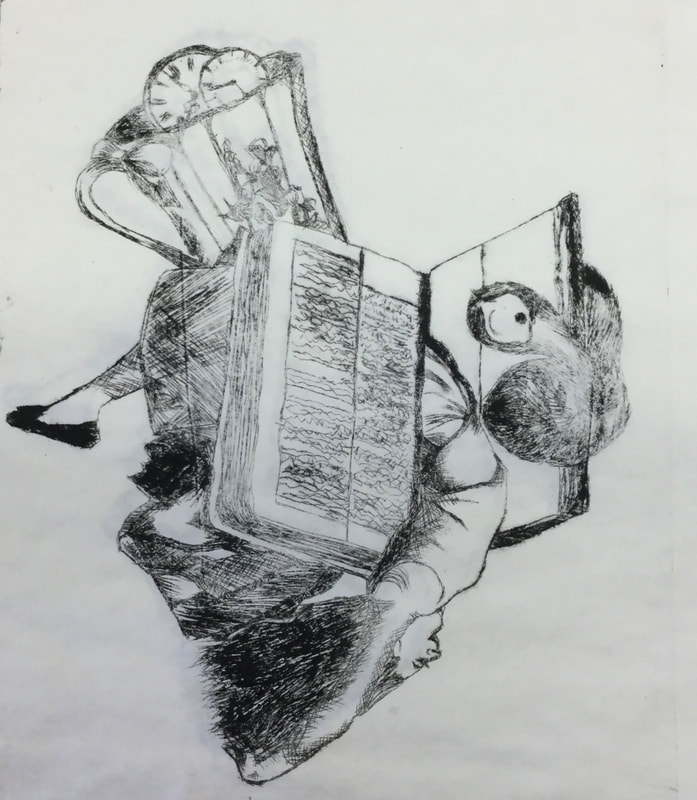
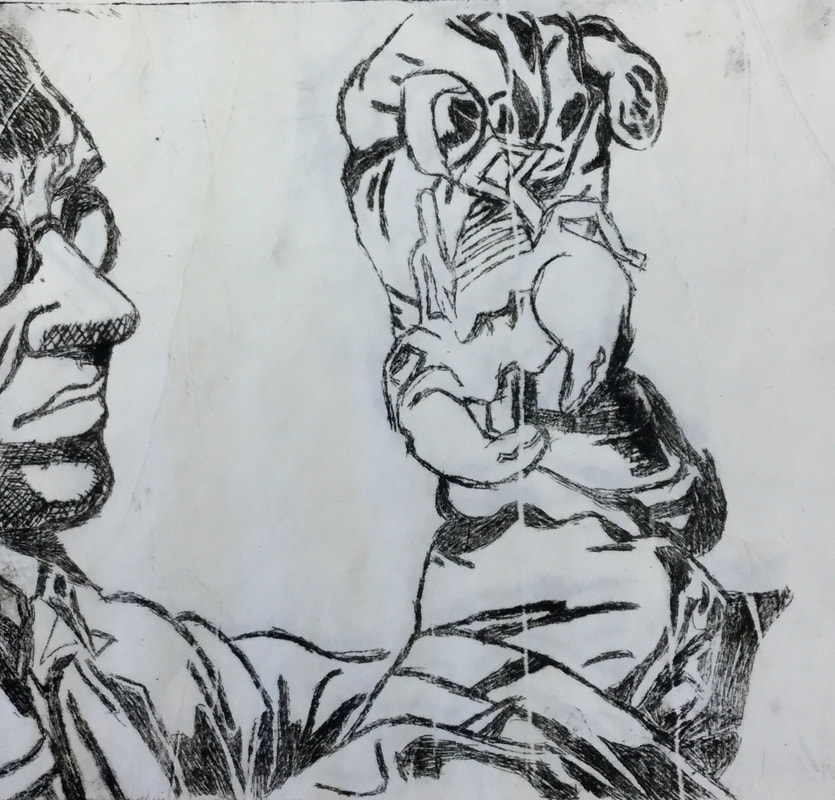
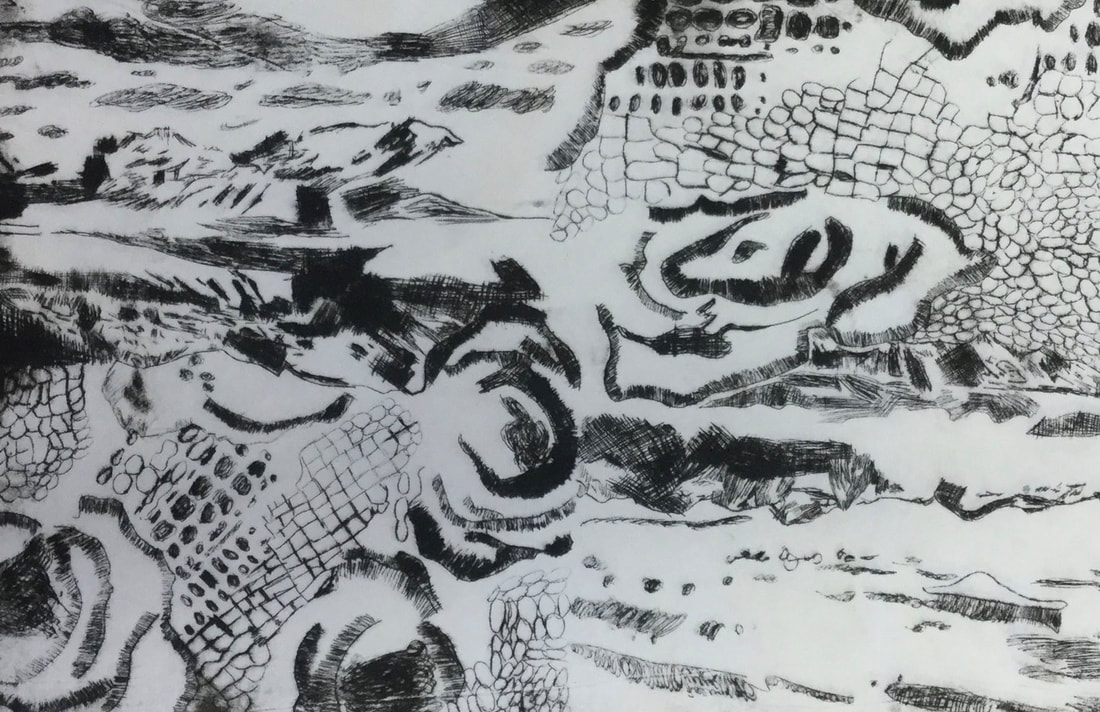
Drypoint Prints
|
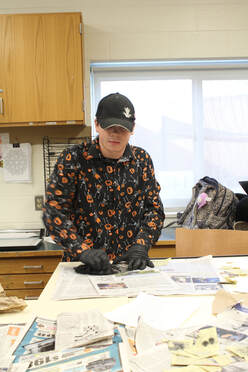
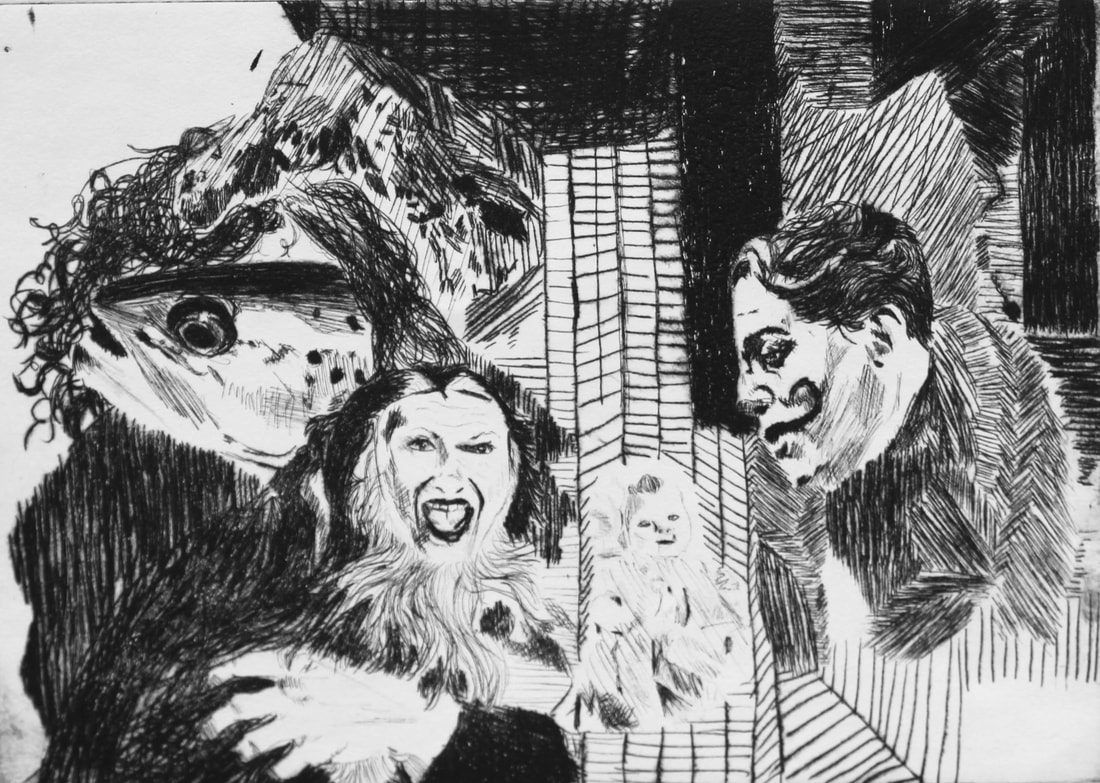
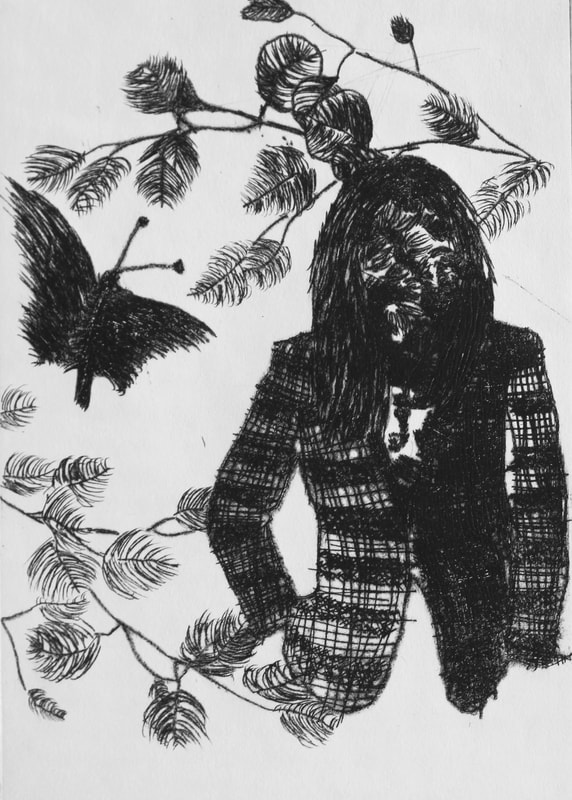
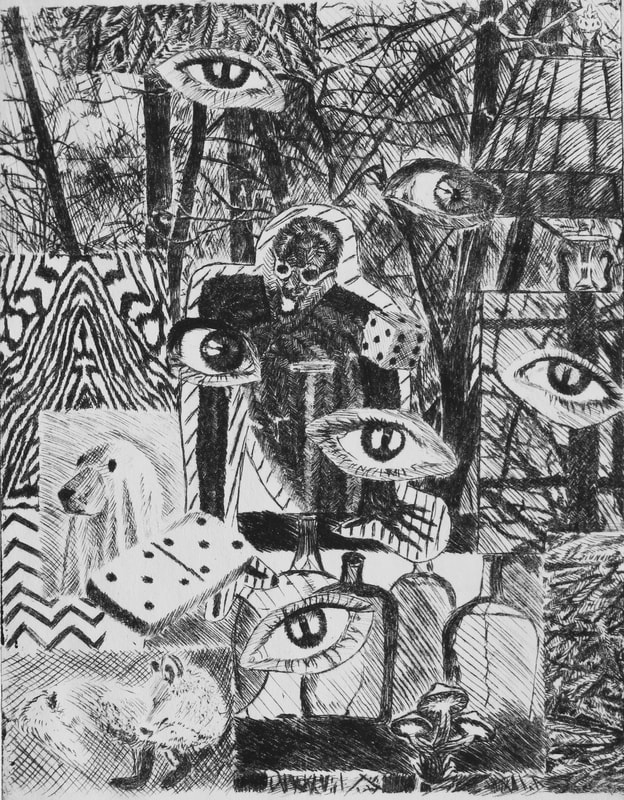
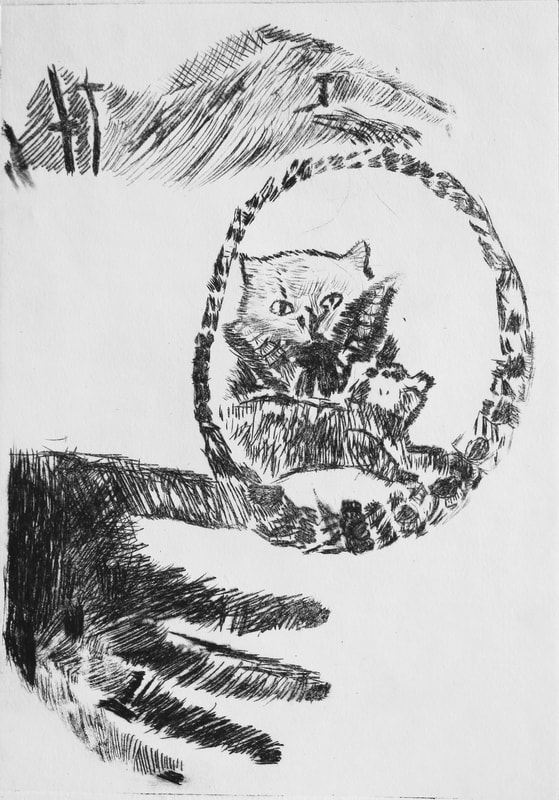
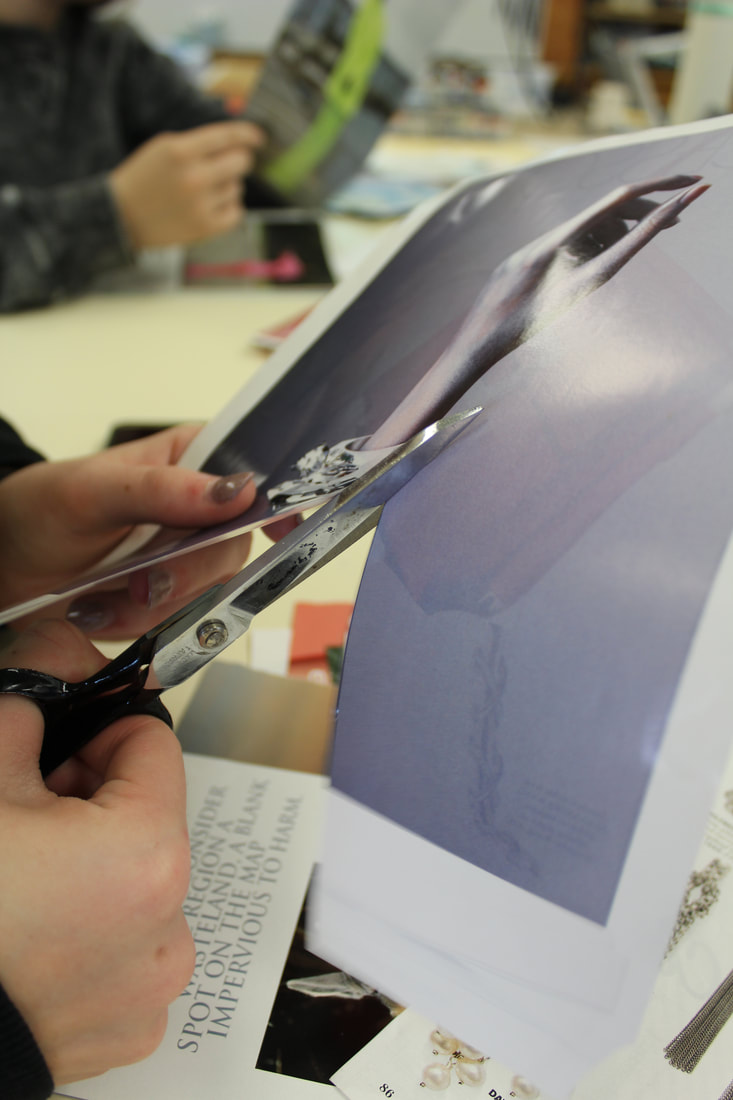
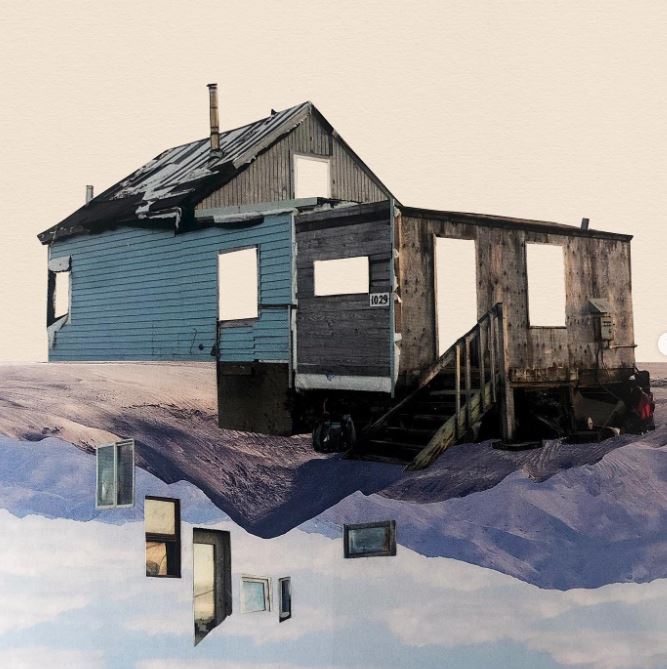
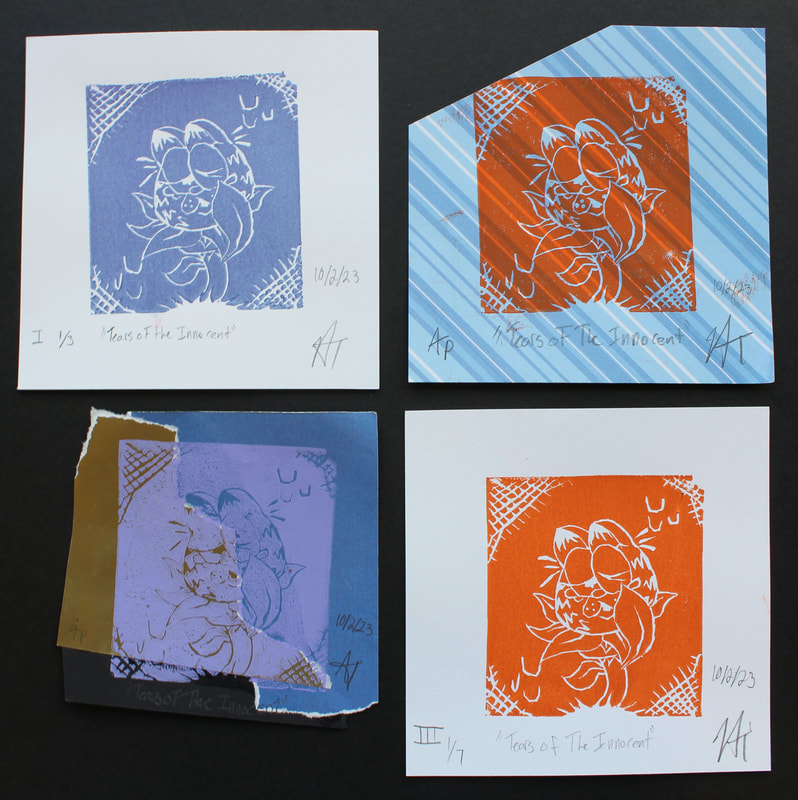
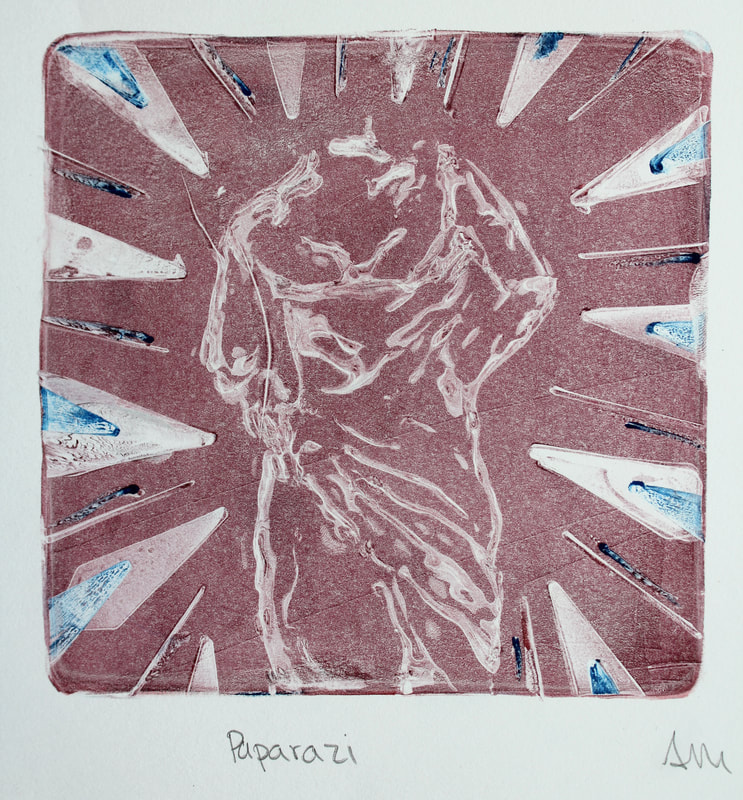
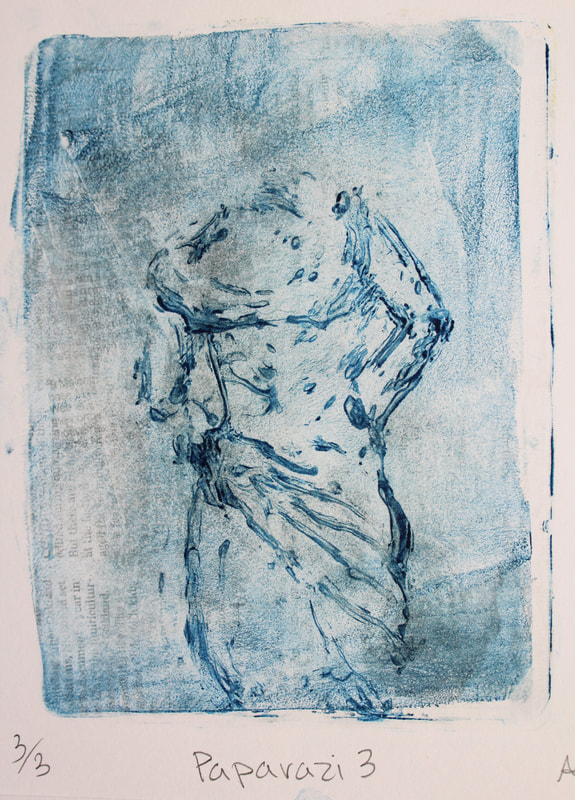
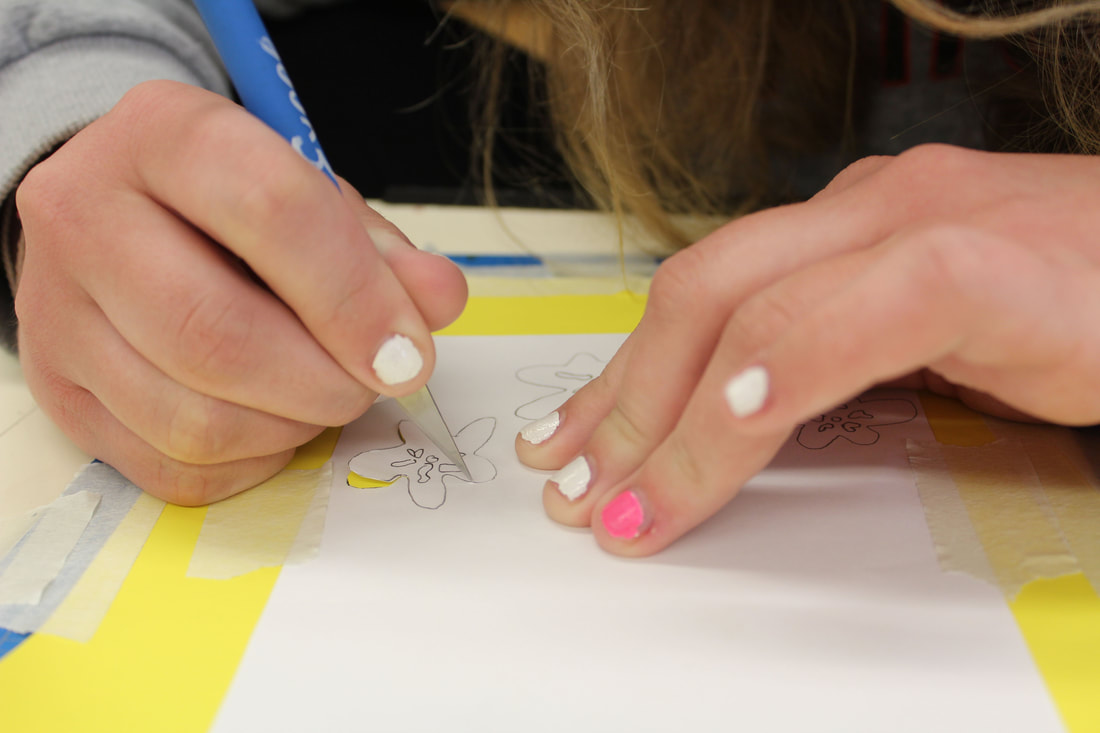
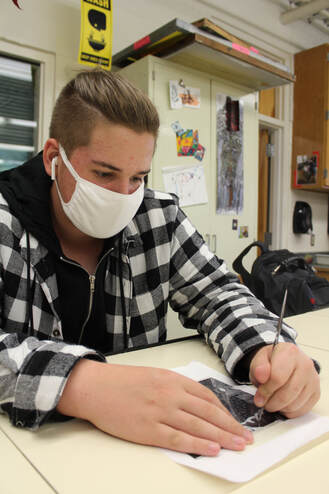
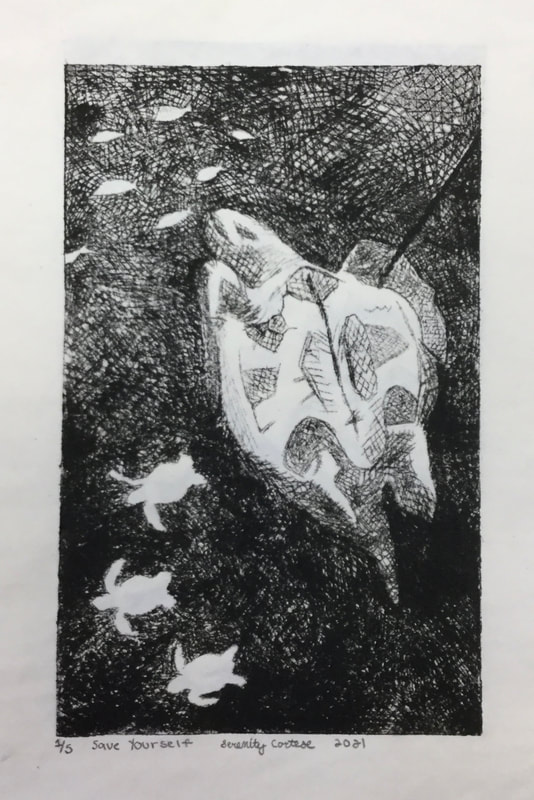
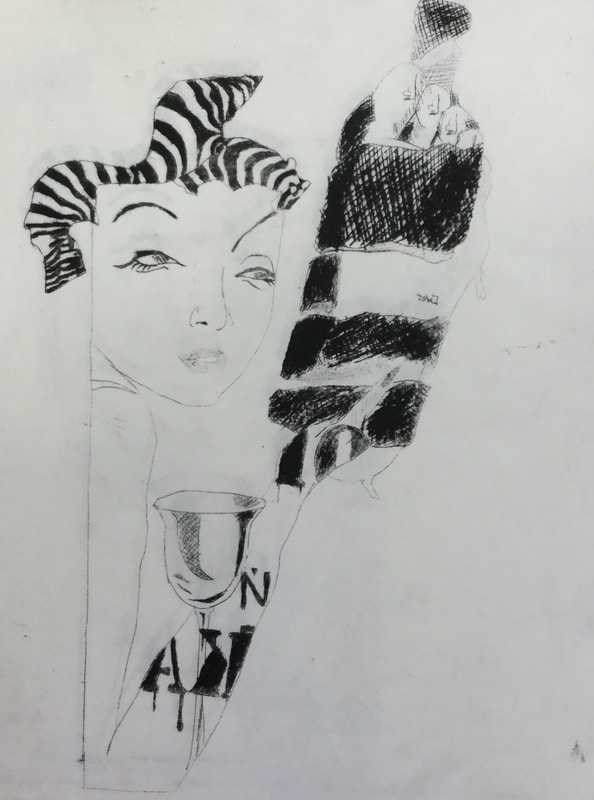
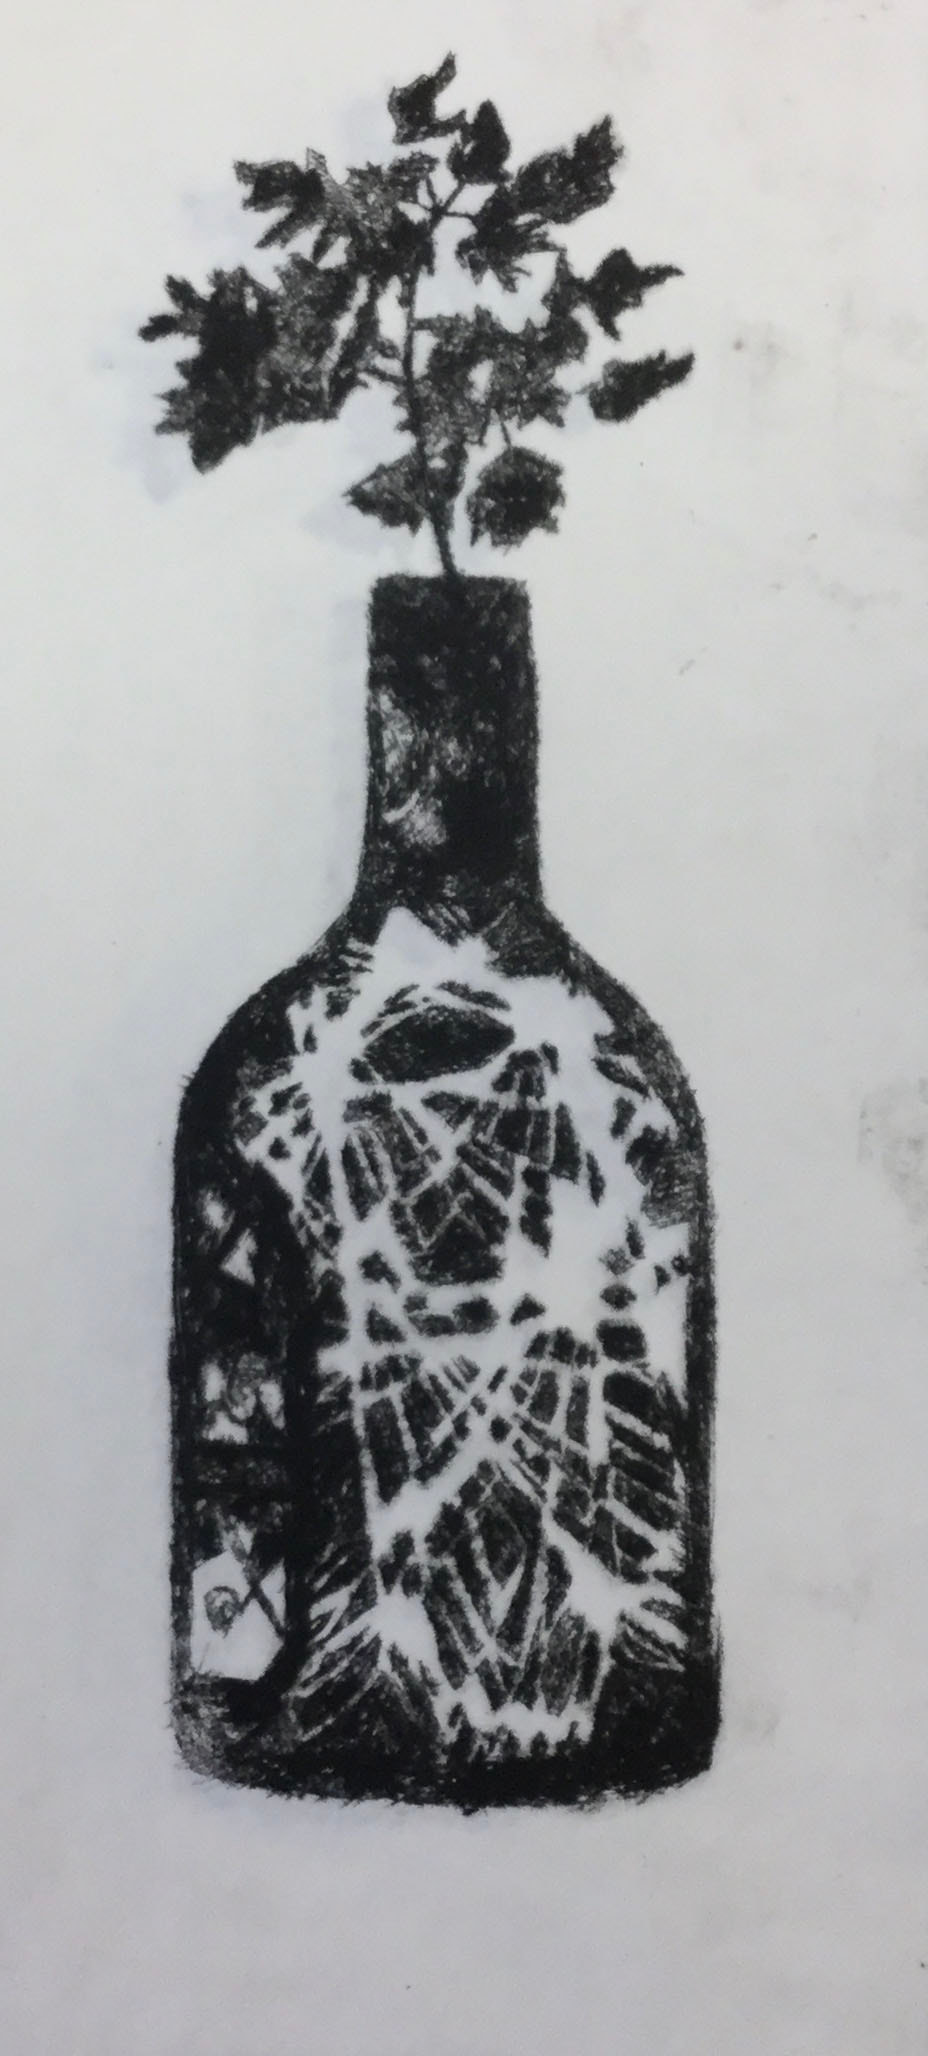
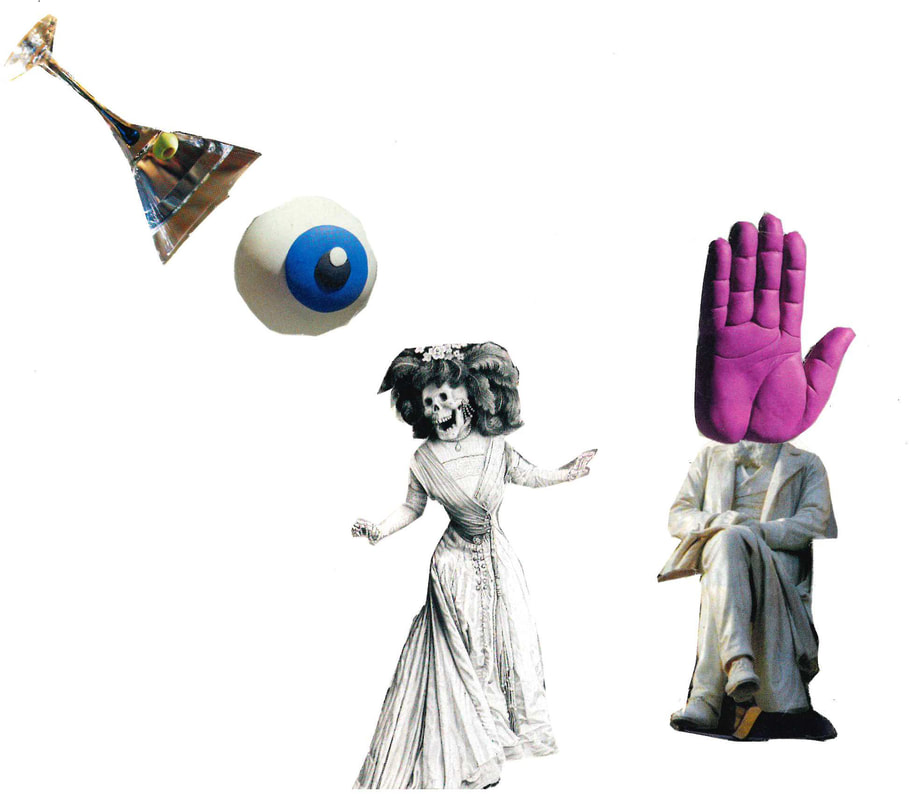
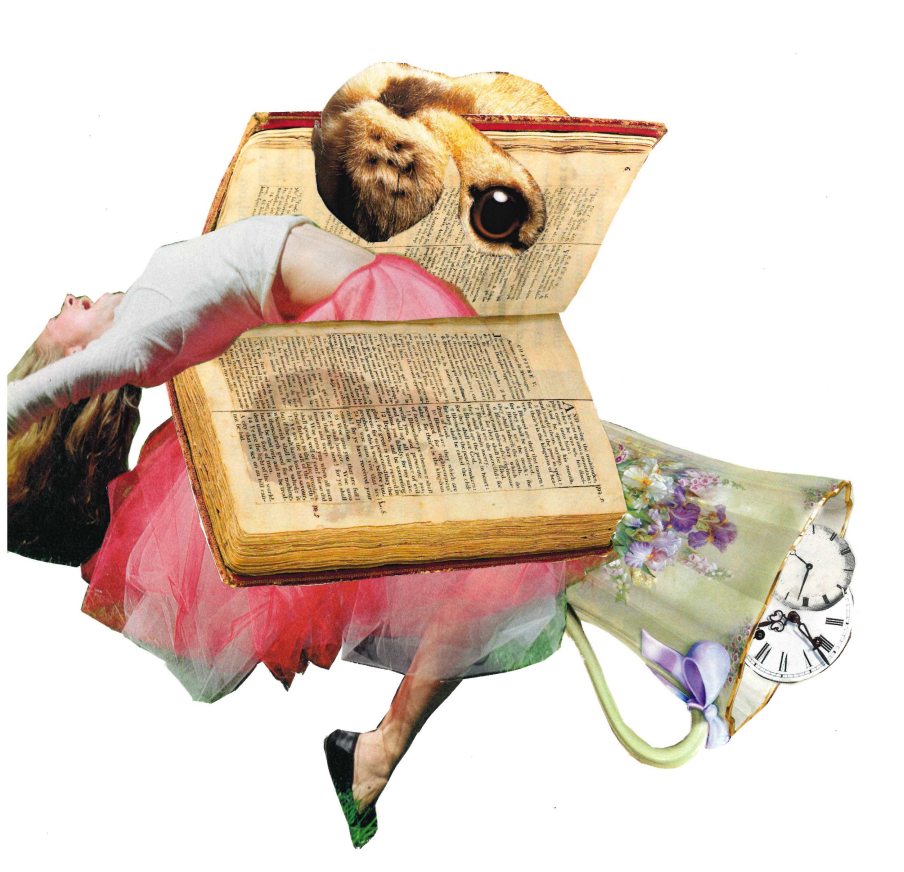
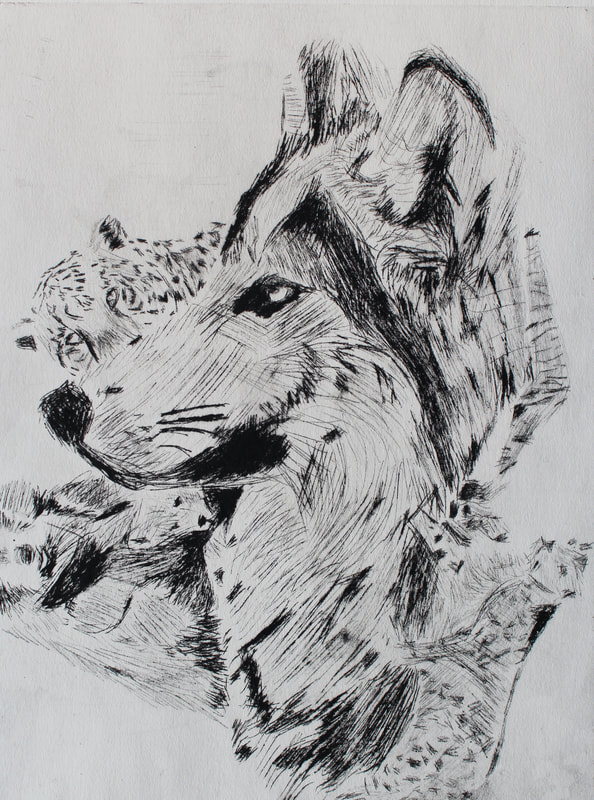
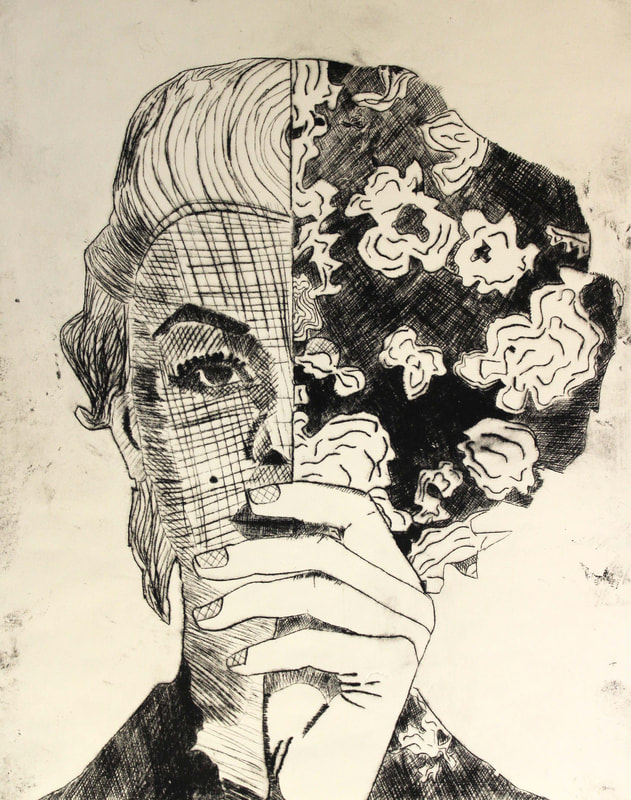
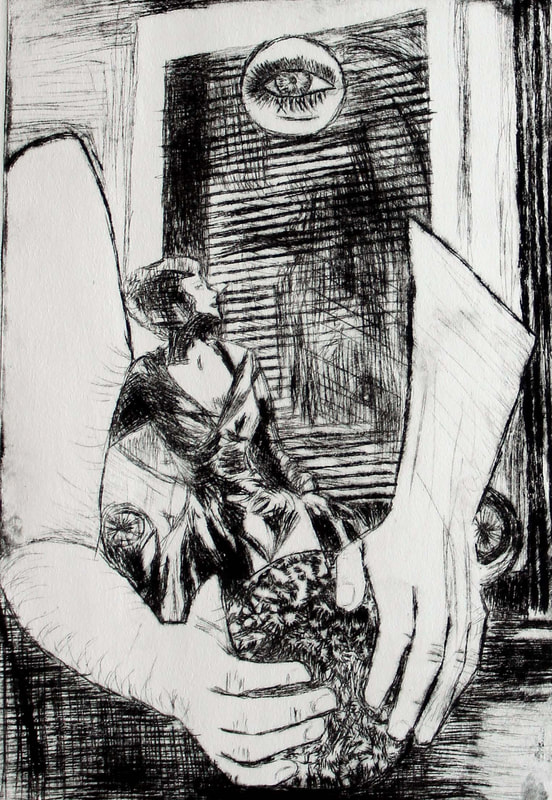
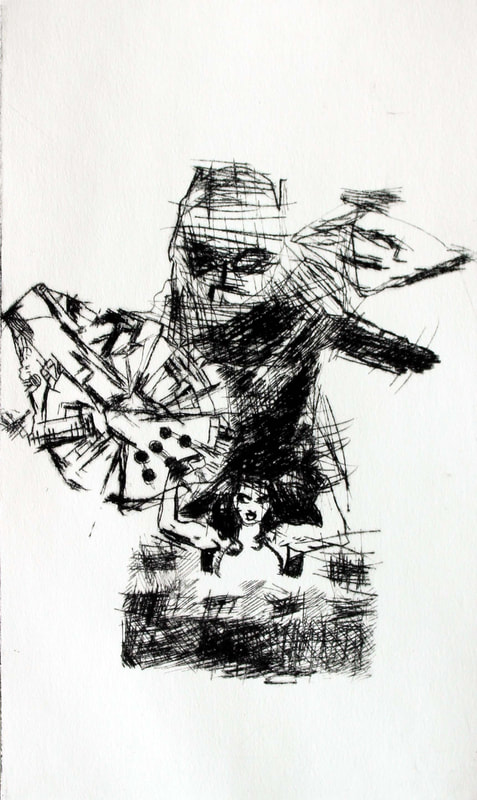
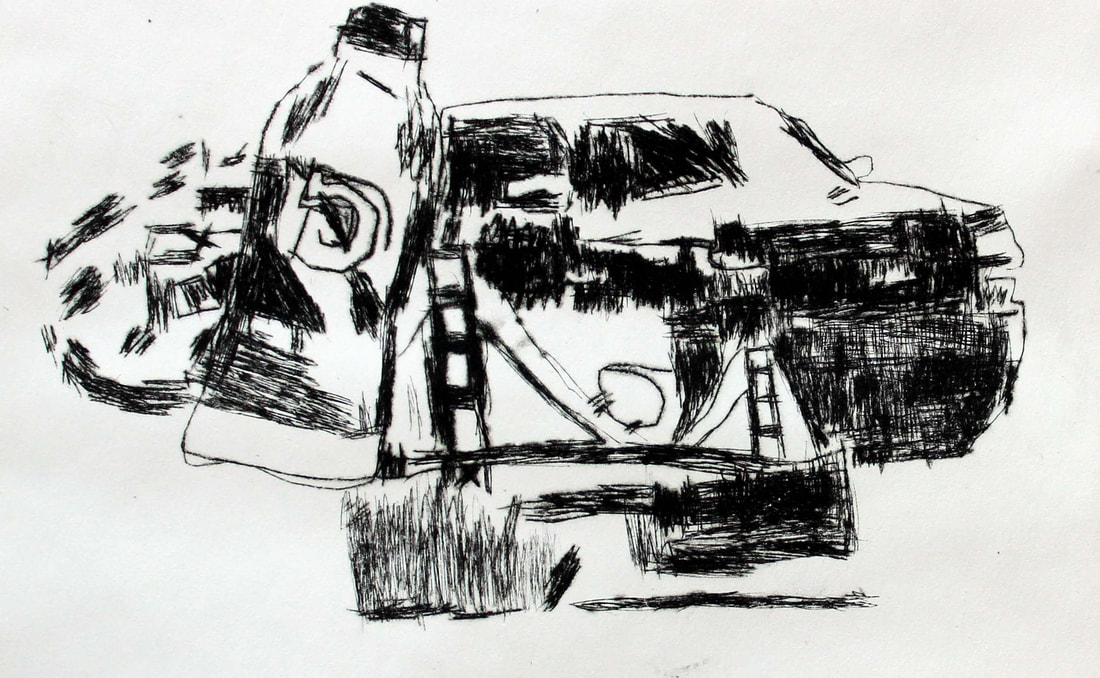
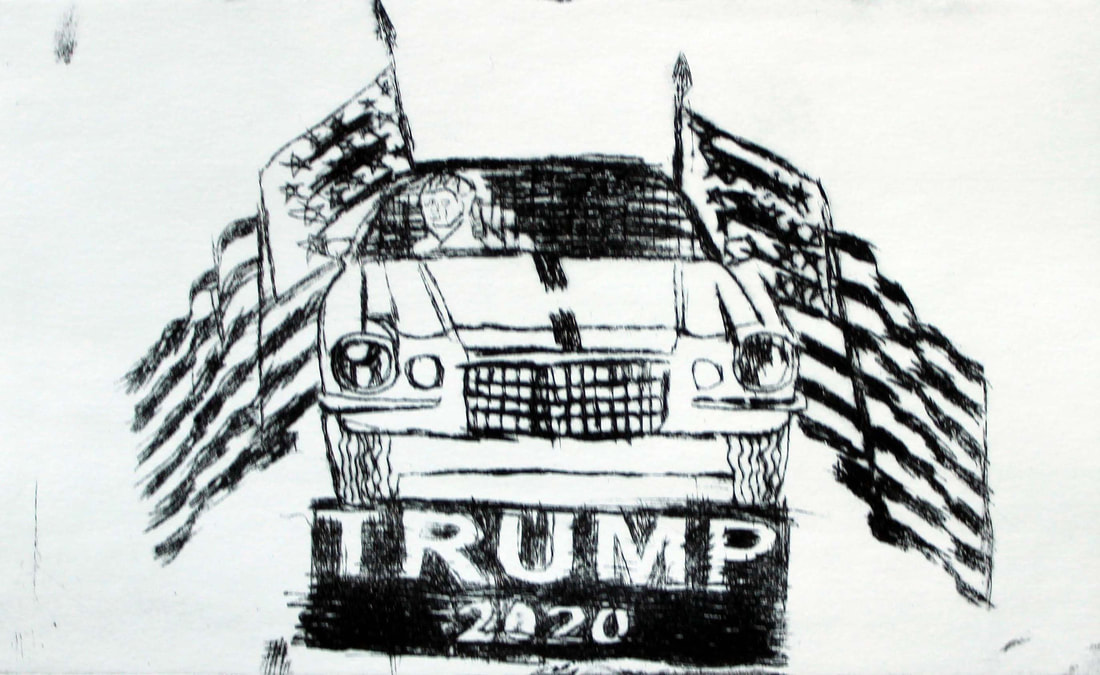
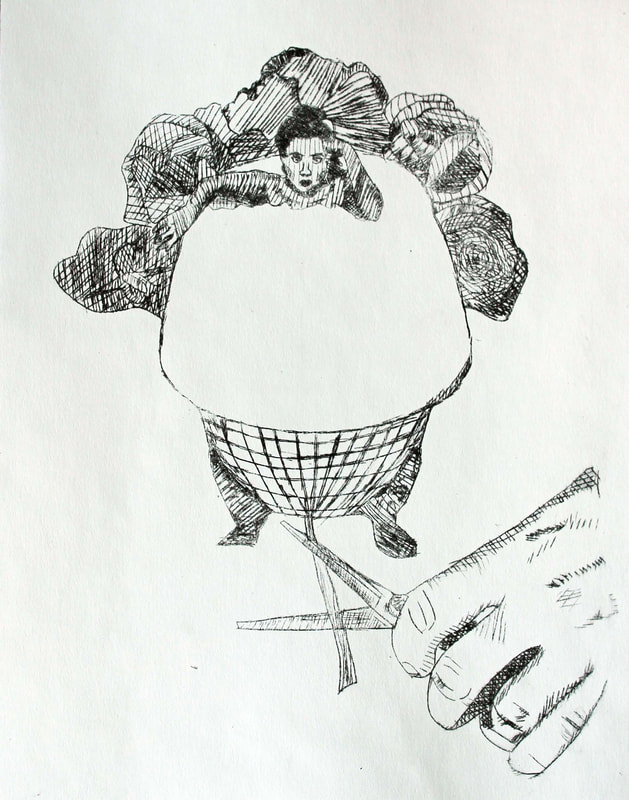
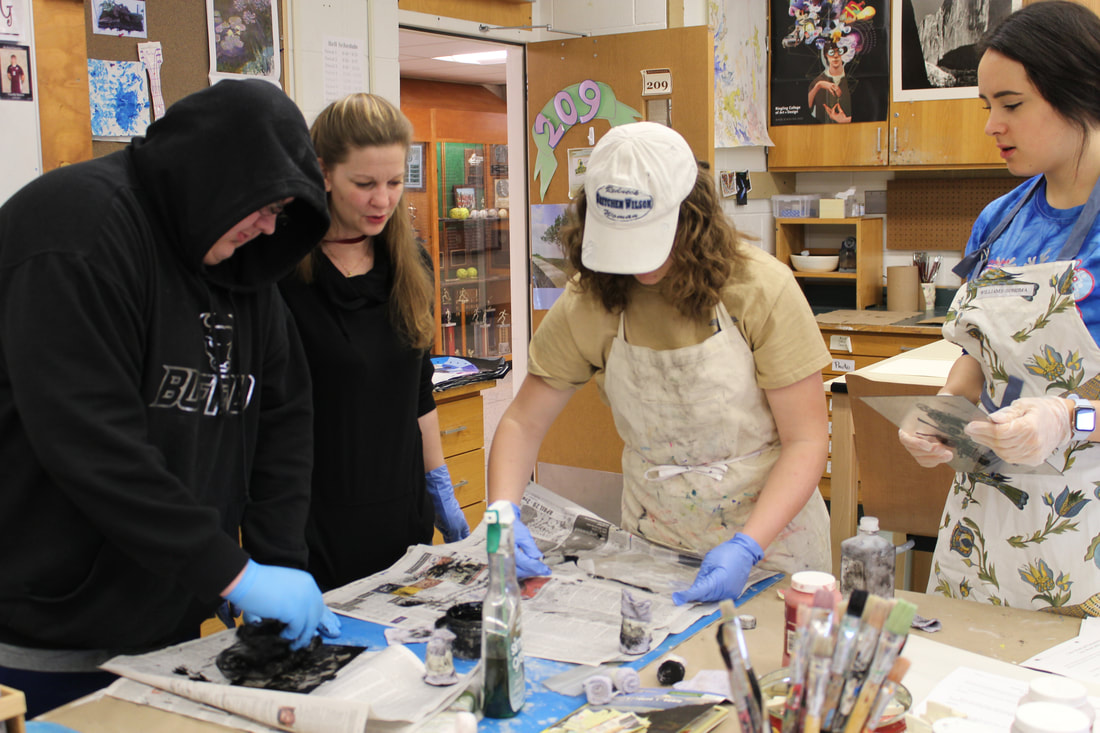
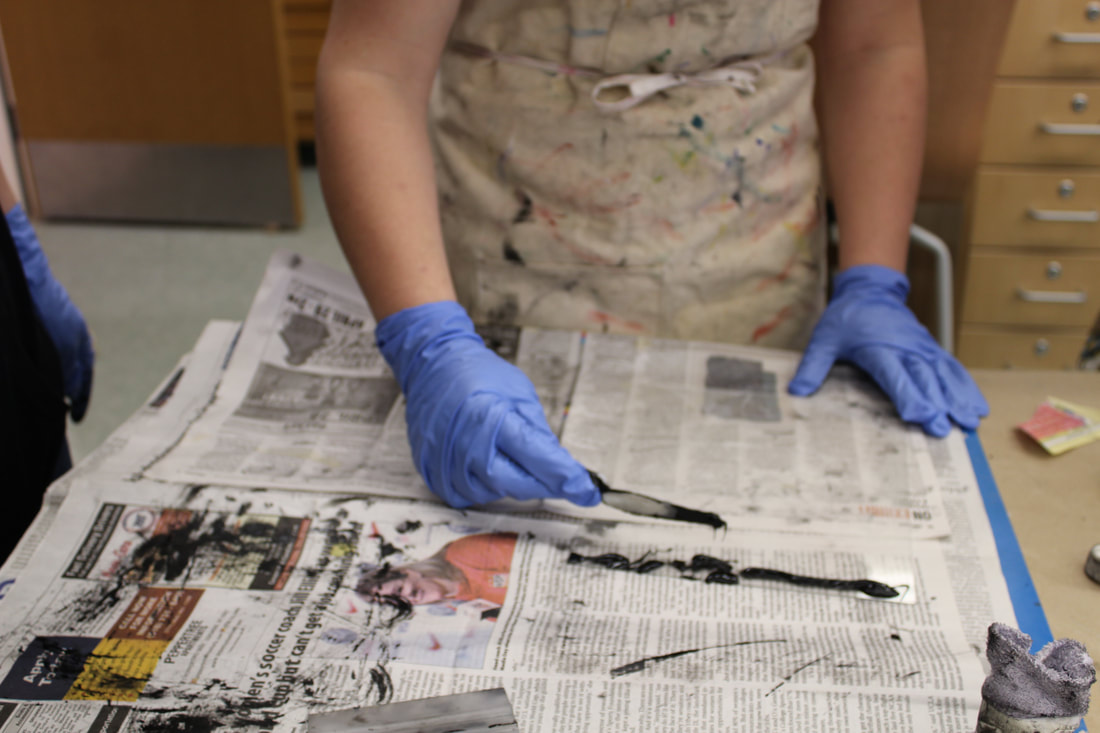
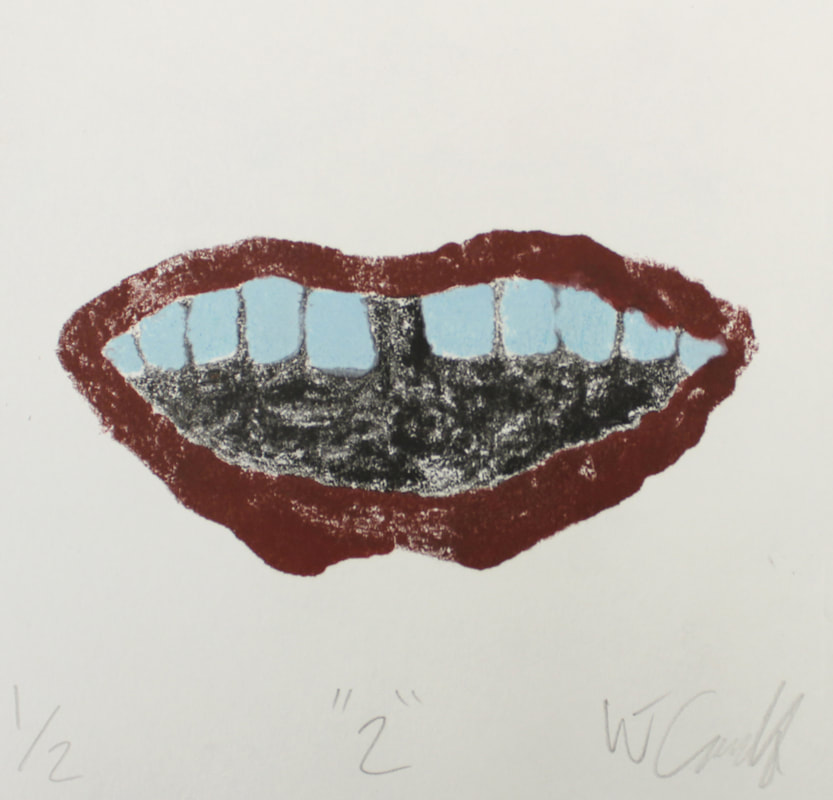
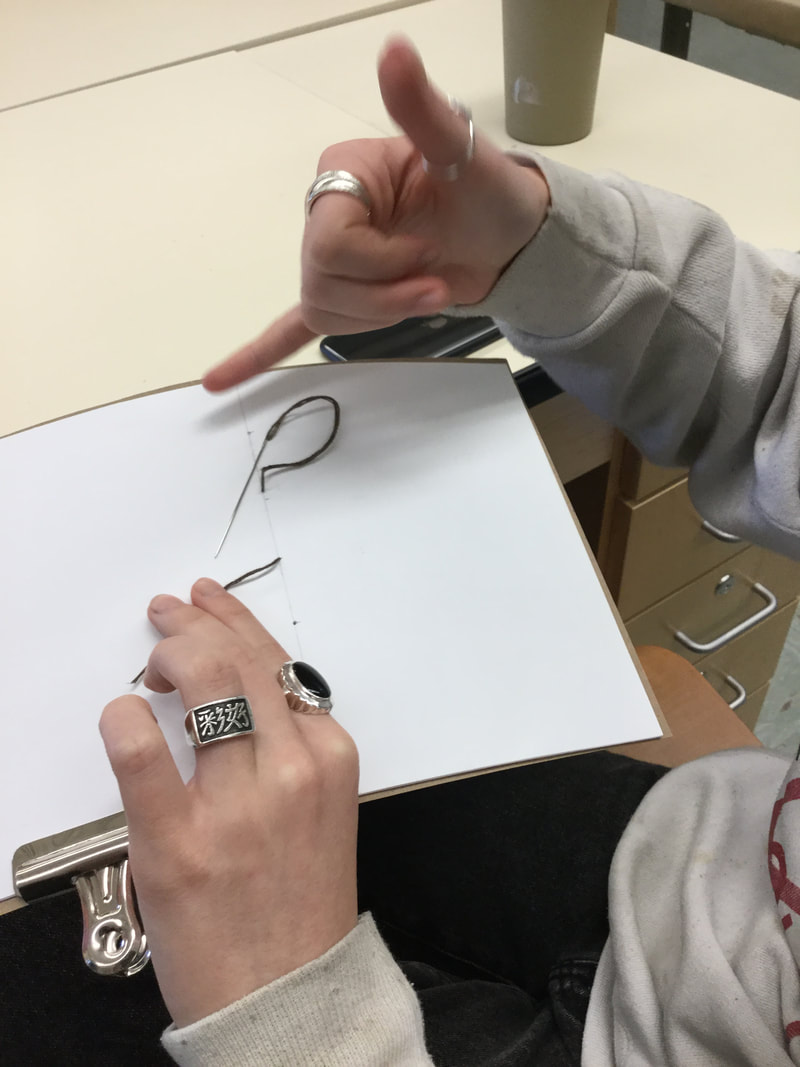
Drypoint is a type of engraving process where the artist uses a need-like tool to make scratches on the surface of a plexiglass plate. They then will cover the plat in ink, the groves that were caved will hold ink and the smooth areas will remain clean. The plat will then be put under a great deal of pressure as it is rolled through the press resulting in the final image. The class studies the Surrealist artist Max Ernst and contemporary artist Adam Hale. Each student created a collage from found images as the subject matter for their artwork. They then transferred their collages onto the plate scratching the arias that they wanted o to be dark. The students truly enjoyed this totally new art form that allowed them to create multiple finished products. Click on the images below to see each piece in more detail. |
|

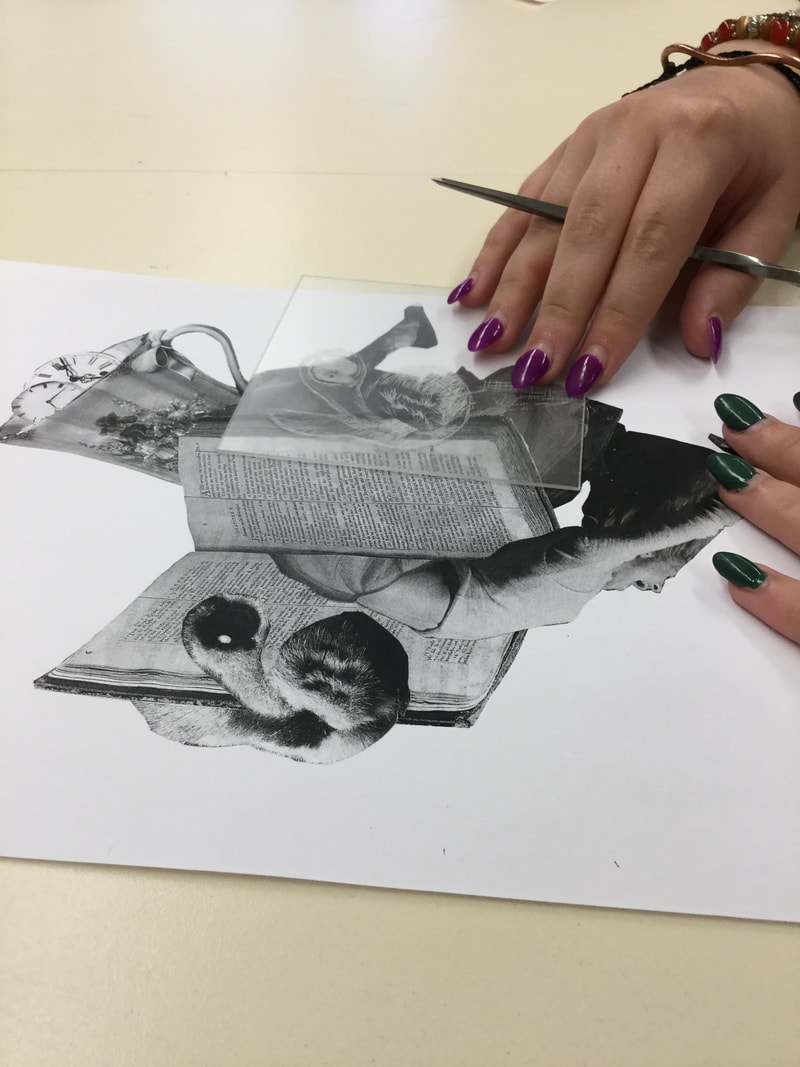
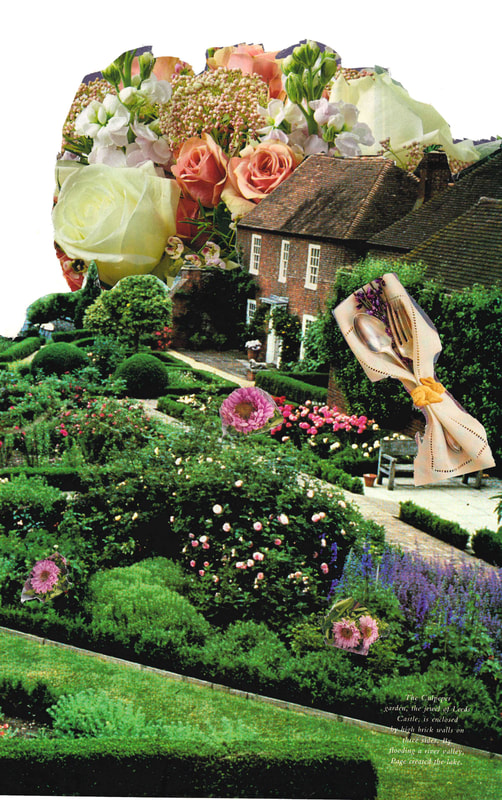
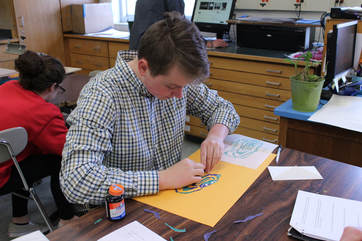
Surrealist Collages
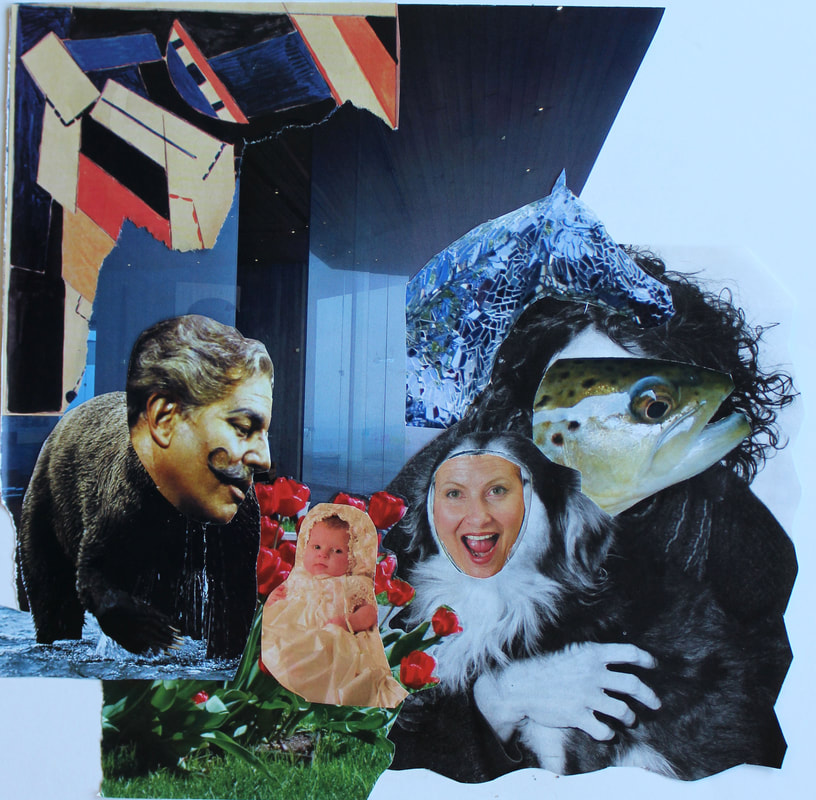 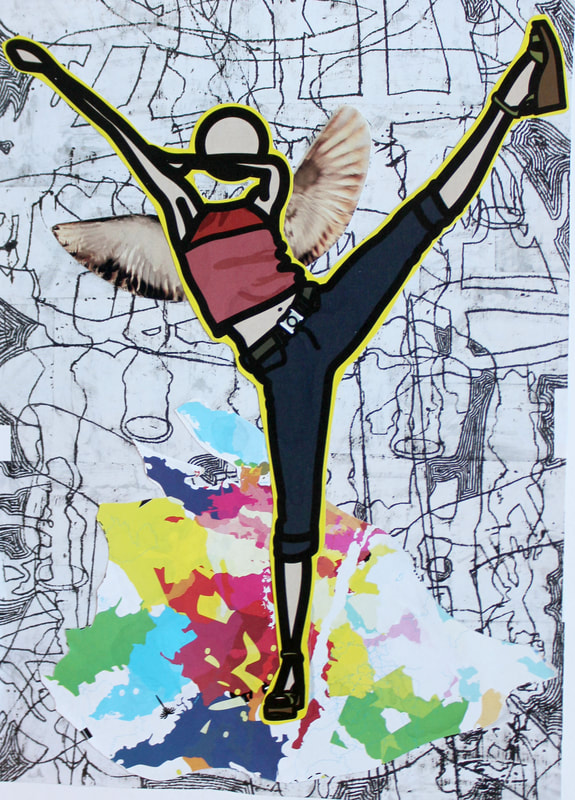 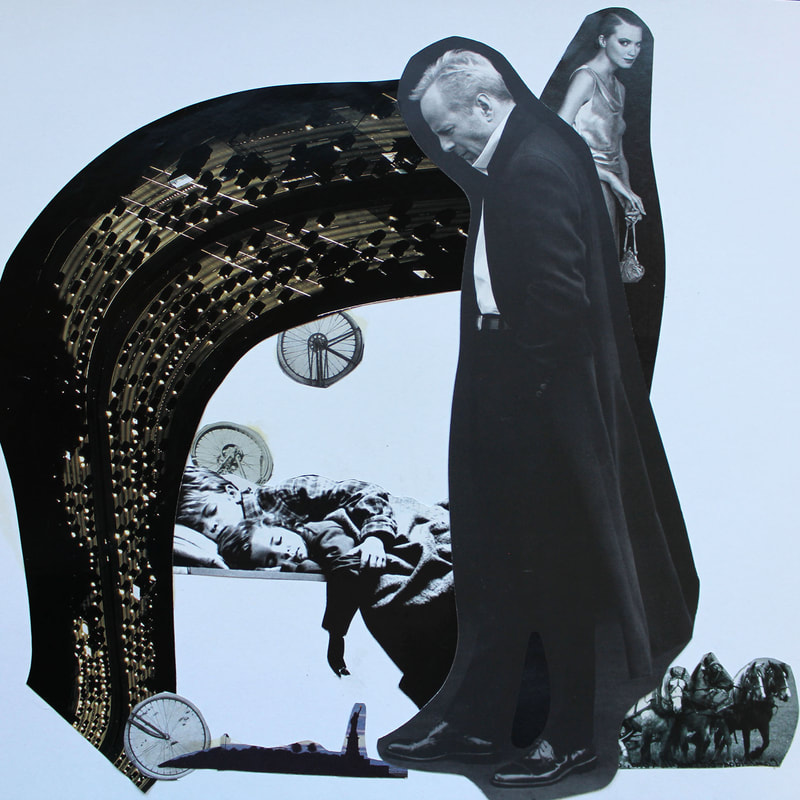 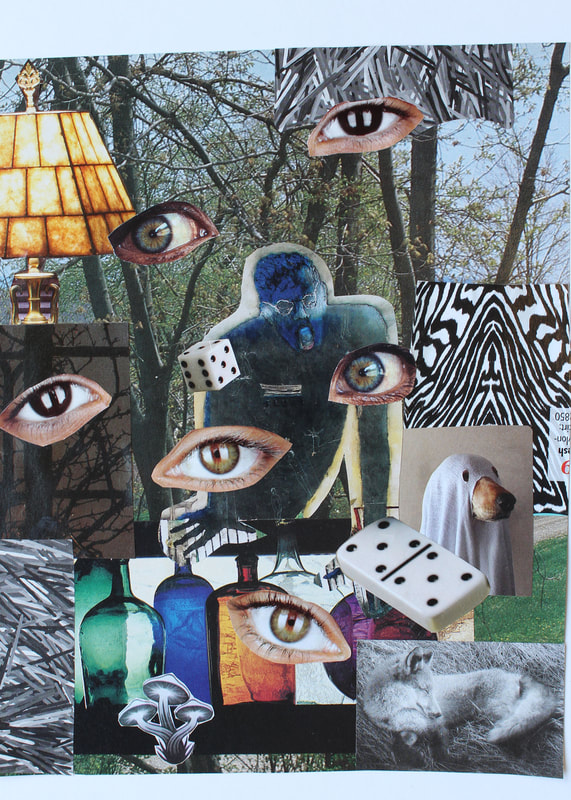 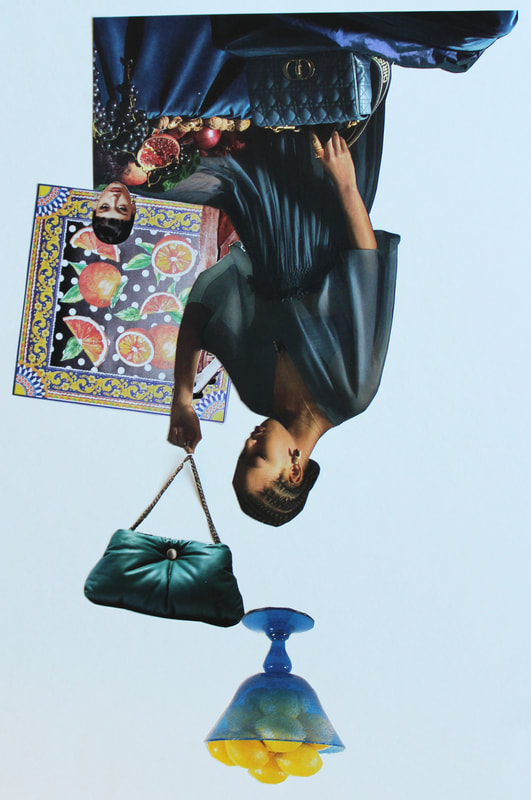 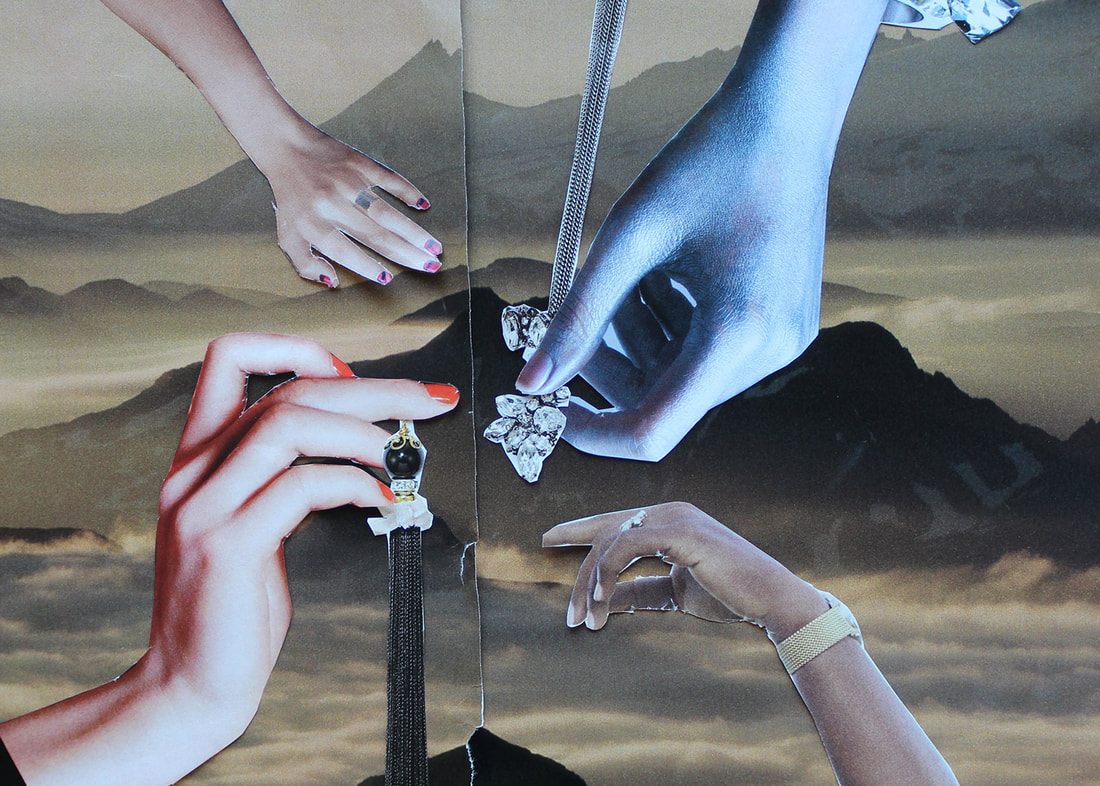 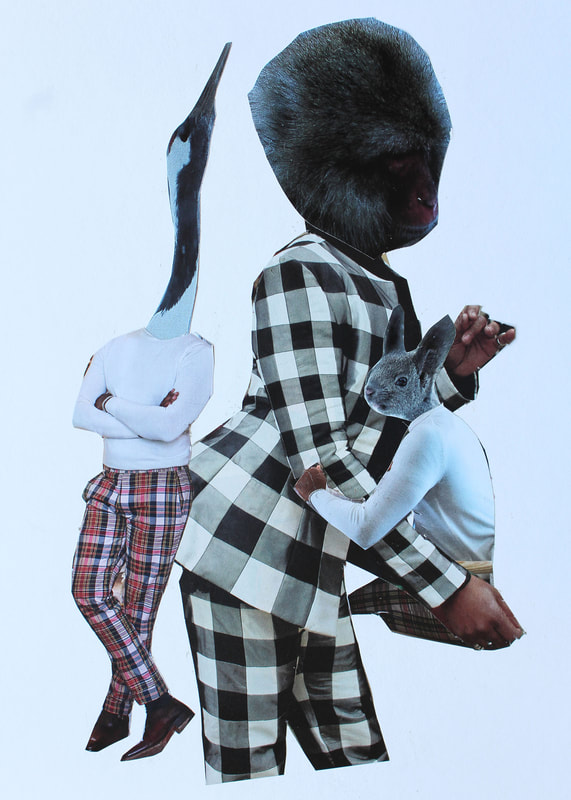 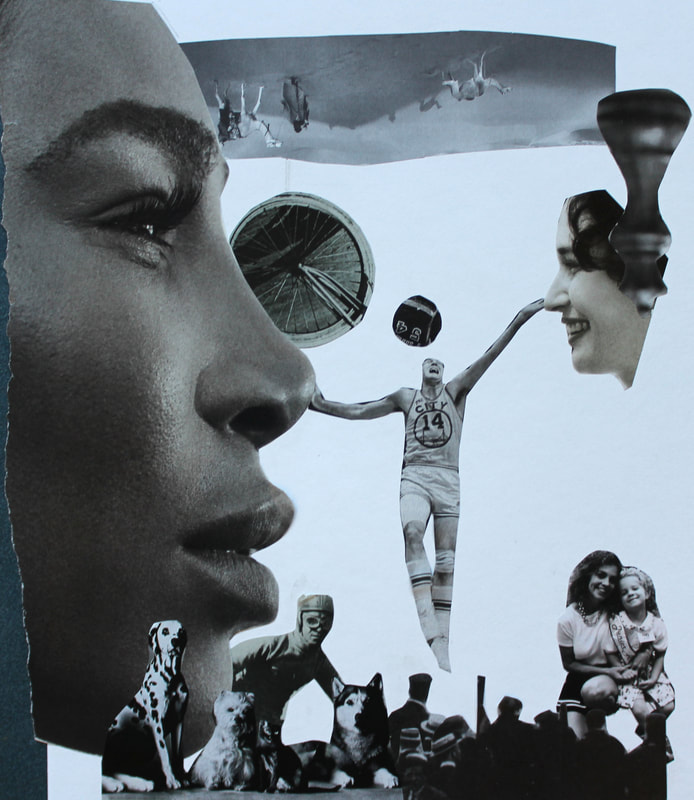  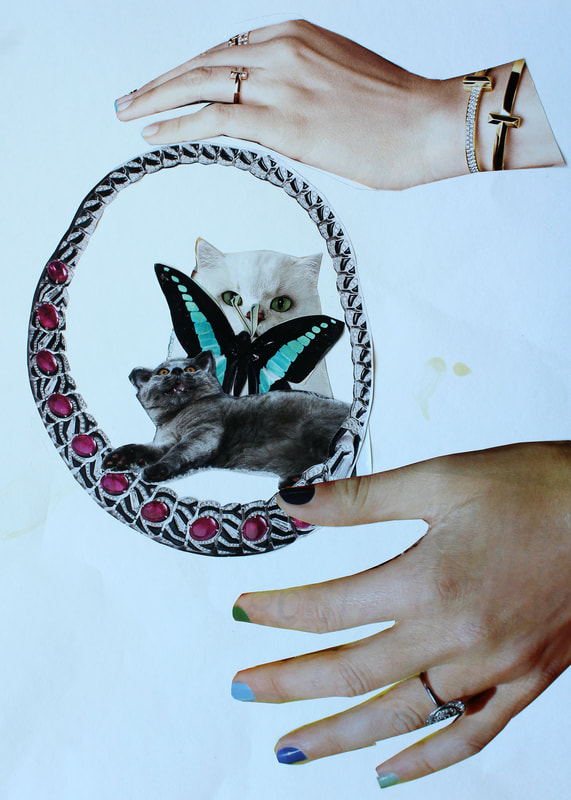 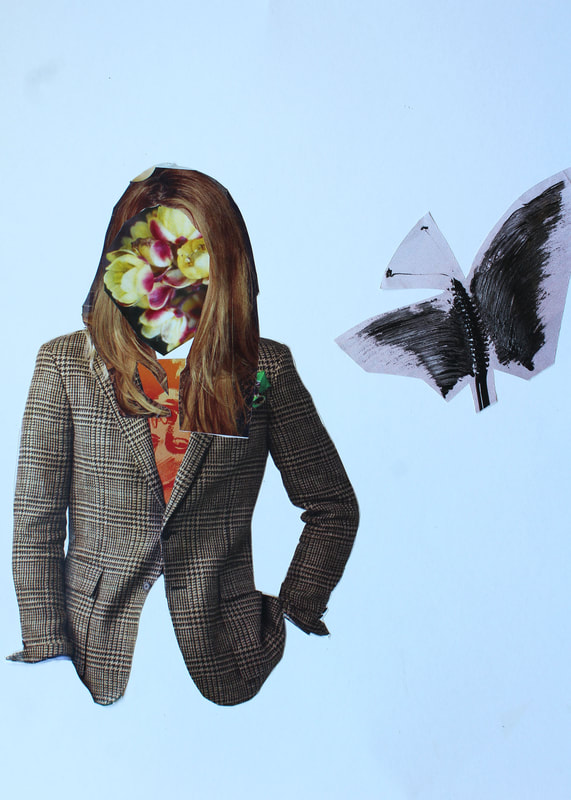  |
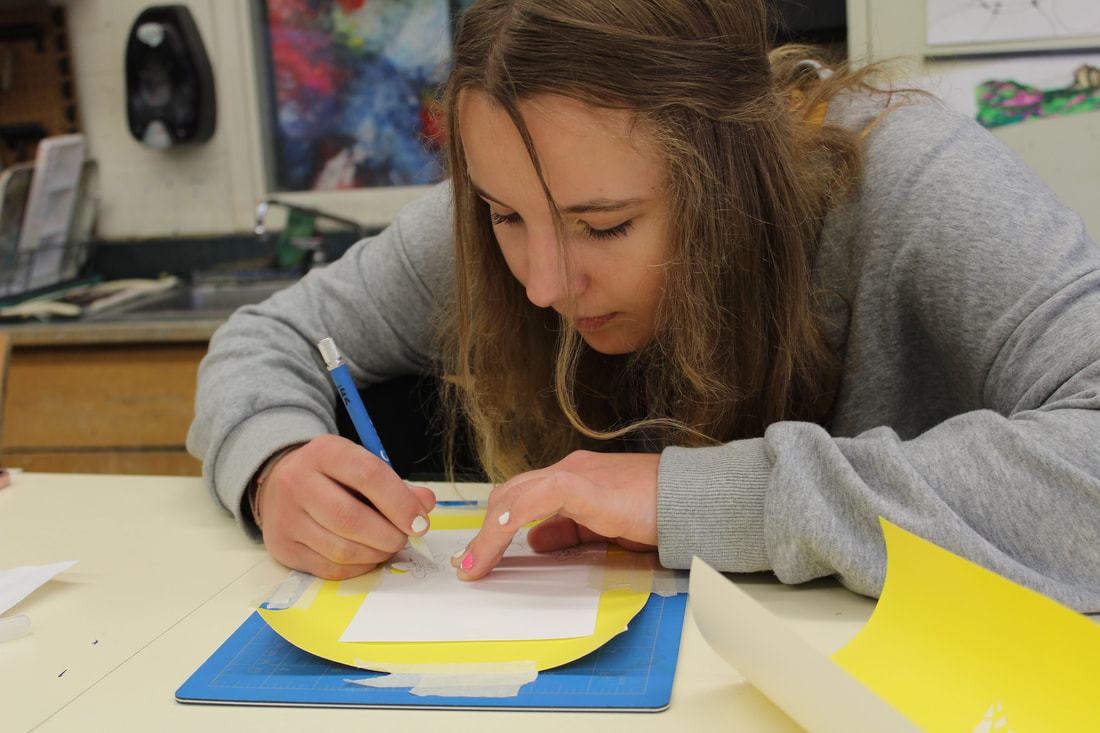
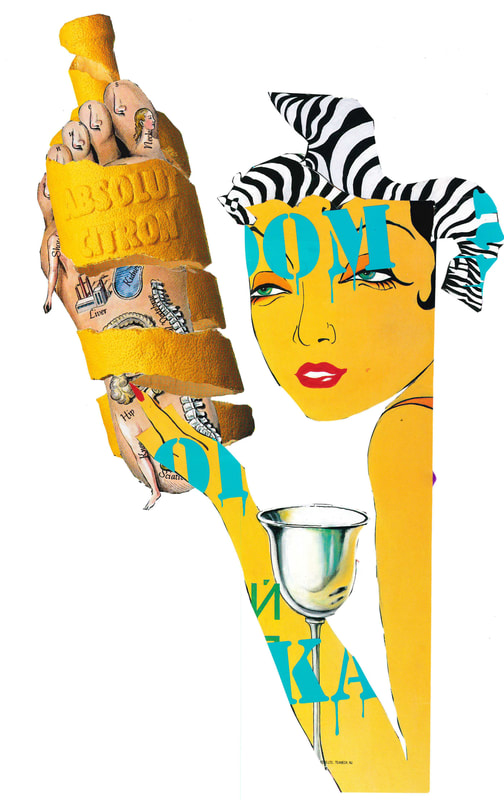
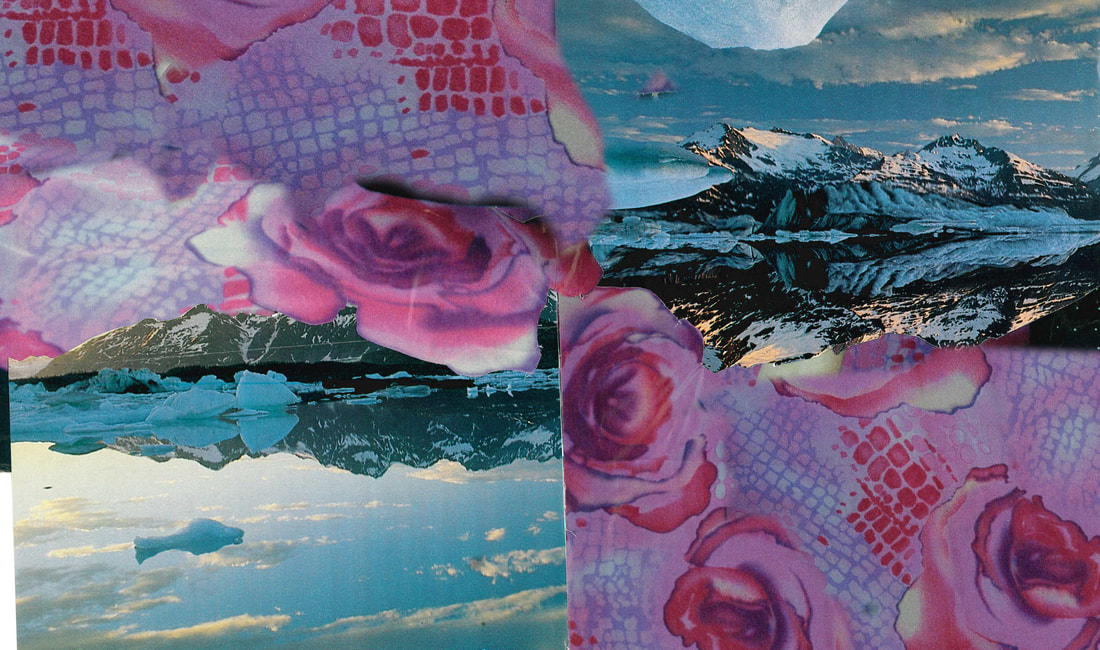
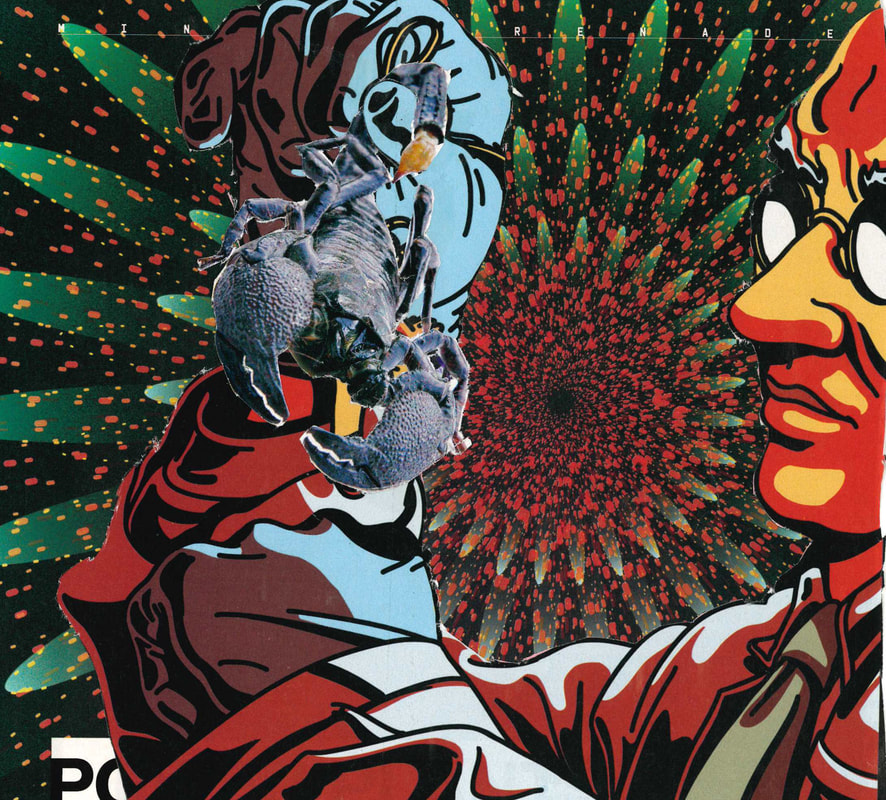
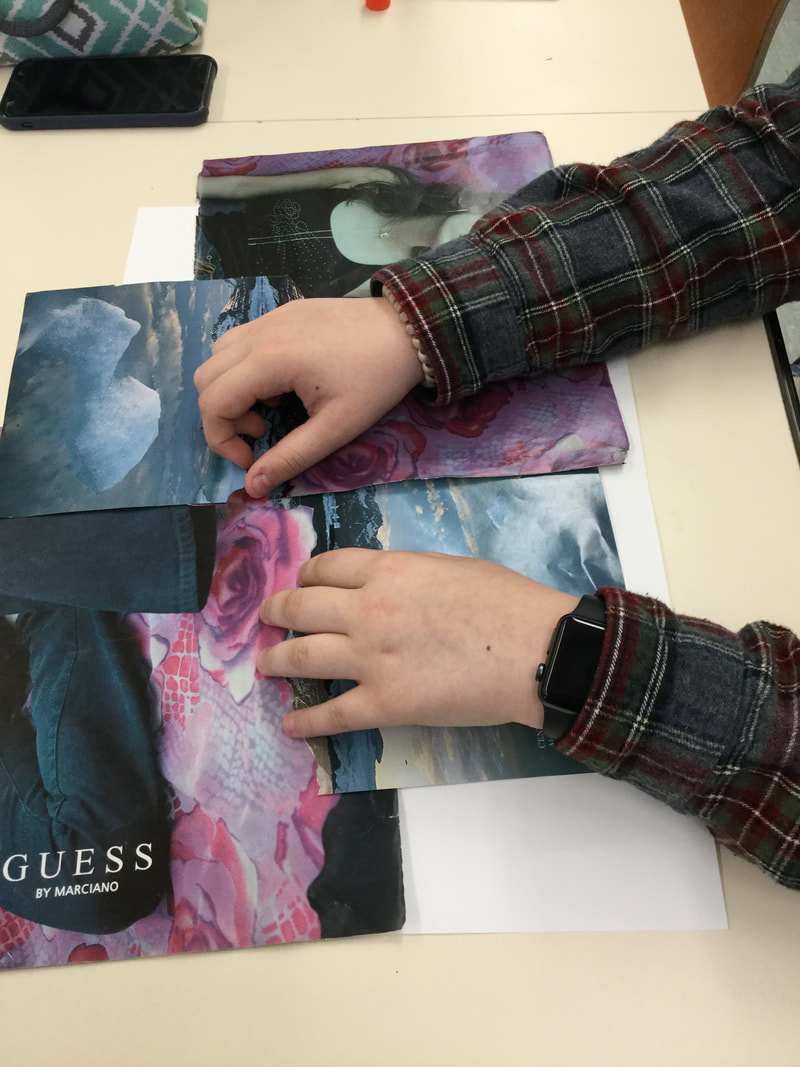
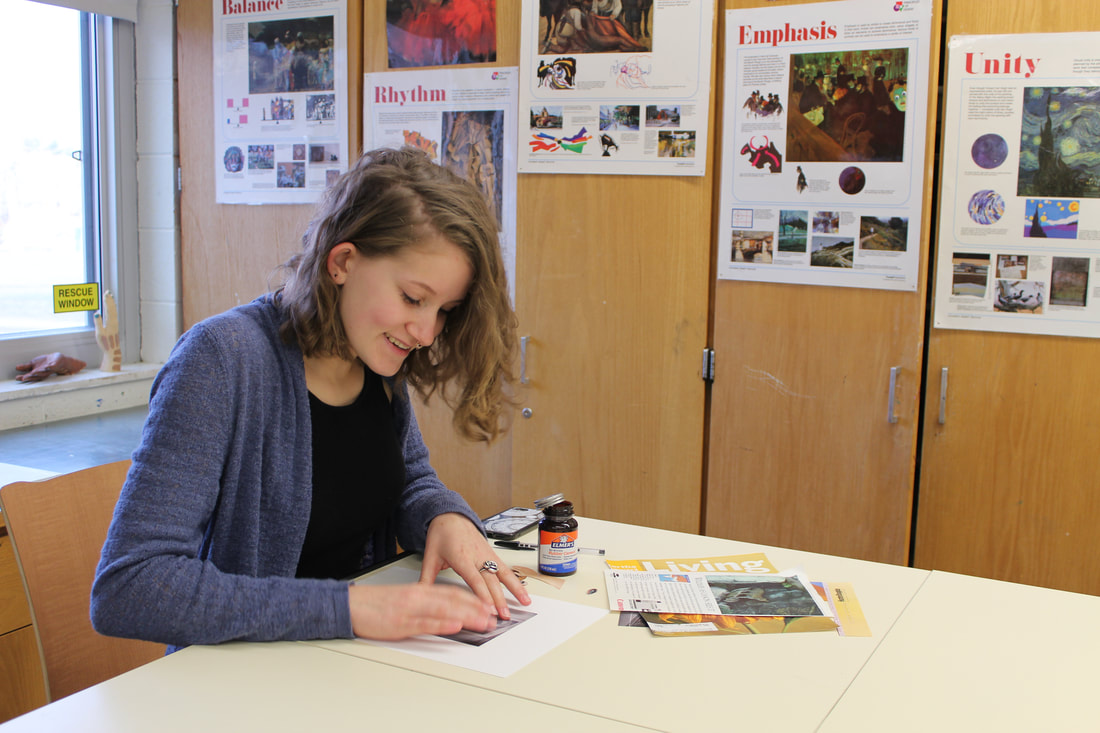
The class studies the Surrealist artist Max Ernst and contemporary artist Adam Hale. We discussed what makes an interesting image and how Surrealist artists played with scale, subject matter, and even styles. Each student created a collage from found images as the subject matter for their artwork. These collages were designed to be the subject matter for the next printmaking project, drypoint.
Adam Hale
|
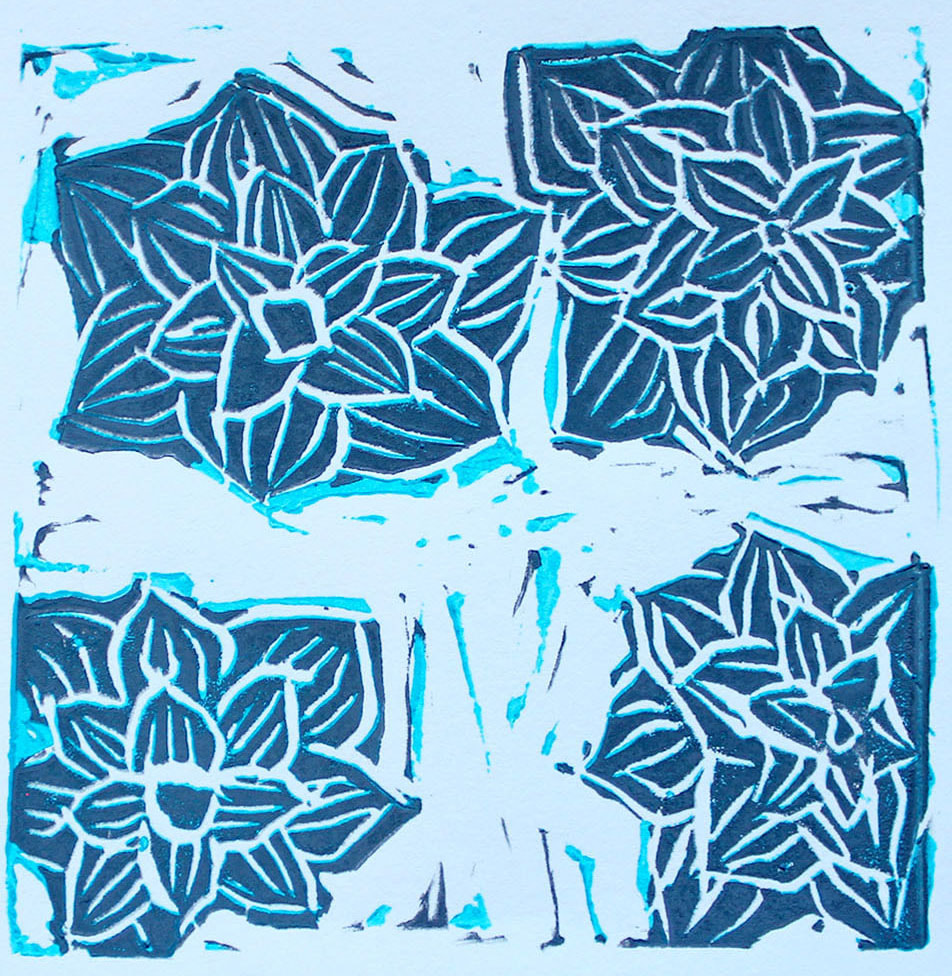
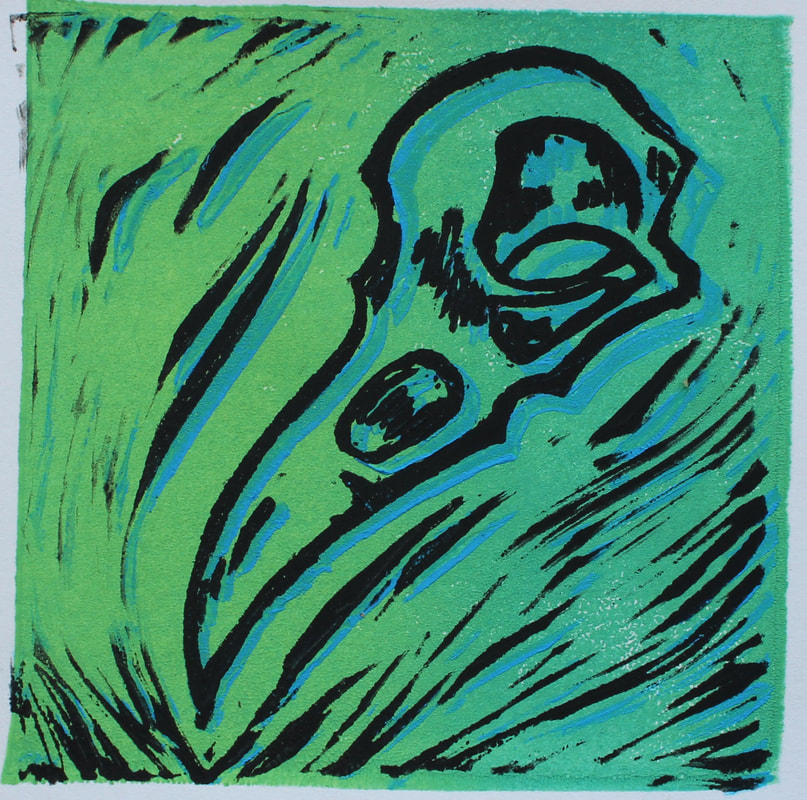
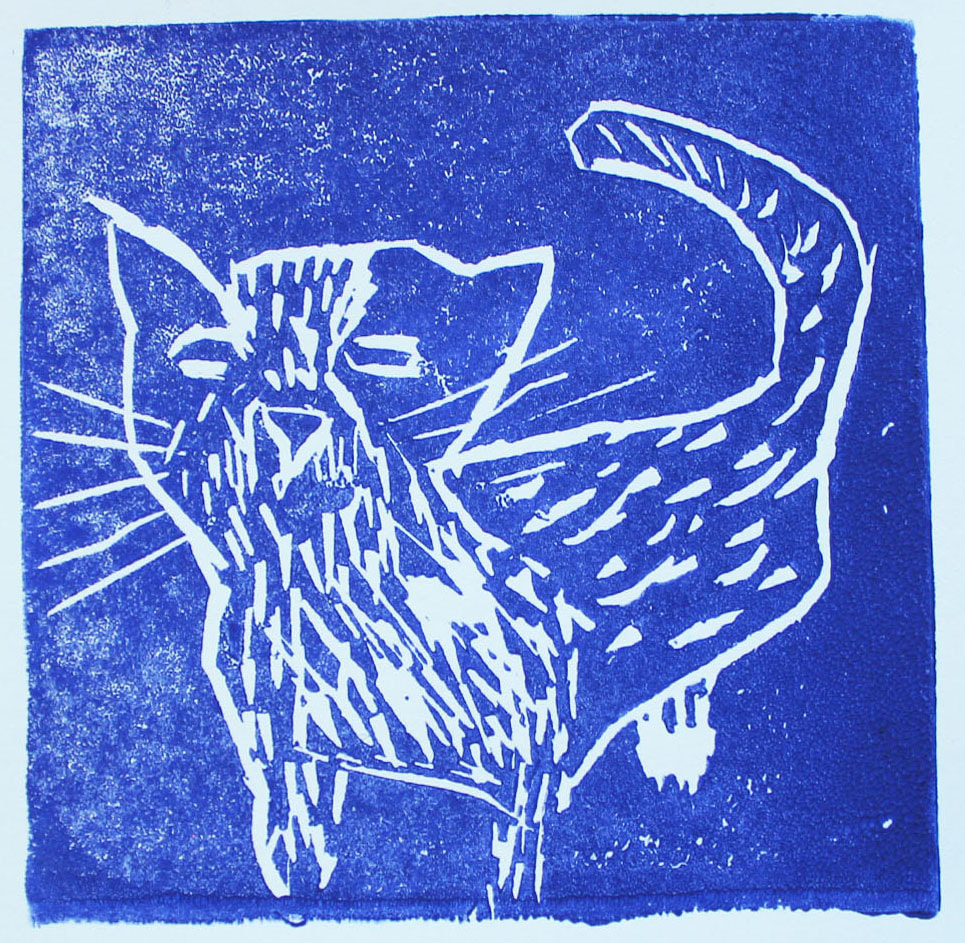
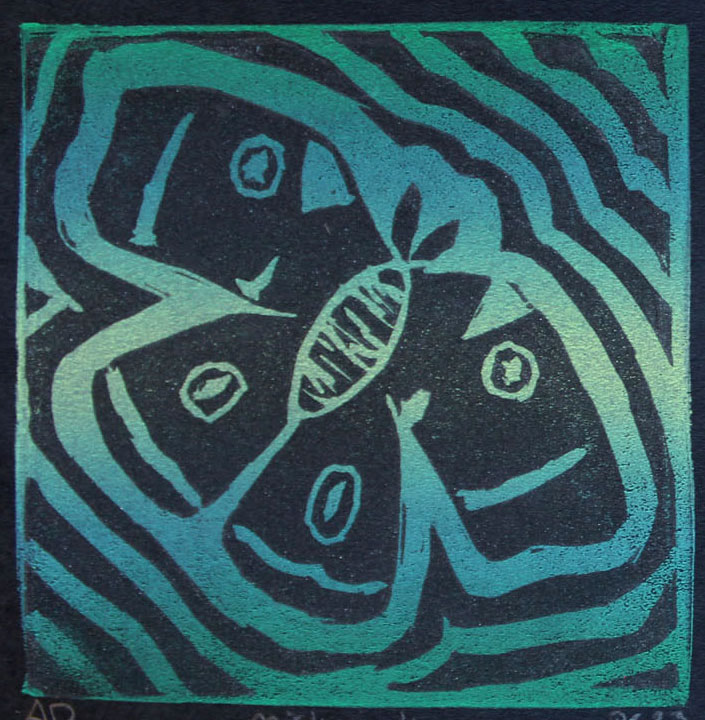
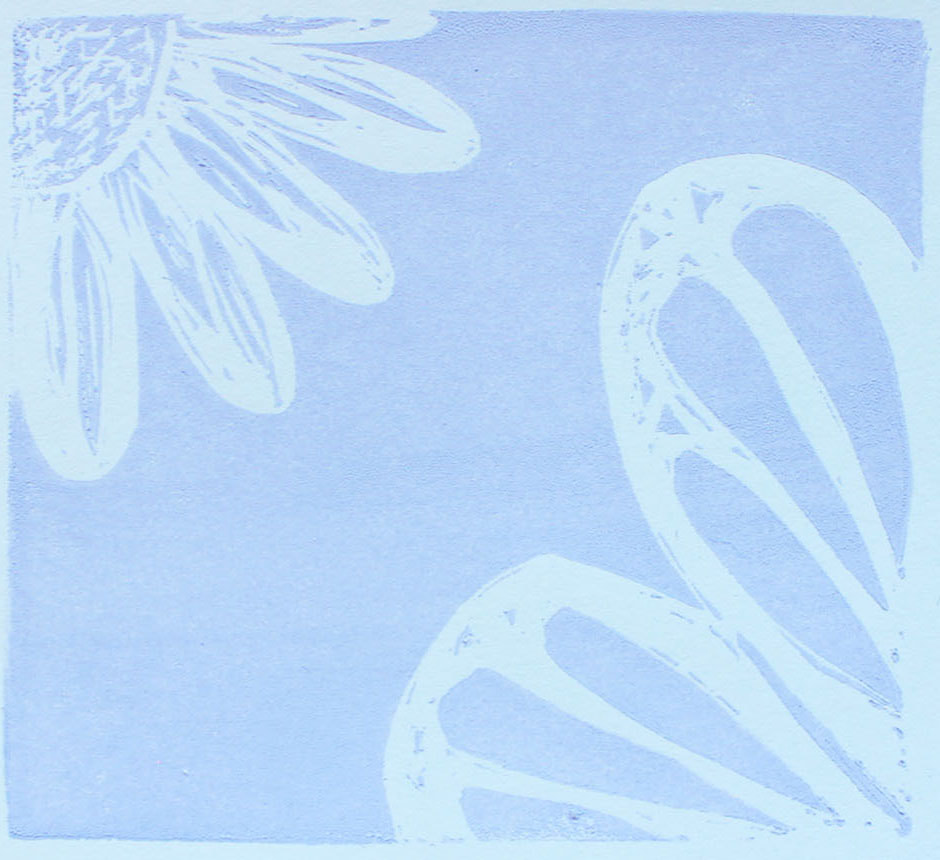
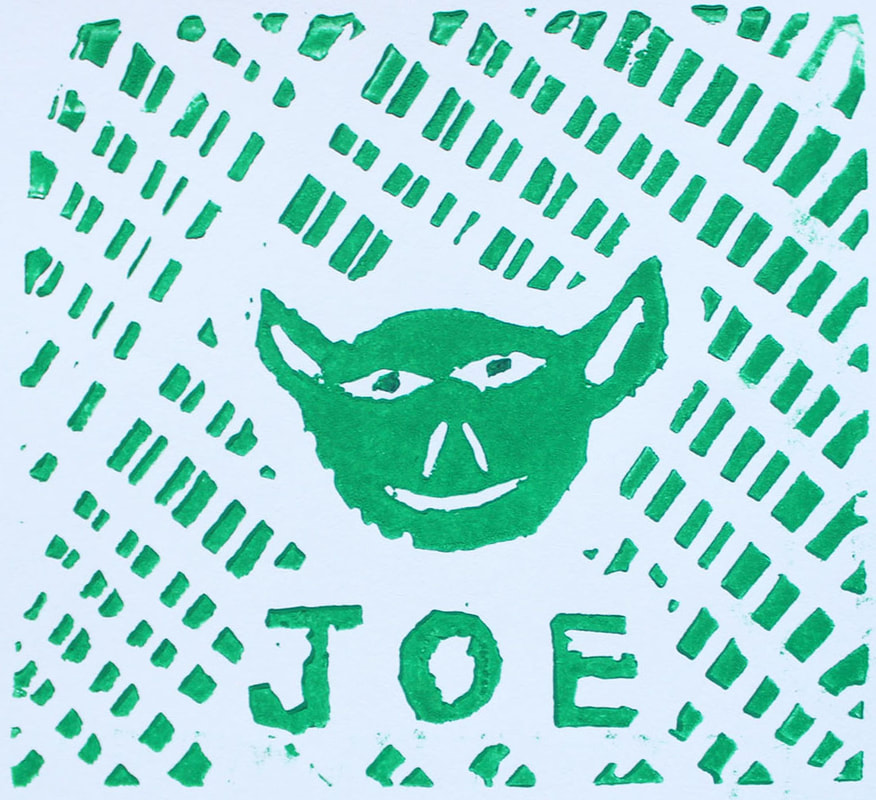
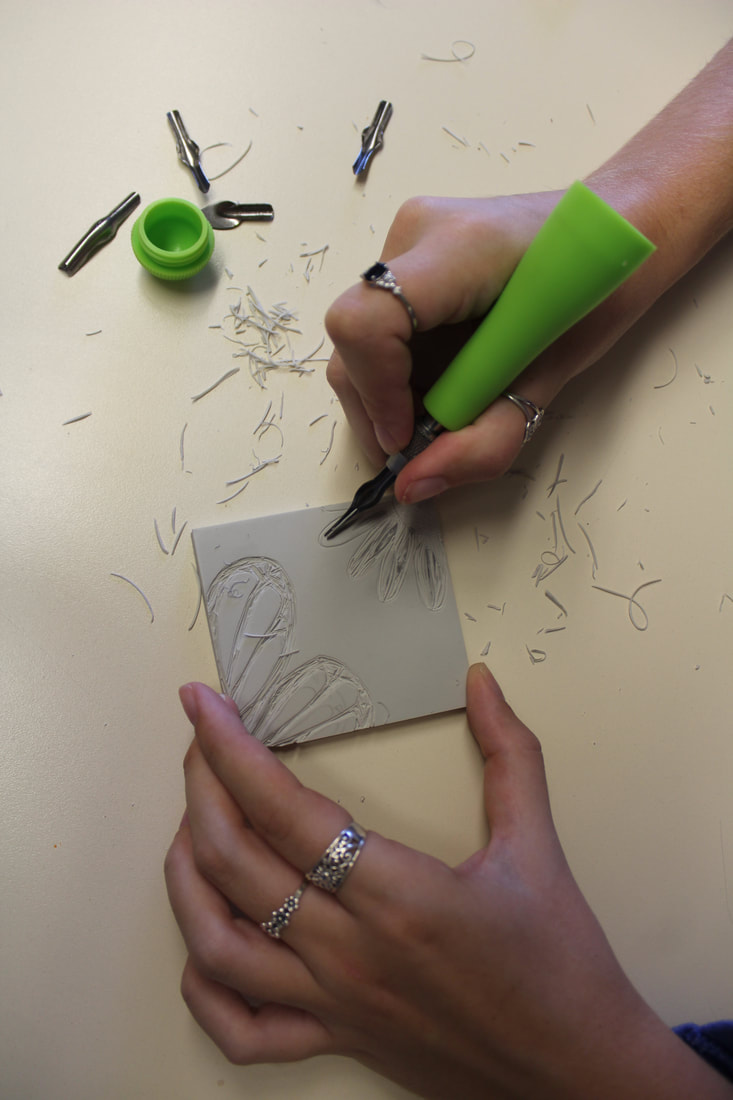
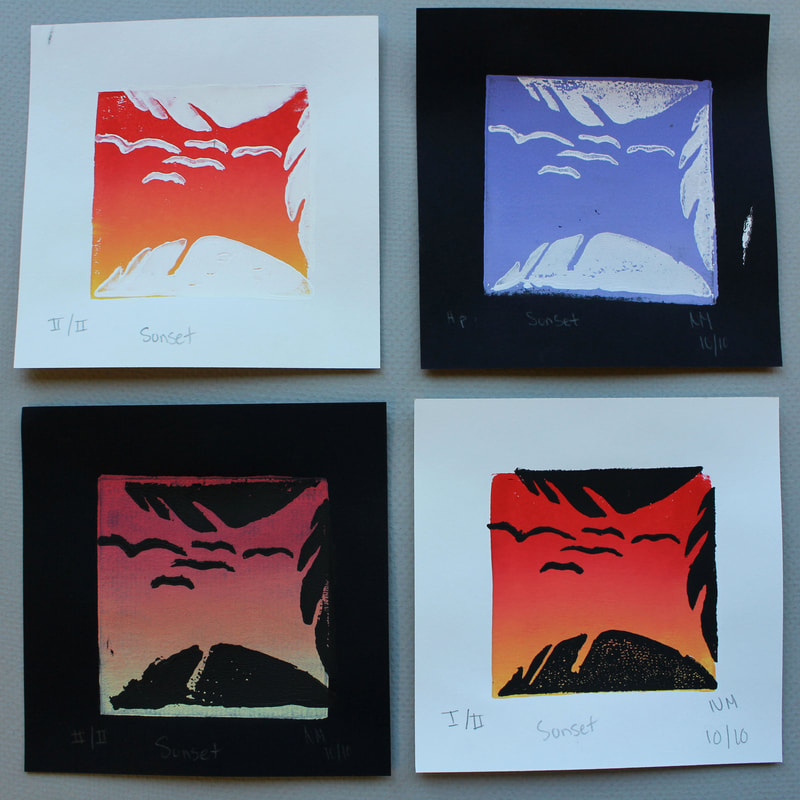
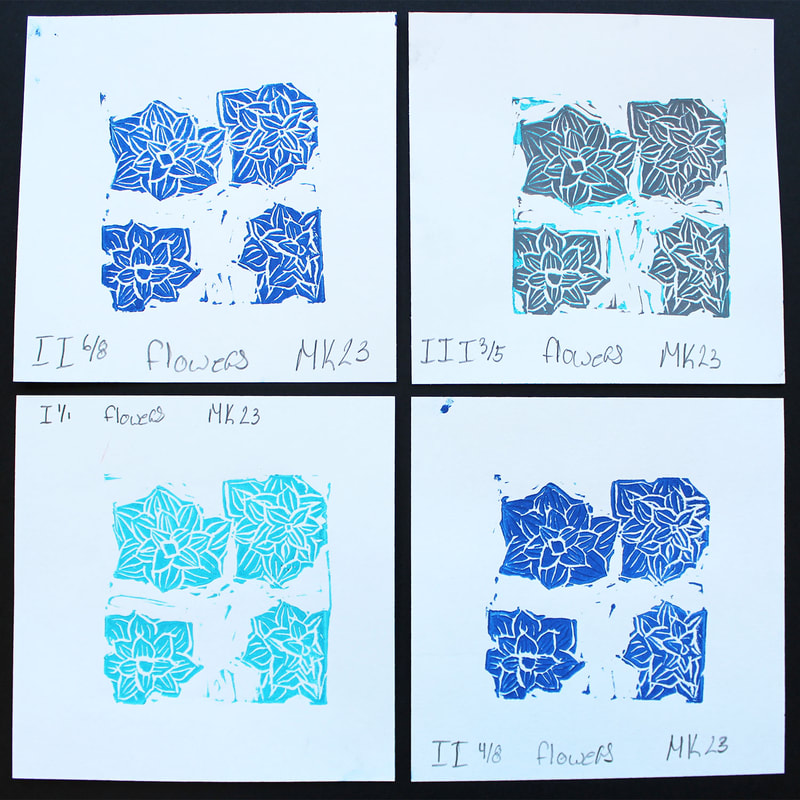
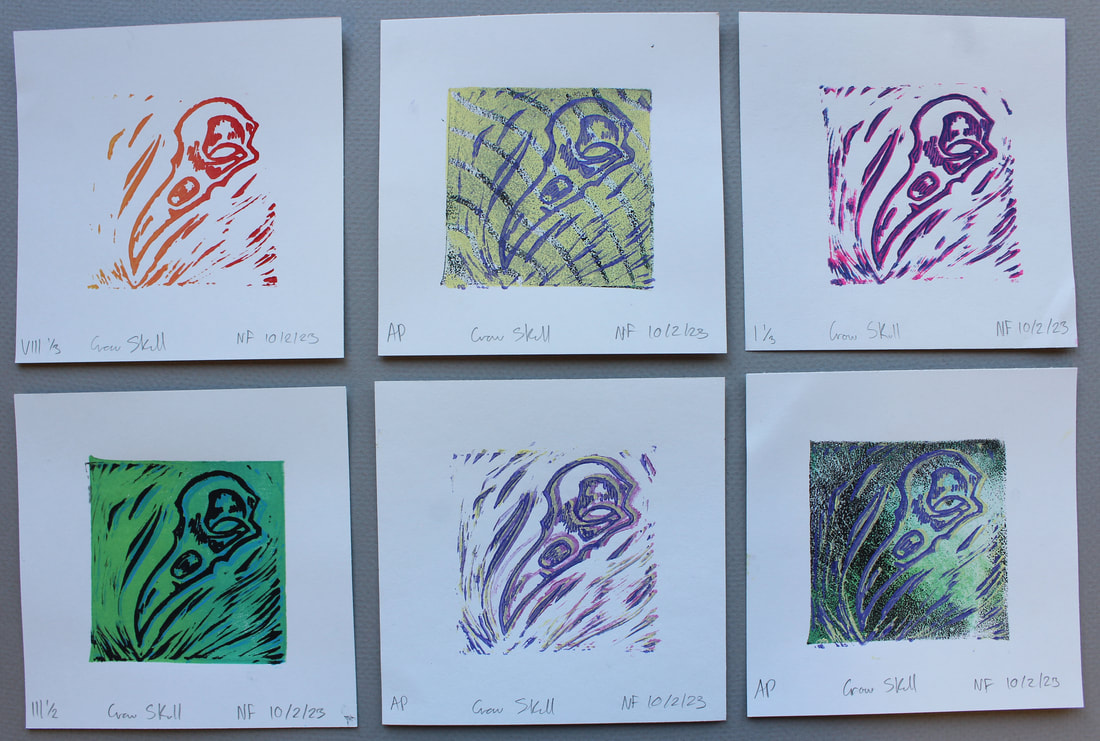
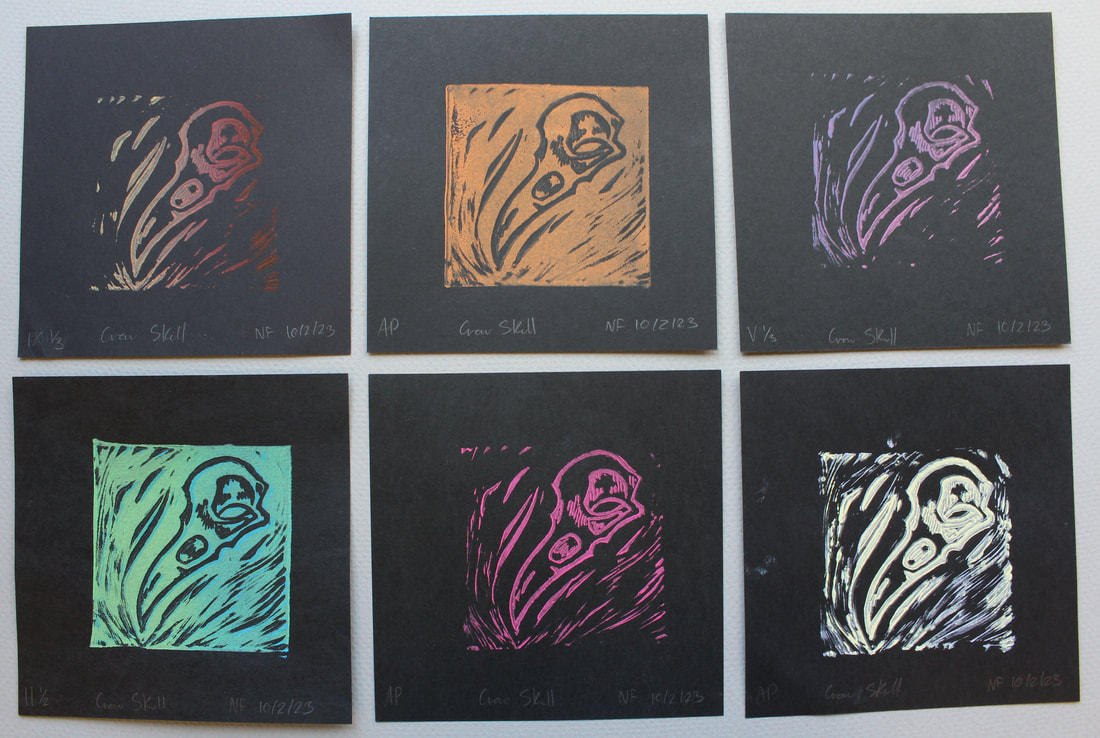
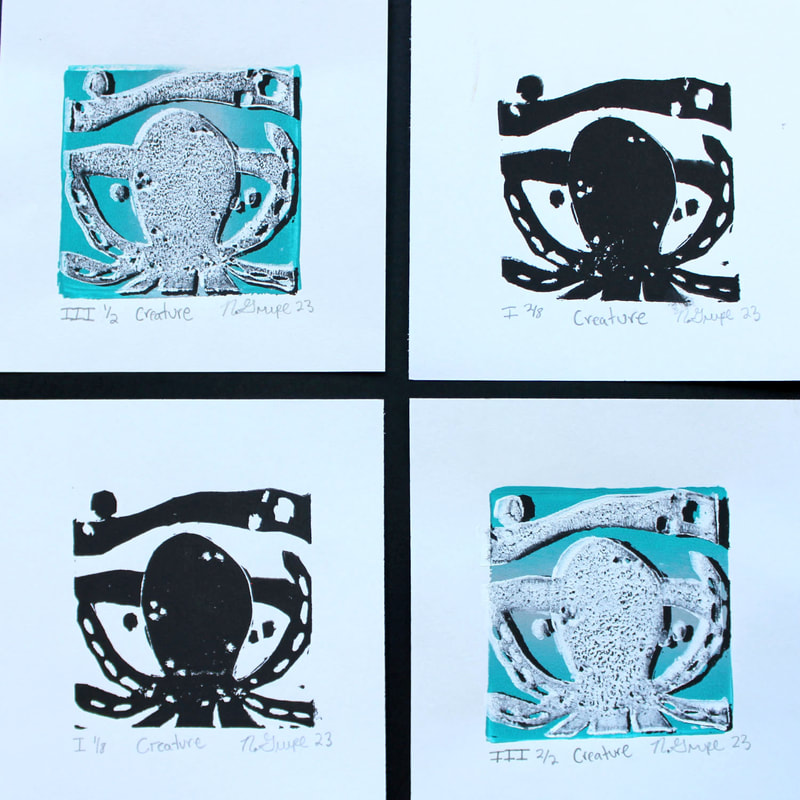
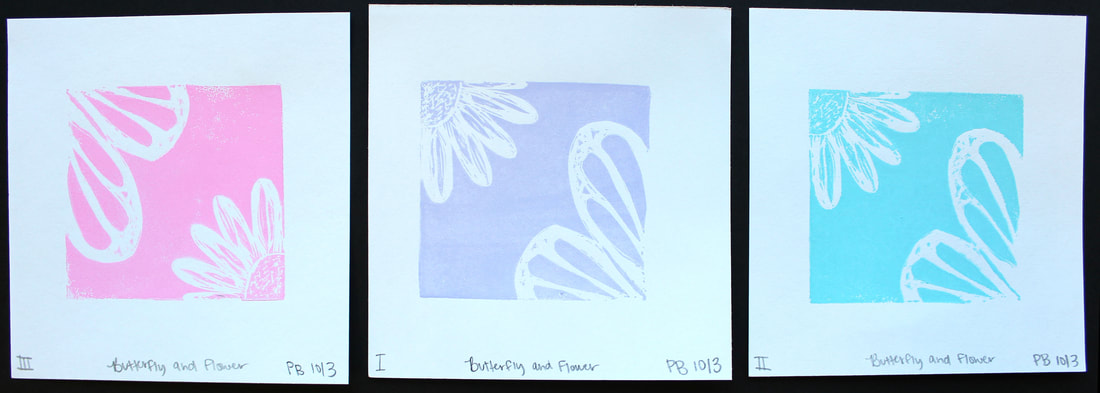
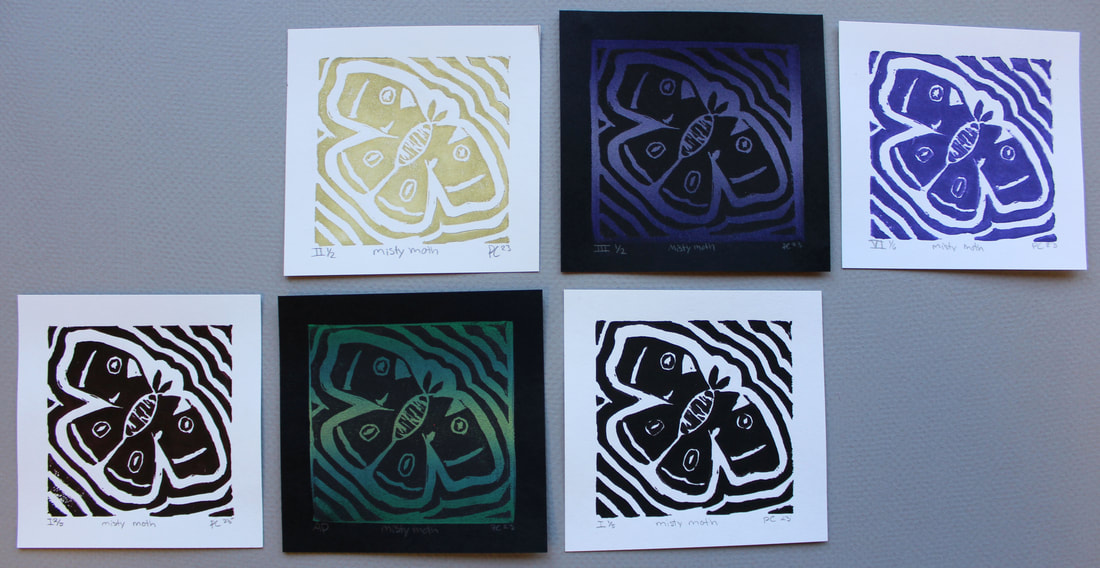
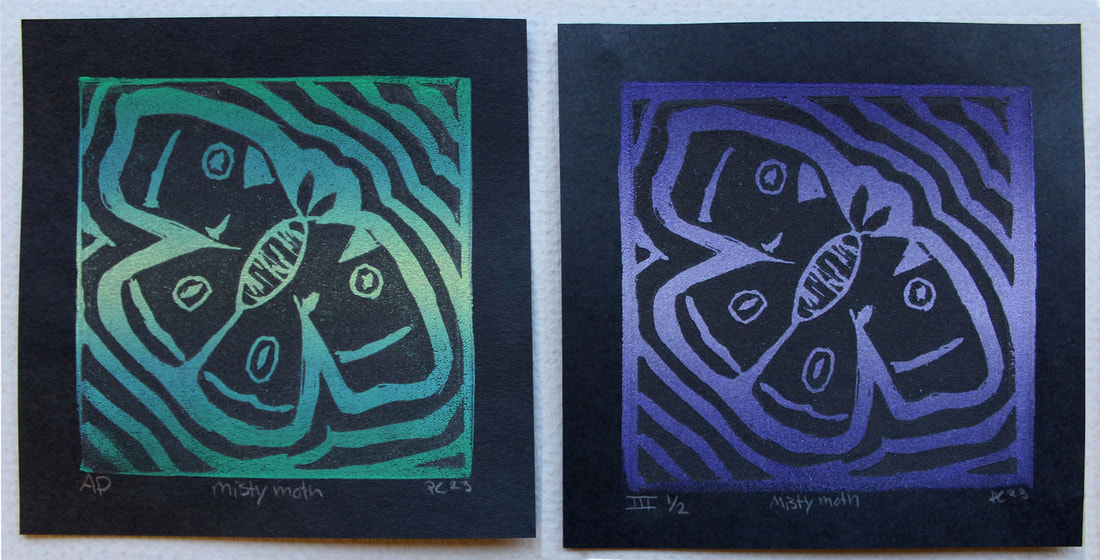
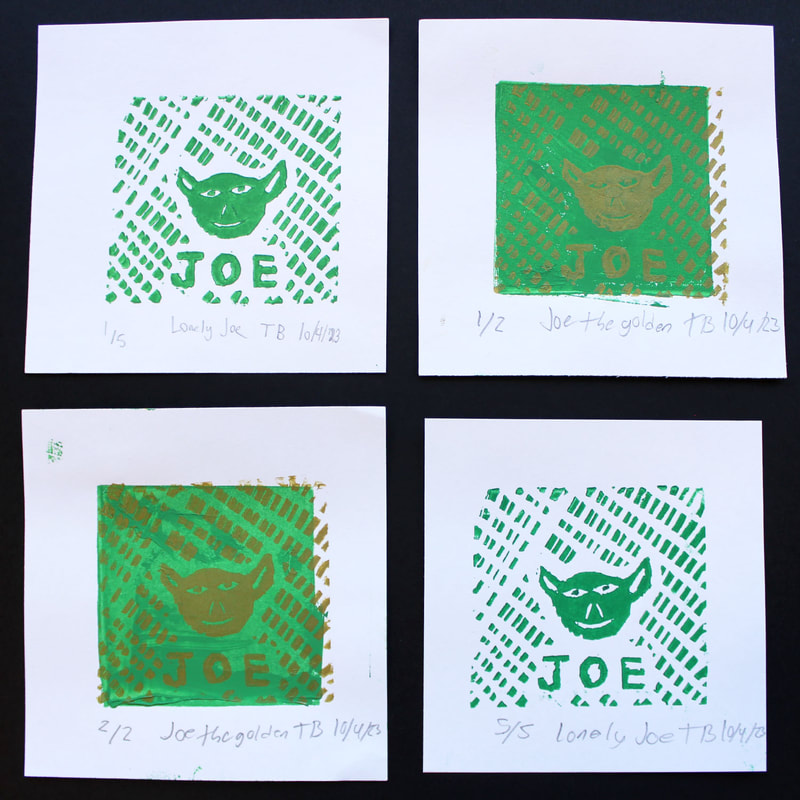
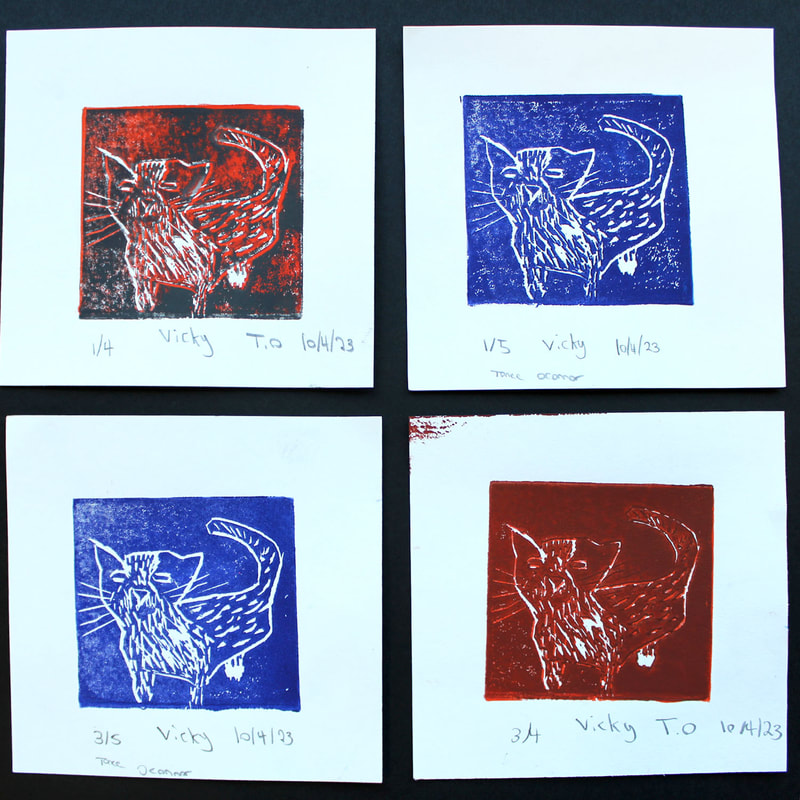
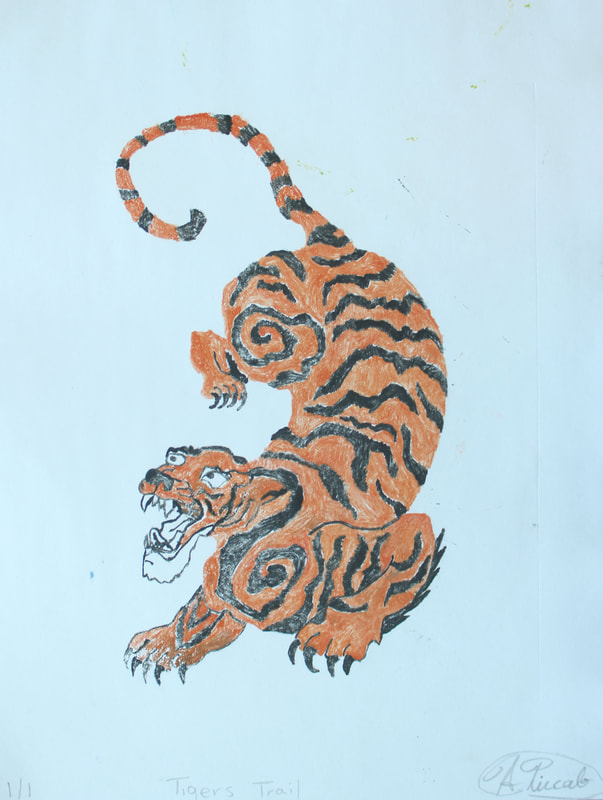
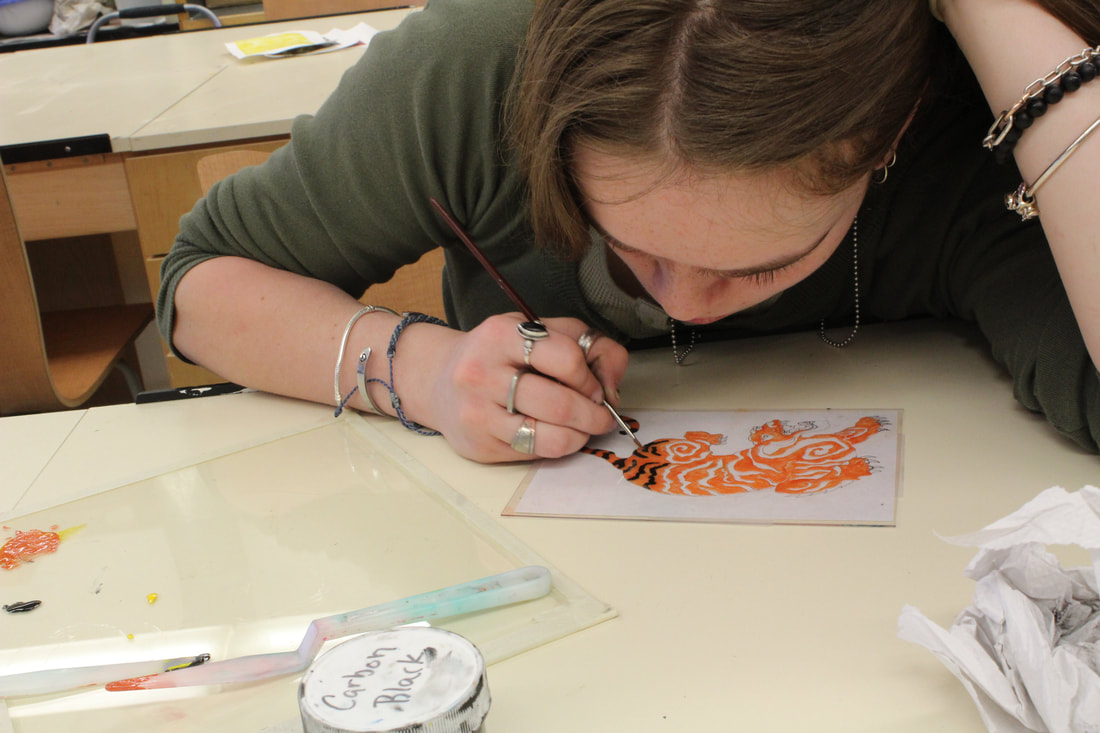
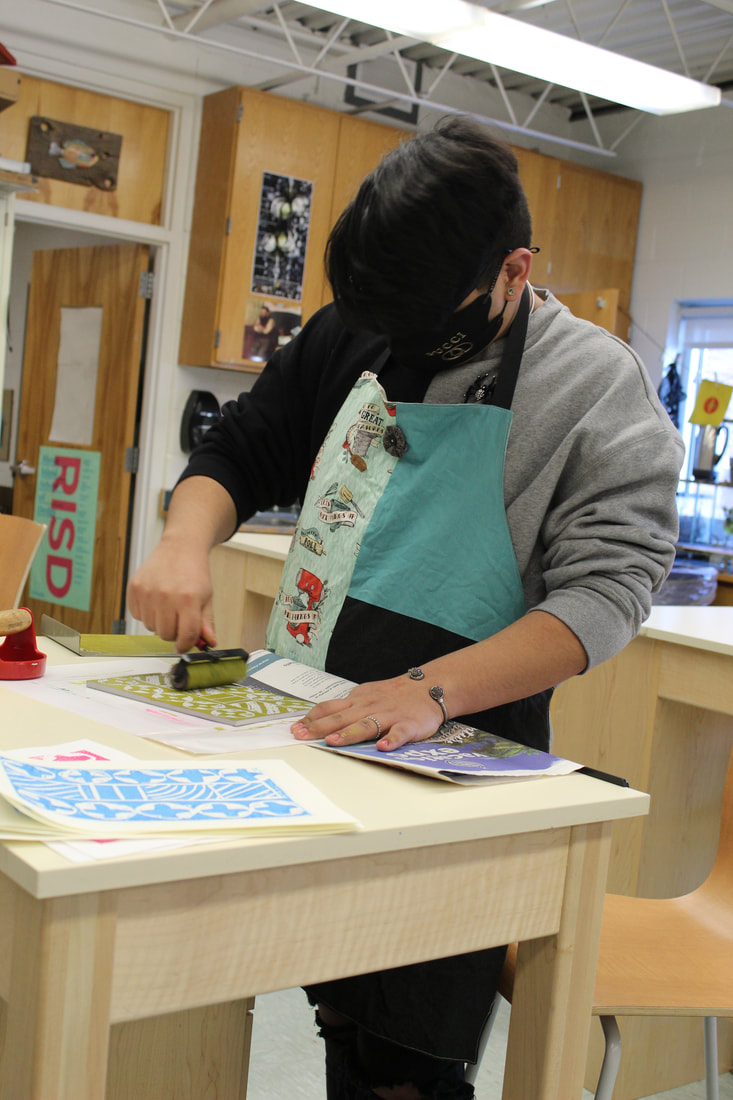
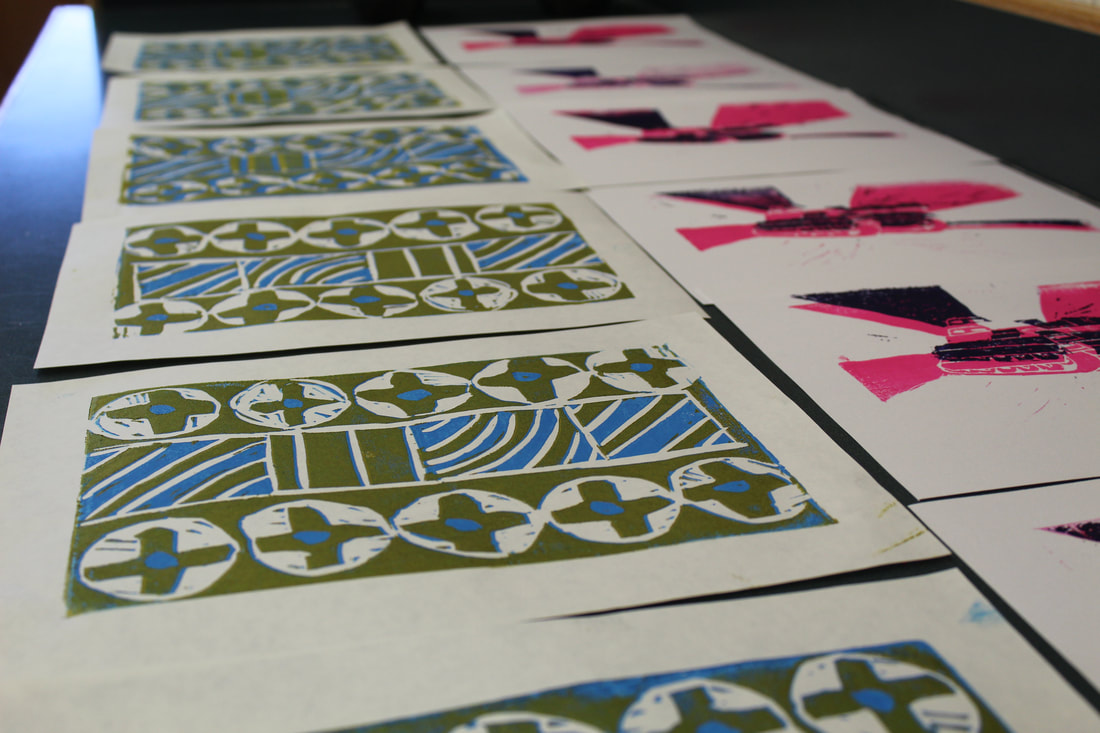
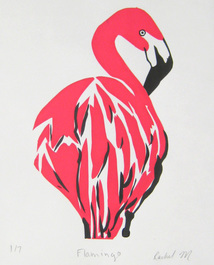
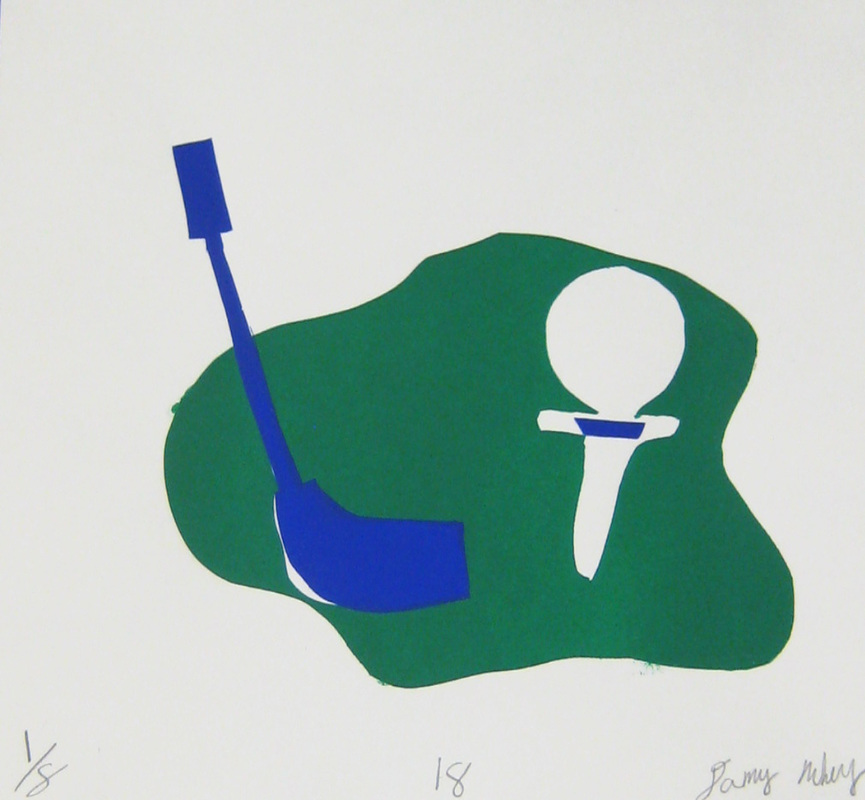
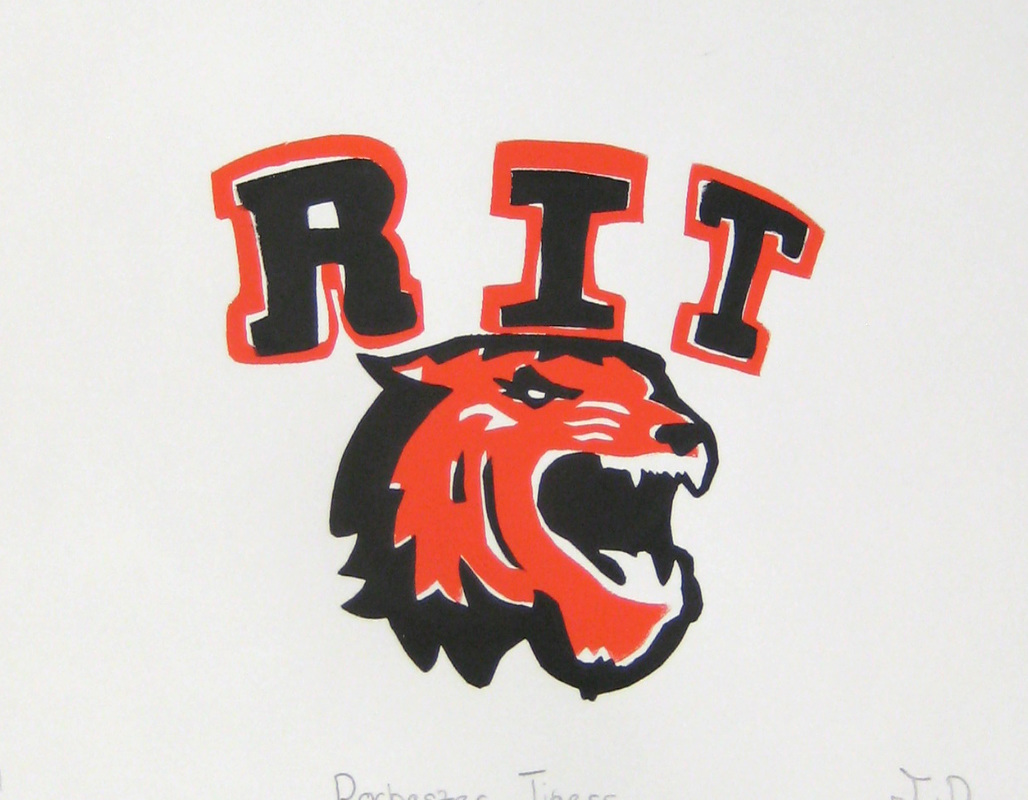
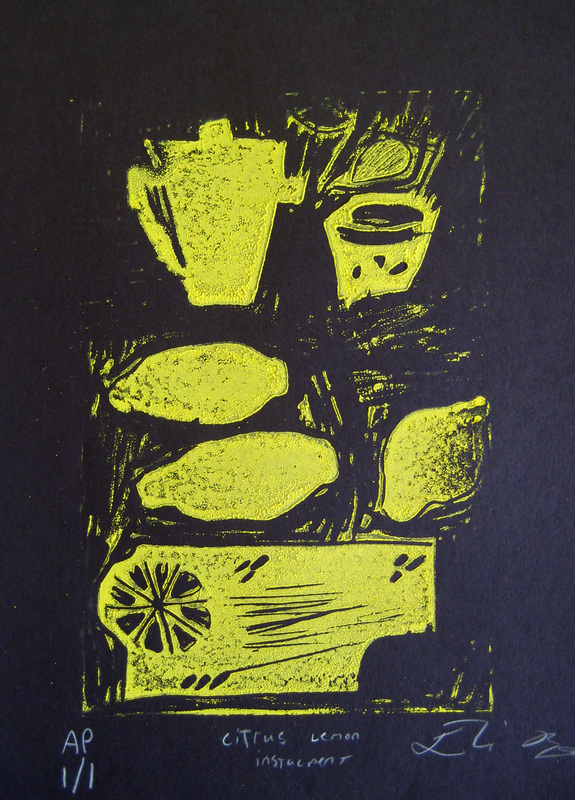
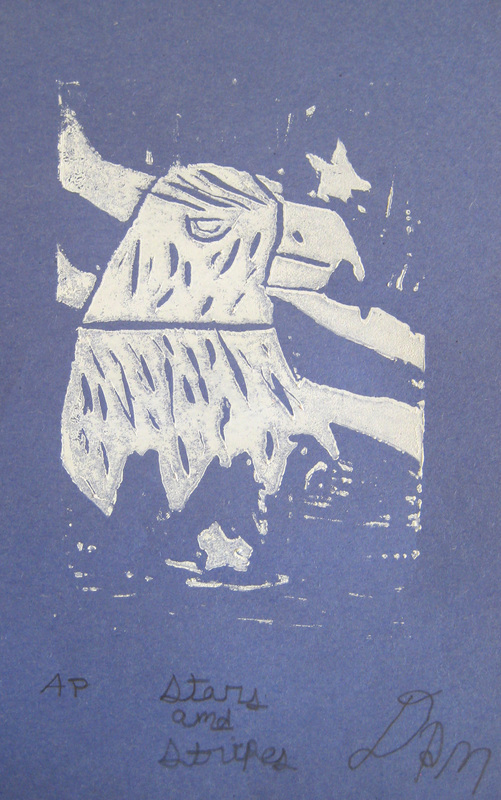
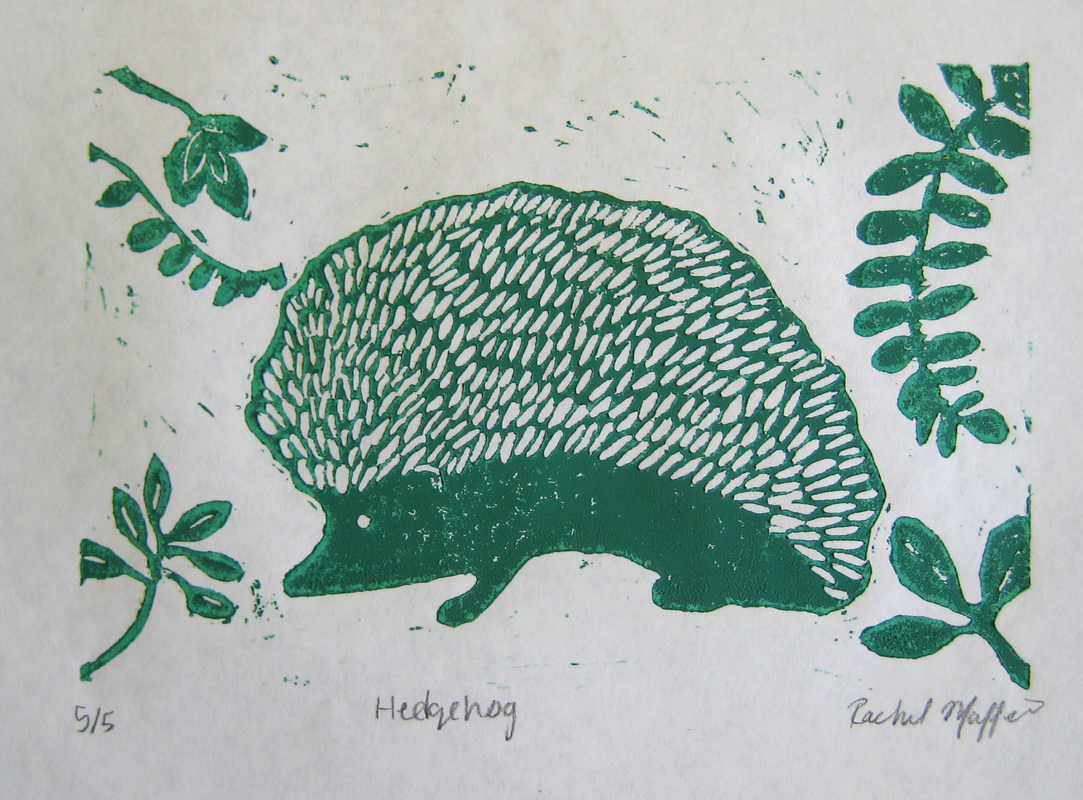
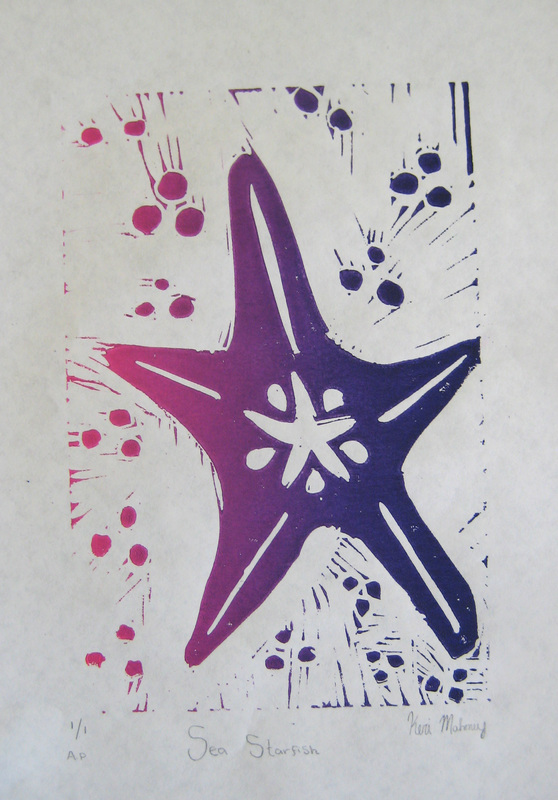
Mini Lynolum Blocks
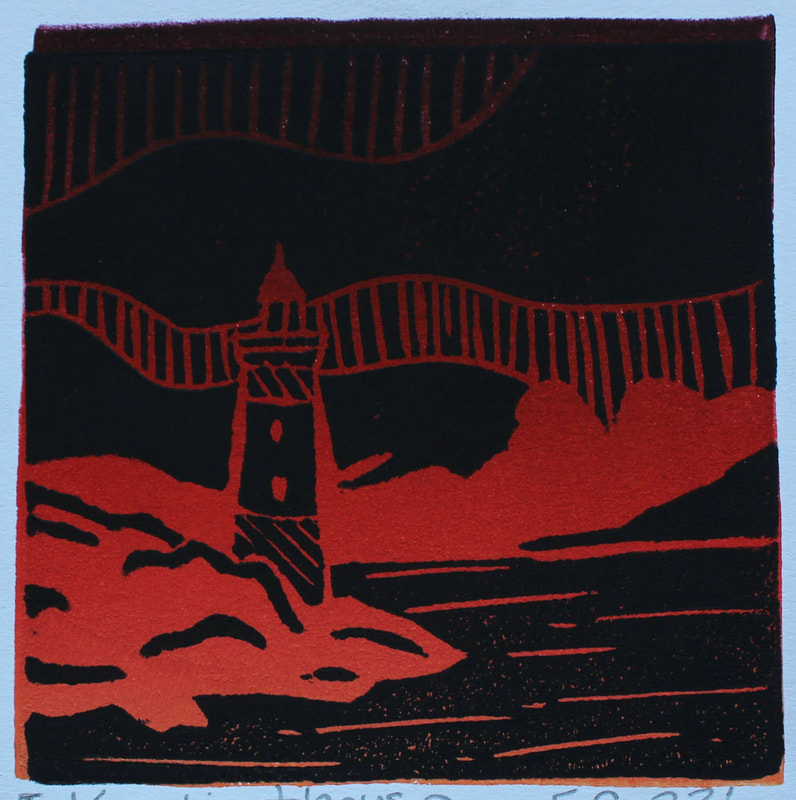
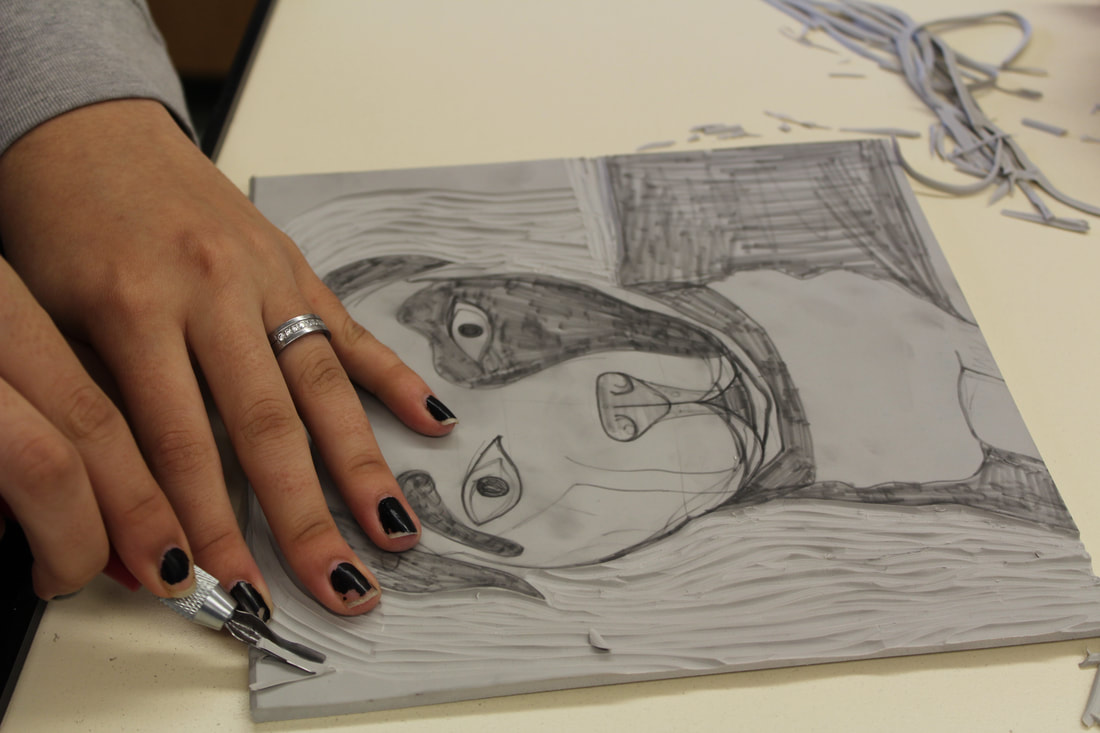
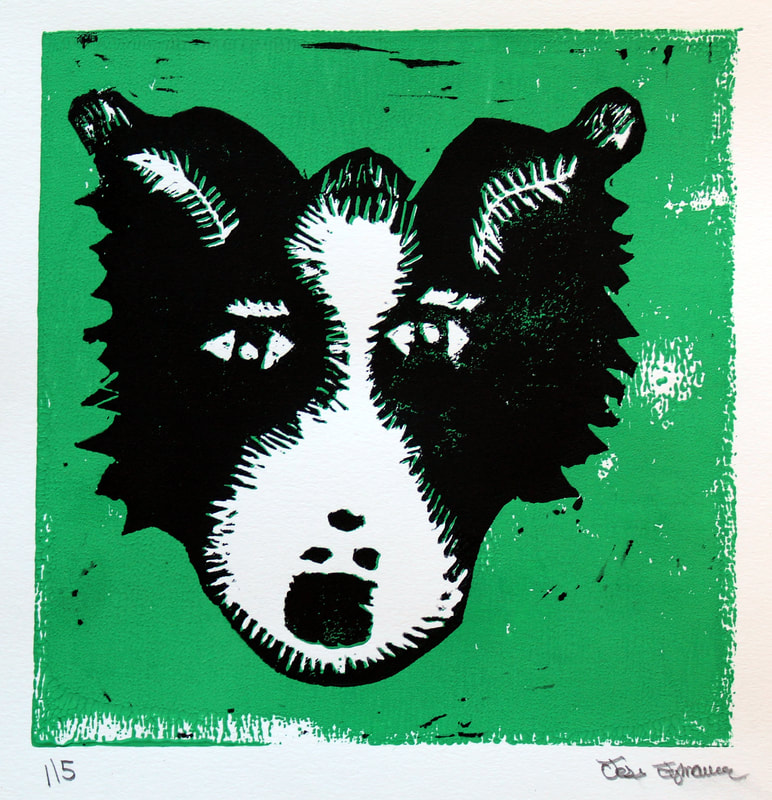
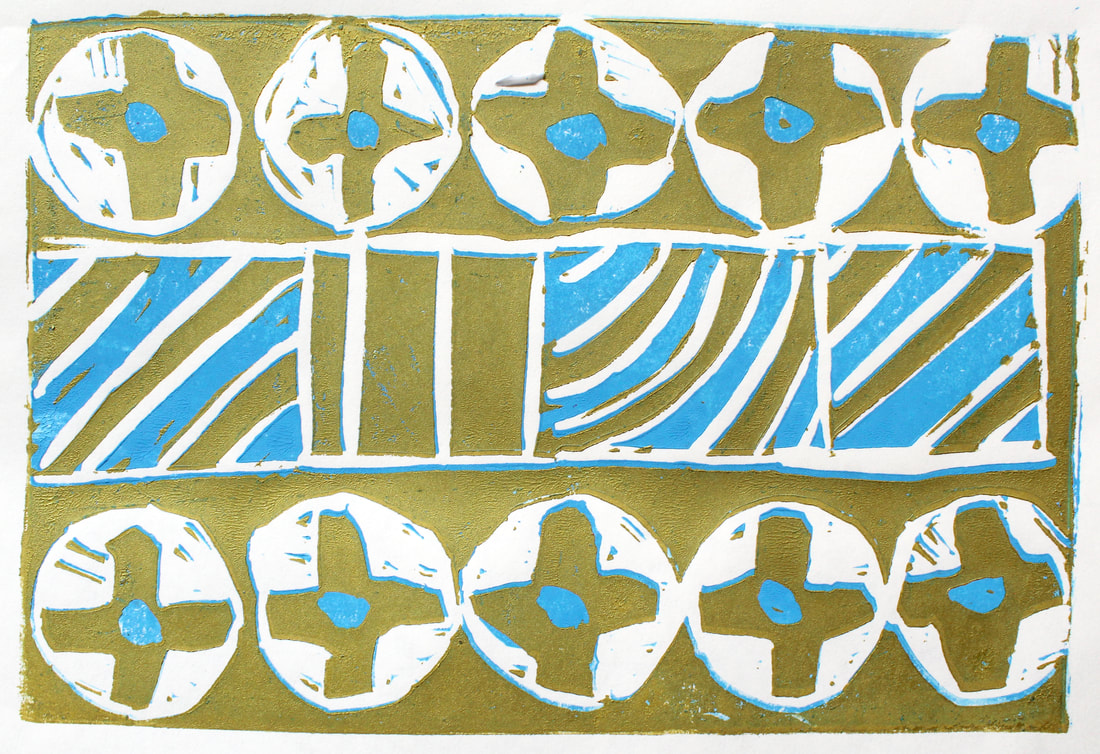
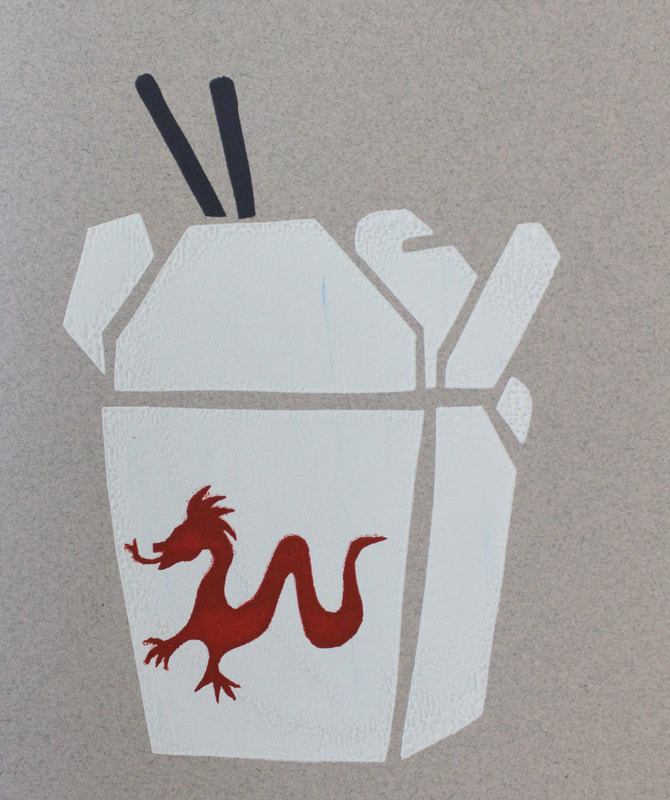
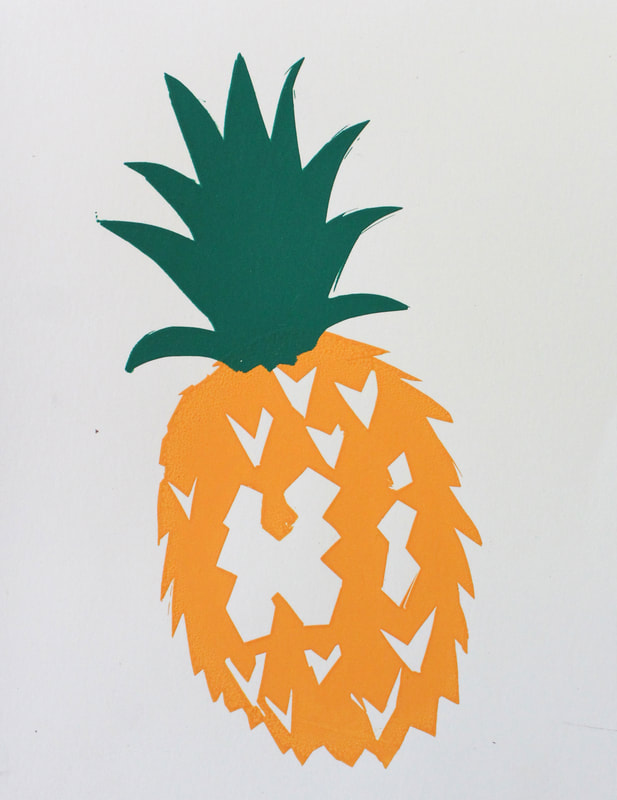
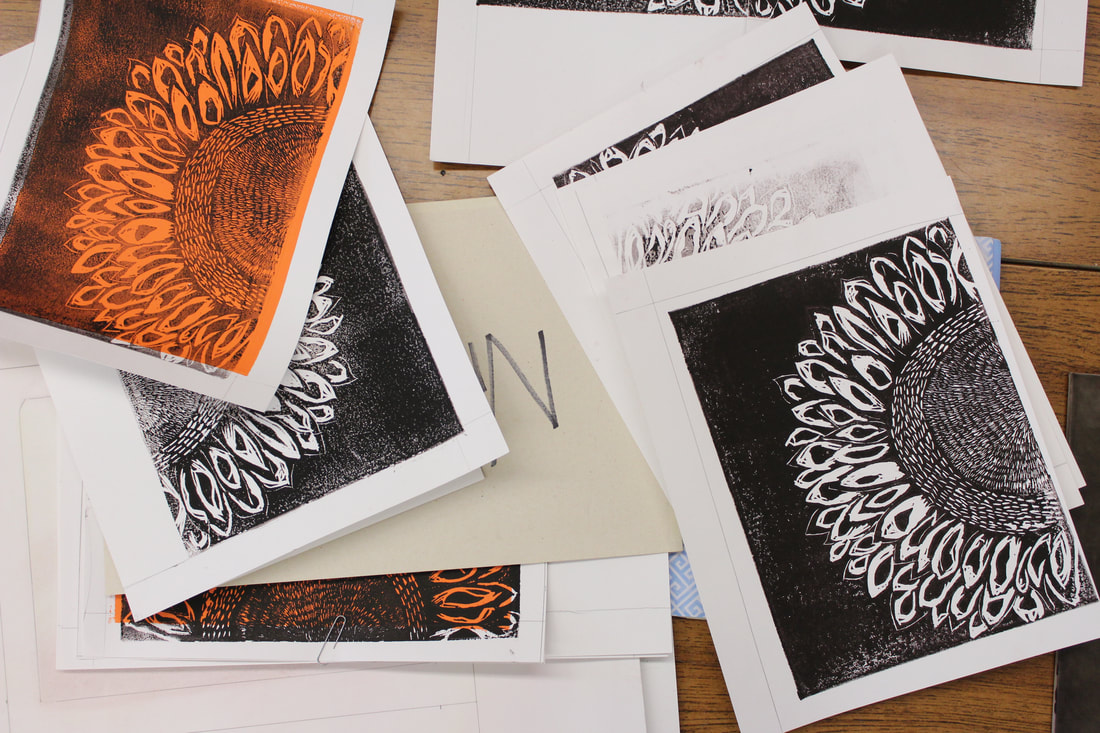
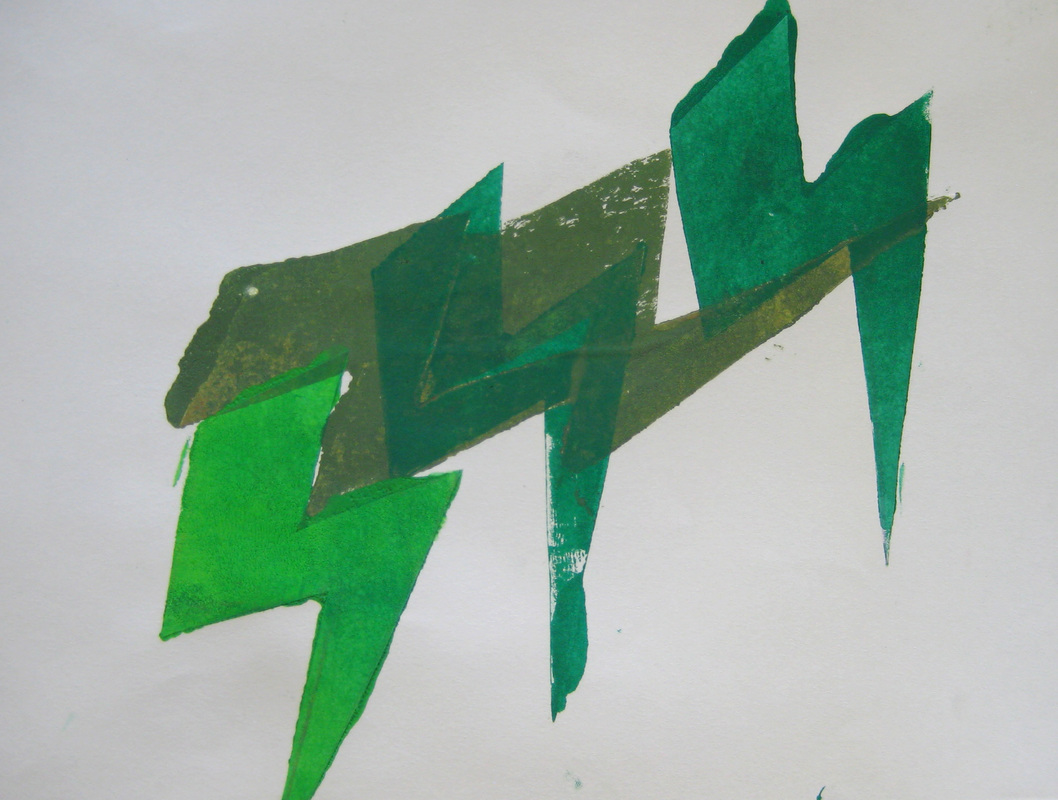
To start the class the Printmaking students were given a linoleum block the size of a Post-it note and a few requirements. They needed to create an image that would have a balance of positive and negative space, work with one and two layers, create value in the block, and work reductively to create the image. Some students had made a linoleum block before and others were trying this process out for the first time. As students printed they all enjoyed the ability to create individual works of art from one block, check out all the different and crave prints they created.

|
|
2022-2023...
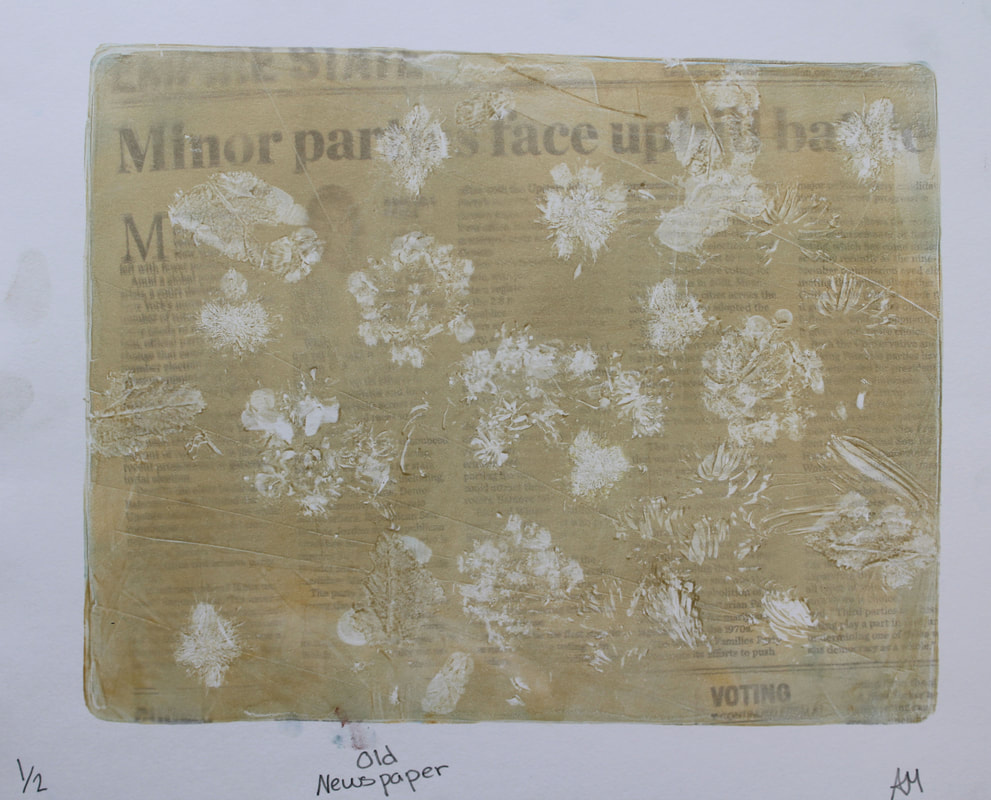
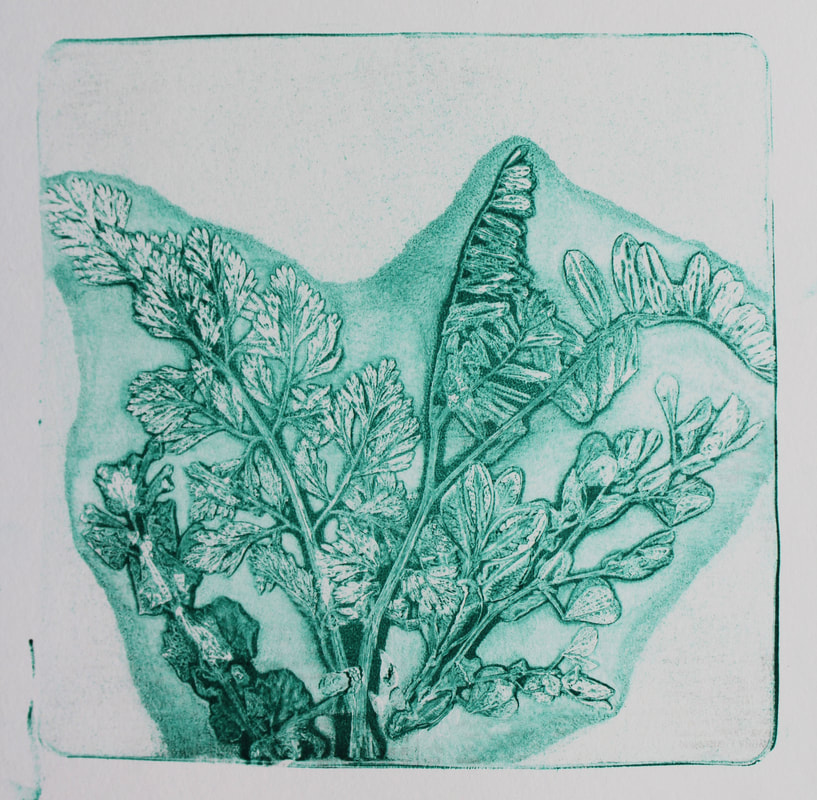
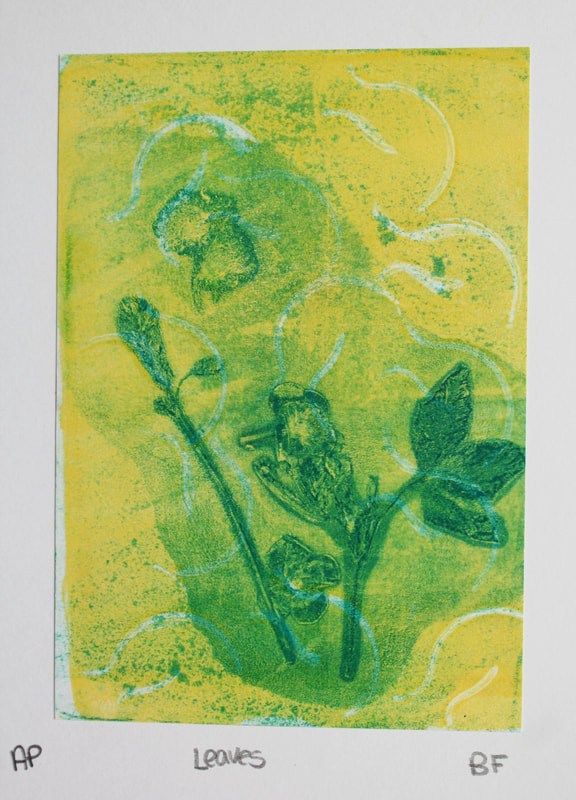
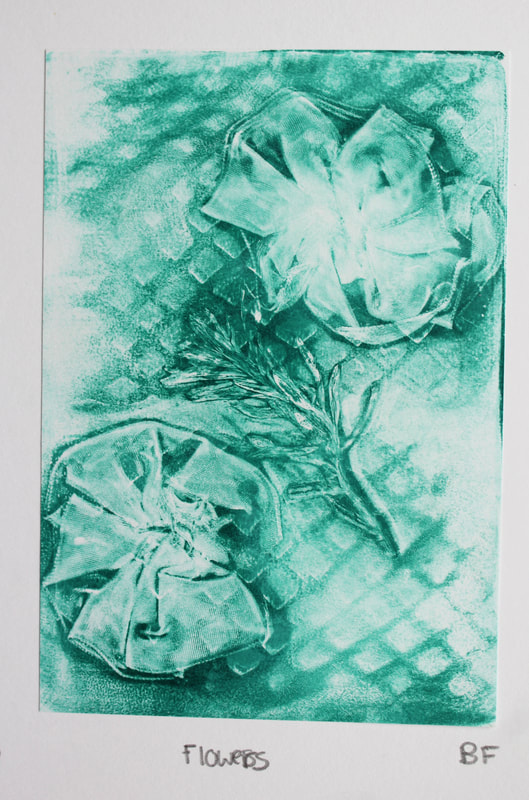
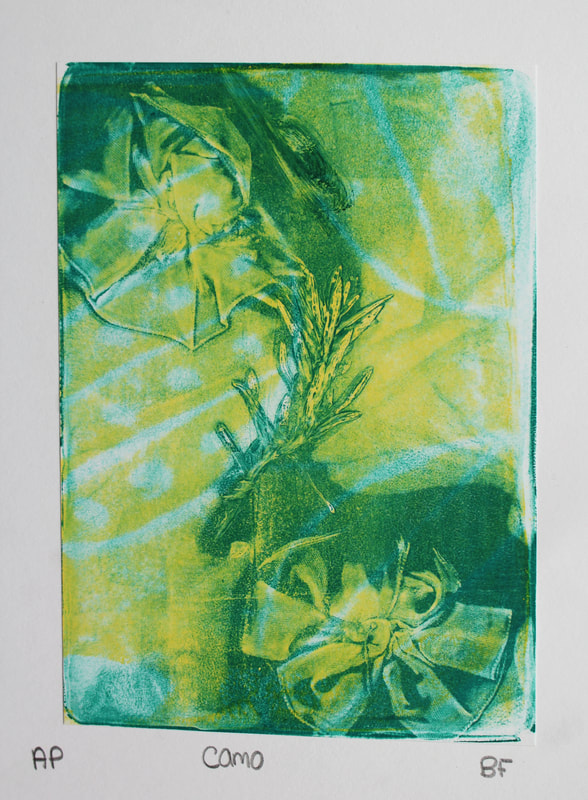
Gelli Prints
Printed by Grace Dolan
|
Alyson McCarta
     Violet Gulisane
    Grace Dolan
   |
Bryn Fitzmauice
Ethan English
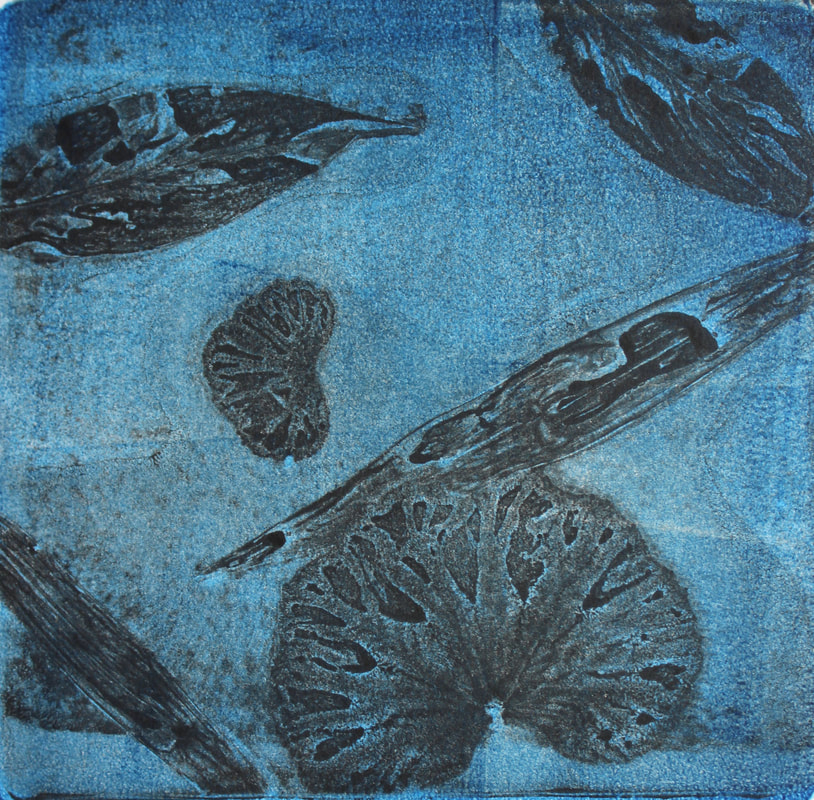
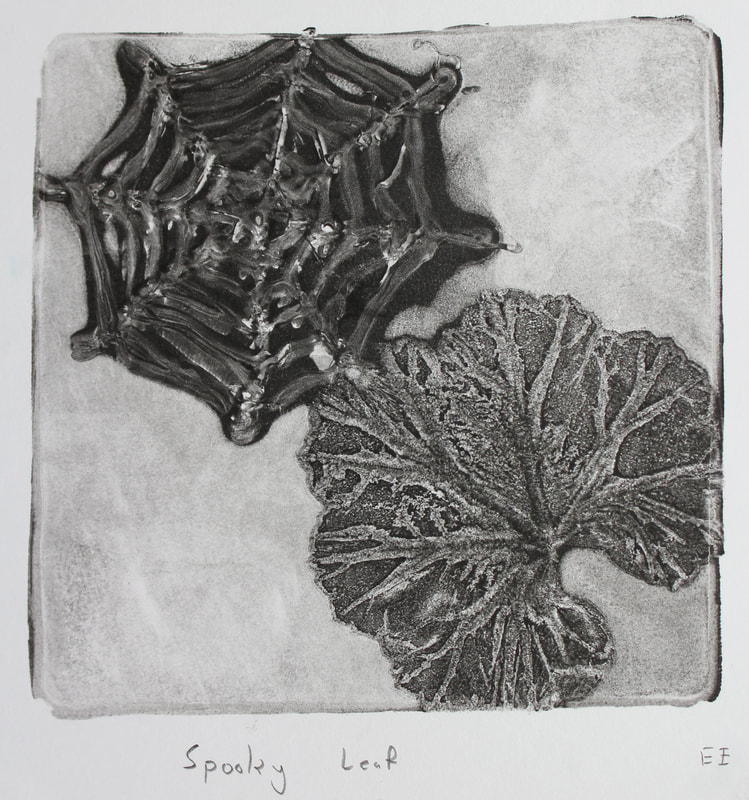
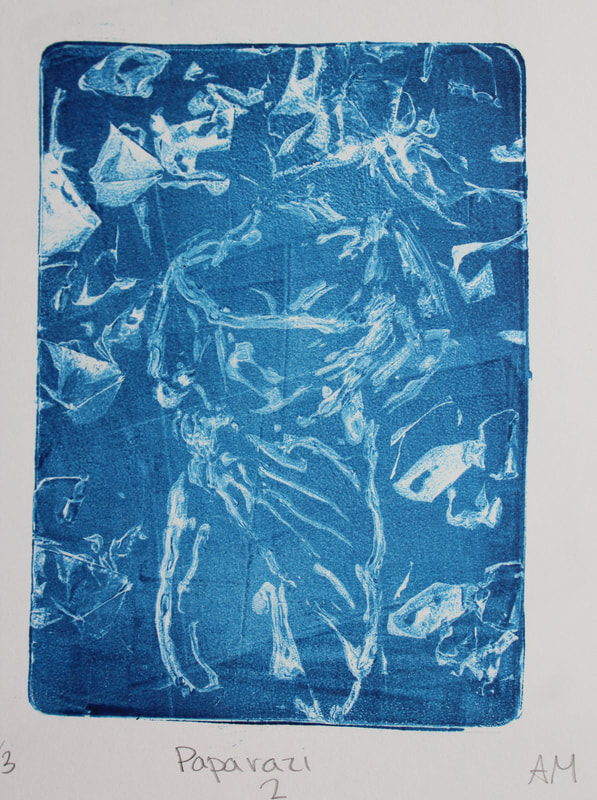
Monoprints
|
This process makes only one print, but can sometimes make a ghost print (a lighter version of the orginal image). Students painted with ink on a piece of plexy glass (plate), then placed a sheet of printmaking paper on the plate. Using a pin press, the students applied pressure by rolling over the paper. This transfers the image from the plate to the paper. The images will have a painterly look and be lighter and airy-looking compared to the flat color of a screenprint or linolieum block.
|
|


Screenprinted Greeting Cards
|
The benefit of screen printing is that you can make more than one of the image you have created. To help students understand how artists make work to be sold, each student needed to design a greeting card. They could make a card for any occasion even just to say "hello". The students learned how to screen print, working with mask-ys (a stencil that sticks to the screen). To make a screen print with more than one layer (color), the class learned how to register the prints properly. Each step requires students to work professionally and proficiently. Their goal was to create five or more perfect prints that could be sold.
|
2021-2022...
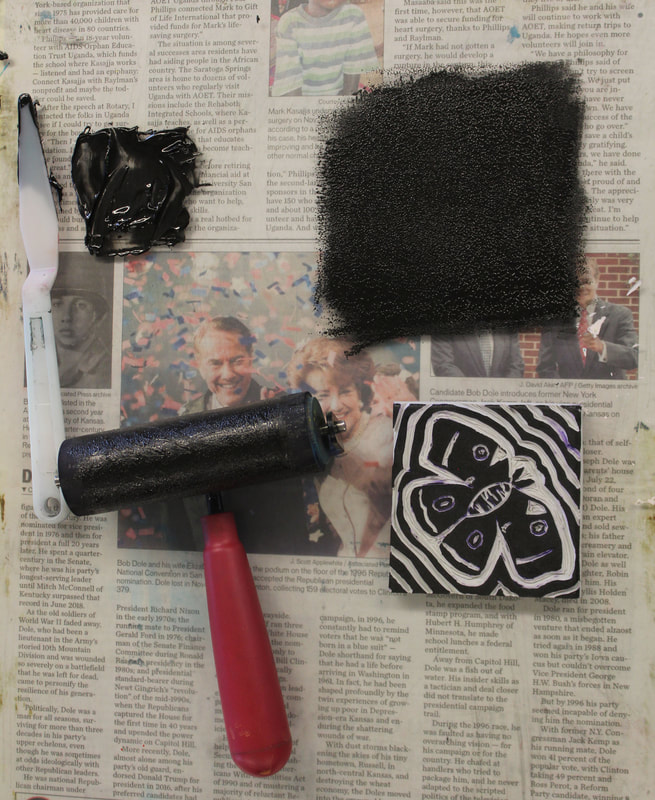
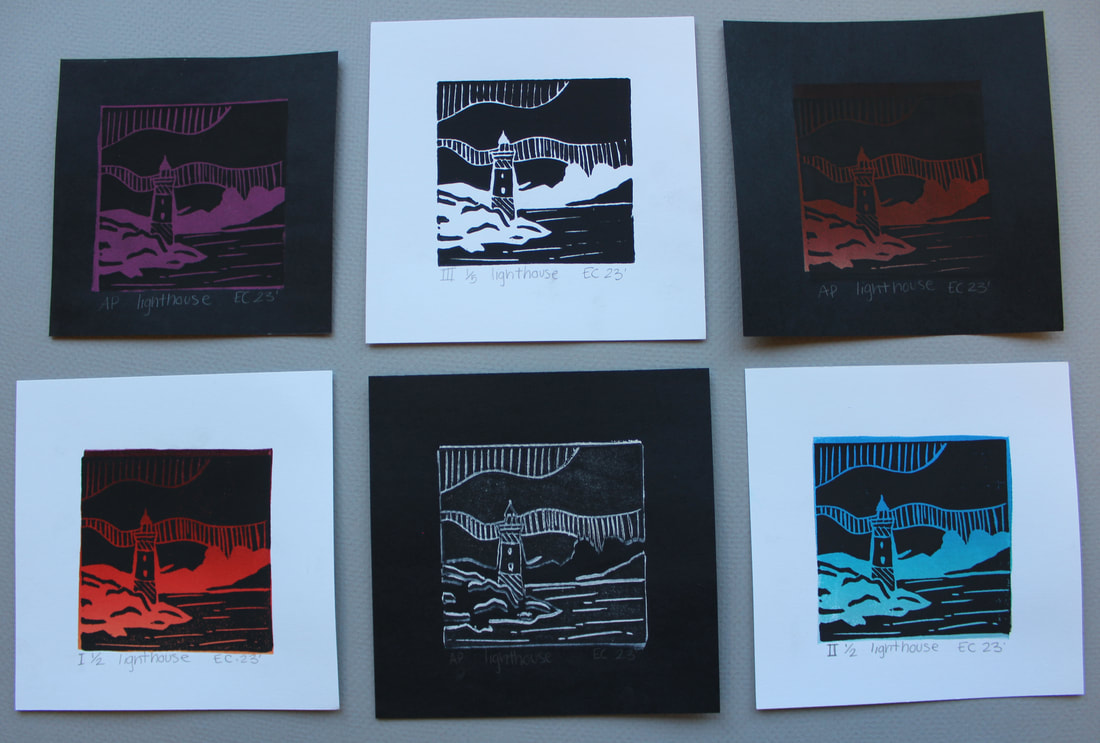
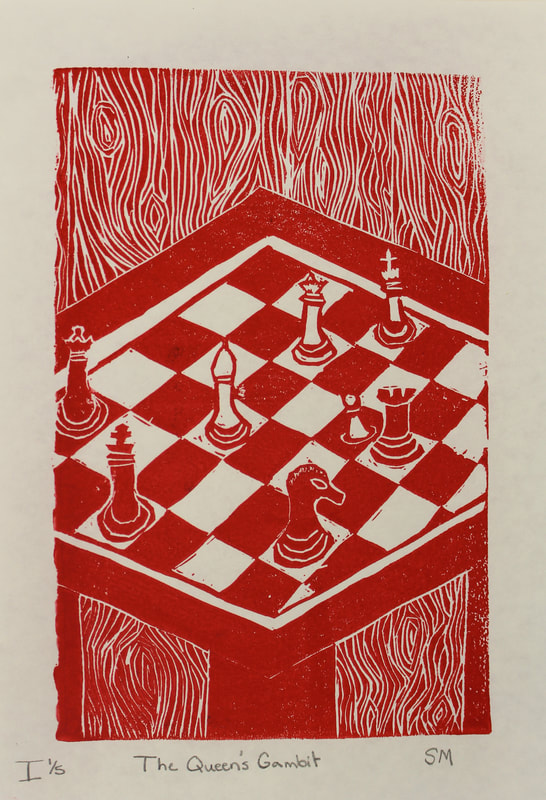
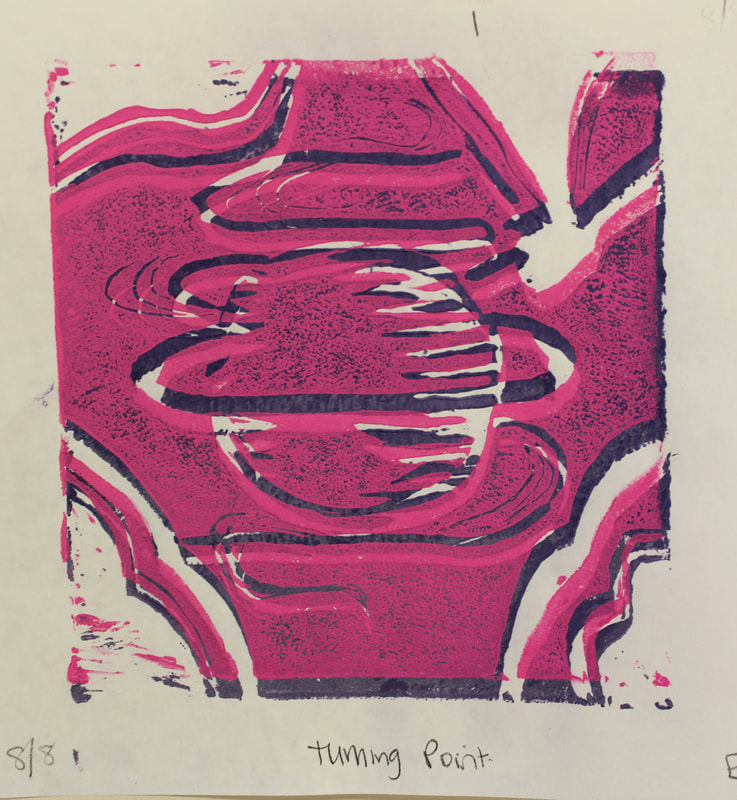
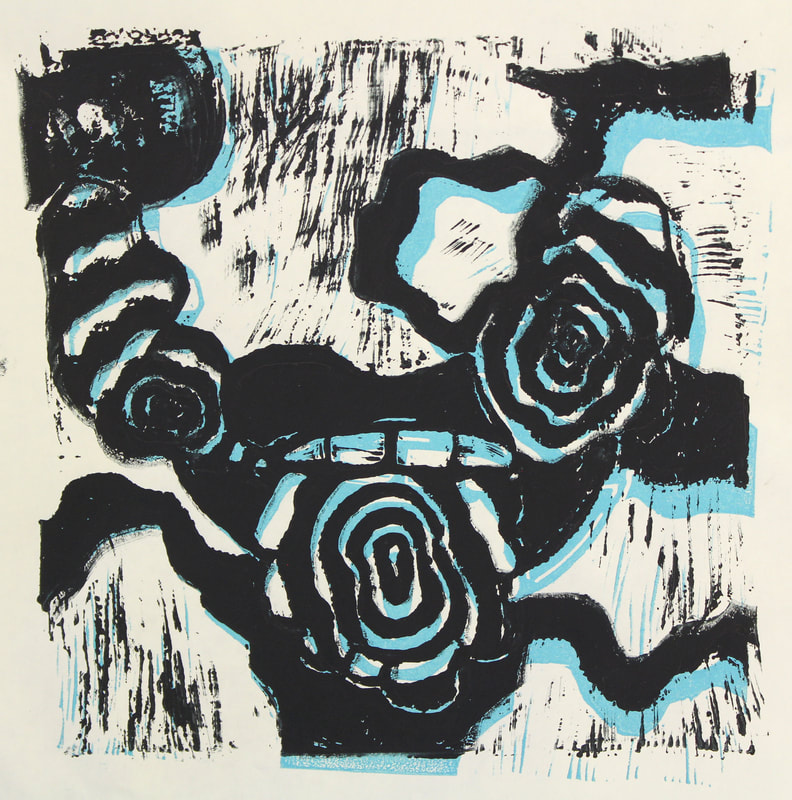
Linoleum Block Prints
Students were each given a linoleum block and told that they could create an image that they wanted. Each student came up with an image individually, however, it could only be made of positive and negative space and two colors. They could use-value, texture, space, and unity to create an image. This use of two colors meant that students needed to plan their decision extremely carefully once a section of the block is removed there is no getting it back. Additionally the students have to line up the layers perfectly to create the final image. Check out what a professional job these students did.
            |
|
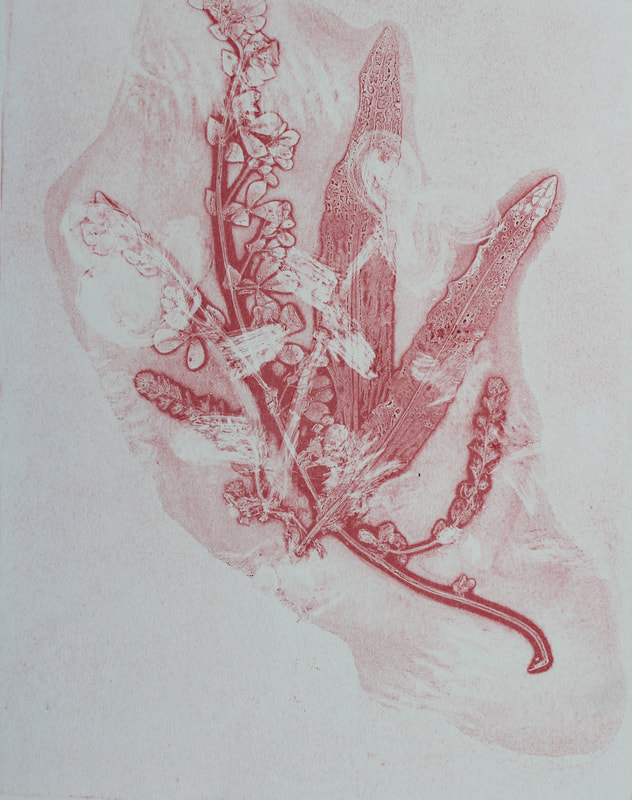
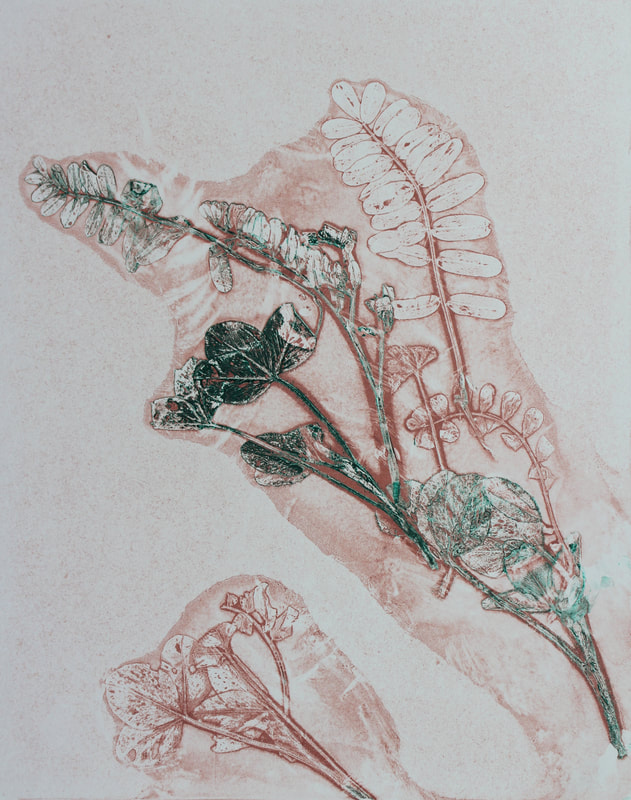
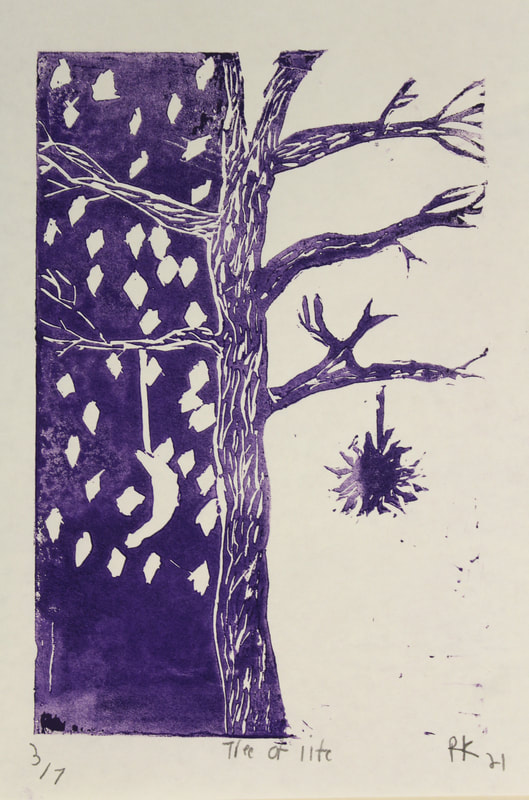
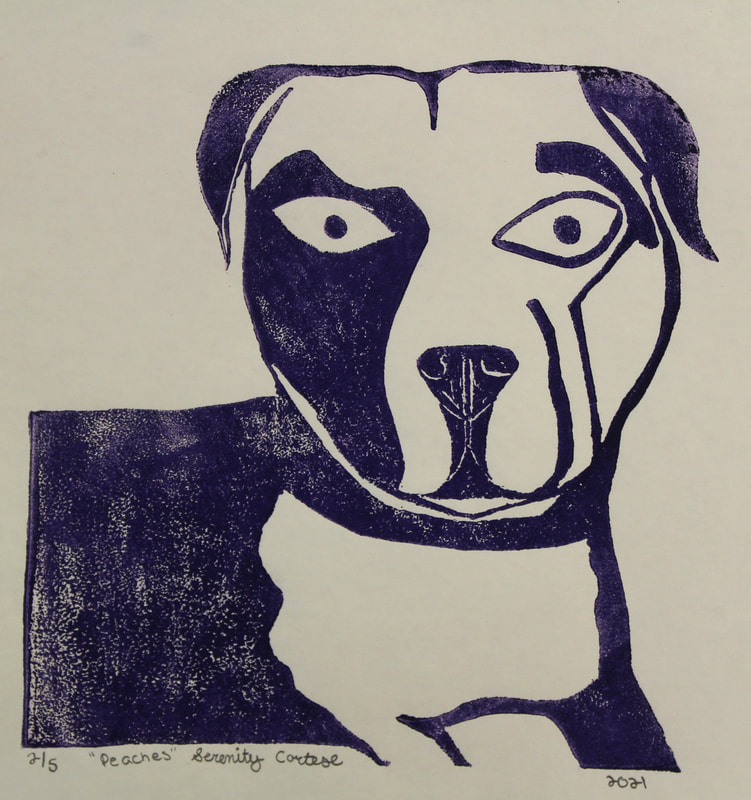
Drypoint Prints
|
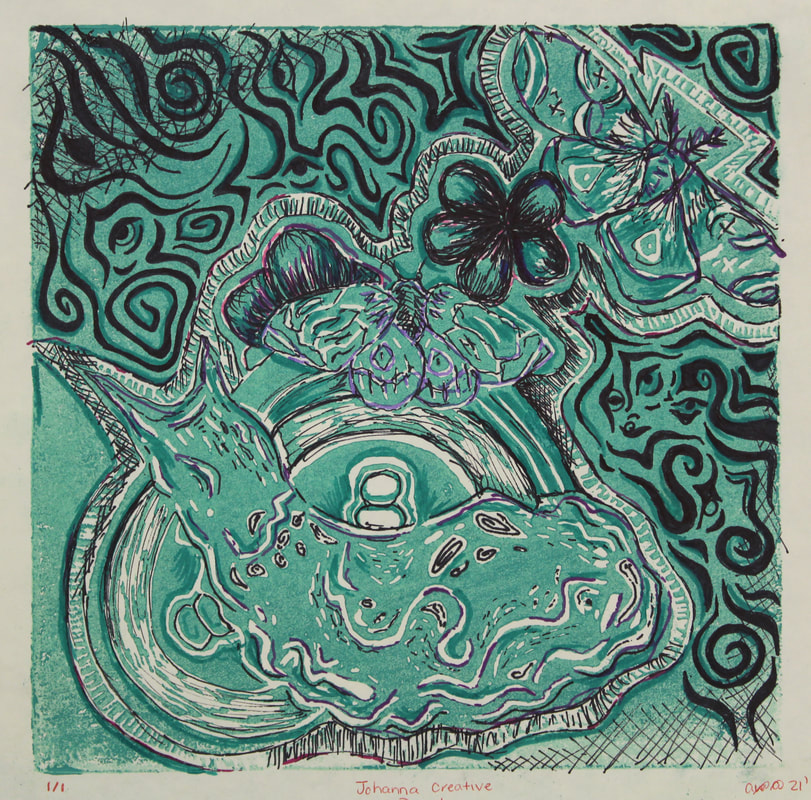
Drypoint is a type of engraving process where the artist uses a need like tool to make scratches in the surface of a plexiglass plate. They then will cover the plat in ink, the groves that were caved will hold ink and the smooth areas will remain clean. The plat will then be put under a great deal of pressure as it is rolled through the press resulting in the final image.
The class studies the Surrealist artist Max Ernst and contemporary artist Adam Hale. Each student created a collage from found images as the subject matter for their artwork. They then transferred their collages on to the plate but scratching the arias that they wanted o to be dark. The students truly enjoed this totlay new art from that alowed them to creat multiple finished products. Click on the images below to see each piece in more detail. |
|
|
        |
Surrealist Collages
2020-2021...
Screenprinted Greeting Cards
|
The benefit of screen printing is that you can make more than one of the image you have created. To help students understand how artists make work to be sold, each student needed to design a greeting card. They could make a card for any occasion even just to say "hello". The students learned how to screen print, working with mask-ys (a stencil that sticks to the screen). To make a screen print with more than one layer (color), the class learned how to register the prints properly. Each step requires students to work professionally and proficiently. Their goal was to create five or more perfect prints that could be sold.
|
|
Linoleum Block Prints


|
Students were each given a linoleum block and told that they could create an image that they wanted. Each student came up with an image individually, however, it could only be made of positive and negative space and two colors. They could use-value, texture, space, and unity to create an image. This use of two colors meant that students needed to plan their decision extremely carefully once a section of the block is removed there is no getting it back. Additionally the students have to line up the layers perfectly to create the final image. Check out what a professional job these students did.
|
Drypoint Prints
|
Drypoint is a type of engraving process where the artist uses a need like tool to make scratches in the surface of a plexiglass plate. They then will cover the plat in ink, the groves that were caved will hold ink and the smooth areas will remain clean. The plat will then be put under a great deal of pressure as it is rolled through the press resulting in the final image.
The class studies the Surrealist artist Max Ernst and contemporary artist Adam Hale. Each student created a collage from found images as the subject matter for their artwork. They then transferred their collages on to the plate but scratching the arias that they wanted o to be dark. The students truly enjoed this totlay new art from that alowed them to creat multiple finished products. Click on the images below to see each piece in more detail. |


2019-2020...
Drypoint Prints
Sets to making a drypoint print...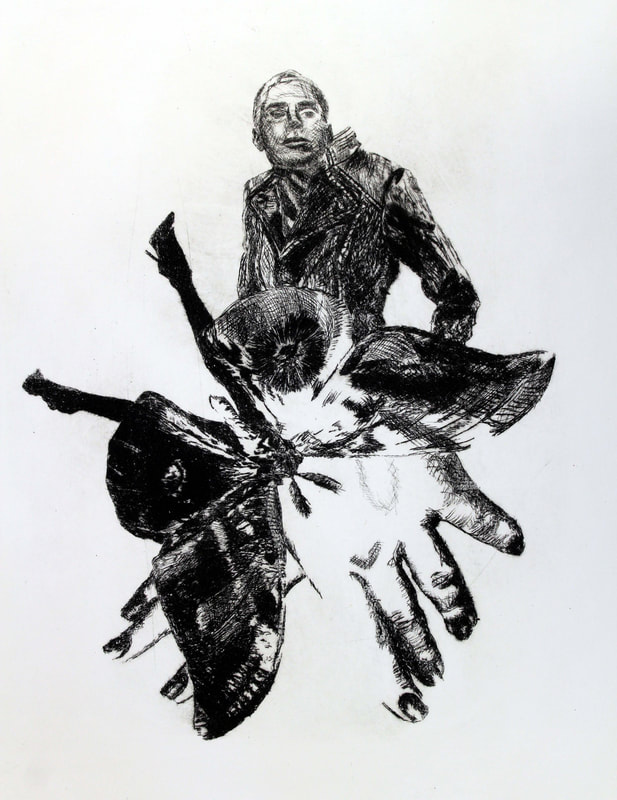
|
      |


2017-2018...
Monoprints
|
To loosen up after the complicated registration of the screen printing projects, the printmaking class learned about monoprinting. This process makes only one print, but can sometimes make a ghost print (a lighter version of the orginal image). Students painted with ink on a piece of plexy glass (plate), then placed a sheet of printmaking paper on the plate. Using a pin press, the students applied pressure by rolling over the paper. This transfers the image from the plate to the paper. The images will have a painterly look and be lighter and airy-looking compared to the flat color of a screenprint or linolieum block.
|

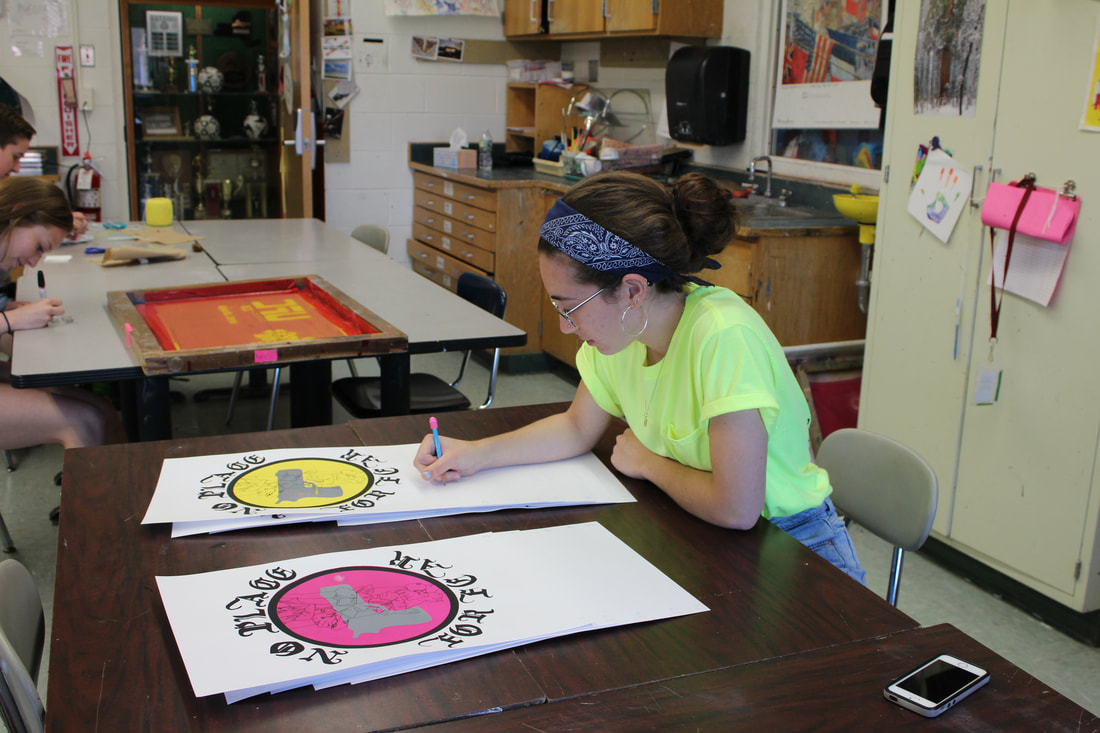
Poster with a Purpose
|
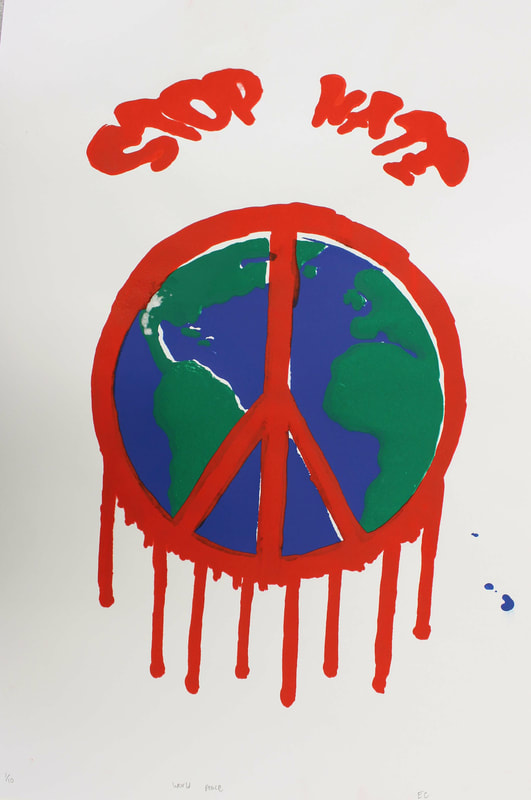
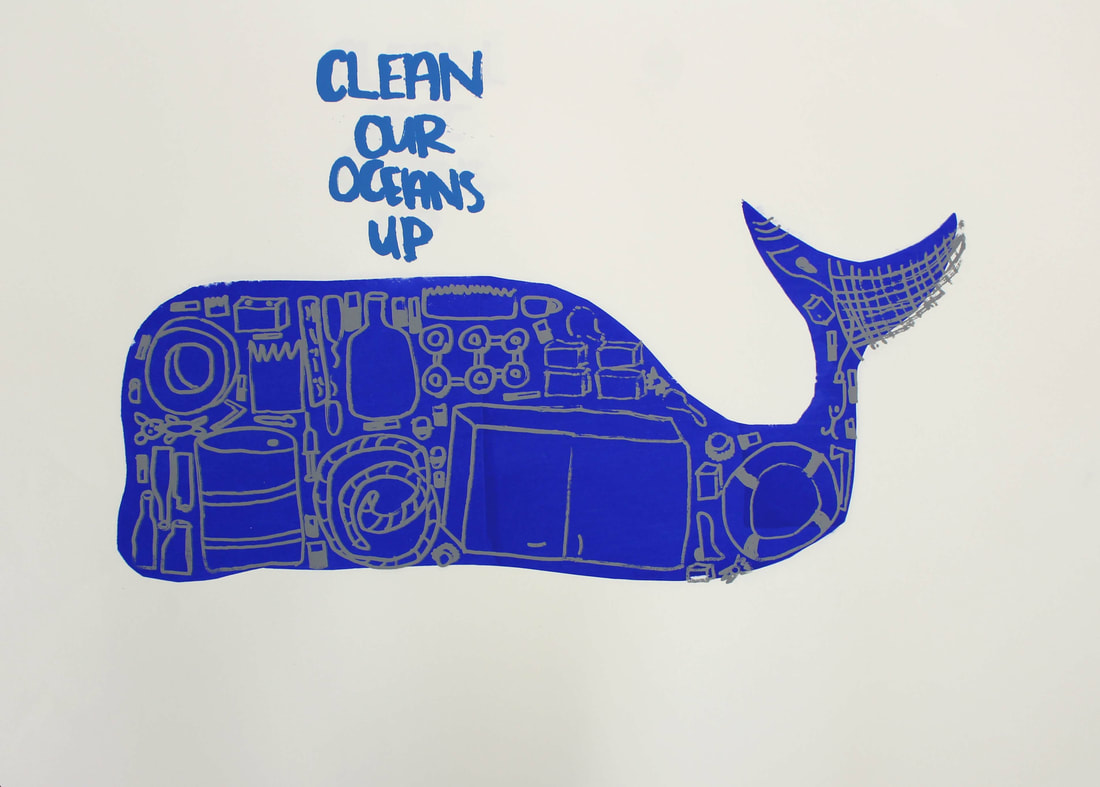
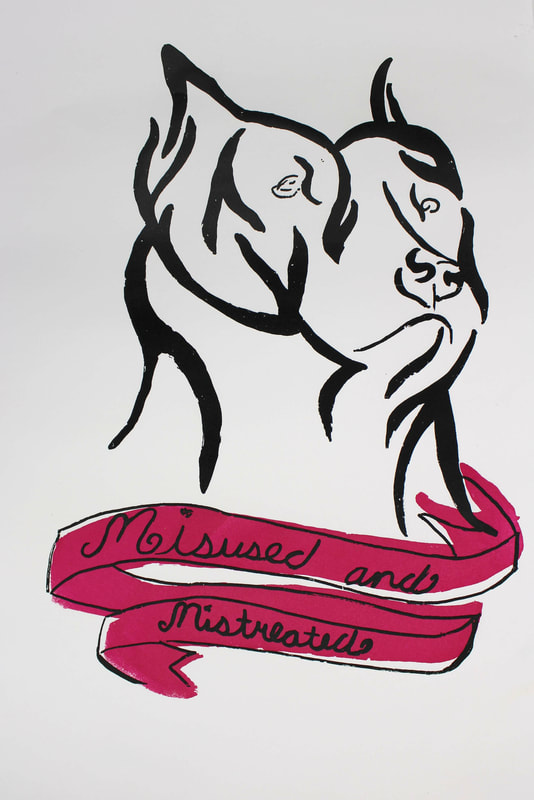
With a basic understanding of how screenprinting works, the class was then challenged to make a poster about something that they would like to draw attention to or feel strongly about. The class looked at the artwork of Shepard Fairey, a contemporary artist who uses printmaking to create works of art that relate to current events. Students brainstormed ideas for the project. We then met as a class to talk about their ideas and how they could visually represent them.
Each student took on a different topic and created a series of posters that were hung up in the school. The students were required to create their design with a minimum of three colors. This adds to the challenge of printing. Each layer must align with the one below it, or the image will look off. 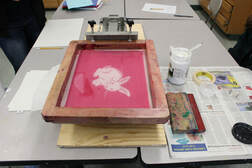
|
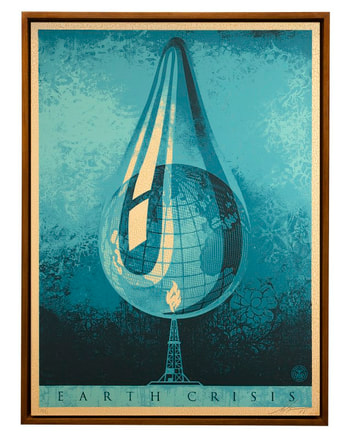
Shepard Fairey
Earth Crisis |


|
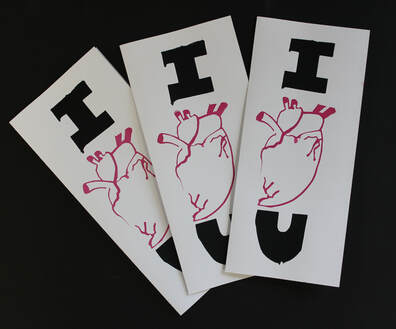
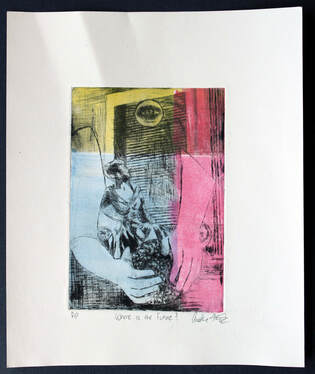
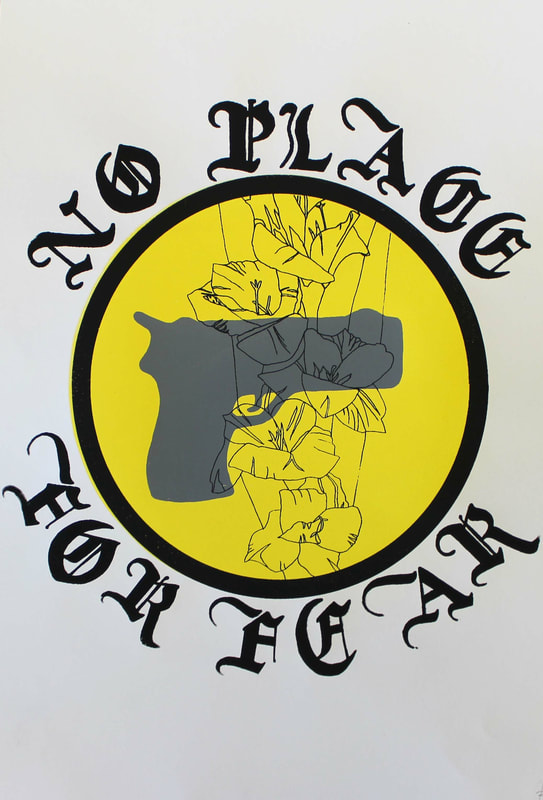
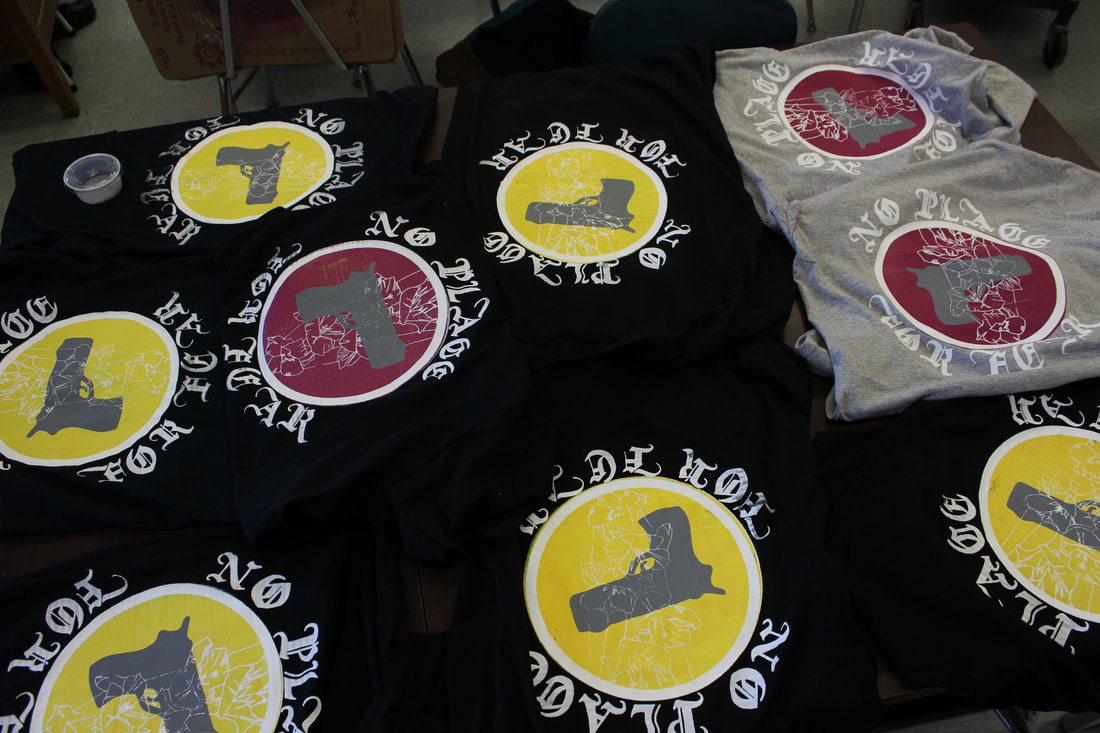
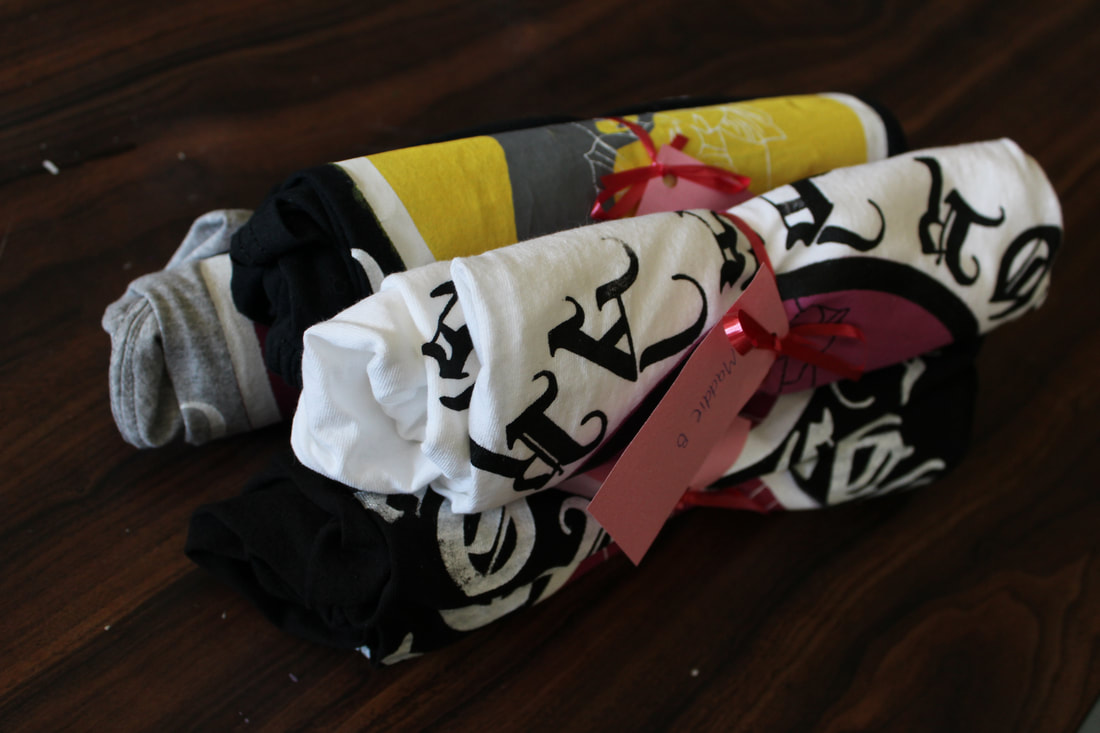
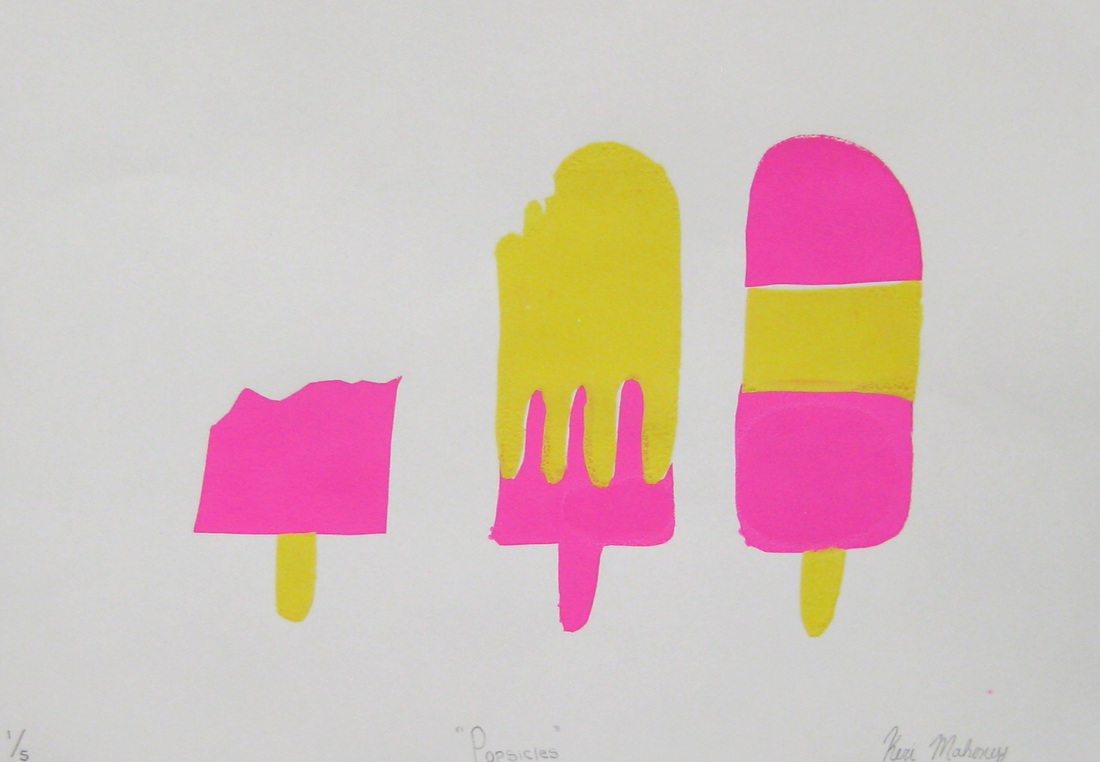
Nadia Boyea was truly inspired by this project and took it to the next level. She created two series of prints- one in yellow and one in pink. Screenprinting is a stencil-pased process which allowed her to use the same images with different colors. She was focusing on gun violence, especally in schools and realized that her message would be even more powerful if students could be part of her work. She then printed over 30 t-shirts for her peers and had them all wear the shirts to school. Her work developed from art assignment to a true living and breathing work of art.
|
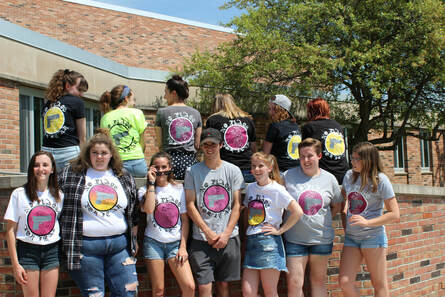
Students wearing Nadia's screen printed shirts
|
Screenprinted Greeting Cards
|
The benefit of screen printing is that you can make more than one of the image you have created. To help students understand how artists make work to be sold, each student needed to design a greeting card. They could make a card for any occasion even just to say "hello". The students learned how to screen print, working with mask-ys (a stencil that sticks to the screen). To make a screen print with more than one layer (color), the class learned how to register the prints properly. Each step requires students to work professionally and proficiently. Their goal was to create five or more perfect prints that could be sold.
|
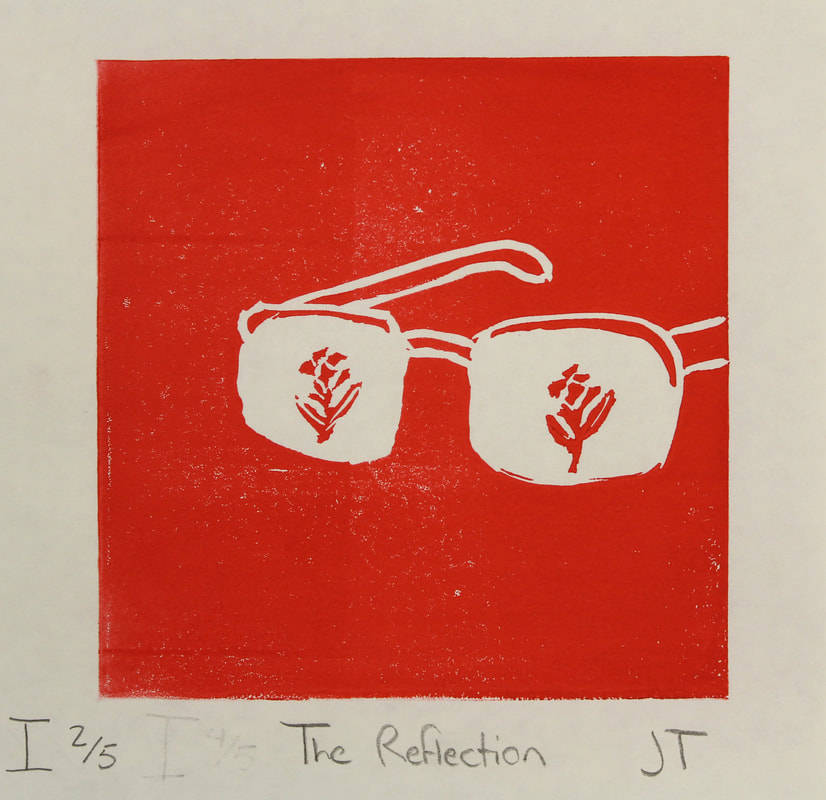
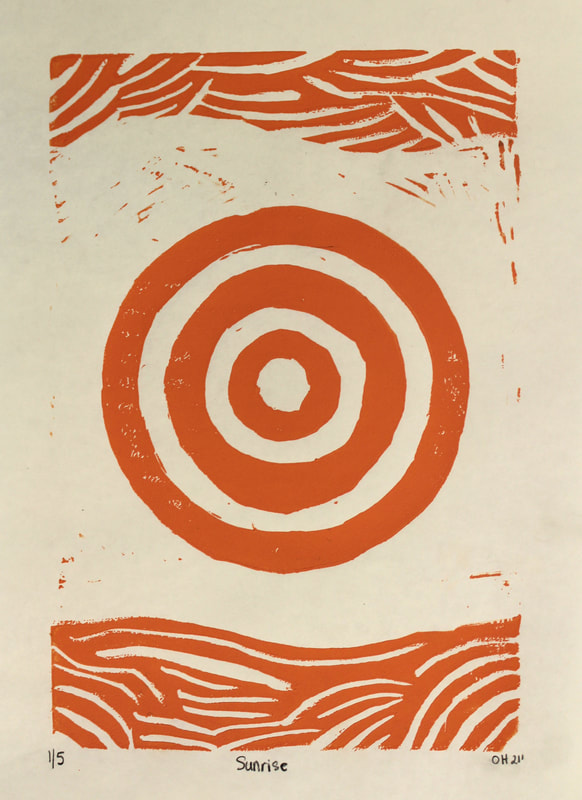
Linoleum Block Prints
|
Students were each given a linoleum block and told that they could create any image that they wanted. Each student came up with an image individually, however, it could only be made of positive and negative space (the color of the paper and one chosen ink color). They could use value, texture, space, and unity to create an image.
Once the students had an understanding of the basics, they could then experiment printing a backgound color using rainbow rolls, collaging prints together, or adding other mediums. Click on any of the prints to see them up close. Standard Prints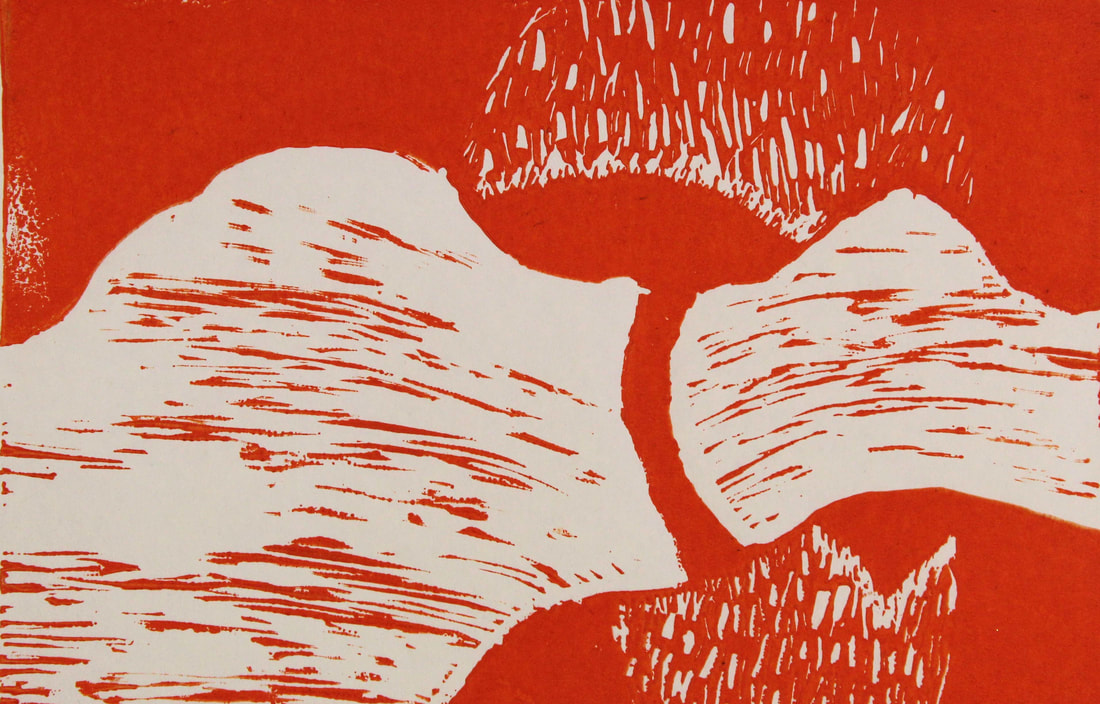 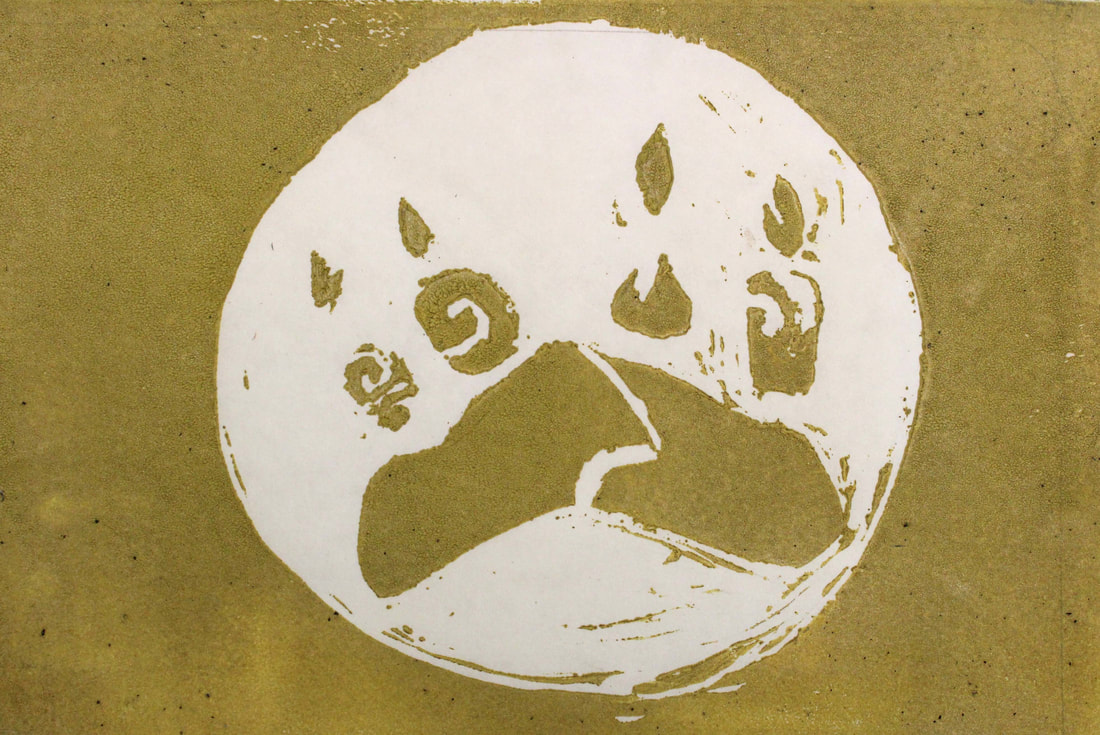 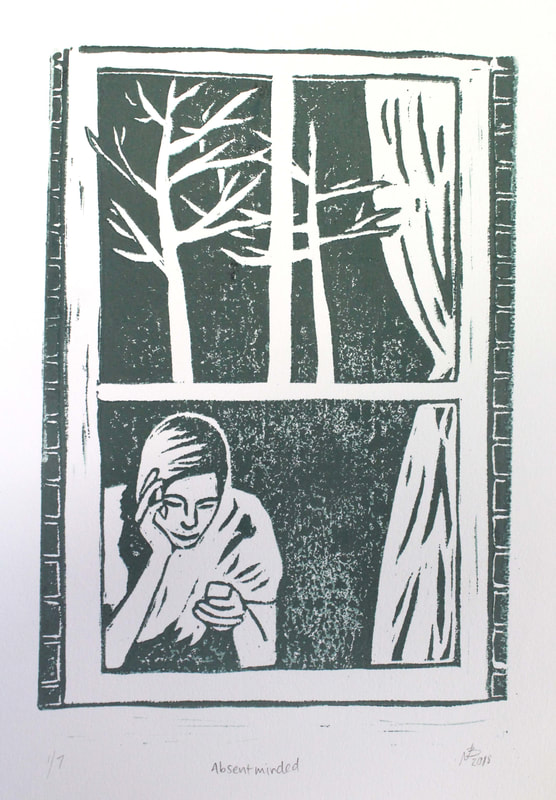 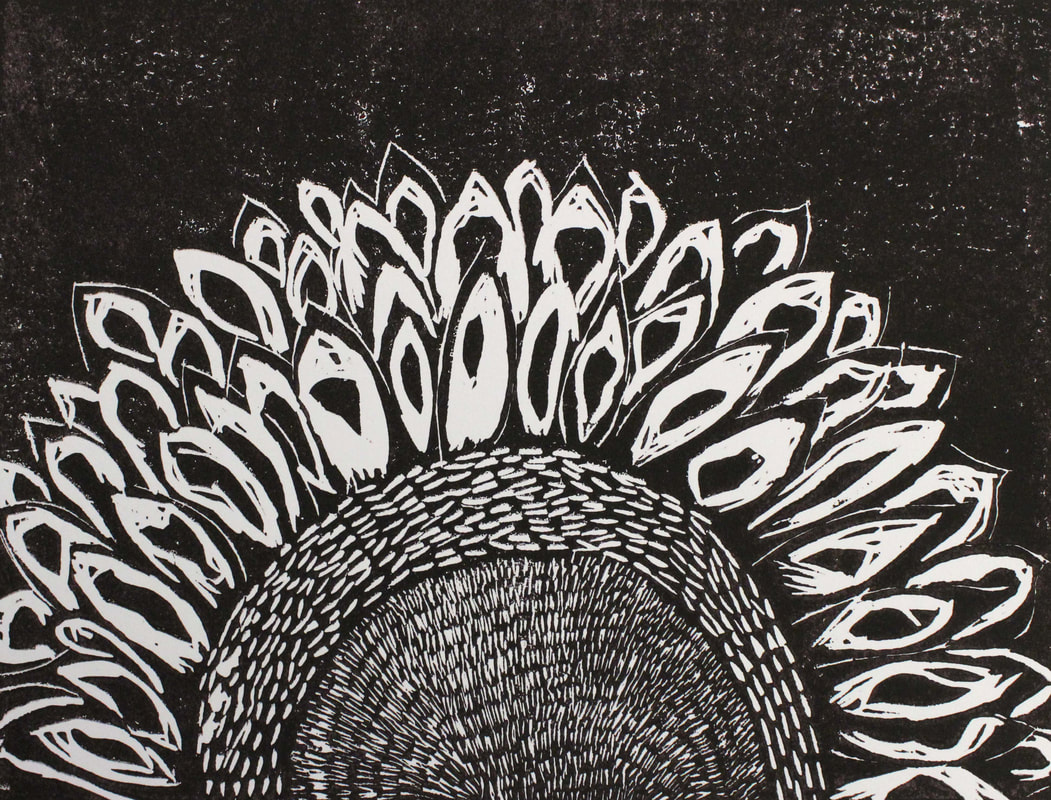 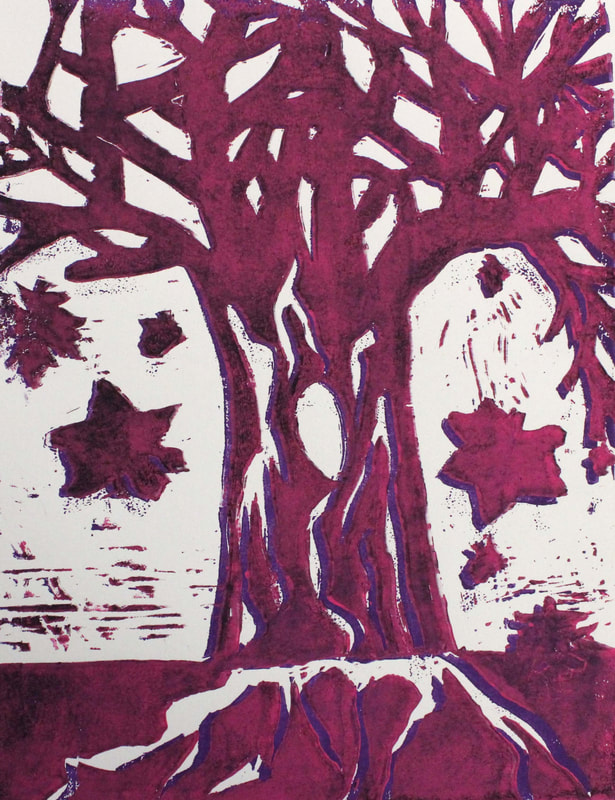 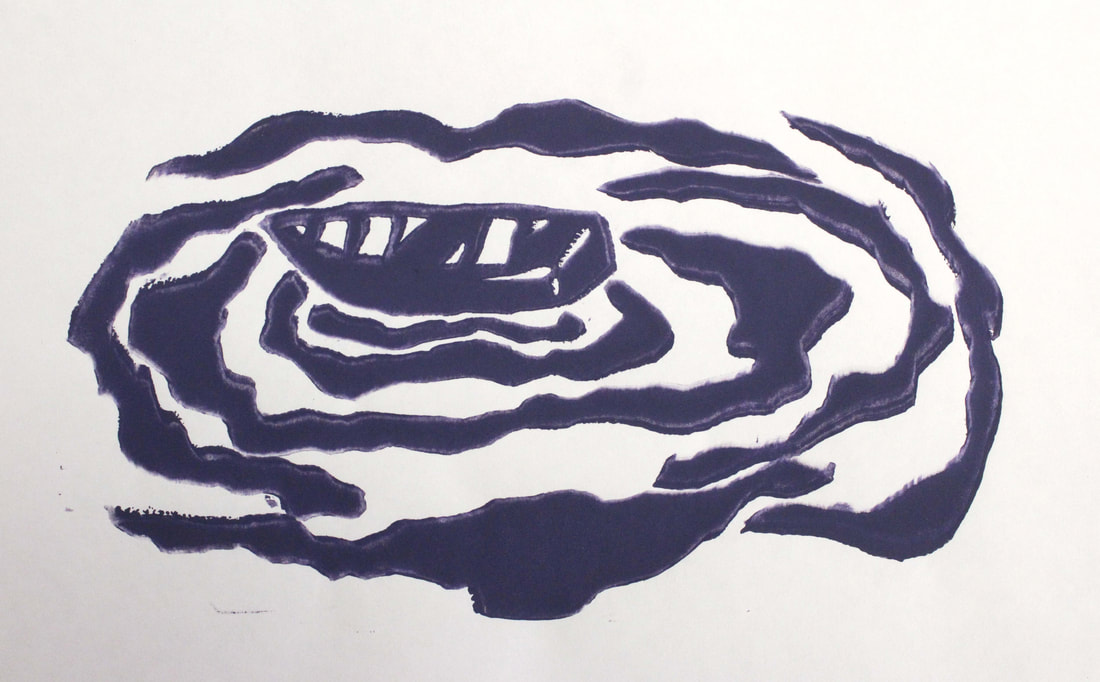 
|
Experimental Prints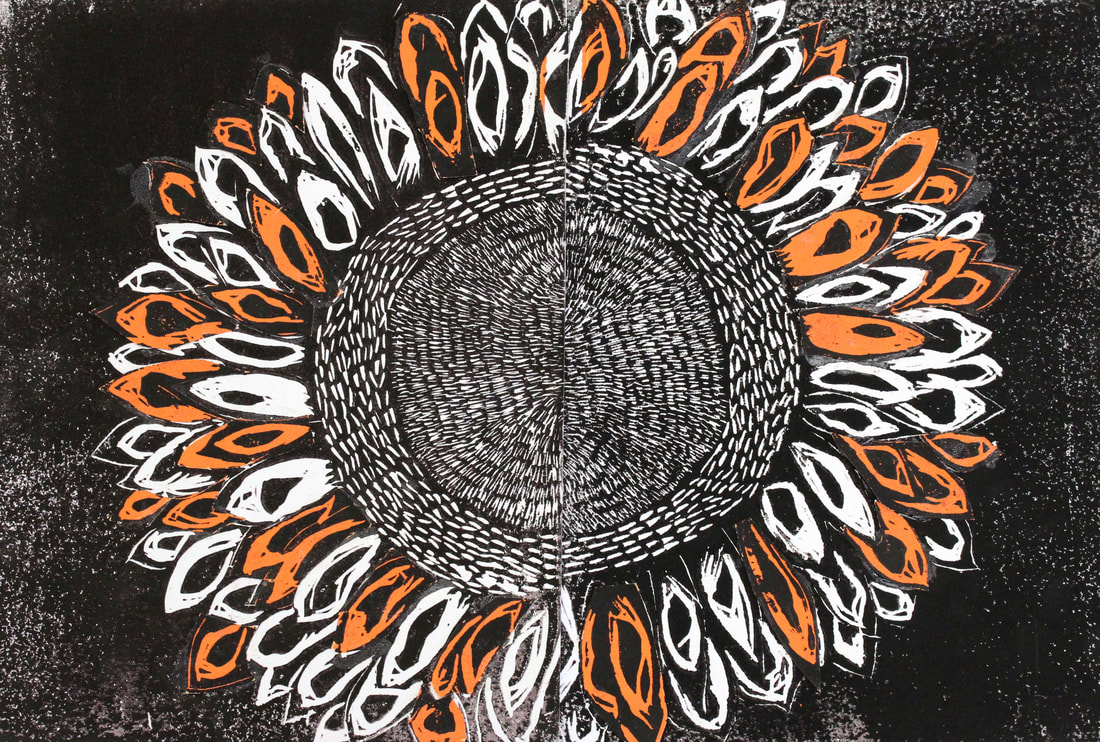 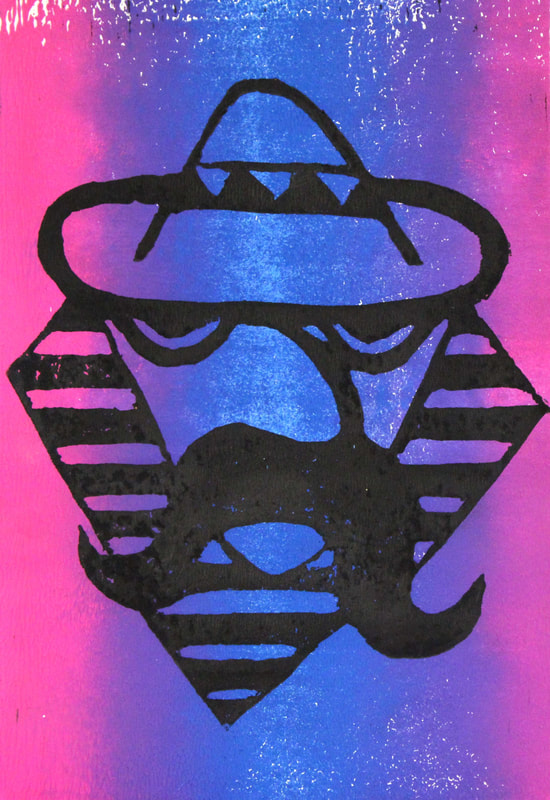 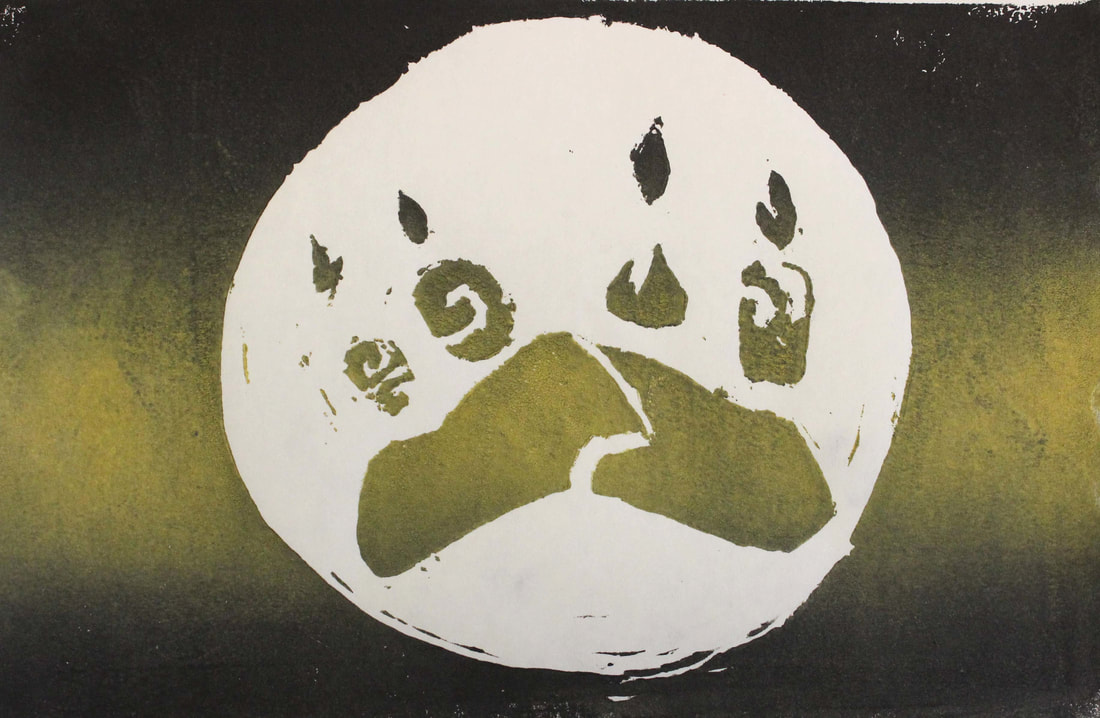 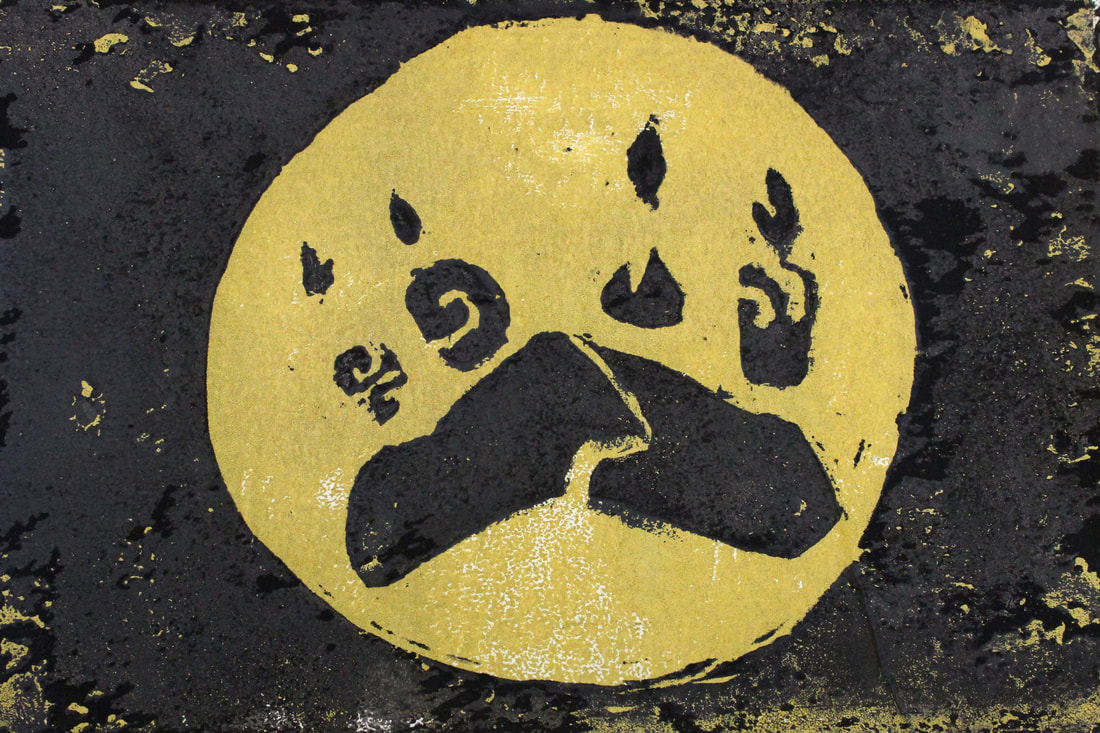 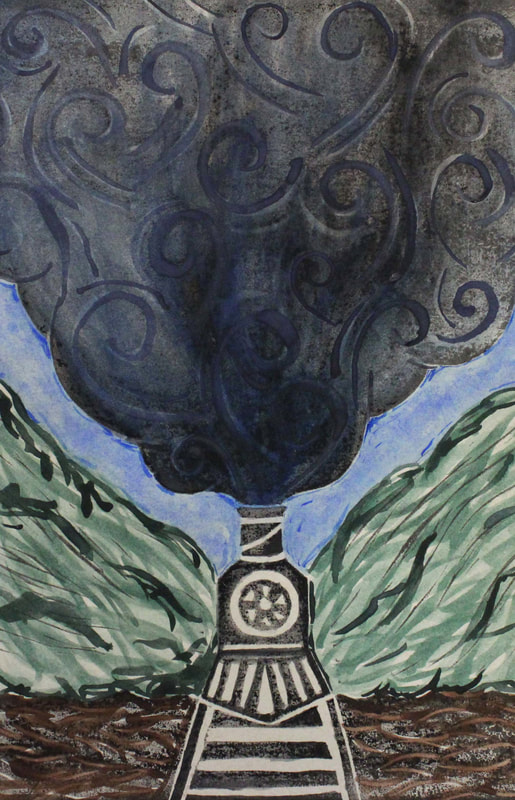 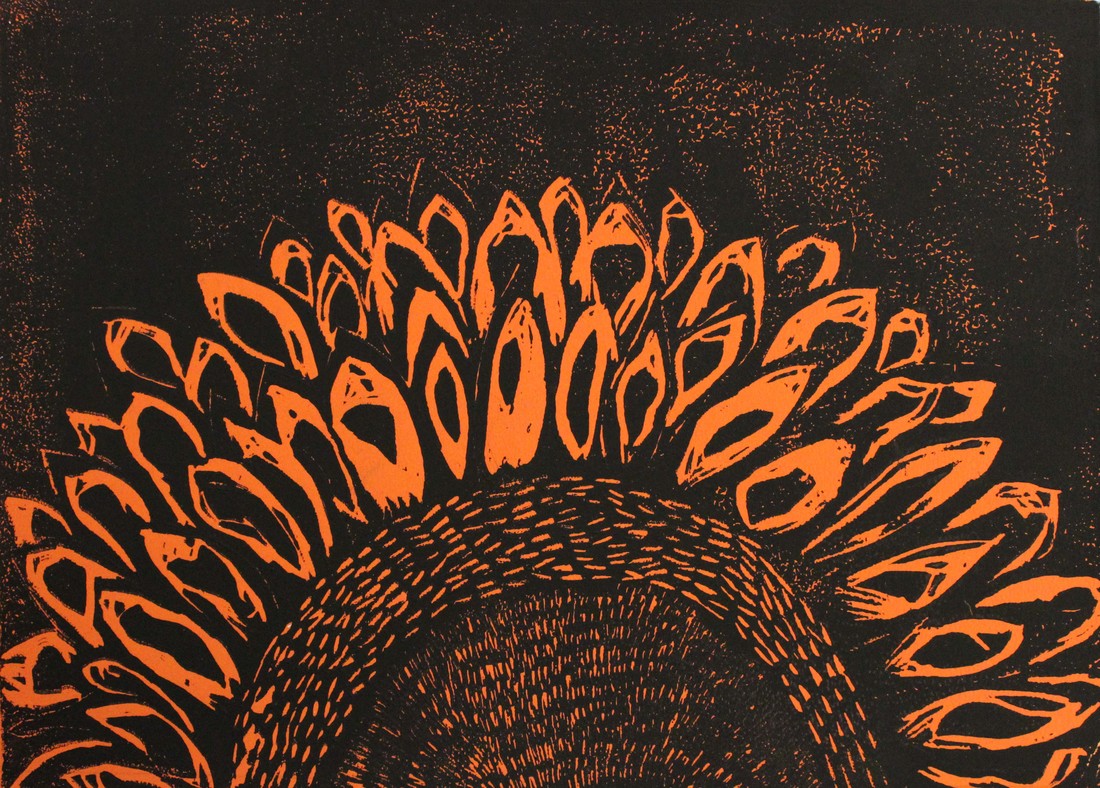  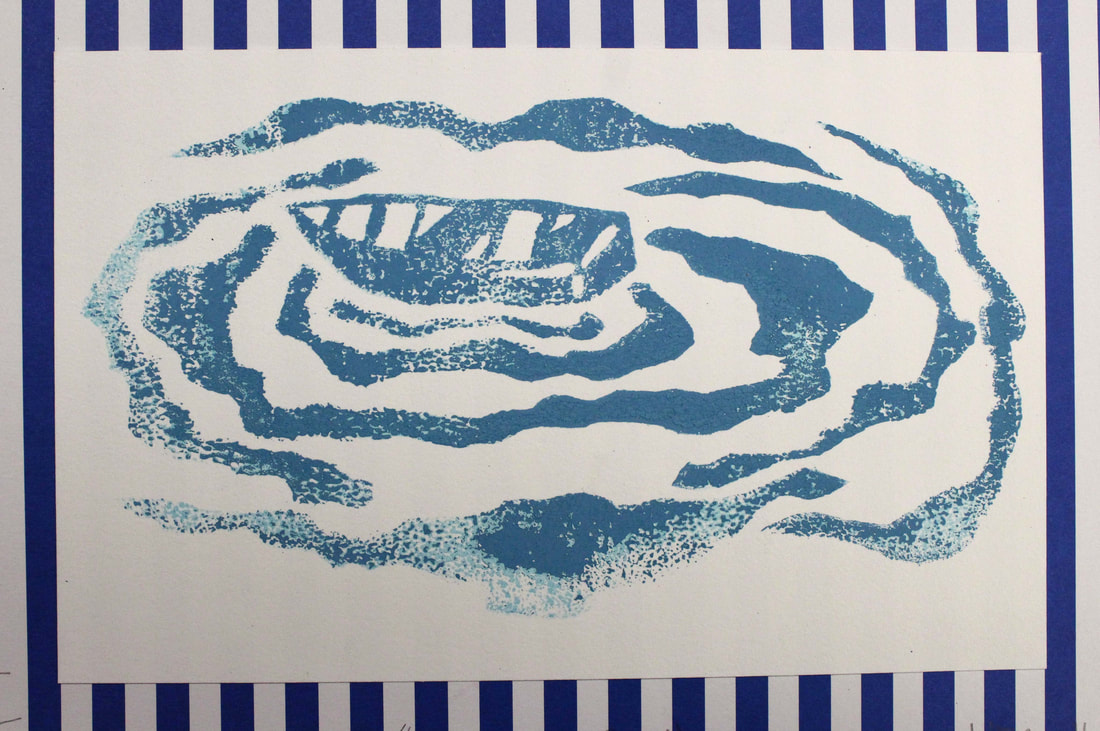 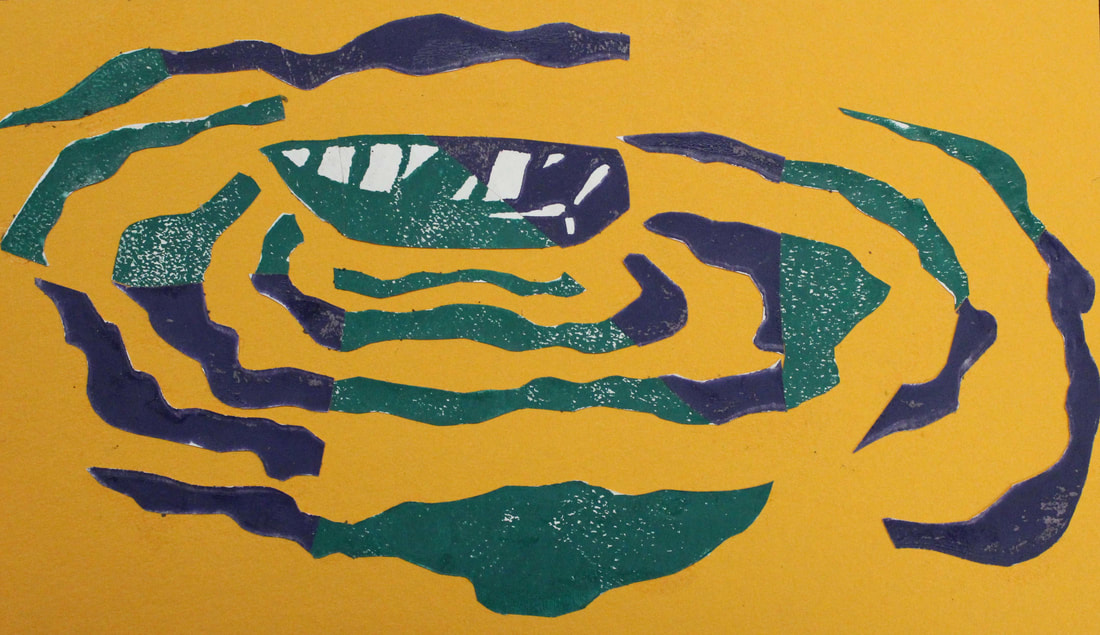
|
2015-2016 School Year...
Two Color Registration
|
Printing one color and registering images to be centered on the page is challenging, but to most printmakers that is a basic and essential step. To add more than one color into an image is a new challenge but is worth the time, planning and bit of frustration. Students build on their screen printing skills that they learned with the installation project and add an additional color. The subject matter was open to student's creativity but the images needed to be made of two colors and the paper color. Each student needed to print a set of at least five identical images.
|
|

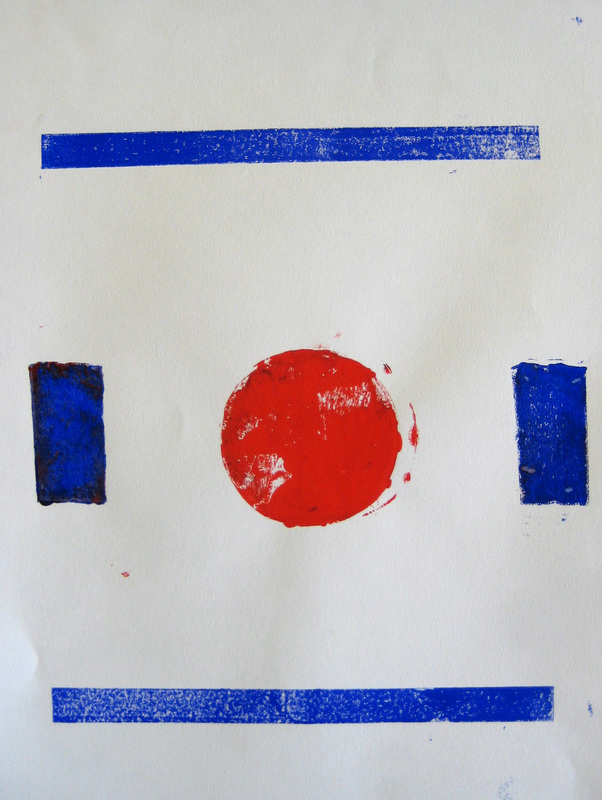
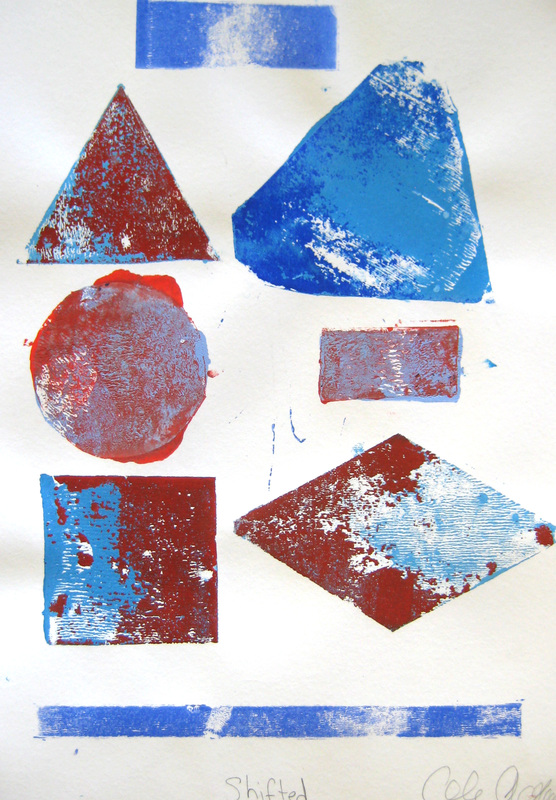
Mono Printing
|
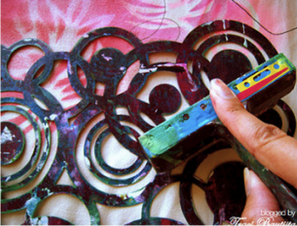
Mono printing, unlike most printmaking processes, results in one of a kind images. The class used the mono printing technique of stencils, each student created a series of stencils that could be laid out in multiple ways to create countless final prints. The students were required to make three prints that were all unique and printed to perfection.
|
|


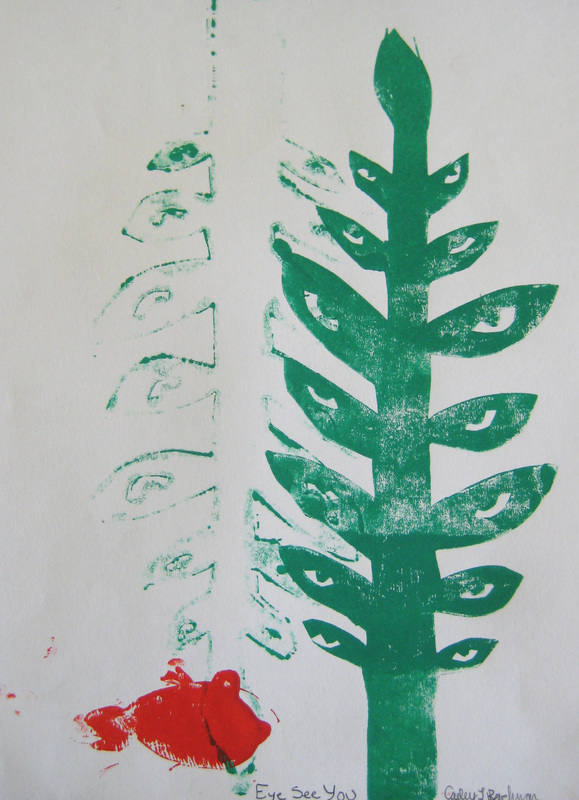

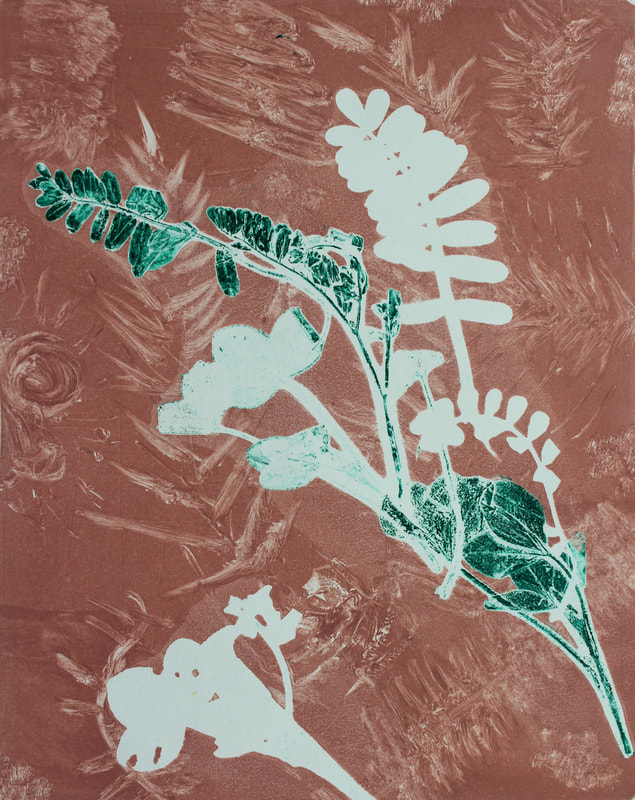
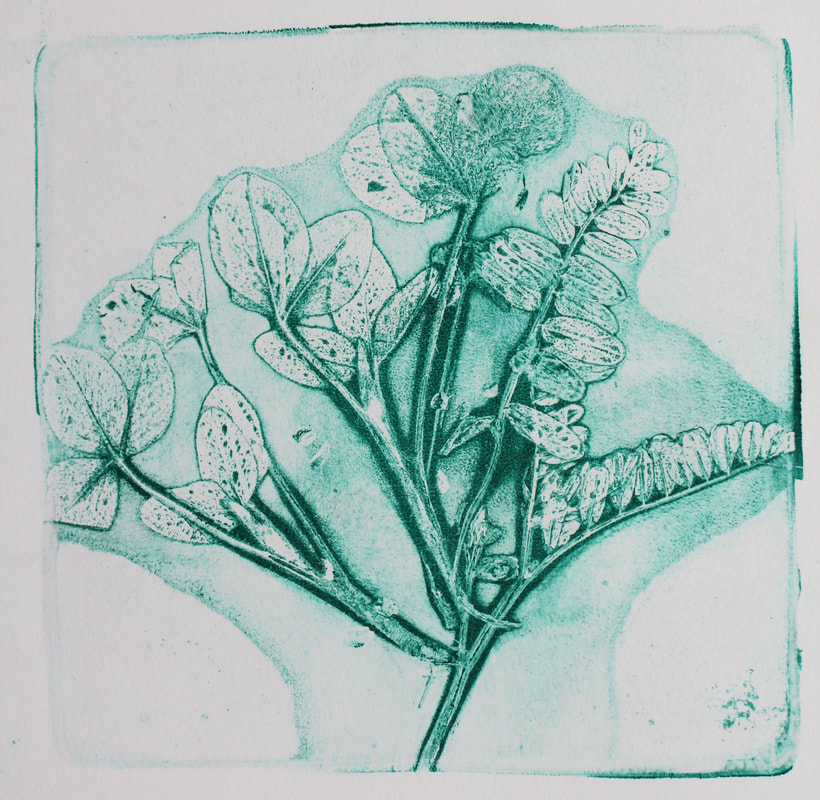
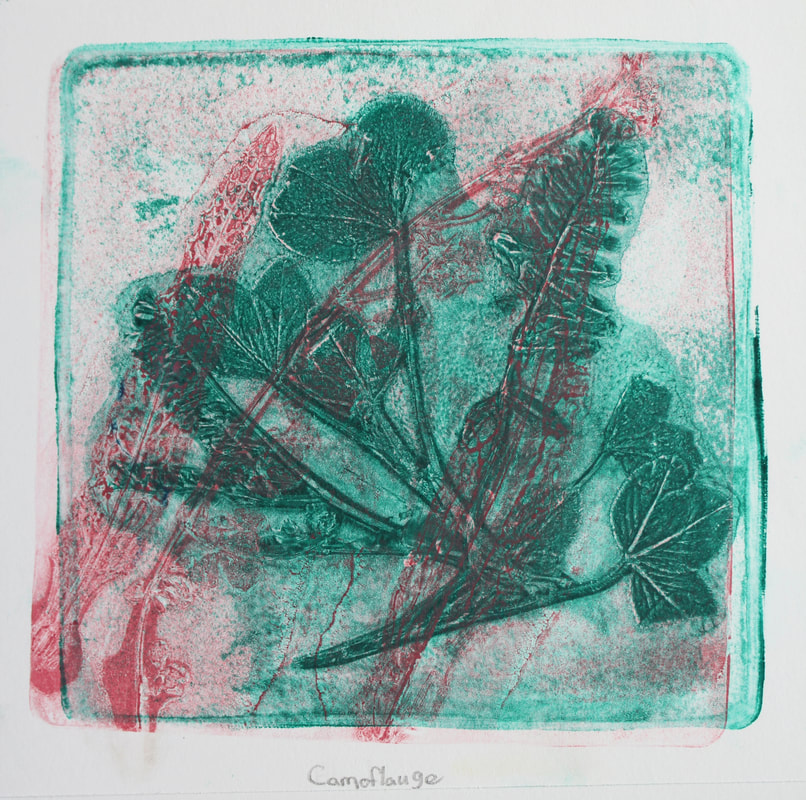
Positive and Negative Nature Prints
|
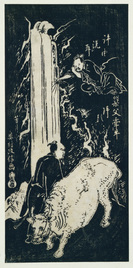
Students moved on from creating an image using an additive printing process. It was time to use reductive printmaking processes. Linoleum block requires careful planning and thinking backward from what you want the end result to look like. The class looked at traditional Japanese prints and talked about how nature was recurring and an important subject matter.
|
|


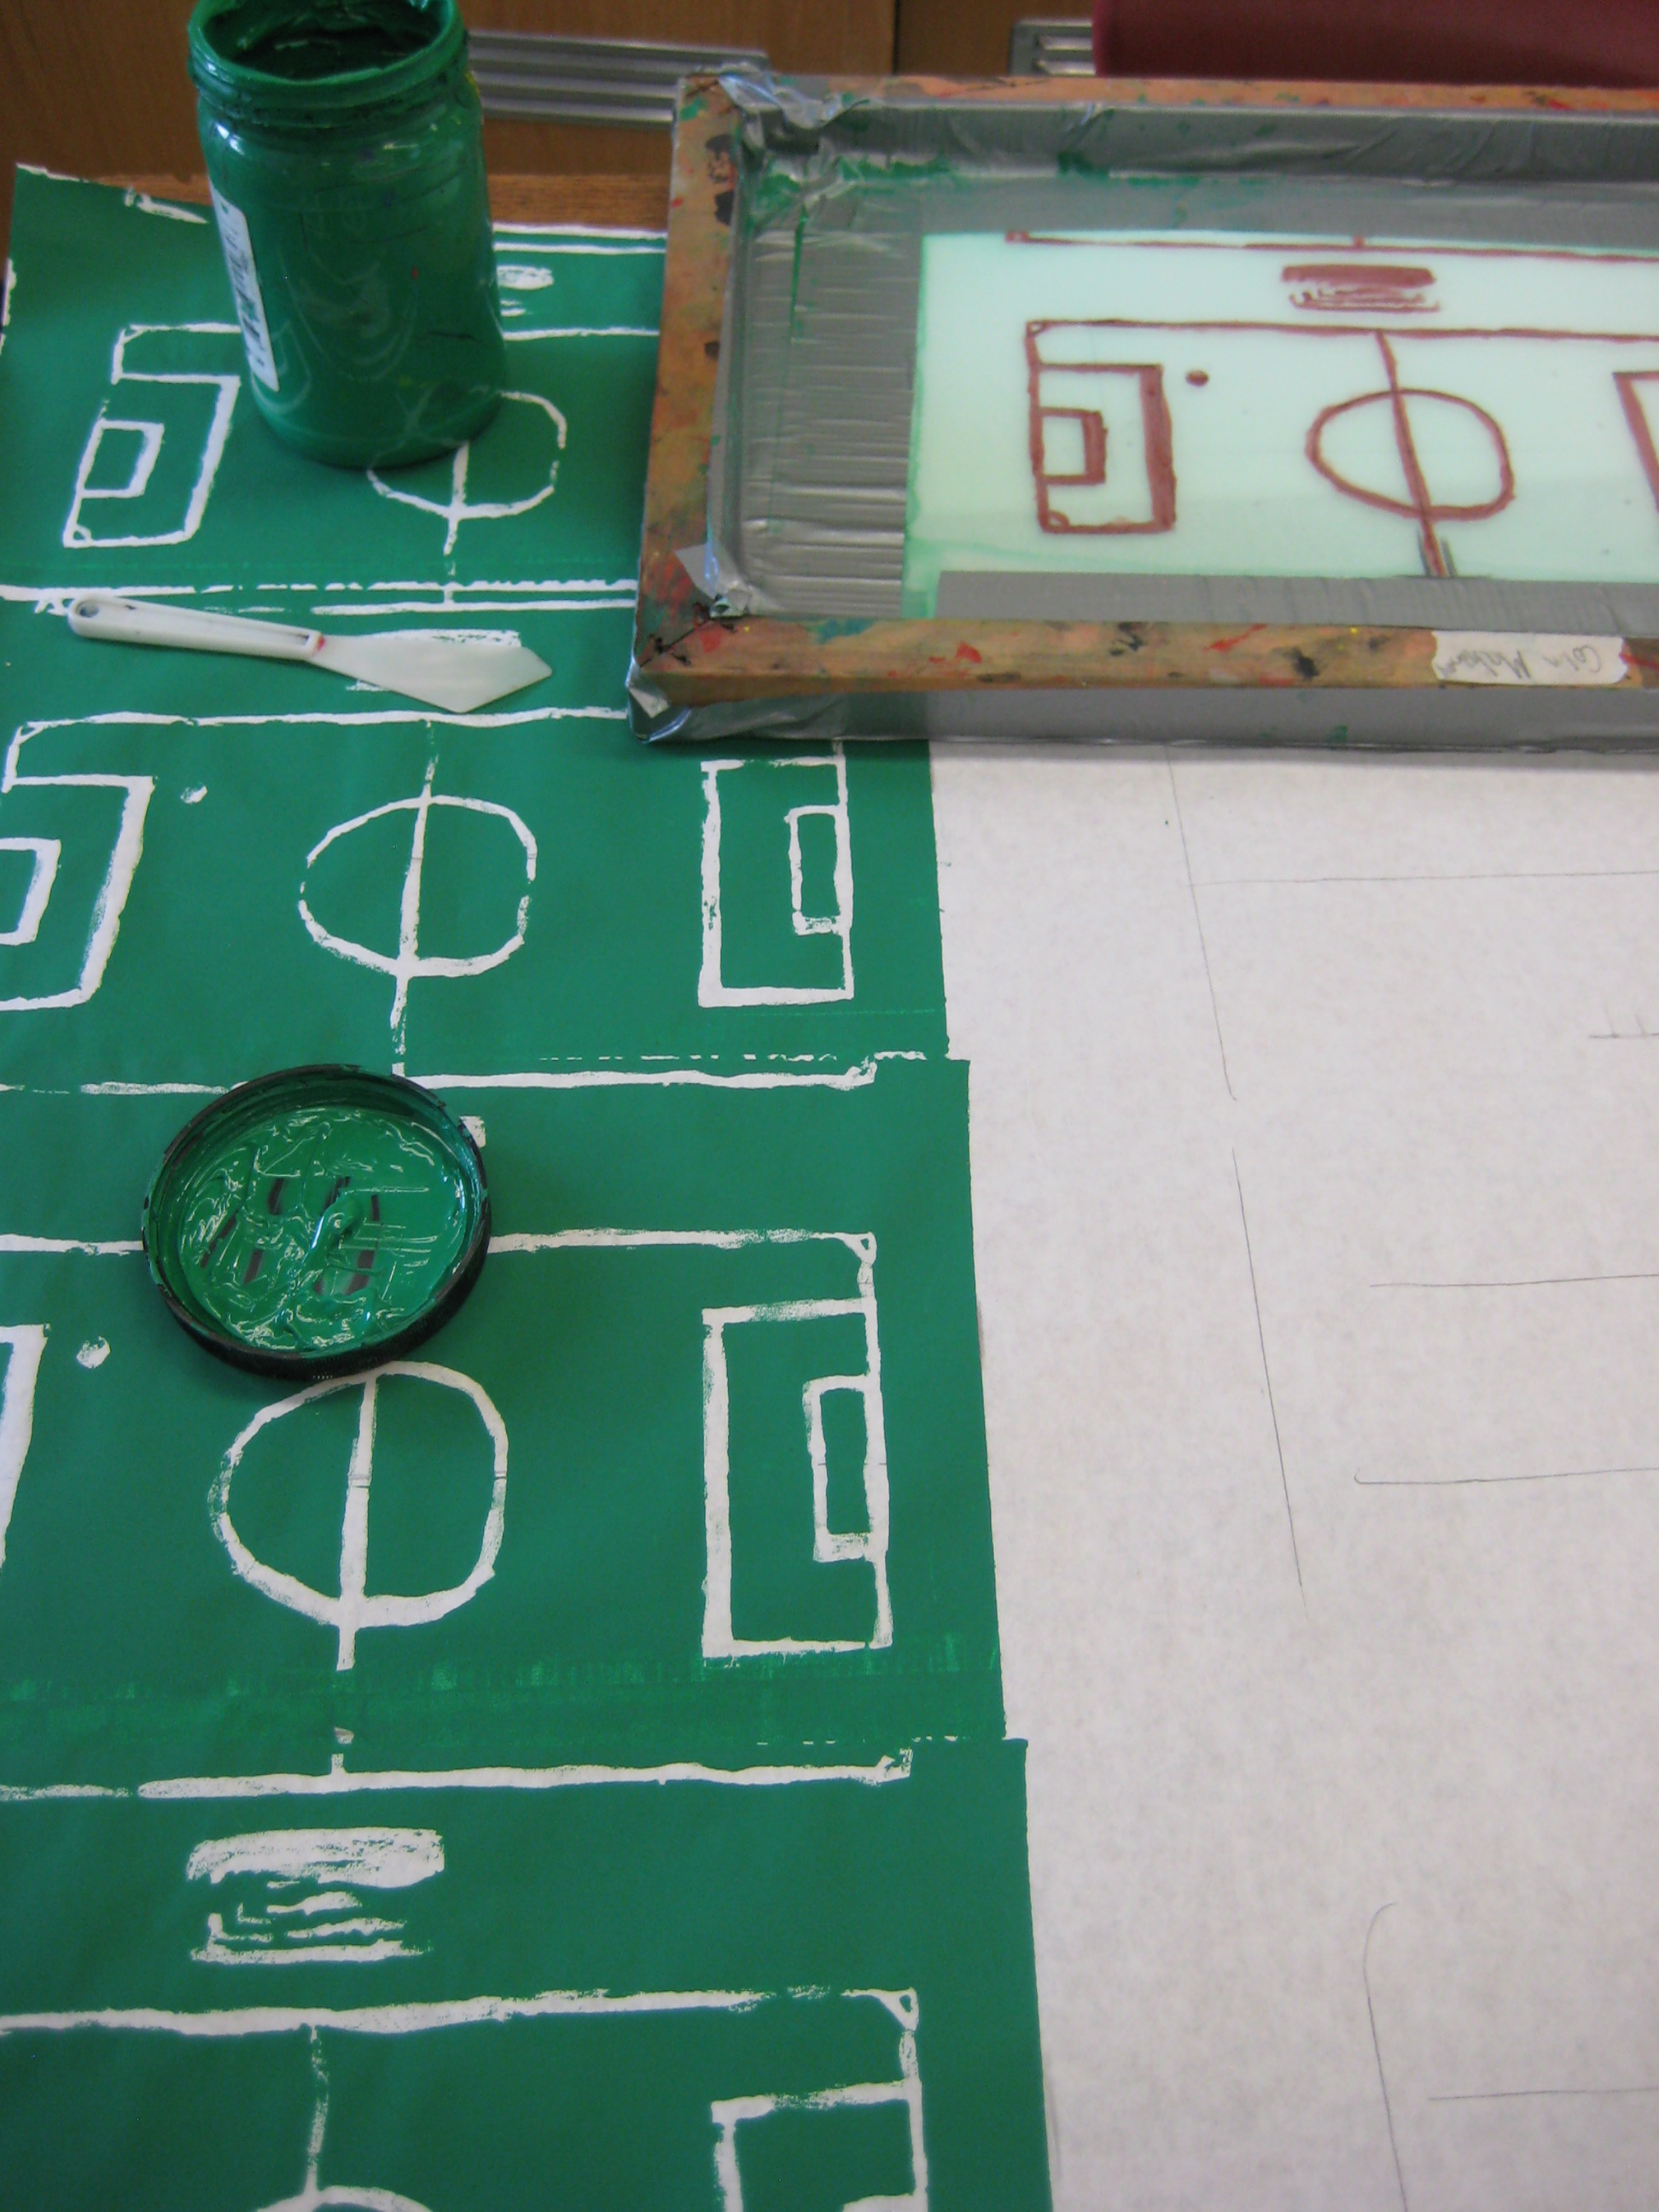
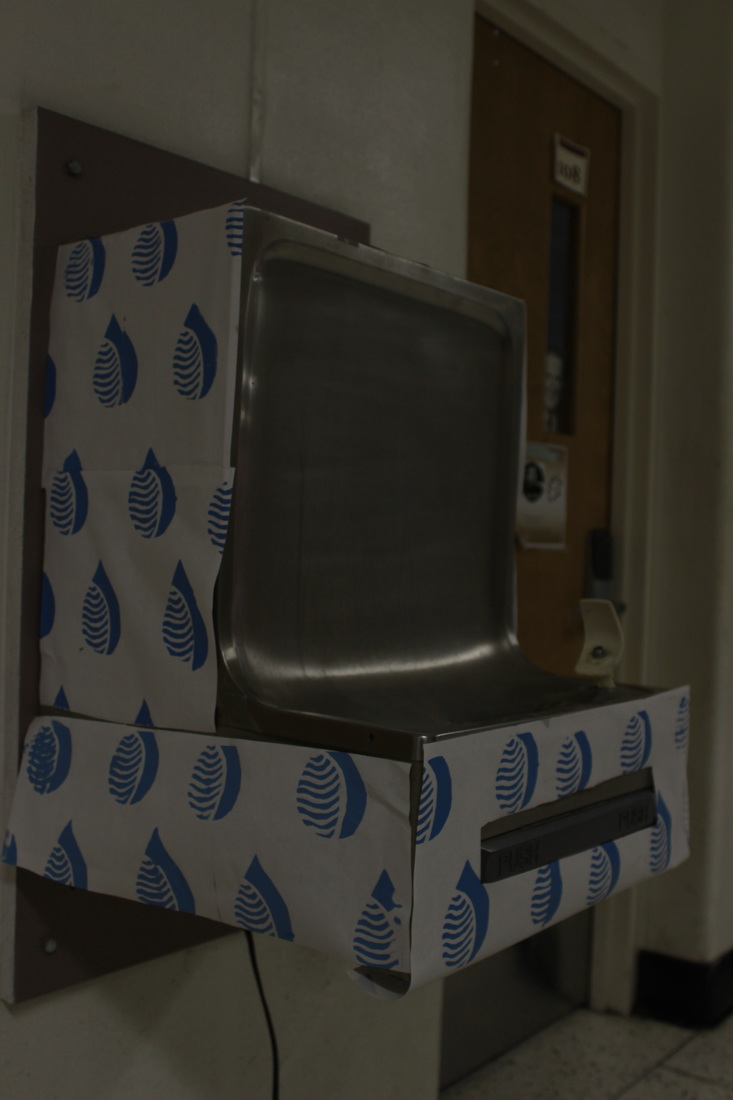
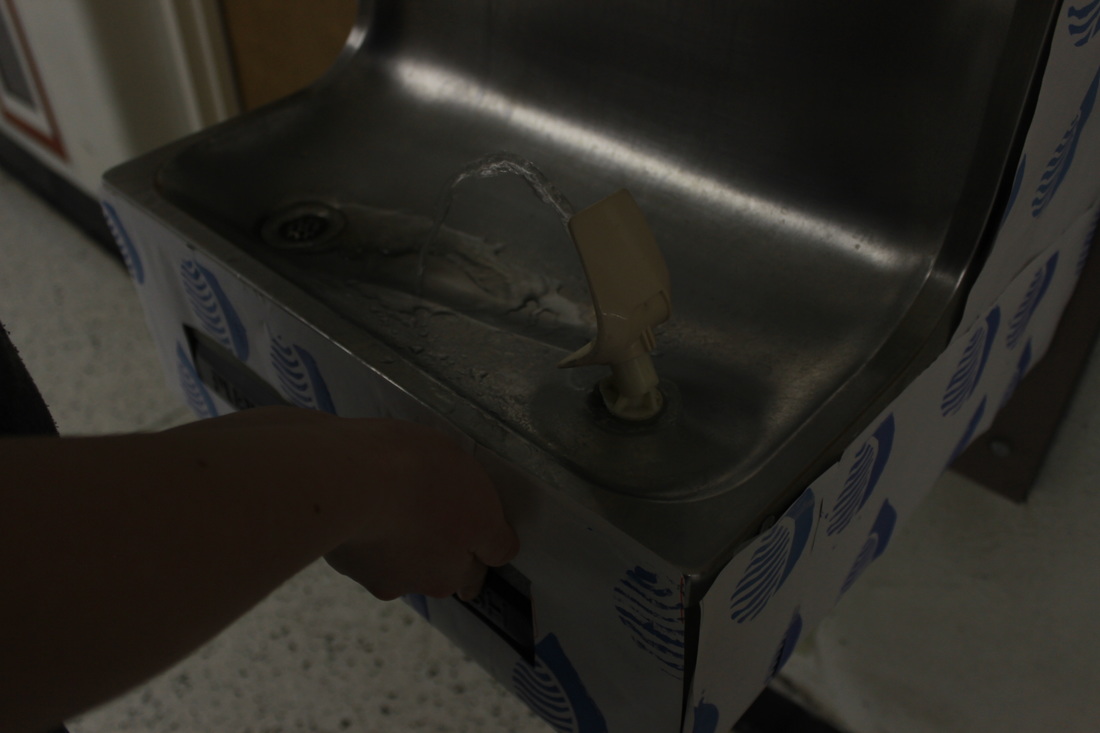
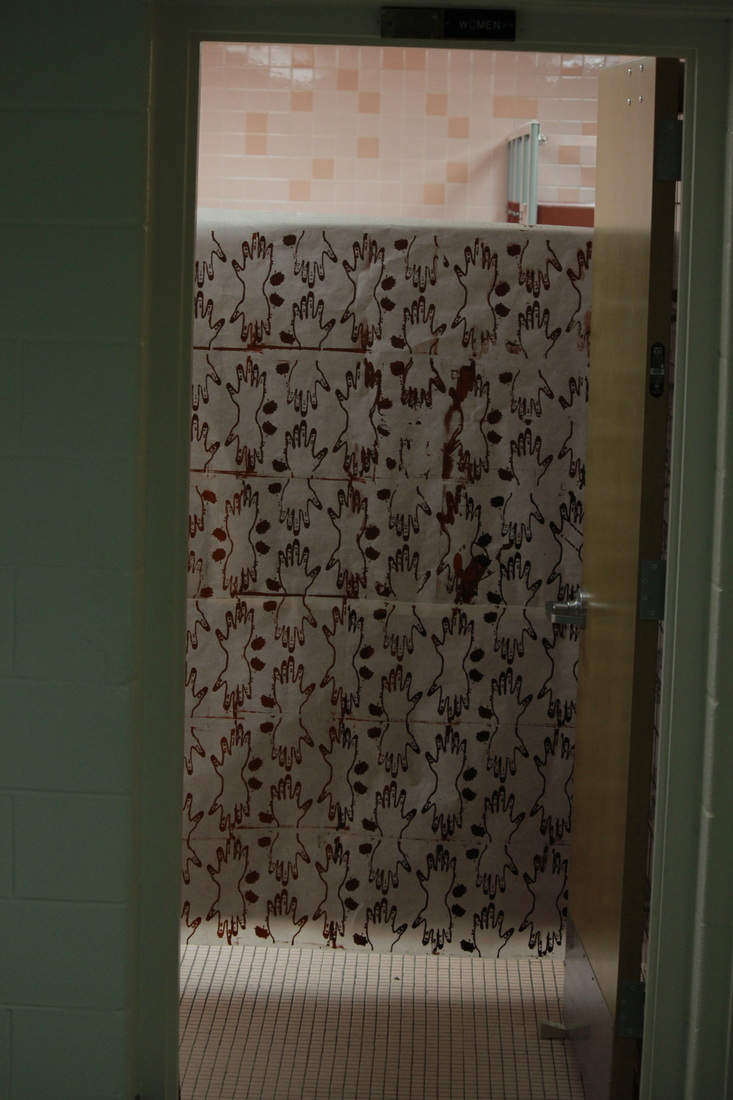
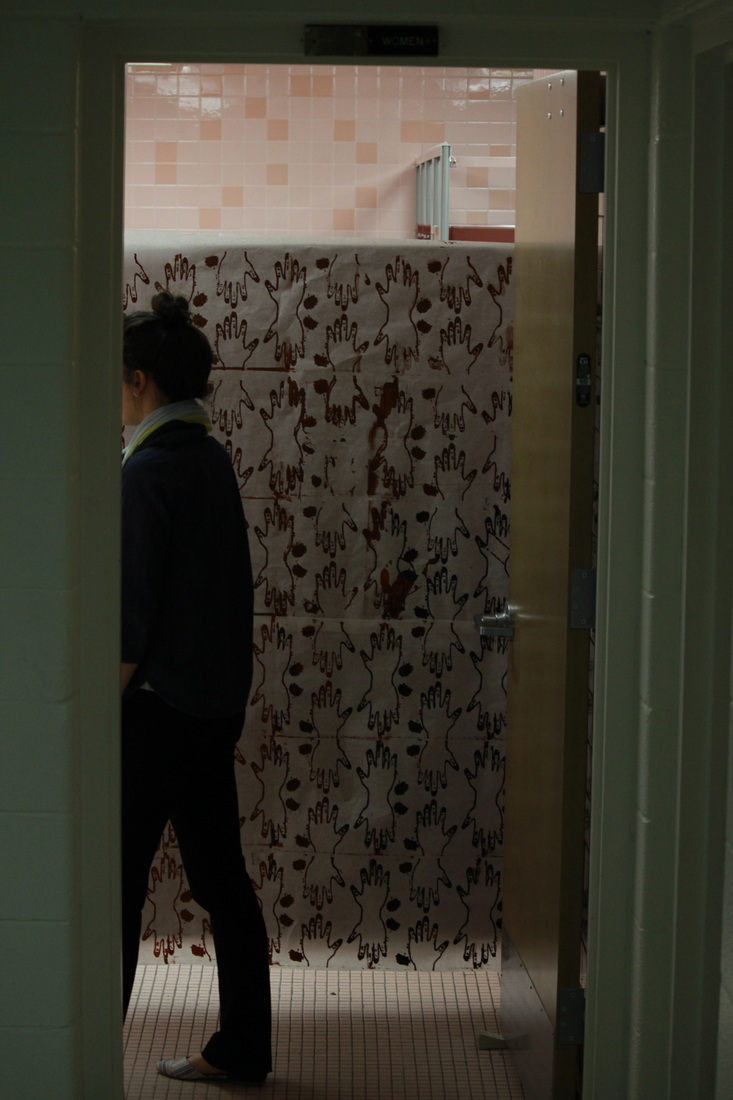
Printed Installations
An installation is a type of artwork that is made to fit into a specific location, it can be sculptural or two dimensional. The first project the printmaking class took on was to screen print a repeating pattern that could be used as a wall paper. The students needed to decide where they would install their wall paper and then create a corresponding design. Once the paper was printed, the students went all around the high school surprising the public with their artwork in everyday locations.
|
     |
